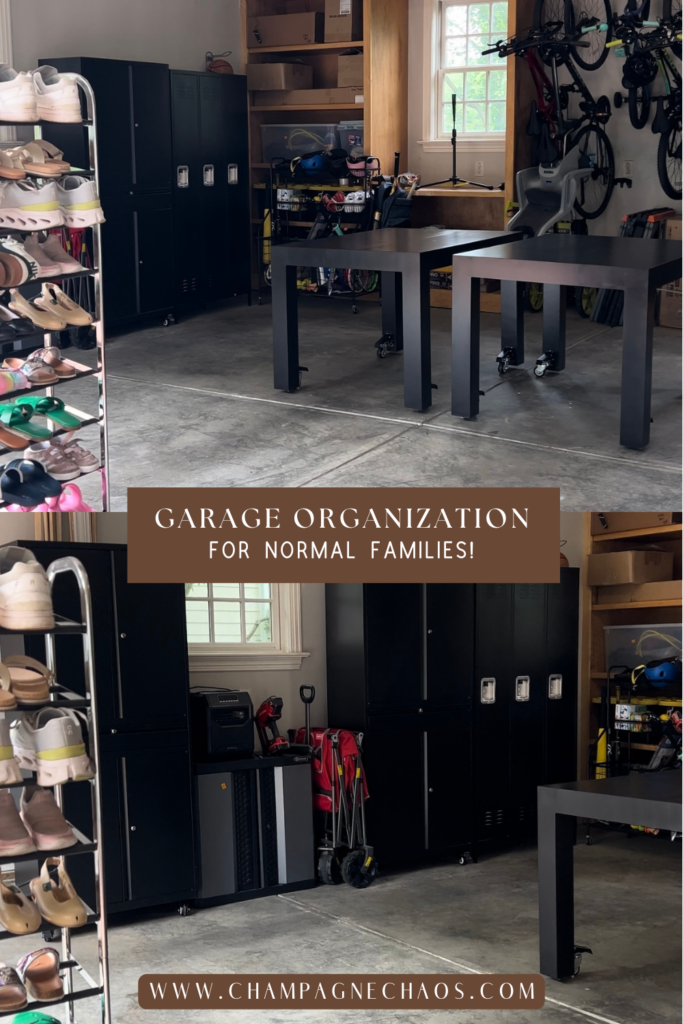
Our Garage has been my “Monica closet” for years, and this year, I decided it was time for some major garage organization. If you have garage goals, hopefully, what I did will help you!
My Confession
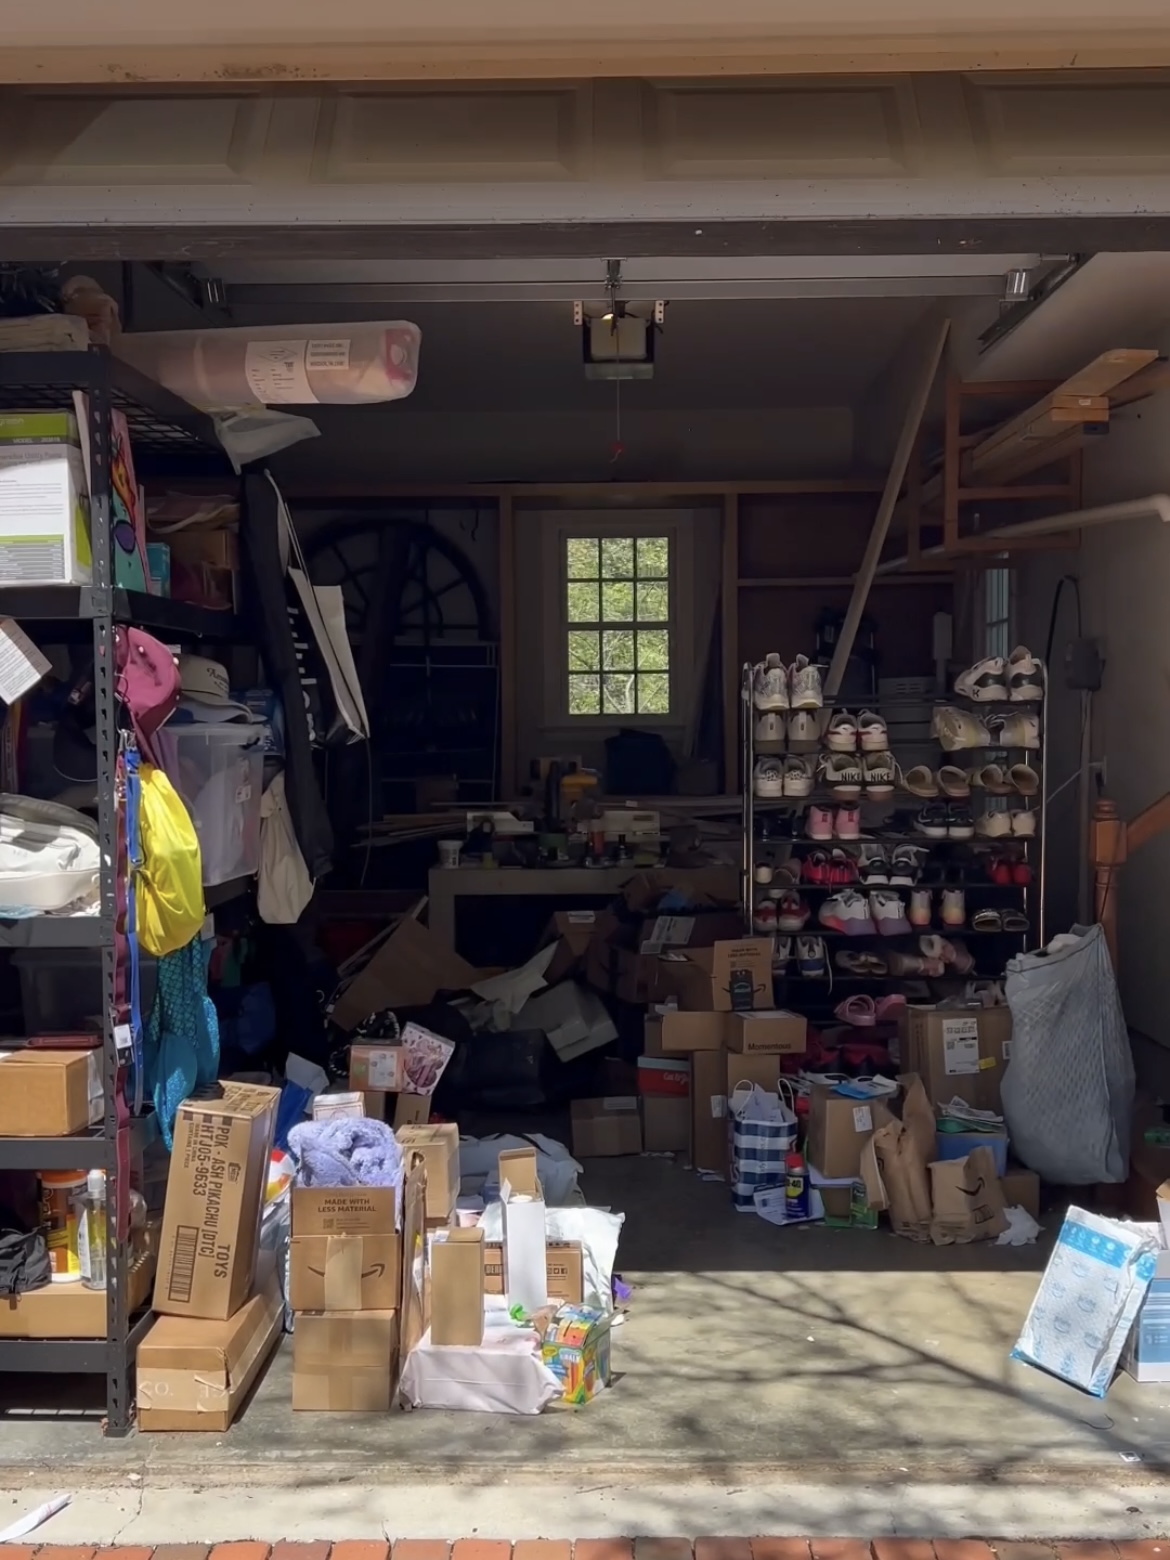
My garage has been a trouble spot for as long as we’ve had kids, and it got much worse when I started doing DIY and building things… because our garage double duties as storage, a catch-all for all outdoor toys and sports equipment, and my workshop.
I’ve done clean outs here and there but never put systems in place to keep it from going right back to where it started. I’ve ignored it long enough, I’m finally putting those systems in place.
Garage Organization Step 1: Purge
The first thing I did was pull everything out and ruthlessly purge. I still have to go through some of the end of year school piles, but that’s an issue for a later date! We have made progress, and that’s a huge win.
Garage Organization Step 2: Brainstorm
Next, I brainstormed exactly what items I needed to store, and I spent way too much time shopping online to find storage for each scenario. I wanted storage that fit the space, made sense for the items, and was easy to keep organized (I’m looking at you, sports equipment).
Garage Organization Step 3: Organize!
This step was my favorite because it’s so fun when you put everything back together and enjoy the success of your hard work. If you have extra time, you can even go wild with organizing the tiny parts, and breaking out your label maker!
Sports Gear Storage
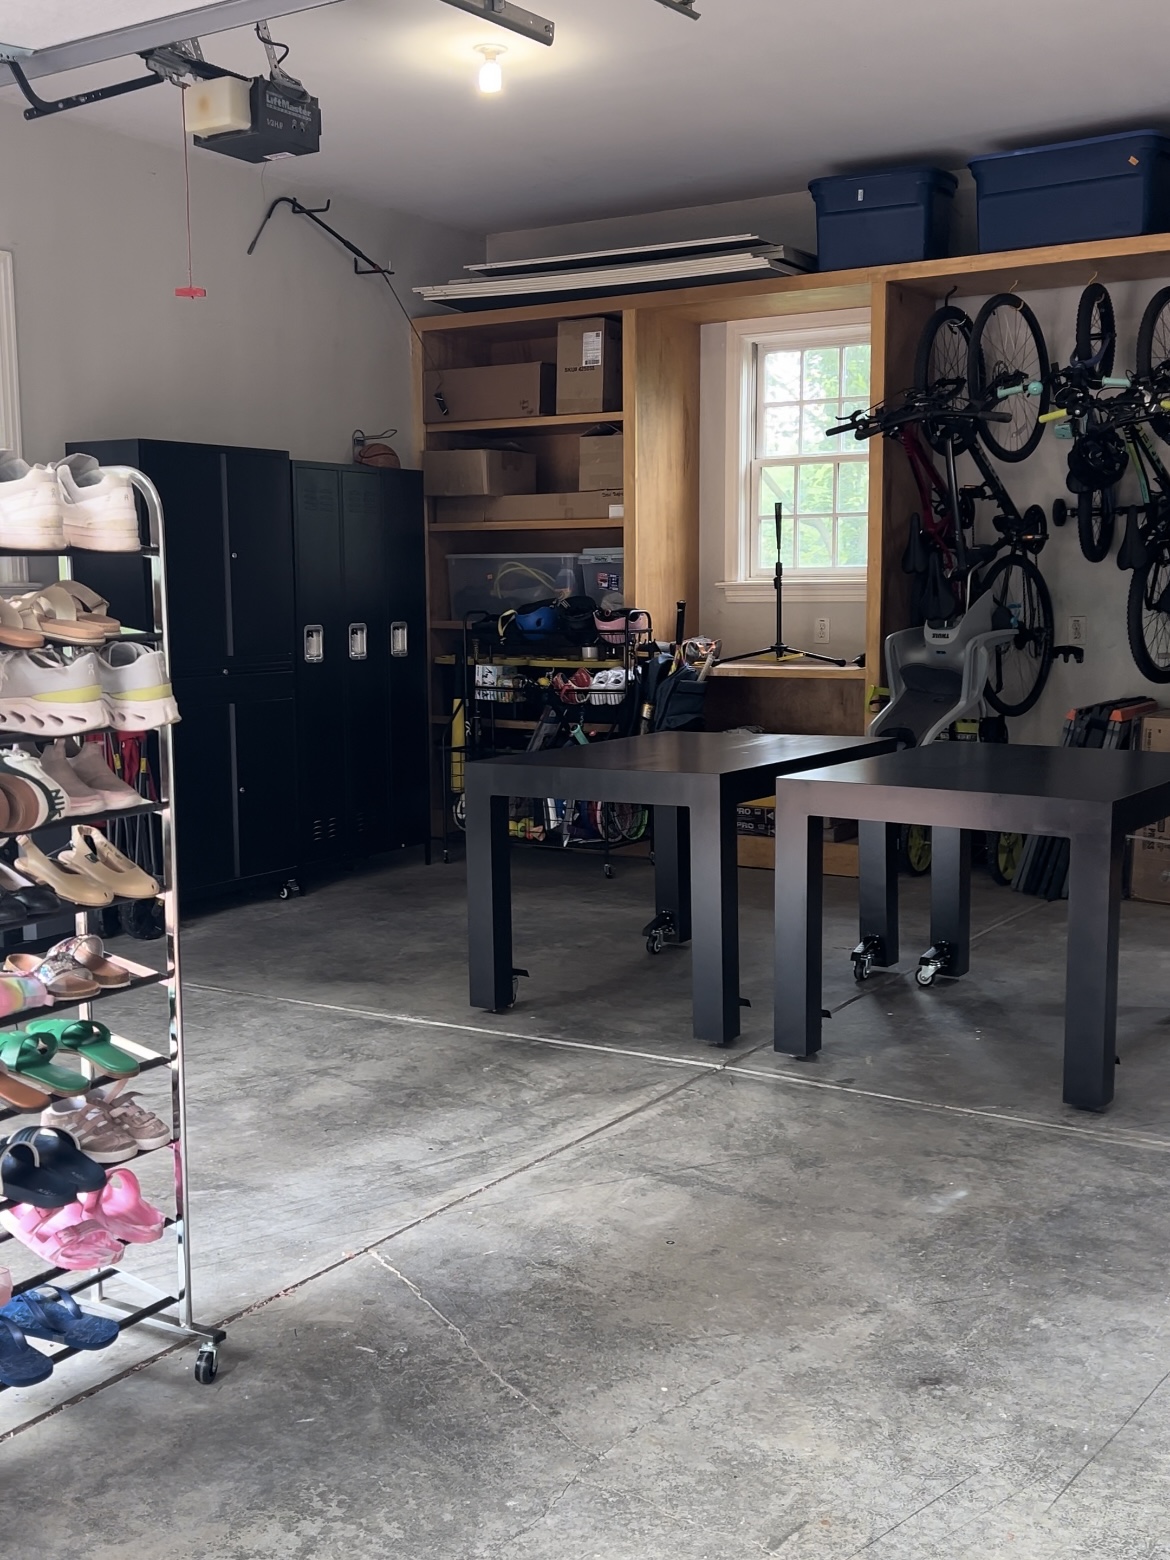
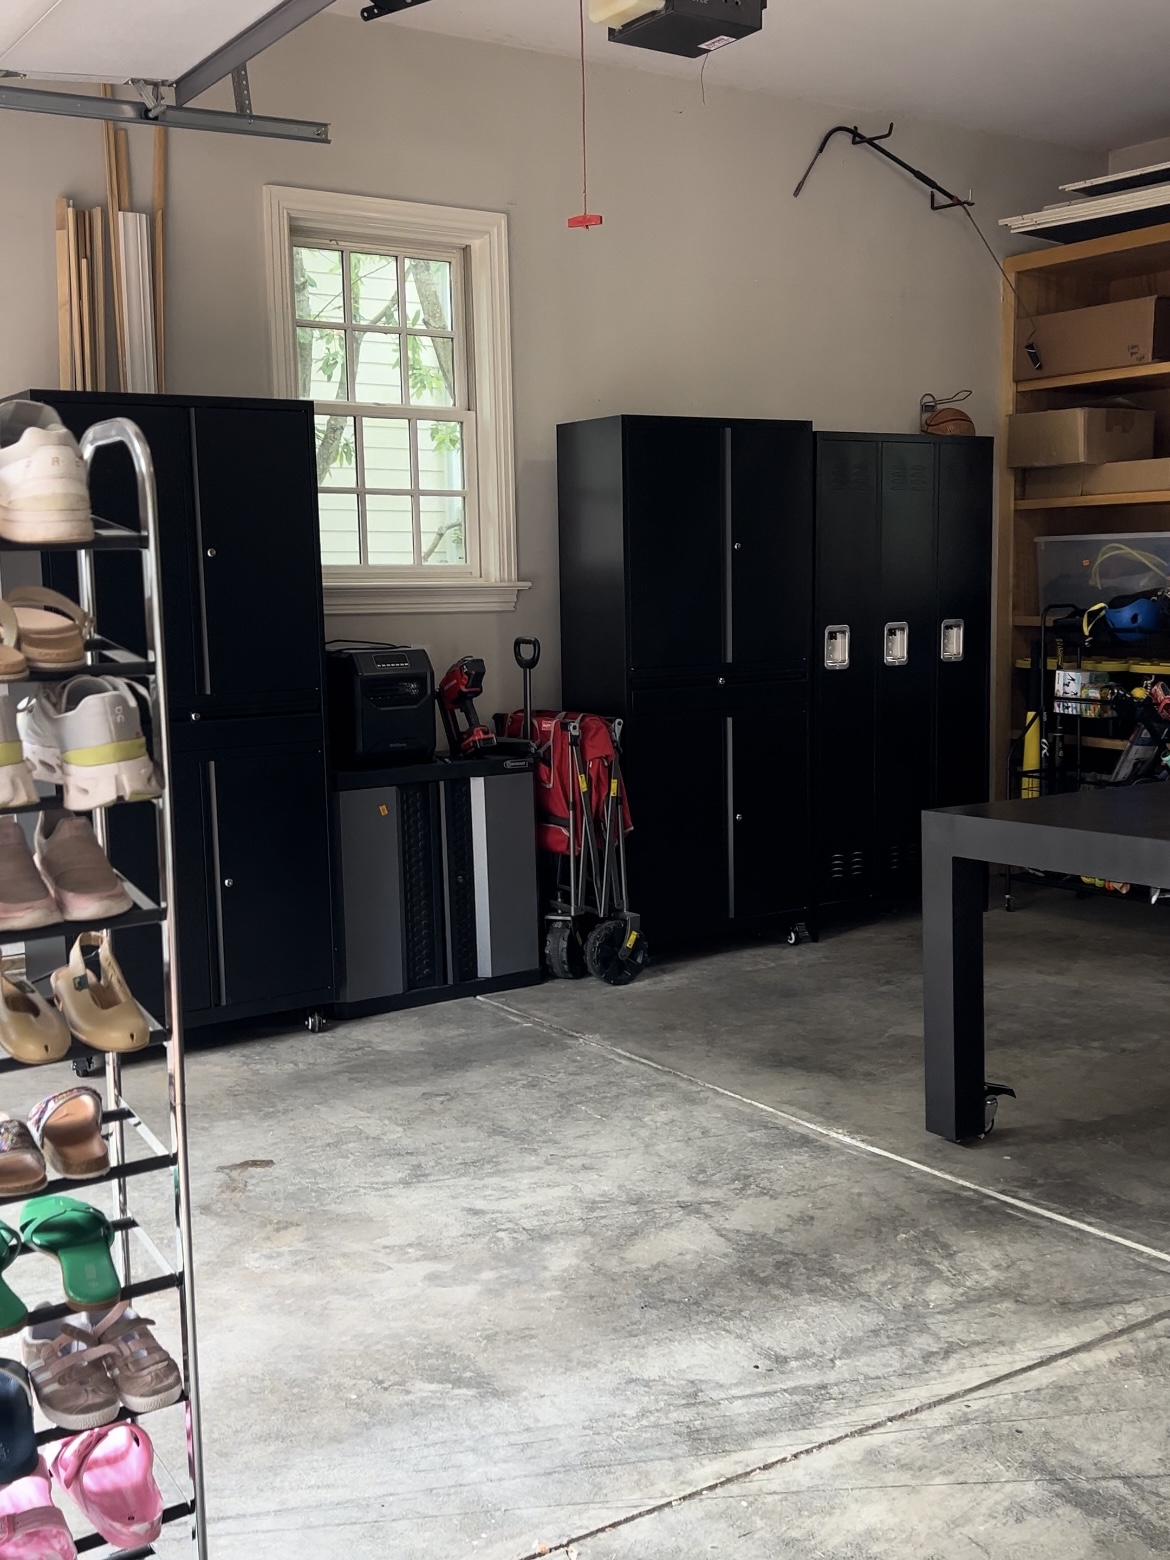
I love having specific systems for specific items (i.e. our basketball organizer beside the lockers).
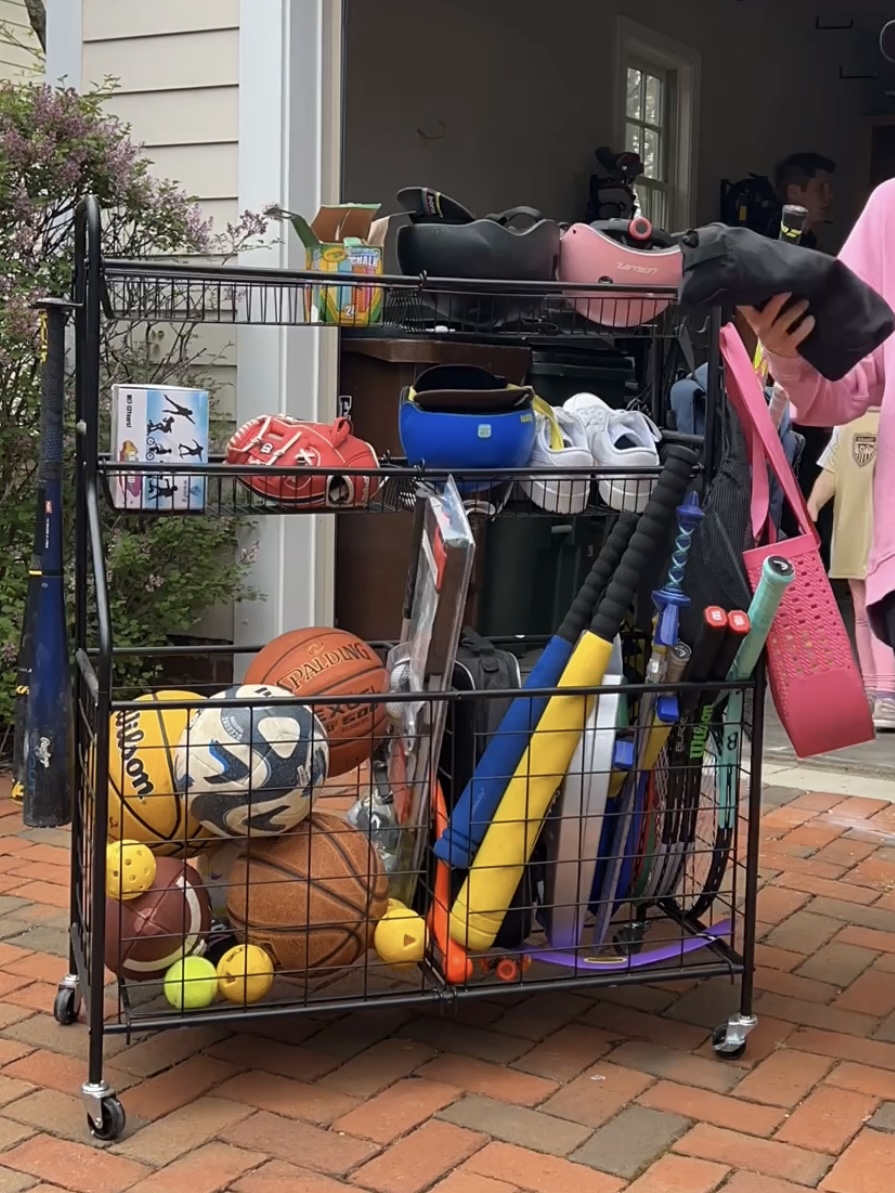
Still, kid’s stuff doesn’t always fit neatly, so this rolling storage cart has been great for us. There are hooks for bats and bags on the sides, two great-sized shelves, and two bins on the bottom.
The cart is great for weirdly shaped items, or things that don’t need a specific home.
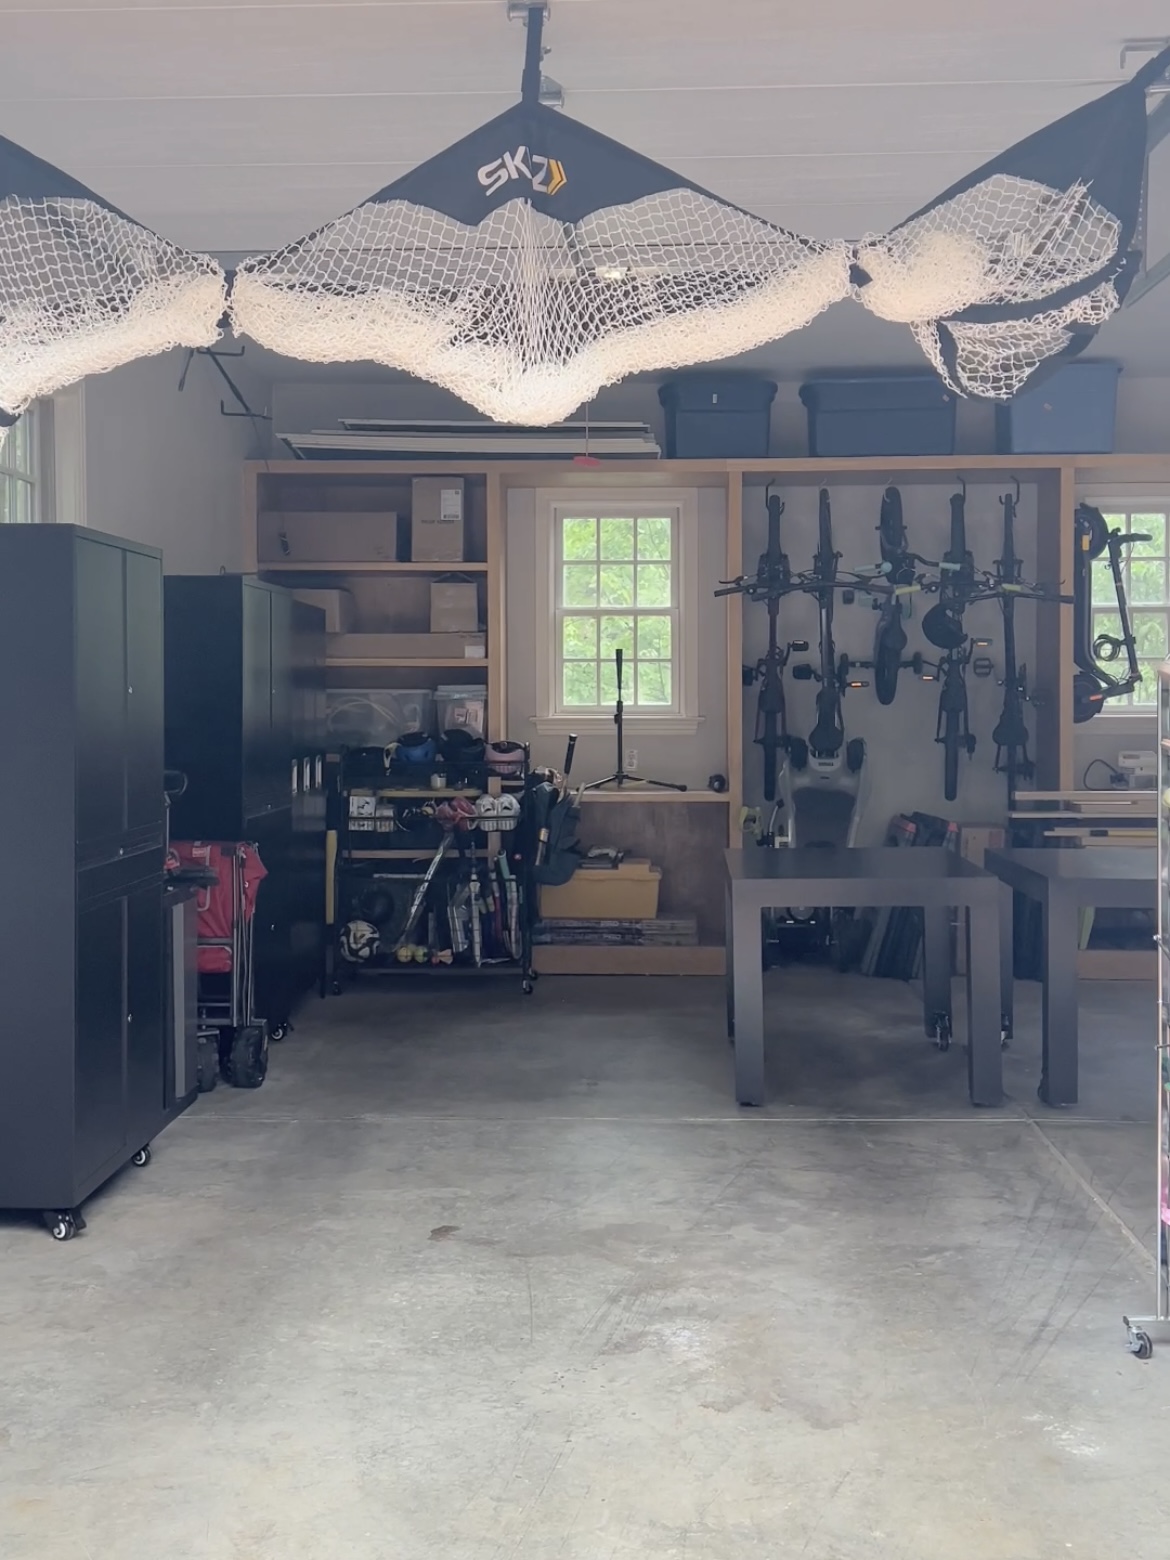
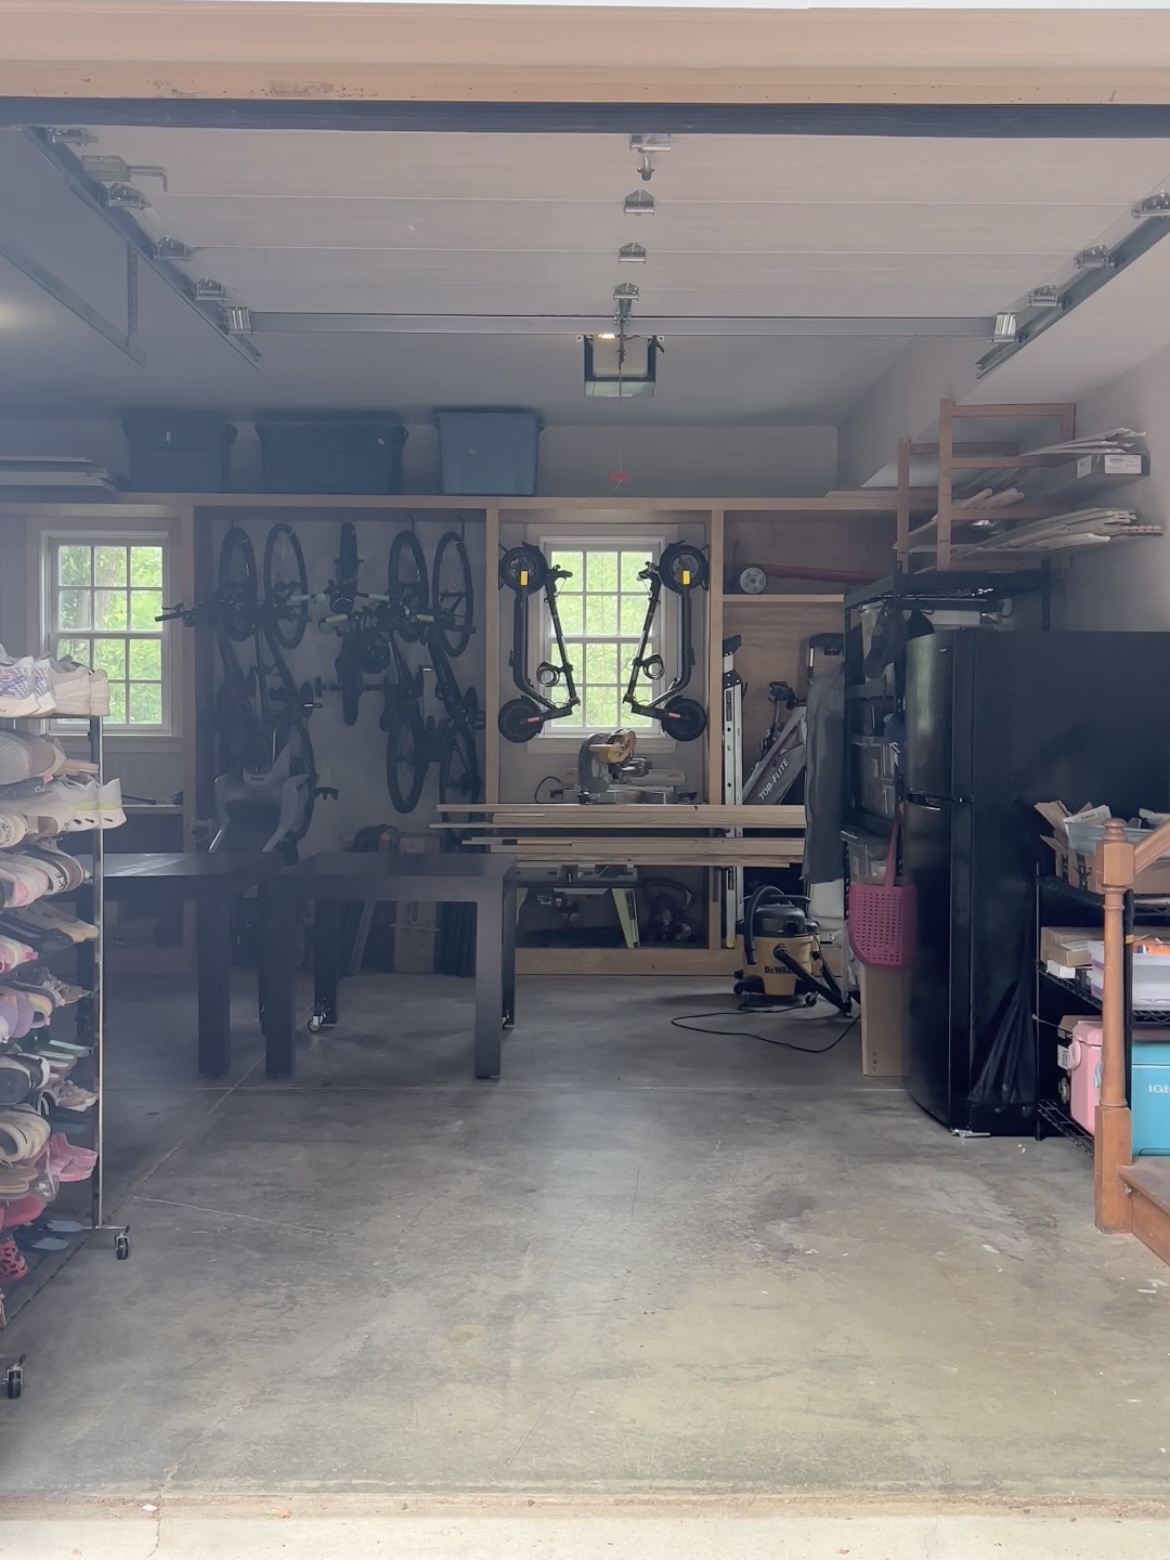
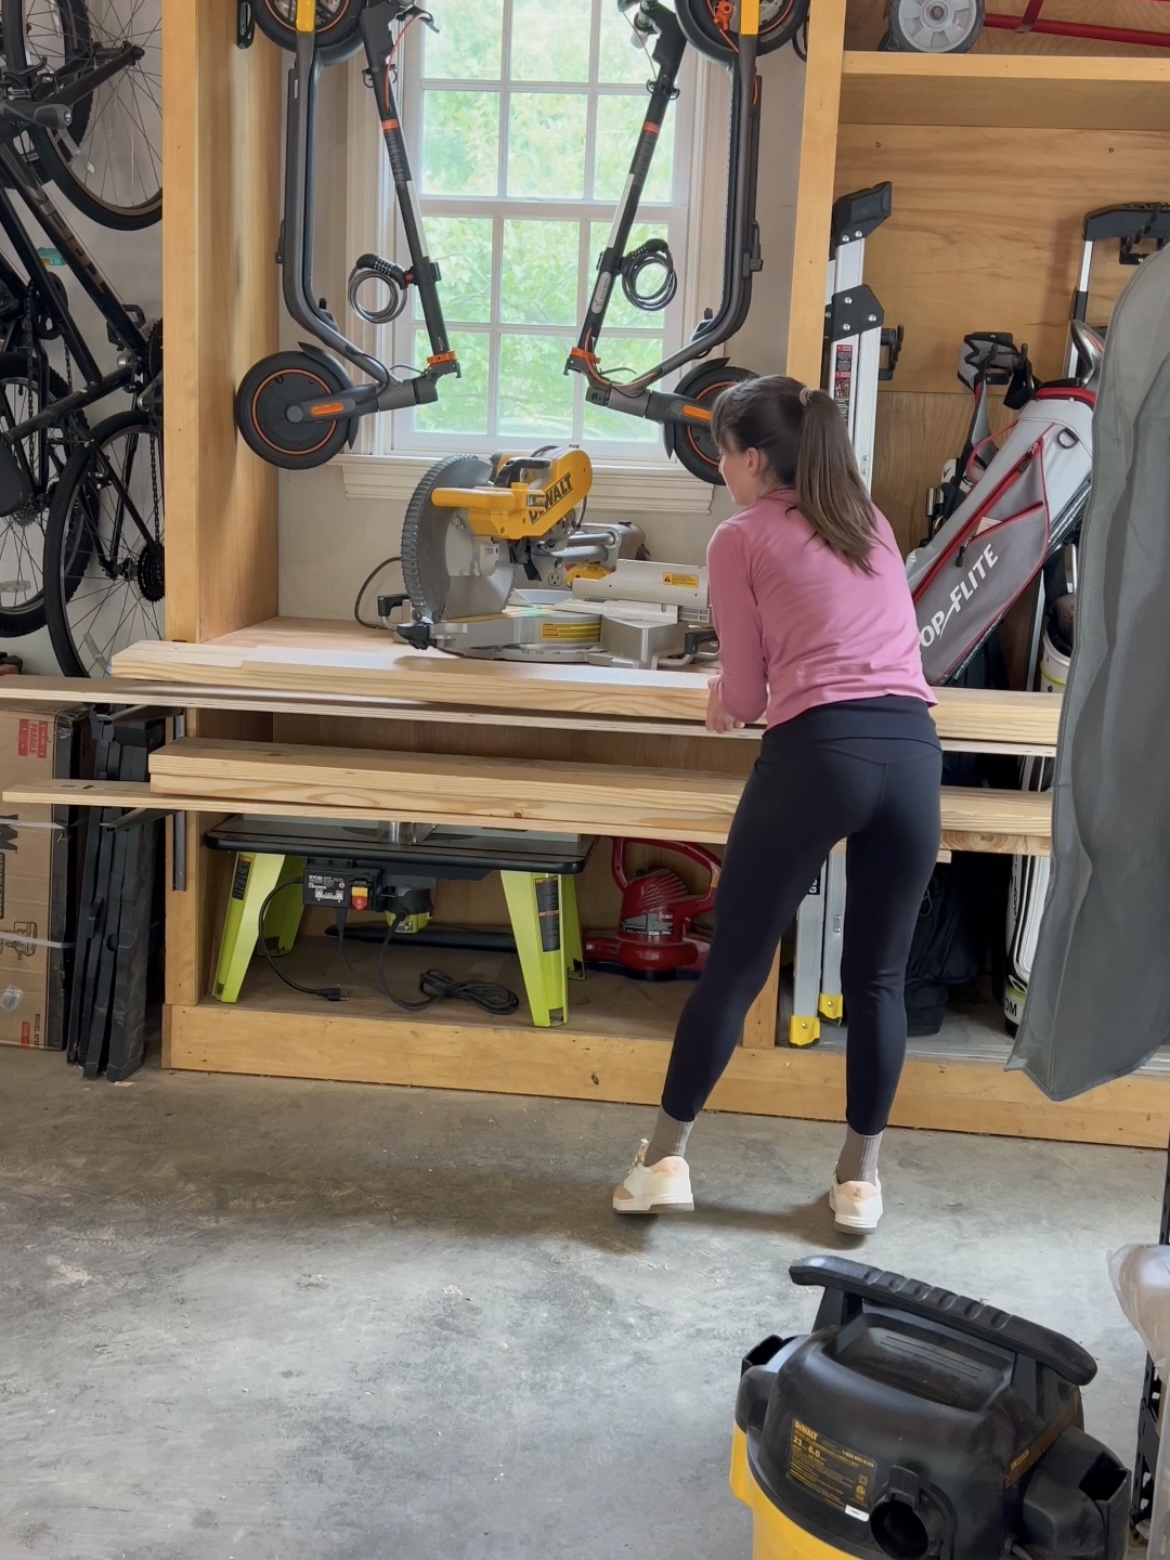
We hang our scooters and bikes on the wall to save floor space.
If you have children who love playing ball, I love this baseball net (link to a similar item) that hangs on our garage door. It’s very easy for the kids to use – just unsnap the straps and open the garage door! To roll it back up, lower the garage door, gather the net up, and snap the straps!
School Drop Zone
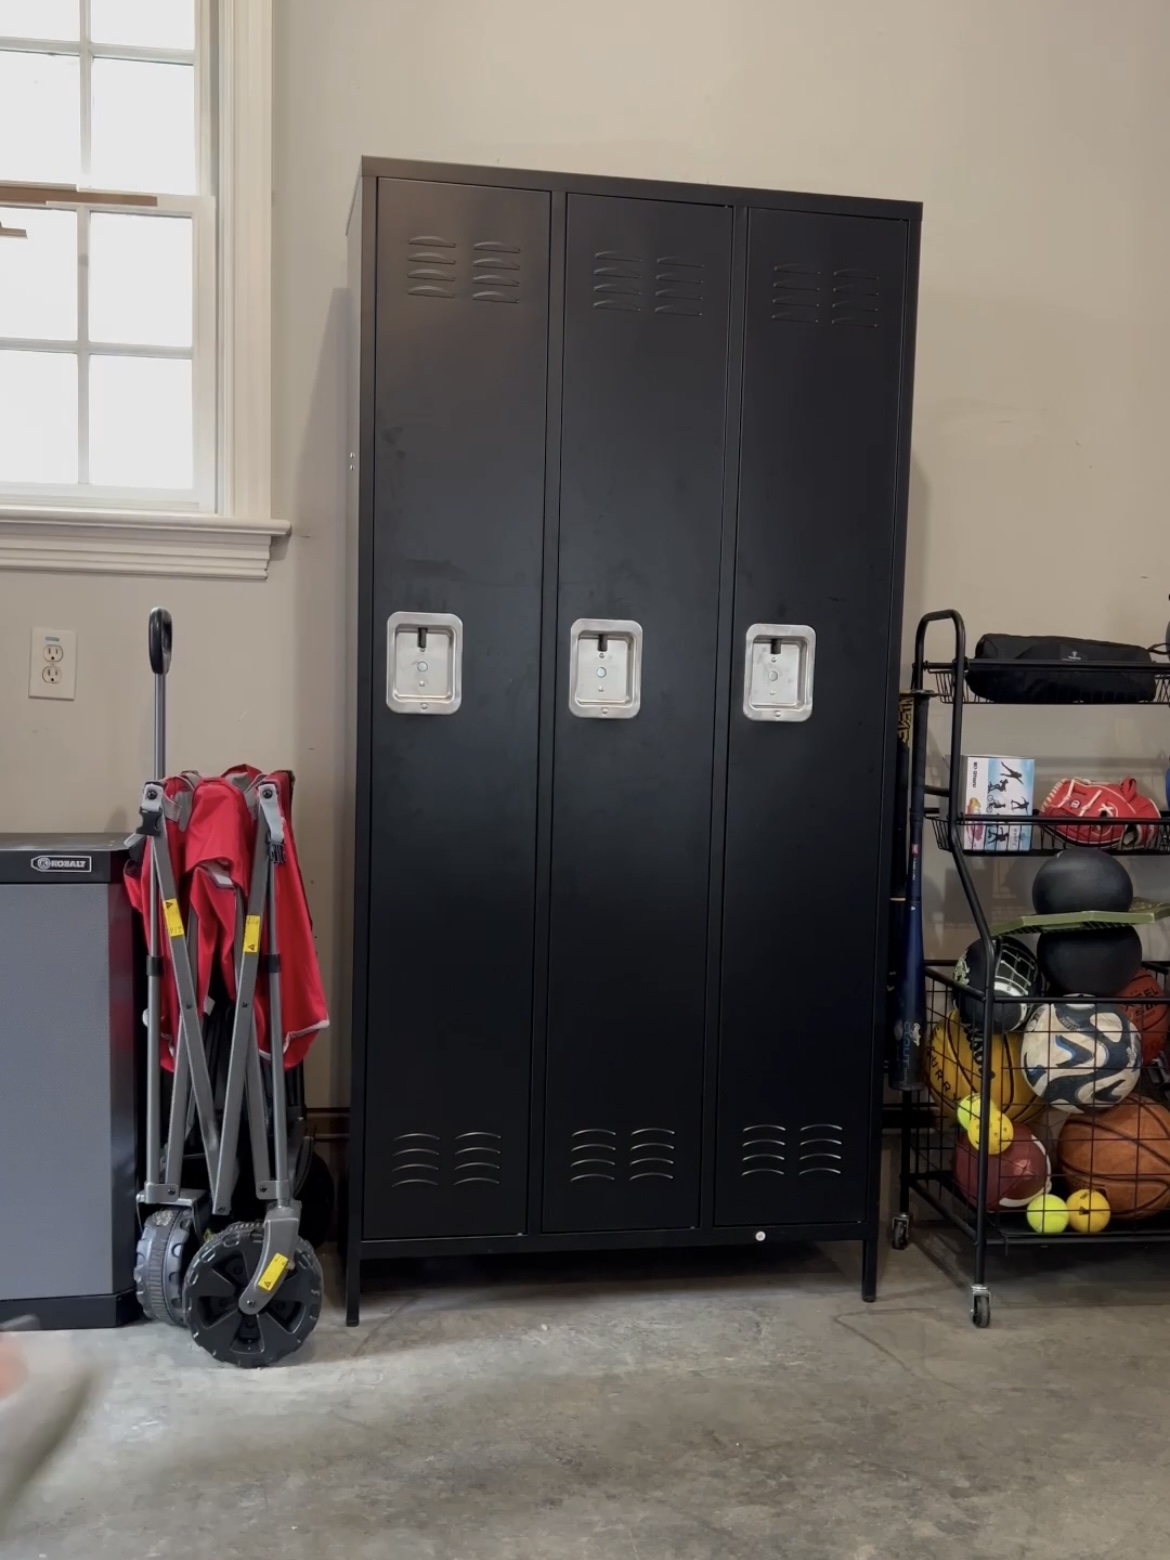
It’s full summer mode, so we aren’t using these lockers to their full capacity yet, but I was determined to find a great spot for all of the school items NOW, so we can be ready to start the school year off well in the fall.
Because each child has their own locker, they can easily store their backpacks, jackets, etc. every afternoon, then grab them in the morning on our way out the door.
Finally, I got some adjustable shelves for the bottoms so they can drop off art projects, etc. Fingers crossed our kitchen counters and table stay a bit neater with this system!
Tool Storage
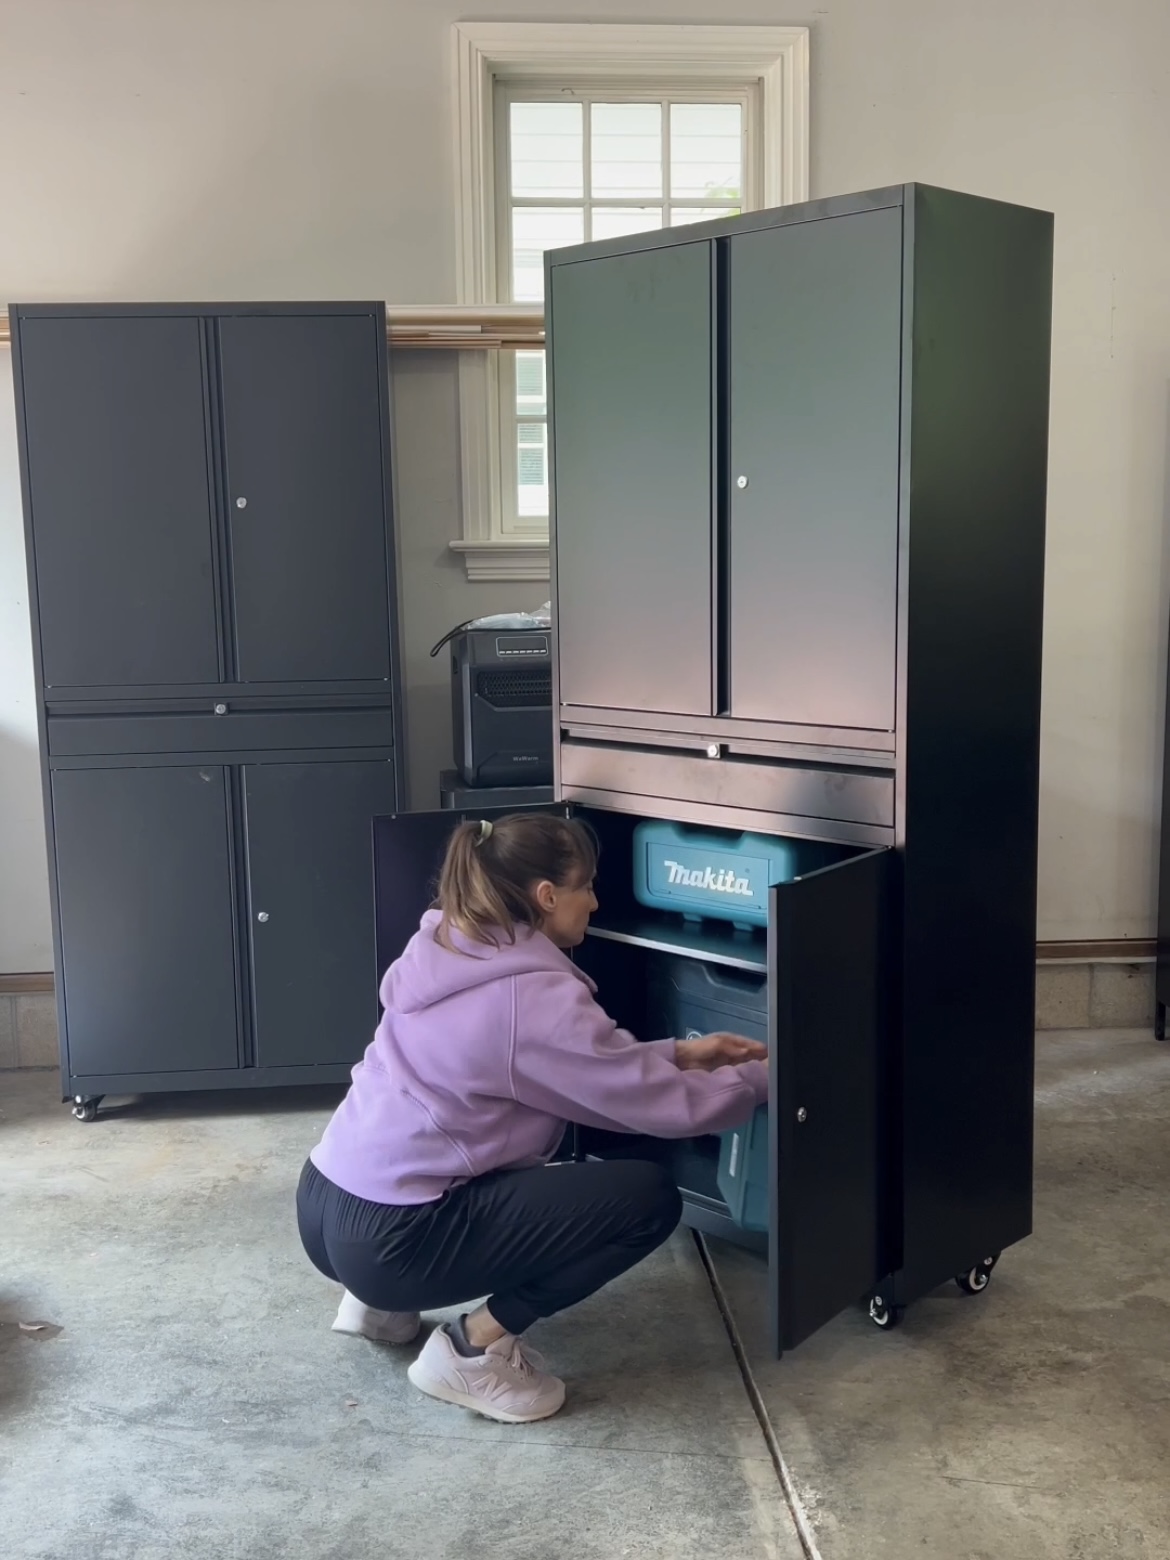
I can’t believe that this is the first time I’ve invested in real tool storage! Two of these tool storage cabinets worked well for the tools that I have. I love that they have wheels, and each has cabinet space and a drawer. Game changer for sure.
Lumber Storage
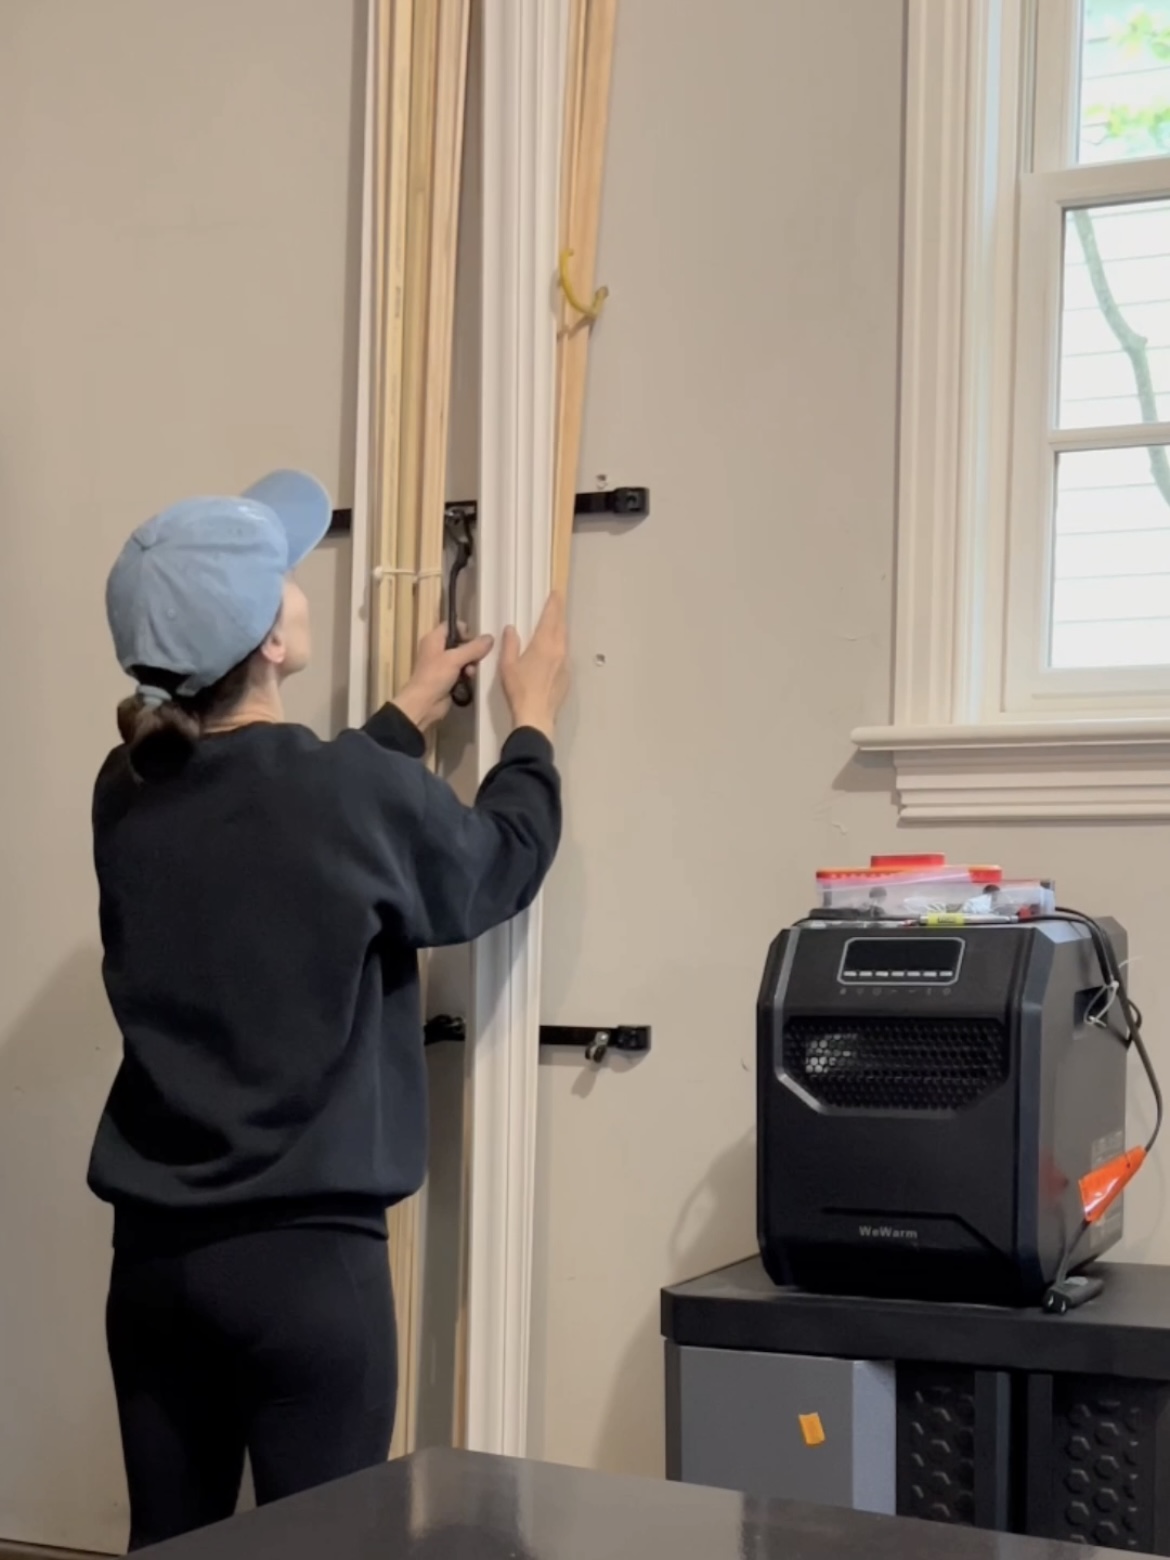
This was possibly the easiest of all, and made a huge difference! First, I got some wall braces for trim pieces, then tied bundles to them using bungee cords and zip ties as you need.
P.S. Those little tiny pieces of trim? You don’t need those anymore. Feel free to release them.
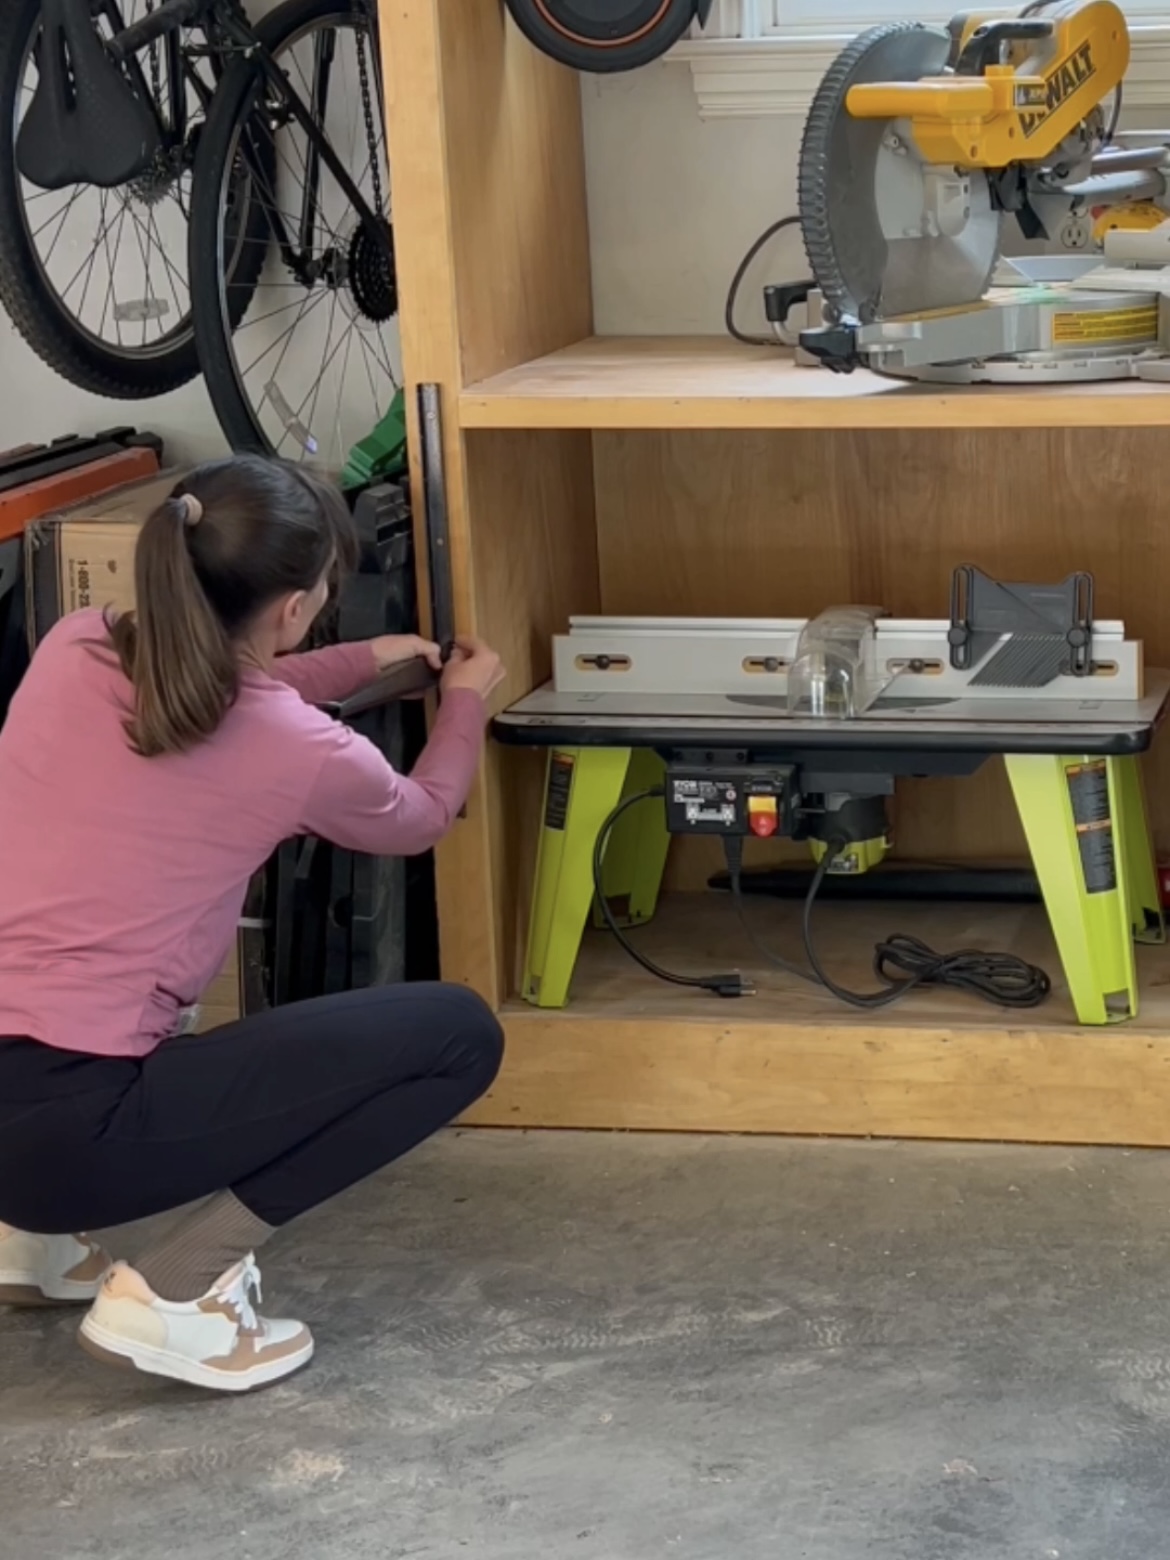
For board storage, I attached these brackets to our large cabinetry, then laid the lumber across.
Congratulations!
You did it! Your garage might not look like a Pinterest project – mine definitely doesn’t, but it doesn’t need to! It’s now way better than before – and most of all, fully functional! I bet you can even walk through it!
Recent Posts
3 Must-Have Tools for Wallpaper Installation
Create Statement Curtains with a Track System
Powder Room Makeover: Zellige Tiles & Faux Cement Countertop
