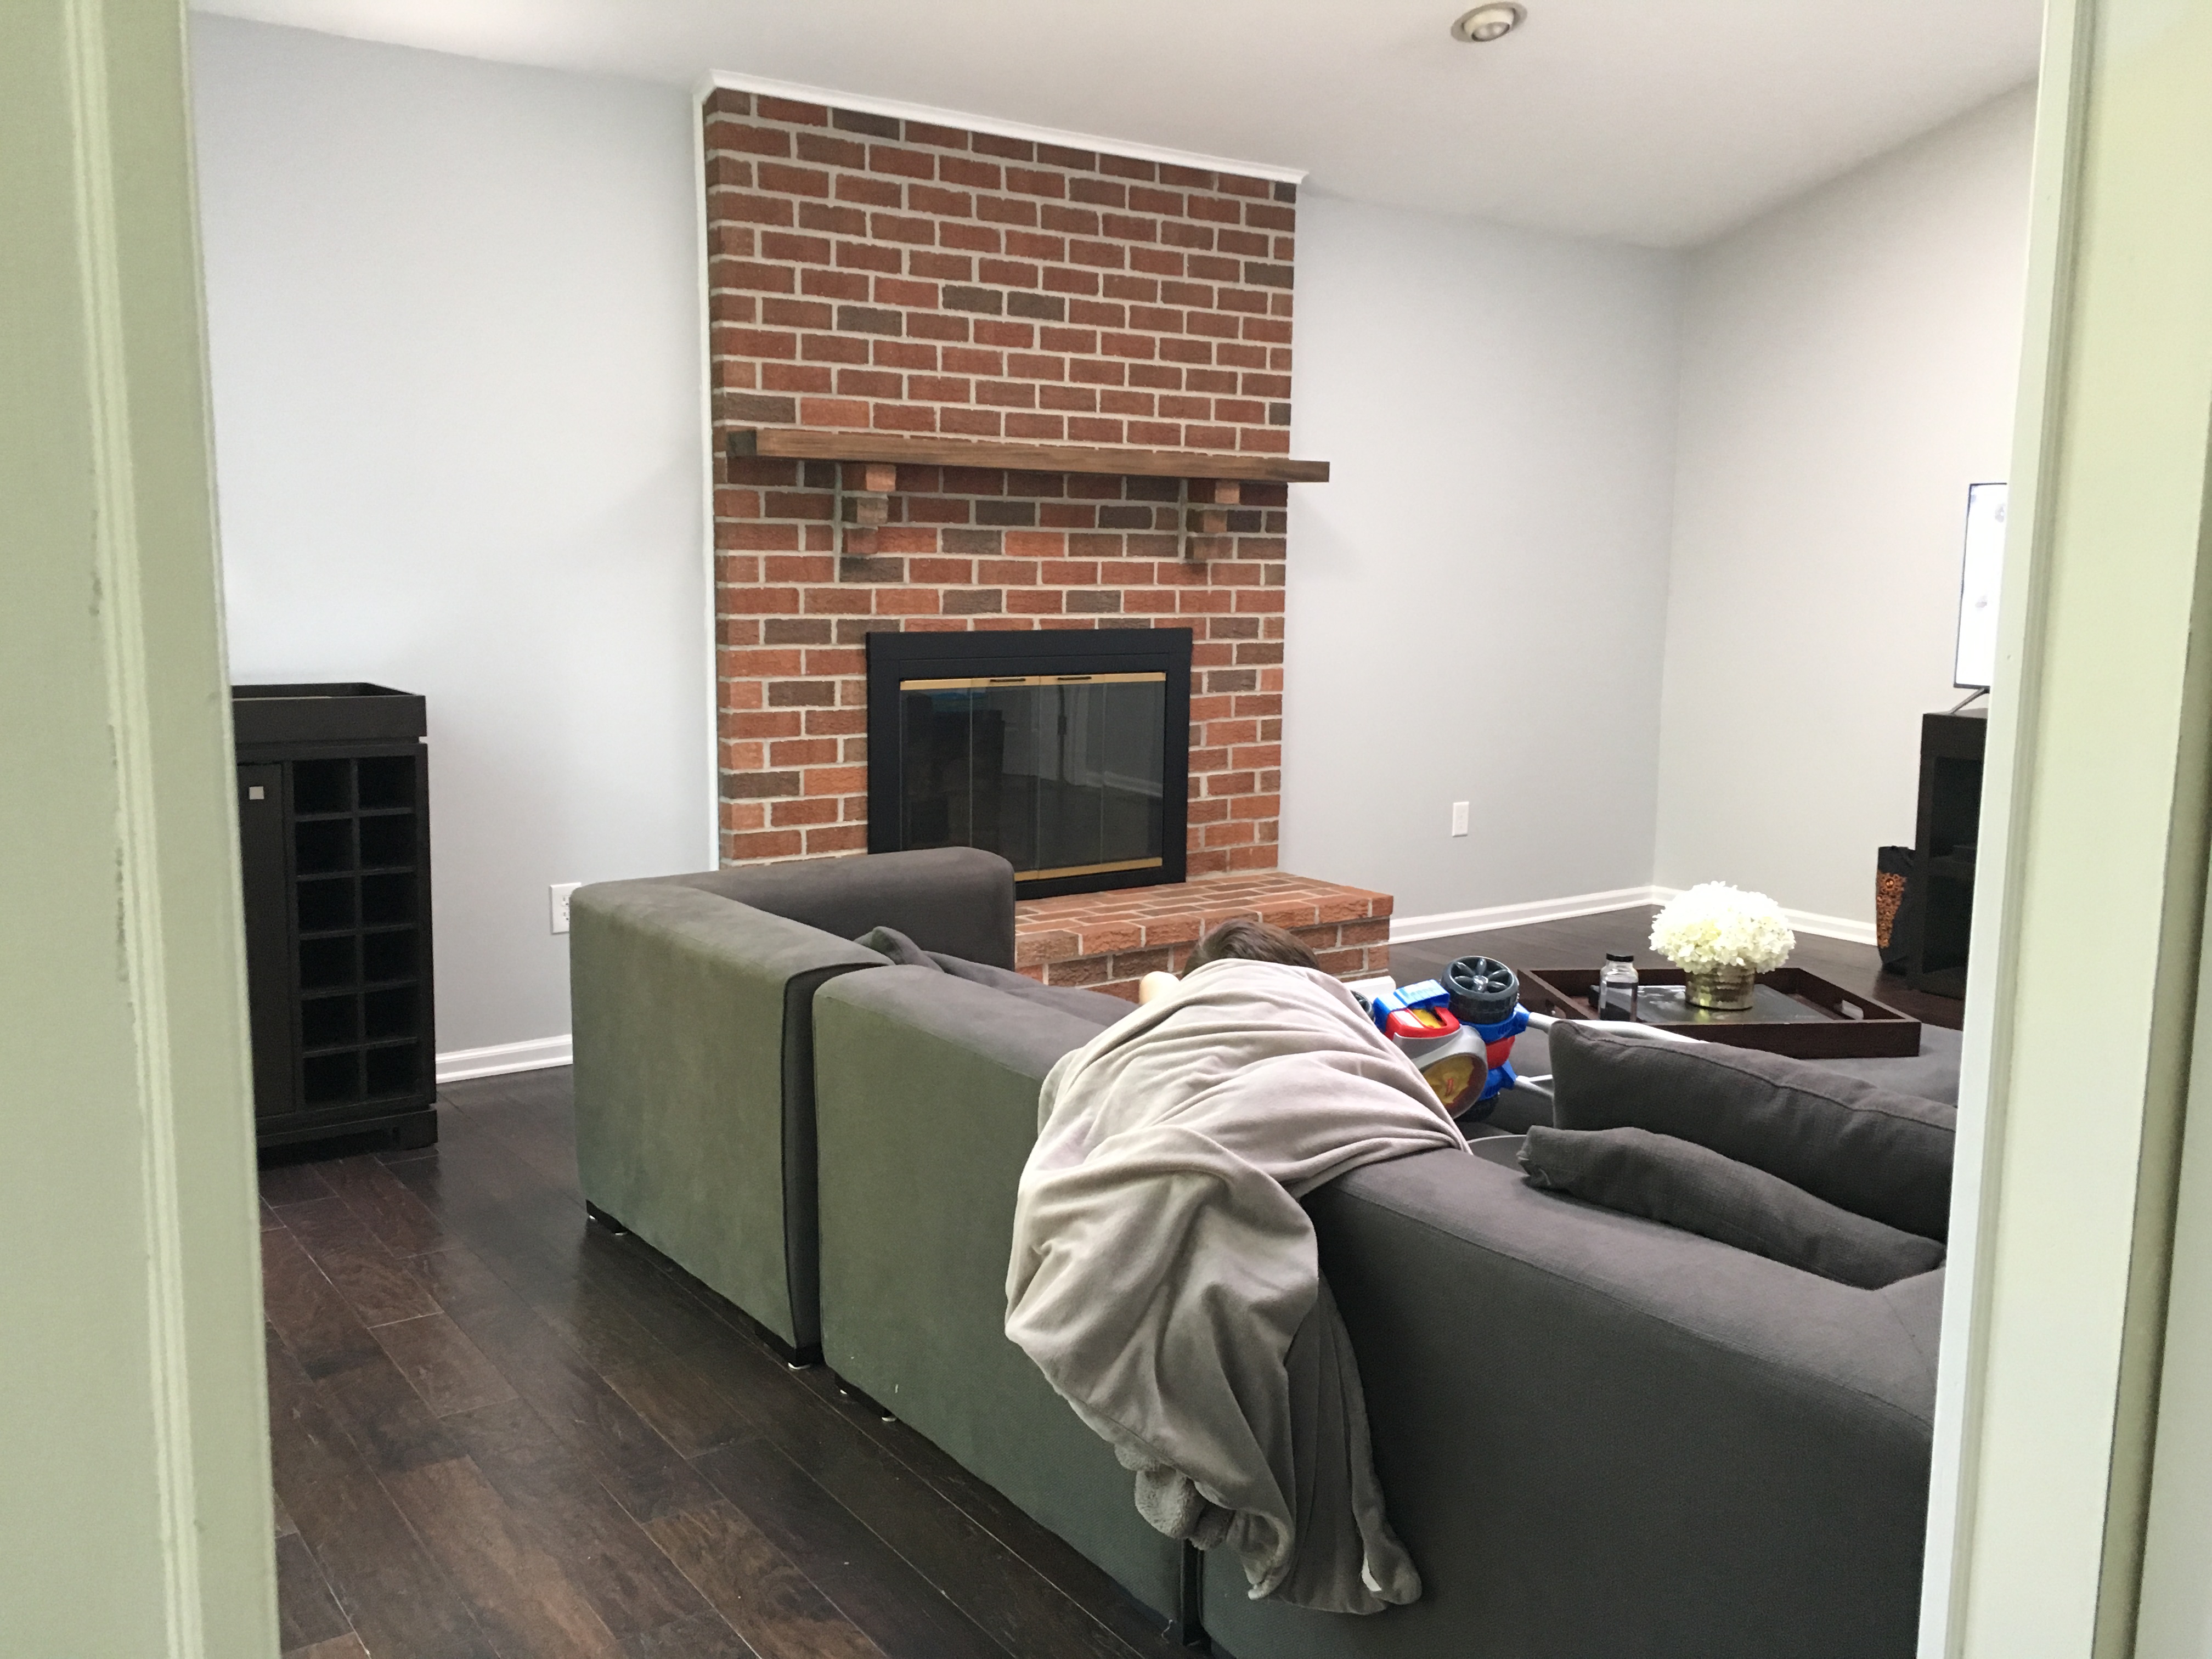
One of the very first things we did after moving in was paint the fireplace. In hindsight, I wish we had tried the German Schmear technique, just to add a little more character. But I’ll take the white painted brick over the bright red original any day! The wood mantle was always thin, but once we stained it darker and decorated it, we were cool with it.
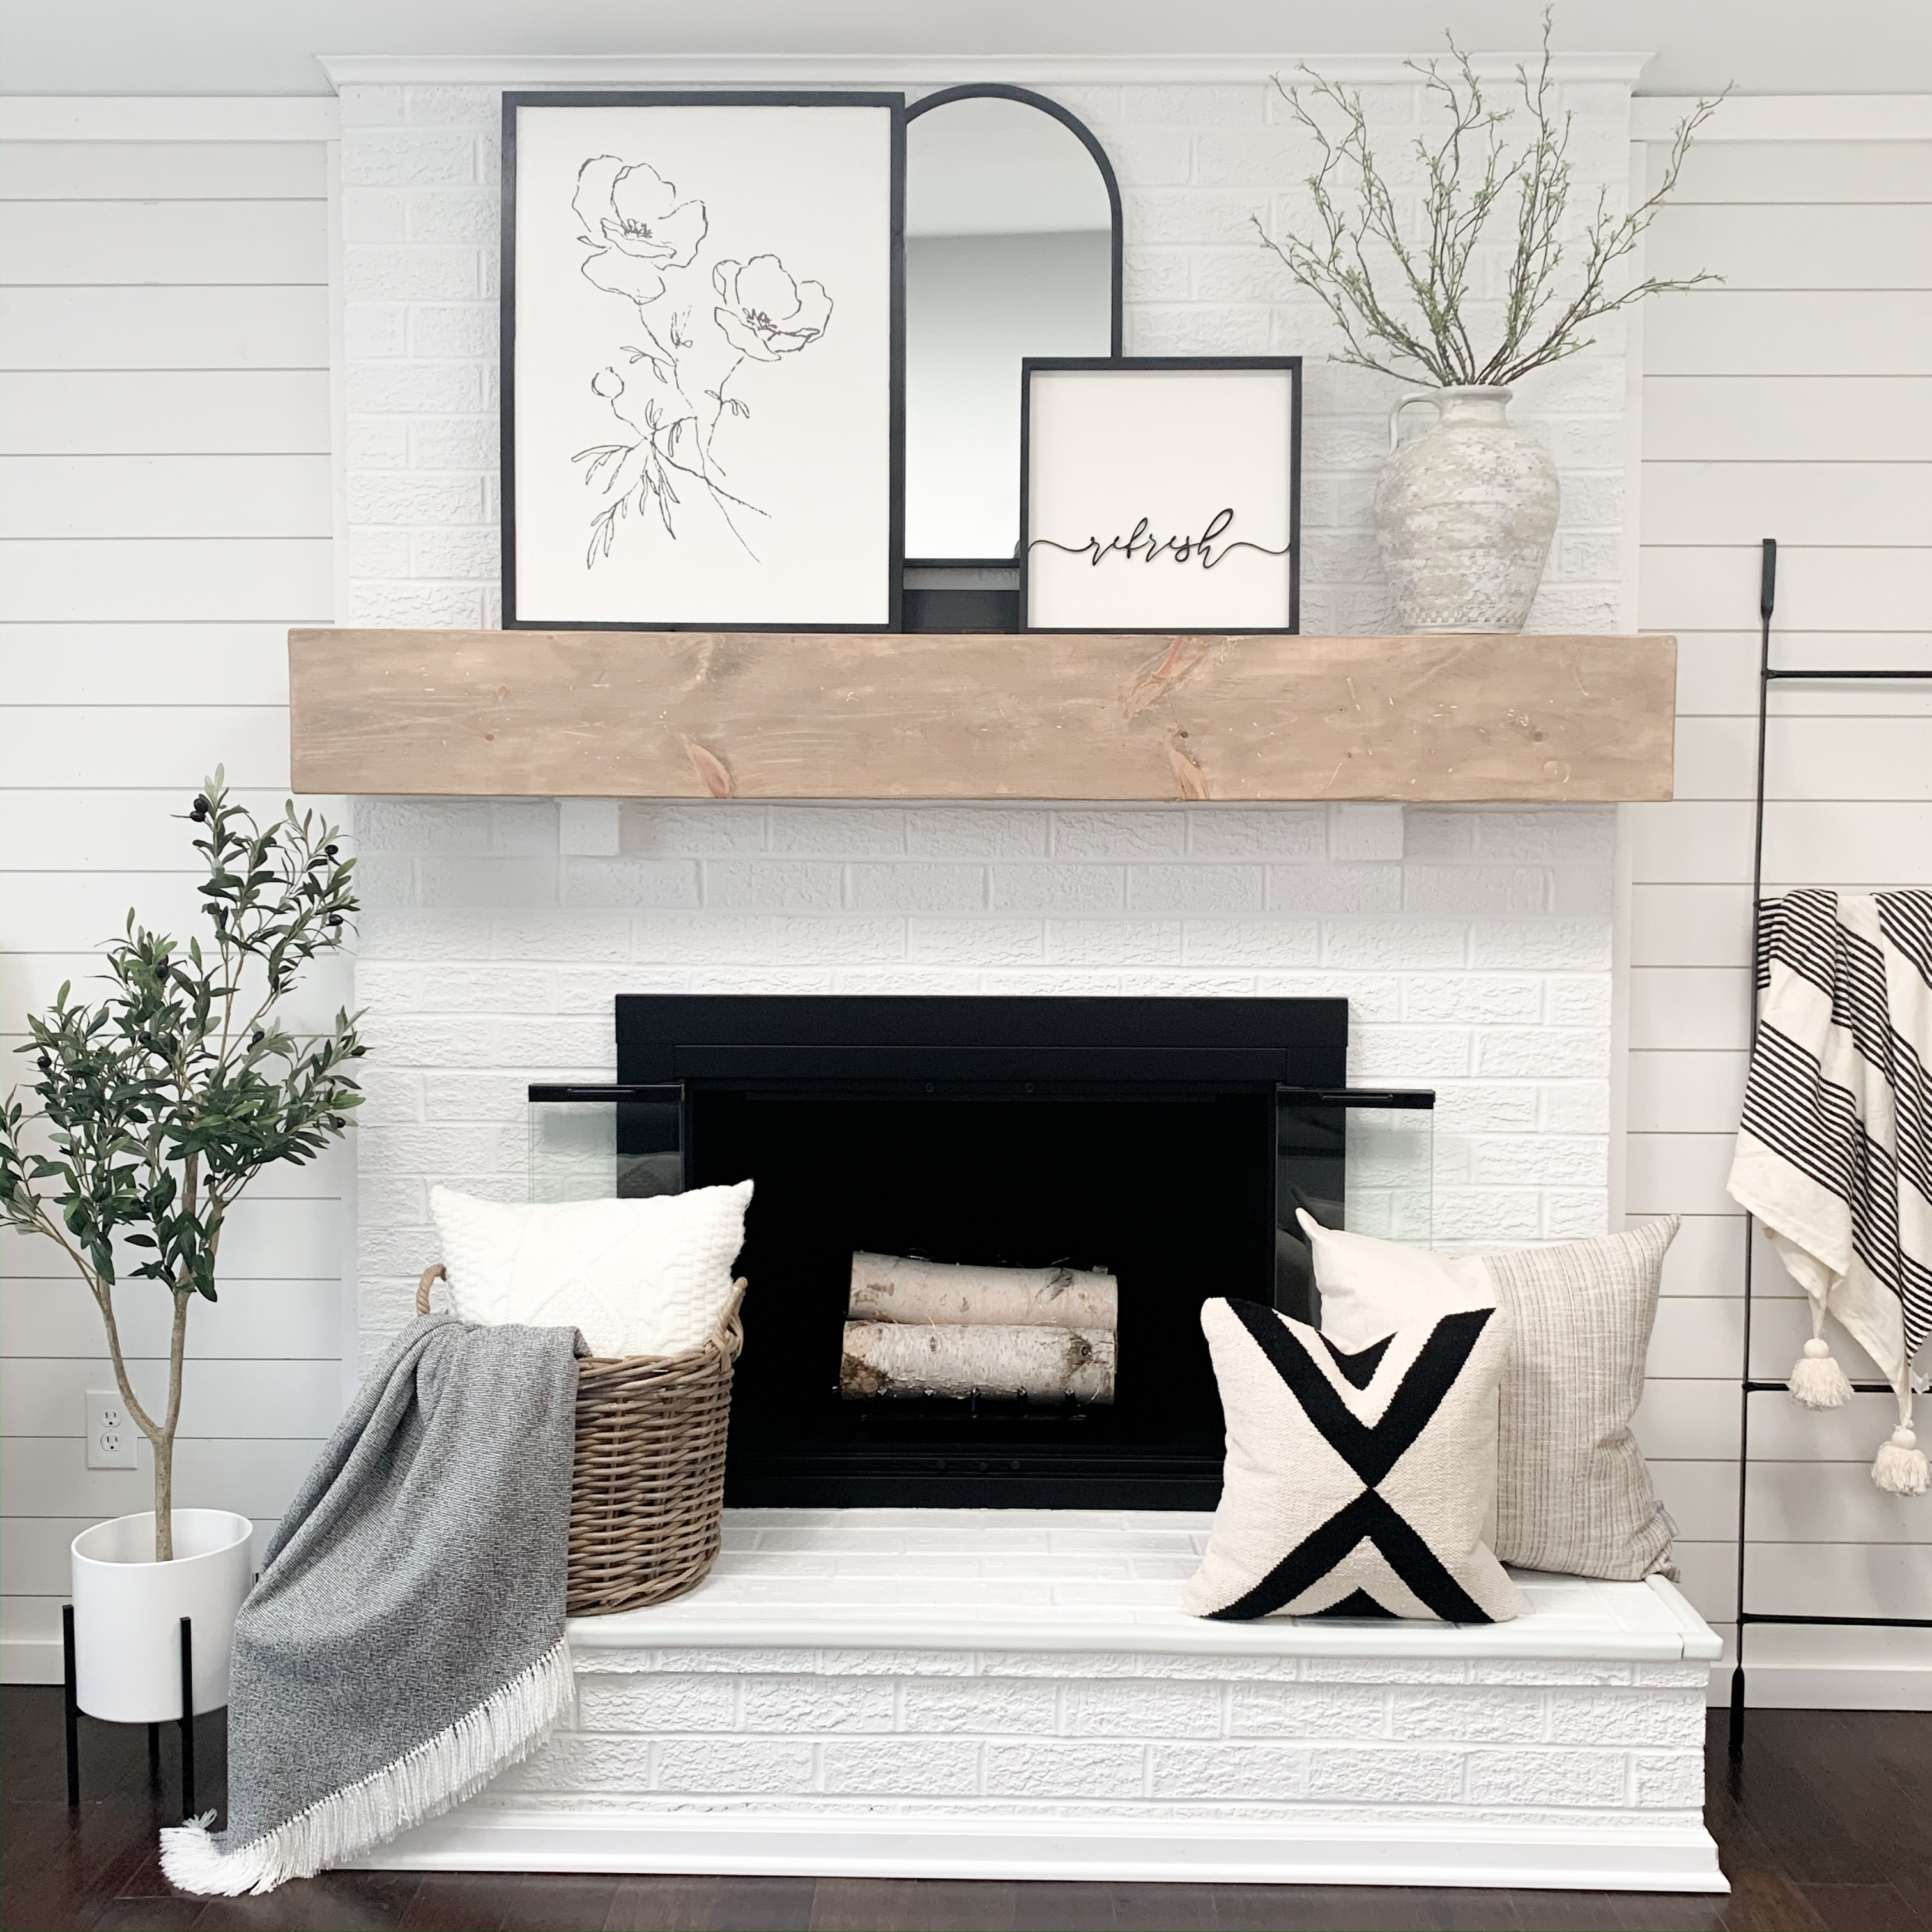
Fast-forward three years, we’re finally ready to do a quick DIY to beef up that mantle. Full disclosure, I didn’t come up with this genius idea. It’s one of those things that would probably never even cross my mind. Yet, the moment I saw it, the lightbulb went off that this was our solution. Ps I totally would’ve preferred a real, solid chunky mantle, but have you seen the cost of those??
Here’s a nice little “before” shot of this space right after we moved in…
The Materials
The wood measurements will vary based on your specific space, but we ended up buying two 8 ft long, 1×8 inch boards and one 10 ft long, 1×10 inch board. Joe was nervous about a 10 inch face being too large, but I had really wanted to cover up some of the stair-stepping brick we had impersonating corbels. We couldn’t cover them up completely, but we at least covered all but one. I also personally like the 10 inches!
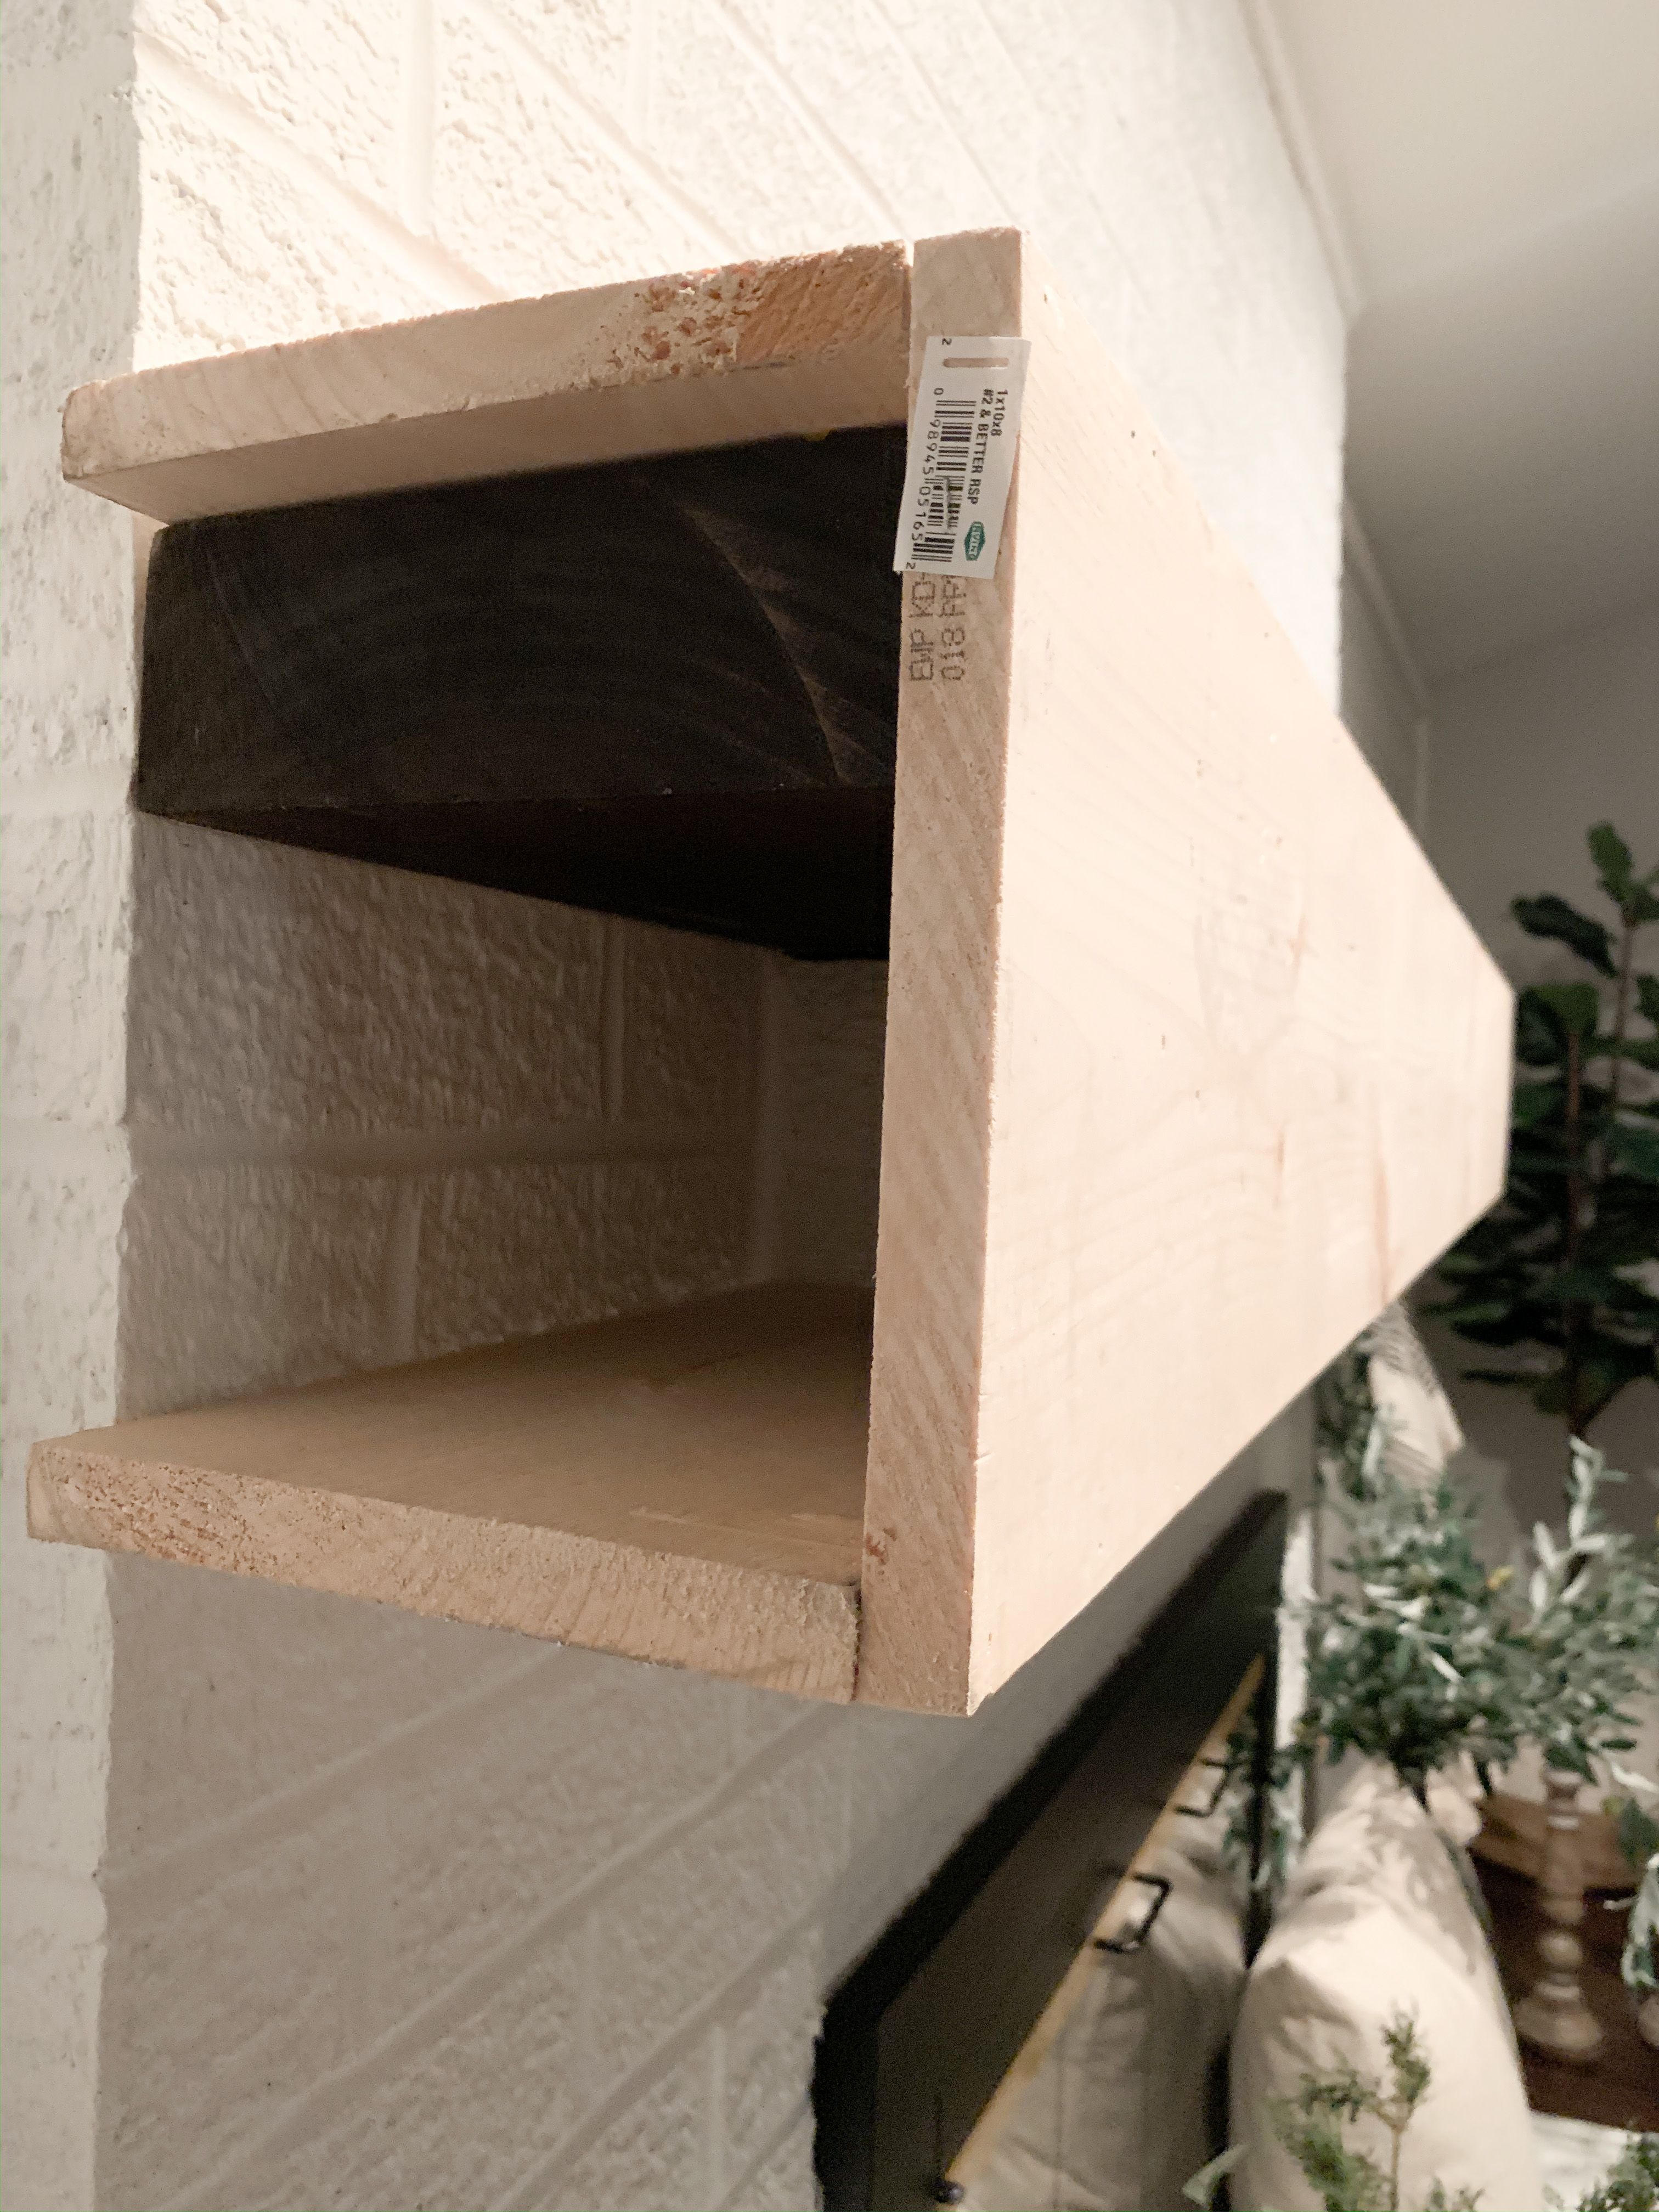
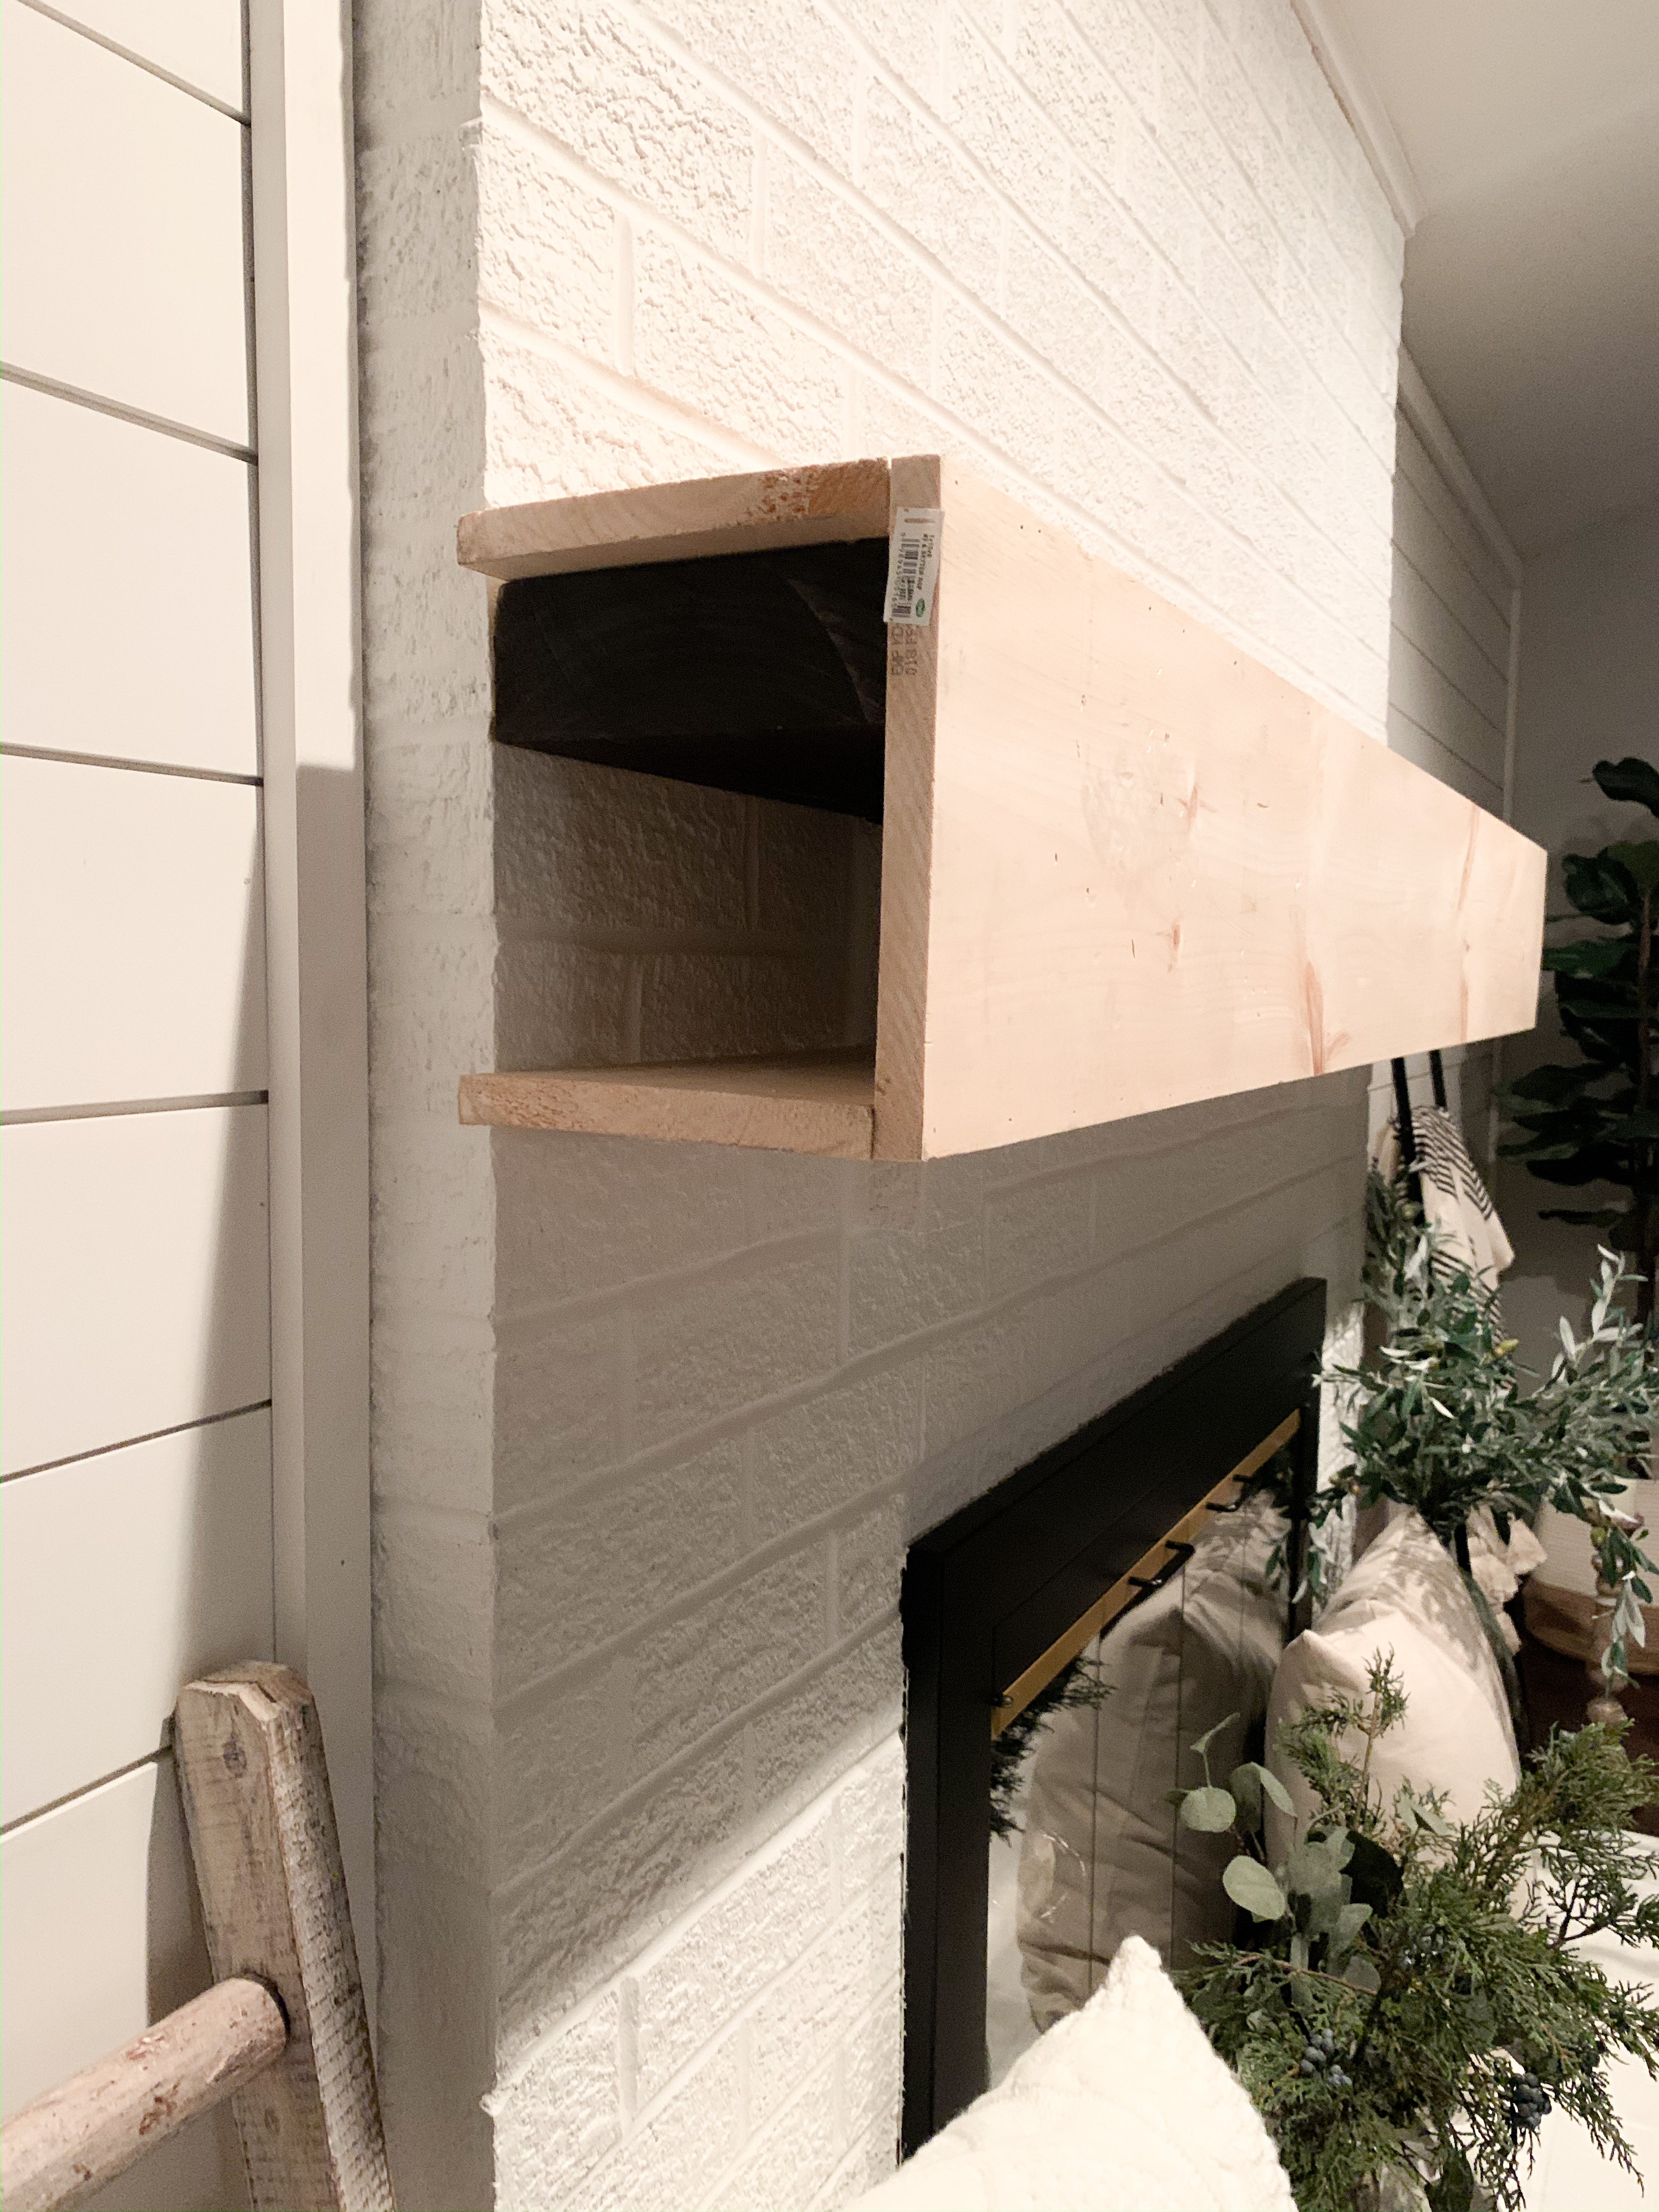
Other than the wood boards, we used wood glue and a nail gun to attach the pieces, and a miter saw for cuts. (However, a miter saw shouldn’t be a requirement, just whatever you have to cut it to size)
The Wood Veneer
Once the wood pieces were measured, cut, and glued/nailed together, we had to tackle the sides. In most projects, it should be a perfect rectangle that fits in there and makes it flush with the wall. In our case, to make it flush with the wall, we had to carry the side piece a couple inches past the brick. We just measured and cut the piece of wood to fit this odd shape.
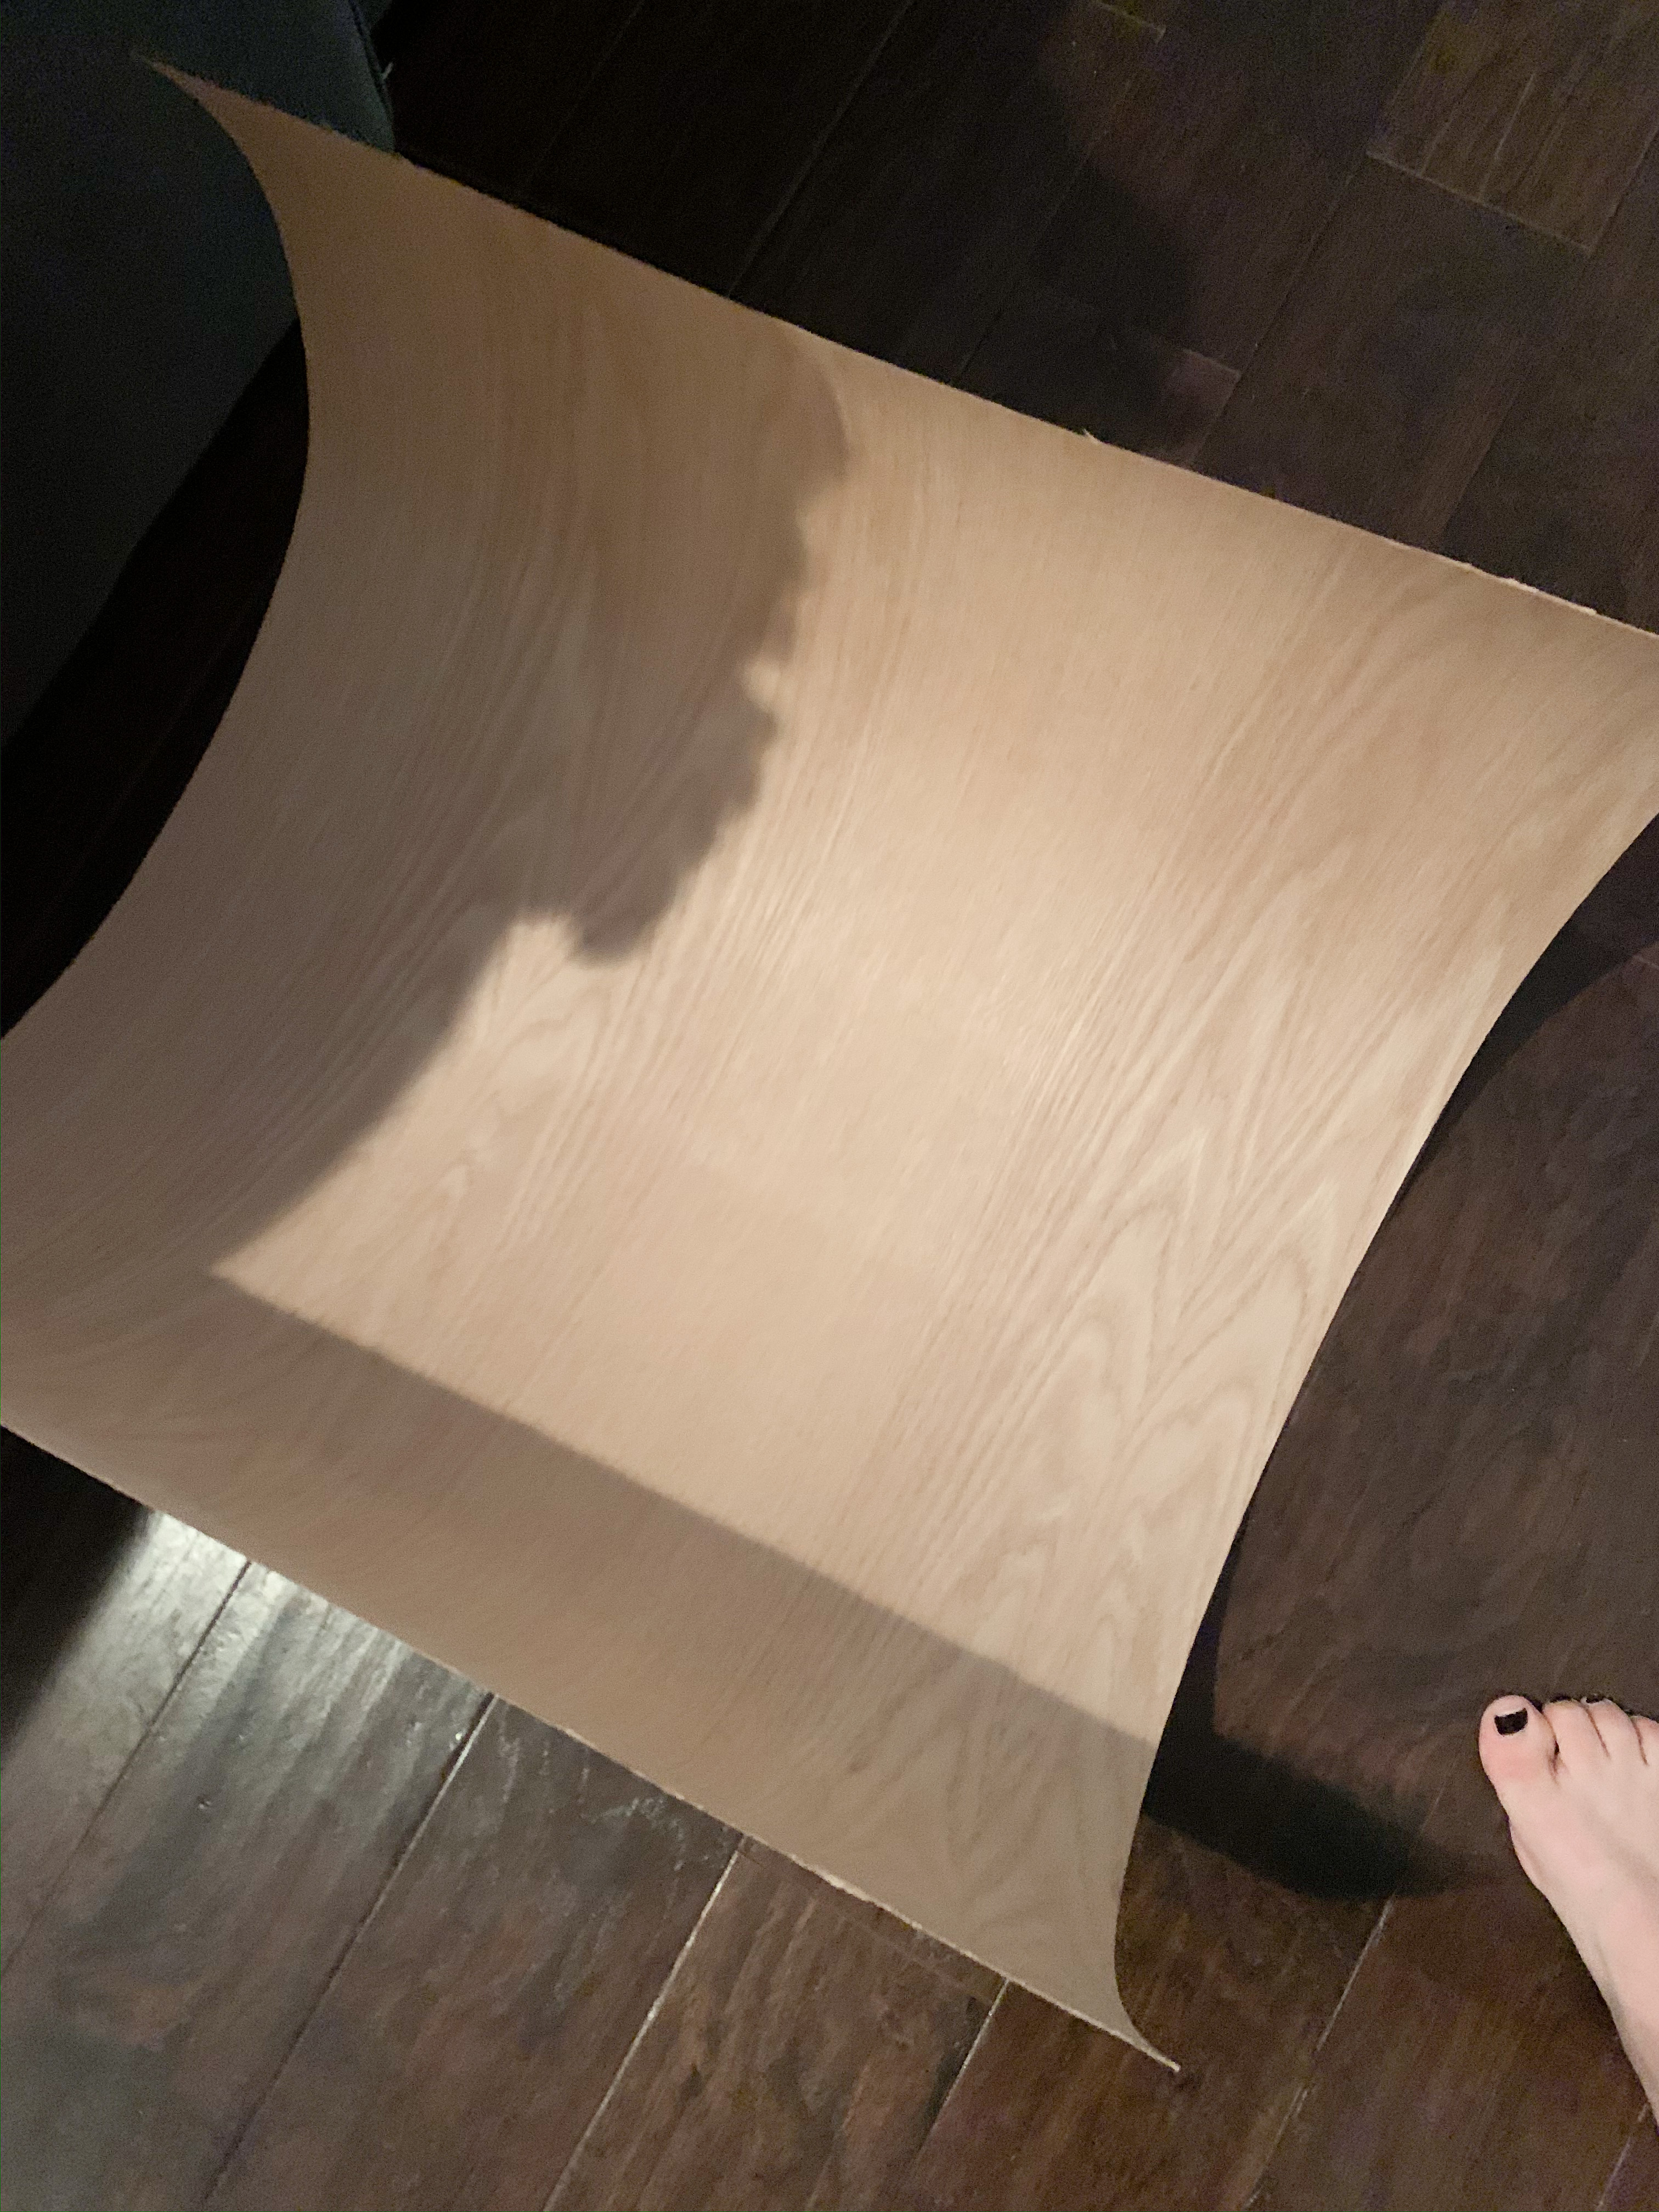
Since it required a little bit more puzzle-piecing, we were left seeing more of the seams. We attempted to hide these seams by using a wood veneer. It’s basically a thin piece of peel-and-stick wood that you can stain. Neither of us had used it before, so it was a learning experience for sure.
Steps to attaching the Wood Veneer (linked here)…
- Cut a piece off the big roll of wood veneer, slightly larger than the piece you’re covering
- Peel the backing and attach
- Take a box cutter or some sort of razor to cut to size
- Sand all around the edges until the veneer somewhat blends into the existing wood and is smooth
- Stain
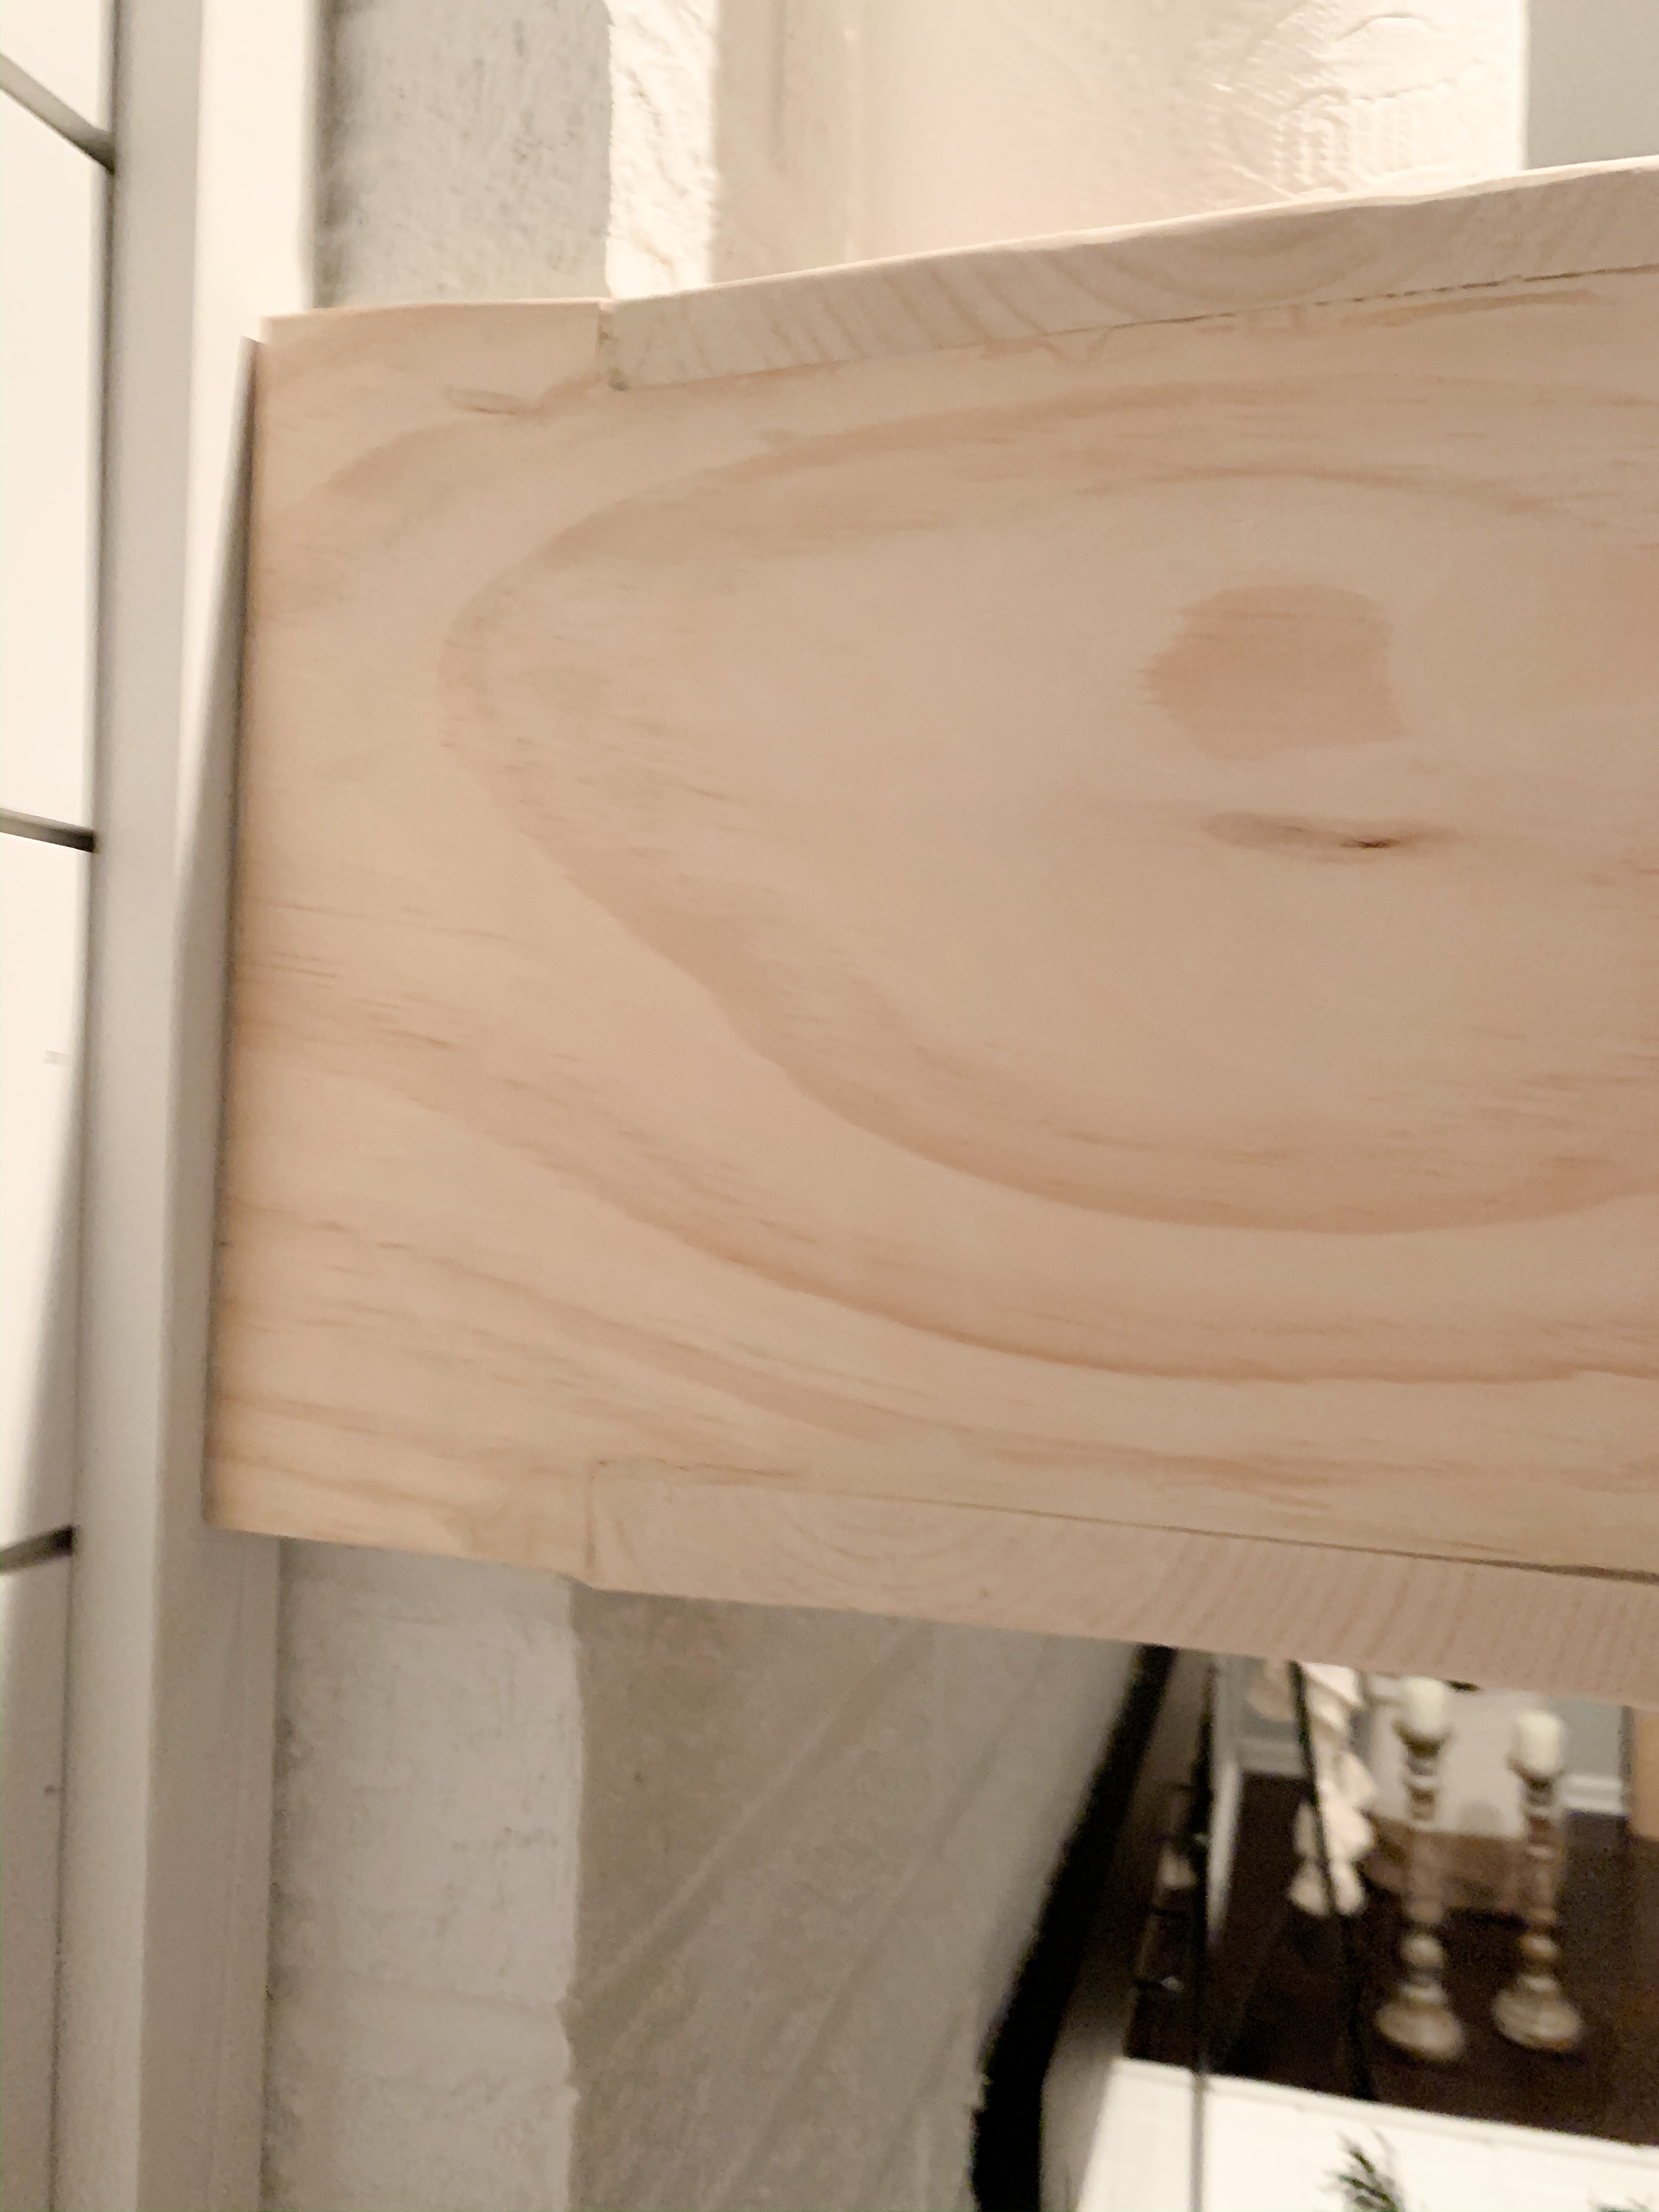
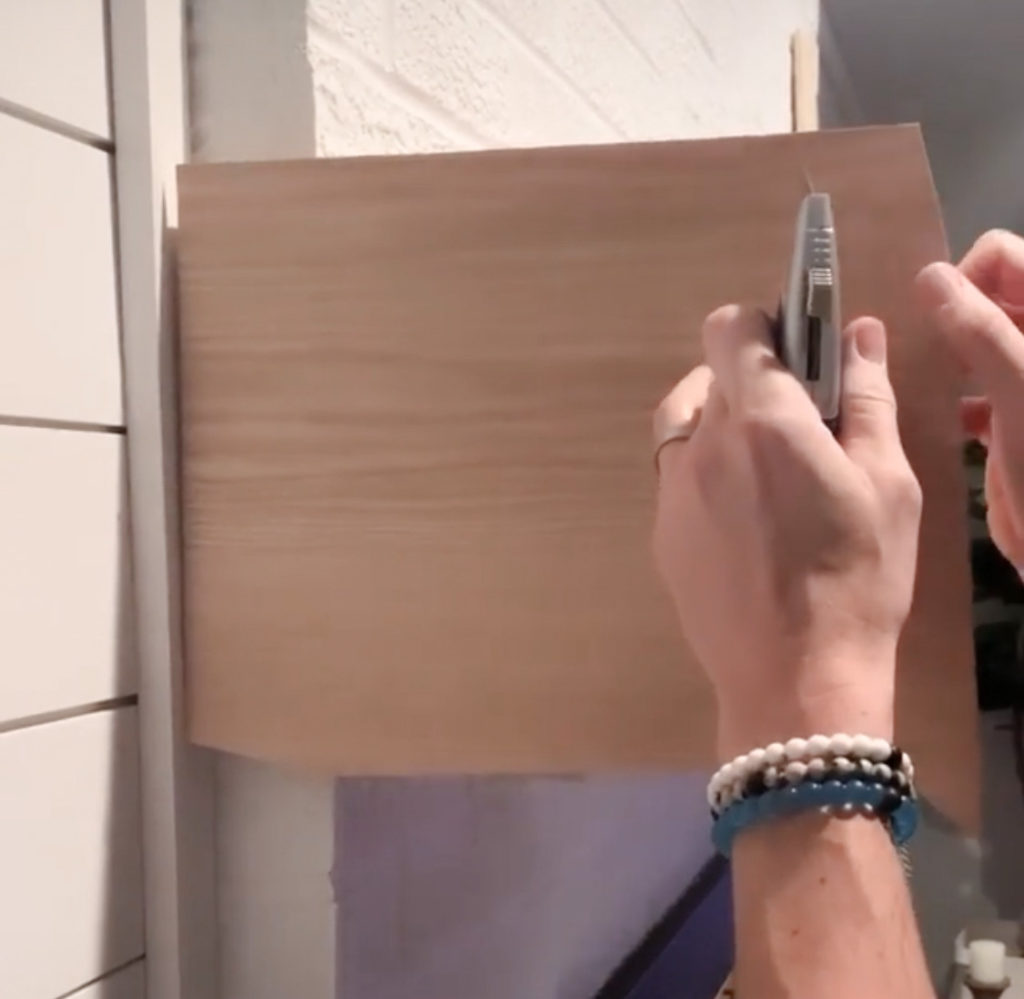
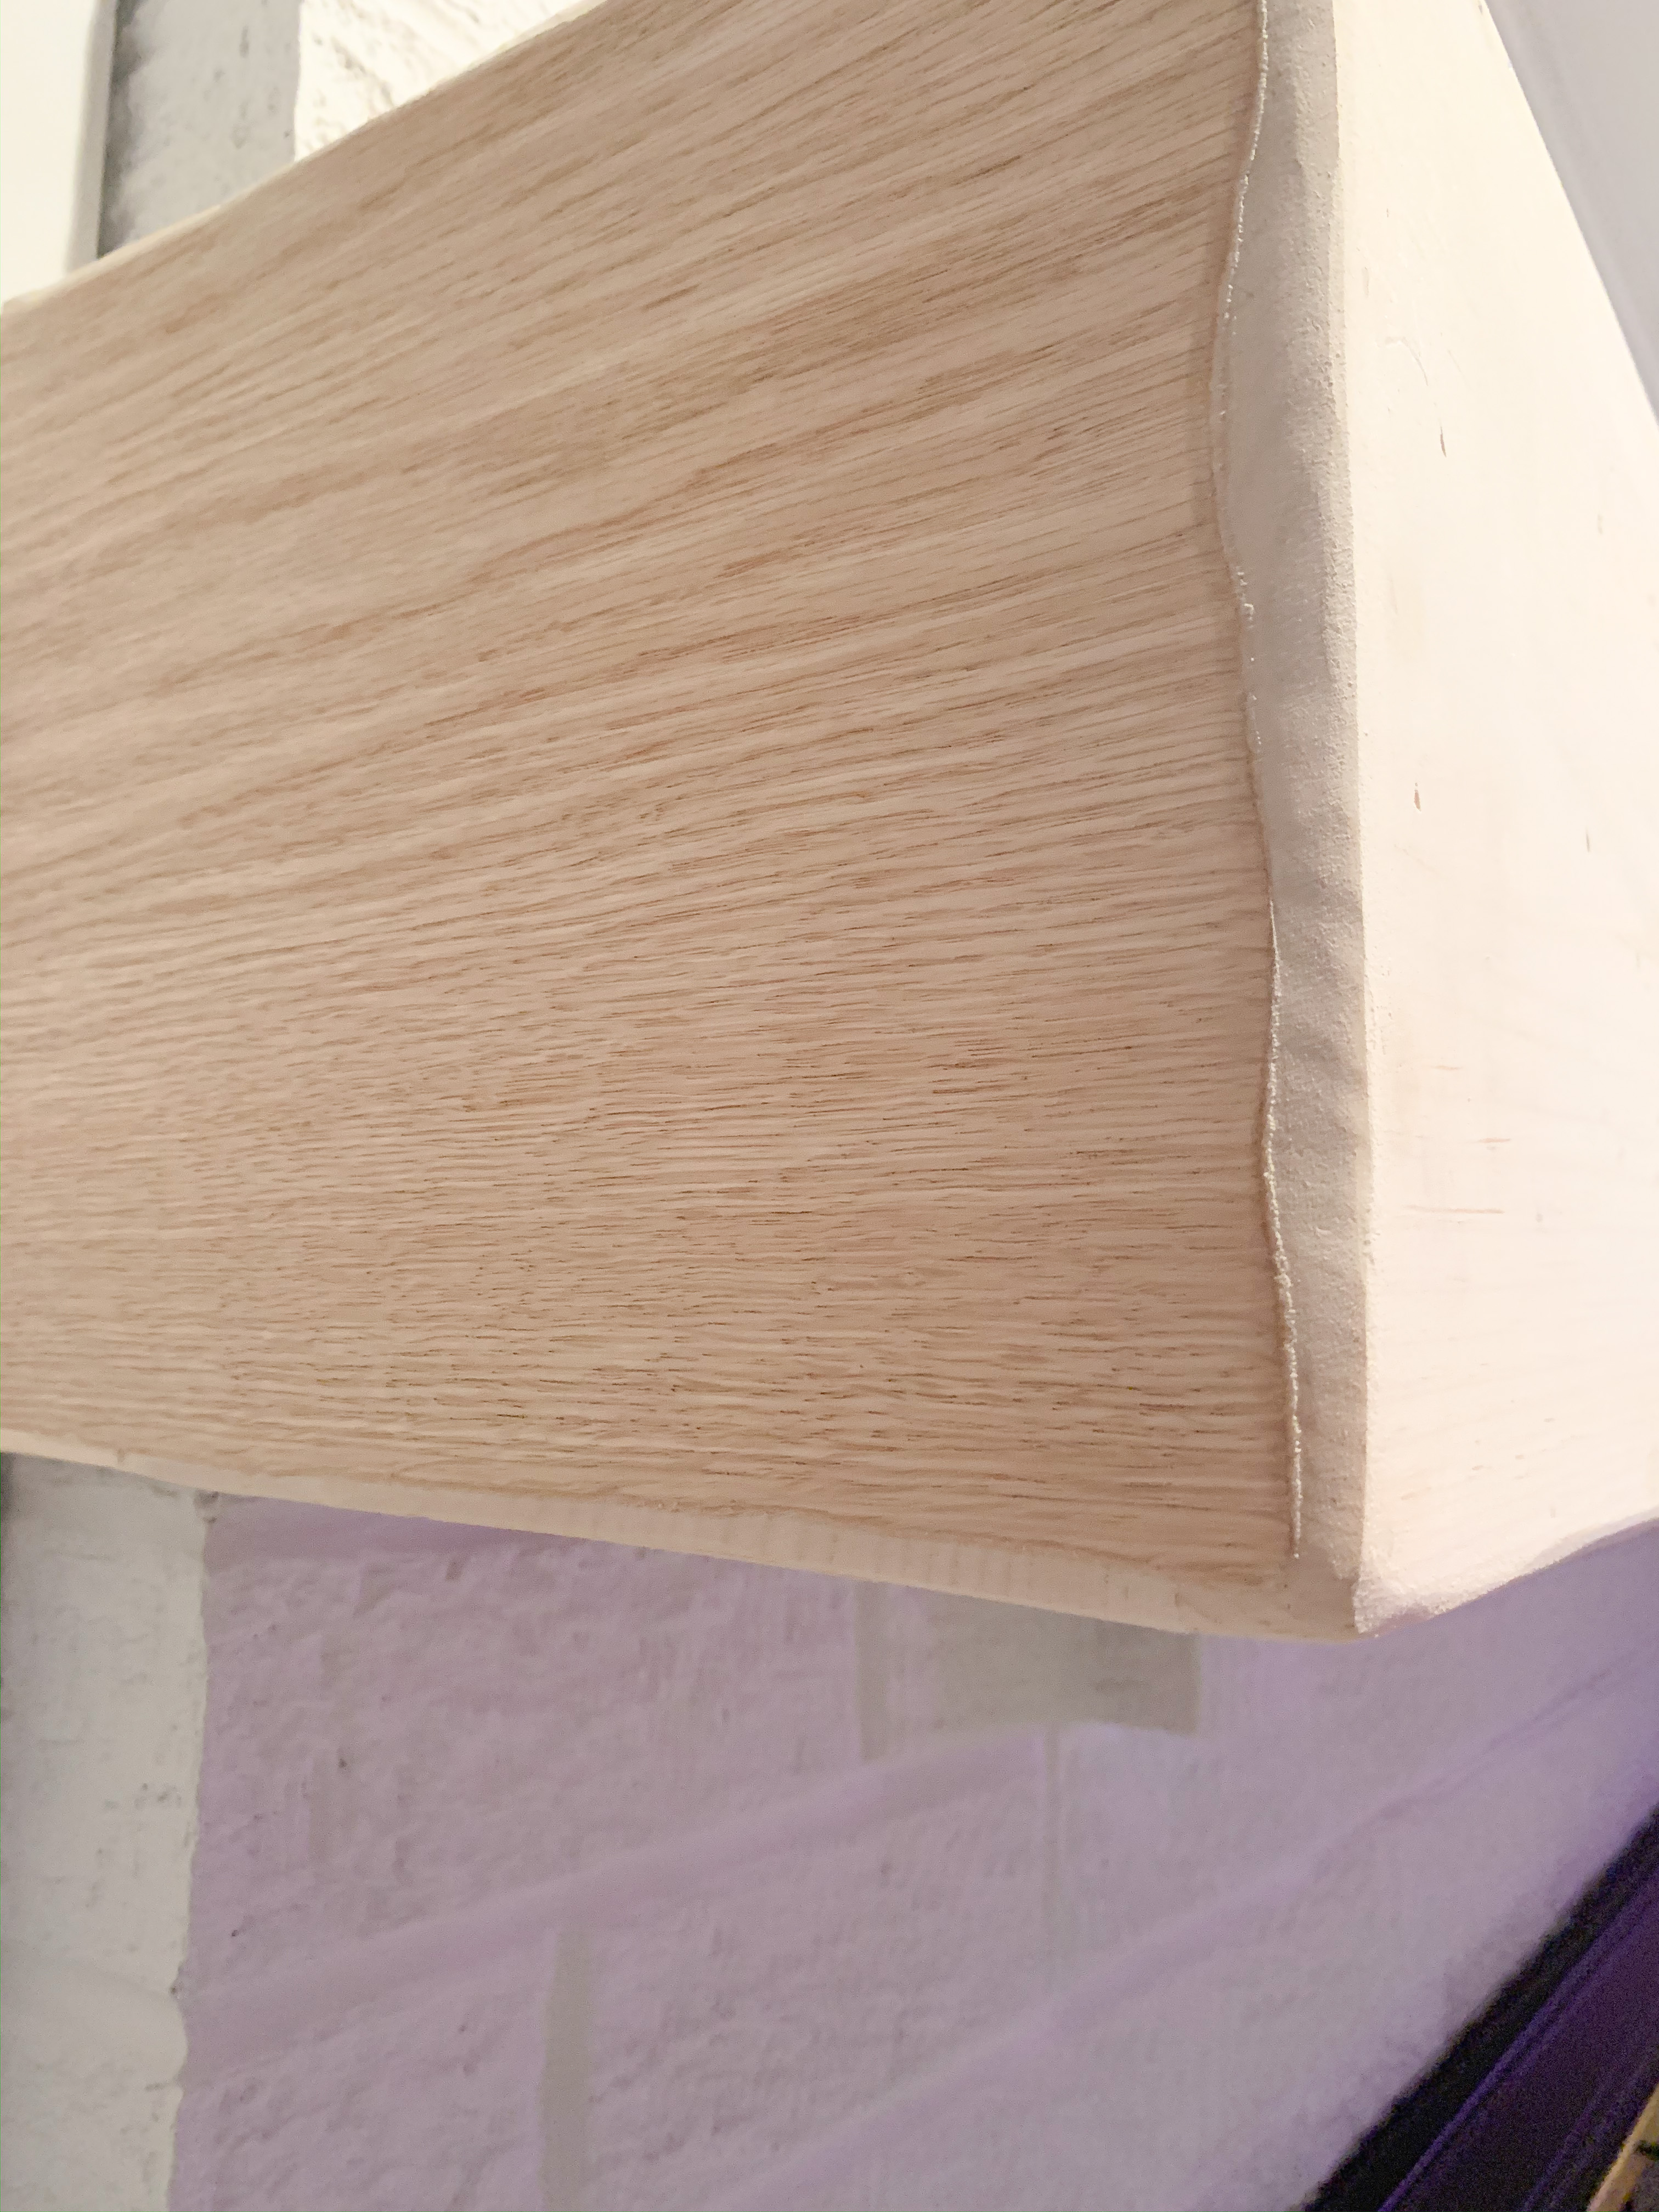
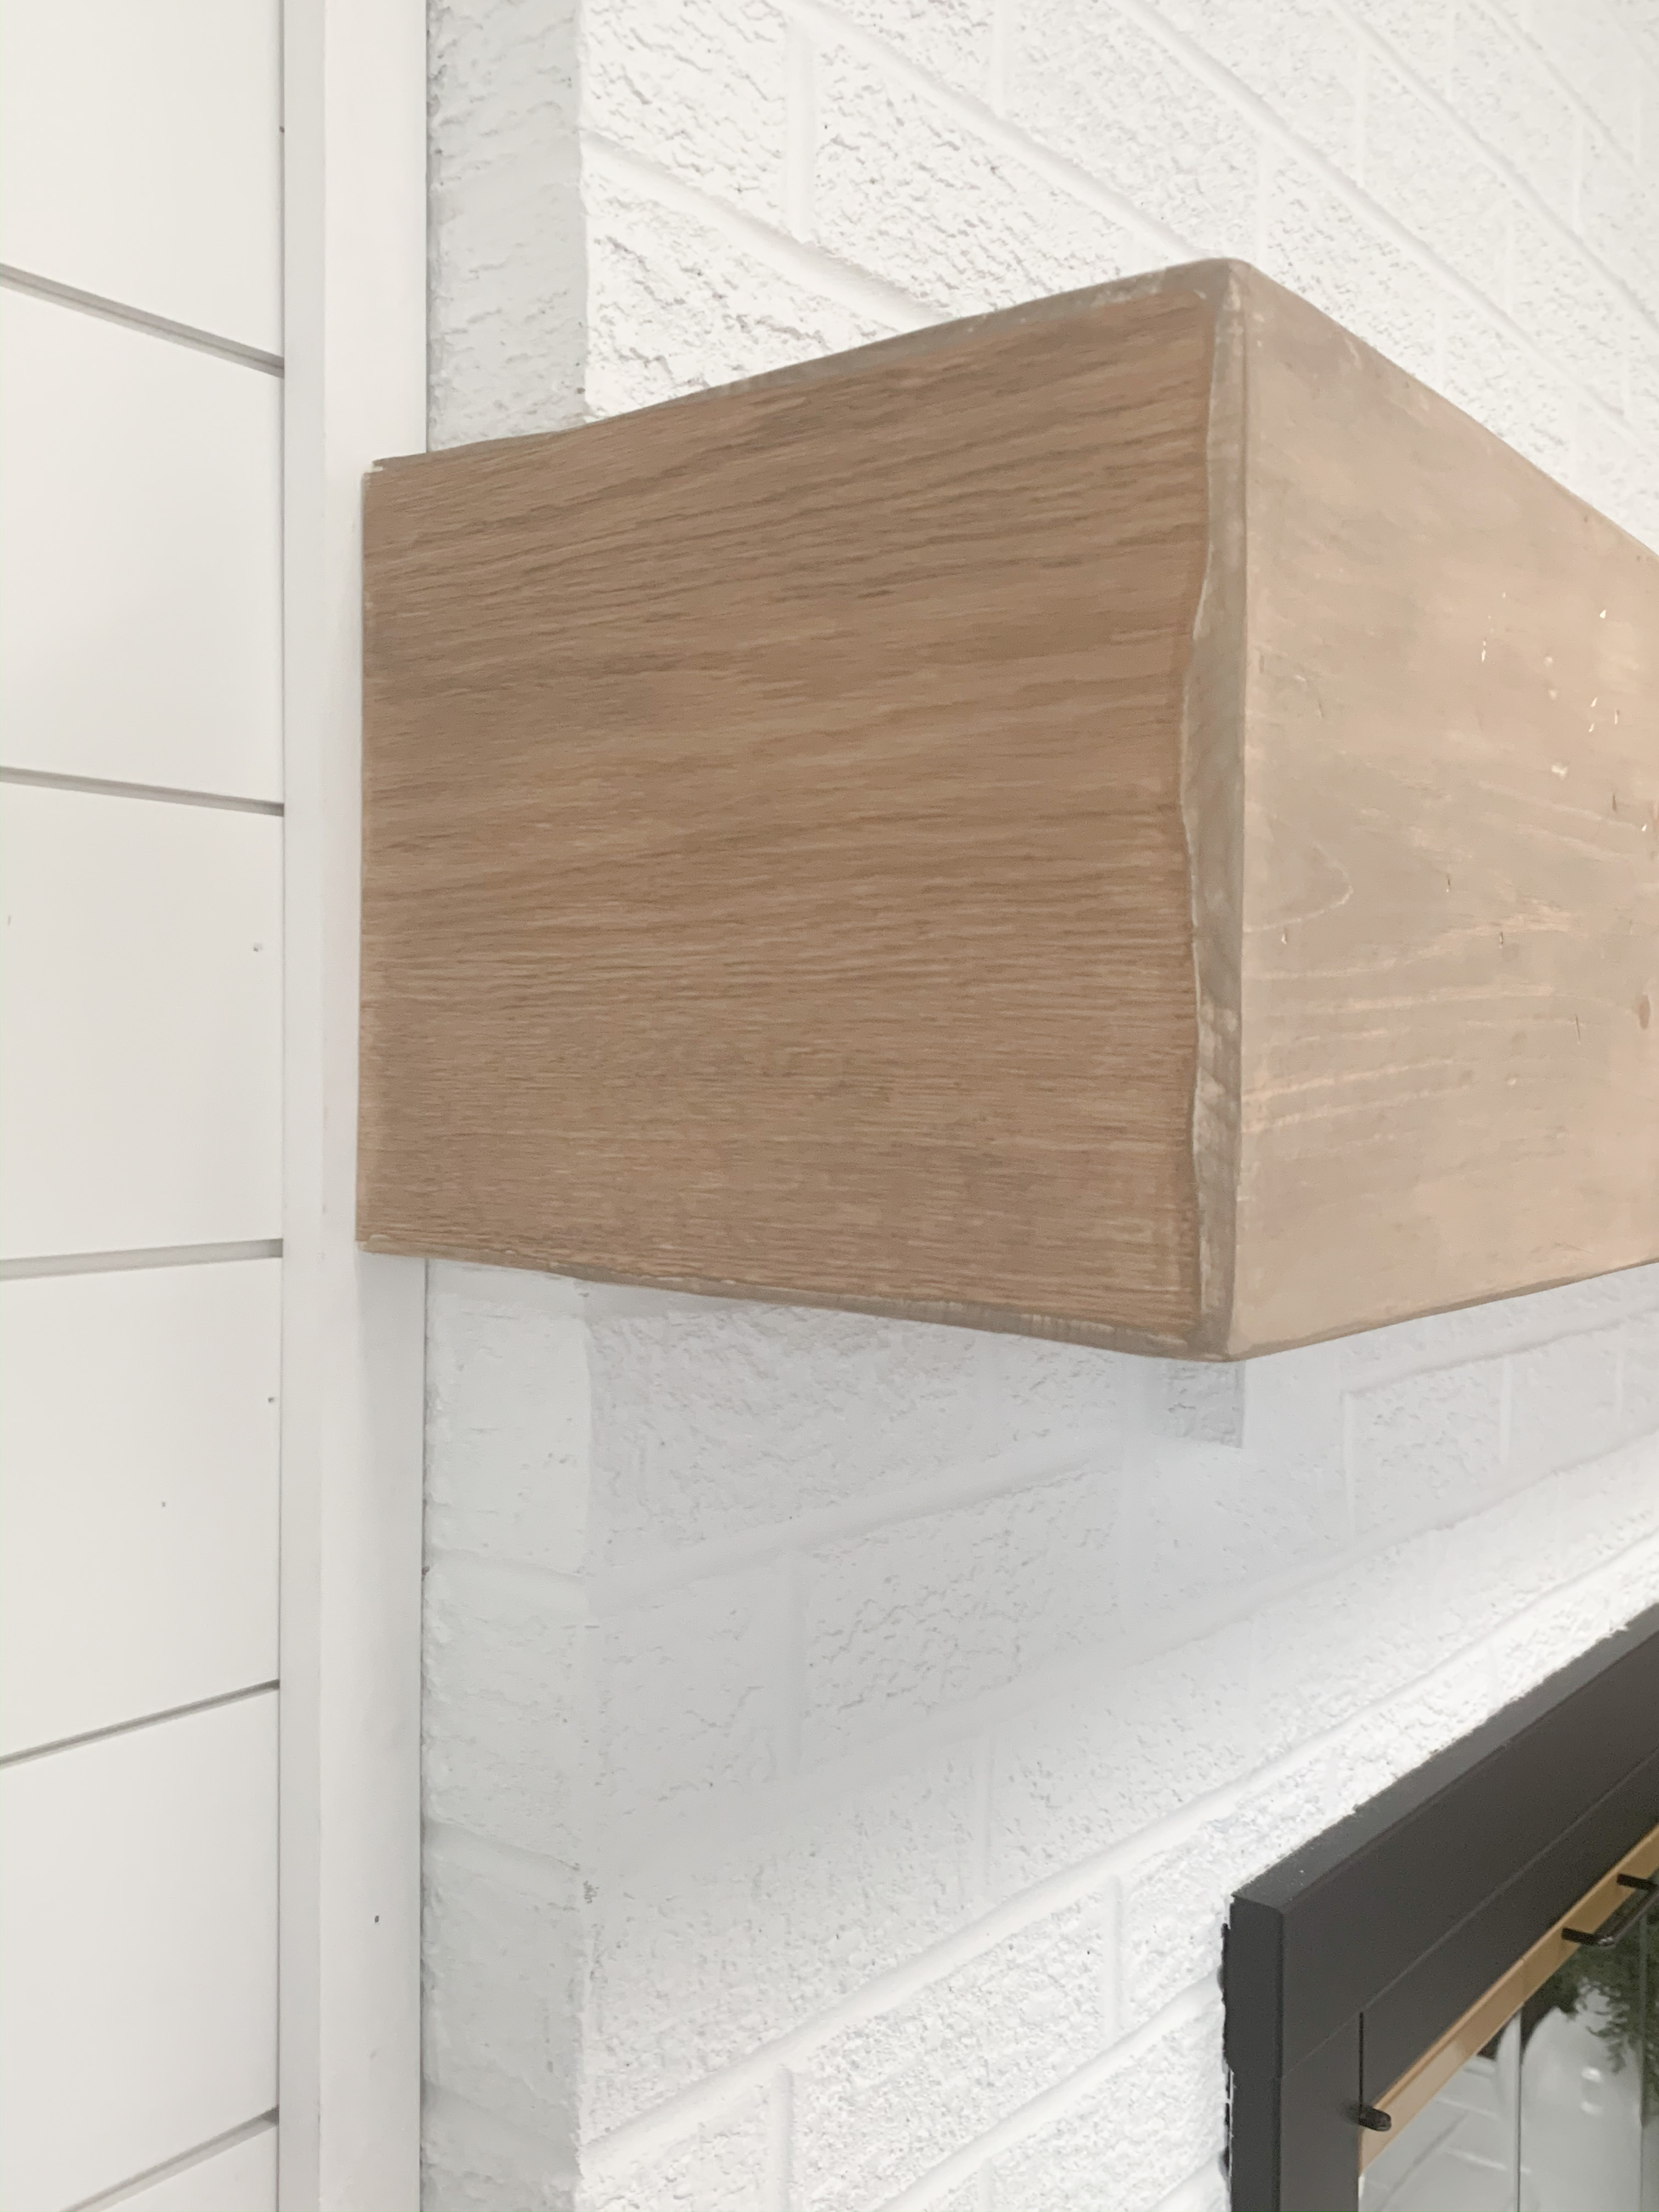
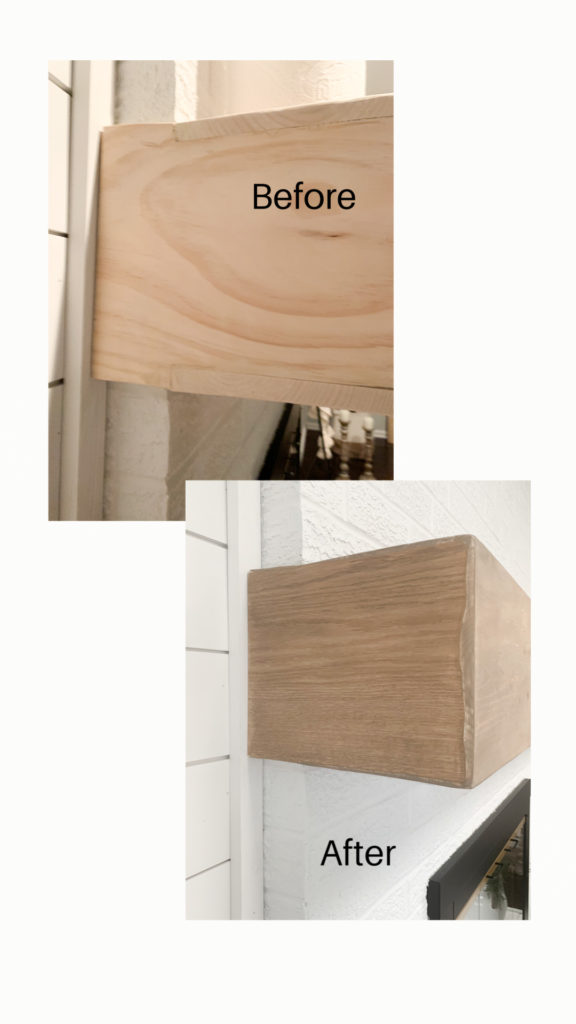
It’s definitely not perfect, and we may end up trimming out the sides to hide the edges eventually, but it works great for now. The wood grain is obviously different between the veneer and actual boards, so the stain is just absorbed slightly different which makes it stand out in this photo. In person, it’s not noticeable at all!
The Stain
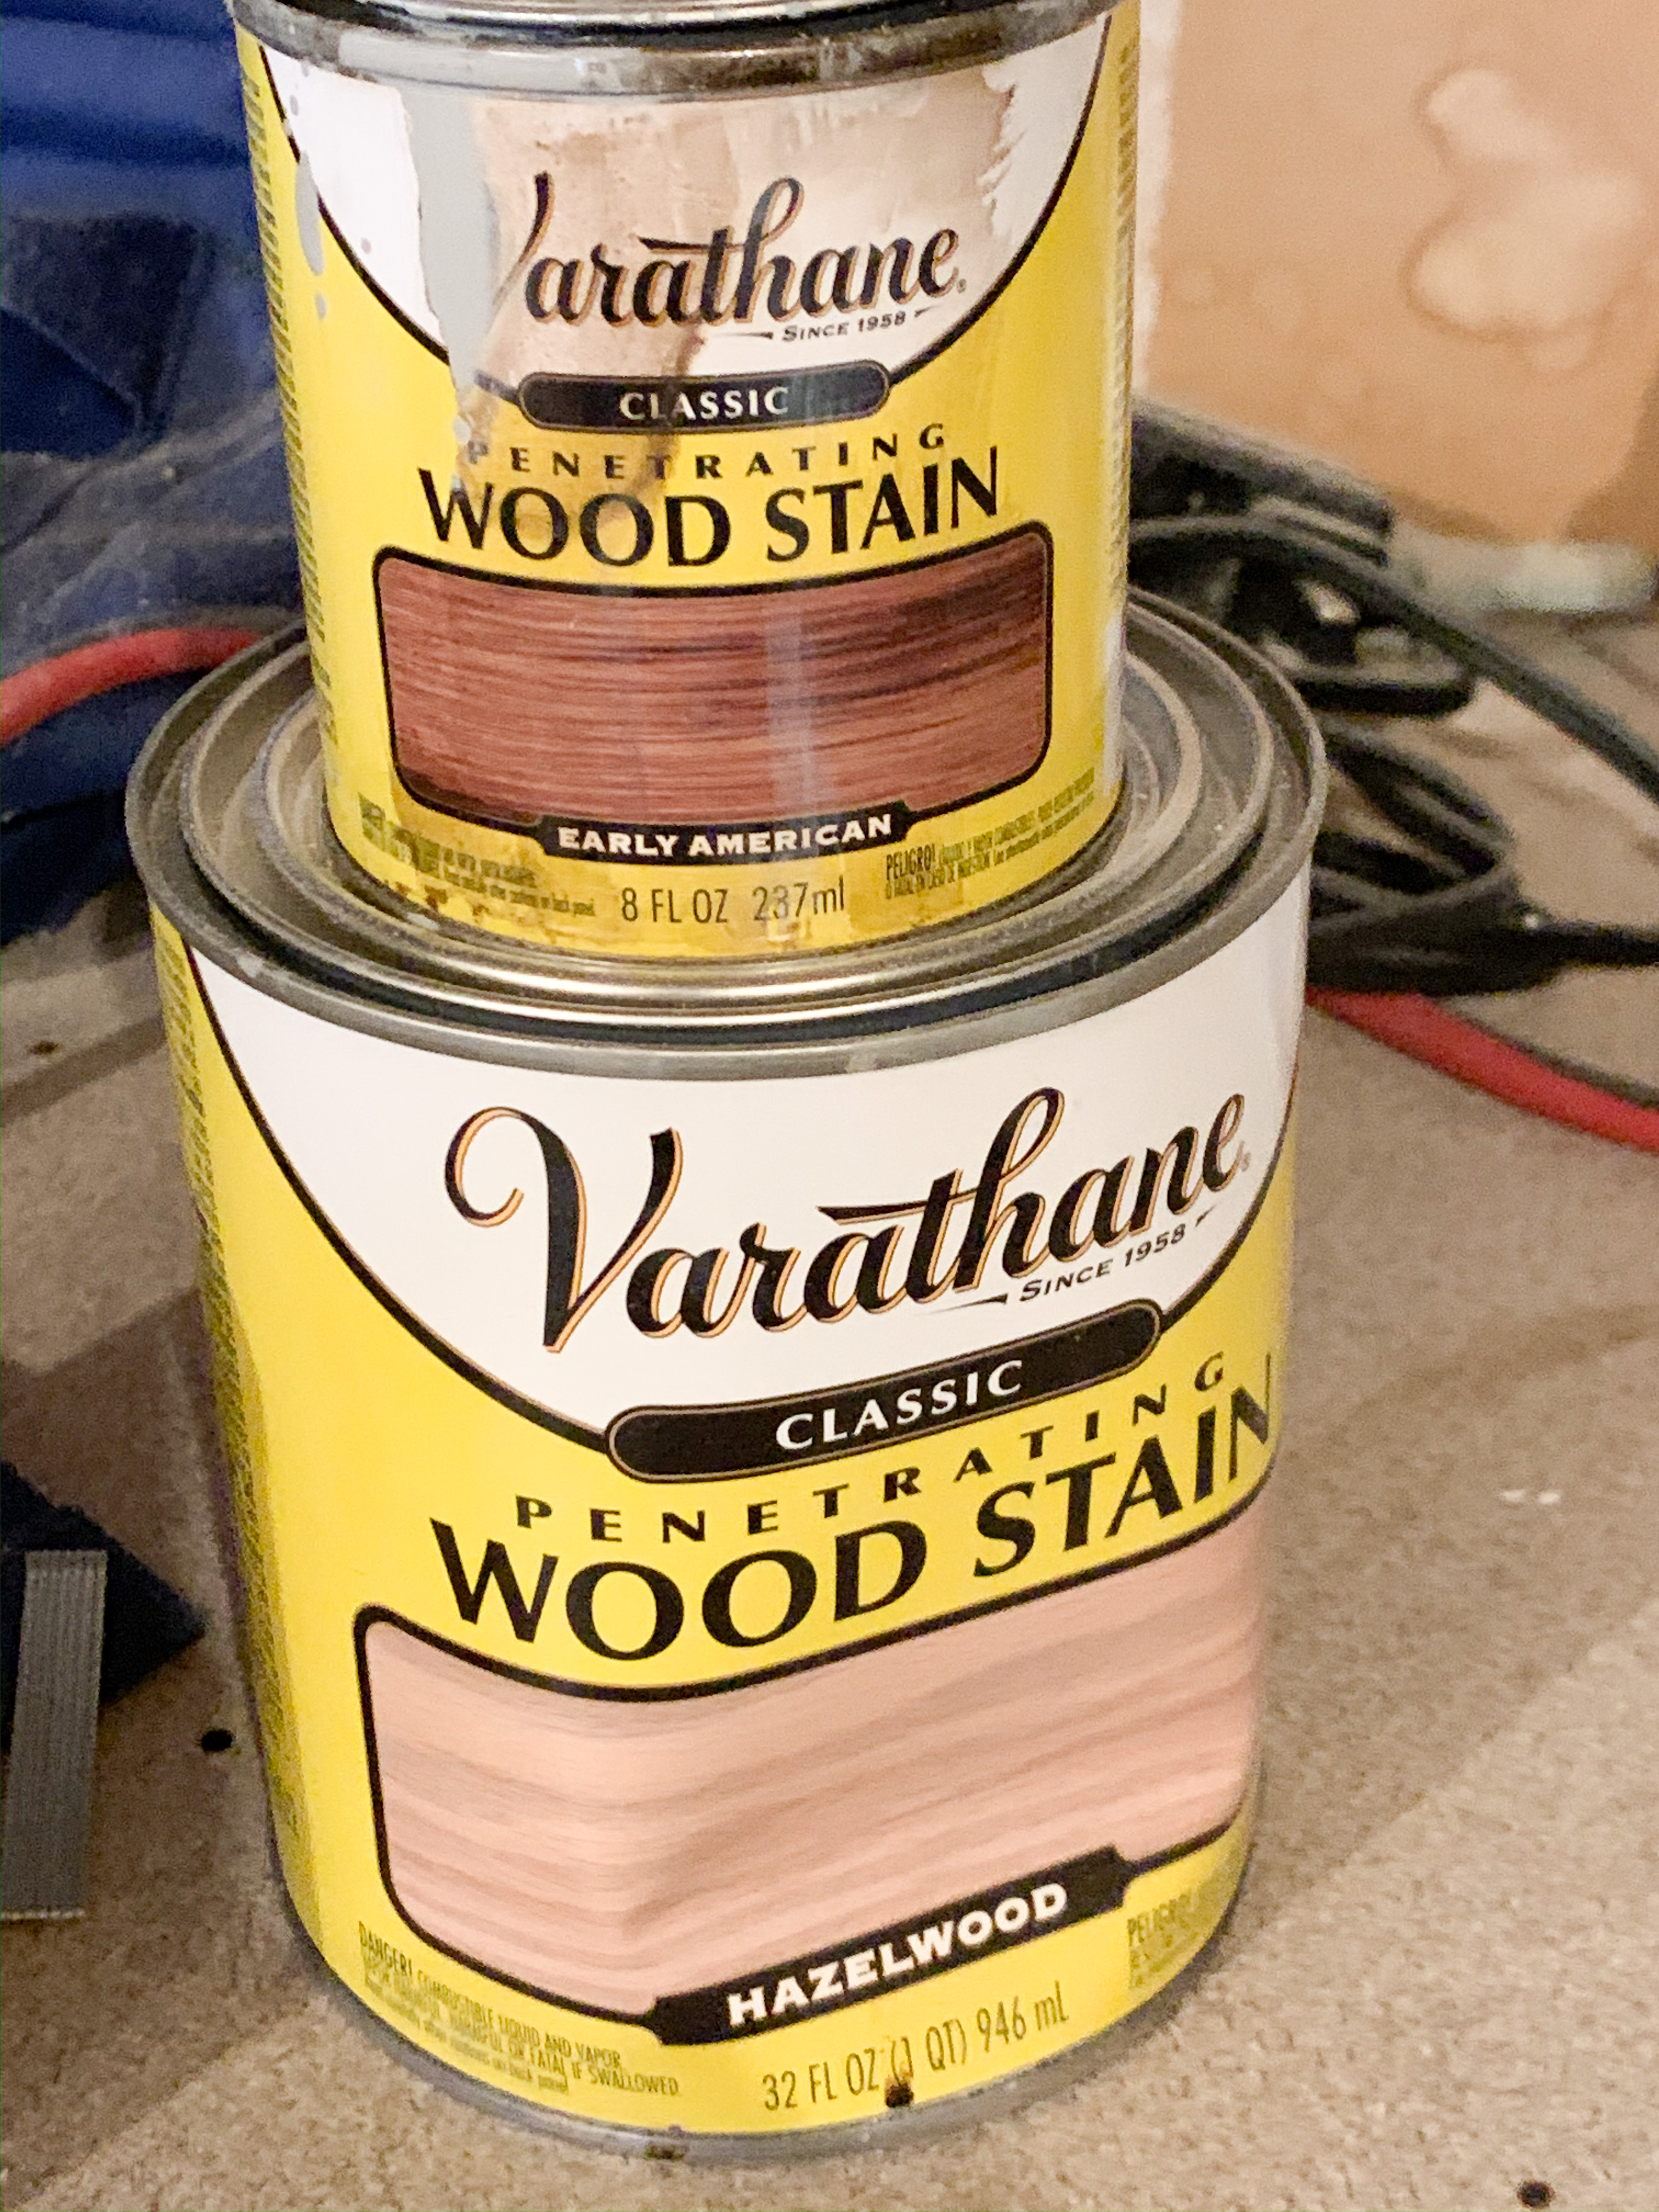
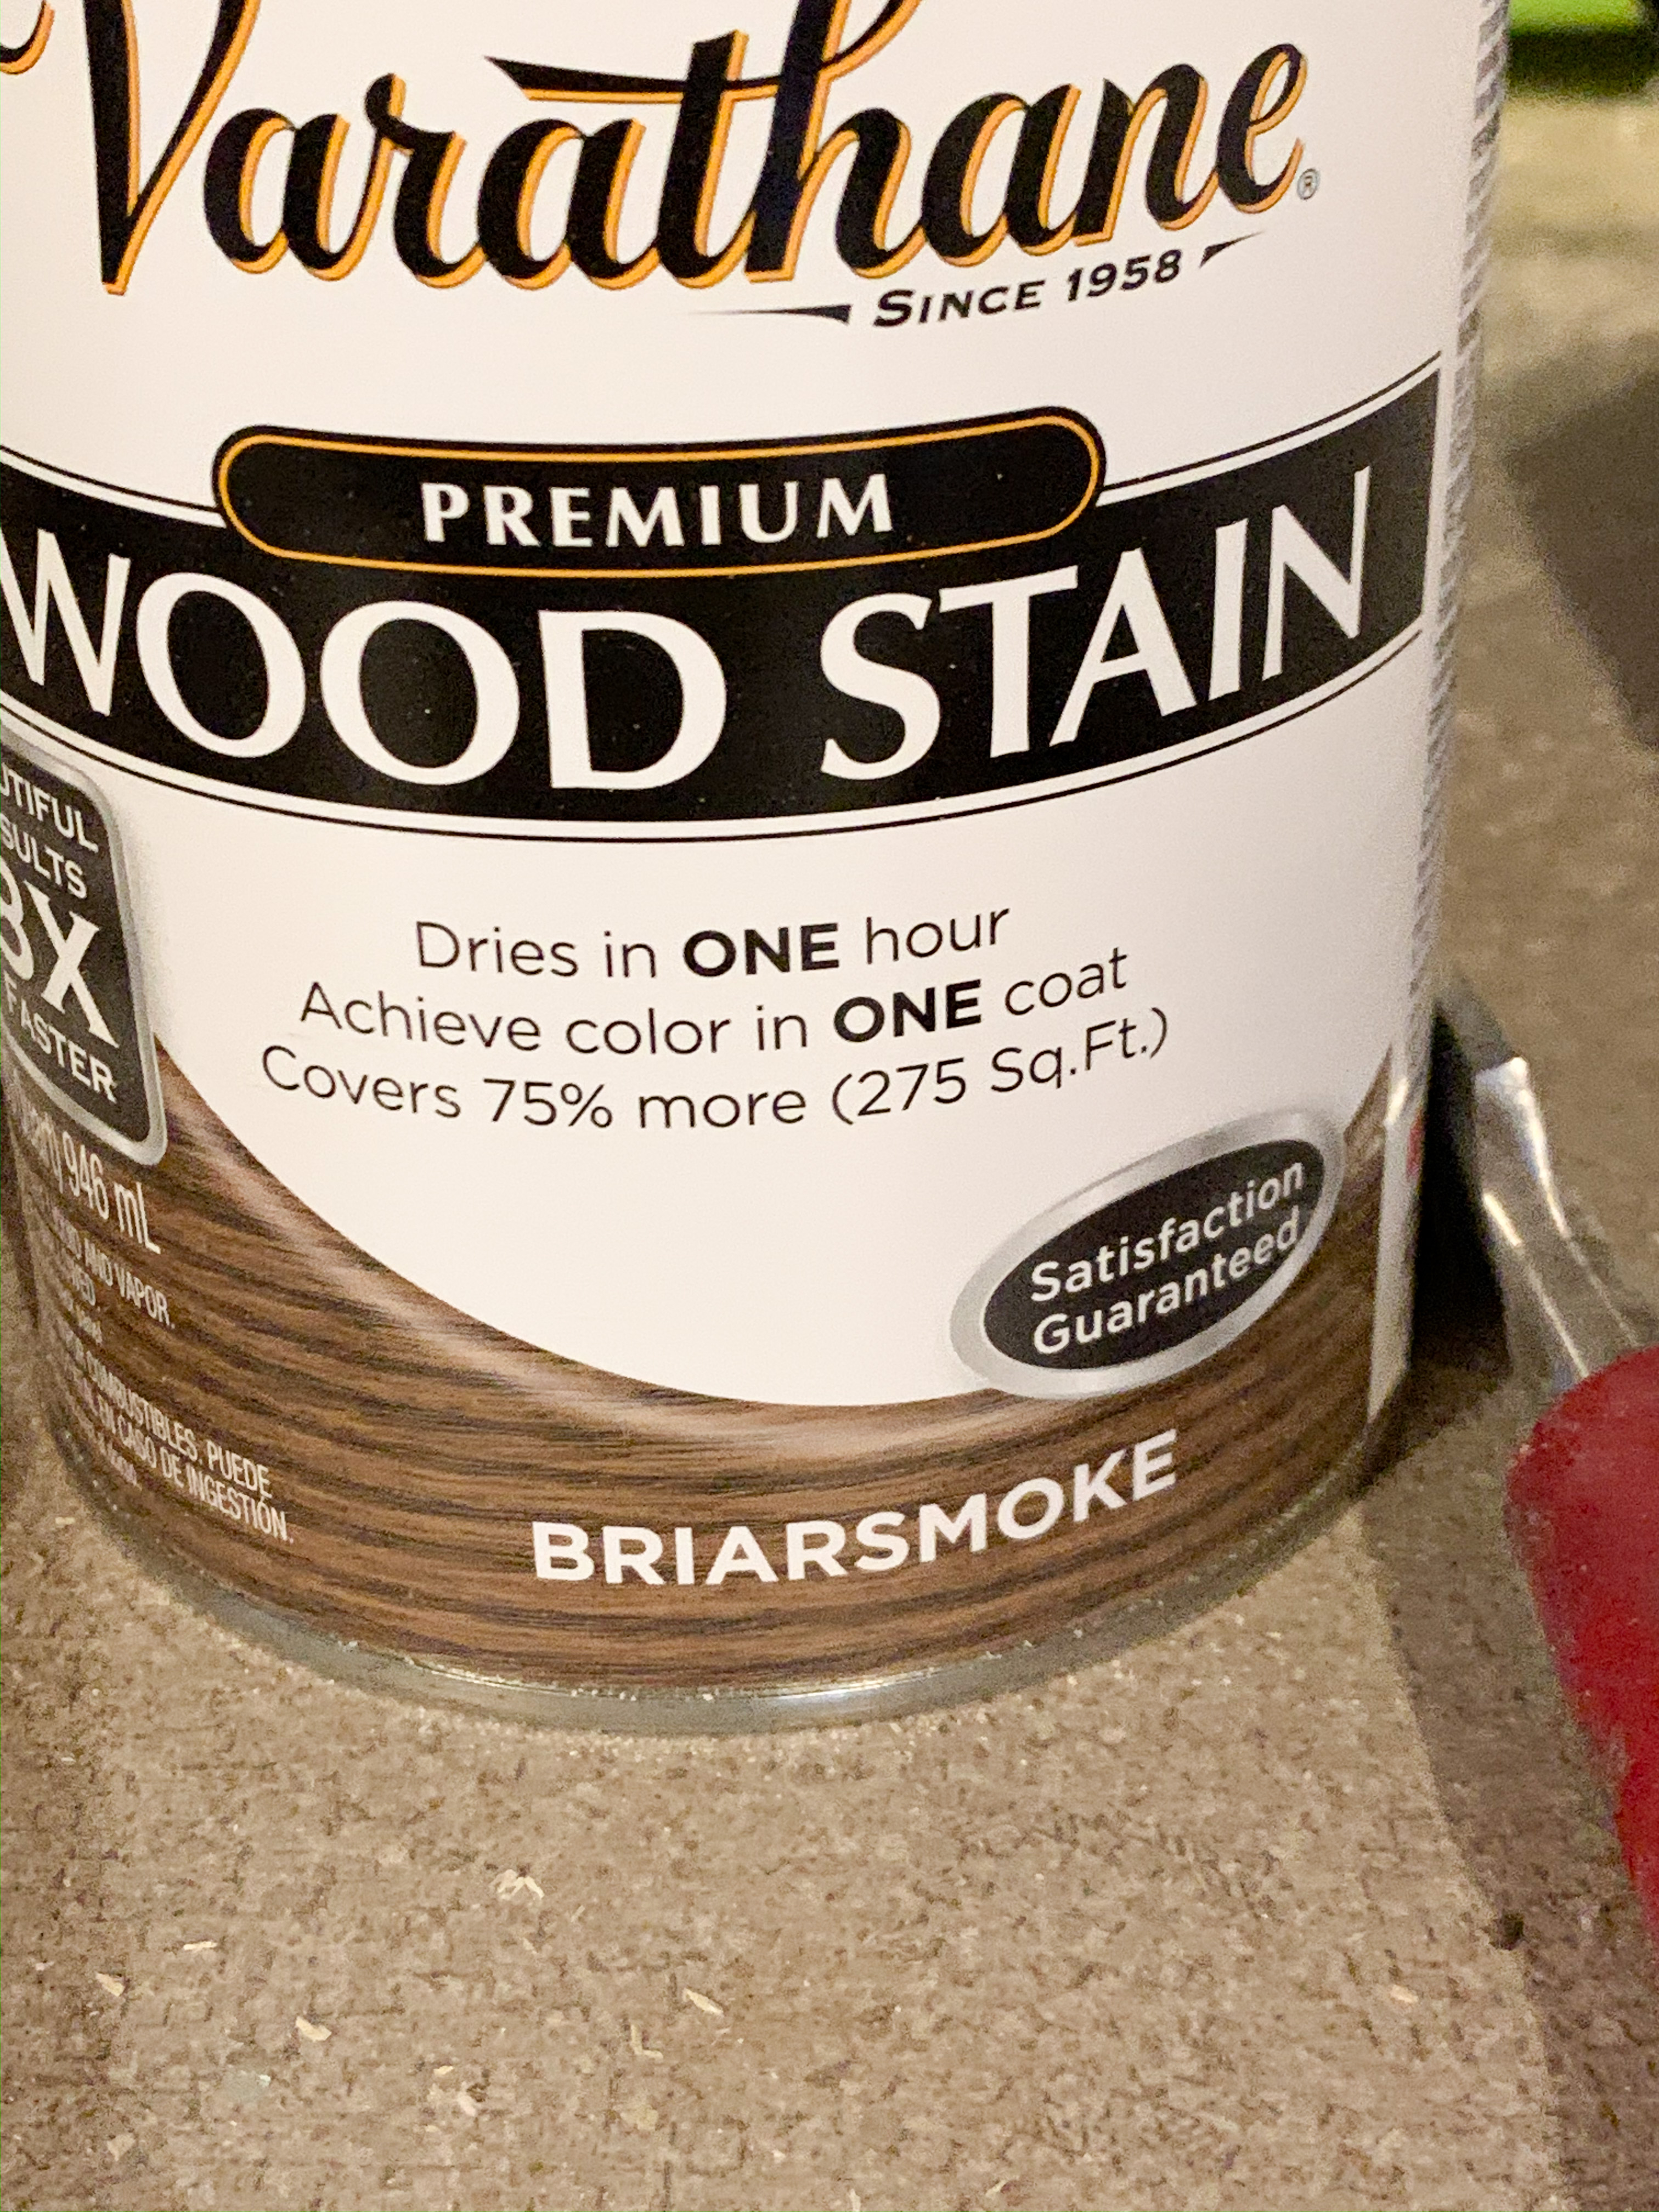
Figuring out stain color definitely took the most time with this project. It’s next to impossible to find the “perfect” color. I played around with a bunch of stains from Home Depot and ended up mixing some together. What we finally ended up with was…
- 1 Part Briarsmoke
- 2 Parts Early American
- 2 Parts Hazelwood
- Double what you have with Oil-based paint thinner
The Early American stain adds a slight red/warm tone to the color. The briarsmoke adds darker/grey levels, and the hazelwood lightens things up. I honestly would’ve preferred it even lighter, but this is as light as I could get it with the paint thinner. Overall, we couldn’t be happier with the color and tone!
.
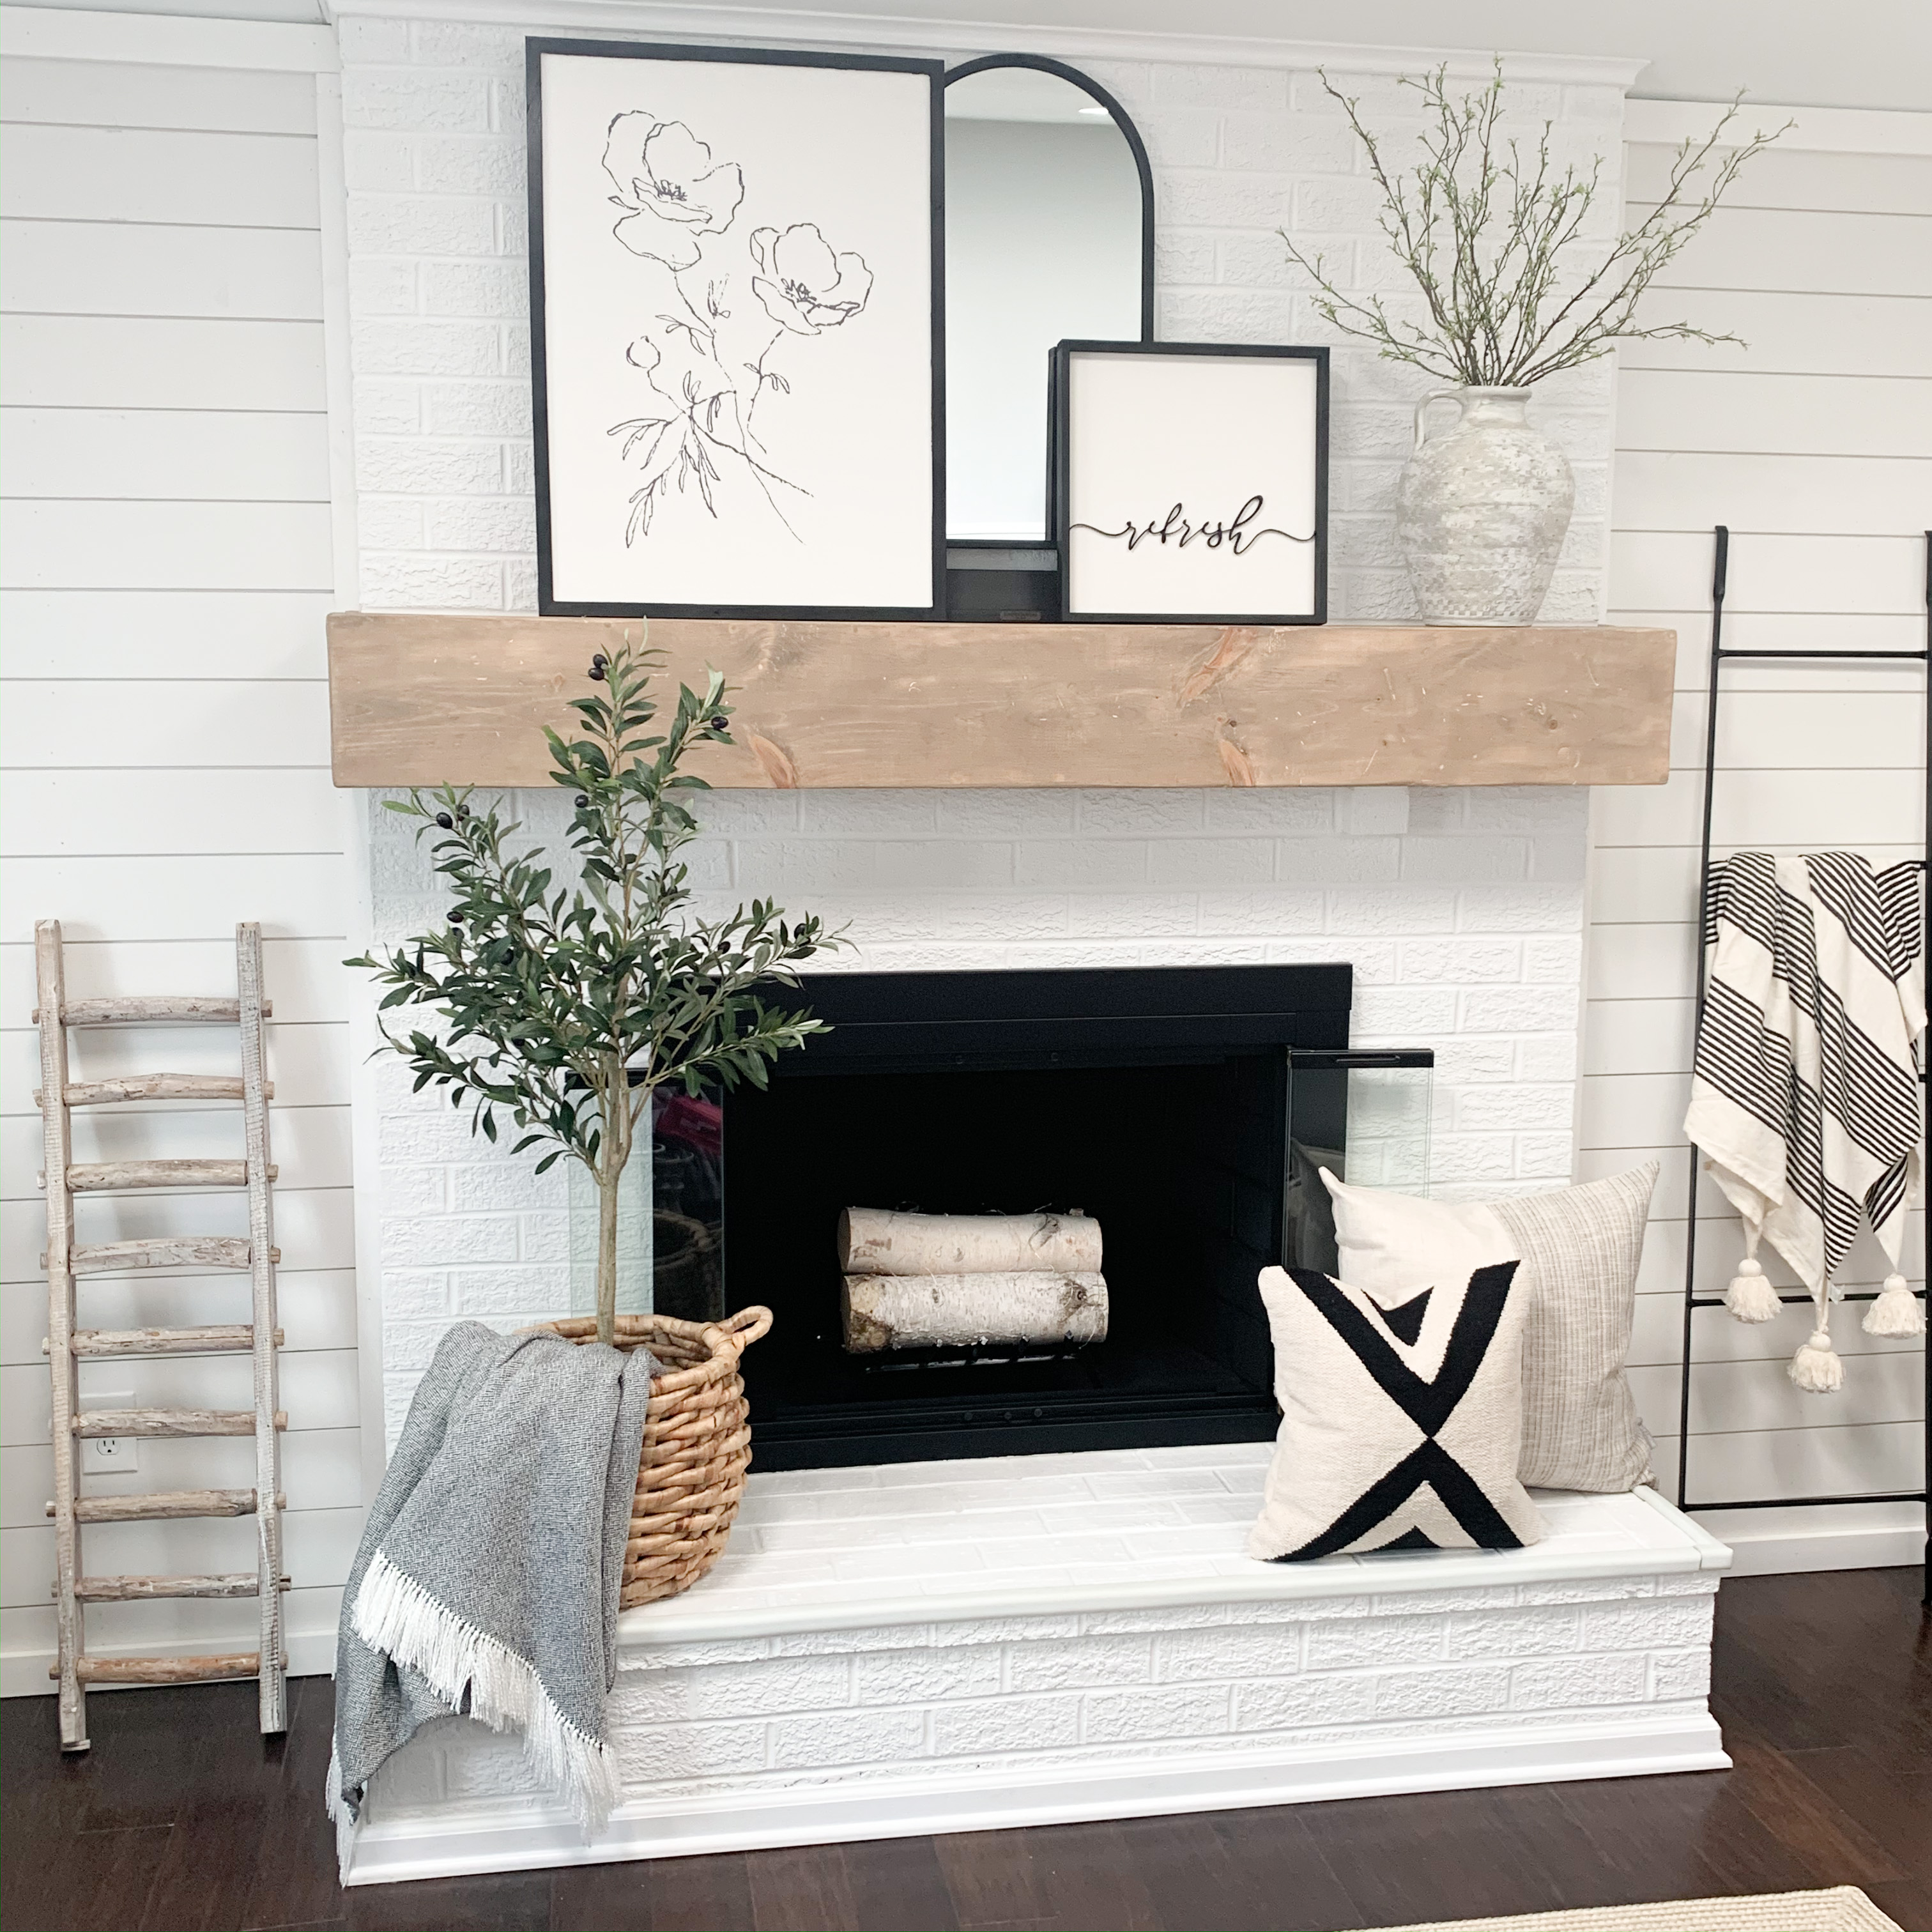
I’m still getting comfortable styling the new mantle which will take time, but we’re so in love. Especially because the cost was next to nothing!
.
Some affiliate links may be used in this post. Disclosure Policy liked here.
