Our last home didn’t have a dedicated office space, so after a year+ juggling the whole “work from home” thing, you can imagine how excited we were for this one. As much as we wanted it to look nice, our main goal was functionality. Joe fell in love with a basic desk that cost thousands of dollars, and the thing that appealed to him the most was the workspace/cord organization. I knew that’s what we needed to recreate.
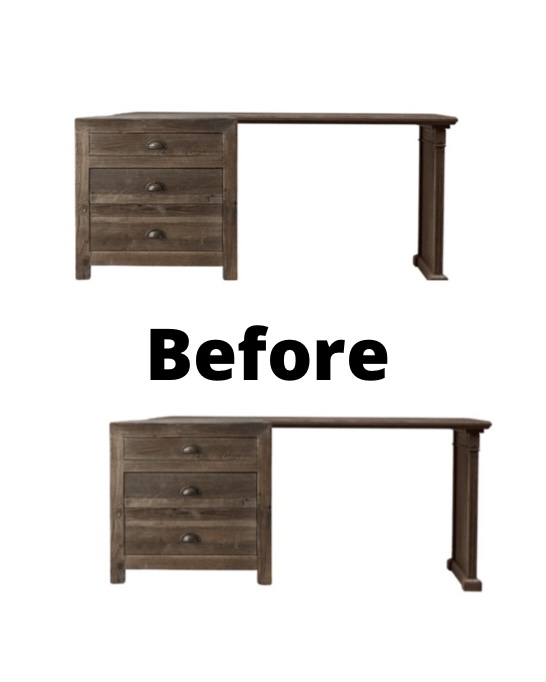

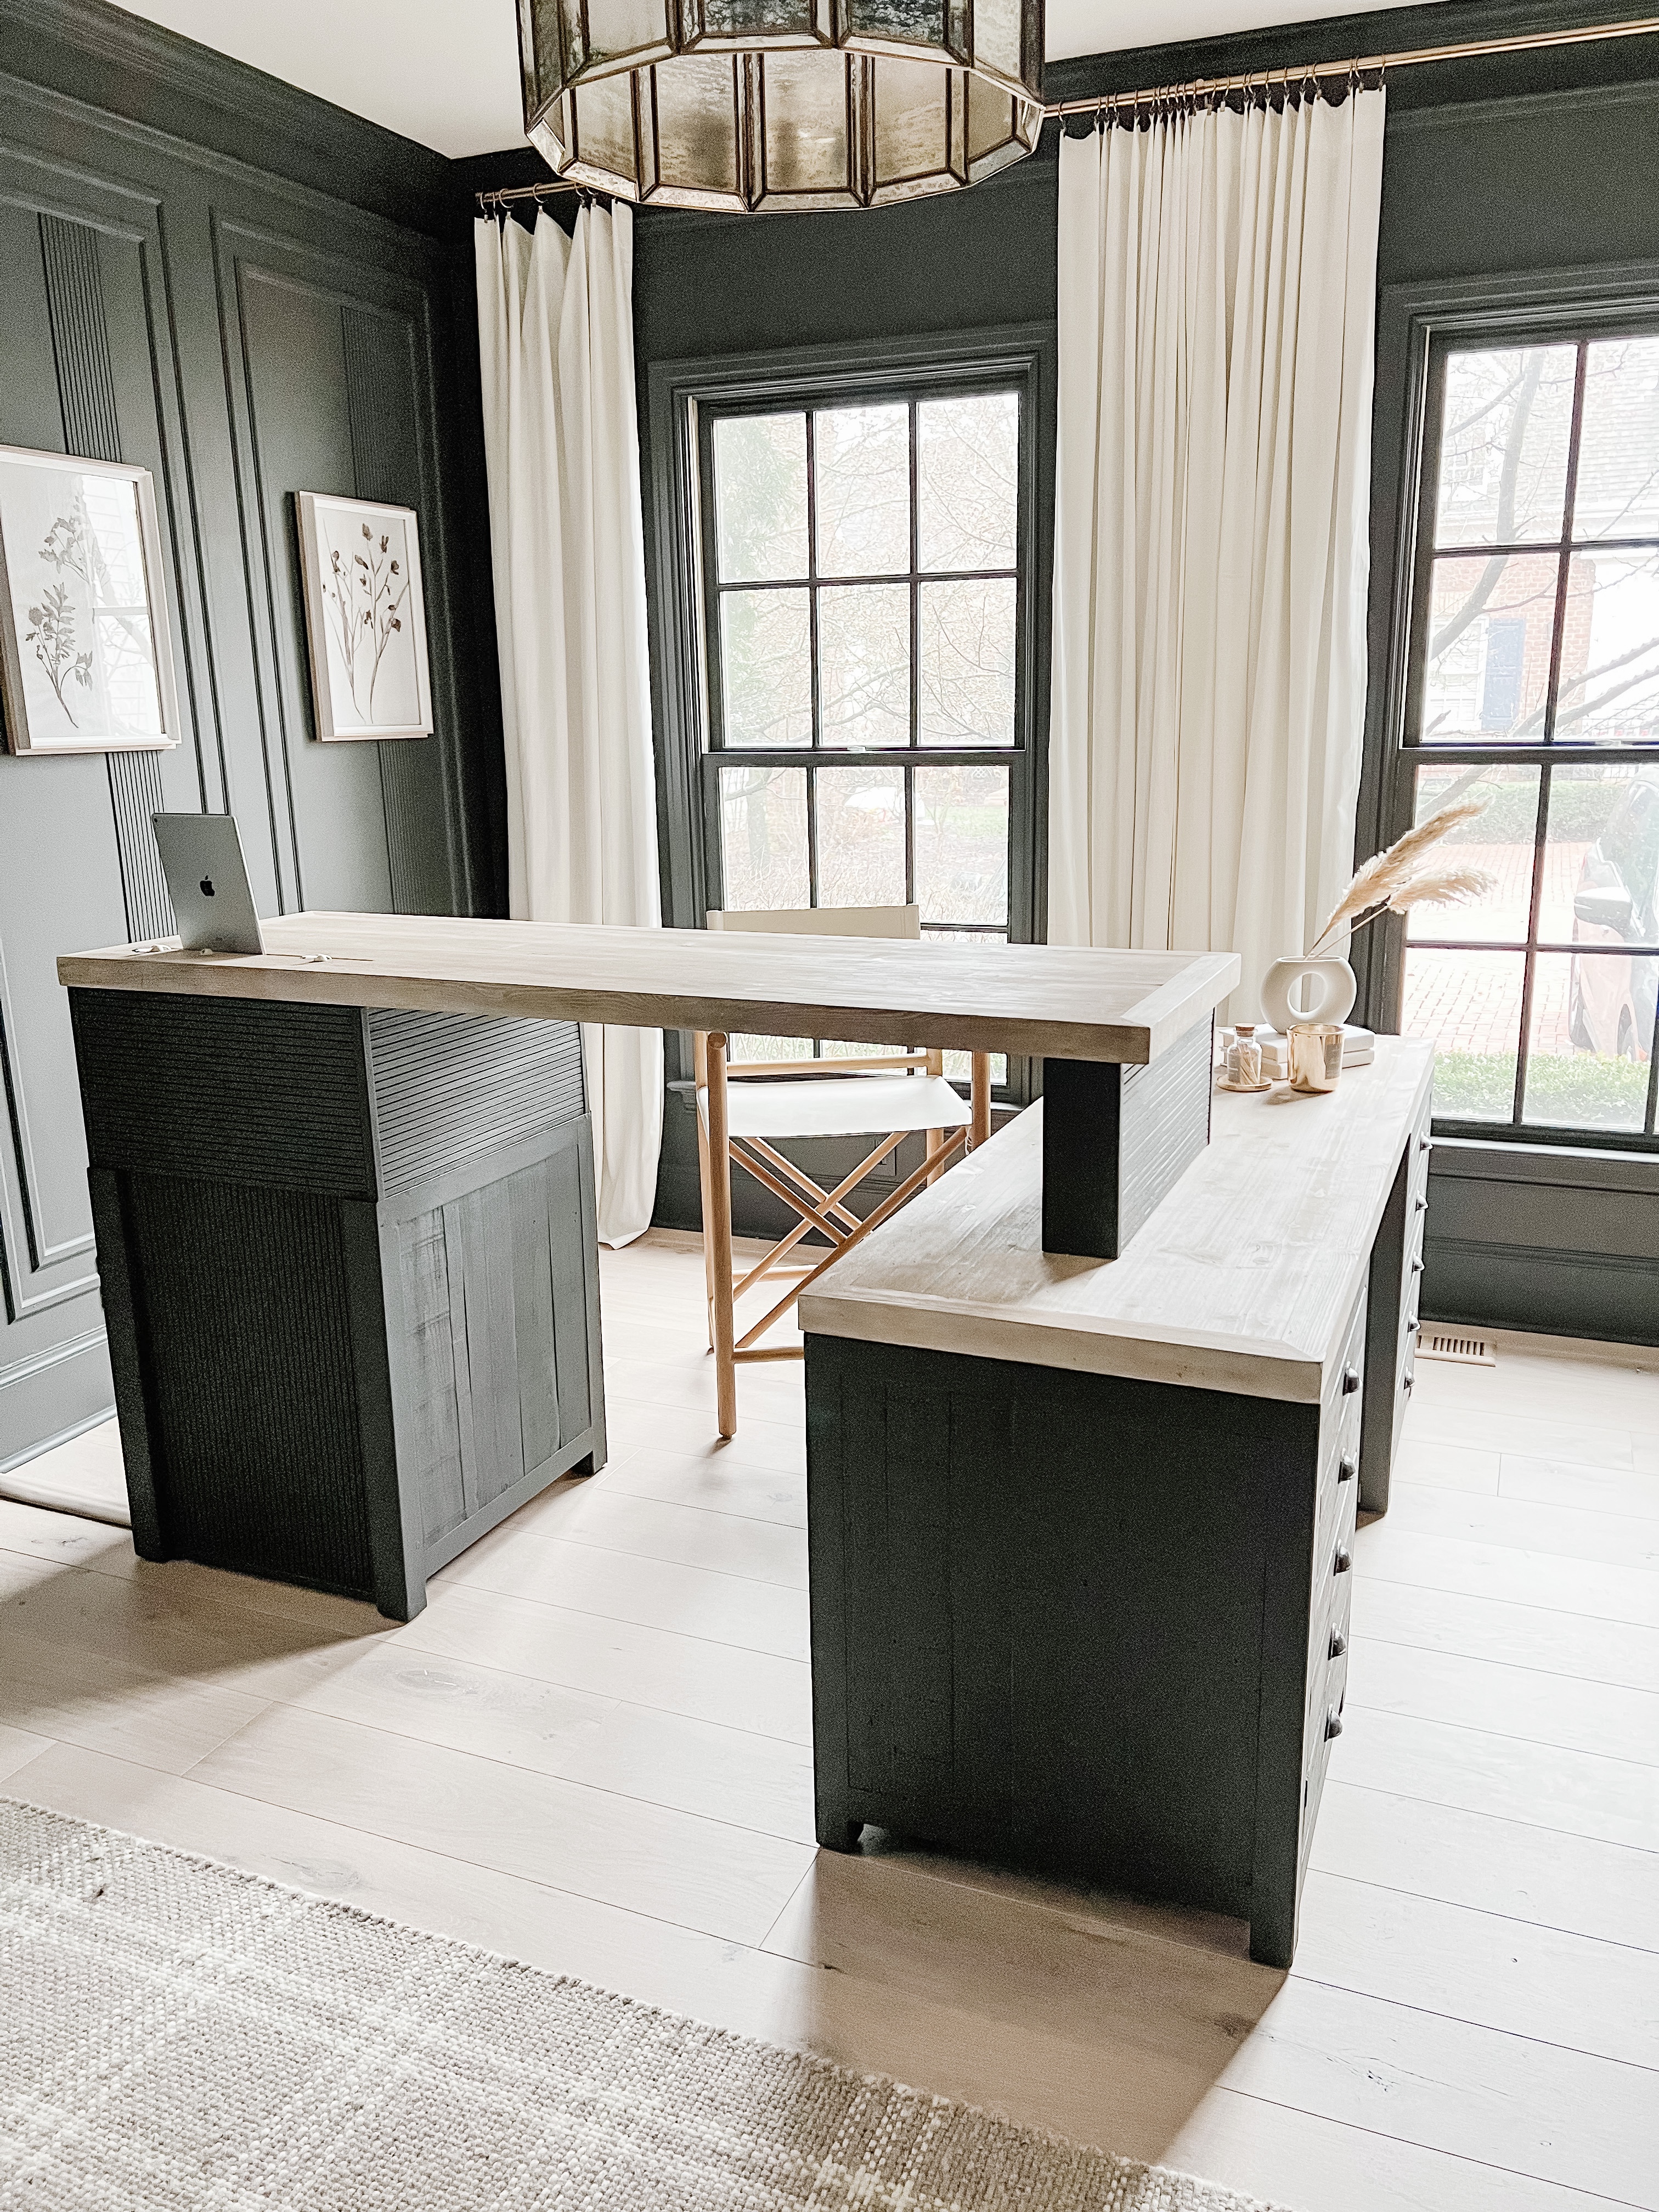
Shopping at an RH Outlet during the move, we came across two solid wood desks that were damaged and deeply discounted (similar to the above photo). That’s where the design of this space began. (Other office design details found in this blog post)
The Desk Design
The goal was to combine the desks to allow for sitting and standing room for two people. I sanded down the desktops and re-stained them to match closely to the floor. After sanding, I used a prestain wood conditioner. This helps the wood accept the stain in a more uniform way. Then I used Minwax Colorwash Whitewash over the entire top to knock down all the undertones and give me a fresh whitewashed layer. I then used Minwax Classic Grey stain, followed by a light layer of Minwax Early American.

I’m not the greatest at stain. I should have let each layer dry before applying the next, but I did one layer after the other for this. It got me the look I wanted, so I went with it.
Organizing the Cords
We have all the regular office-related things in here… Printer, router, internet booster, computer batteries, phone chargers…. the amount of cords is endless. The challenge was hiding them, and the biggest key was in the design of the standing desk portion. The box holding the desktop up was designed to hold all the ugly stuff. I routered a groove directly above it to create a charging station.
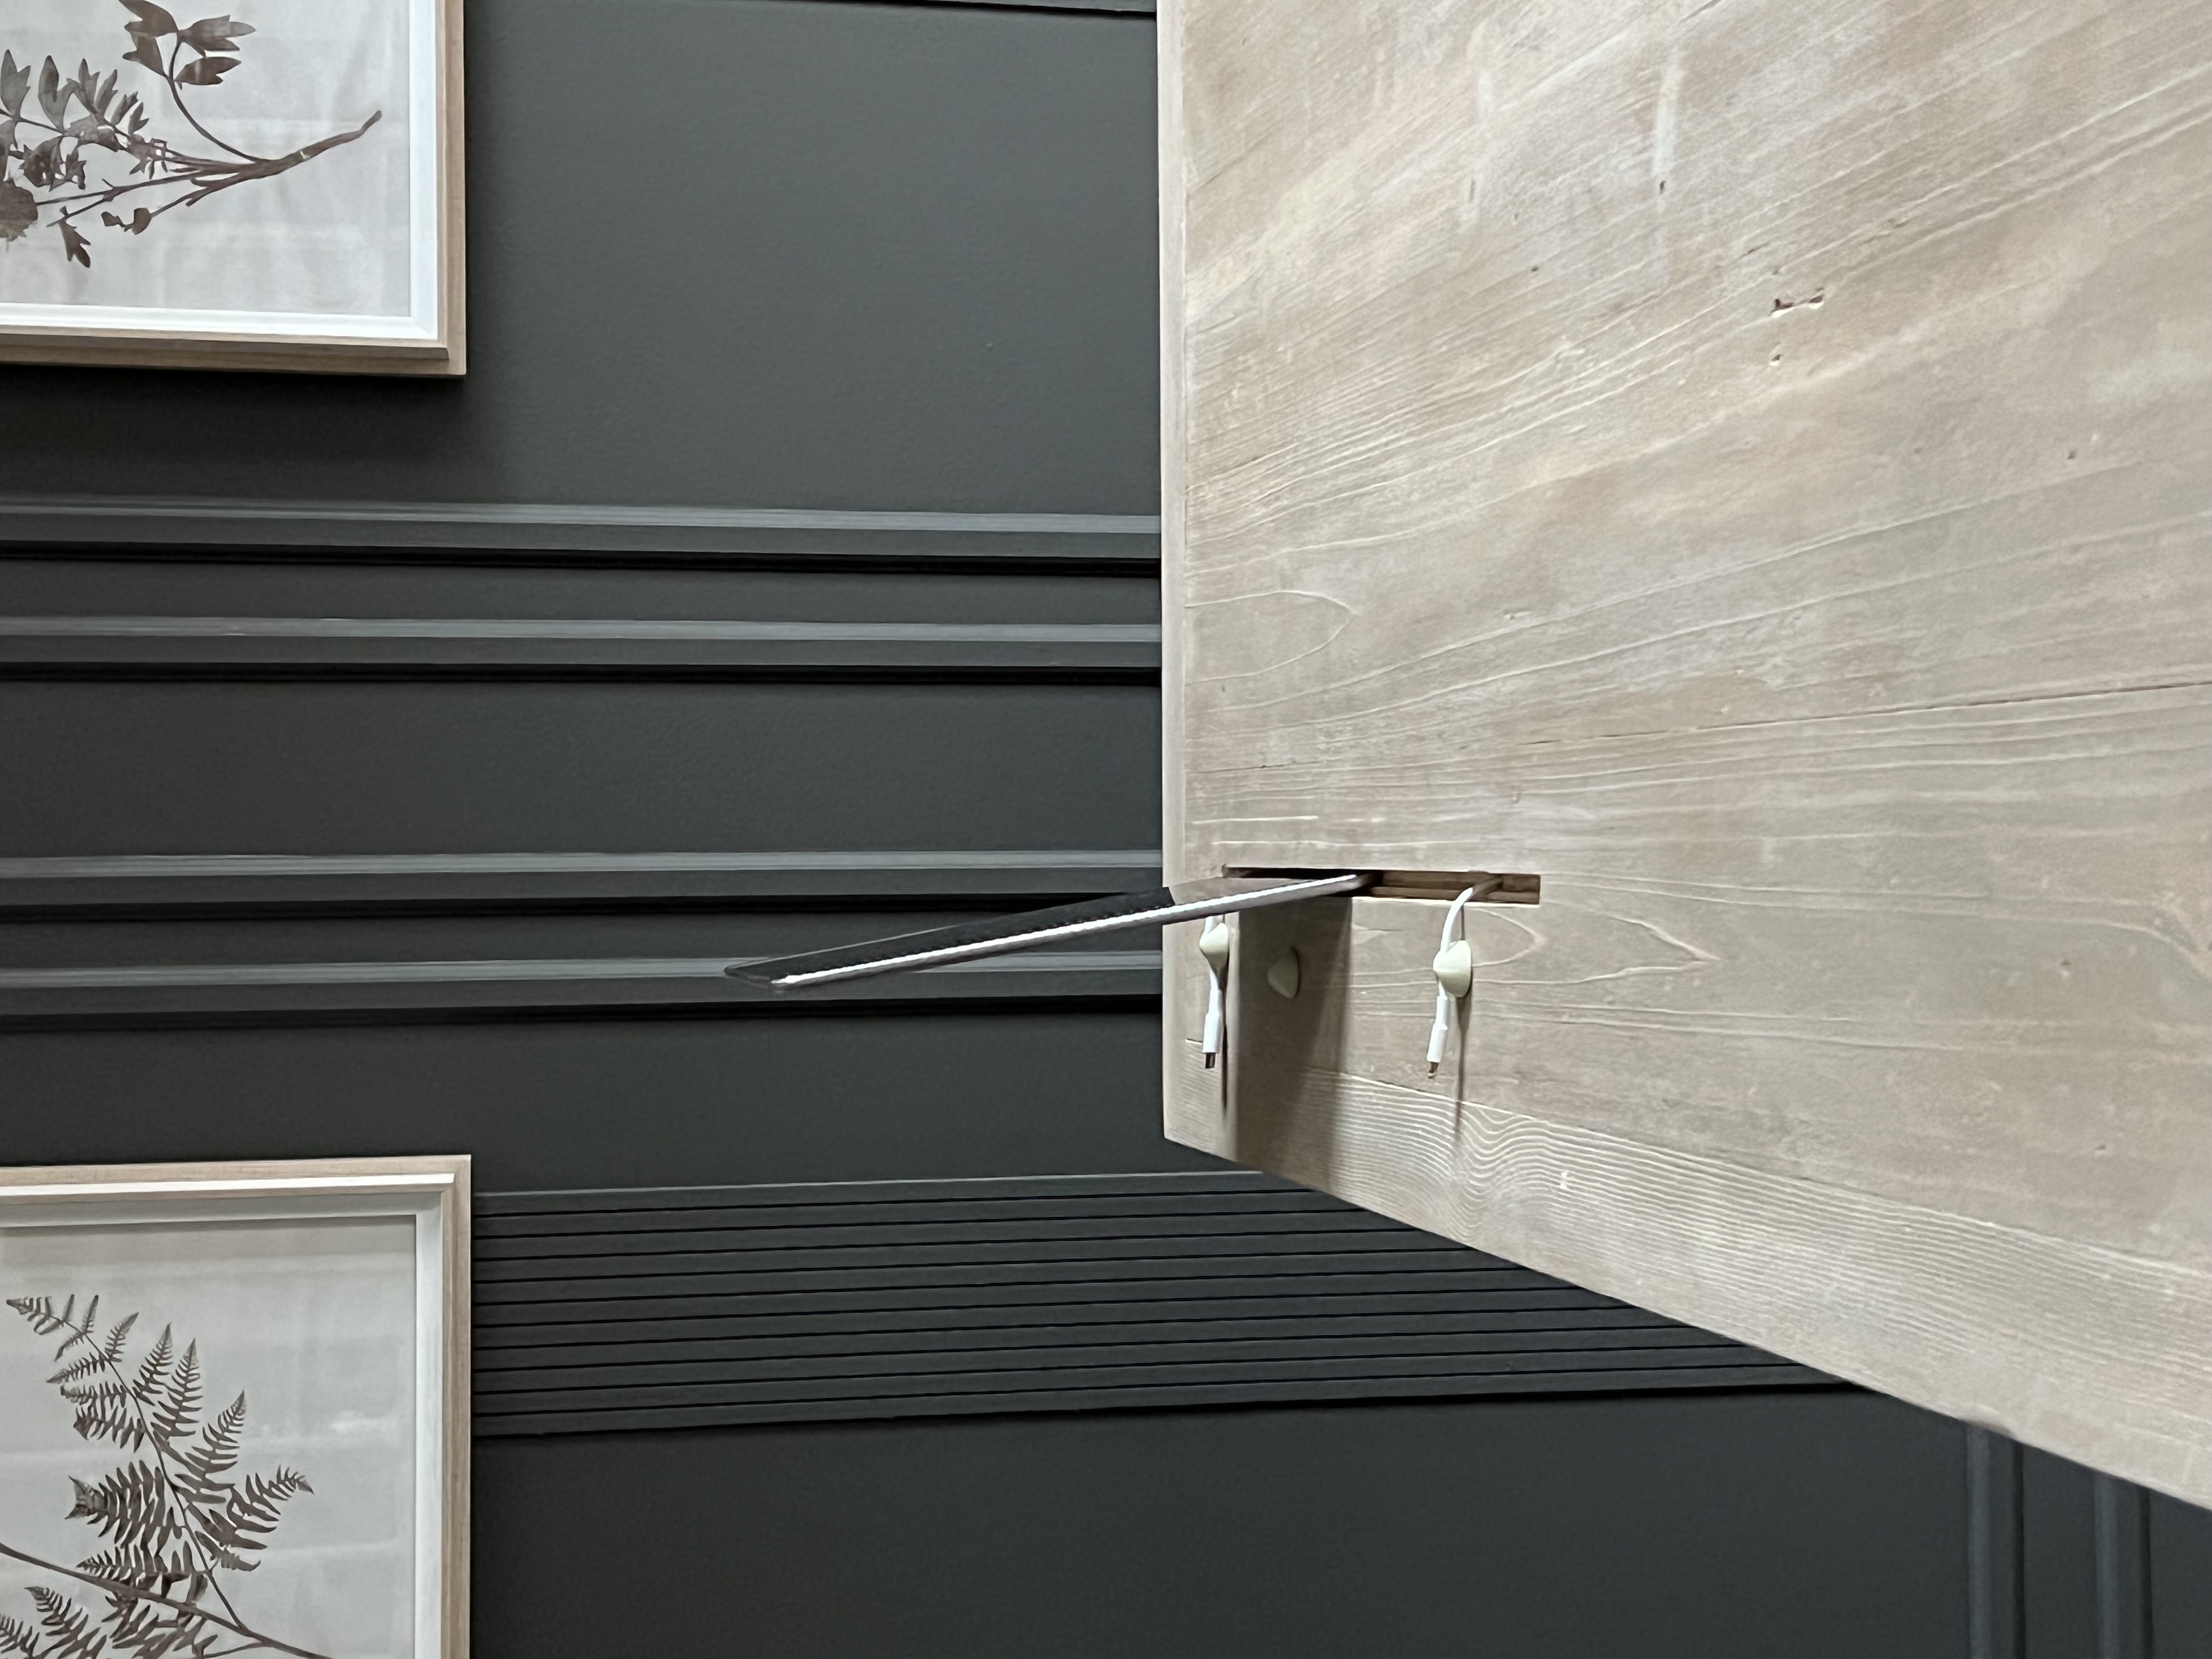
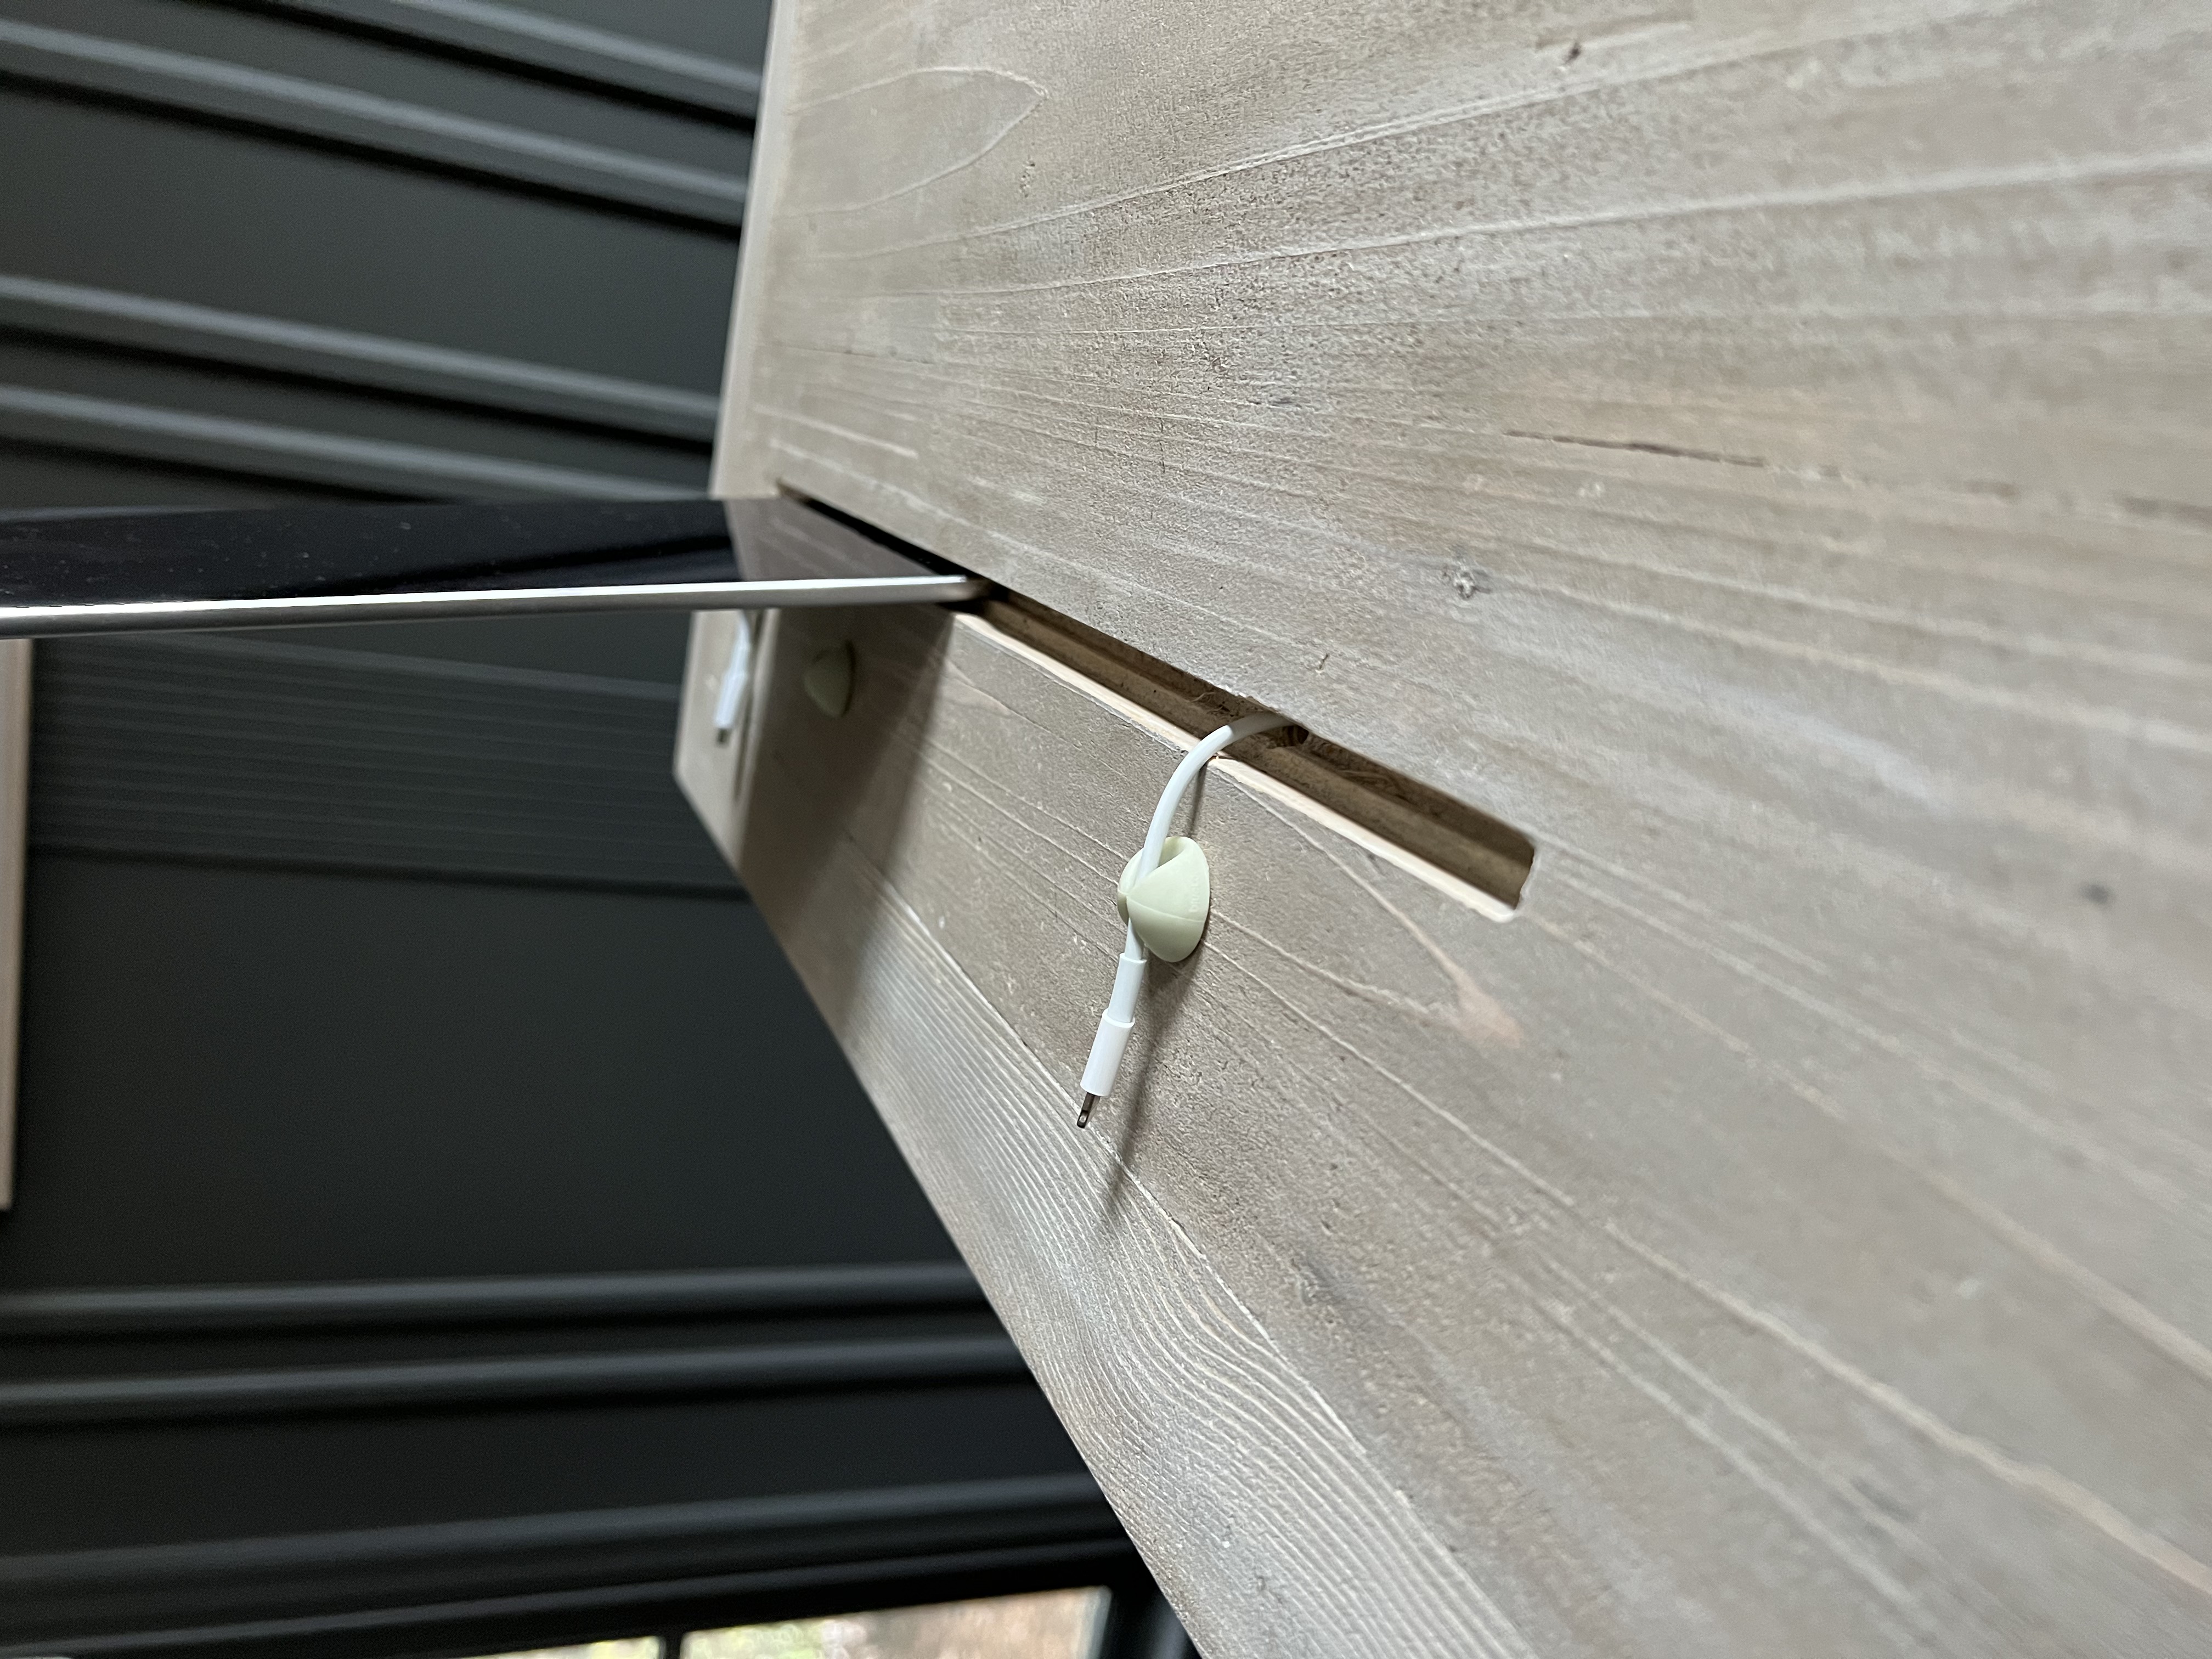
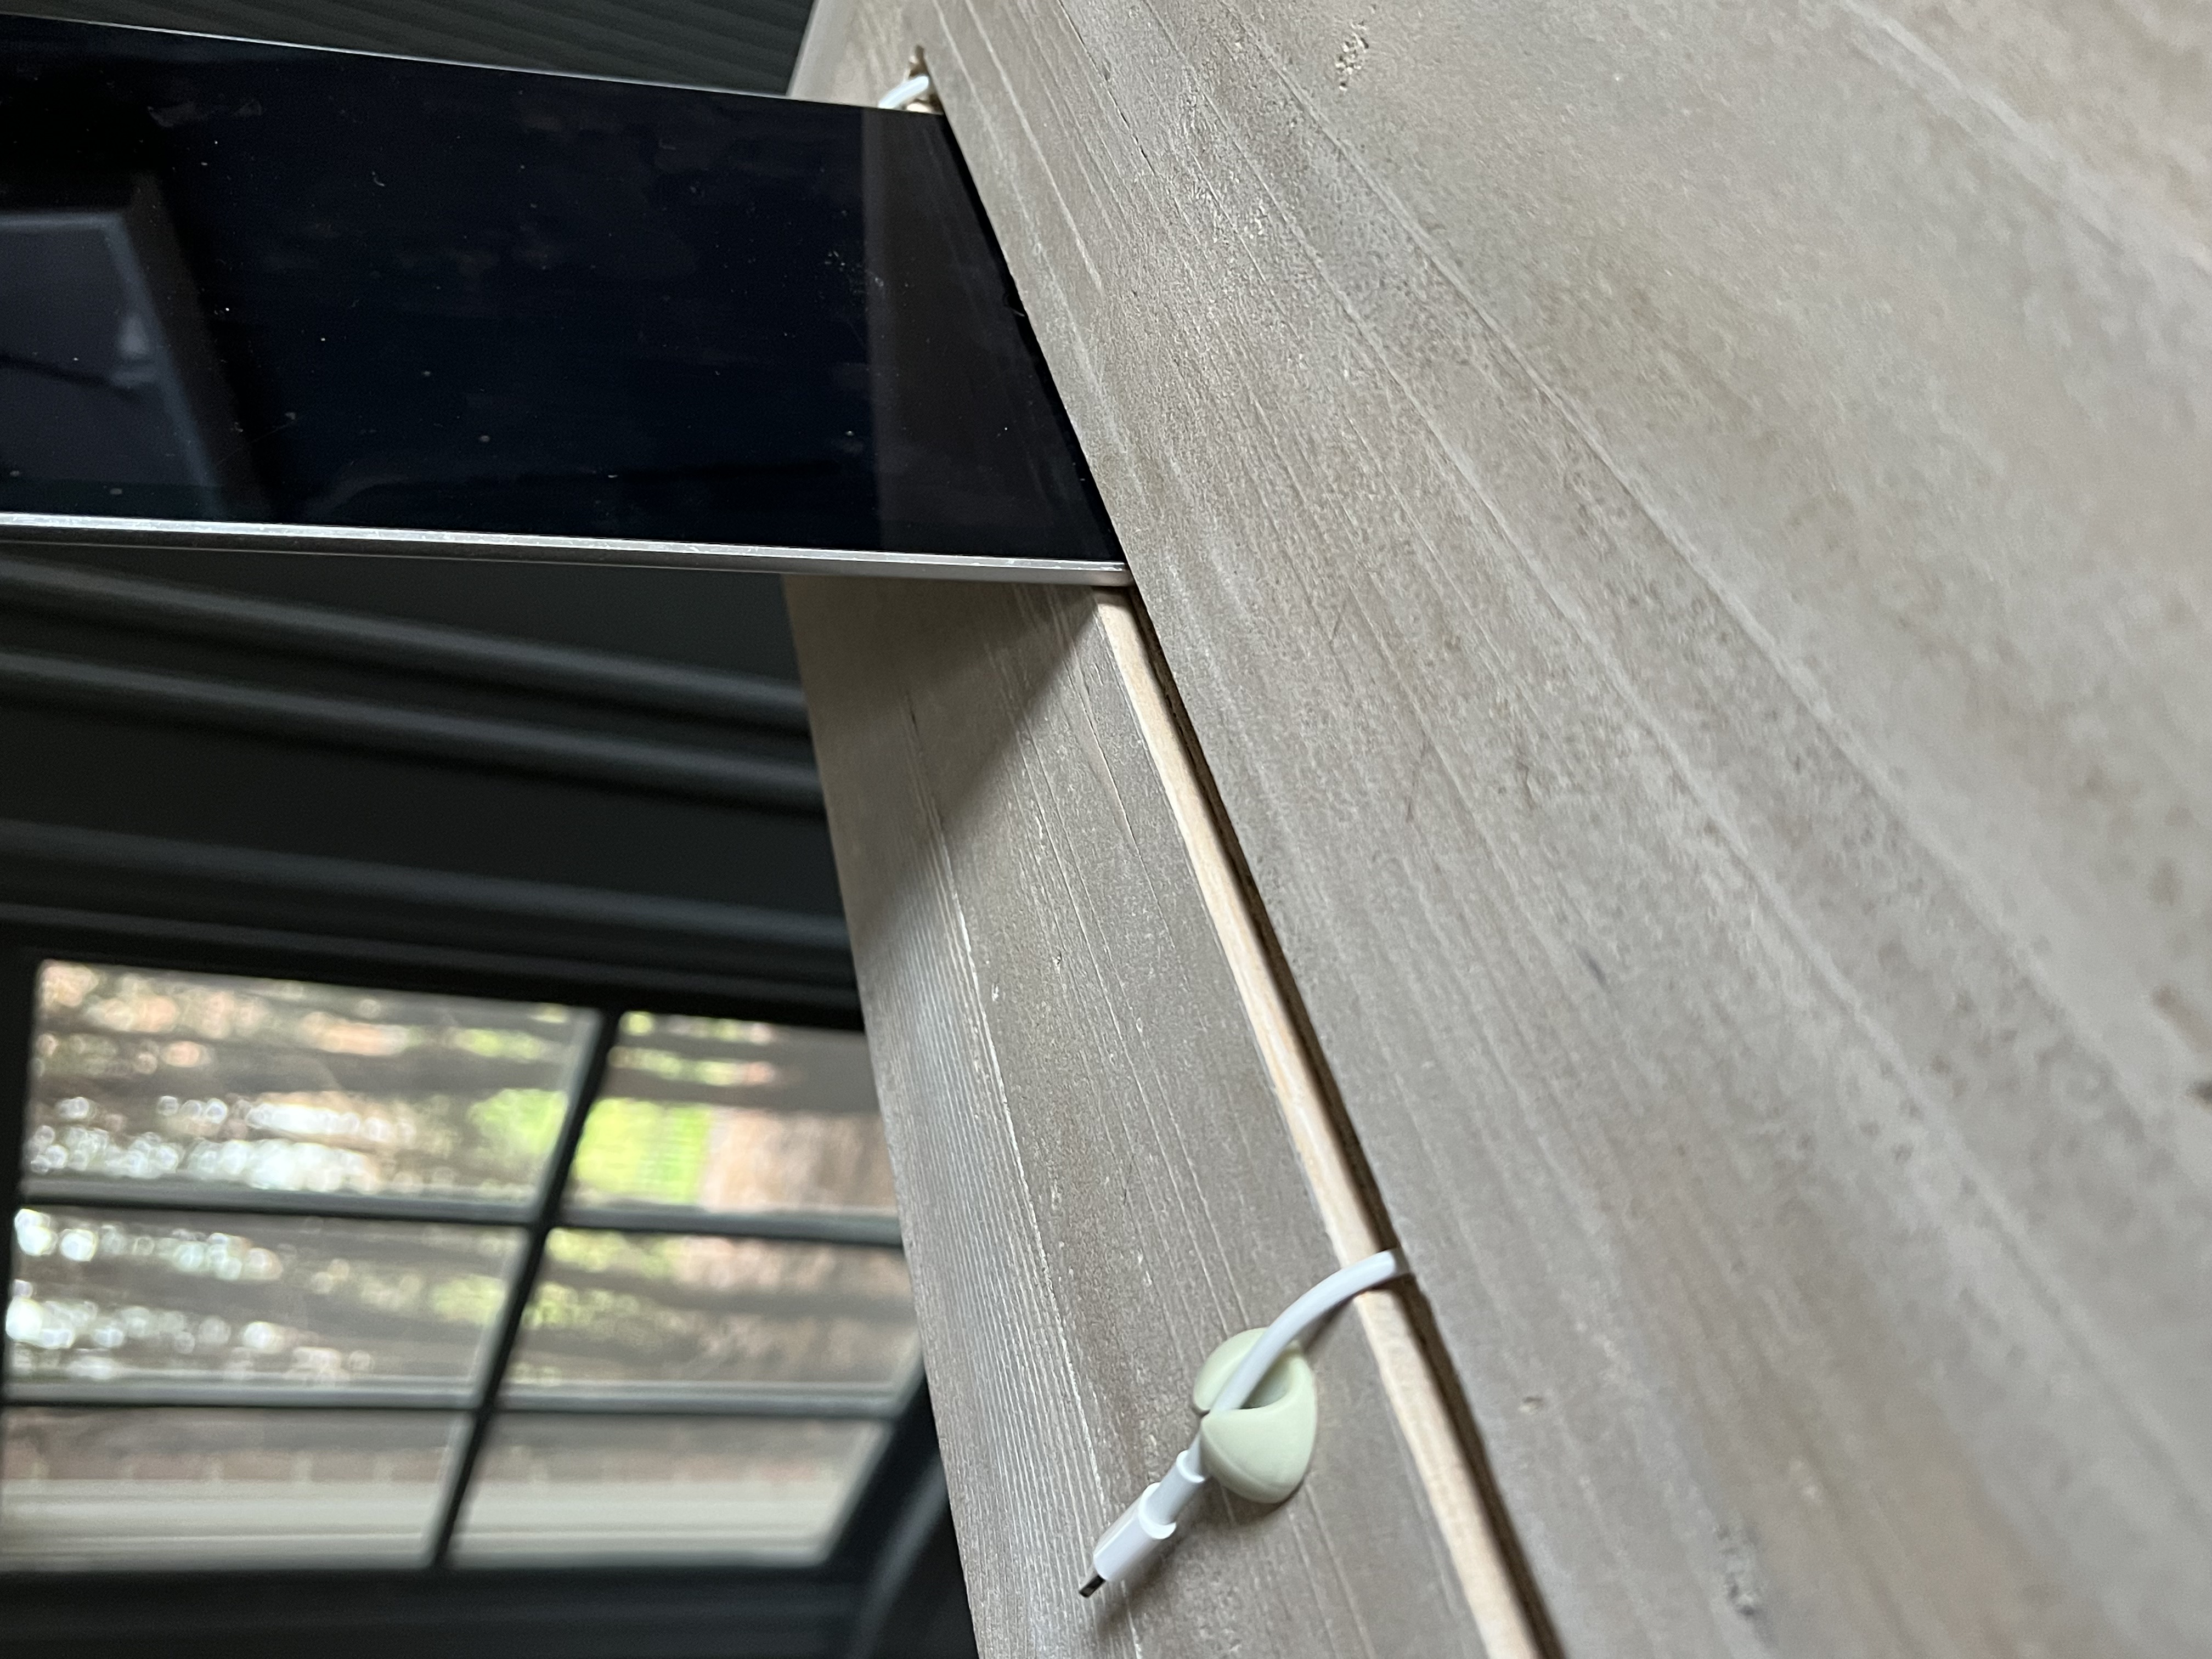
There are three holes/cords coming out. The holes are pretty small, but just in case the cords were to fall back down, we added these clips to hold them in place when not charging. For the size of the groove, we just kept slowly widening and deepening it until an ipad and iphone could fit.
Other Office Organization
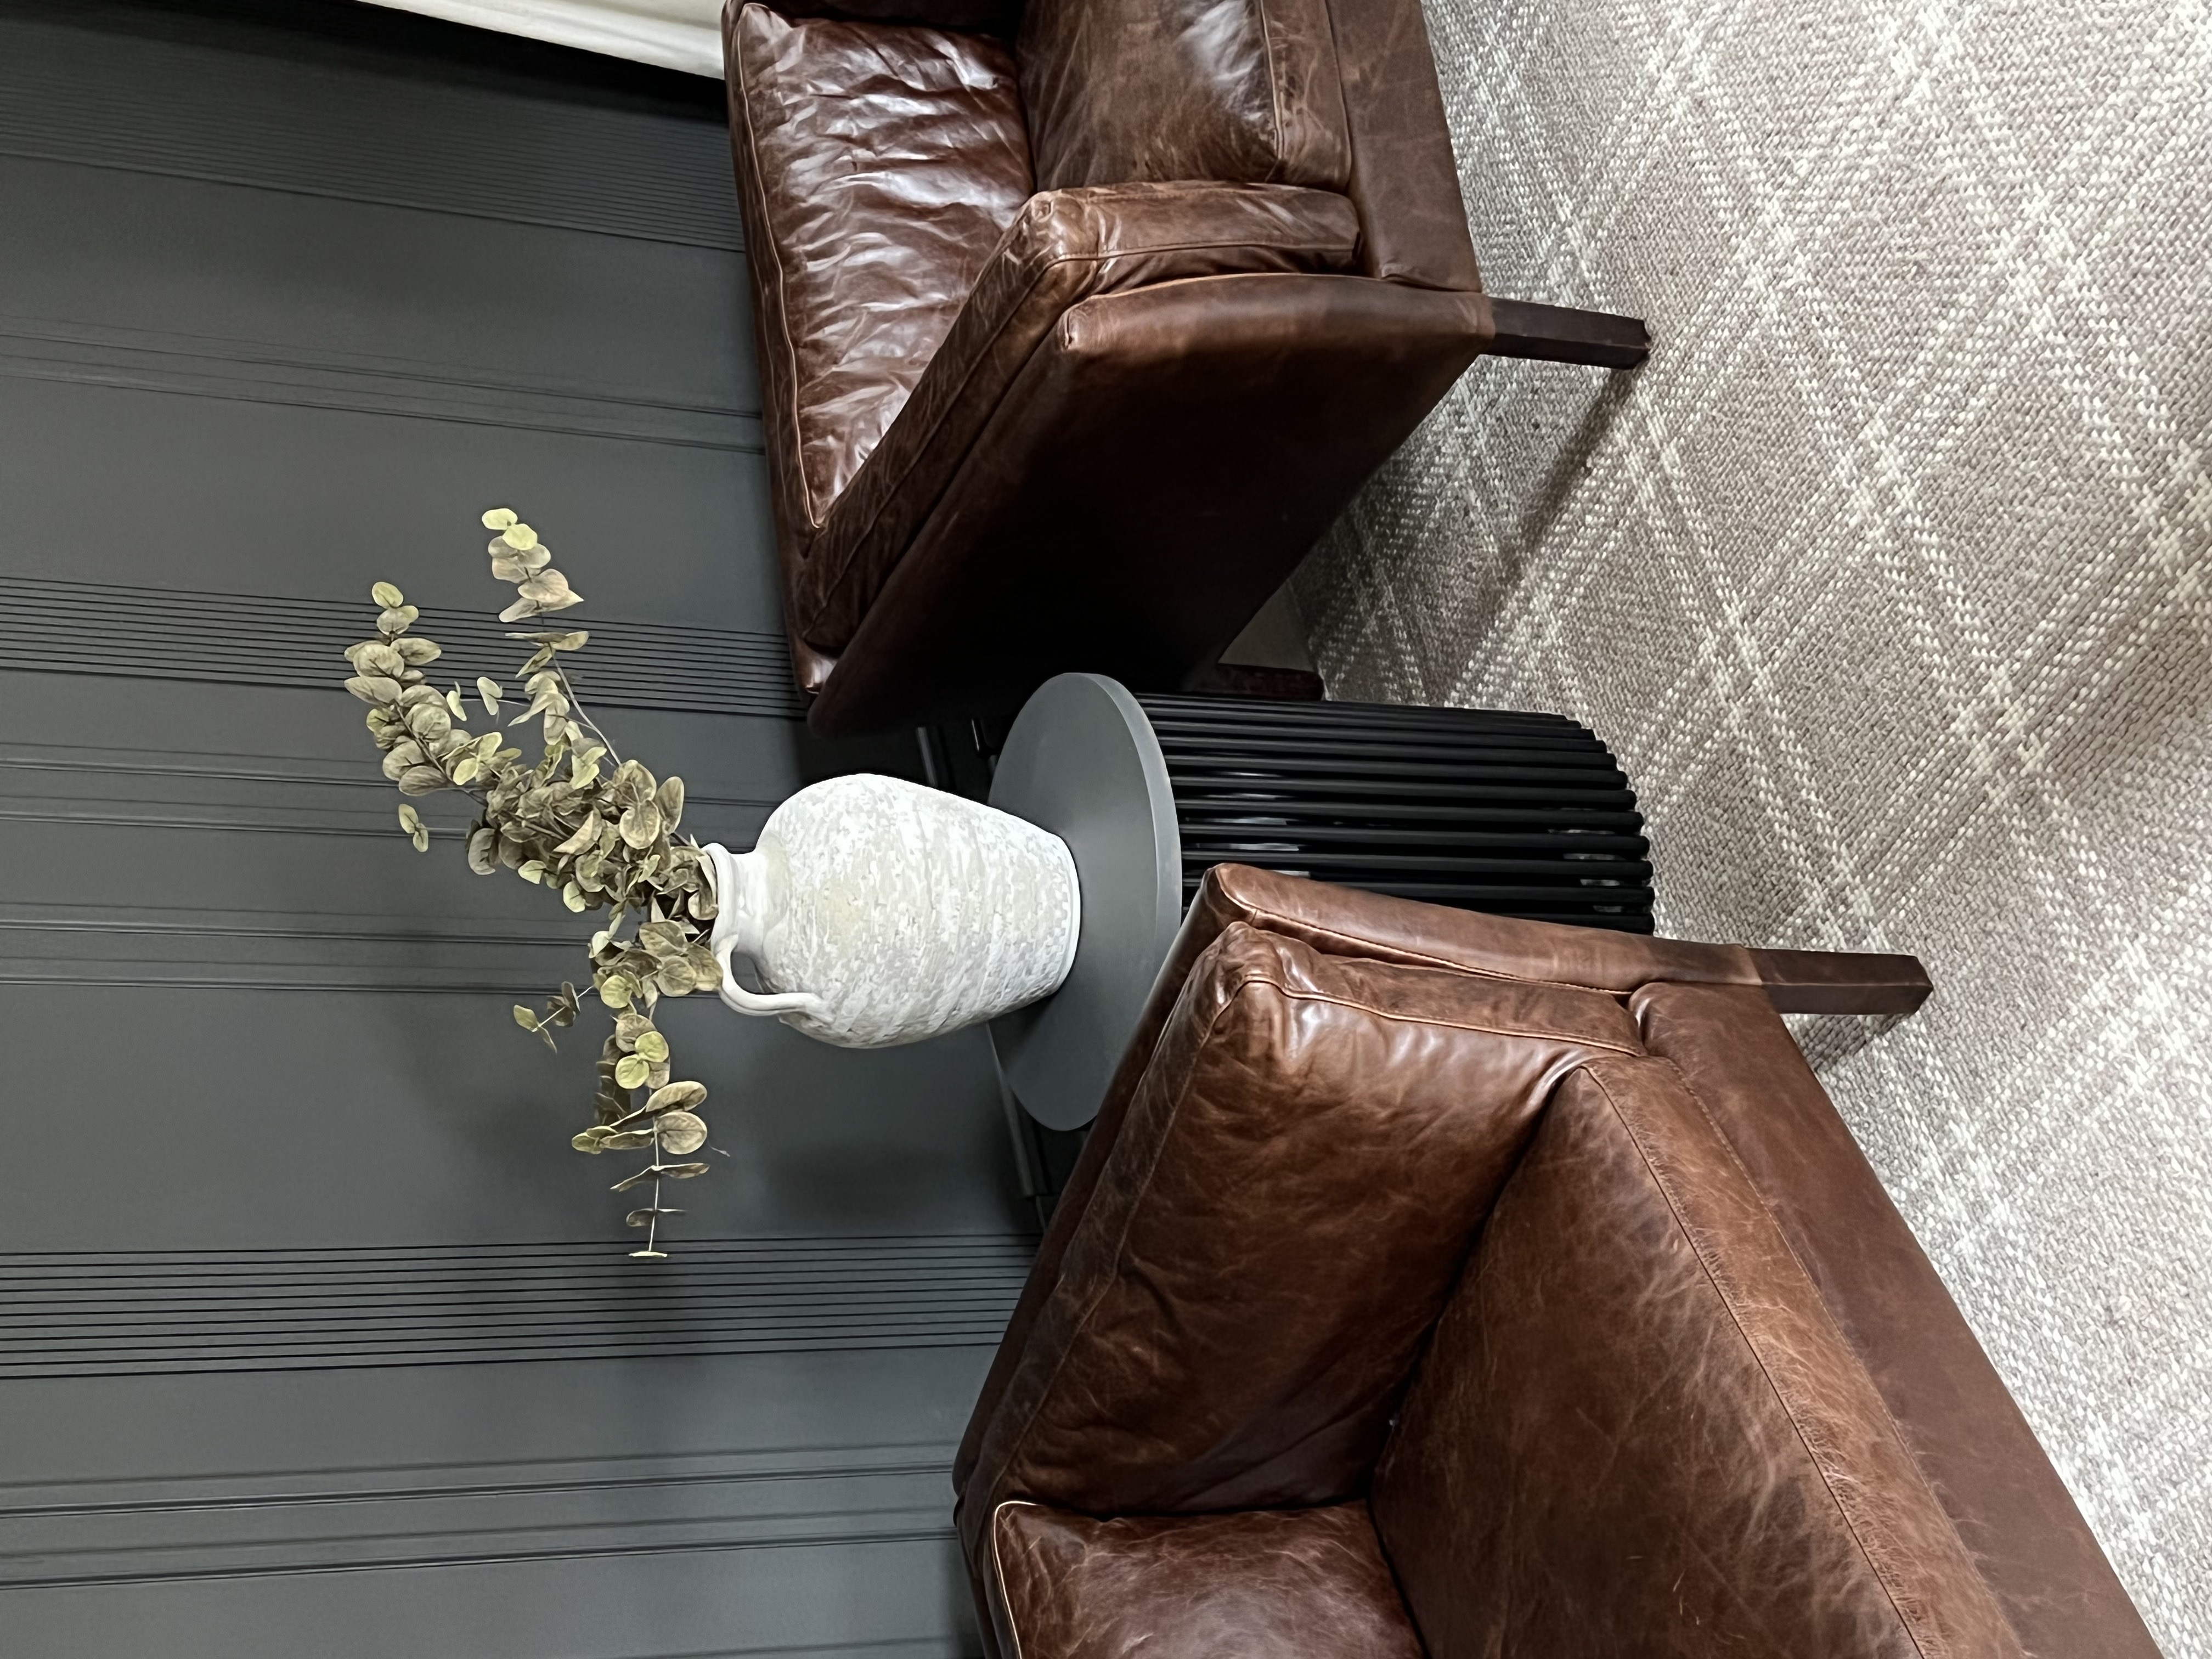
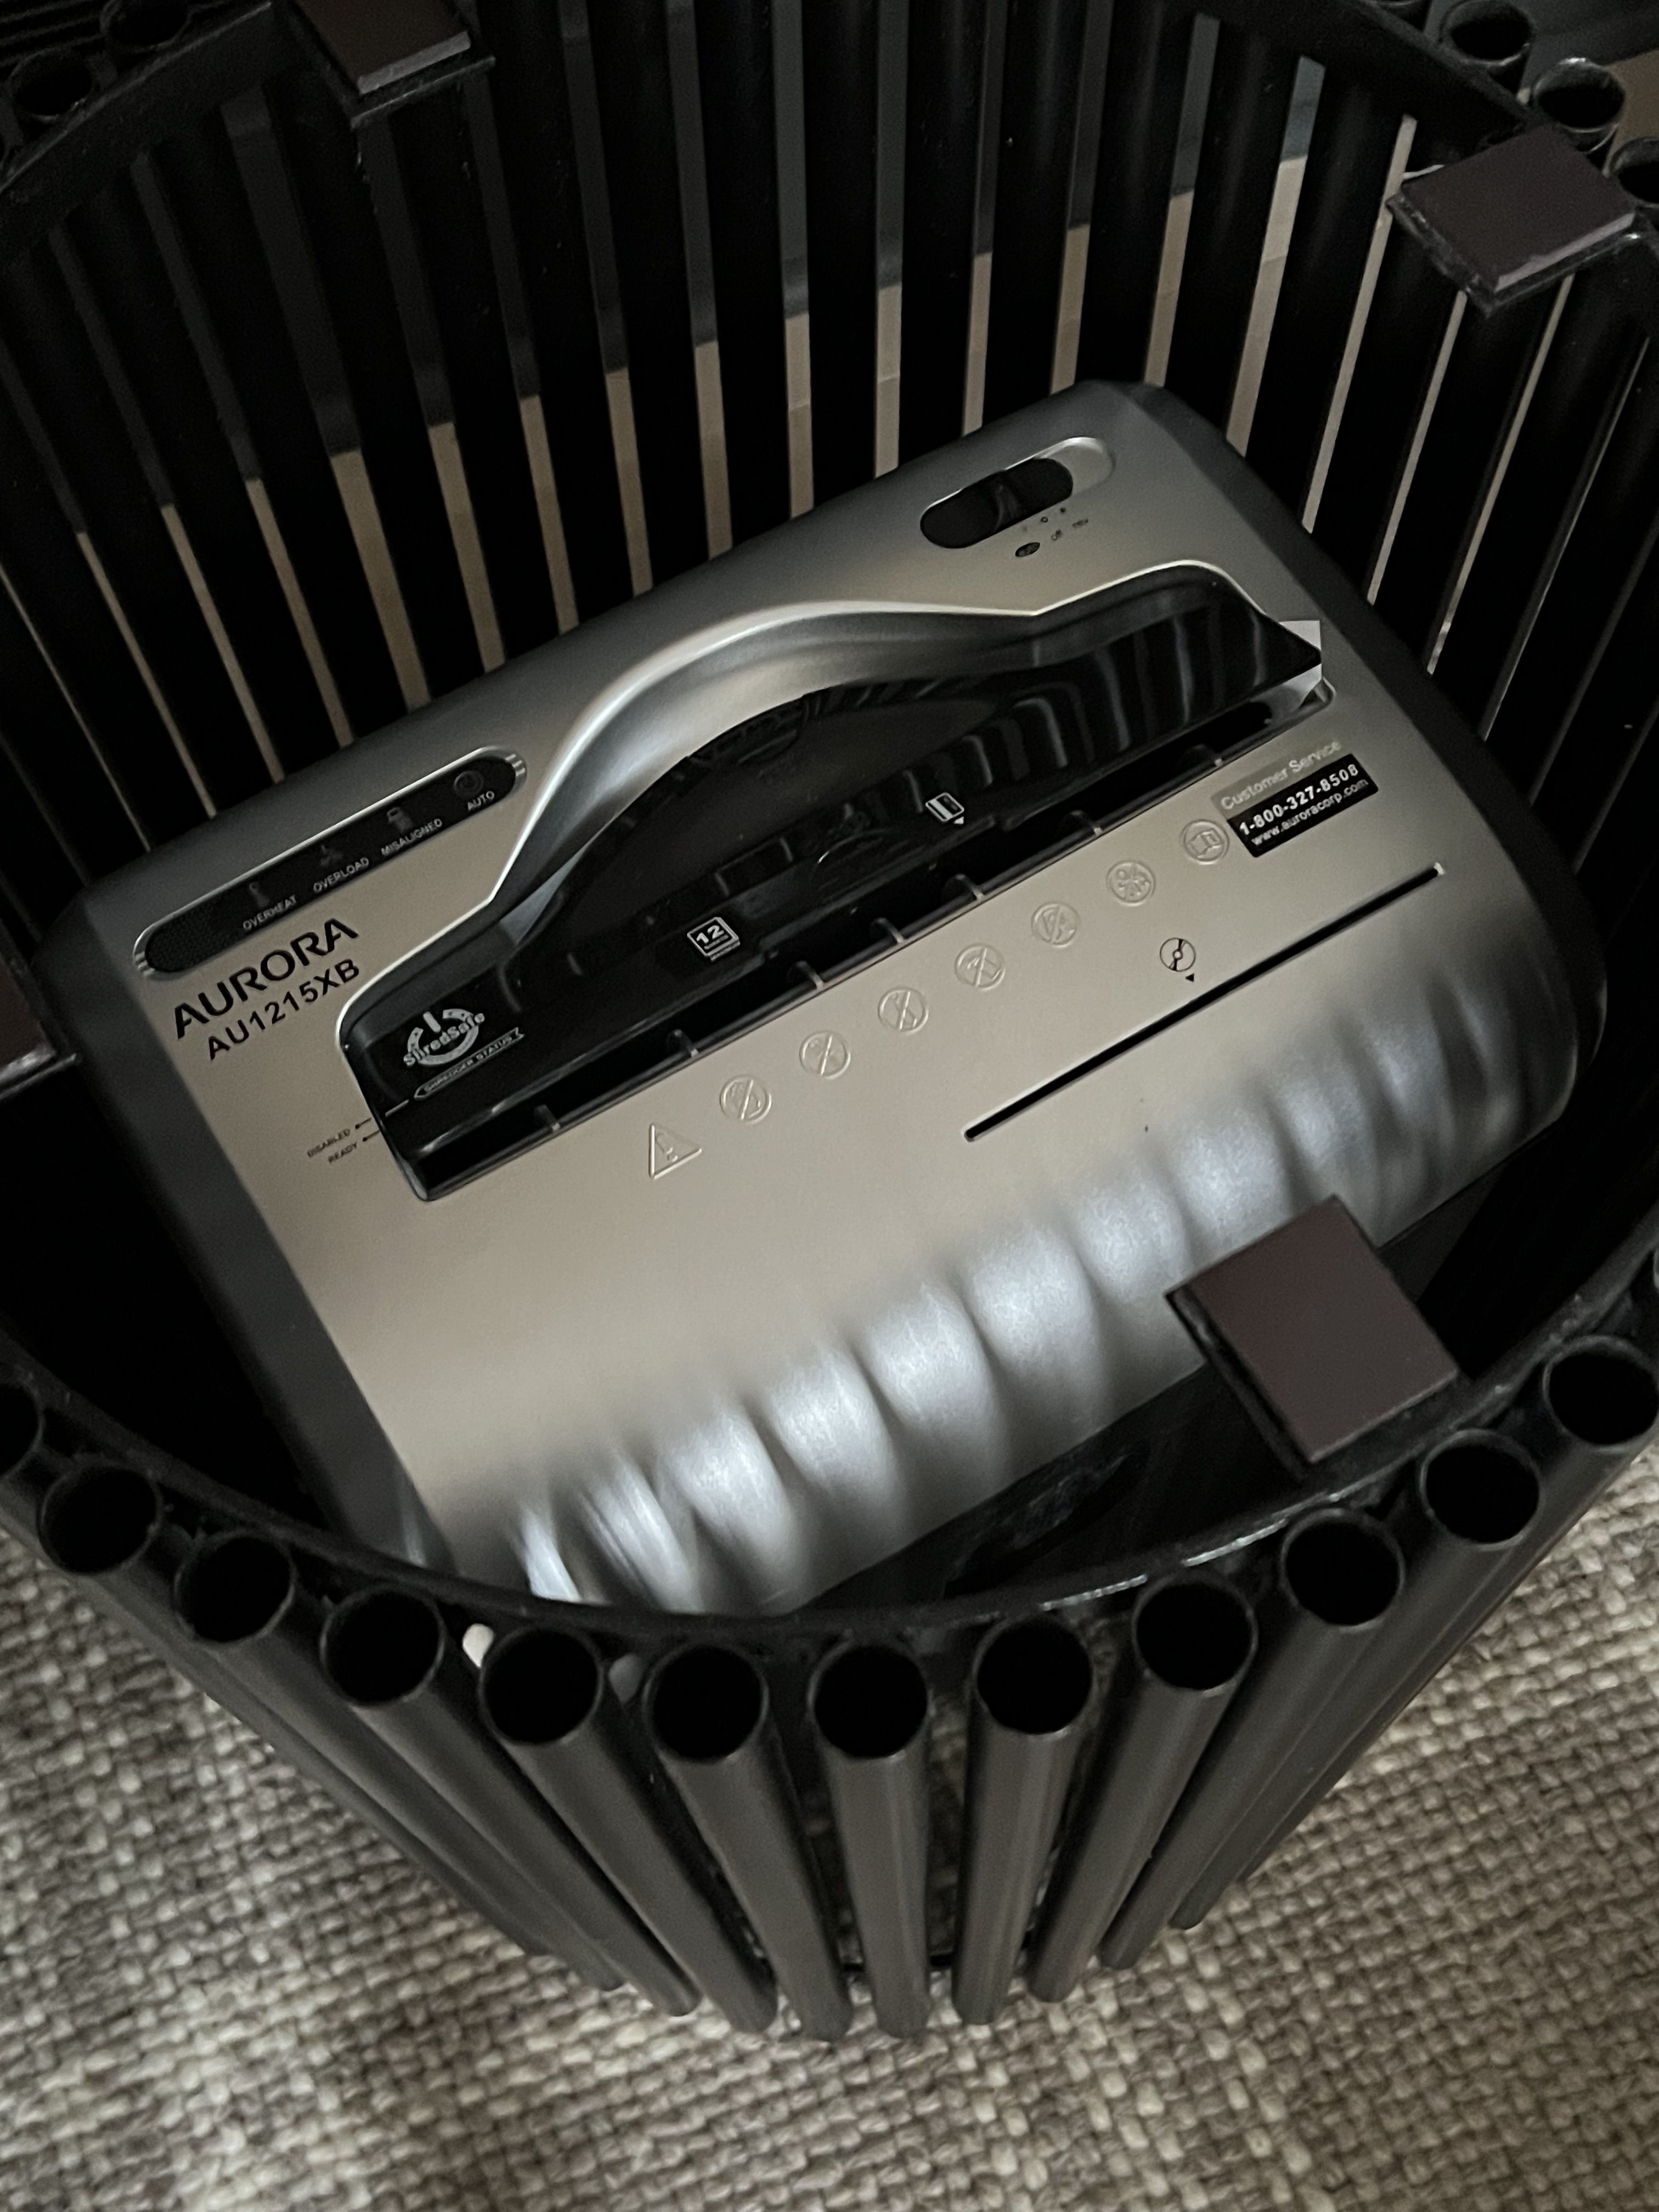
To hide the unattractive paper shredder, I ordered this side table off of Amazon. The wood top screws onto the bottom, so I just removed the screws and replaced them with strong magnetic strips. The top is now easily removable, and the shredder fits inside. The plug sticks out the back slats, just enough, so when we need to use it, we plug it into an extension cord that stays hidden behind the chairs.
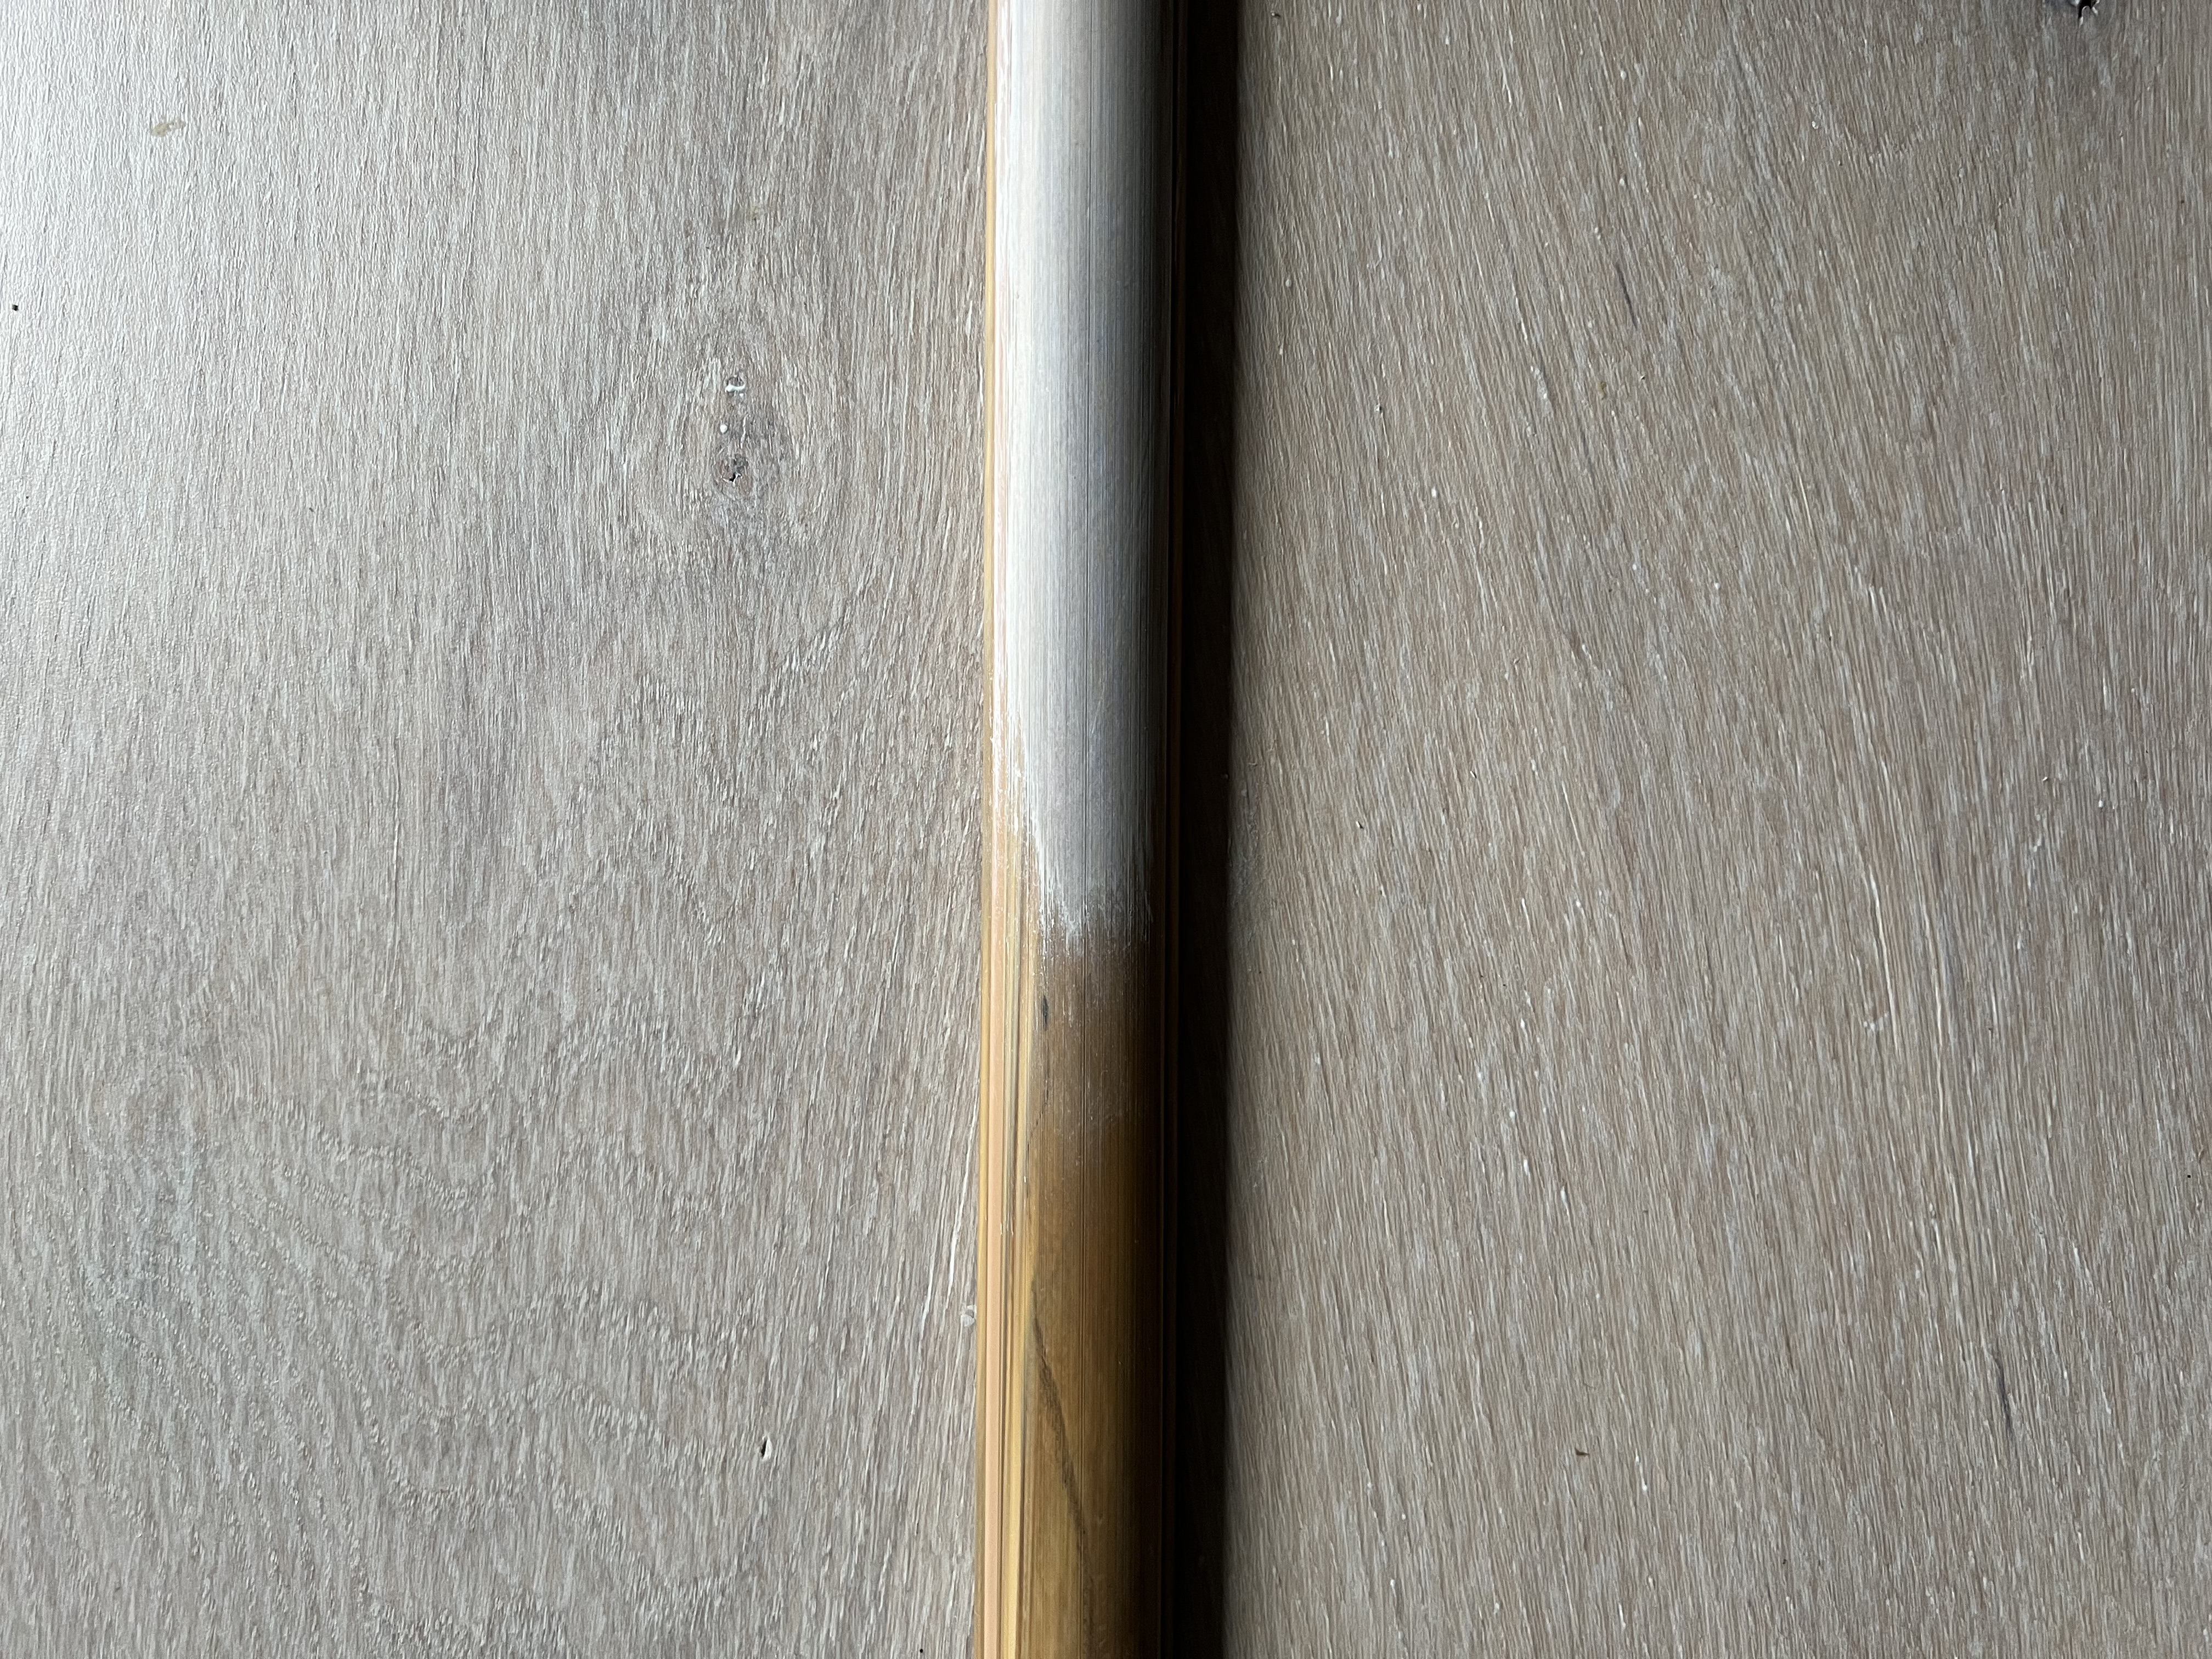
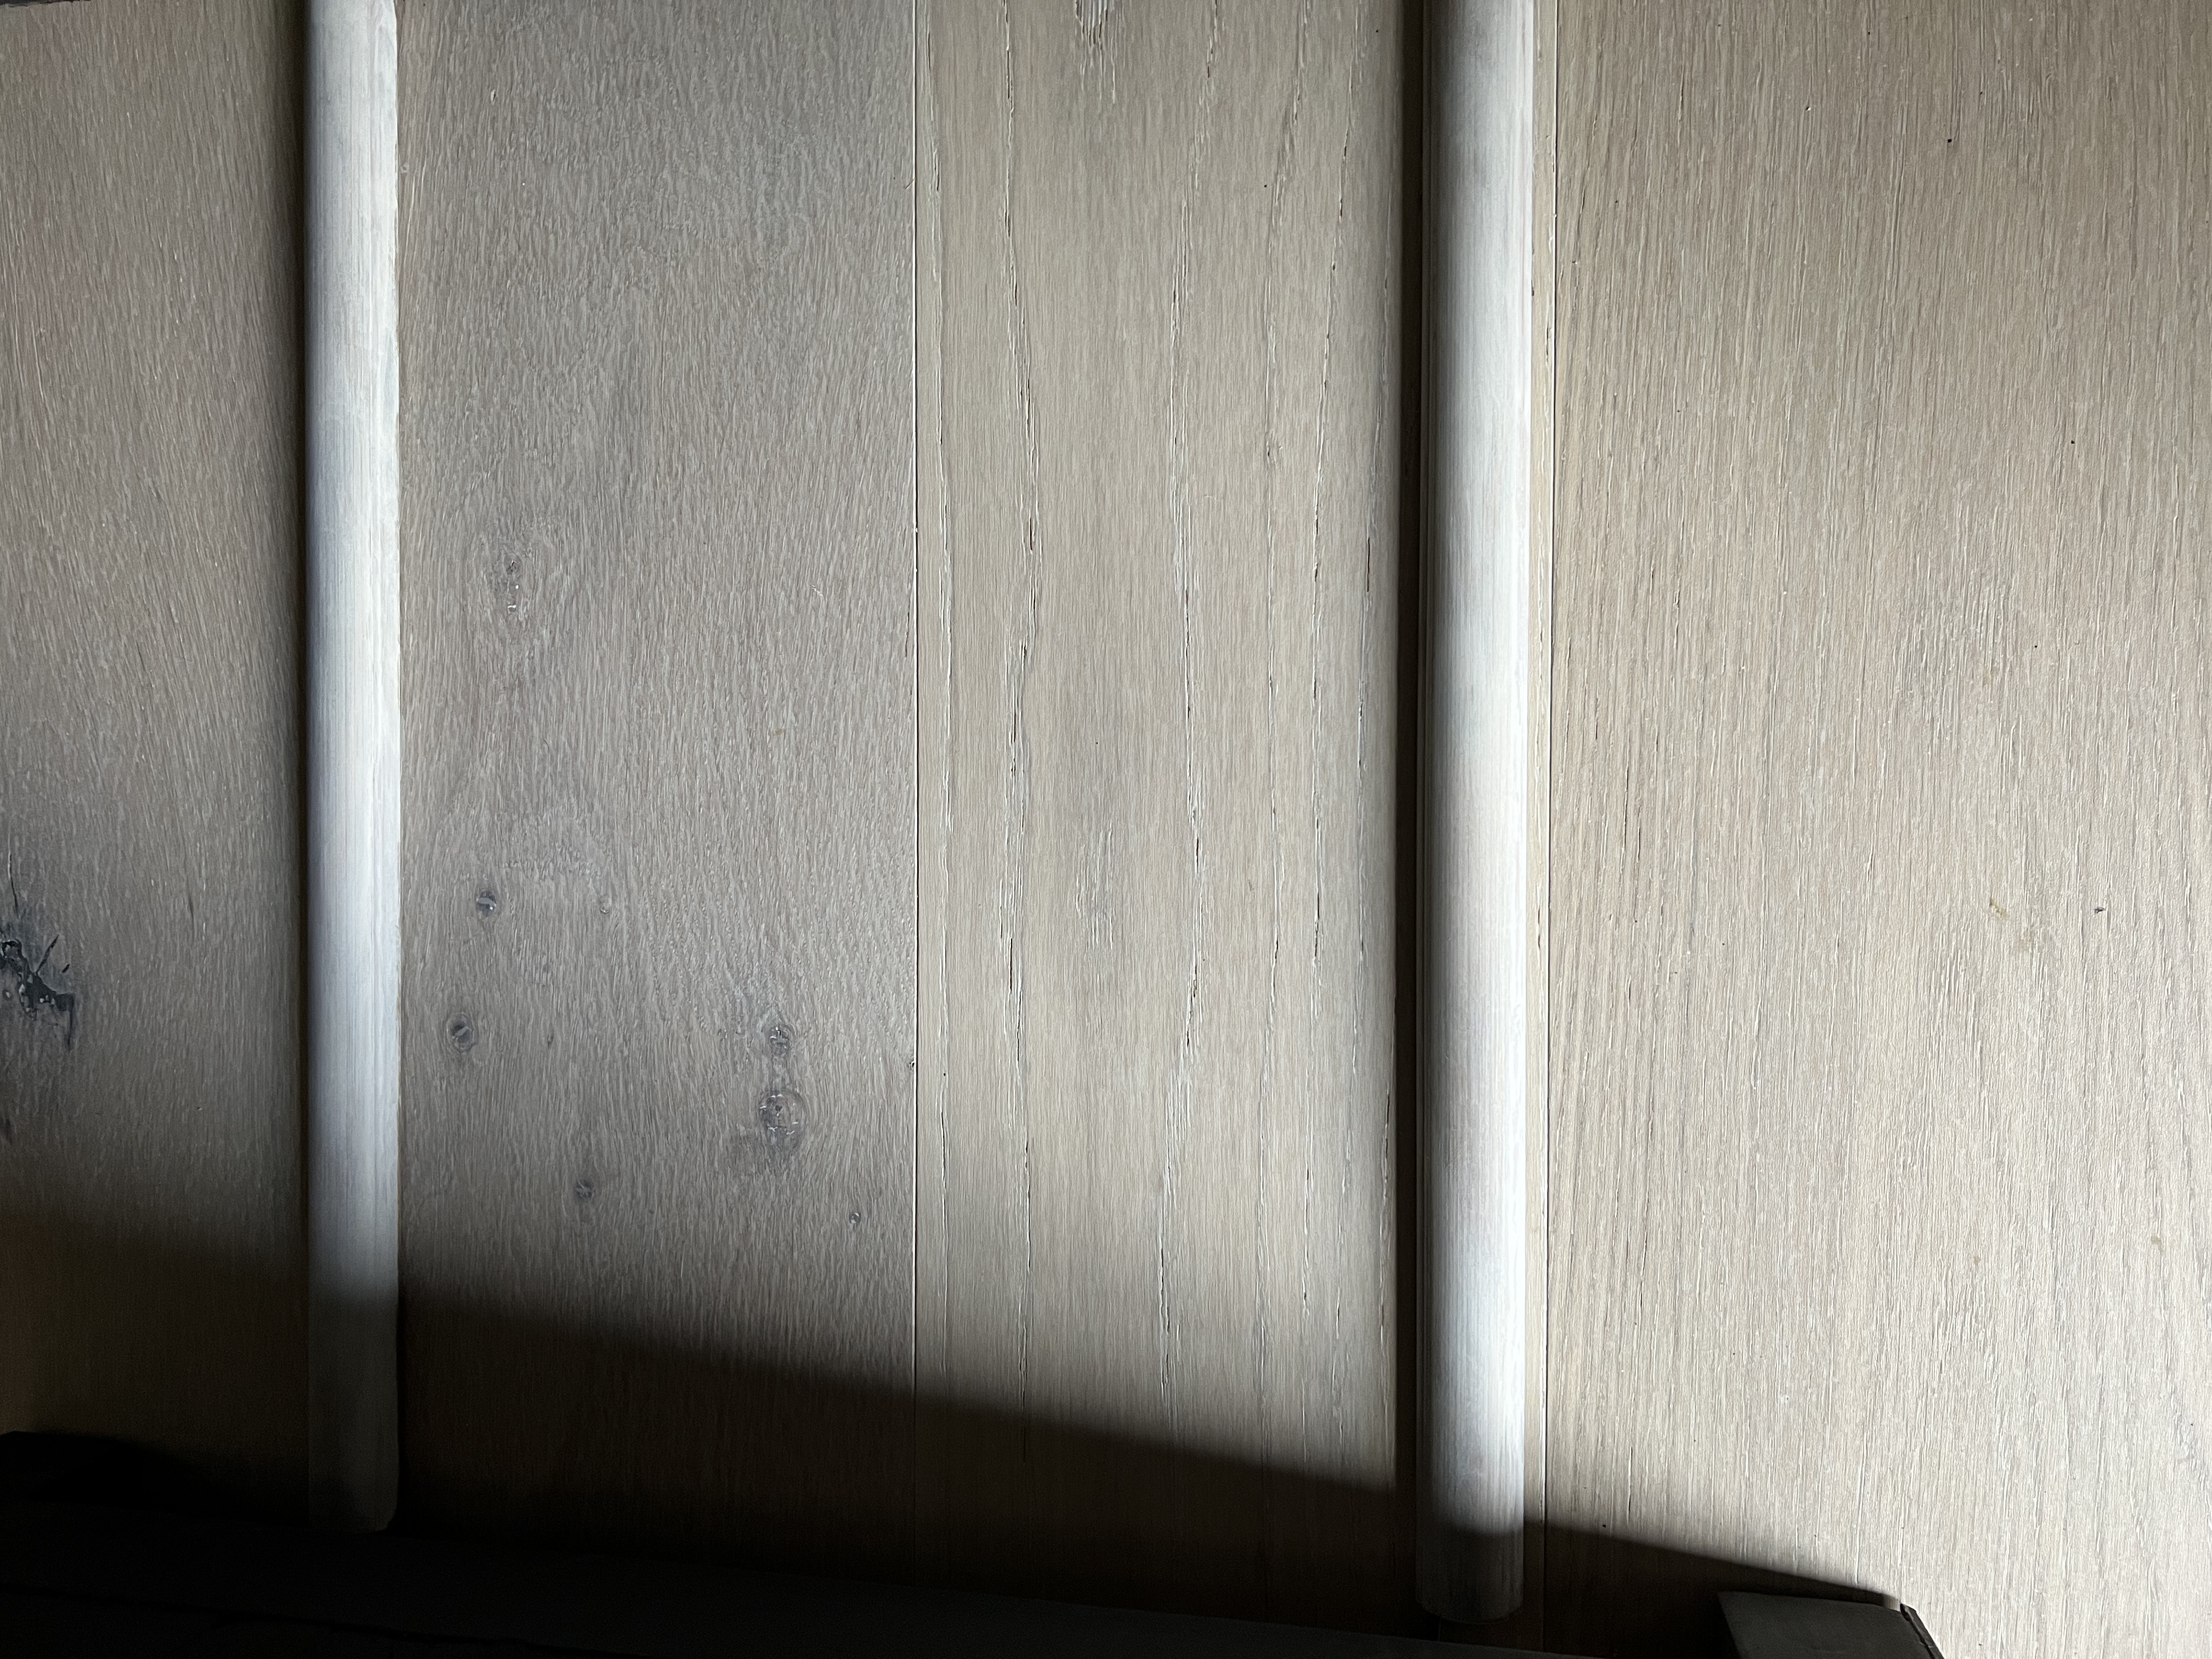
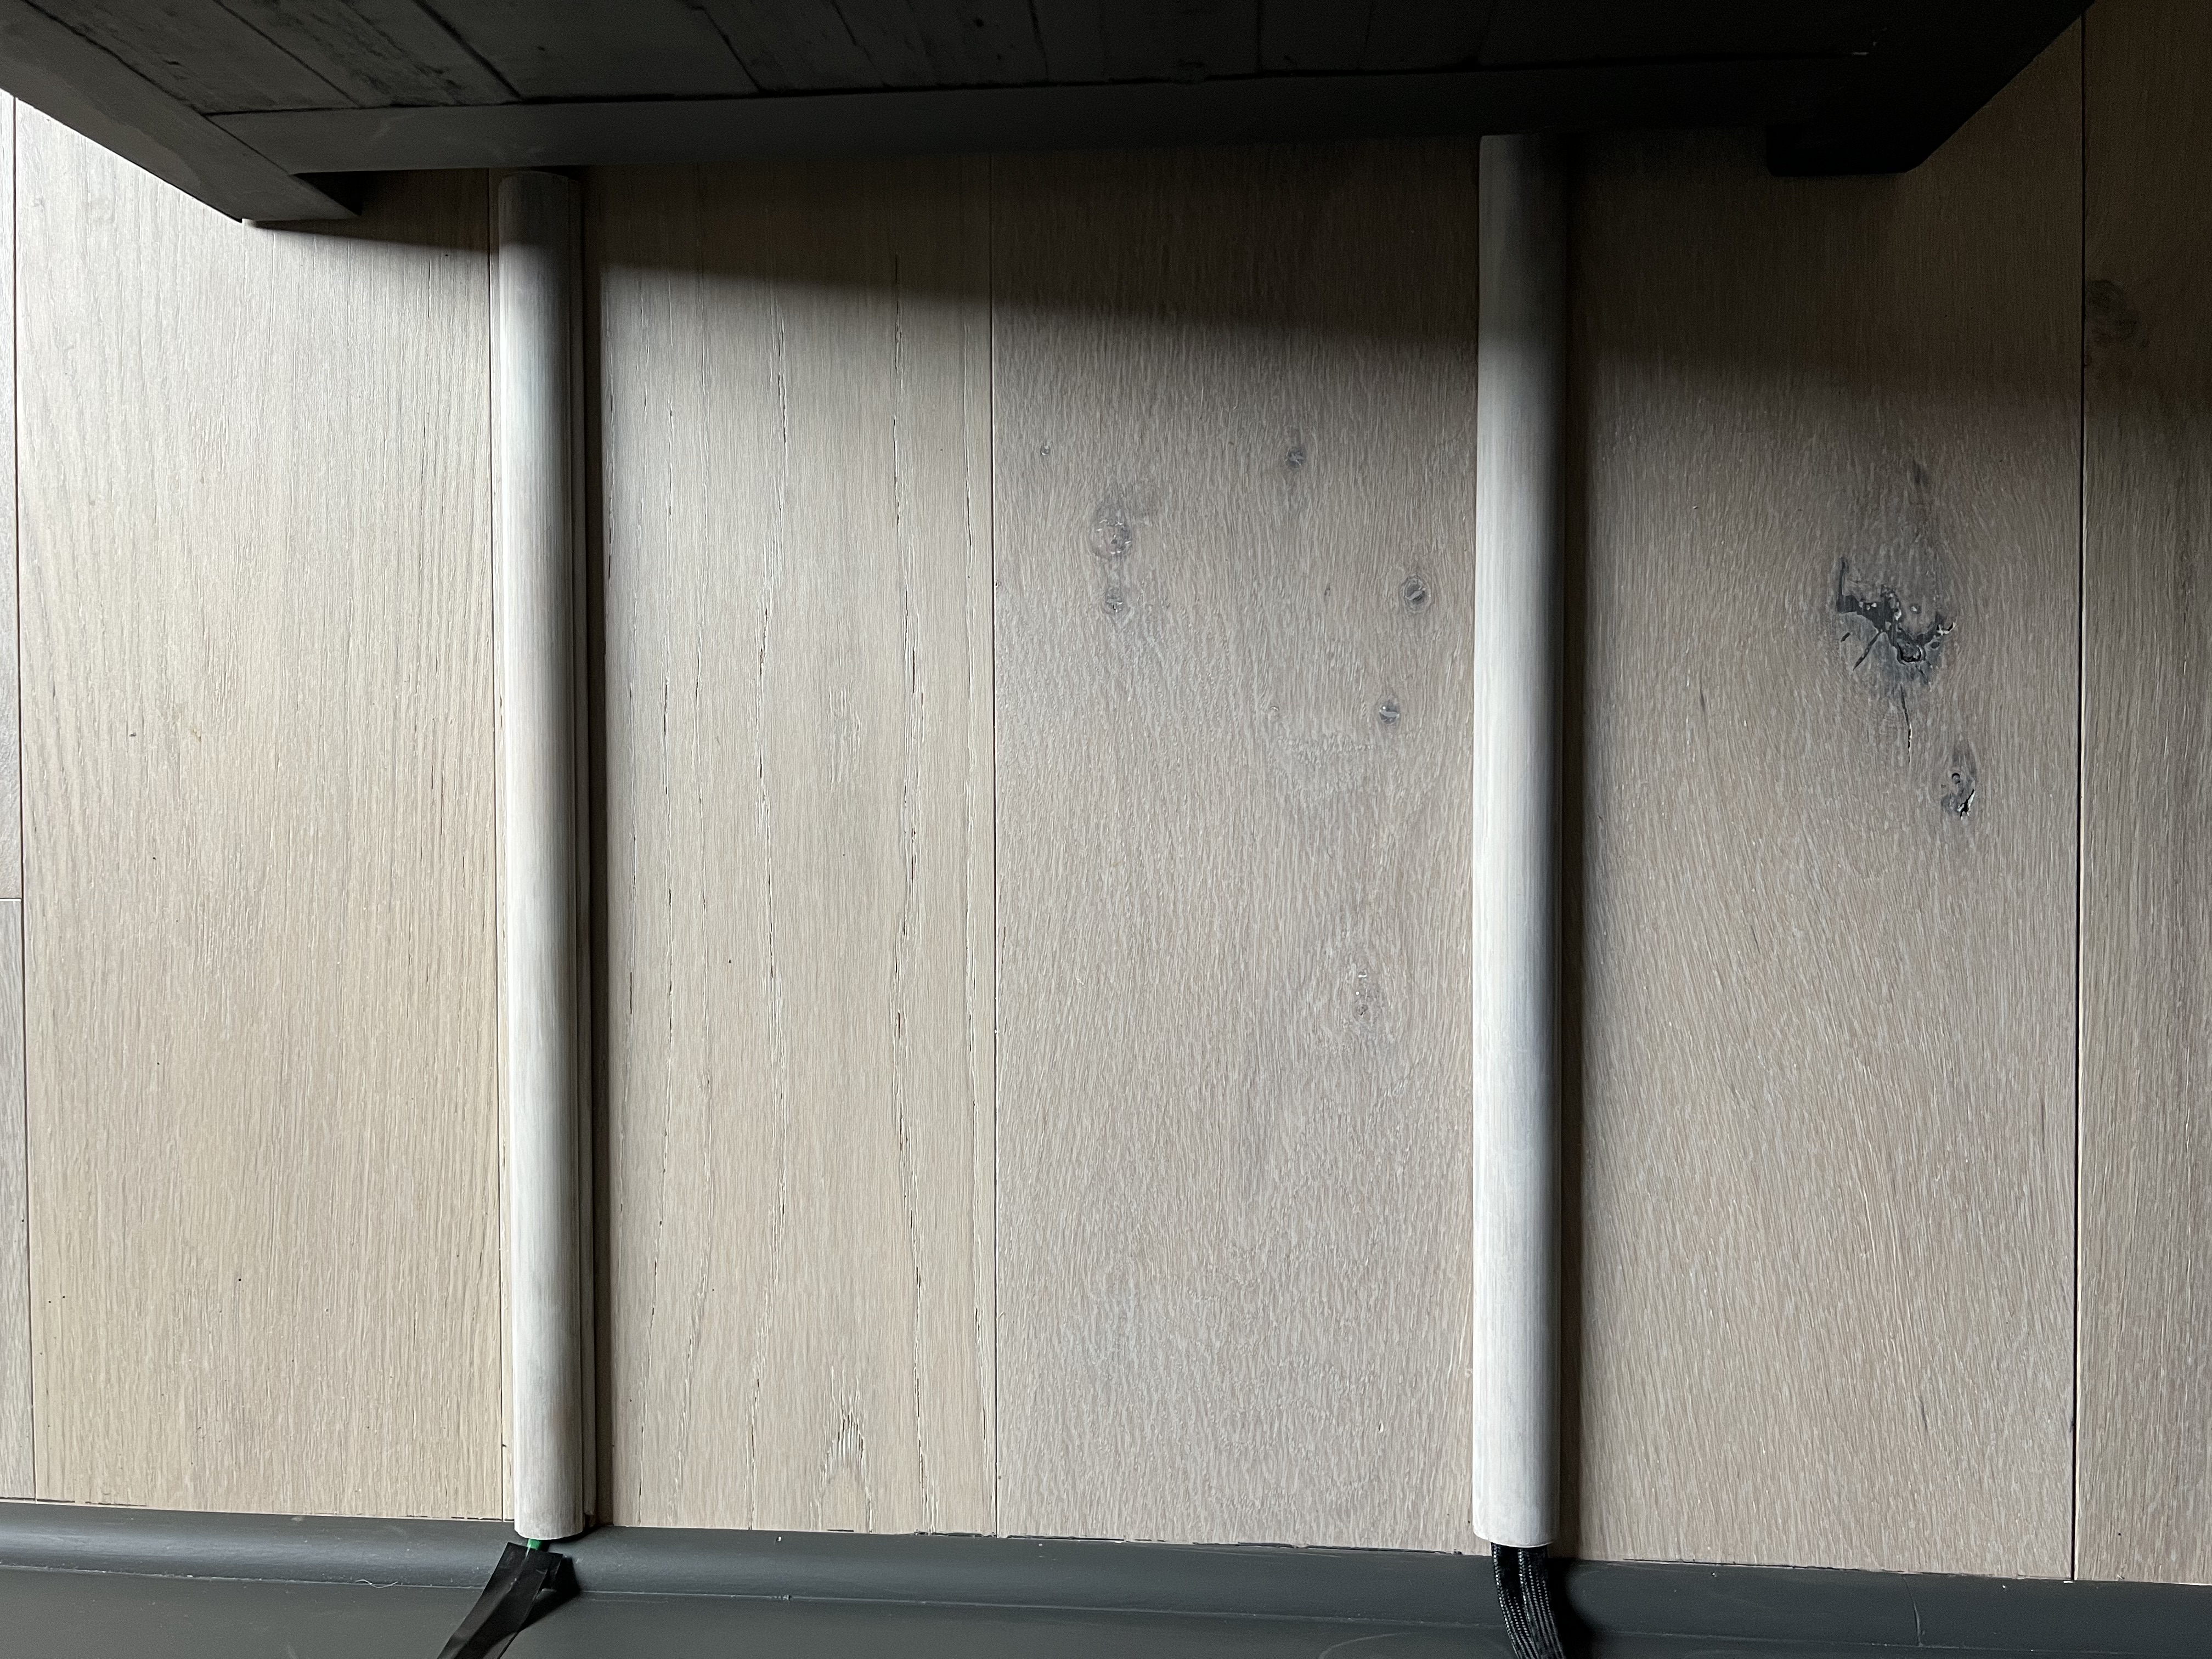
The main cords leading into the desk are covered up by this cord cover. The true color of it is shown in the below left photo. It didn’t blend well with the floors, so I painted it with Benjamin Moore White Oaks paint. I had originally gotten this rubber cord cover that matched the floors really well, but it didn’t lie flat, no matter what I tried.
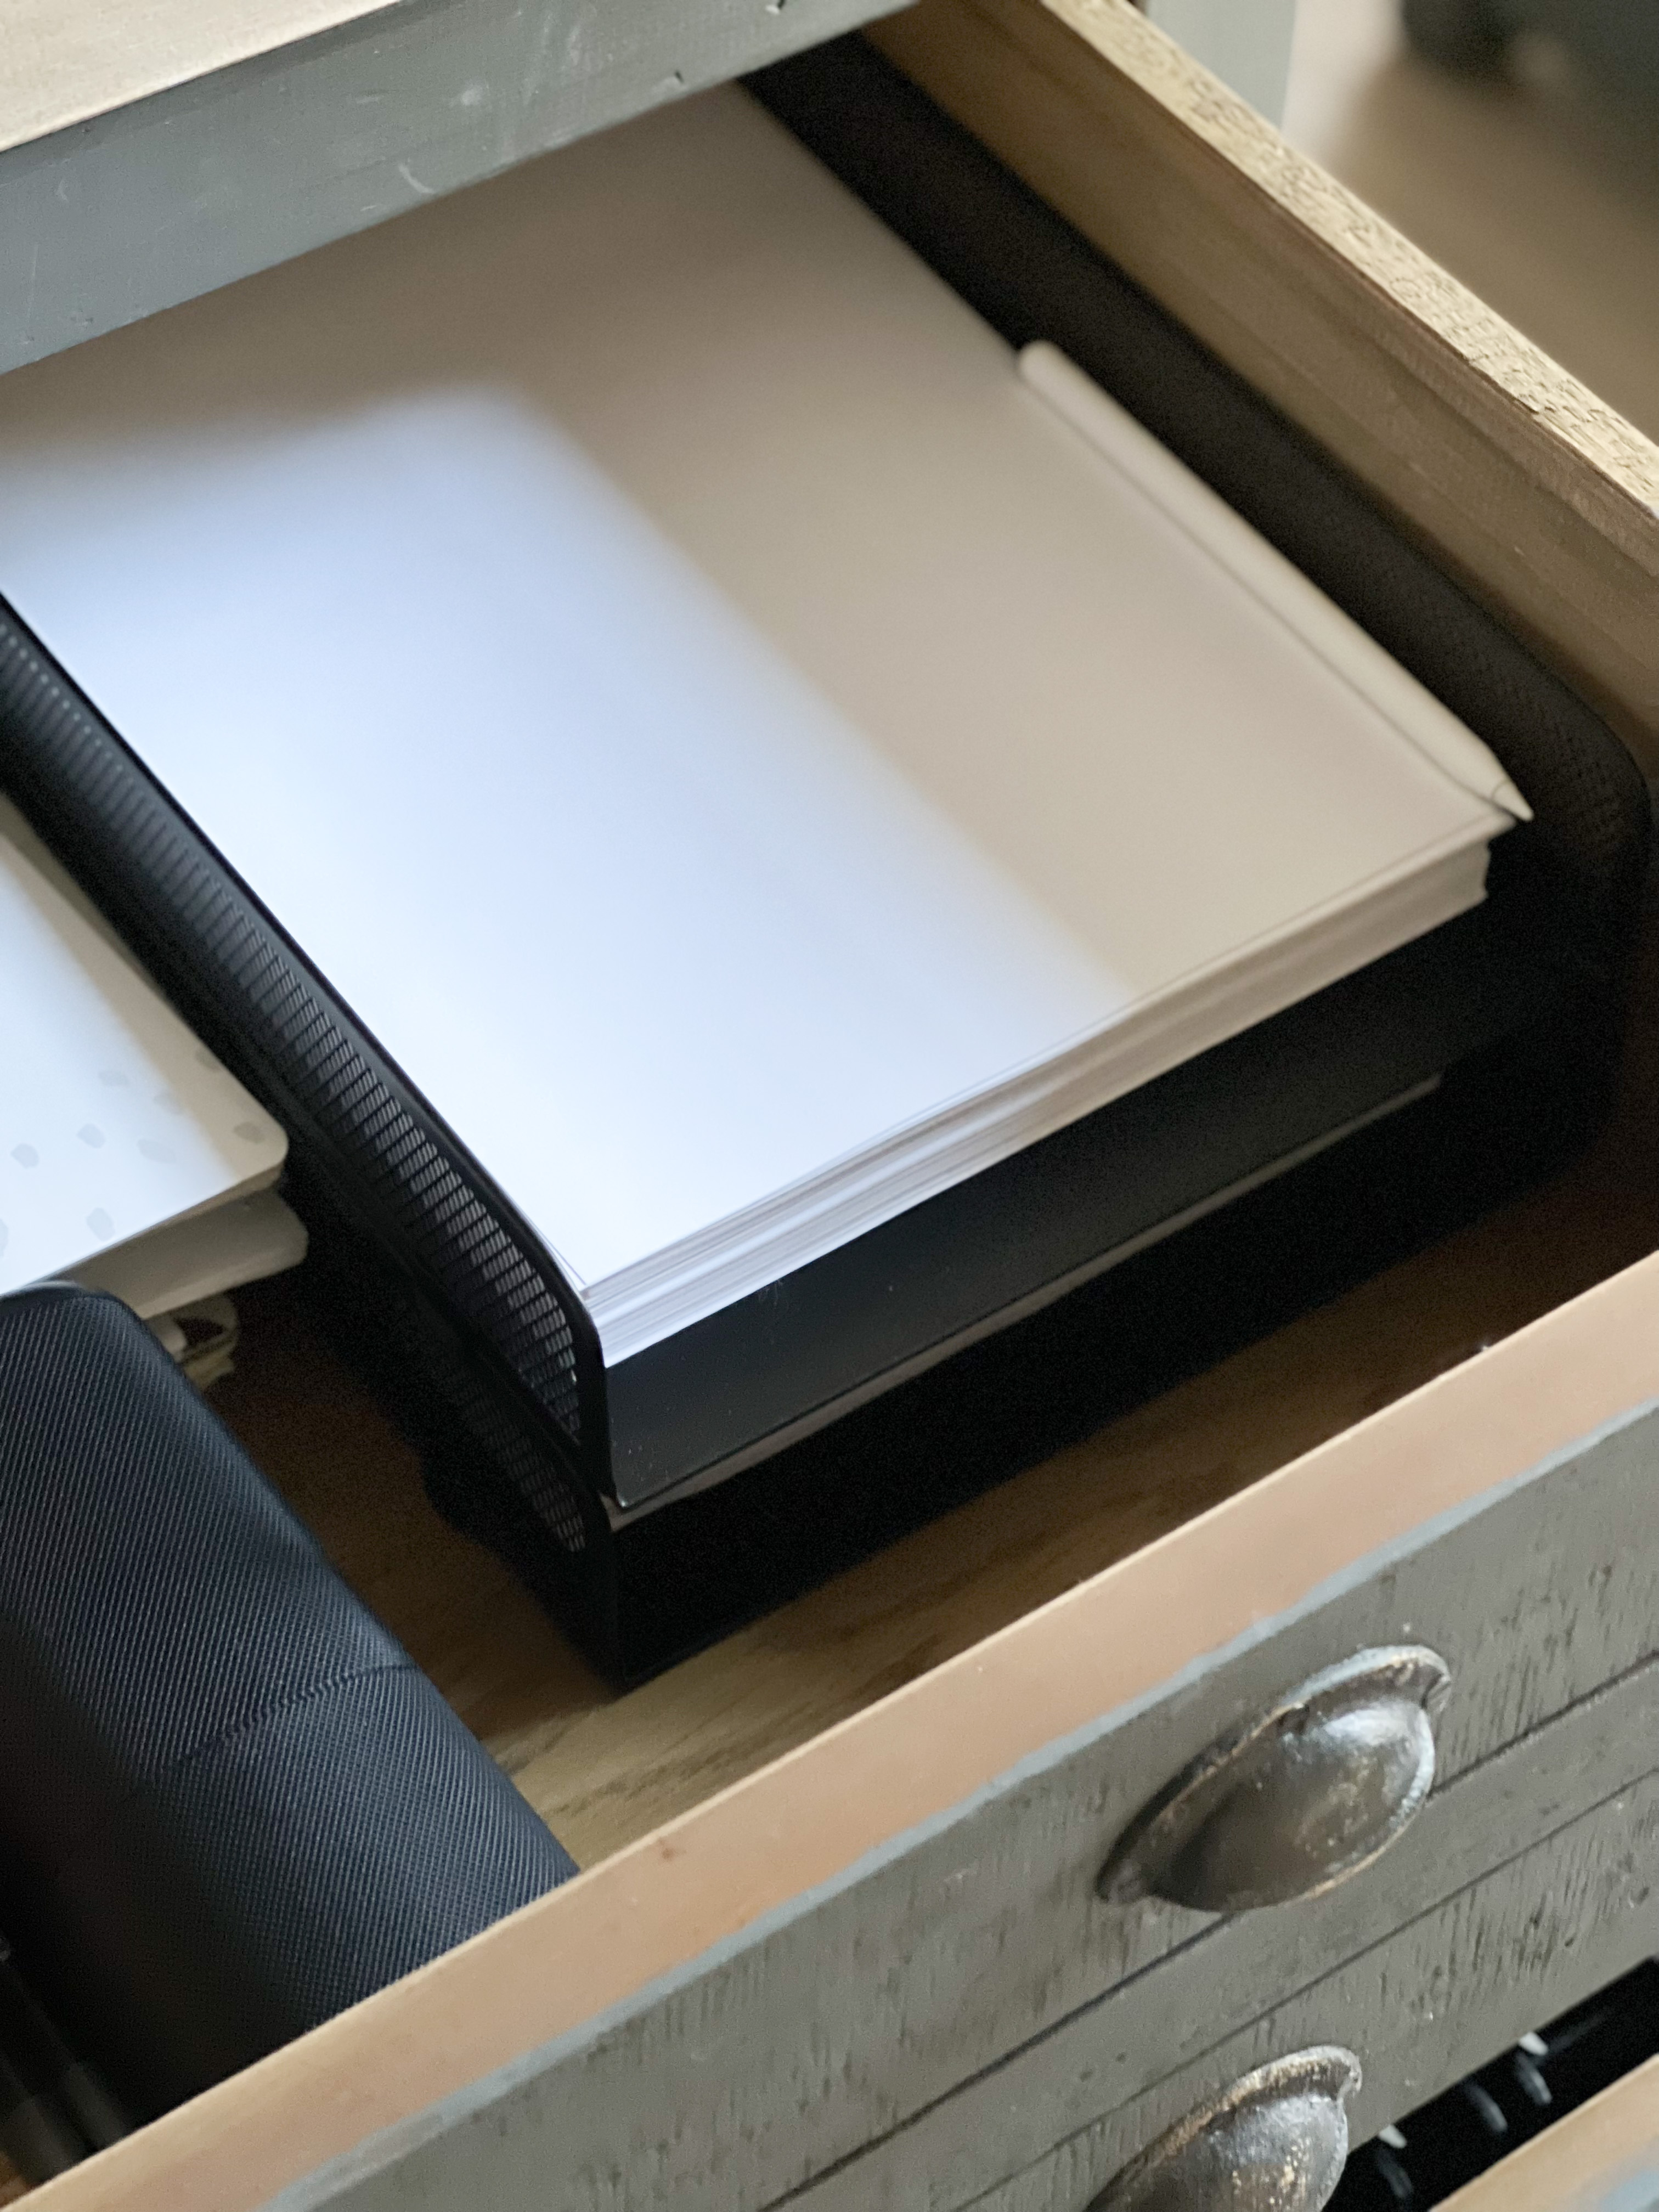
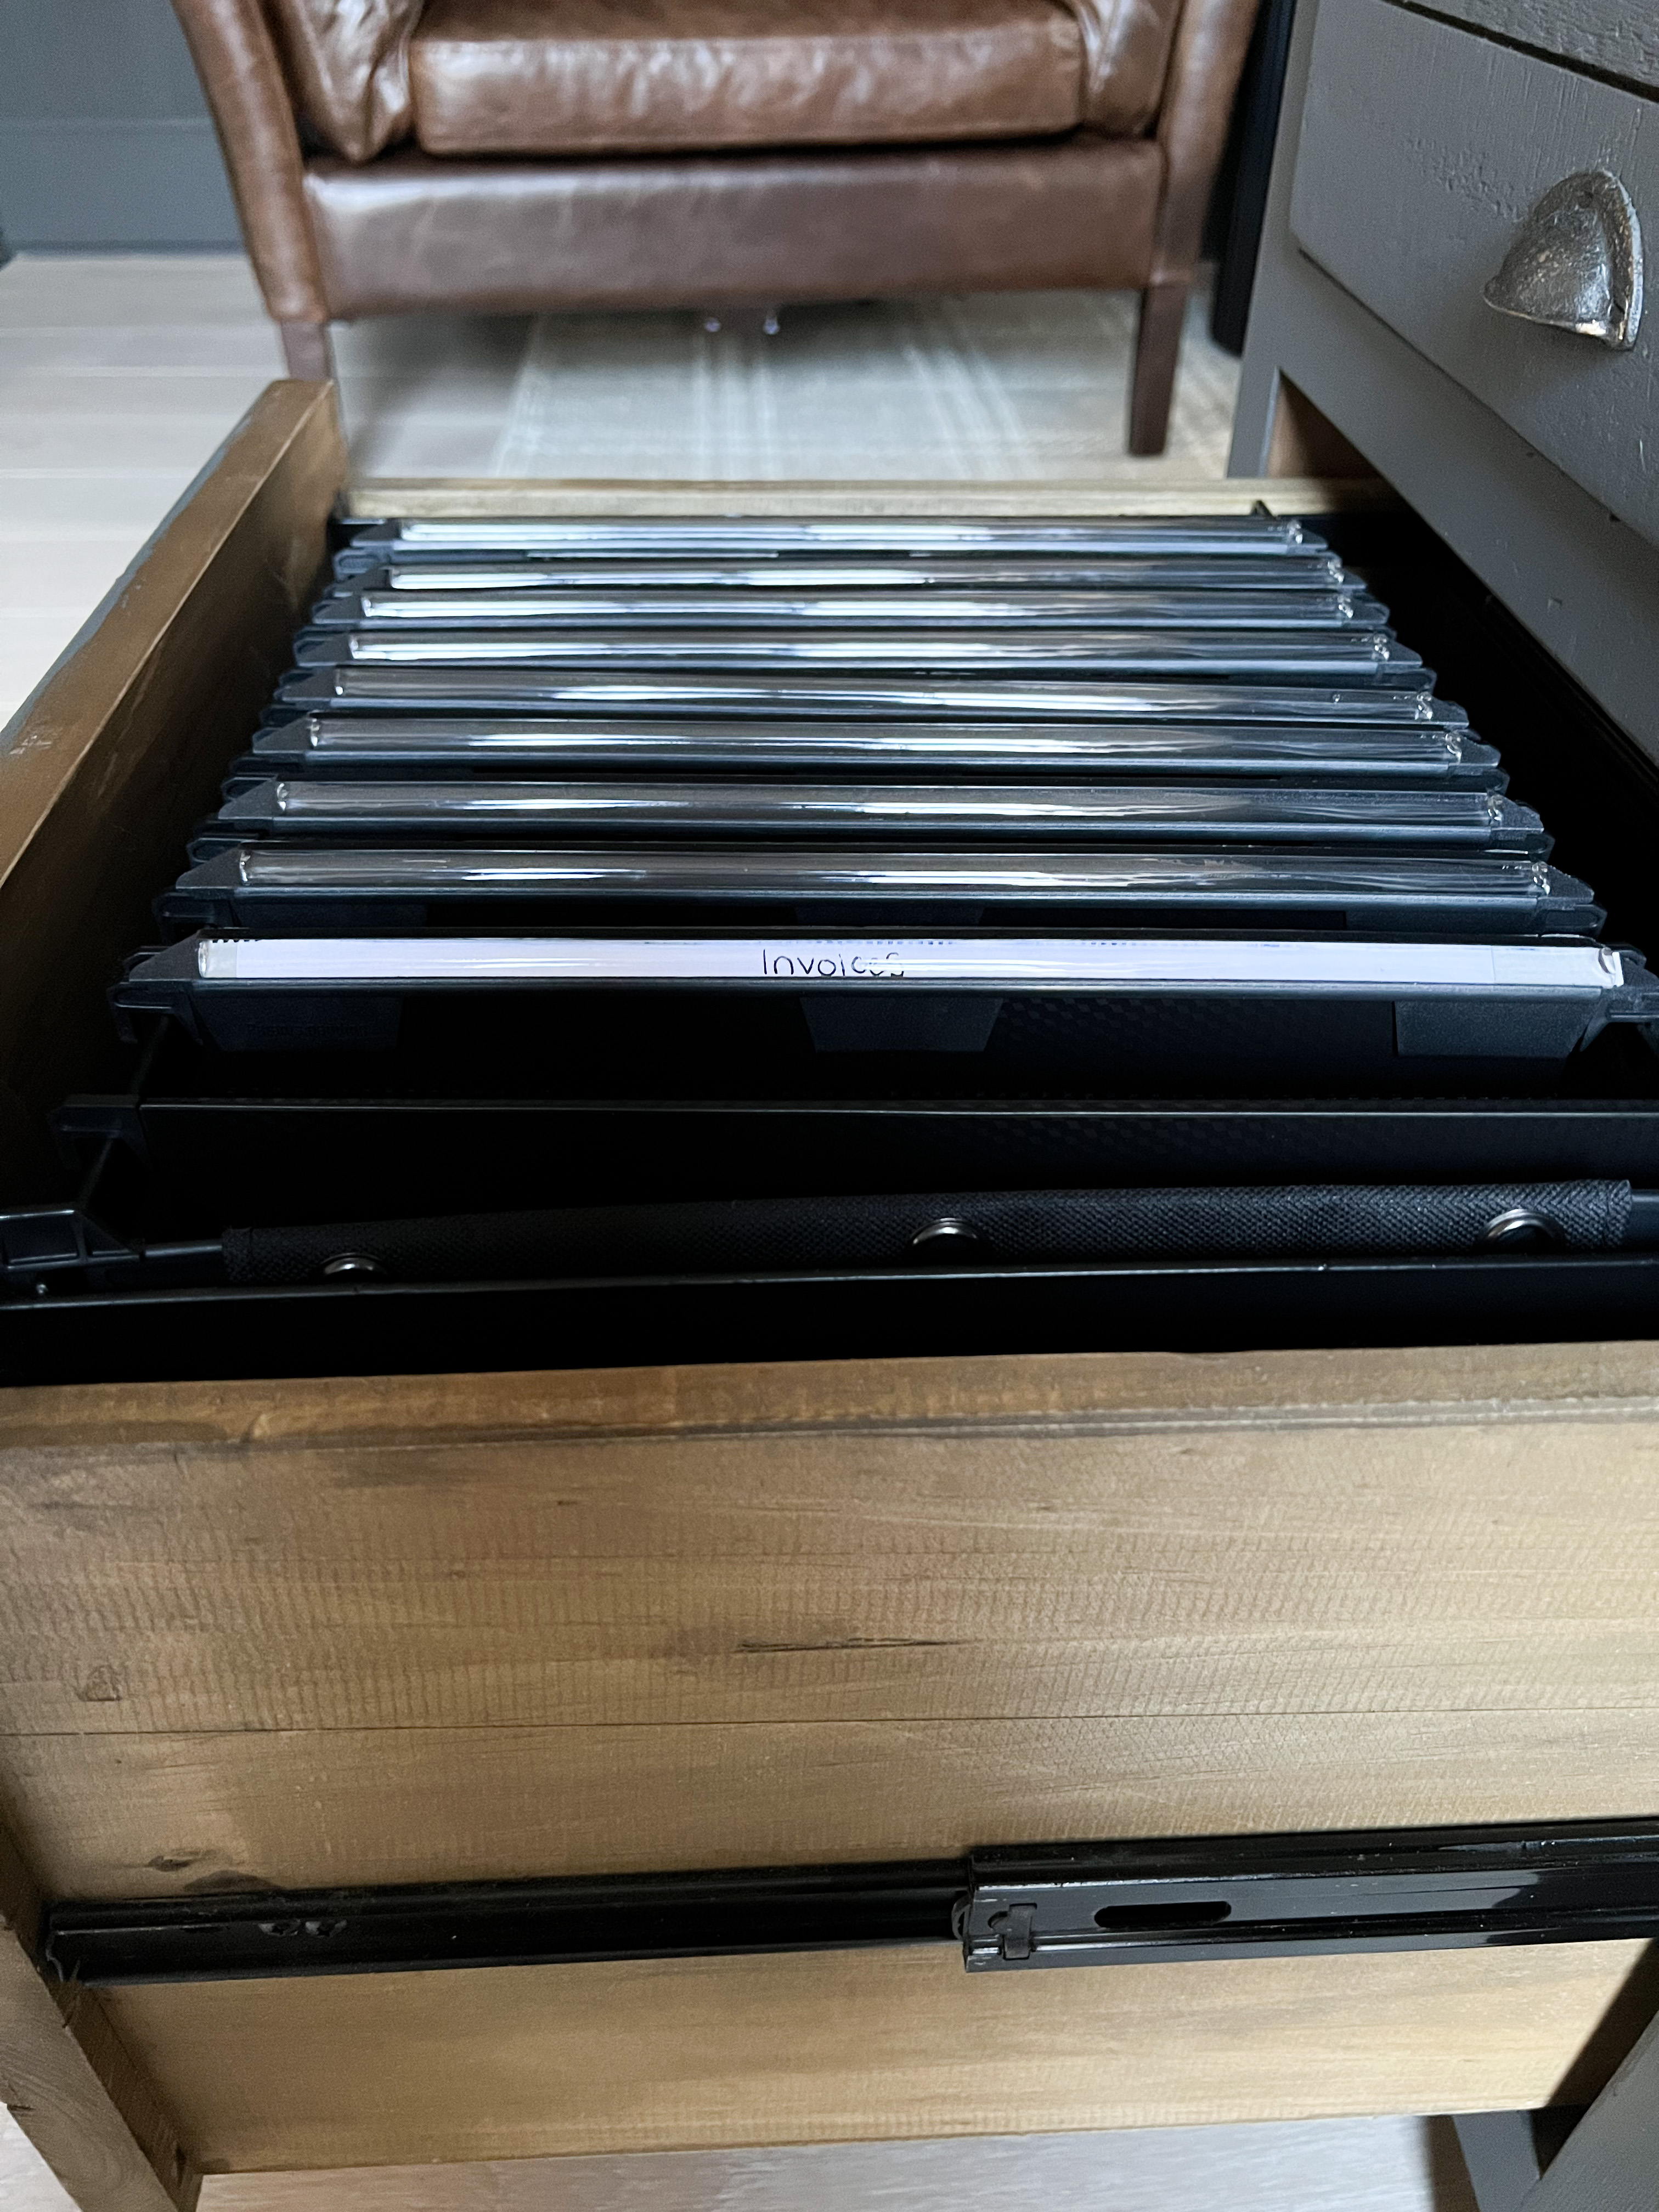
A few other organizational accessories we’re loving are the paper trays and file folders. These paper trays help keep the drawers organized while utilizing more space with stacking. These file folders are super thick and have the labels pointing upwards to make it easier to spot what you need.
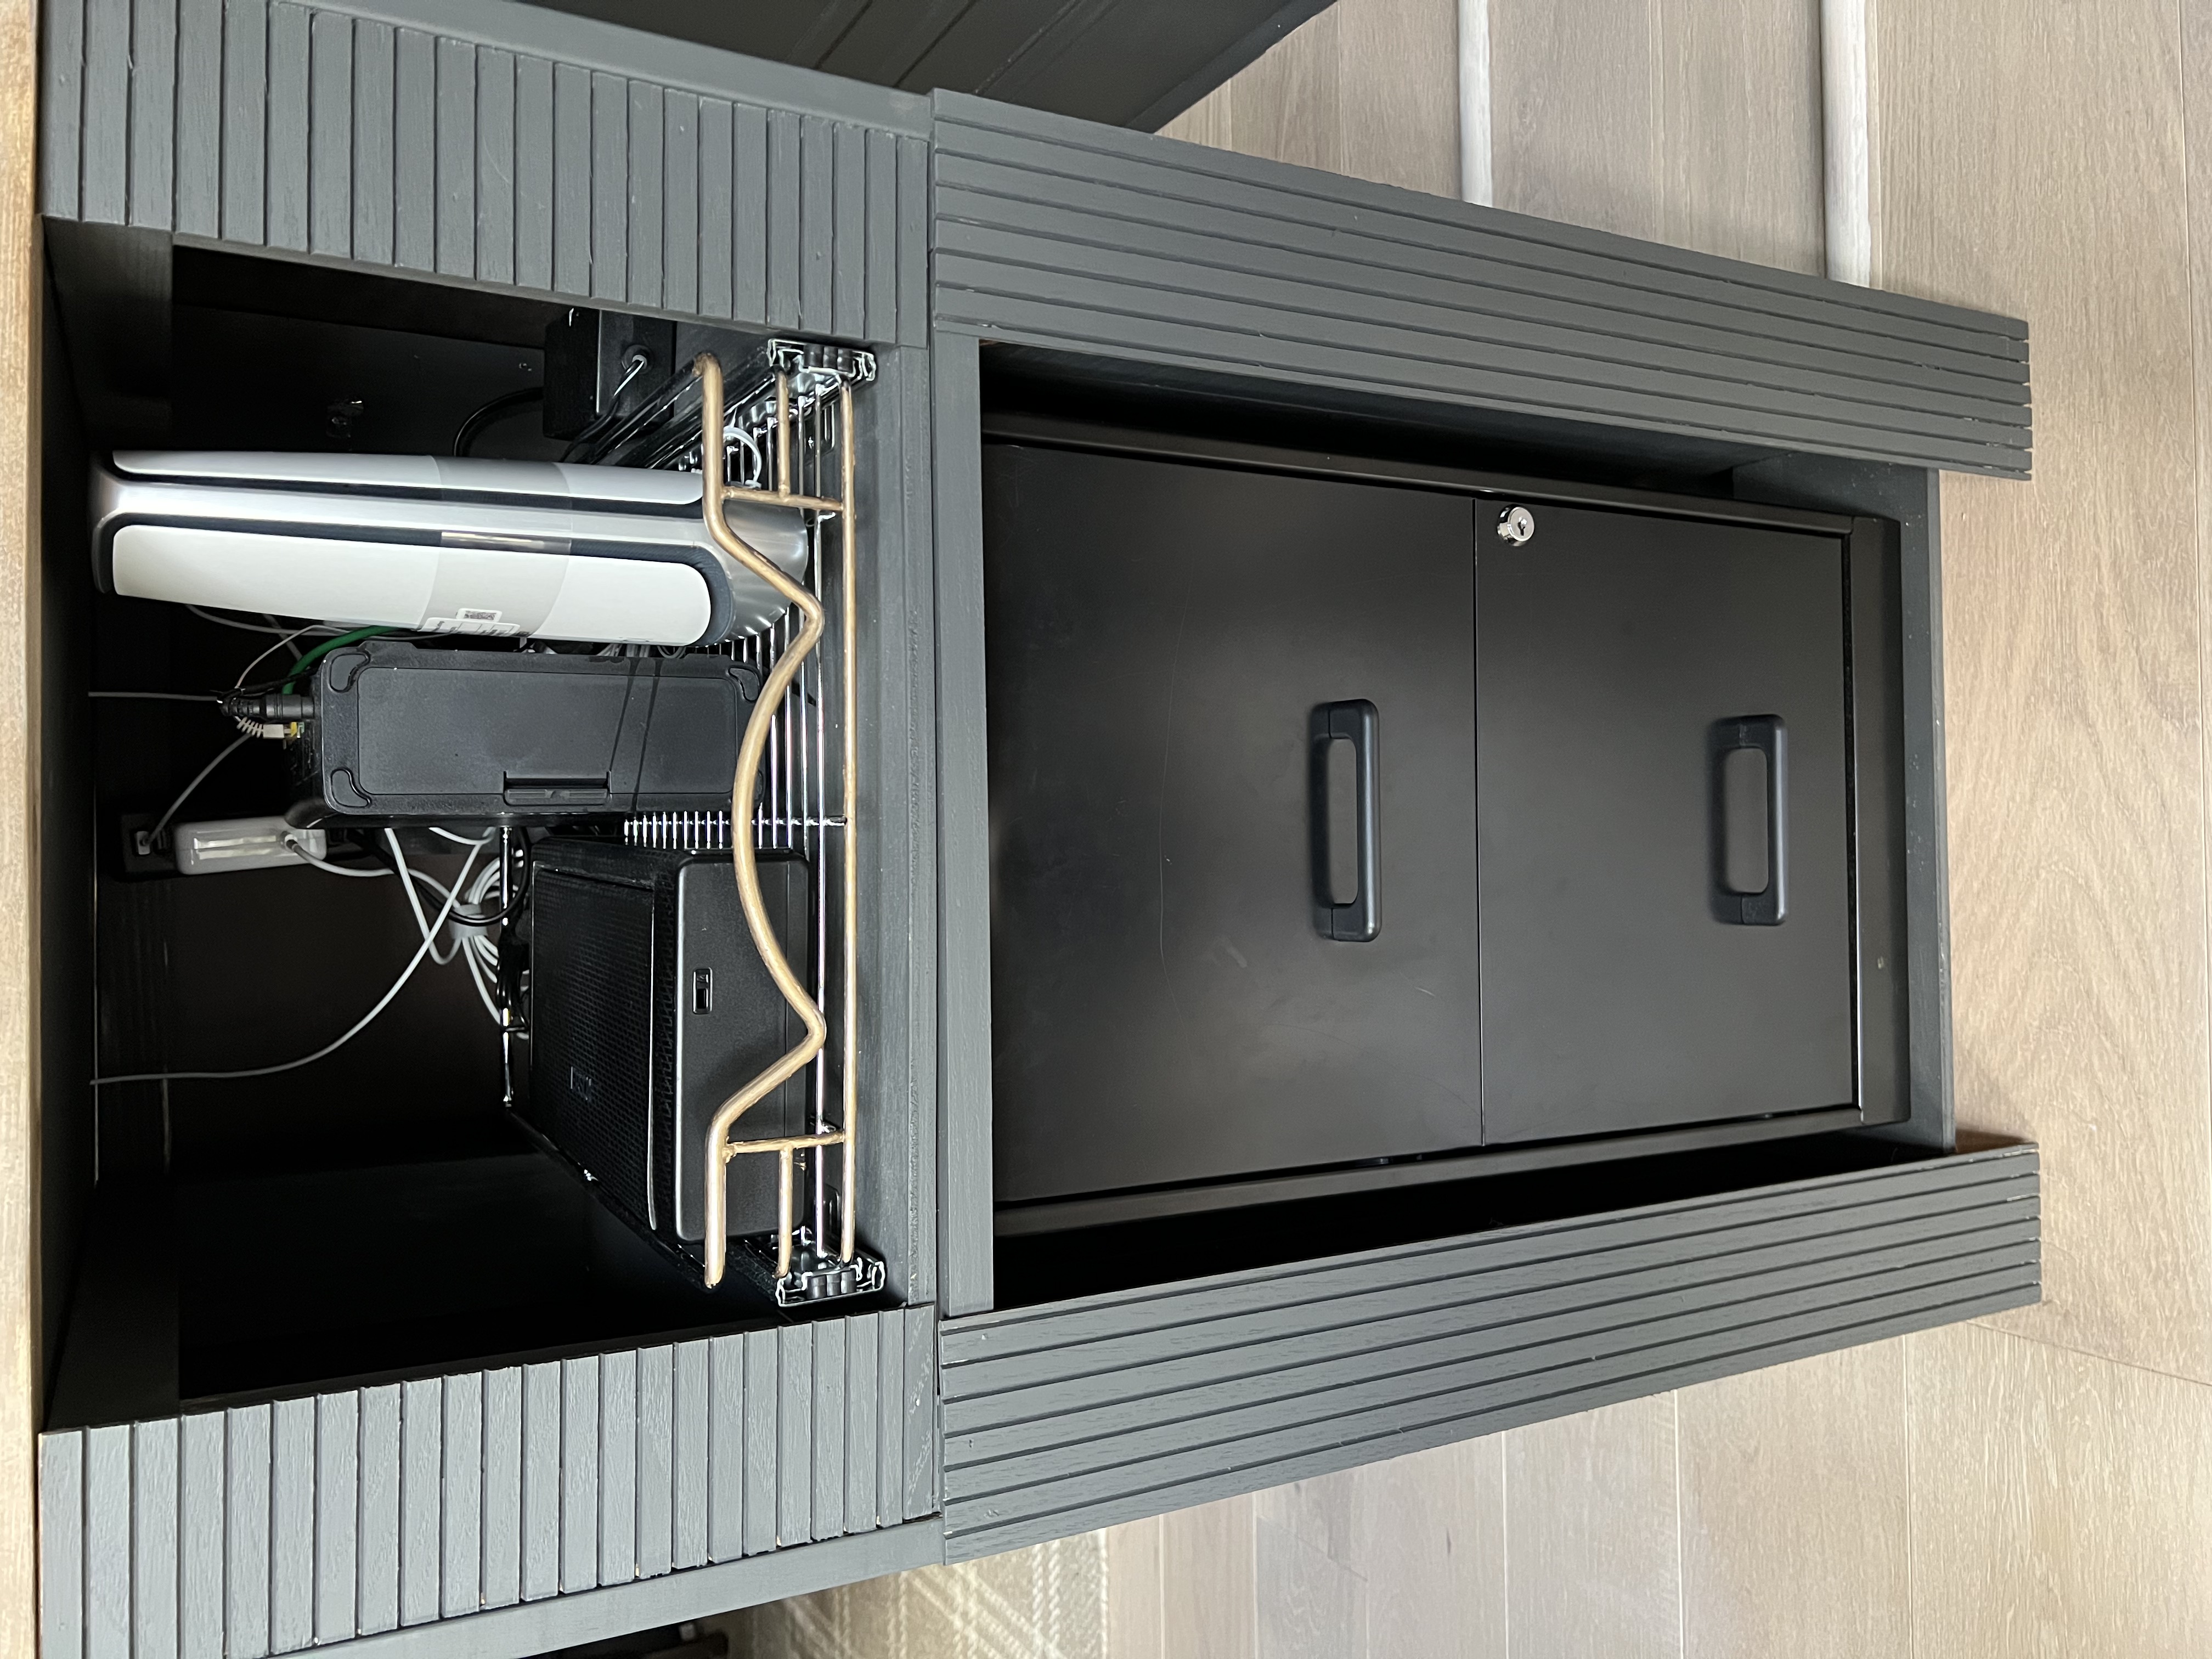
Last but not least, the unattractive cords and batteries I was referring to, pictured below. The internet router, booster, and printer all fit on a pull-out rack. Additional file storage below. To avoid overheating the router, and for easy access, we kept this side open. I may eventually cover it up with some sort of screen, but for now, it’s something out of view and not super annoying… yet.
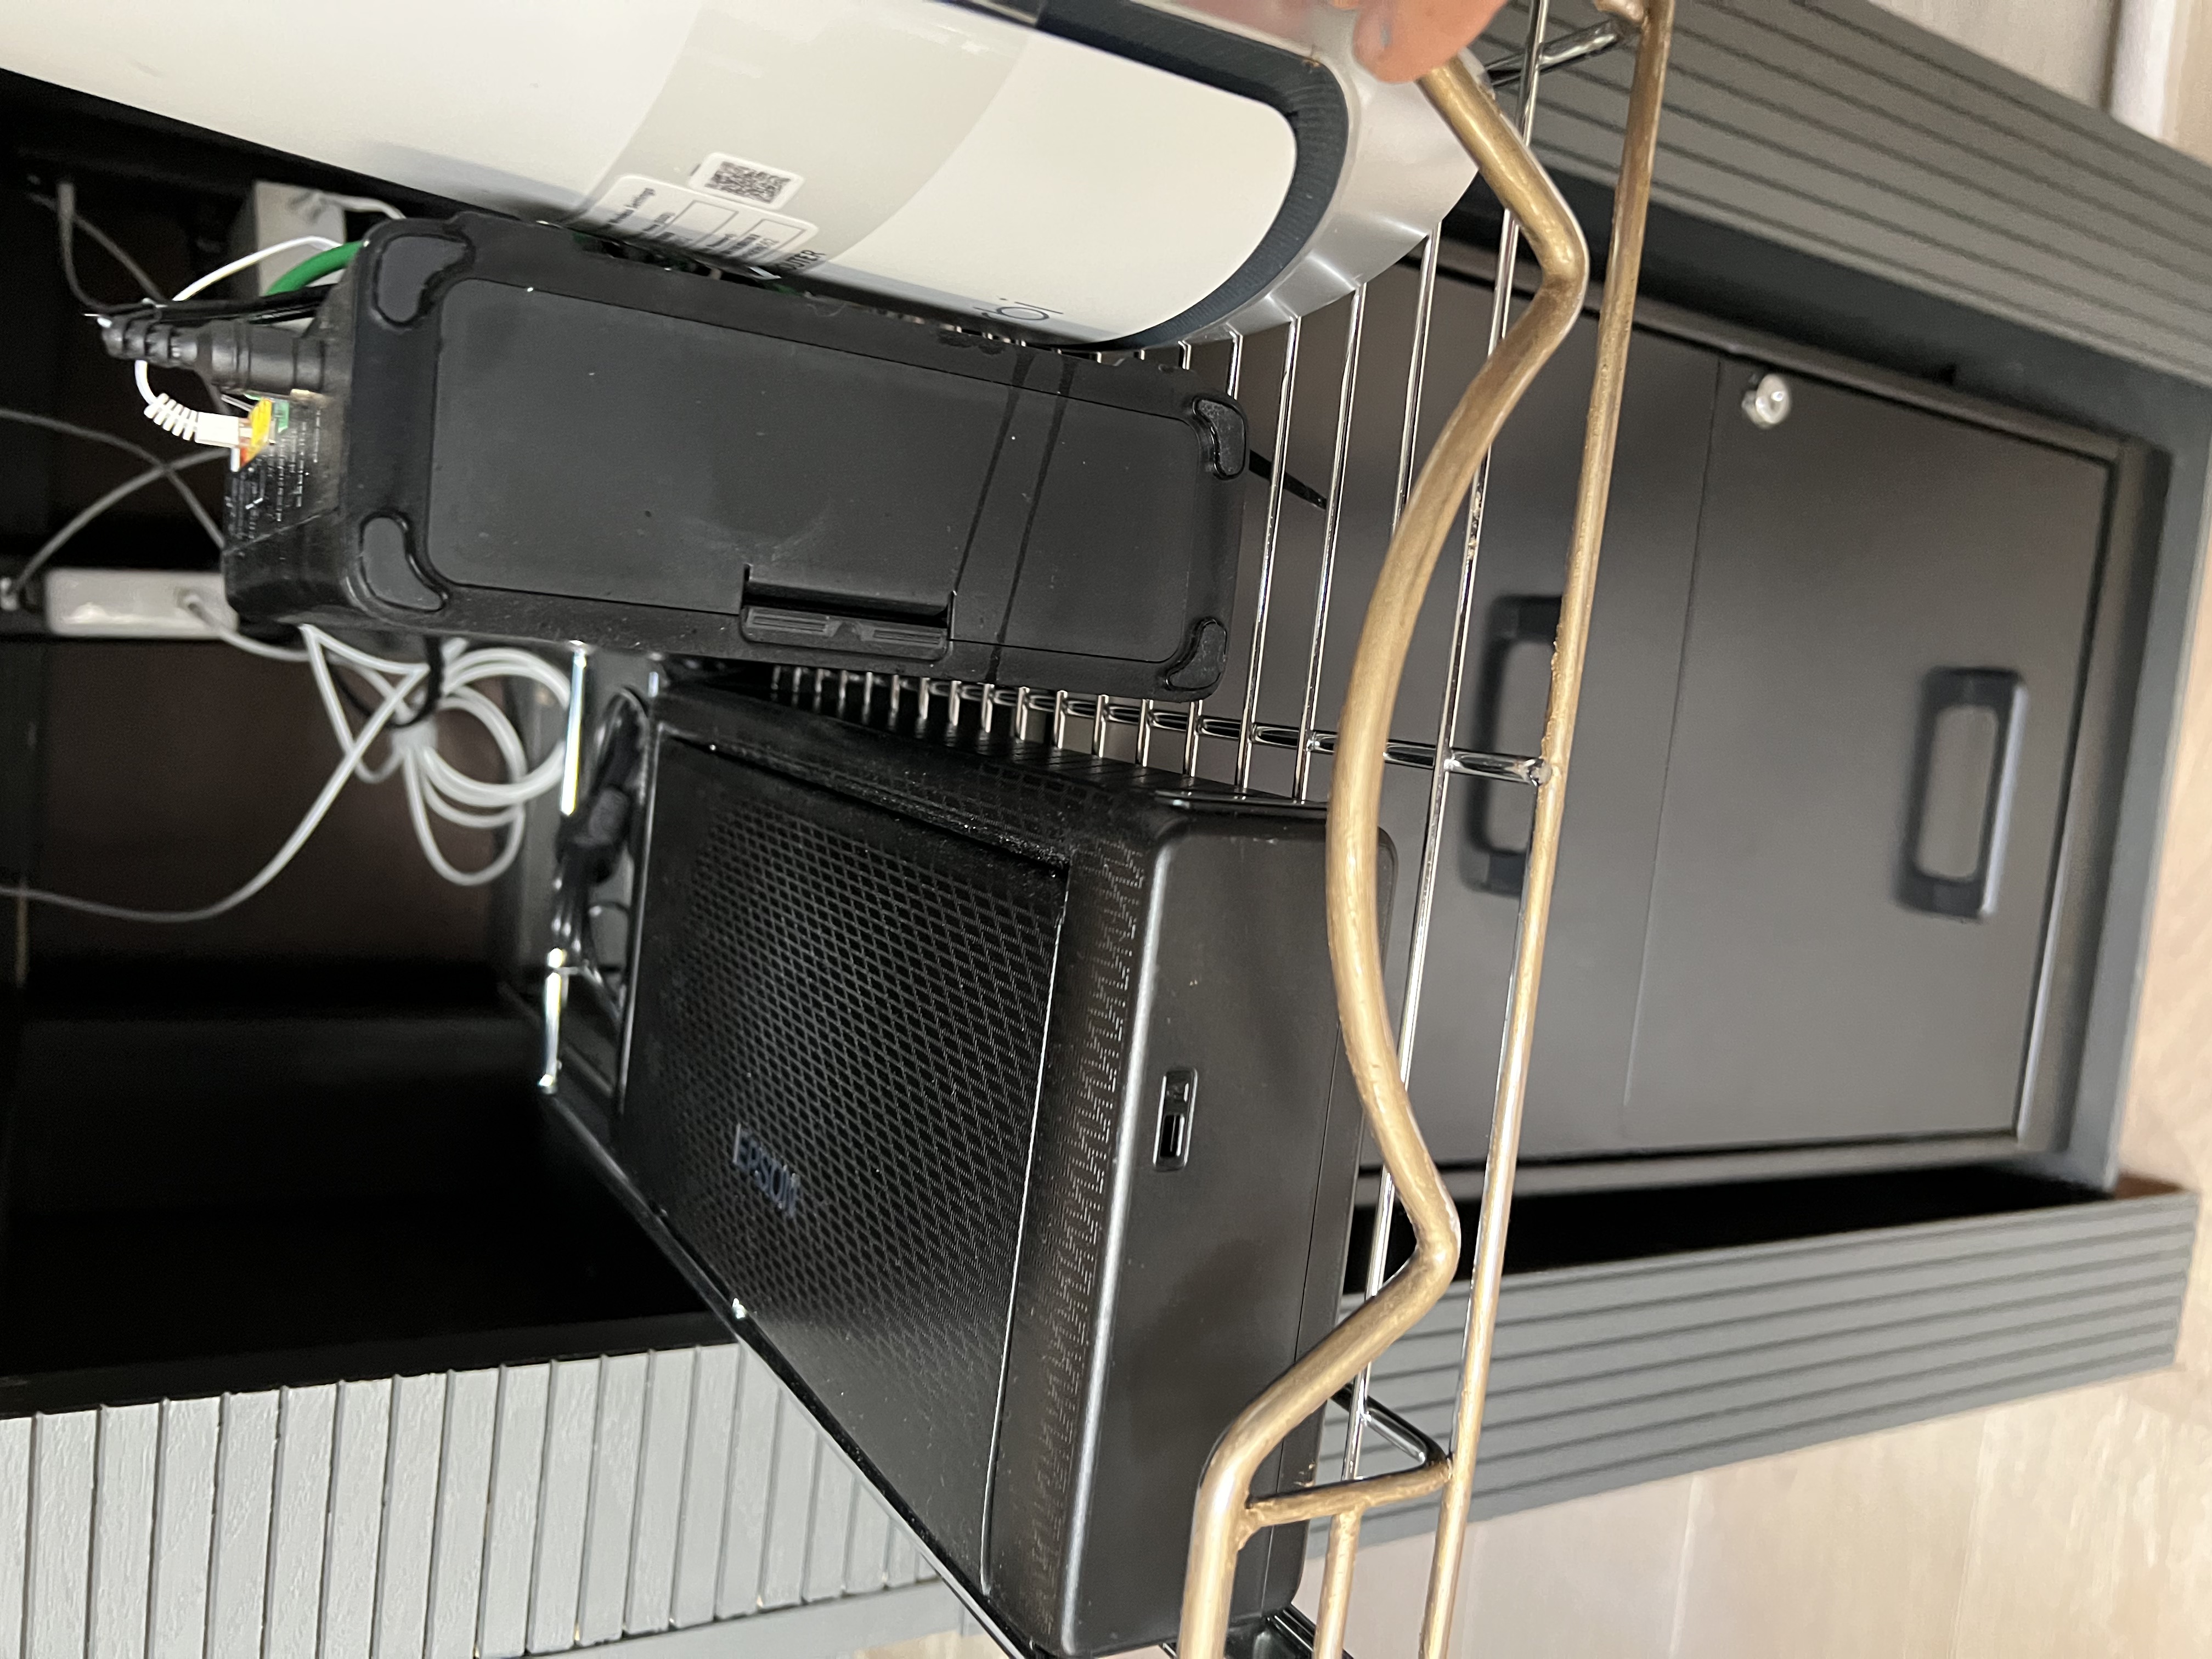
This tiny printer isn’t cheap, but it was the exact size we needed. The added convenience of the battery and being able to bring it anywhere is awesome. Joe wrapped the excess cords with zip ties, leaving enough slack to allow for the drawer to pull in and out. The big battery pack was able to be tucked into the box holding the desk up.
And that’s it! Our favorite space in the house because it’s functional and beautiful… the best combination!
Post contains affiliate links. Please see disclosure linked here.
Love the blog , reel and Instagram step by step . No more excuses for me …
You’ve inspired me !!
Thanks, dad!! Now that we’re neighbors, I can try to help out! haha