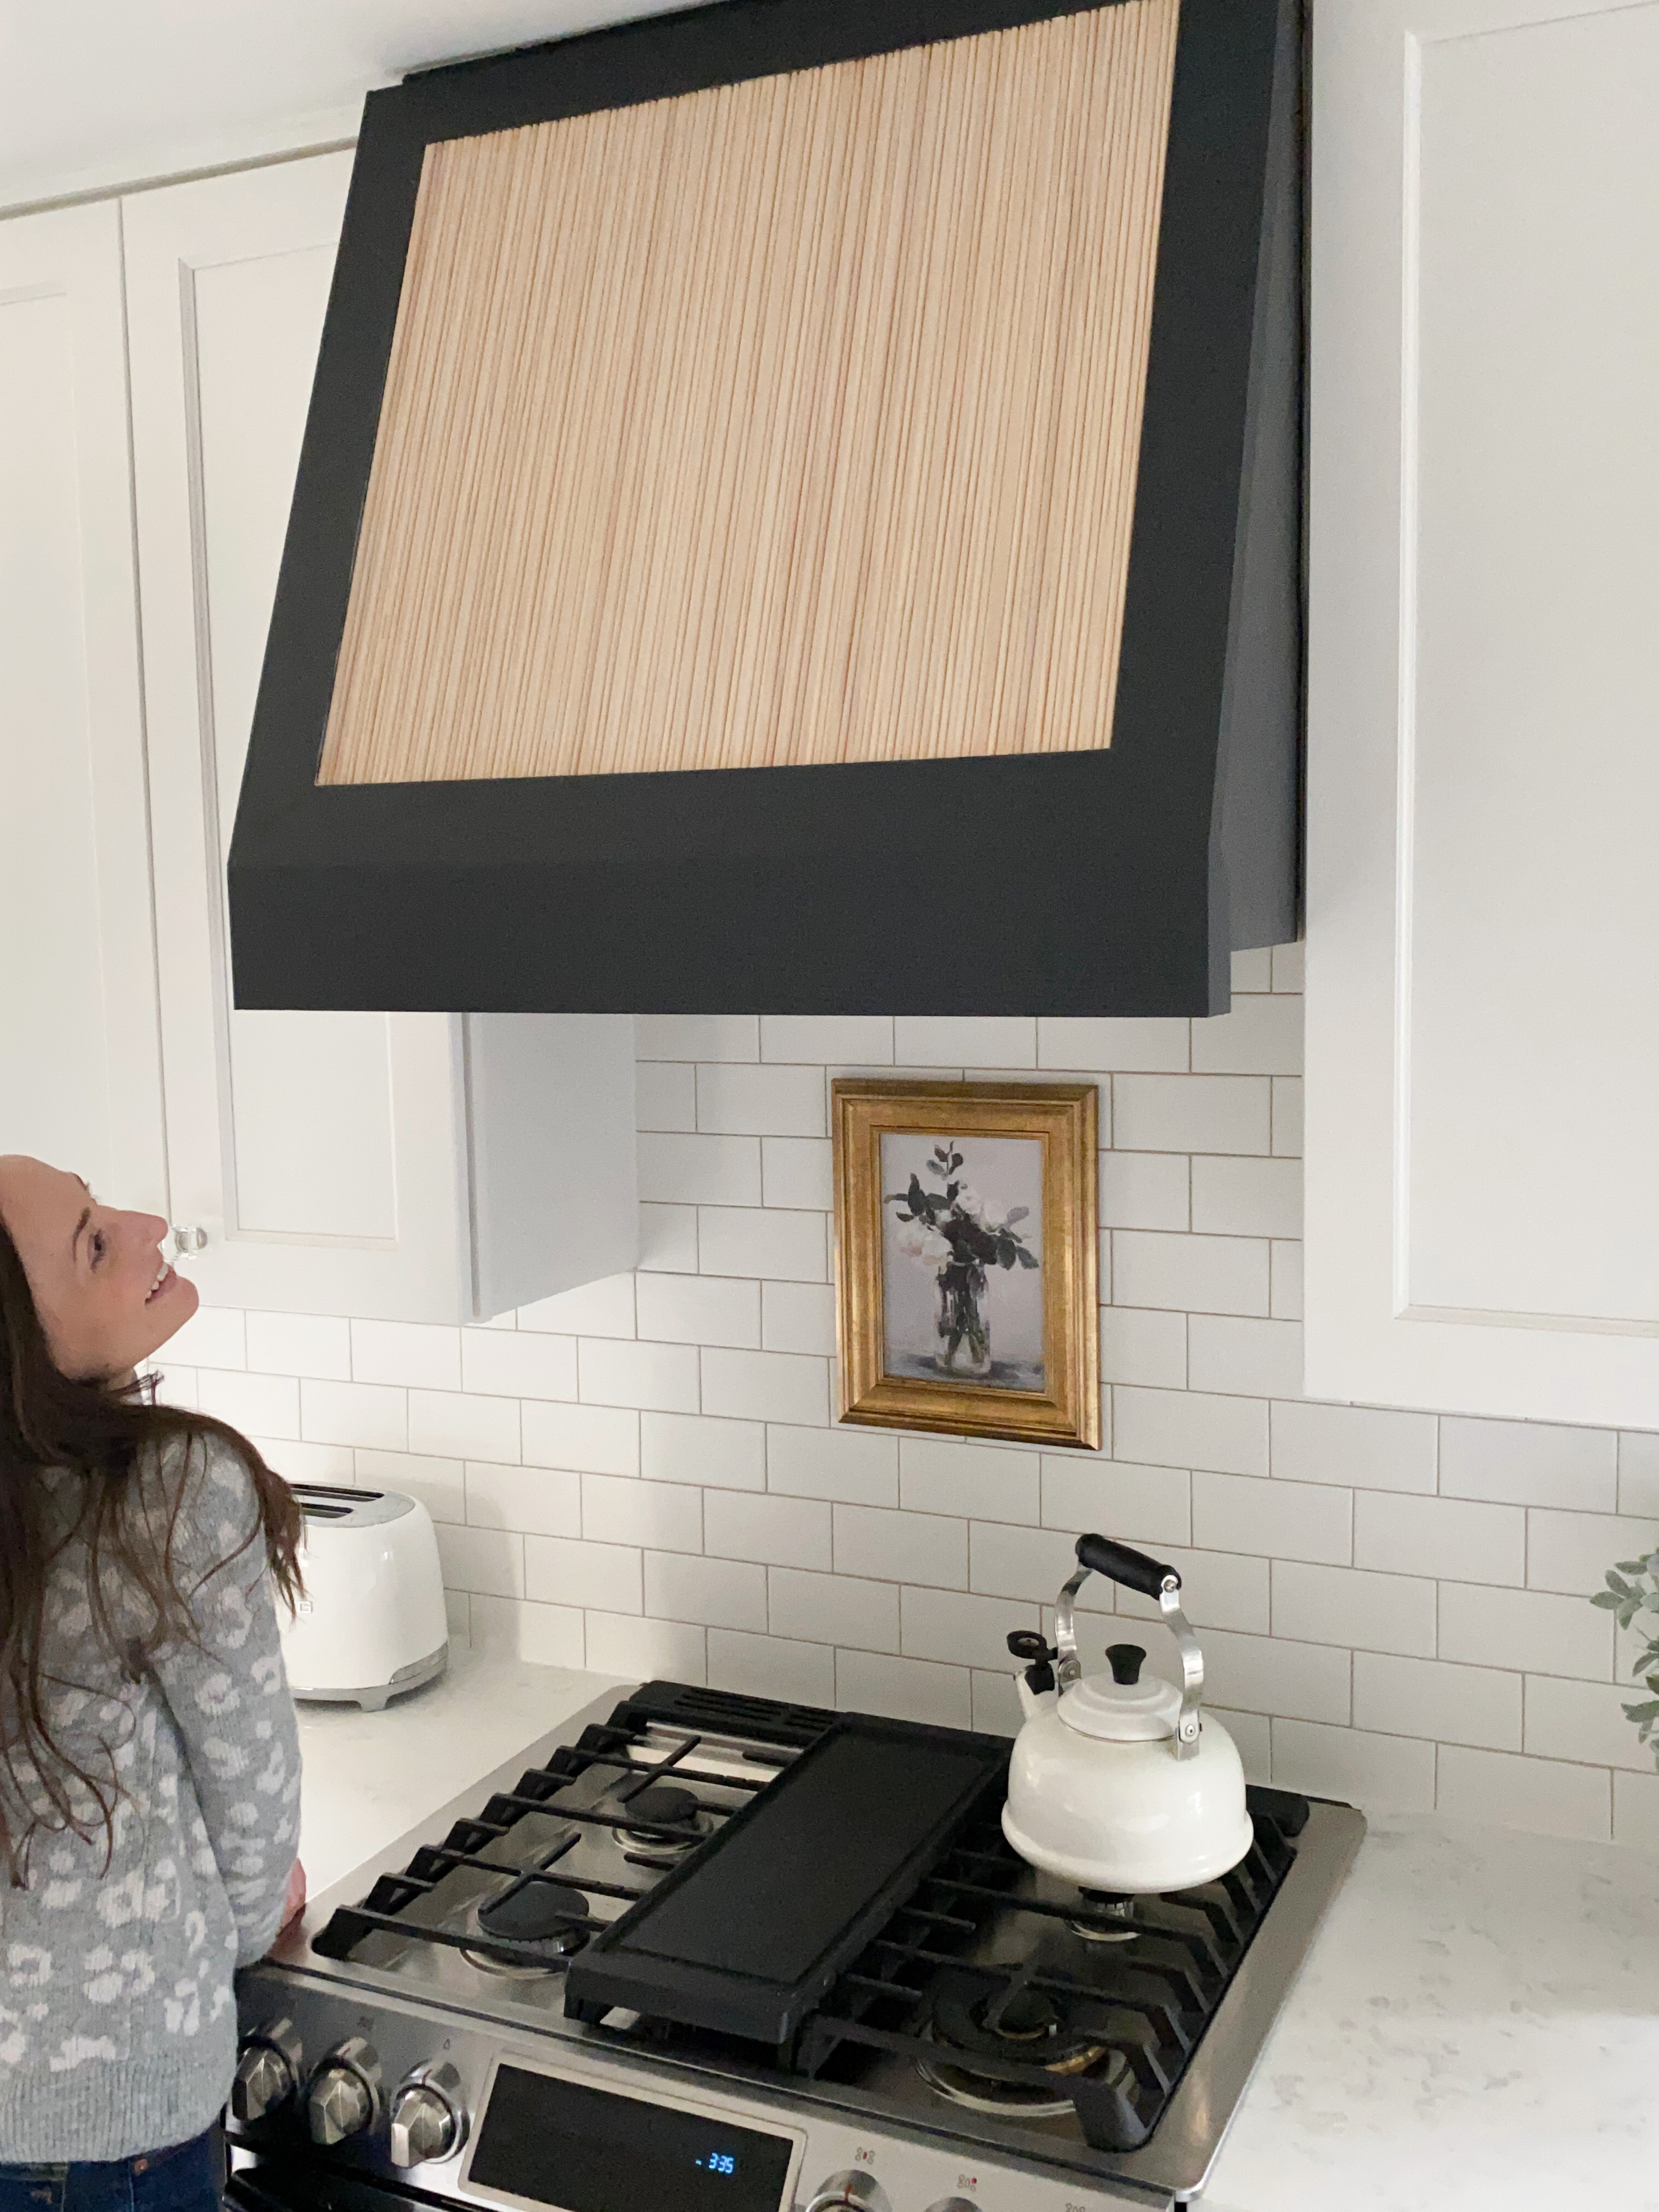
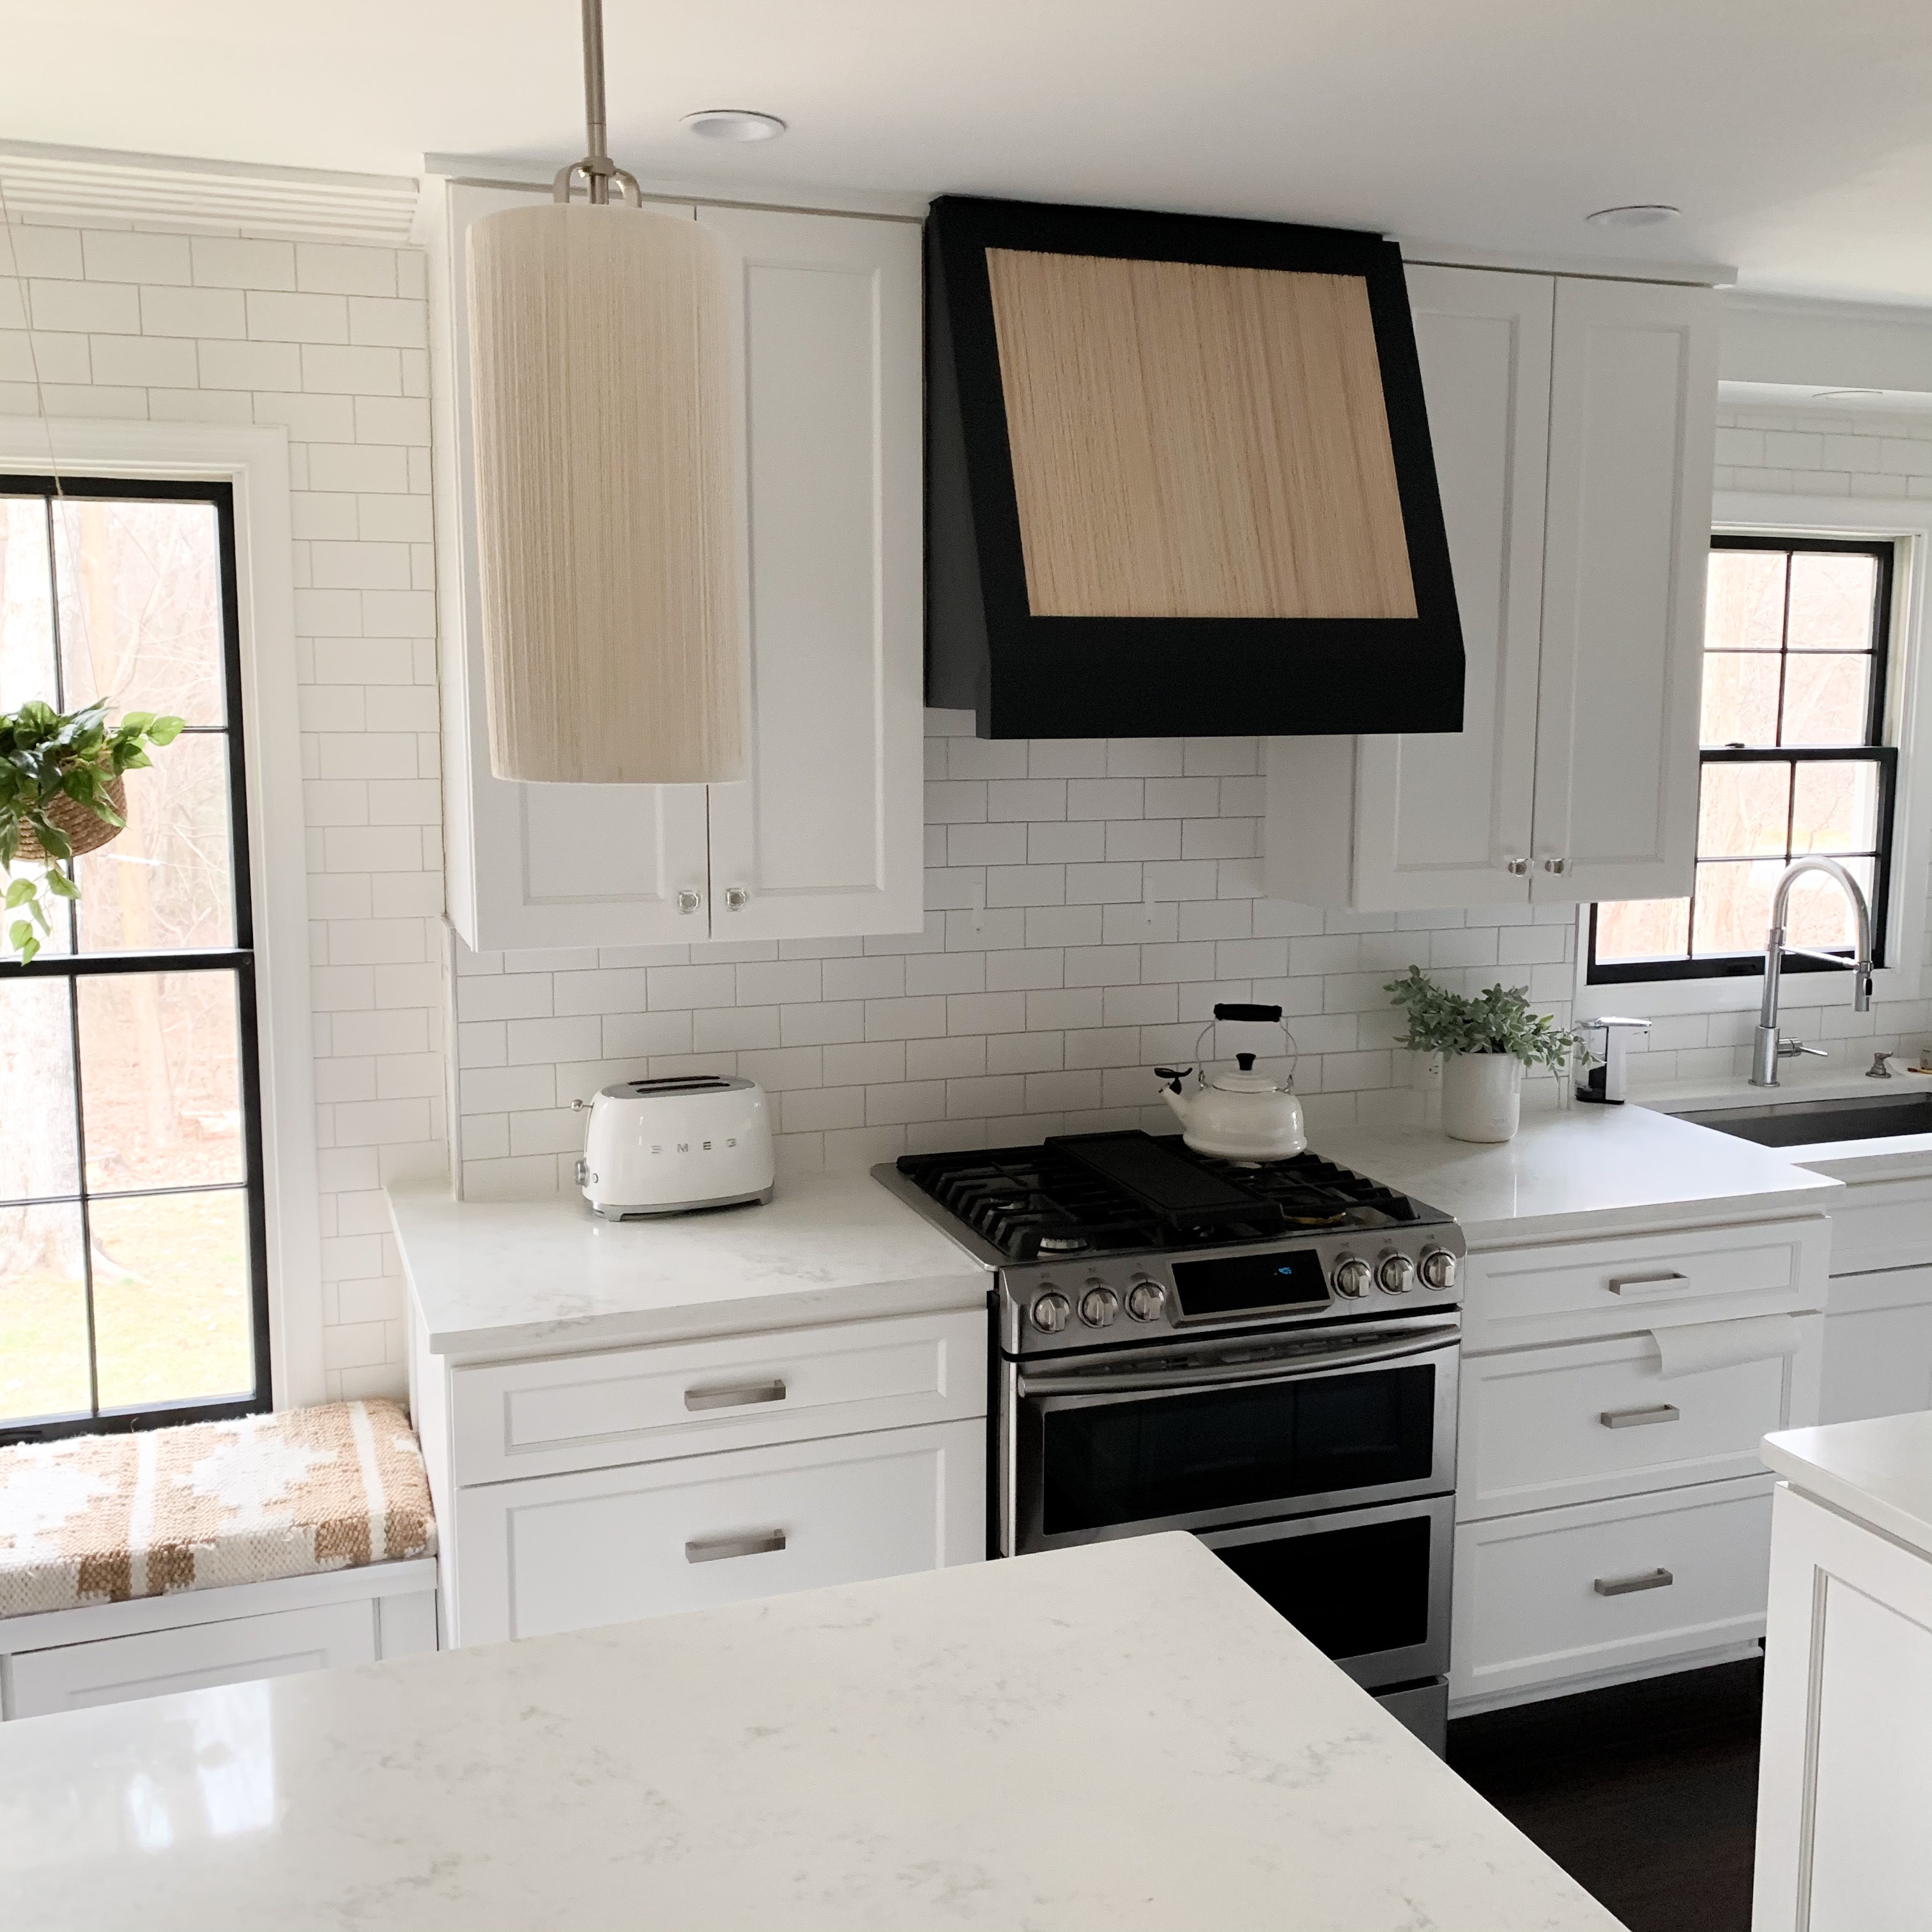
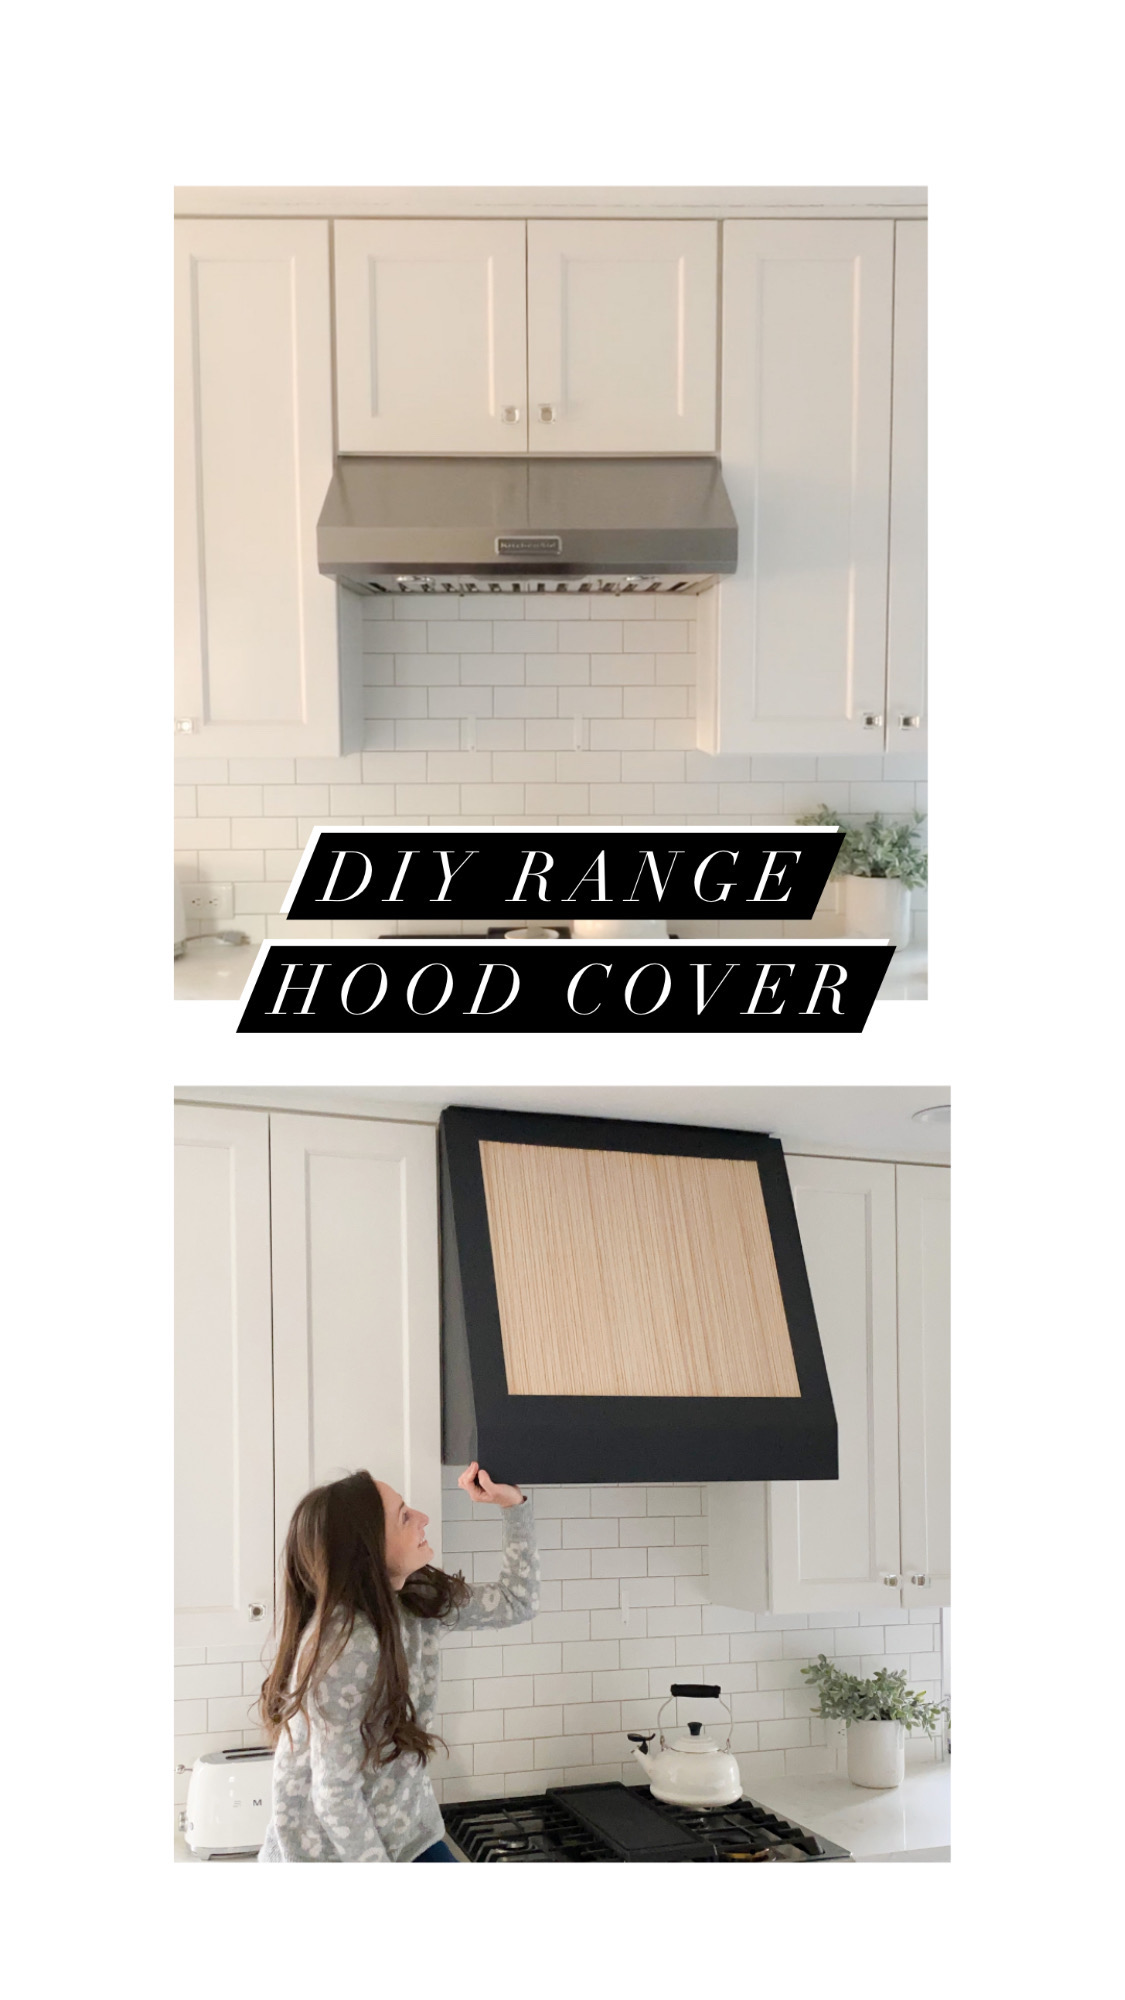
We wanted a statement hood when we renovated our kitchen a few years ago, but it wasn’t in the budget at the time. Since then, I’ve been brainstorming ways of making this oven space a little more fun. Enter this fluted range hood “cover”!
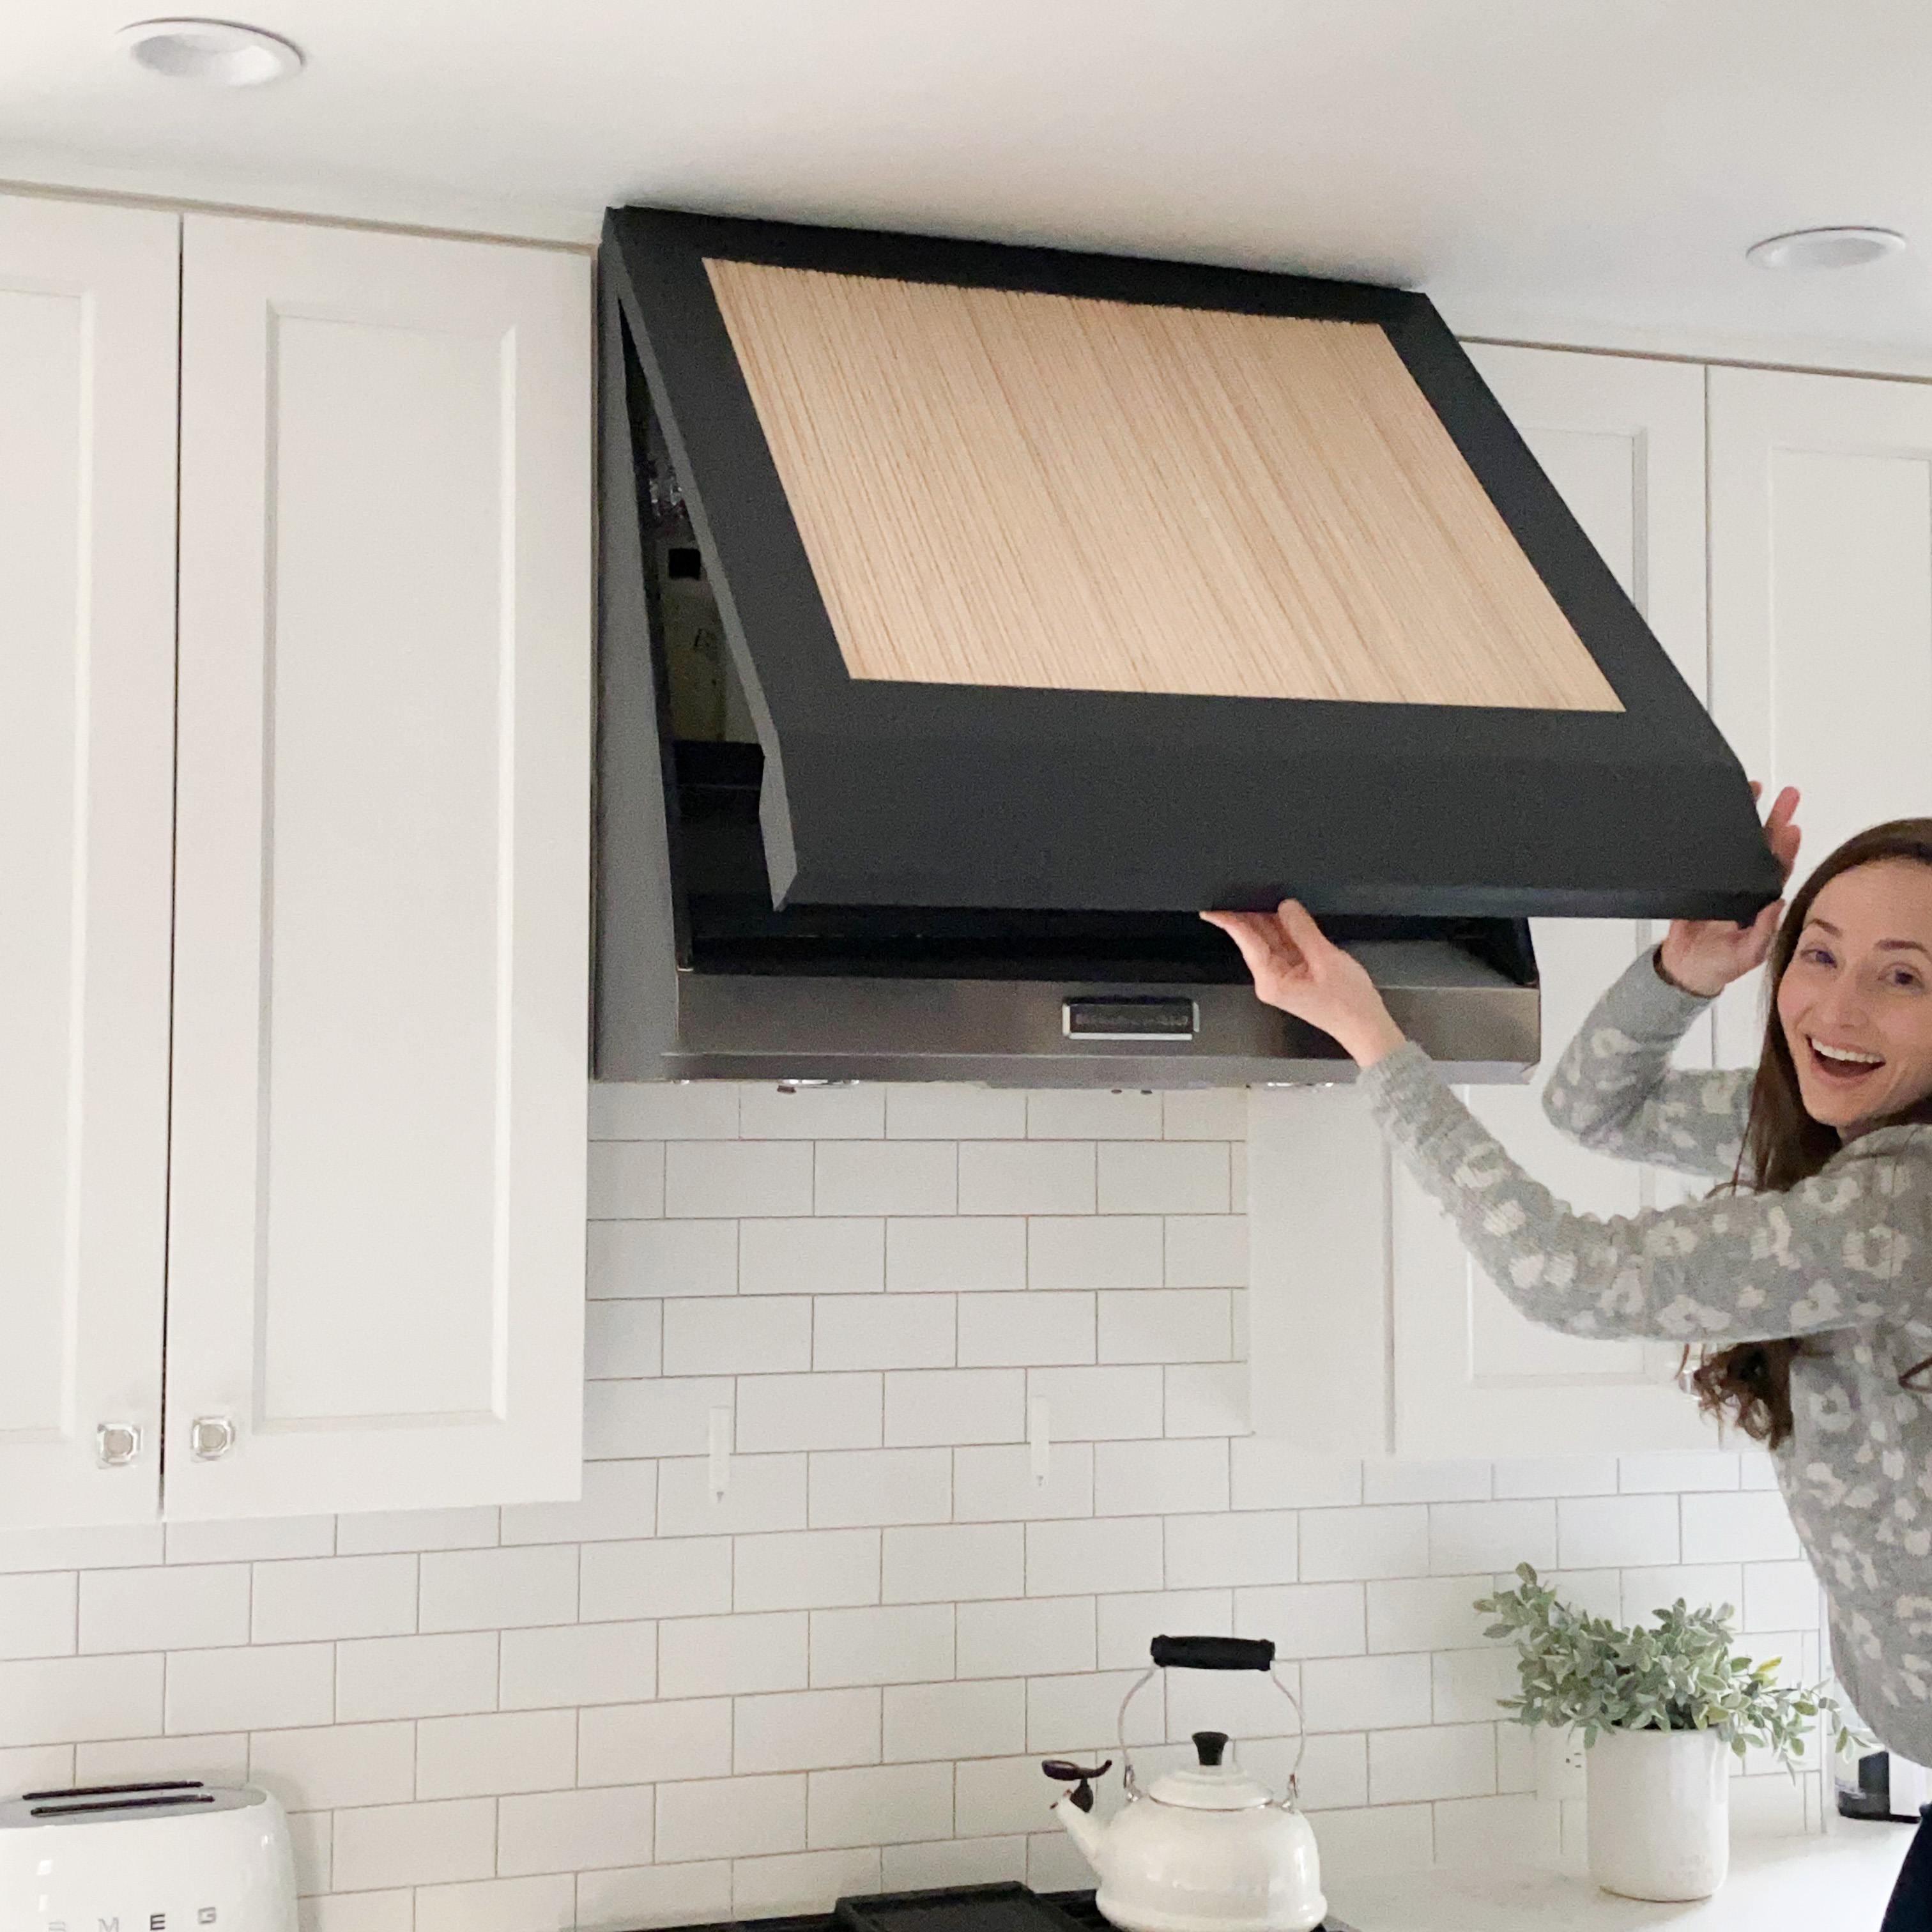
I didn’t want to lose storage, so I attached the cover with a hinge to allow access to the above cabinets. I screwed boards into the ceiling joists and used a continuous hinge to attach the cover to the secured board. This fluted, contrast-color style is a little unique, so I wanted the ability to remove the cover without causing damage if my style changed.
It’s amazing how different our kitchen feels with just this one change! It makes a clear focal point, and it ties in perfectly to the black windows. I was working with a very specific space, so if you choose to do something like this, you might need to adjust slightly for your own space. The steps I took are below…
The Frame
The first step is building the face of the cover, and I built it similar to the way a cabinet face would be built. Using my router table, I routed a 1/4″ groove into 1×3 boards. For the middle, I used 1/4″ plywood (to fit into the groove), and the grooves held the plywood in place (along with wood glue and nails at the corners). I mitered the corners for a cleaner finish as well. Make sure you check the measurements! My cover needed to be EXACTLY 30″ wide to avoid hitting the cabinets on either side. The boards screwed into the ceiling joists were EXACTLY 29″ to allow for the 1/2″ plywood boards used for the sides (more detail below).
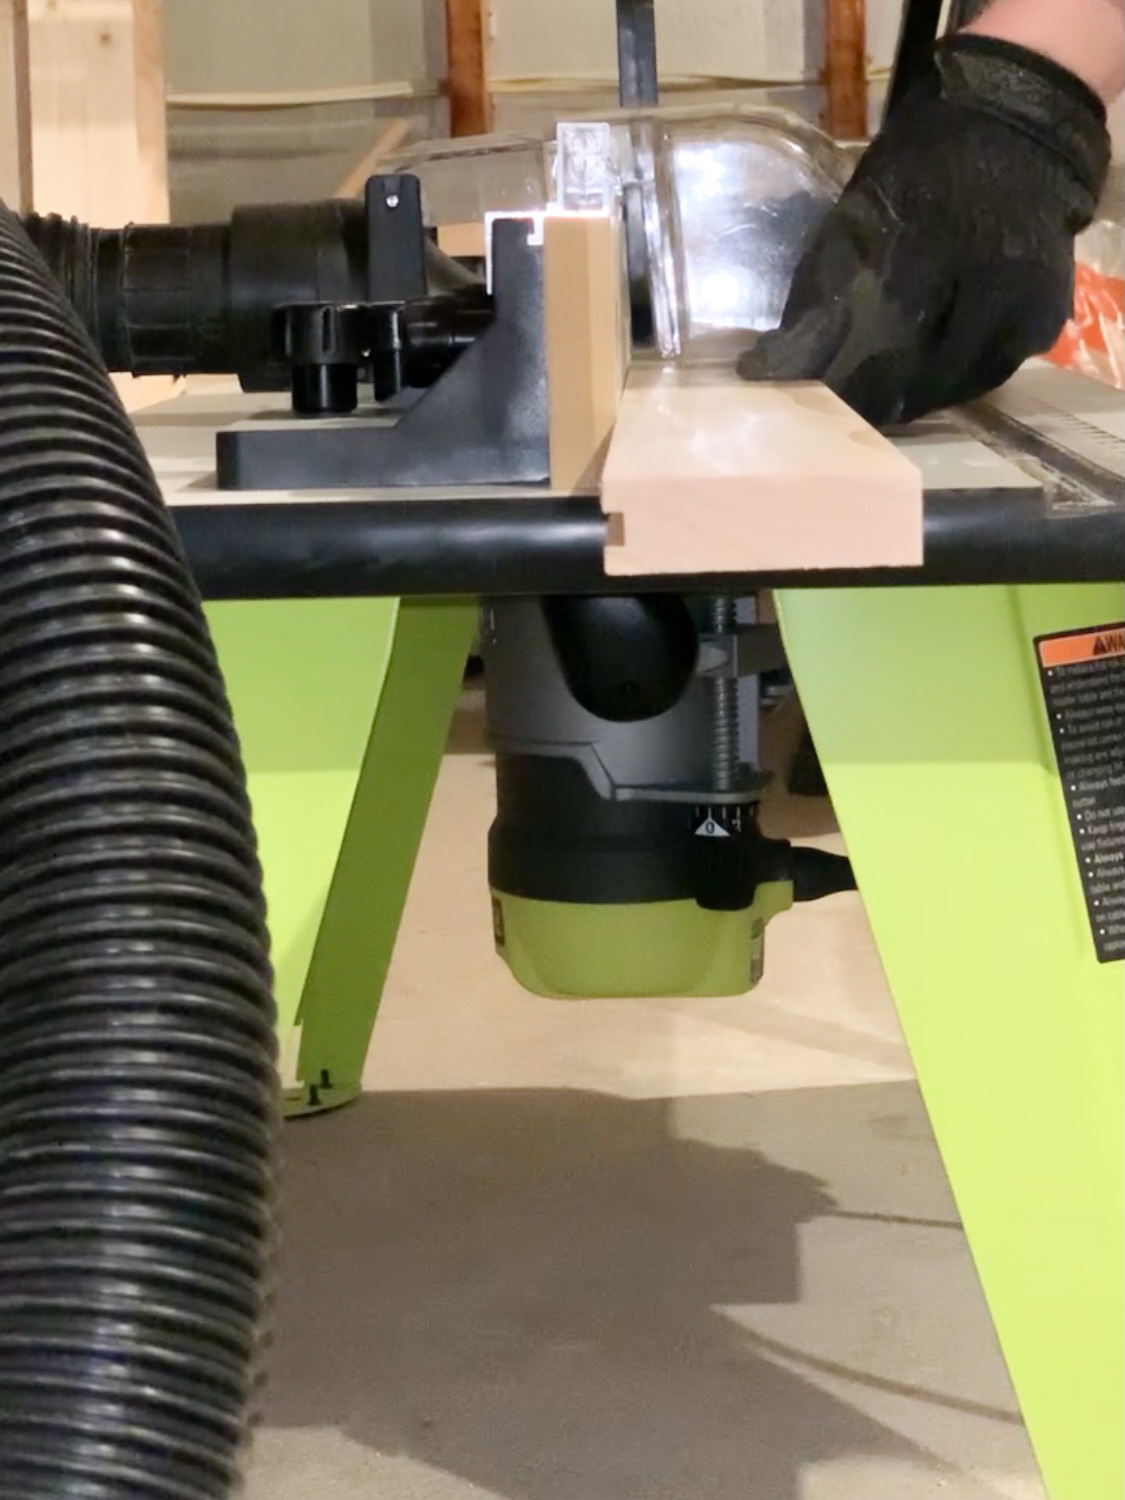
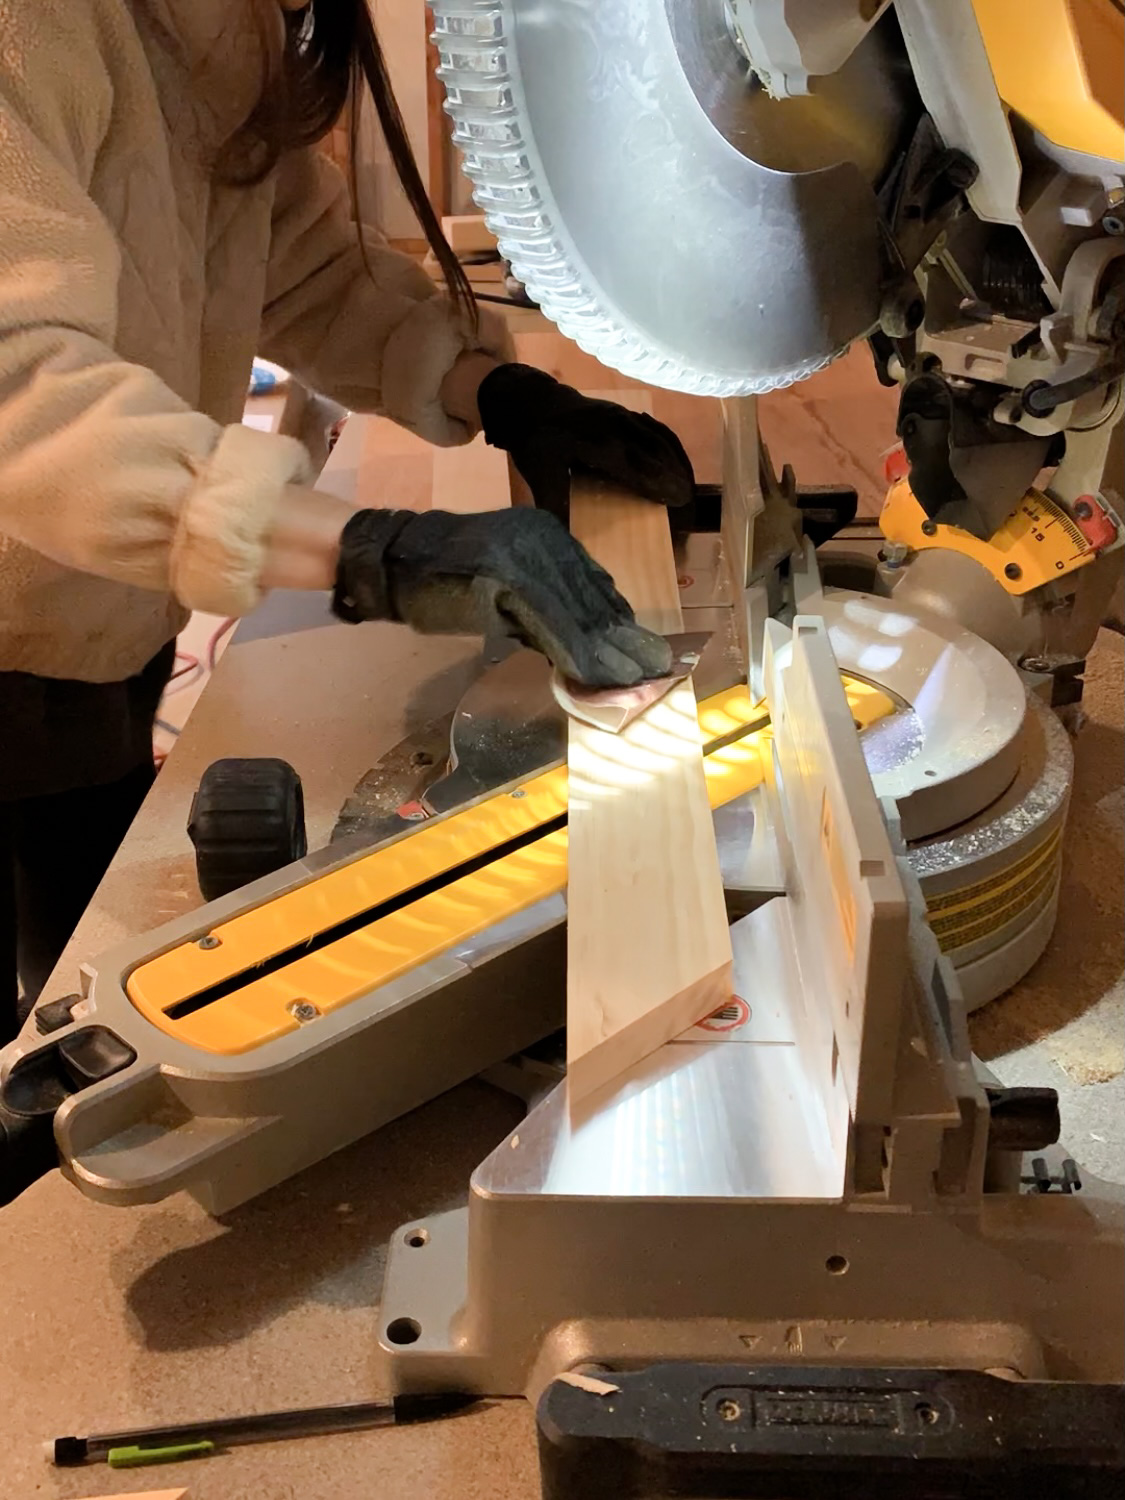
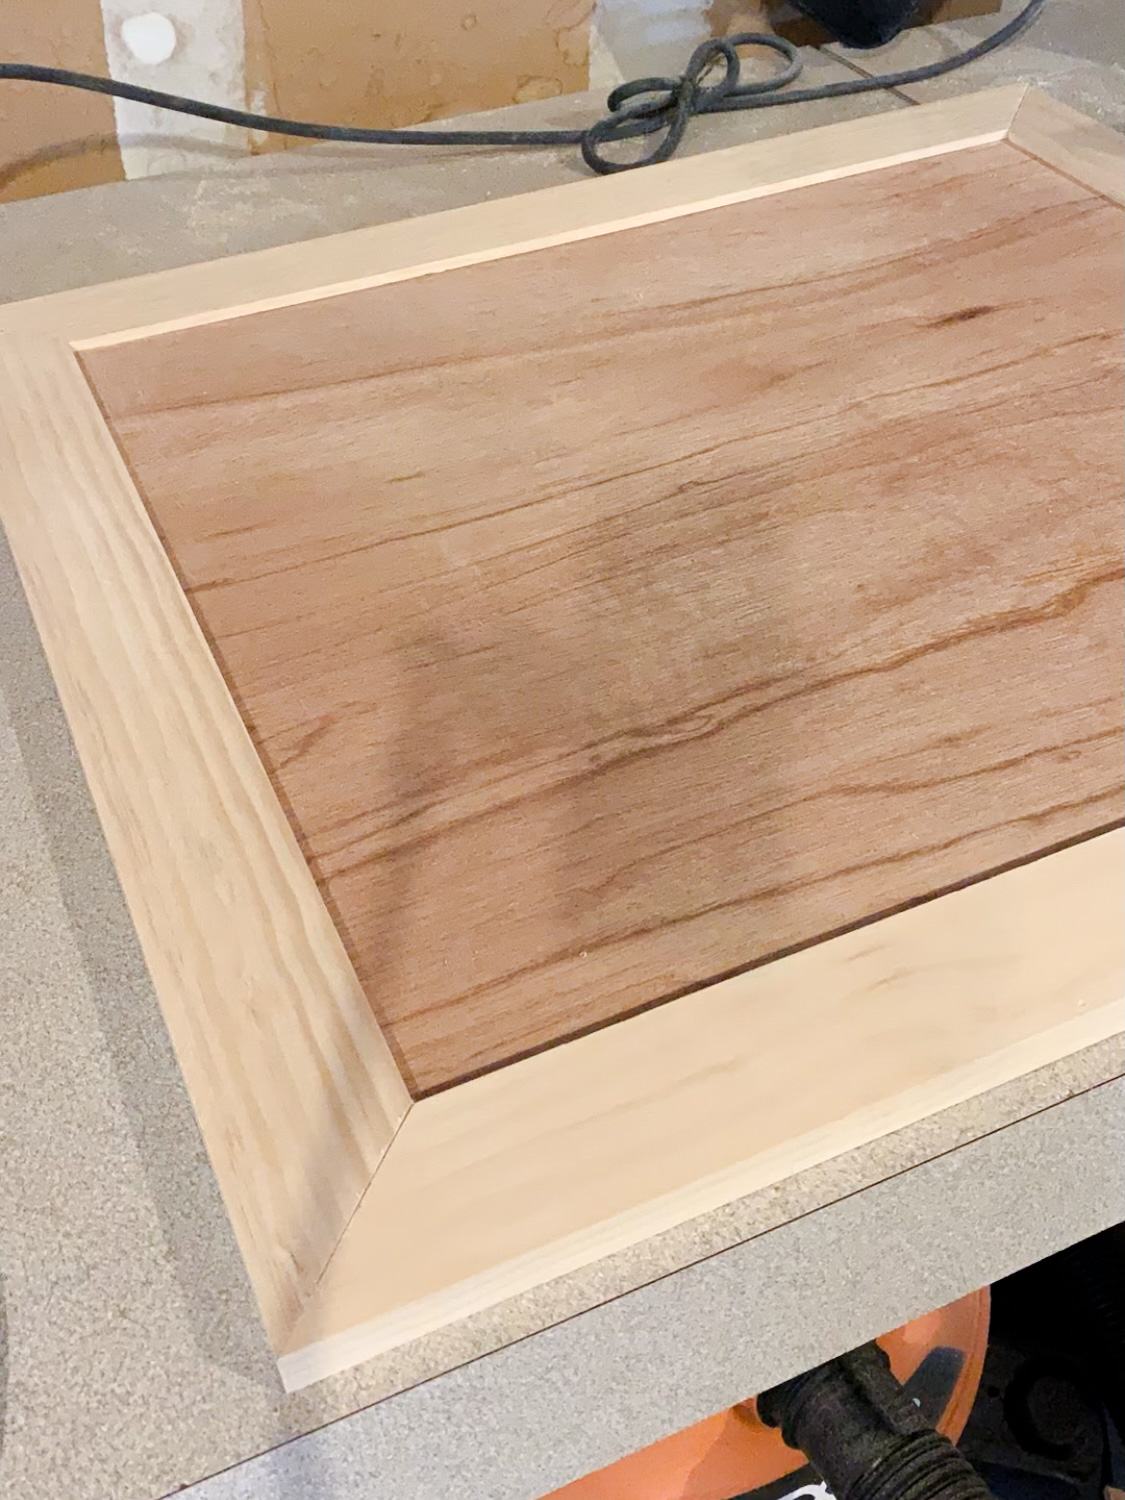
The 1×3 across the bottom of the frame had a 10-degree beveled edge along the backside. This was to help attach the front panel (more detail at the bottom of the post).
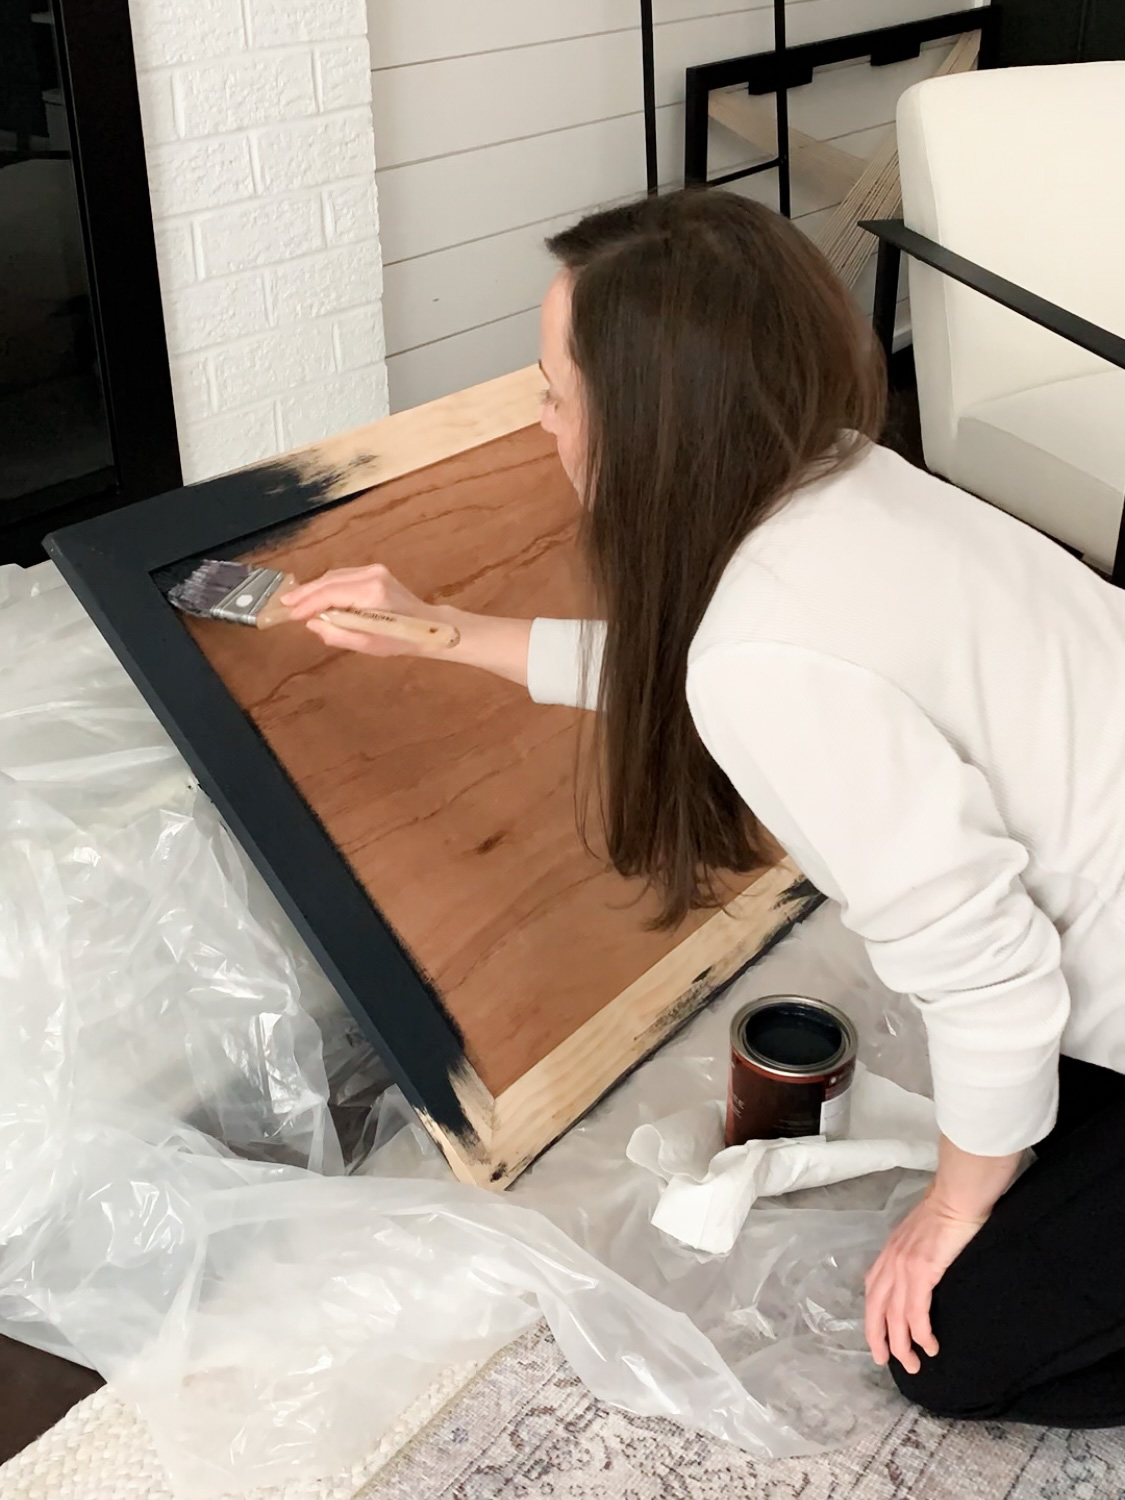
Once the frame was connected and completely dry, I painted the frame. Most importantly, that inner edge of the 1×3. I knew that it would be impossible to get a super clean paint line once the fluted trim was added. I used Behr Marquis Dark Secret in Matte… The same super dark charcoal (almost black) color I’ve used in other spots around the house.
The Fluting
I first used this fluted trim when doing the fluted IKEA Stall hack. It helps to carry the same elements throughout the home to give it a more cohesive feel, so I figured this was another fun spot for it. Measuring and cutting each piece to the exact same length took a decent amount of time… it takes A LOT of trim to fill this space.
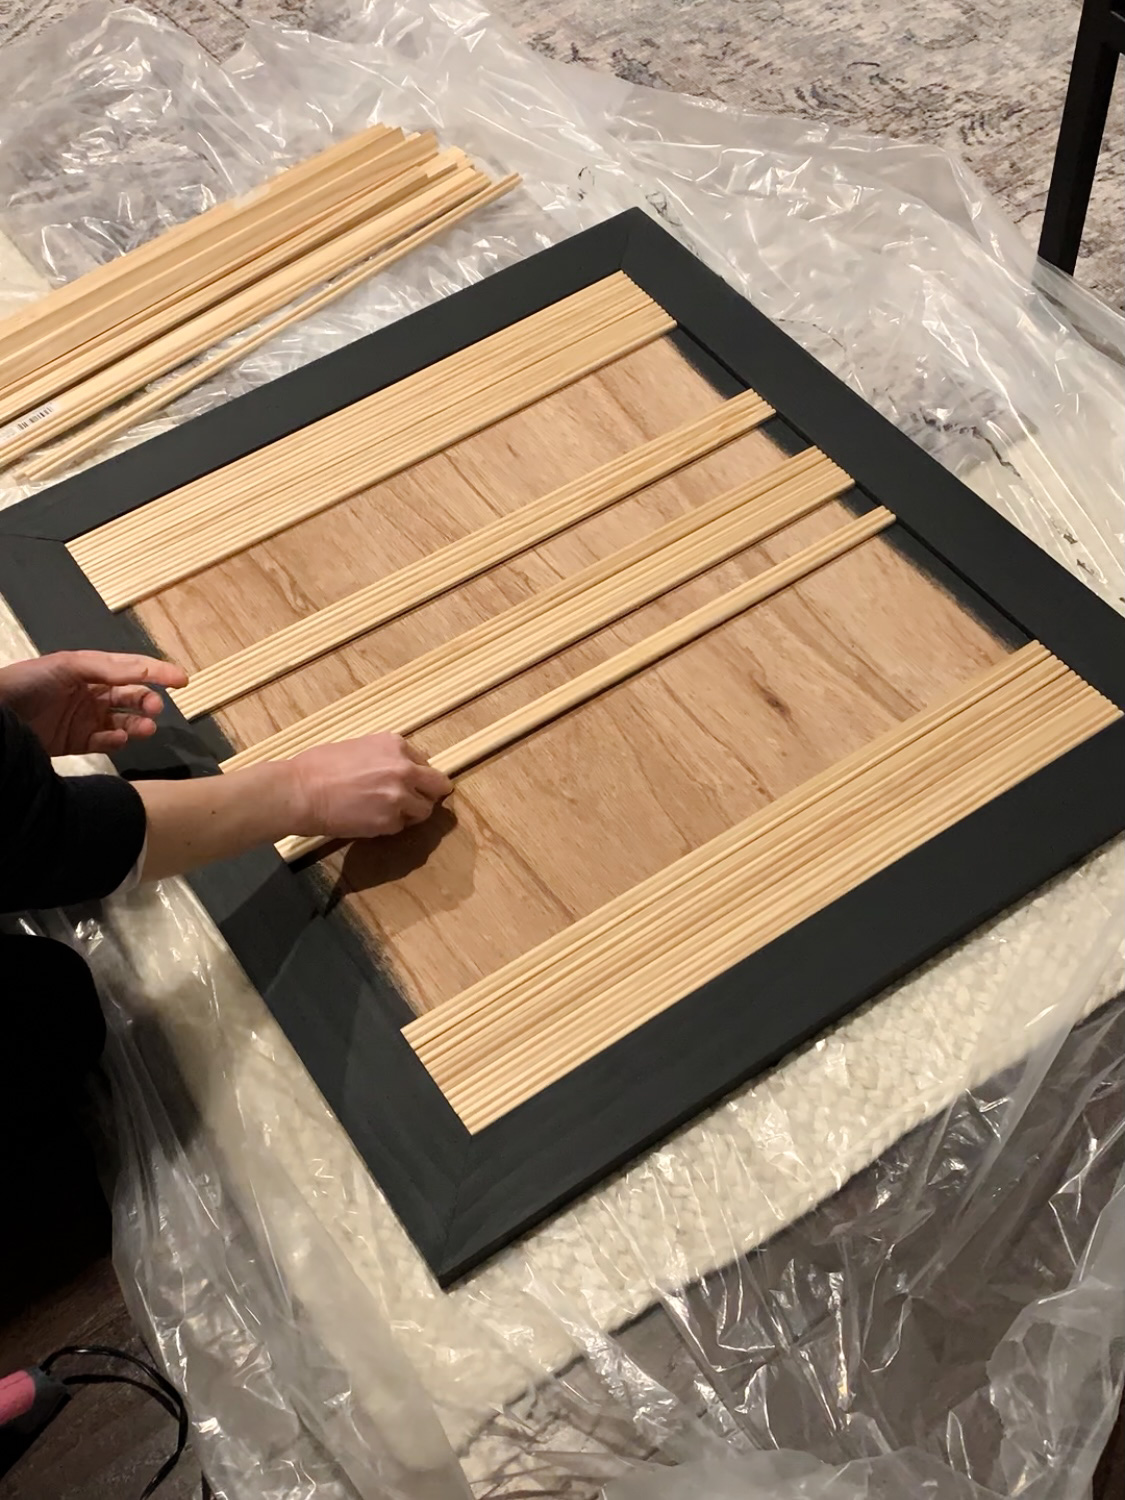
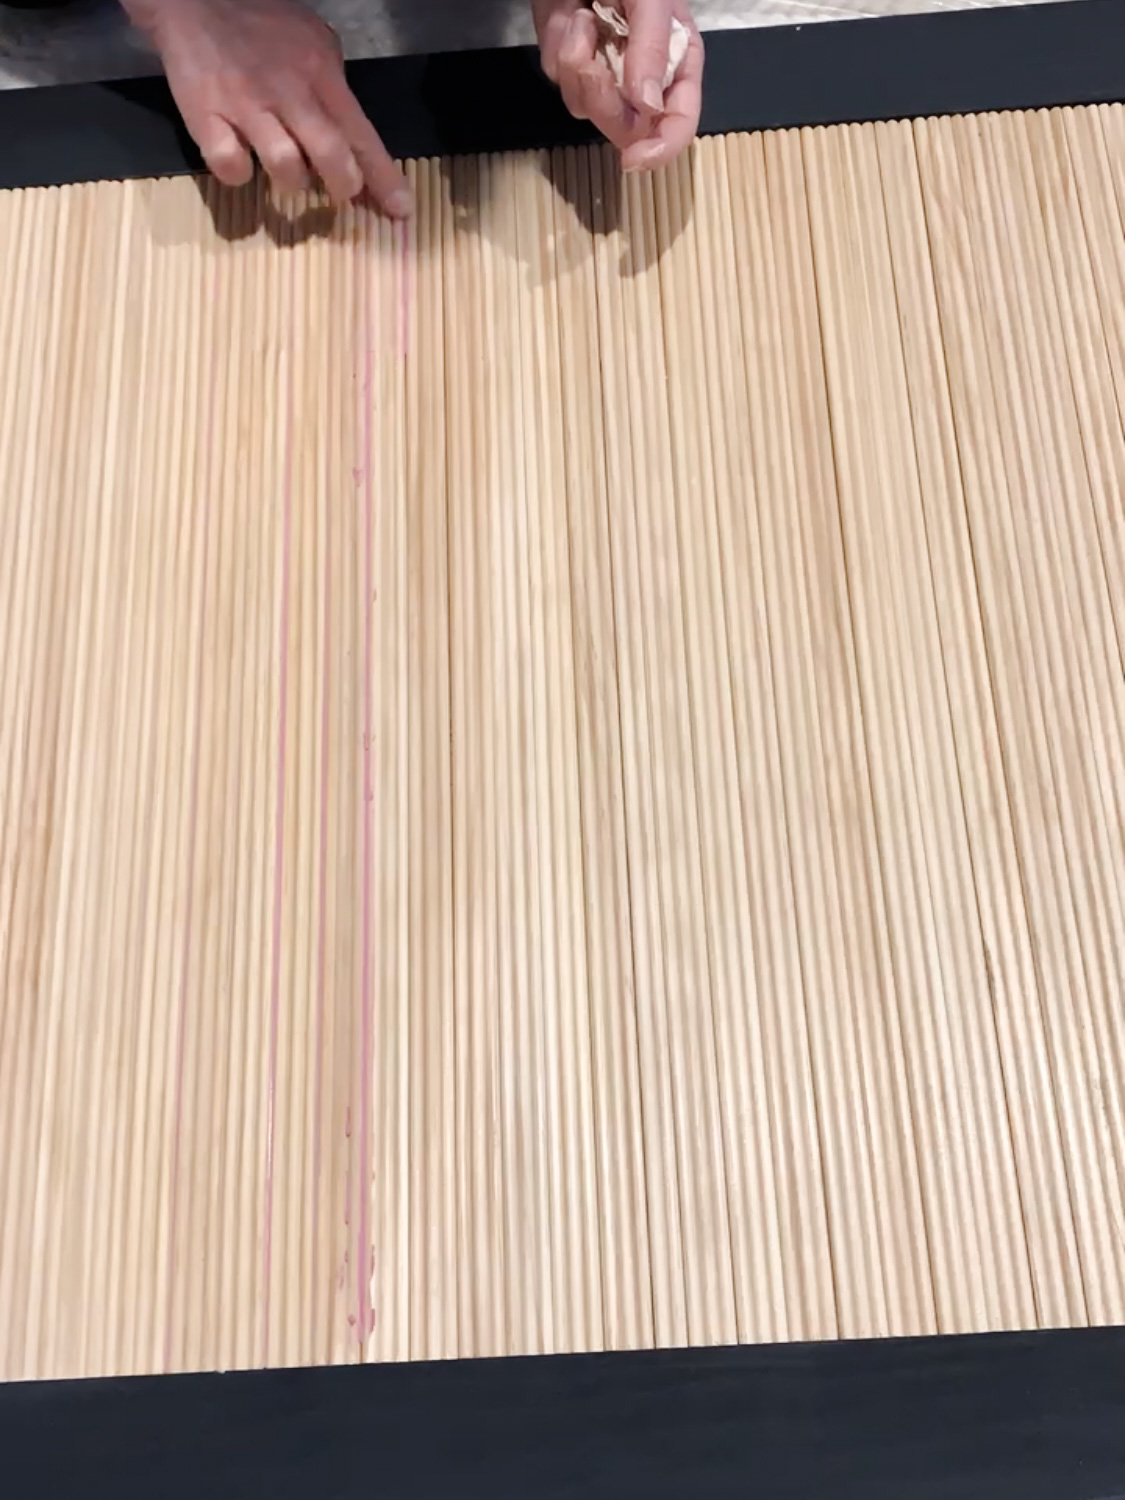
I even used an exacto knife to whittle the last piece of trim to get a perfect fit to minimize the amount of wood filler needed. If painting this trim, caulk is the easiest thing to use to fill the seams. My plan was to whitewash using this liming wax, so I knew wood filler would be necessary for blending. The liming wax is applied with a brush and done little bits at a time, until you get the look you want. I love liming wax because it removes the yellow undertones from the pine.
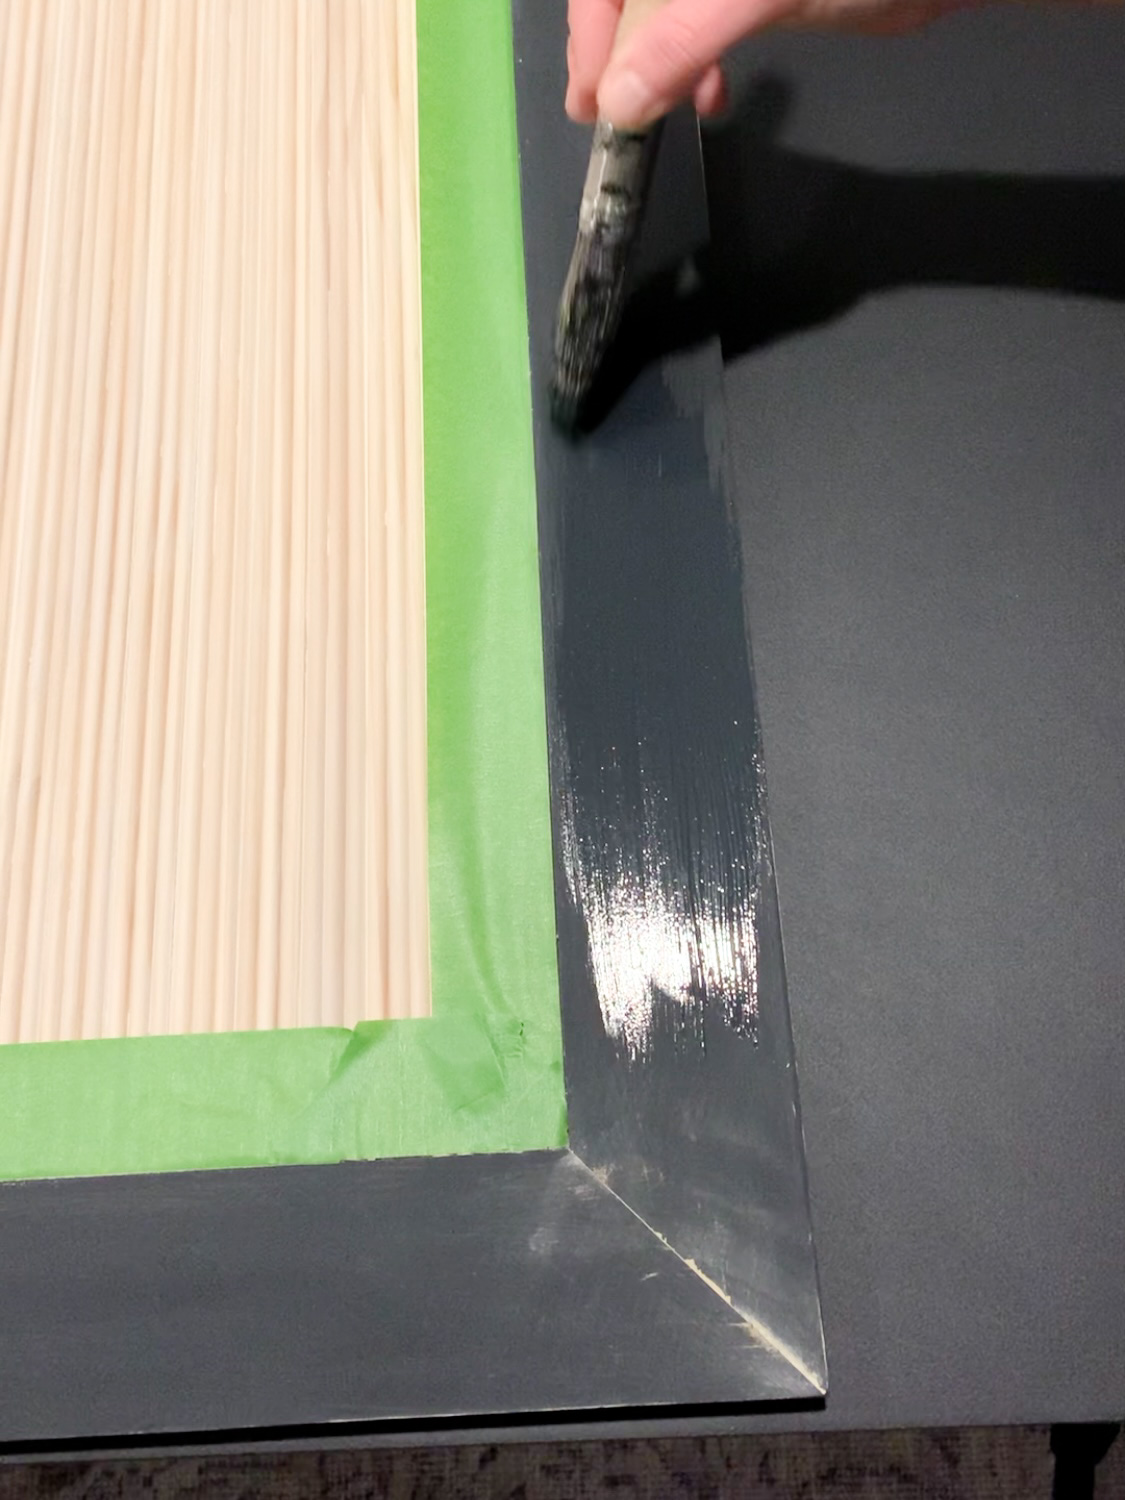
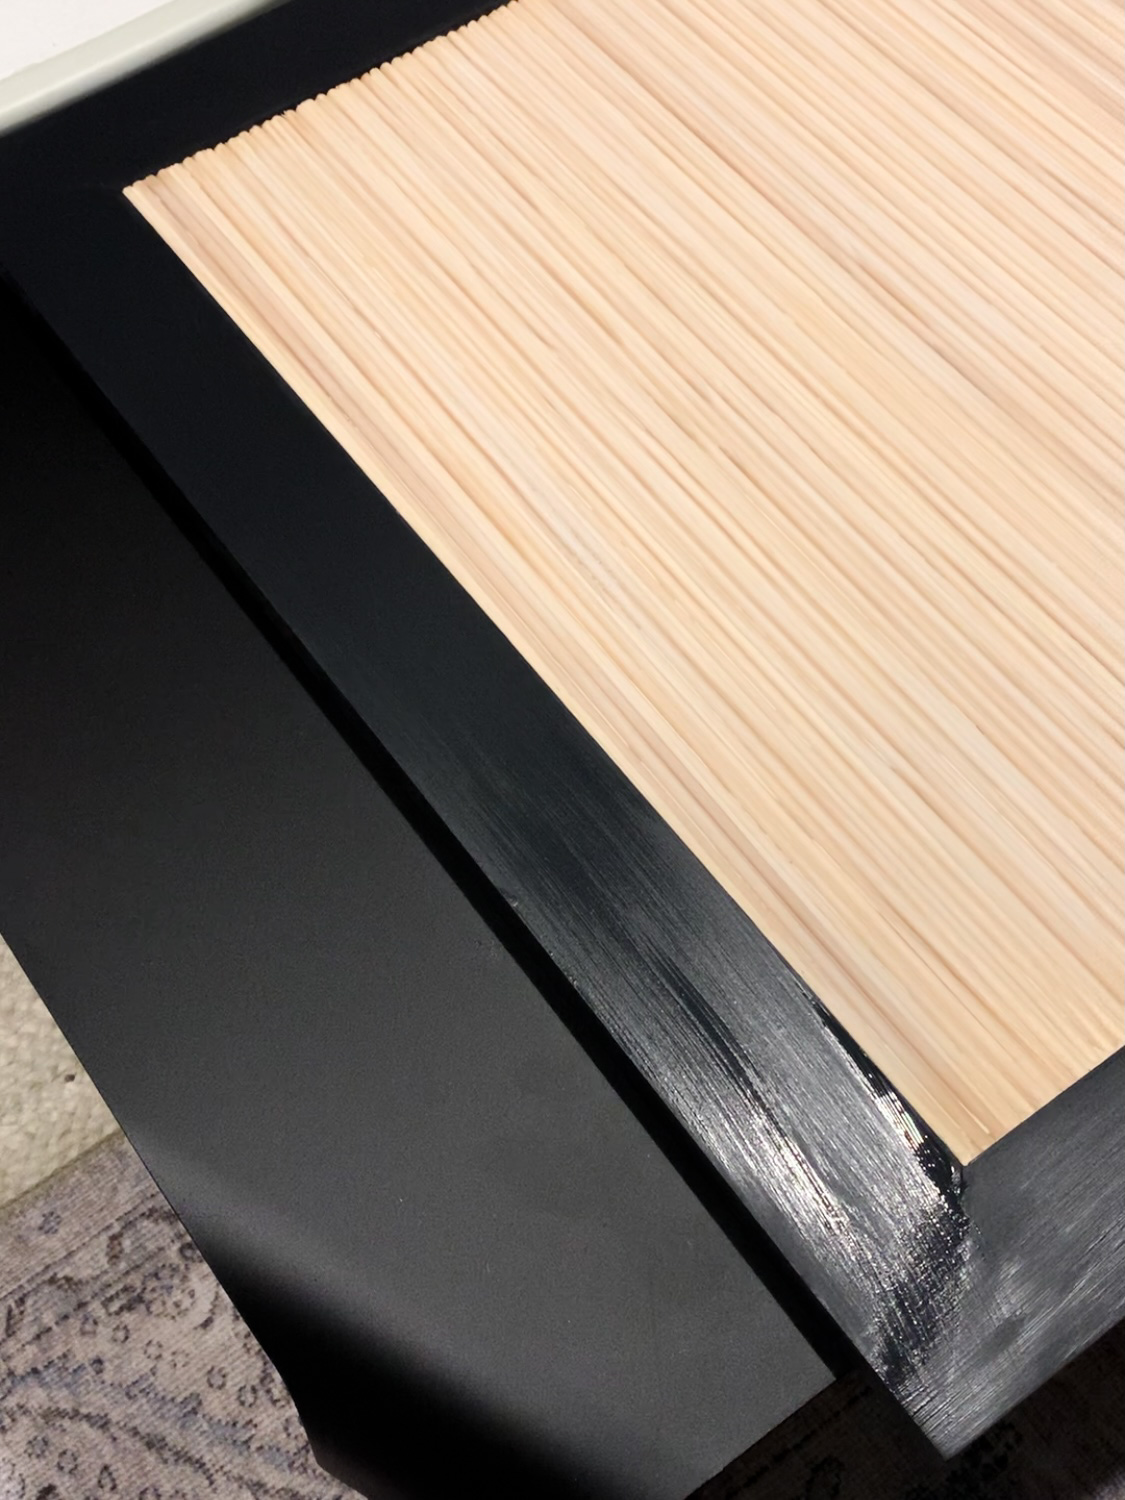
Wood filler is in the seams of the mitered corners as well. Once it dried, I taped off the fluting and touched up the paint. Since the inside edges were already painted, it was so much easier to just paint the face and outside edge.
**I attached the face of the cabinet to the boards on the ceiling with the hinge at this point, BEFORE adding the sides or front panel. This way, all the holes were drilled and the hard part was over. This made it a ton easier to add the finished cover at the end.
Building Out the Sides
This part was total “one-step-at-a-time”, and I was so relieved when it worked out! I hung up the face of the cover and used paper to trace the open space between the cover and the range hood itself. The paper shapes were cut out and traced onto the 1/2″ plywood. I cut them out with a jigsaw and then attached them to that 29″ board screwed into the ceiling joist. I’m not going to lie, there was a decent amount of back and forth from the garage to get these “triangles” to fit perfectly in that space. I just took off little bits at a time, as needed.
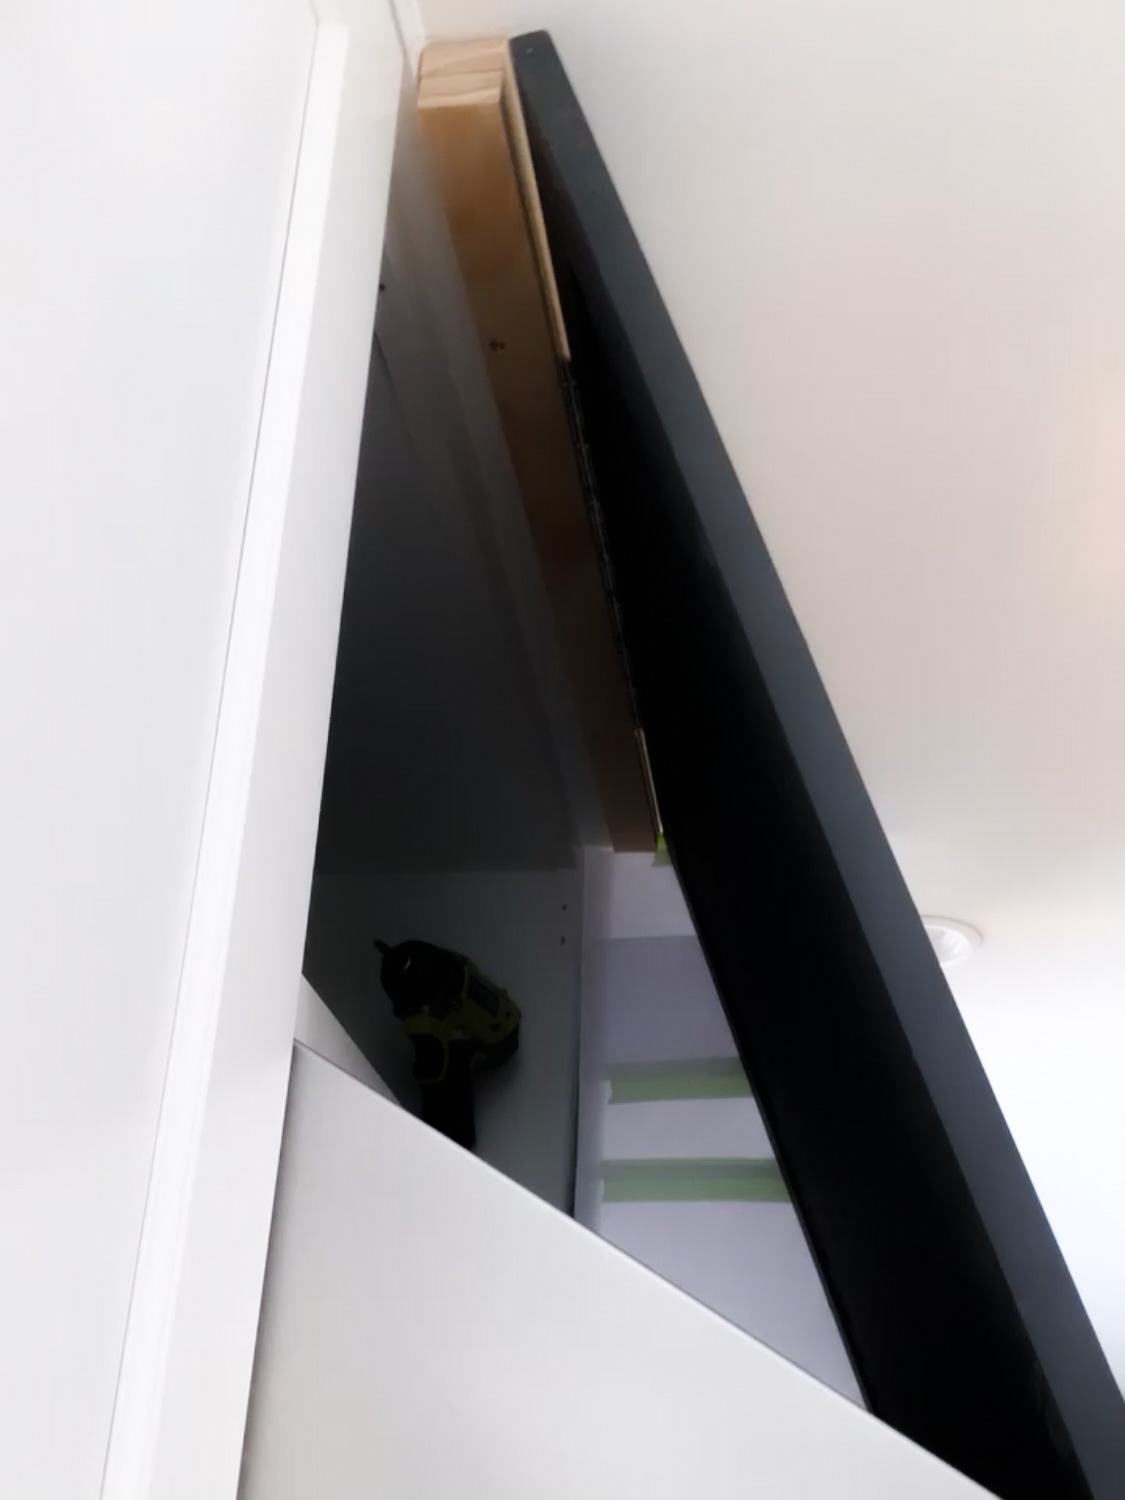
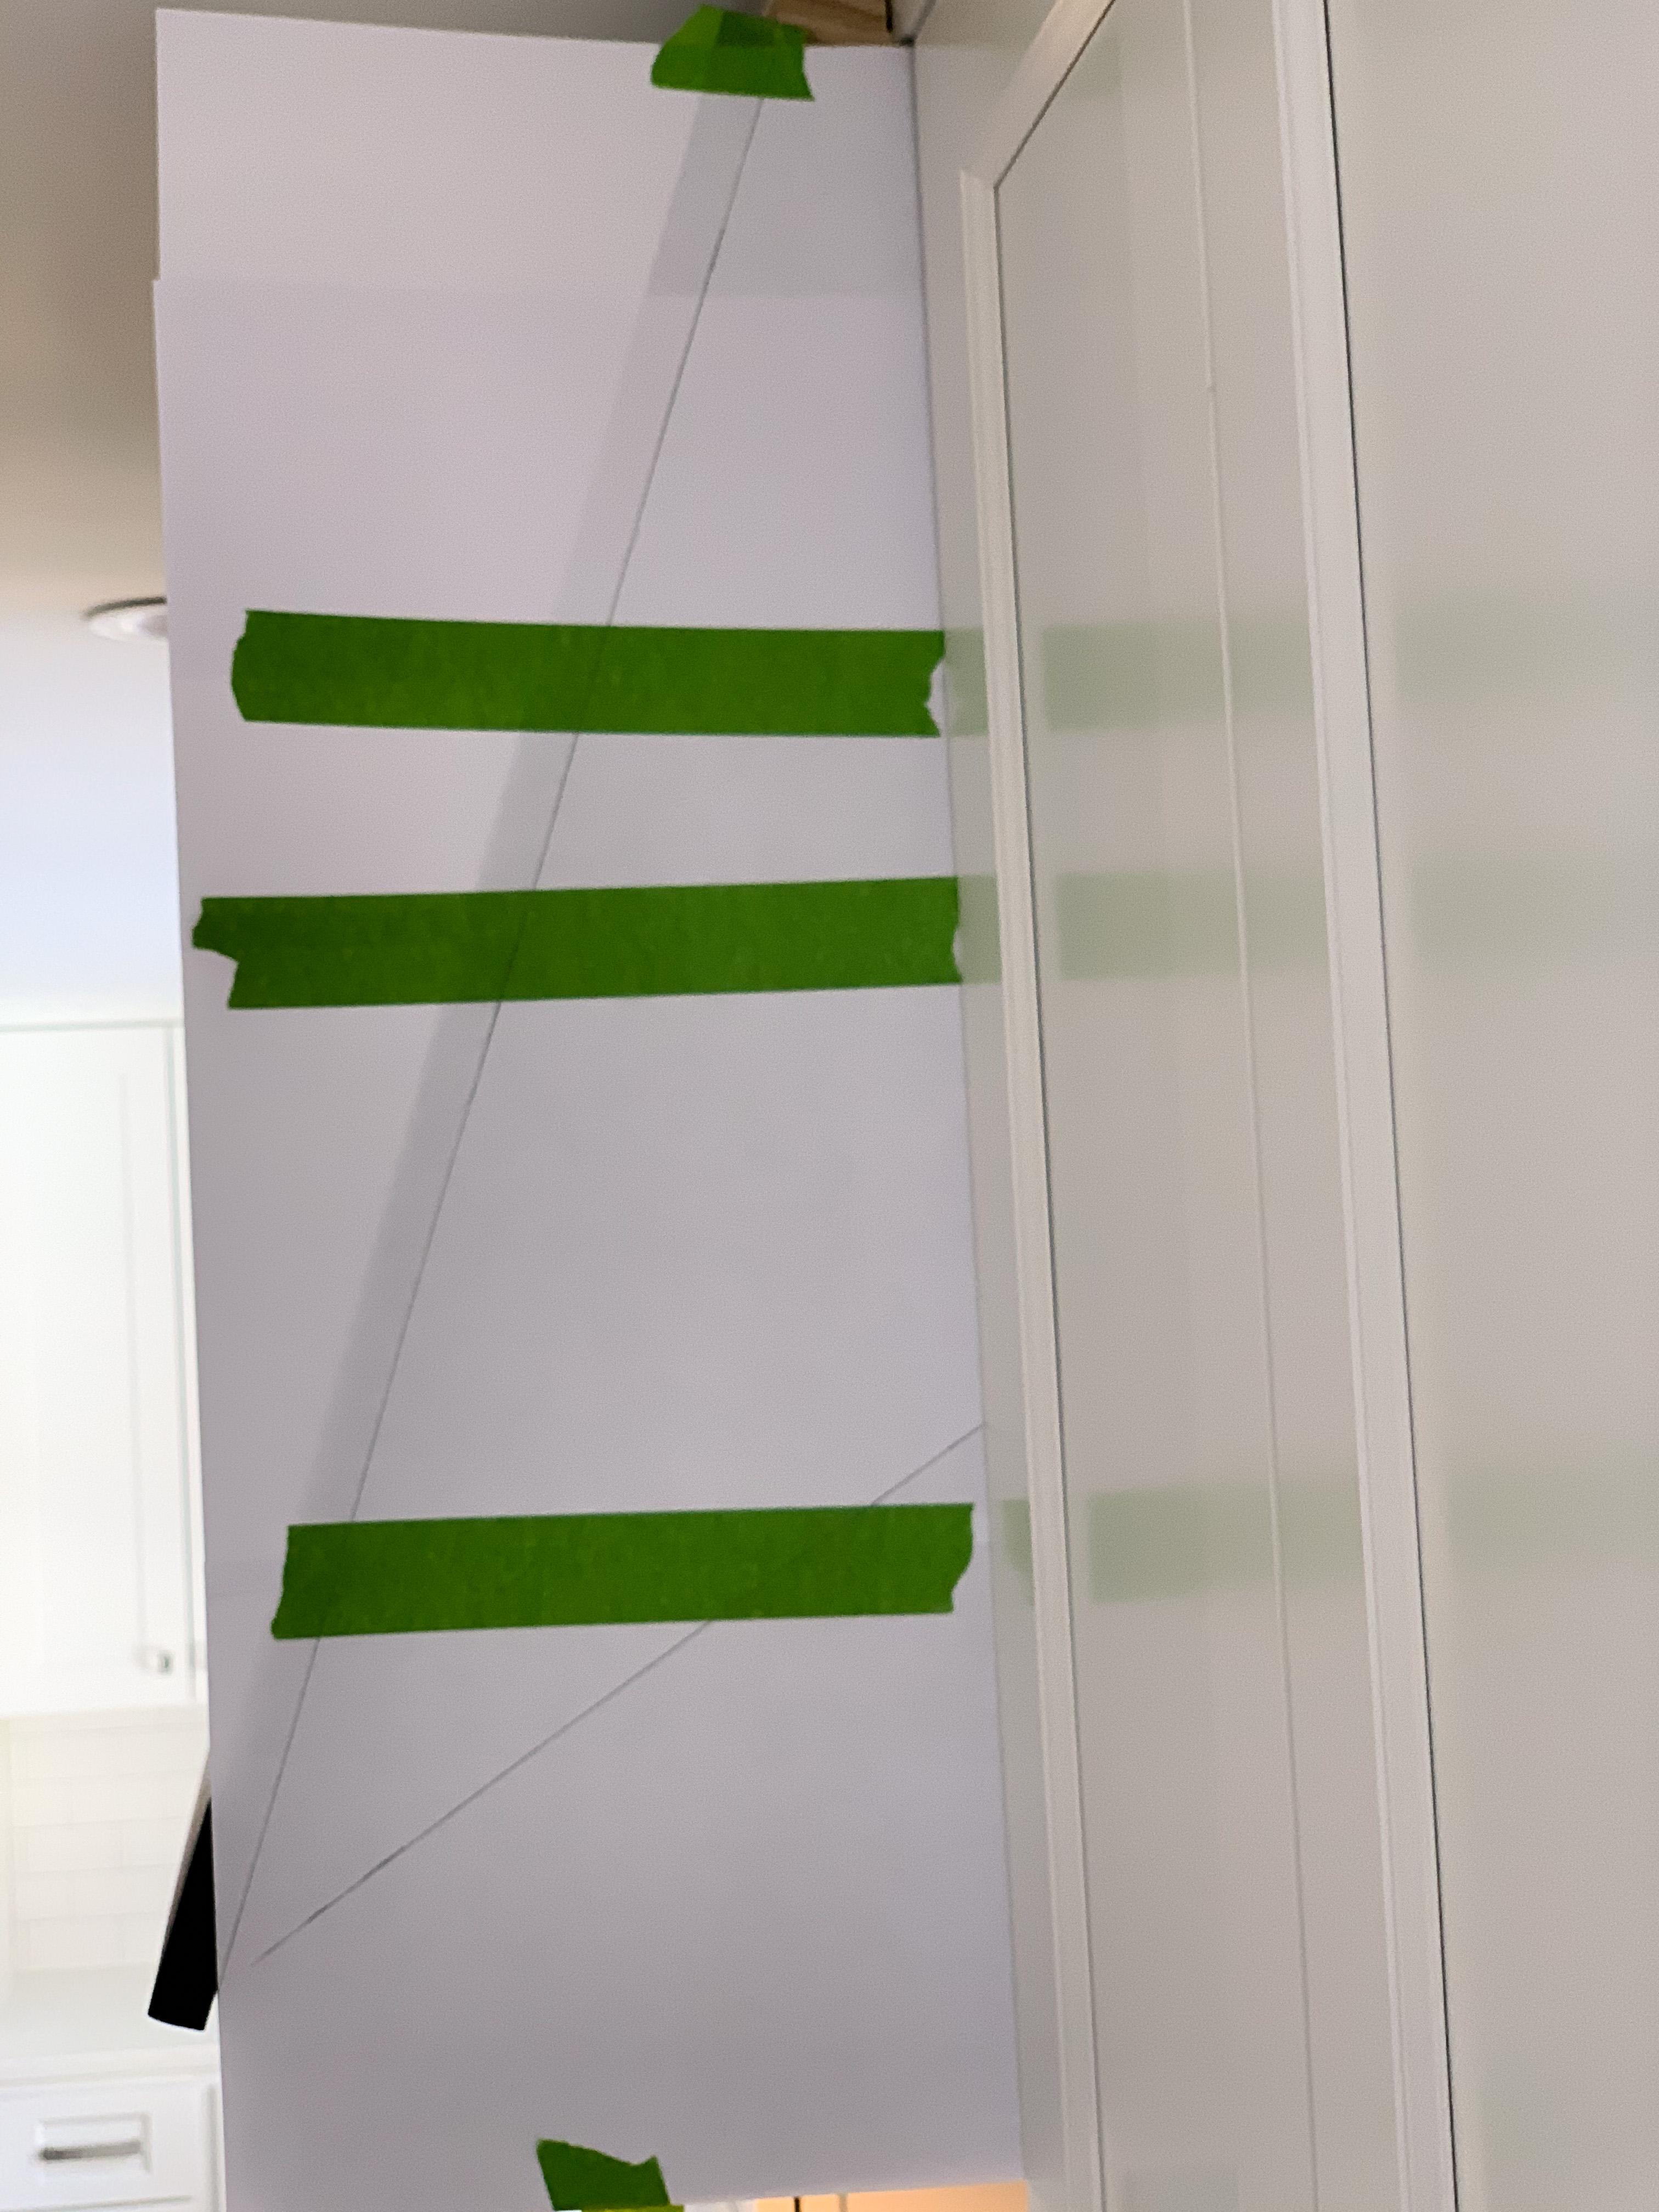
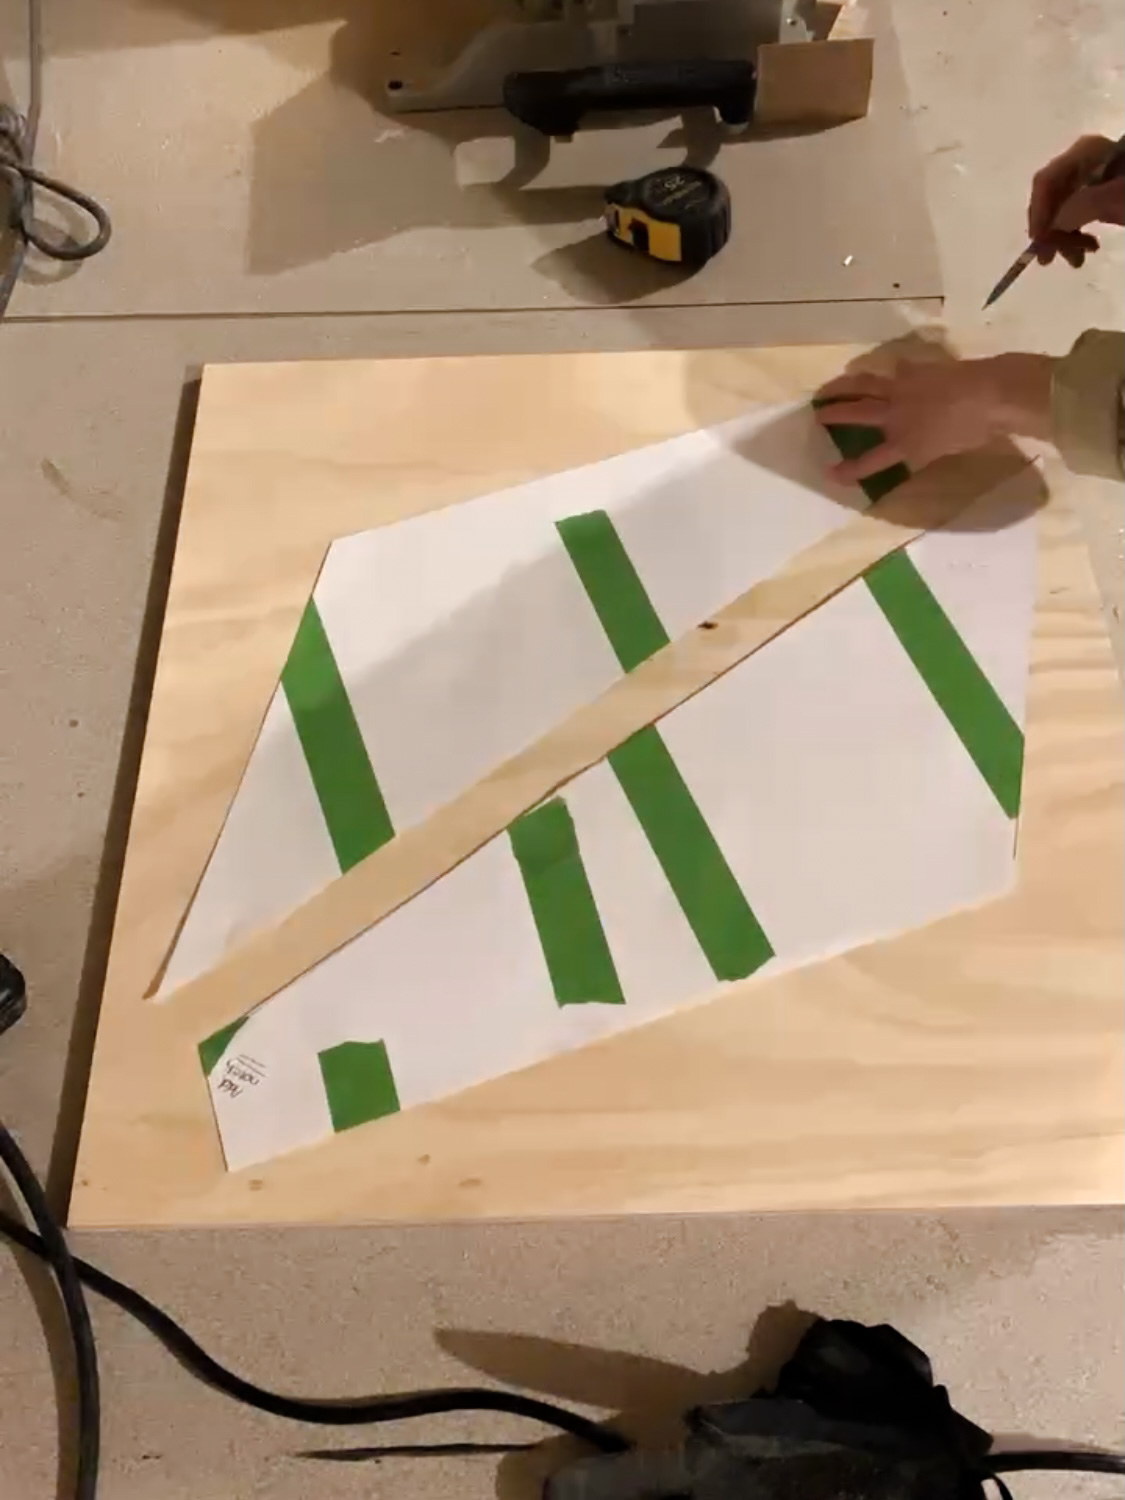
Once I attached the plywood pieces to the ceiling board (using wood glue and nails), I realized I needed a little extra support. I ended up running a couple 1×2 boards between the two plywood triangles. This gave me additional places to nail the plywood into, and it also kept the plywood equidistant all the way down. One of the 1x2s is nailed directly into the cabinet frame. I only used glue between the wood pieces… NO glue was used on the cabinet frame or ceiling. **My goal is to be able to remove this cover without leaving damage behind**
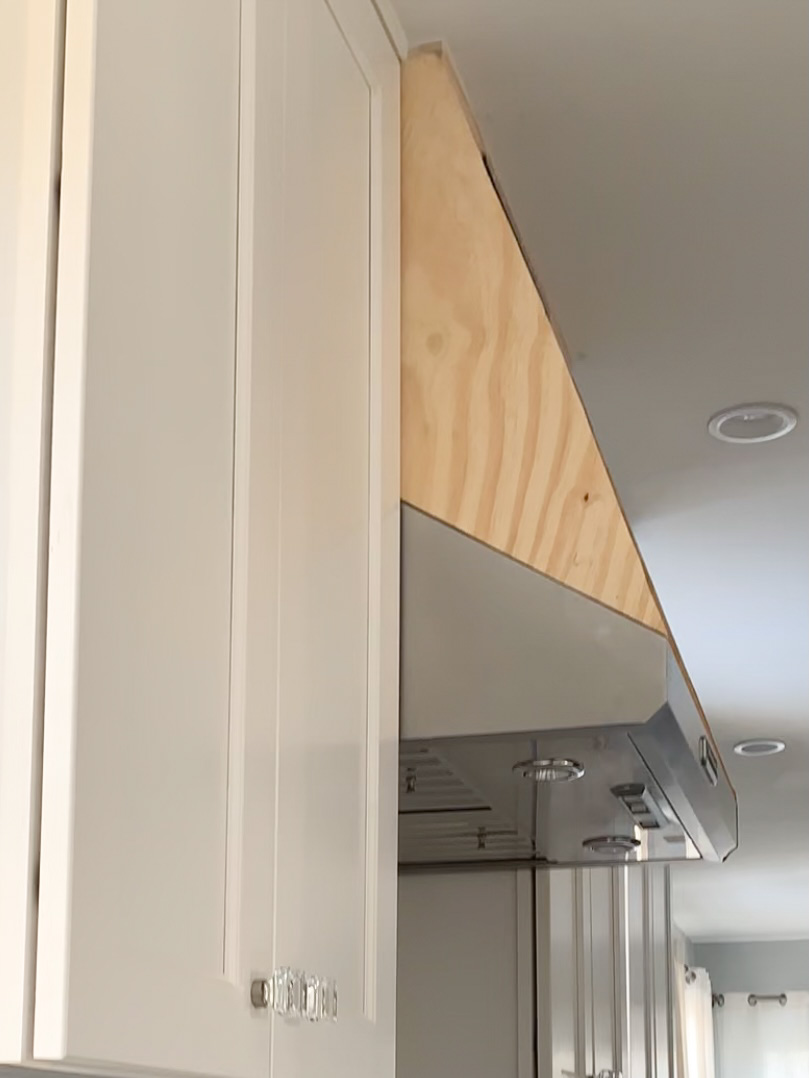
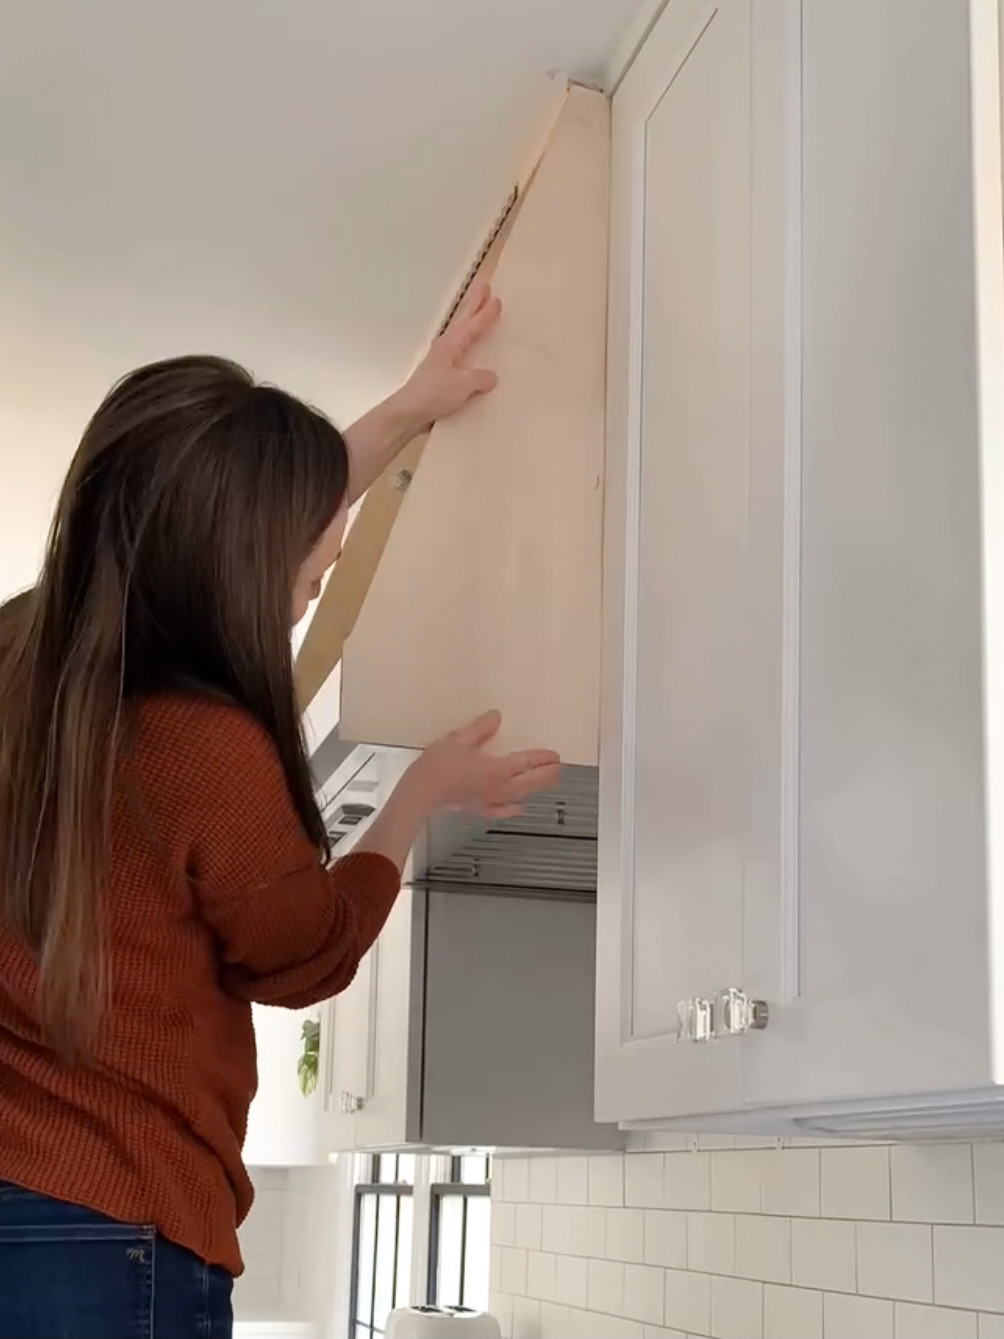
The last step for the sides was making it look pretty with a stick-on wood veneer. I had zero room between the range hood and the surrounding cabinets, so this is why I couldn’t do a thin plywood for the entire side. I used this maple wood veneer and used the same tracing technique to get the exact measurement to cut. Do a dry fit before peeling off the backing, then just peel and stick! If there are any bubbles, you can use a hair dryer to smooth those out, even after painting.
The Front Panel
Remember when I mentioned the bottom piece of the frame having a 10-degree beveled edge along the back? This step is why that detail is necessary. The last piece I added was the front panel. I used a 1×6 board with a 10-degree beveled edge that I made using the table saw. Calculate the 10 degrees by using a protractor to get the angle pictured below. That angle was 160 degrees. 180-160 = 20… 20/2 = 10…. That’s how you determine the angle to set your table saw at!
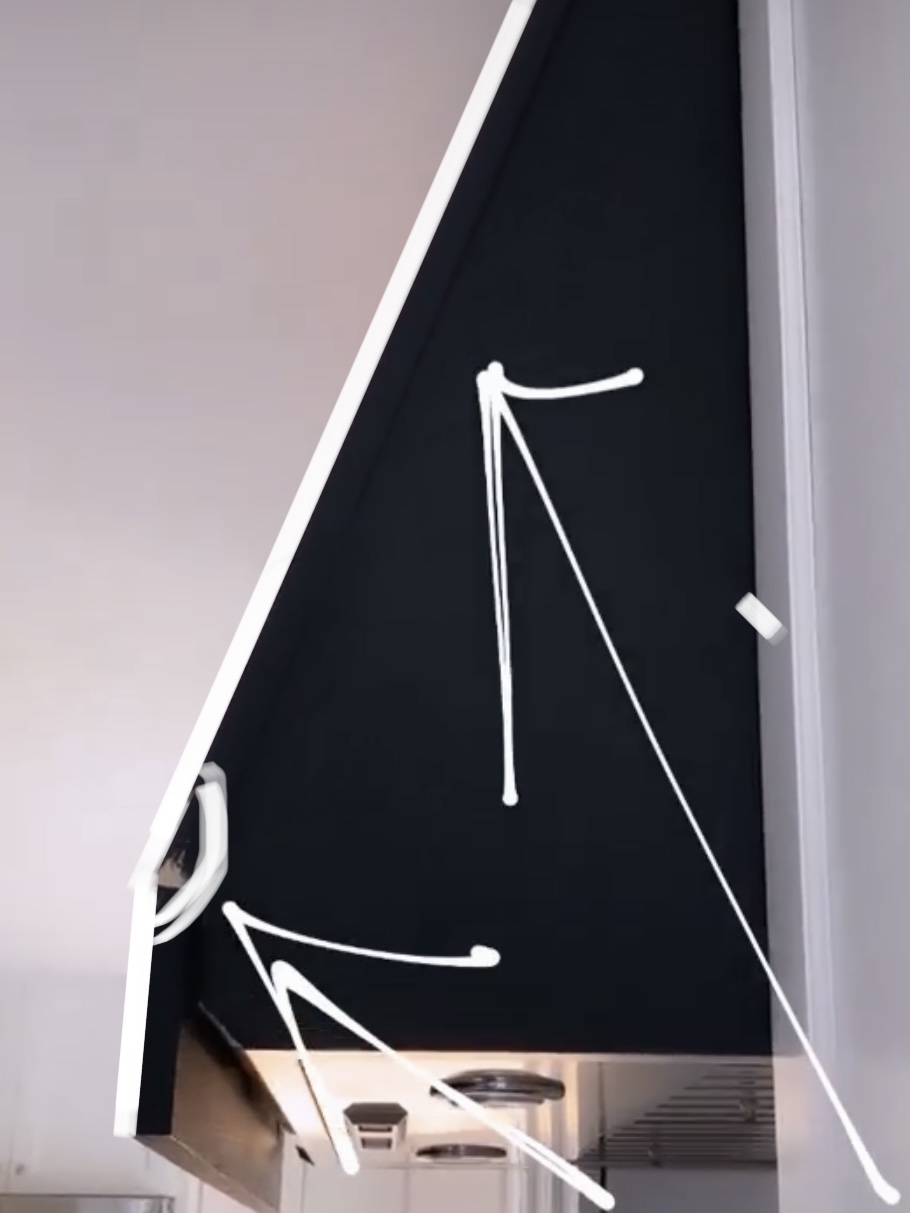
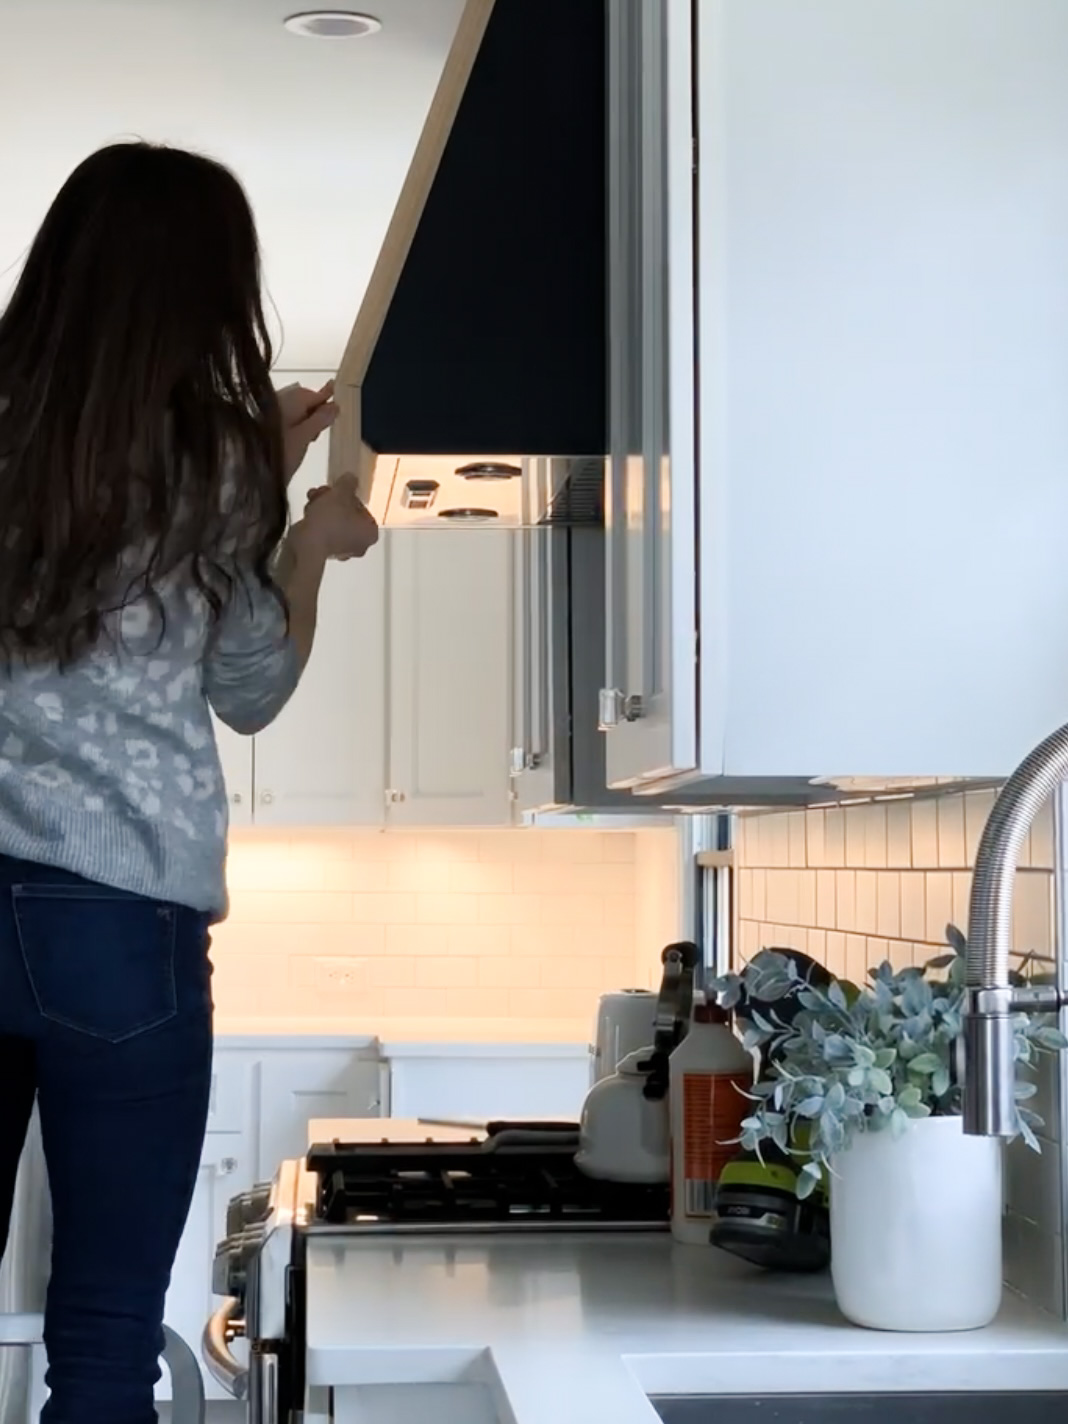
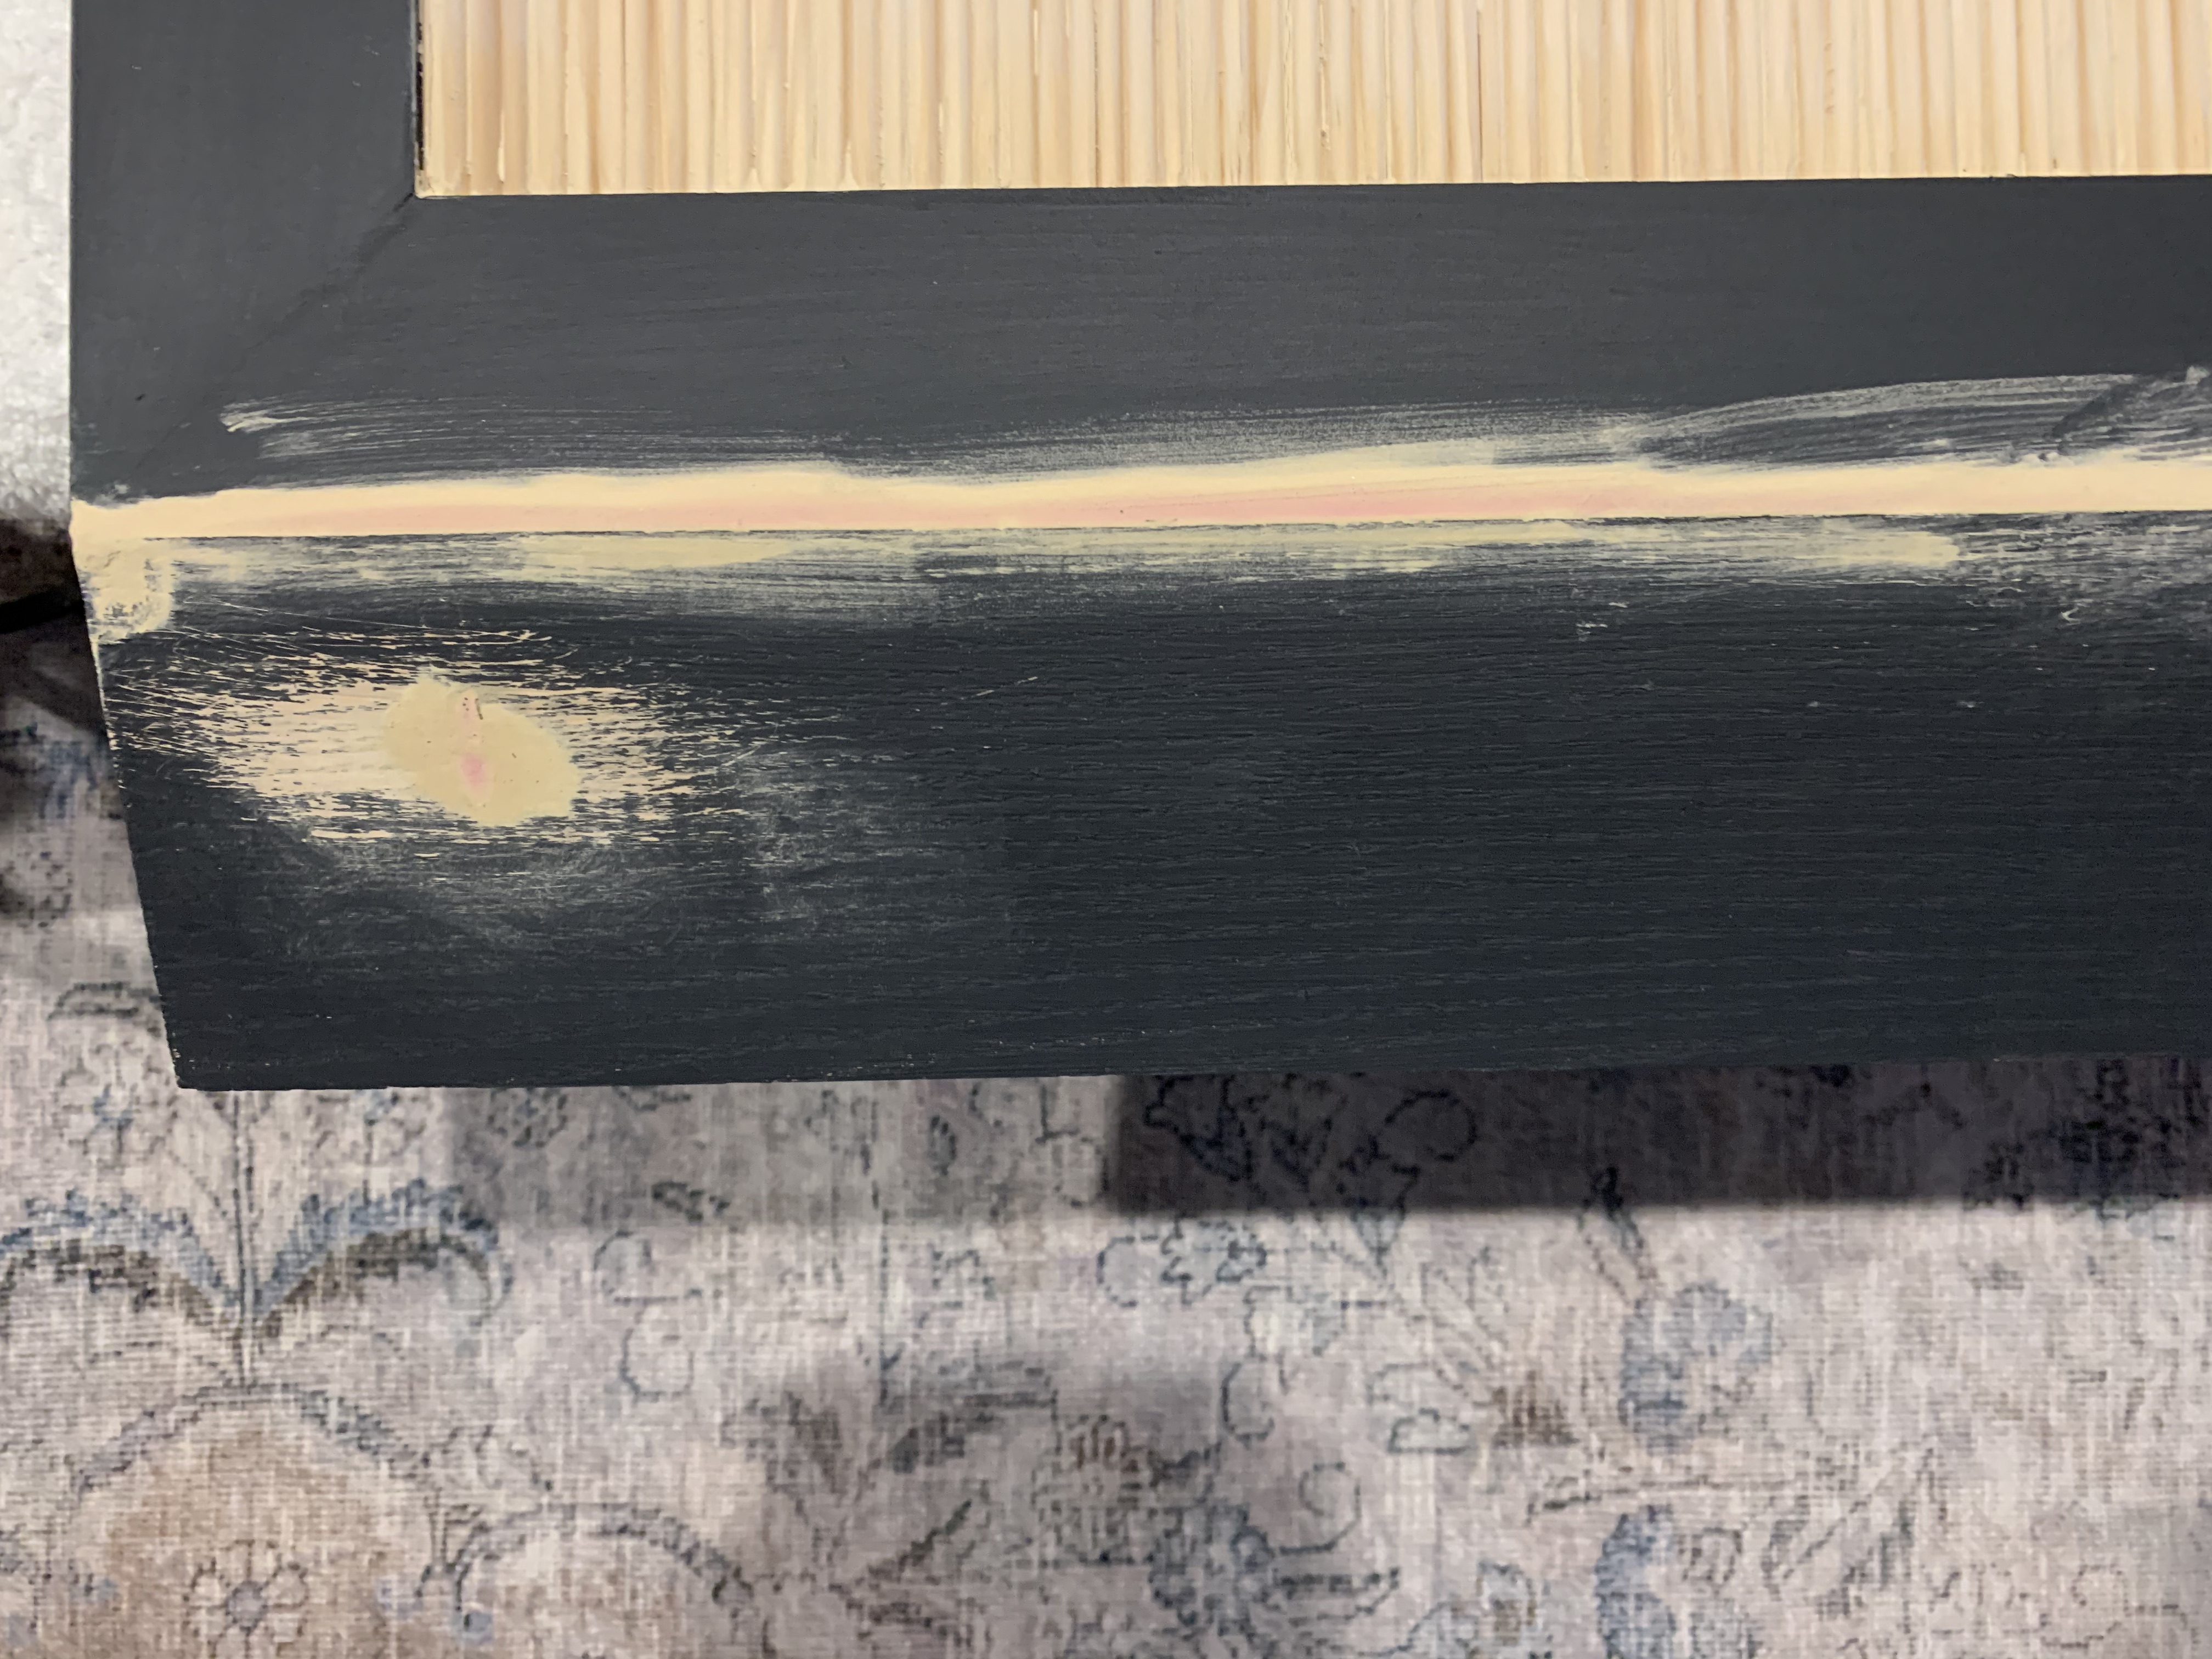
With the face of the cover laying flat, I attached the front panel (connected the two 10-degree pieces) using wood glue and pocket screws. It wasn’t the most seamless attachment, you can see a picture of all the wood filler I had to use below. However, once the wood filler dried, I sanded it all down, painted, and it was smooth as can be. I used a few small, continuous hinges along the back of the angle for added security, but I don’t think that step was necessary.
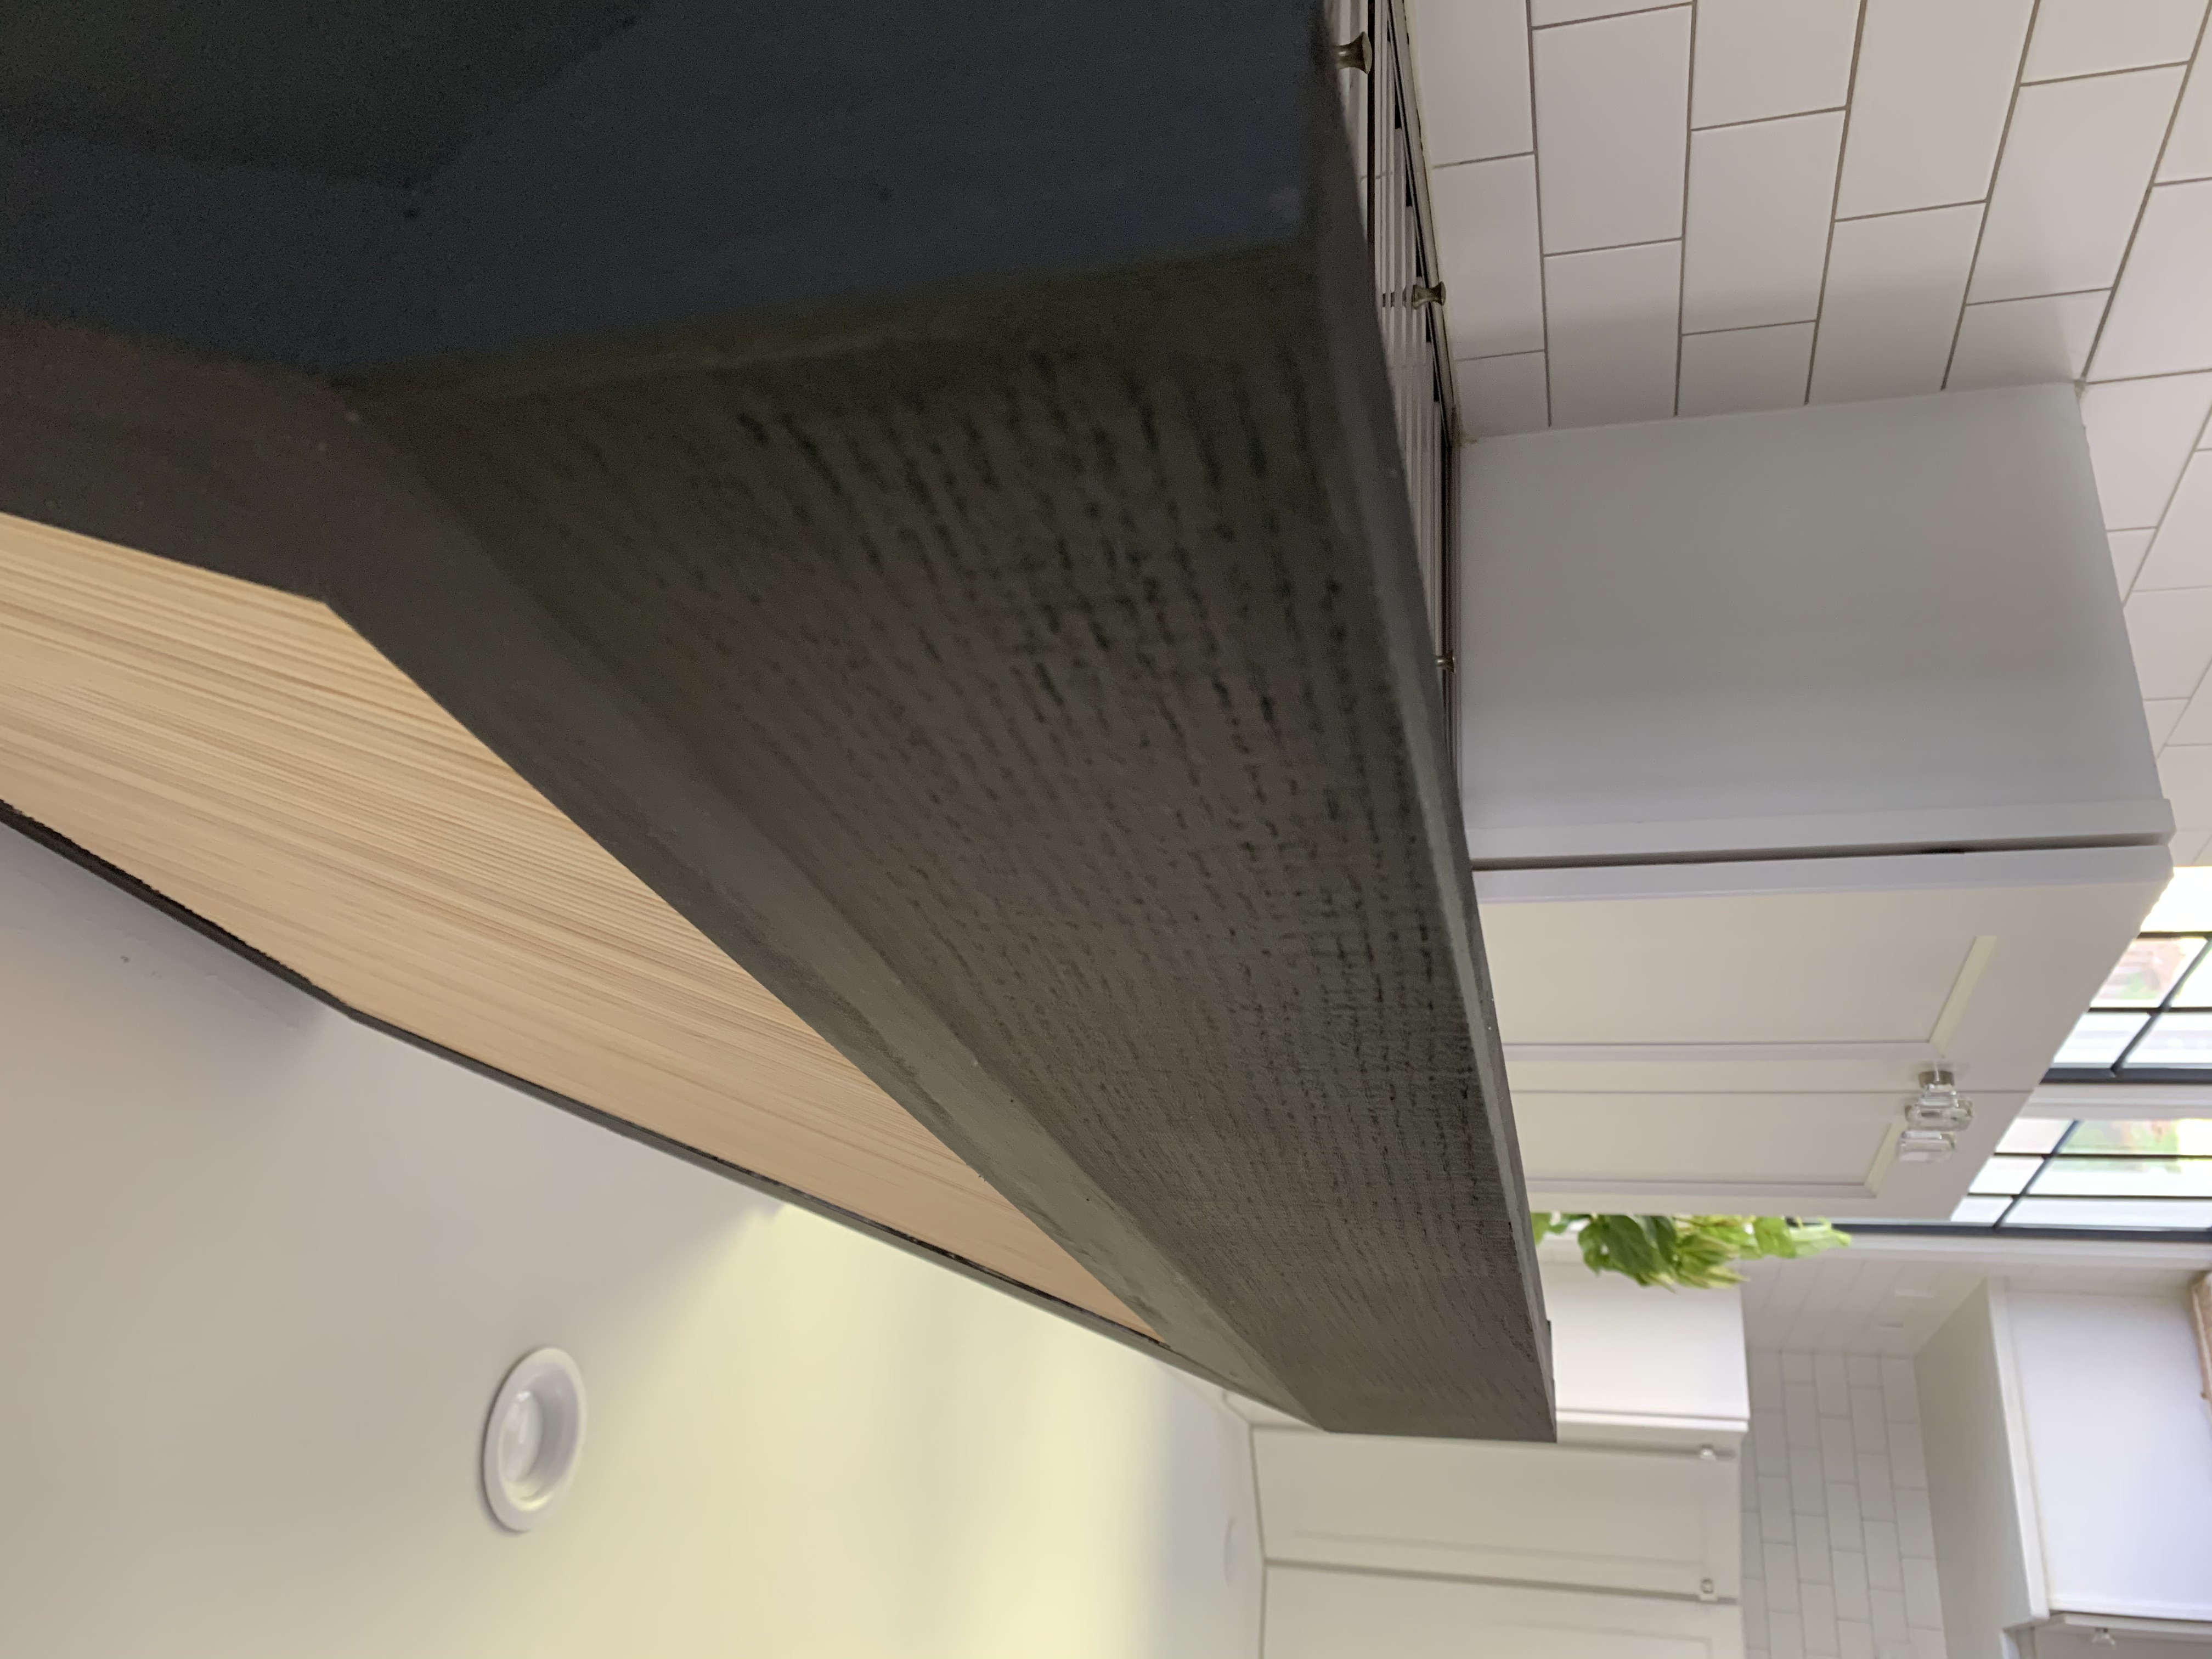
Once I attached the cover to the ceiling boards, I added some trim along the edges to give it a finished, clean look. This was another “one-step-at-a-time” moment…. I added trim until I was happy with the finished look. I then caulked and painted.
**I ended up adding some black tape along the edge of the plywood/veneer, directly underneath the cover. This is done to prevent issues with the cover rubbing and chipping the veneer when moving up and down.
Post may contain affiliate links. Disclosure linked here.
