We’ve been in our home for over three years, and I’ve just started wrapping my head around slanted ceilings. I’m not talking about gorgeous high ceilings forming a peak. I’m talking about a wall that starts low and ends high, maybe coming back down again, but not in a symmetrical way. As someone who LOVES symmetry, these slanted walls totally stumped me. Measurements take on a whole new life when it comes to working with these walls. After tackling two of them, I’ve finally come up with a few go-to tips.
Step 1 – Find Your Angle
Finding the angle of the slant is the first and most important step. You will need some sort of angle-finding protractor for this. It’s important to make sure the bottom part of the protractor is perfectly lined up, so we use a level under the bottom of the protractor for extra assurance (not pictured).
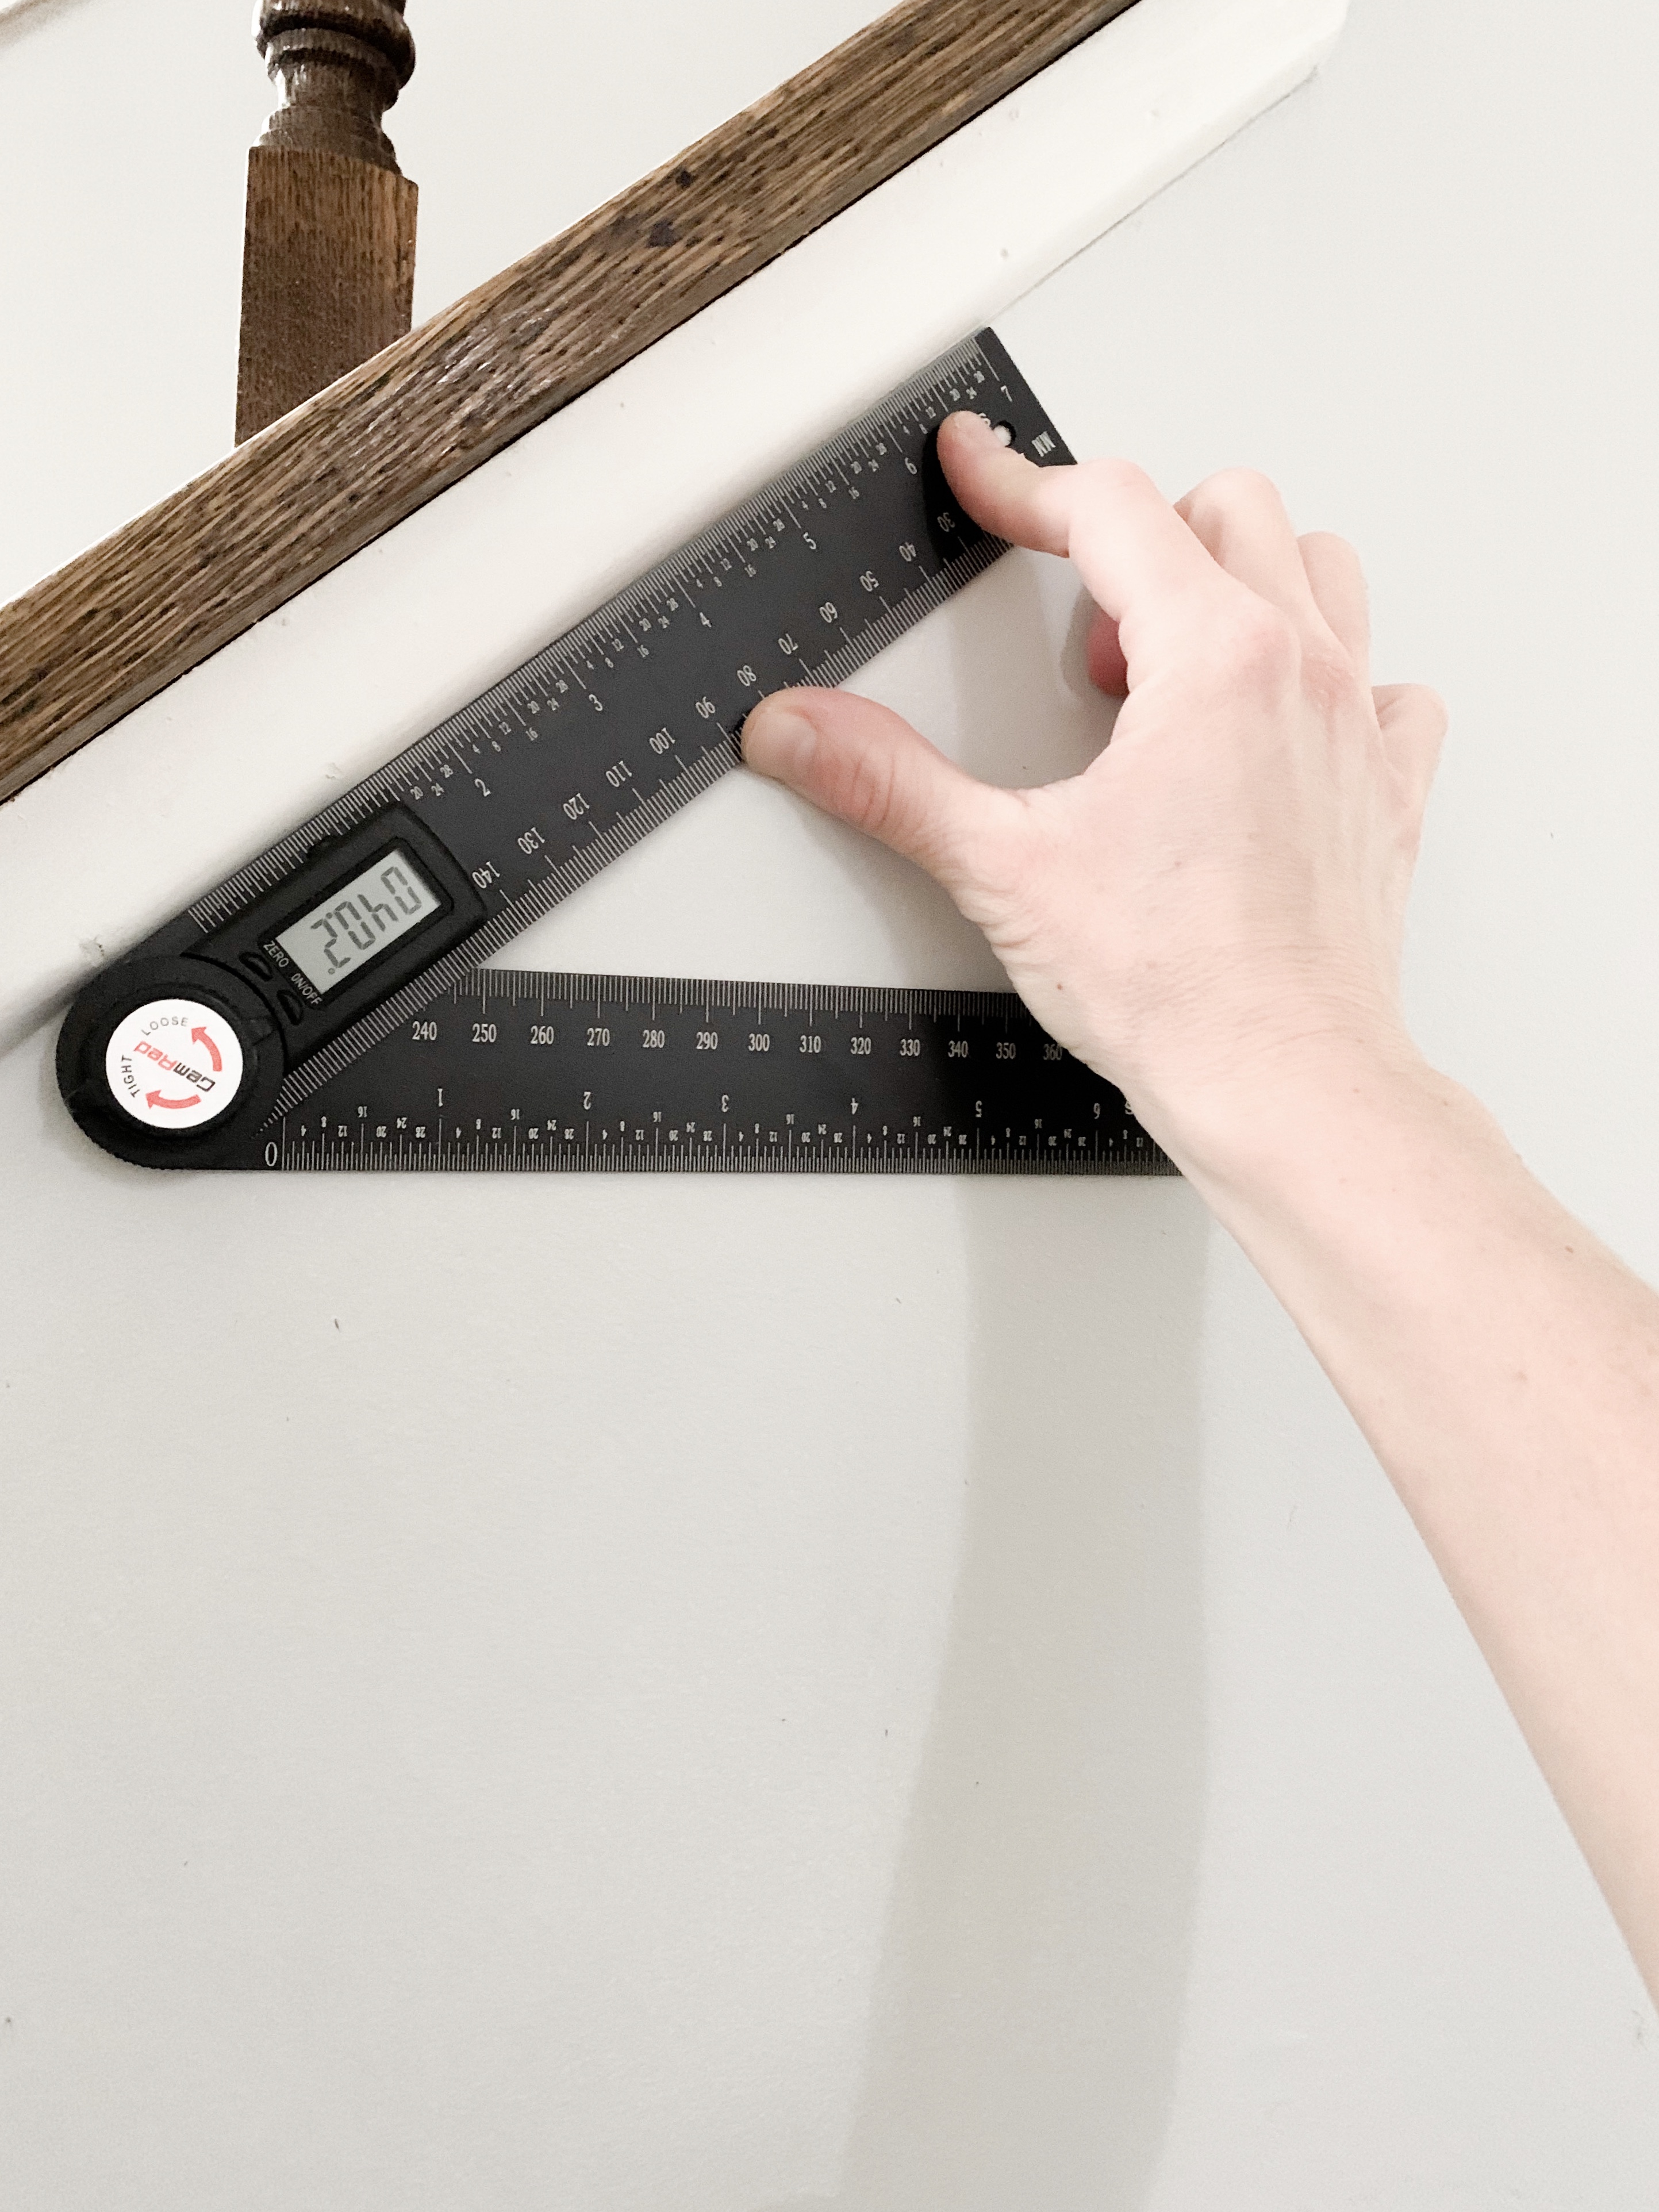
If you are simply running a vertical board from the floor to the ceiling, the number isn’t necessarily important. You can set the protractor to the angle, and then use that protractor to make a mark of the angle on a template piece of wood. This template piece of wood is what will help you set your miter saw and make all of your cuts (below tip #2).

The board and batten behind this dresser is an example of what I mean when I say boards running floor to ceiling. We used the protractor to mark our template piece and used that to mark all additional cuts. The angle is the one thing that remains consistent until the slant changes direction.
Step 2 – Measure For Cuts
This proved to be very difficult for me to wrap my head around when doing our first slanted ceiling wall. I went to measure the first board and found myself totally stumped… I’m not proud haha. Since the top of the measurement was dealing with an angle, the length of the board was different at each point.
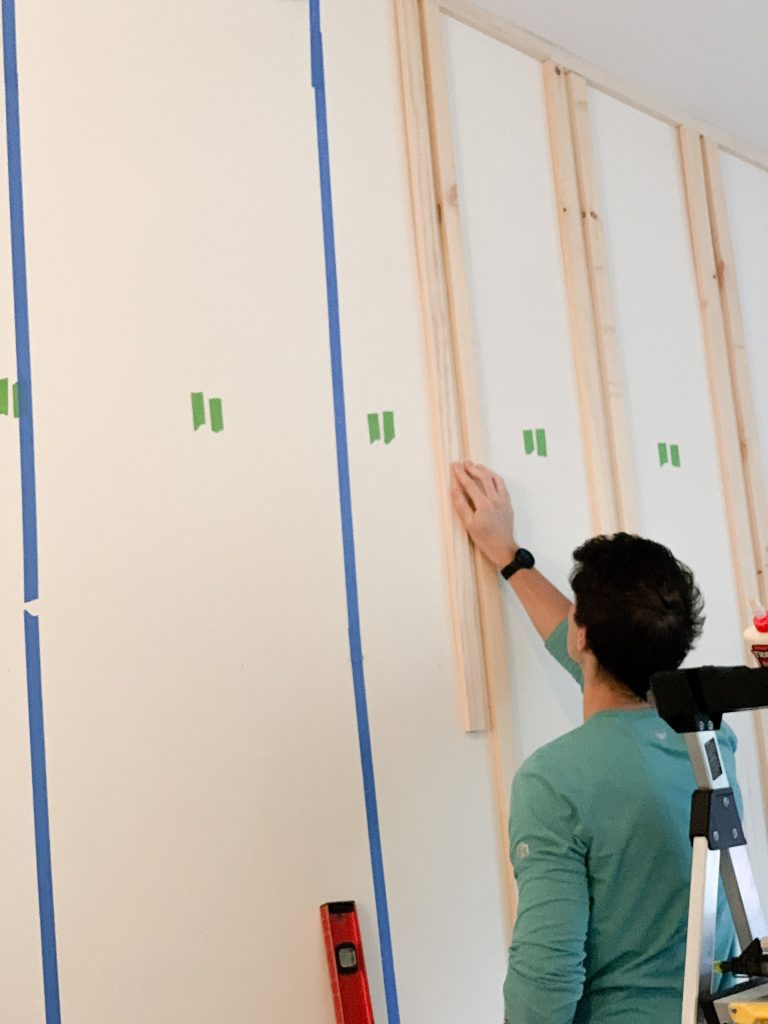
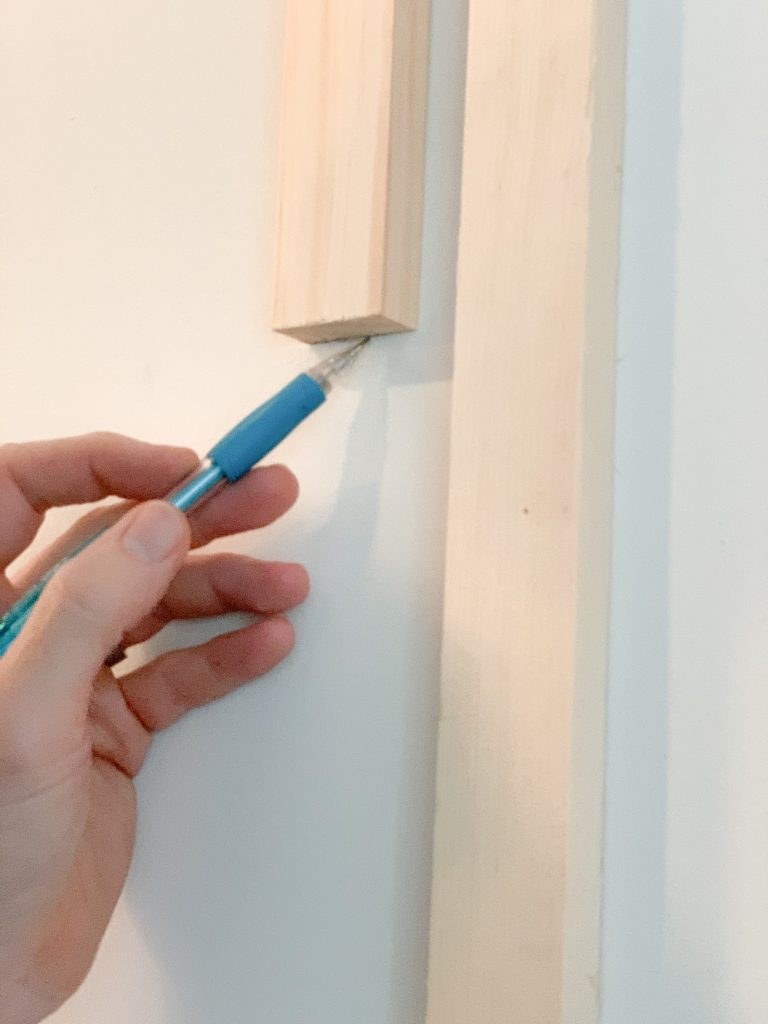
The way we ended up getting the measurements for our cuts was with that template piece I mentioned above. We held it up at the slant, marked directly below it, and measured from that mark to the baseboard. Then used that template piece + the additional measurement to mark the board for our cuts.
Another tip I recently came across was from the DIY guru herself, Cynthia Harper… She used a piece of painter’s tape to mark the exact measurements needed. Then she used that piece of tape to mark the boards for cuts. So smart!
Step 3 – Calculate the Mitered Corners
This last section is mainly math. Once I figured out what calculations needed to be done, I actually enjoyed this part…. it took out most of the guesswork! I’m going to use our living room as the example for this. The slant of the ceiling was 17 degrees. To get the degree of the obtuse angle (angle A), you add that number to 90 and get 107. To get the degree of the acute angle (angle B), you subtract from 90 to get 73. To figure out how to set your miter saw, you divide those angles in half.
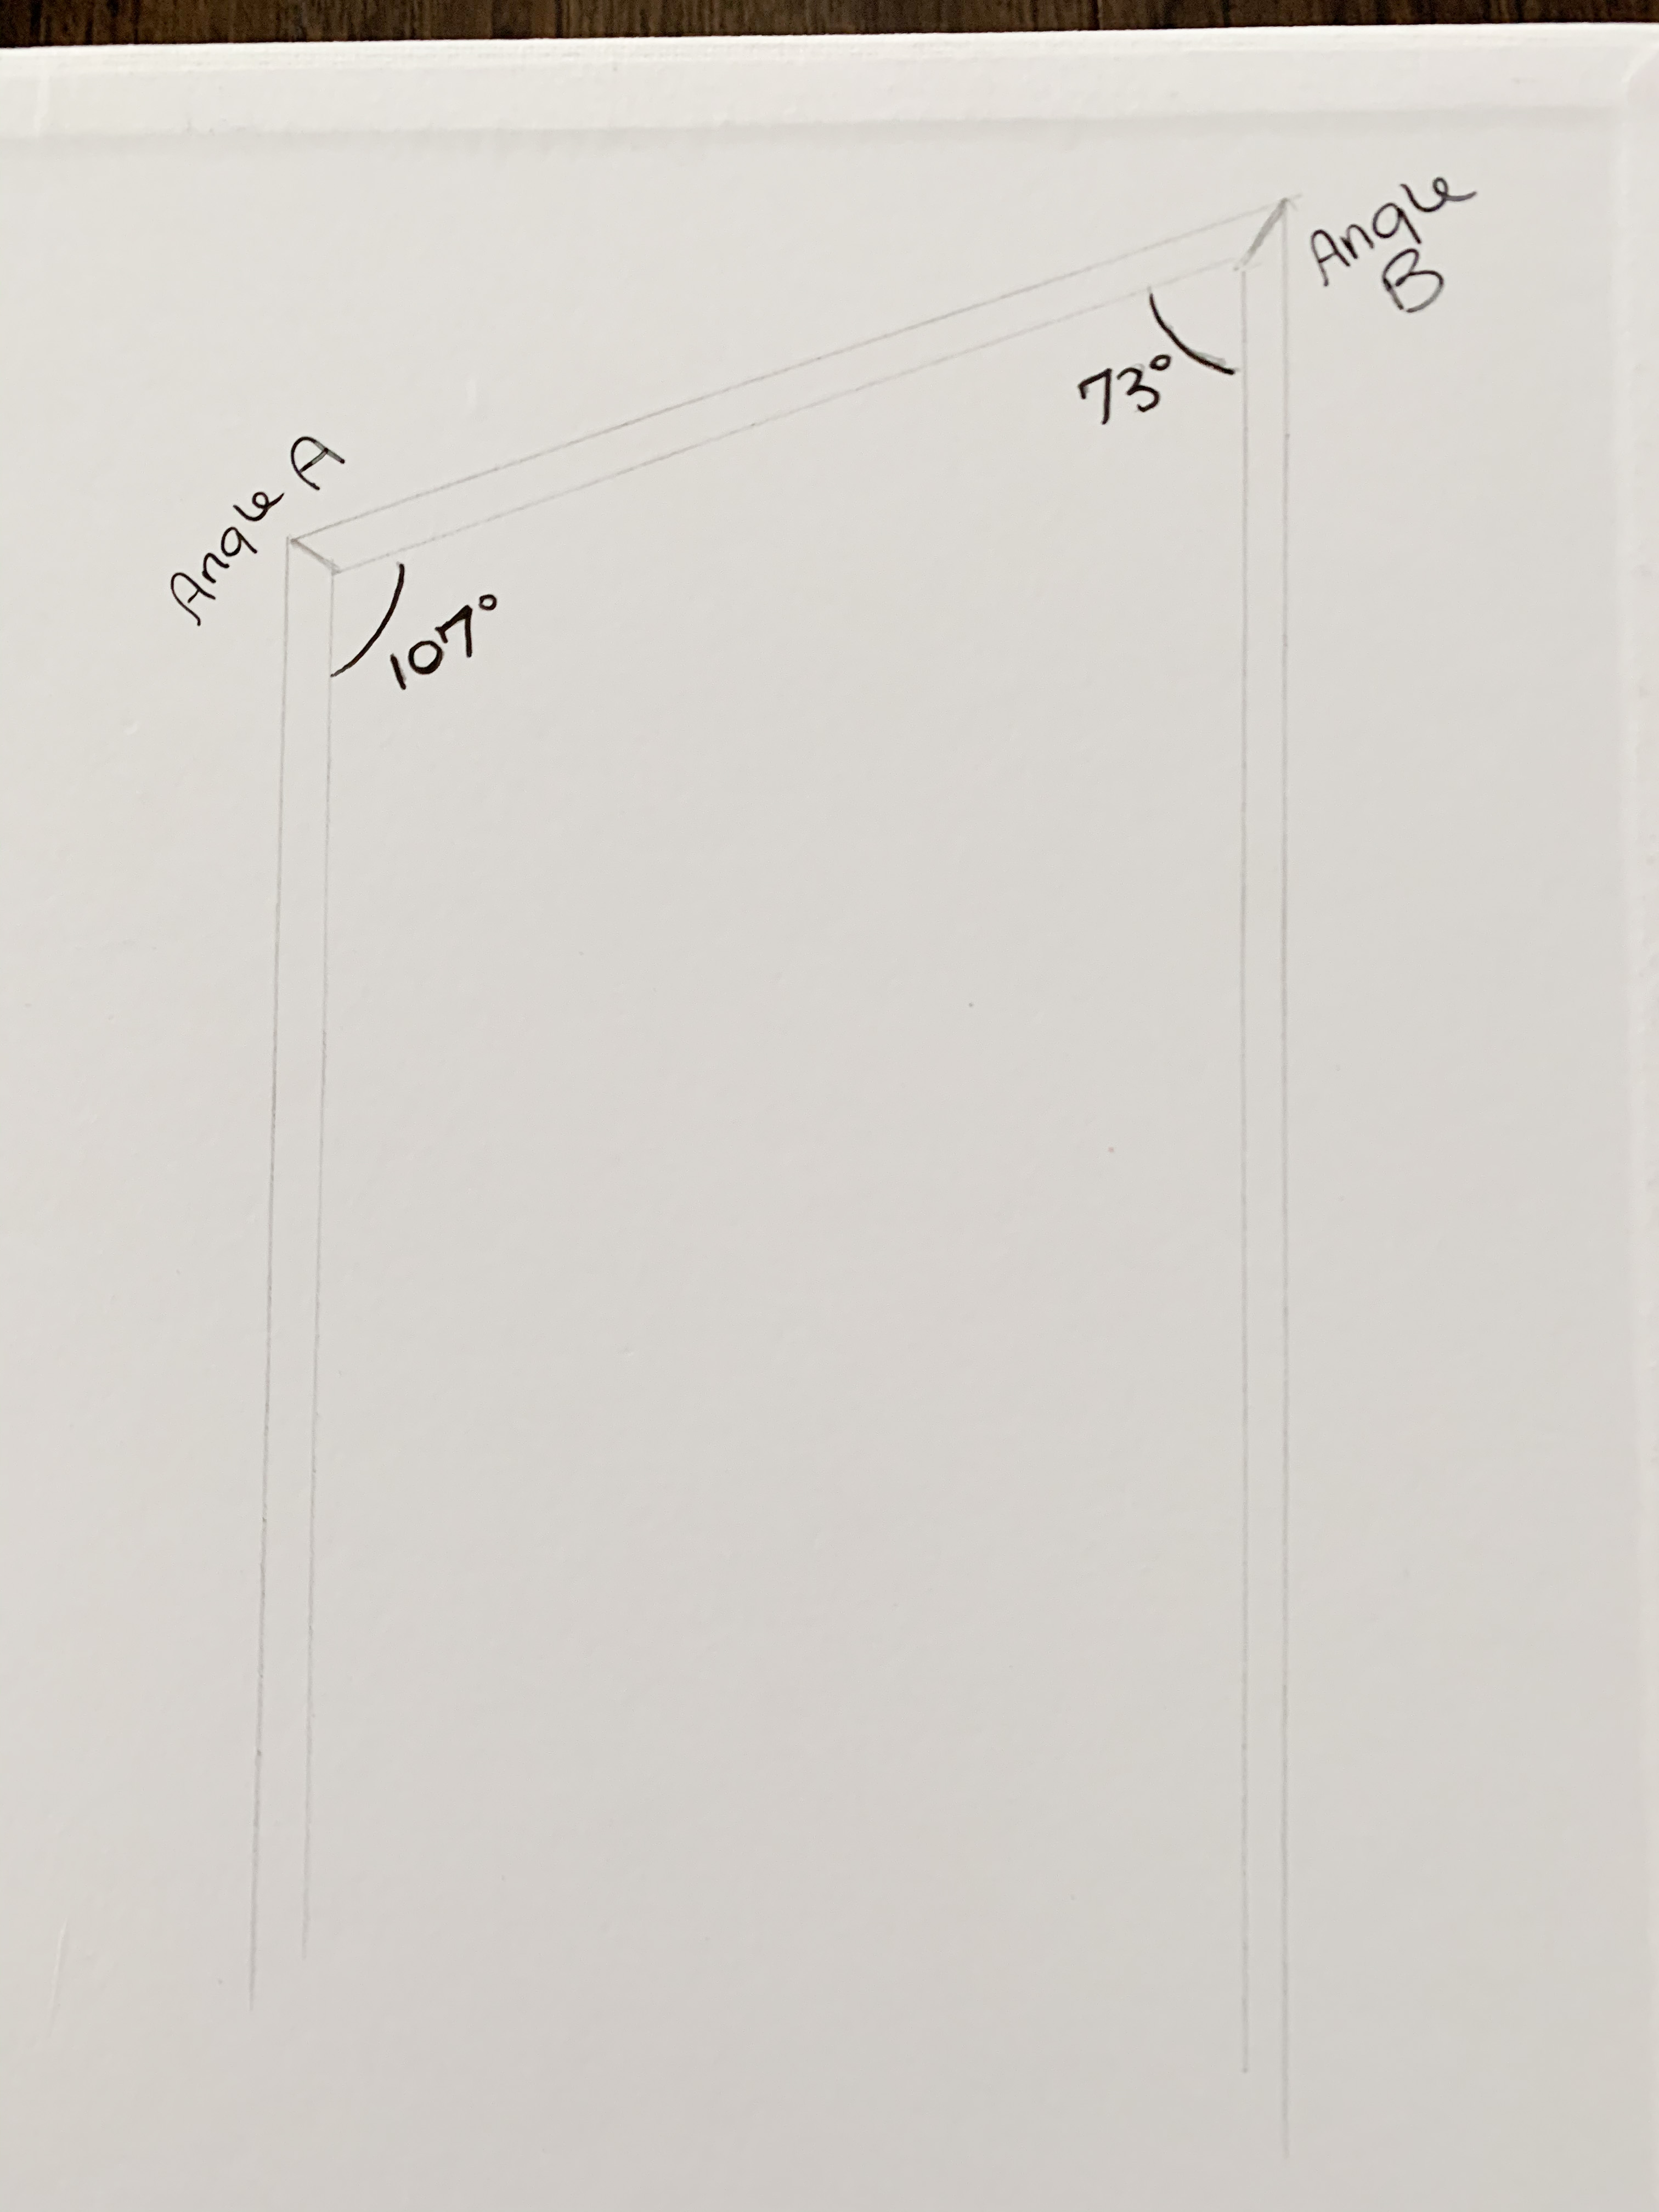
The part that was hard for me to wrap my head around was which setting was for which angle. The obtuse angle used the 36.5 (73/2) setting, and the acute angle used the 53.5 (107/2) setting. It was the reverse of the way my brain processed it. I always use scrap wood to practice these mitered corners before cutting the real thing, so I can visualize which angle is going where.
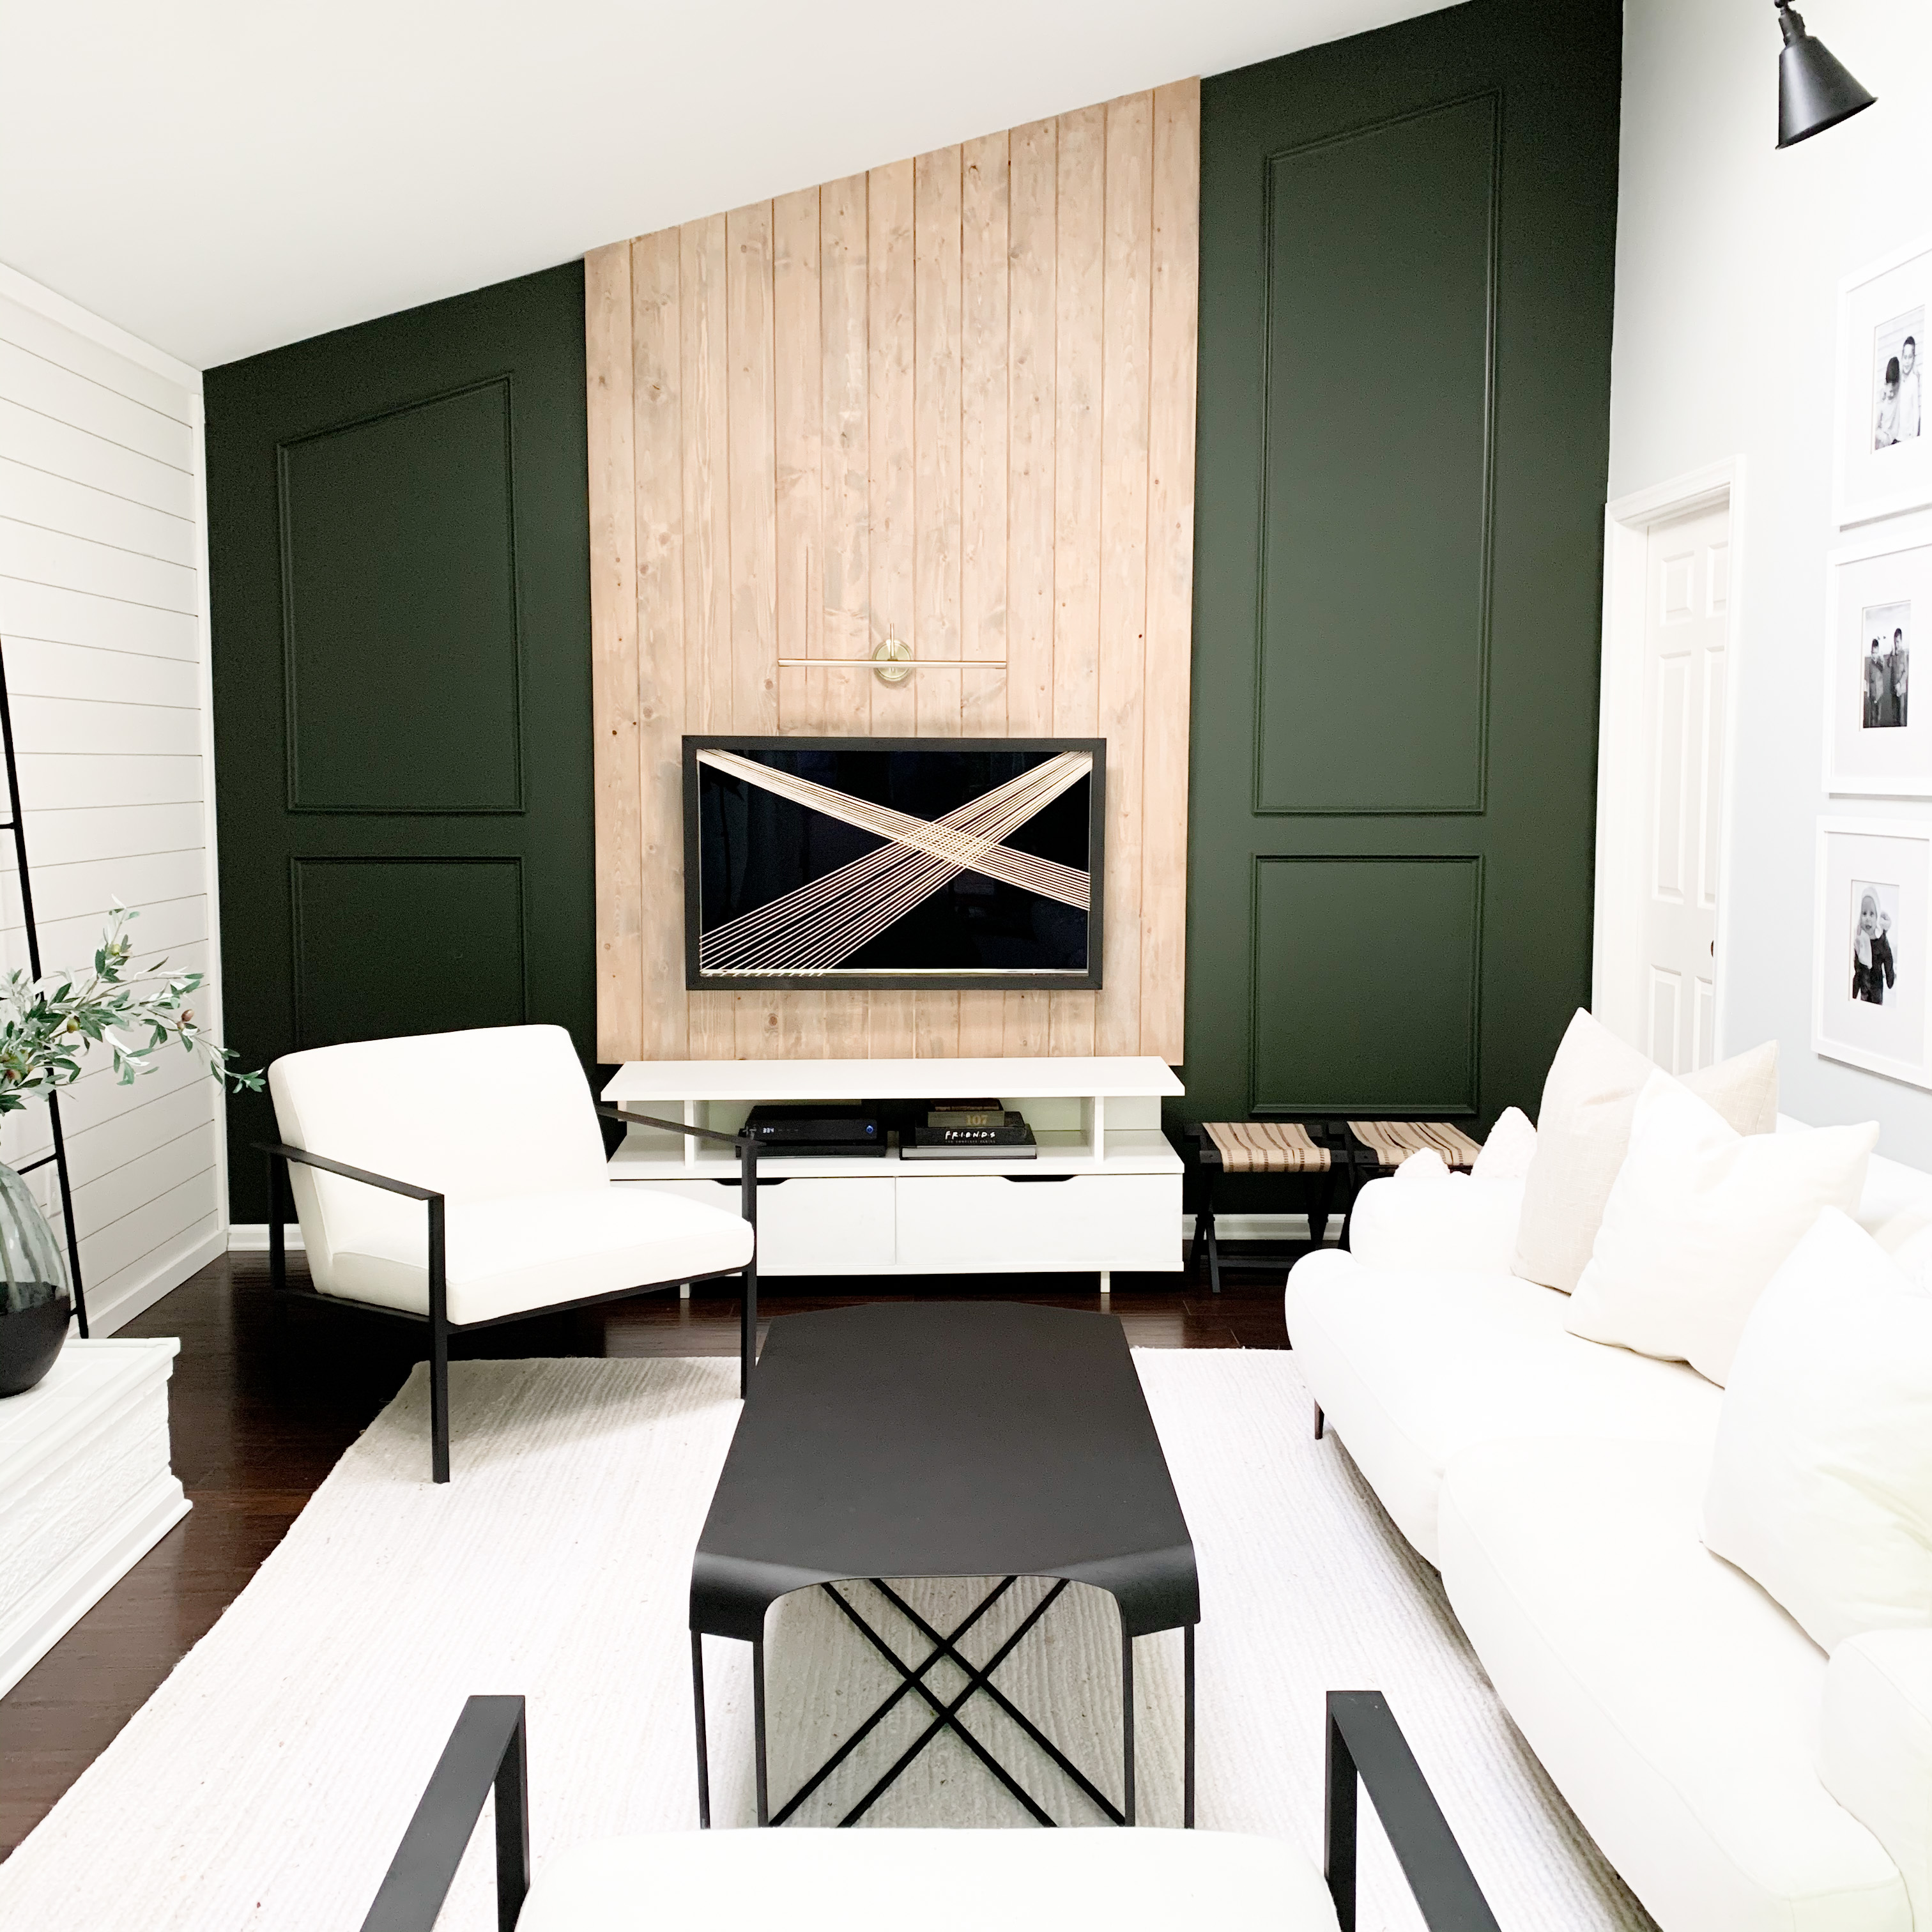
The other tricky part is that a lot of miter saws won’t allow for settings above 45. There are hacks to work around this. I attempted one of these hacks for the top of our cane headboard. It didn’t end well, so I won’t go into detail on that haha…. Let’s just say, the silver lining of breaking our miter saw was replacing it with one that goes above 50.

Now that we’ve tackled a couple of these slants, I’m not as scared…. Still sometimes annoyed? For sure. But I realized that it’s worth the extra effort to get the most out of these random ceiling pitches!
.
Post may contain affiliate links. Please see disclosure, linked here.
