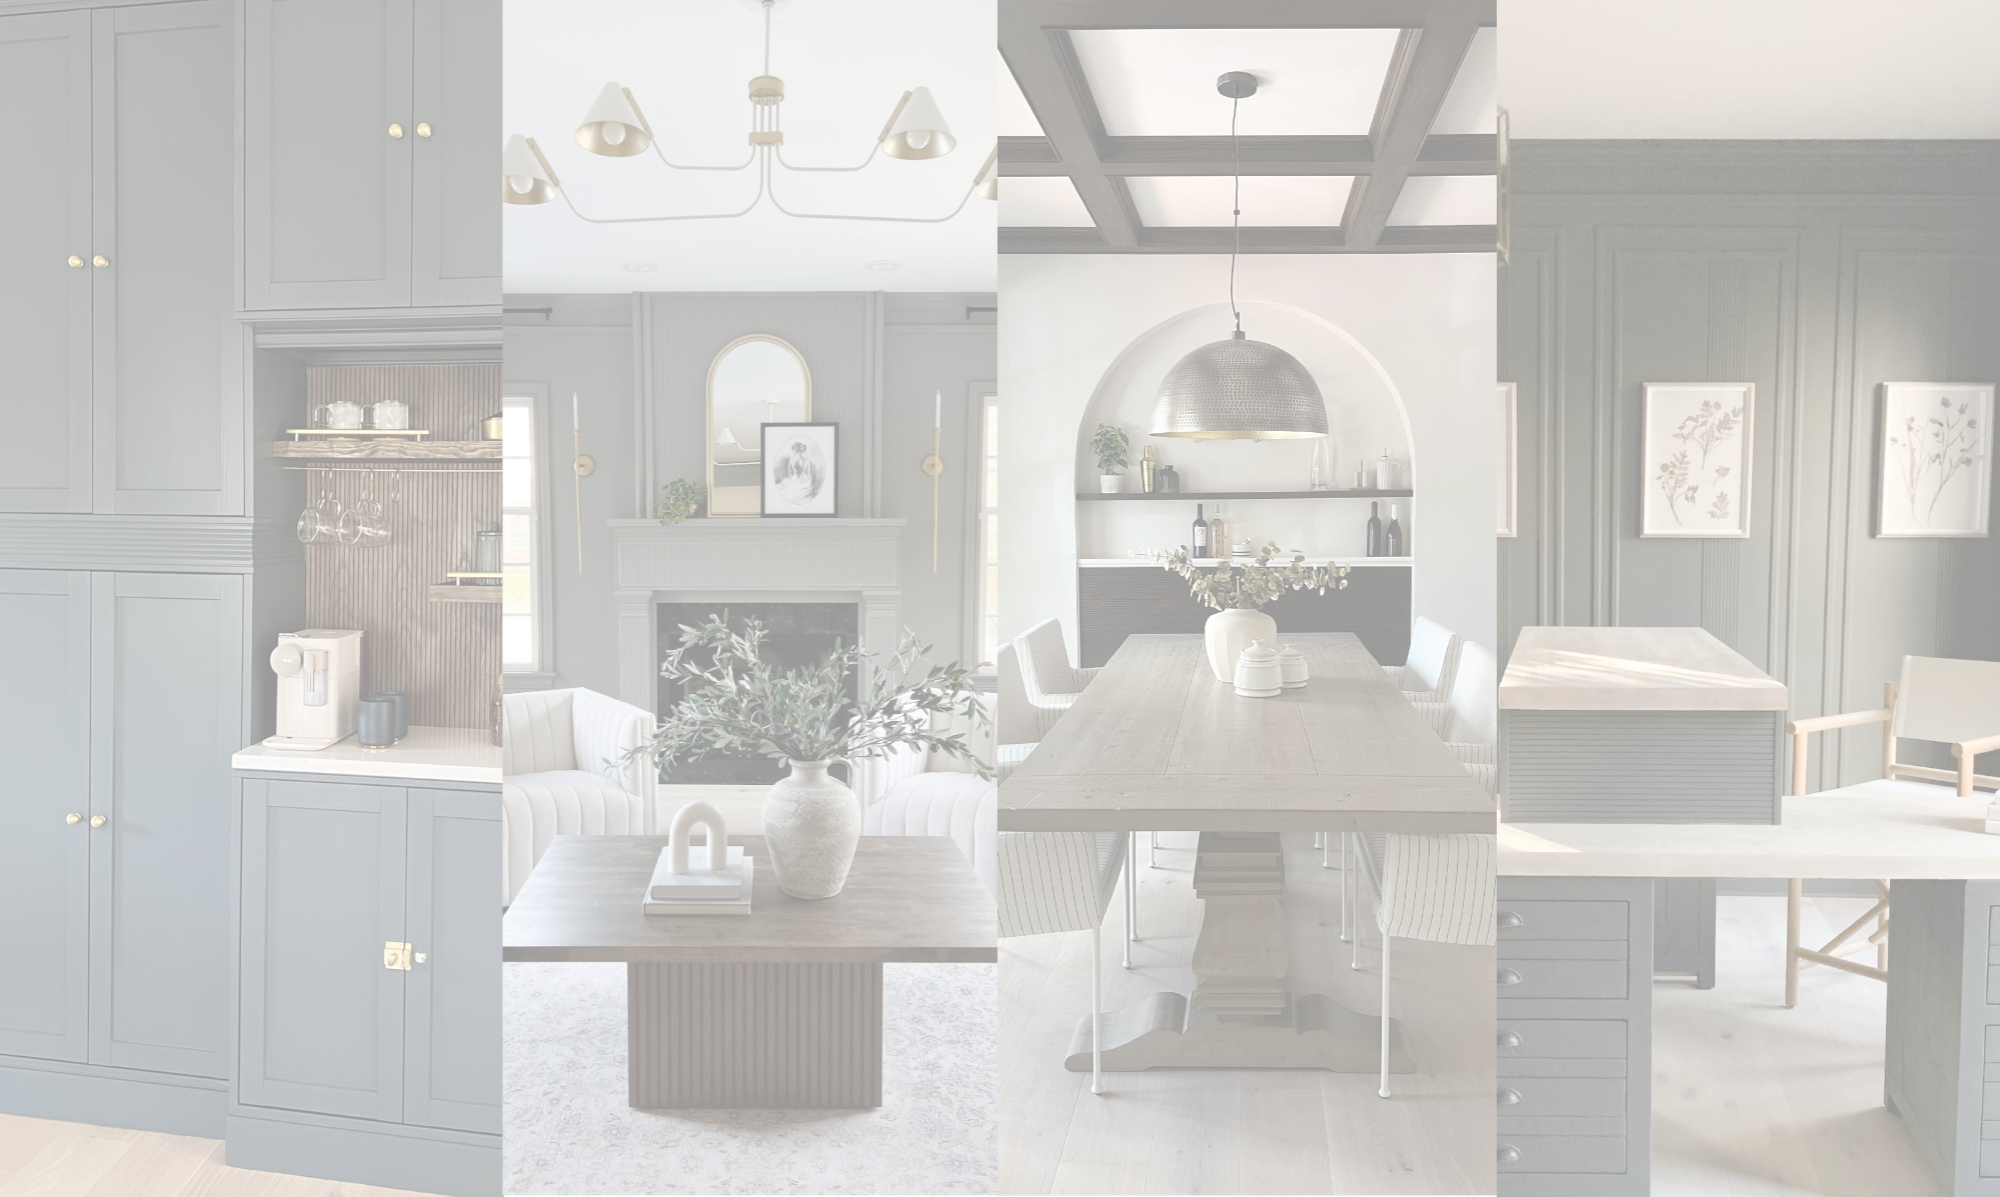
Currently, the fluted/beaded/reeded trend is HUGE. There are a ton of ways to achieve this look… from using dowels, to using half-round trim, to using actual beaded/fluted pieces of trim.
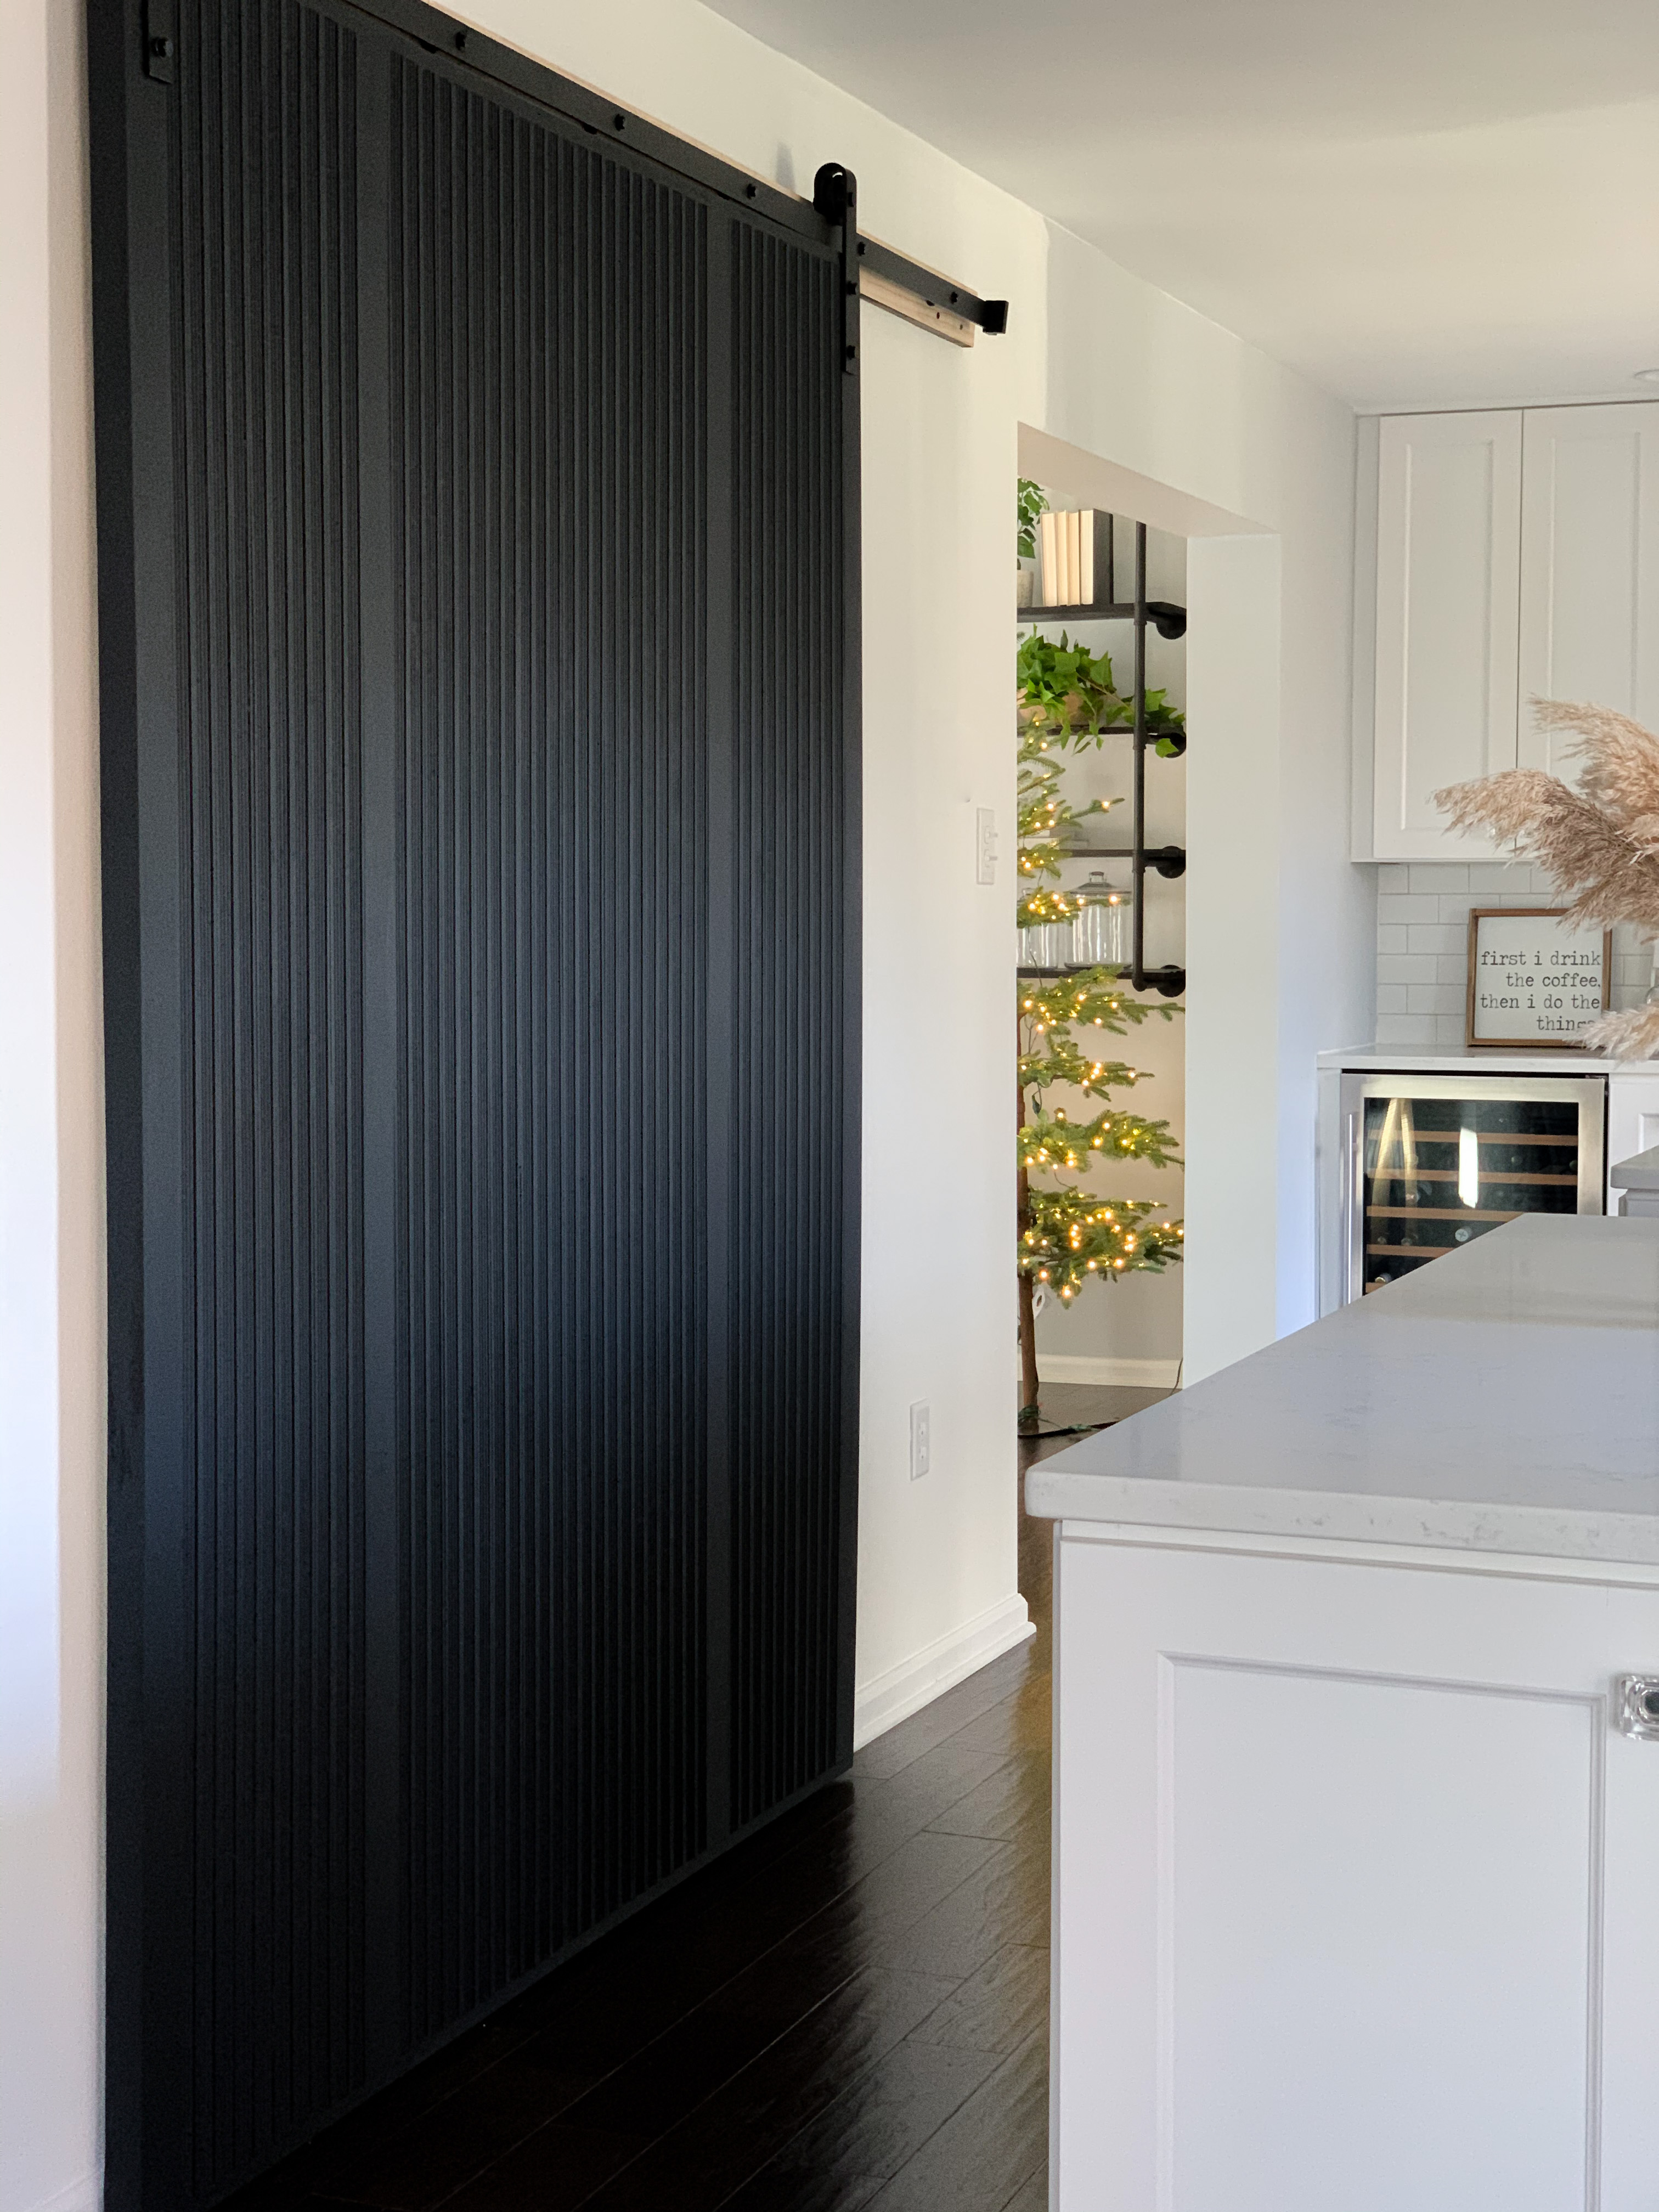
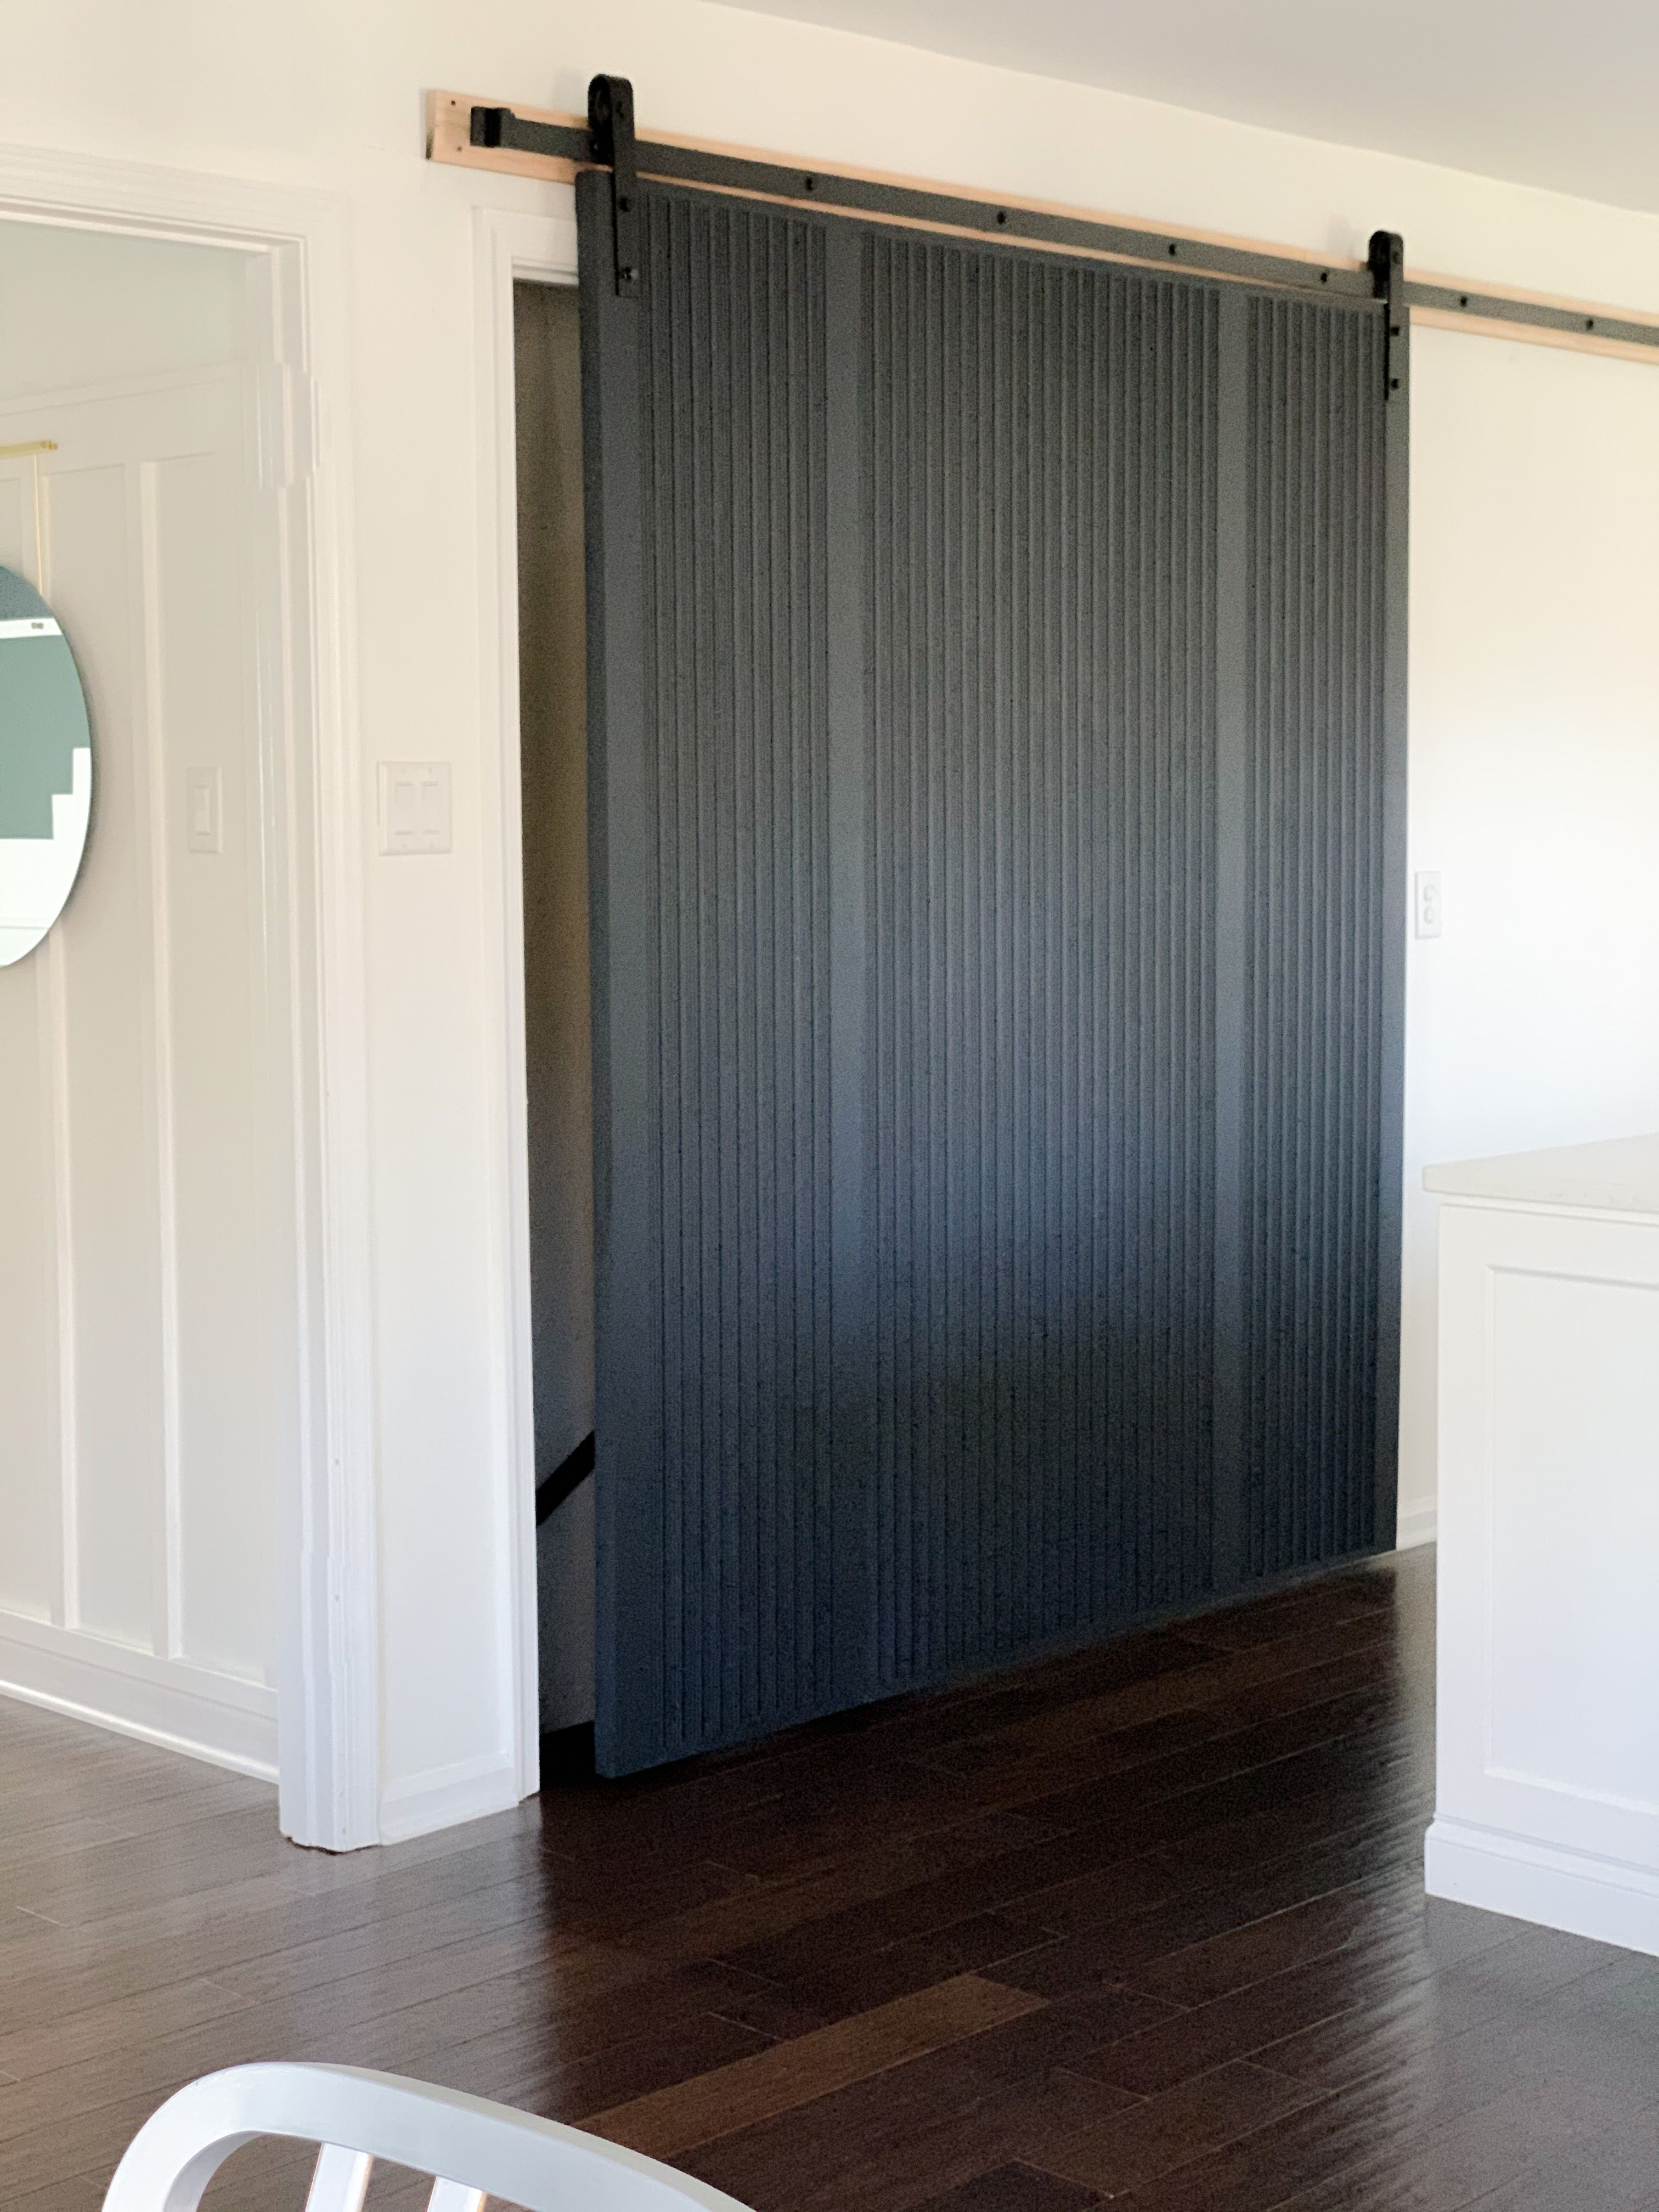
I knew we needed a sliding door to cover the opening of our basement for two reasons. One, we have very little room to walk between the wall and the kitchen islands. When that swinging basement door is open, it’s super annoying and also a little dangerous. Two, I’m still bummed about this wall not being able to come down during our kitchen reno. Sliding doors (like this Cane Sliding Door on the dining room side) reduce that sadness a decent amount. I’m hoping this beaded door will do the same from the kitchen side.
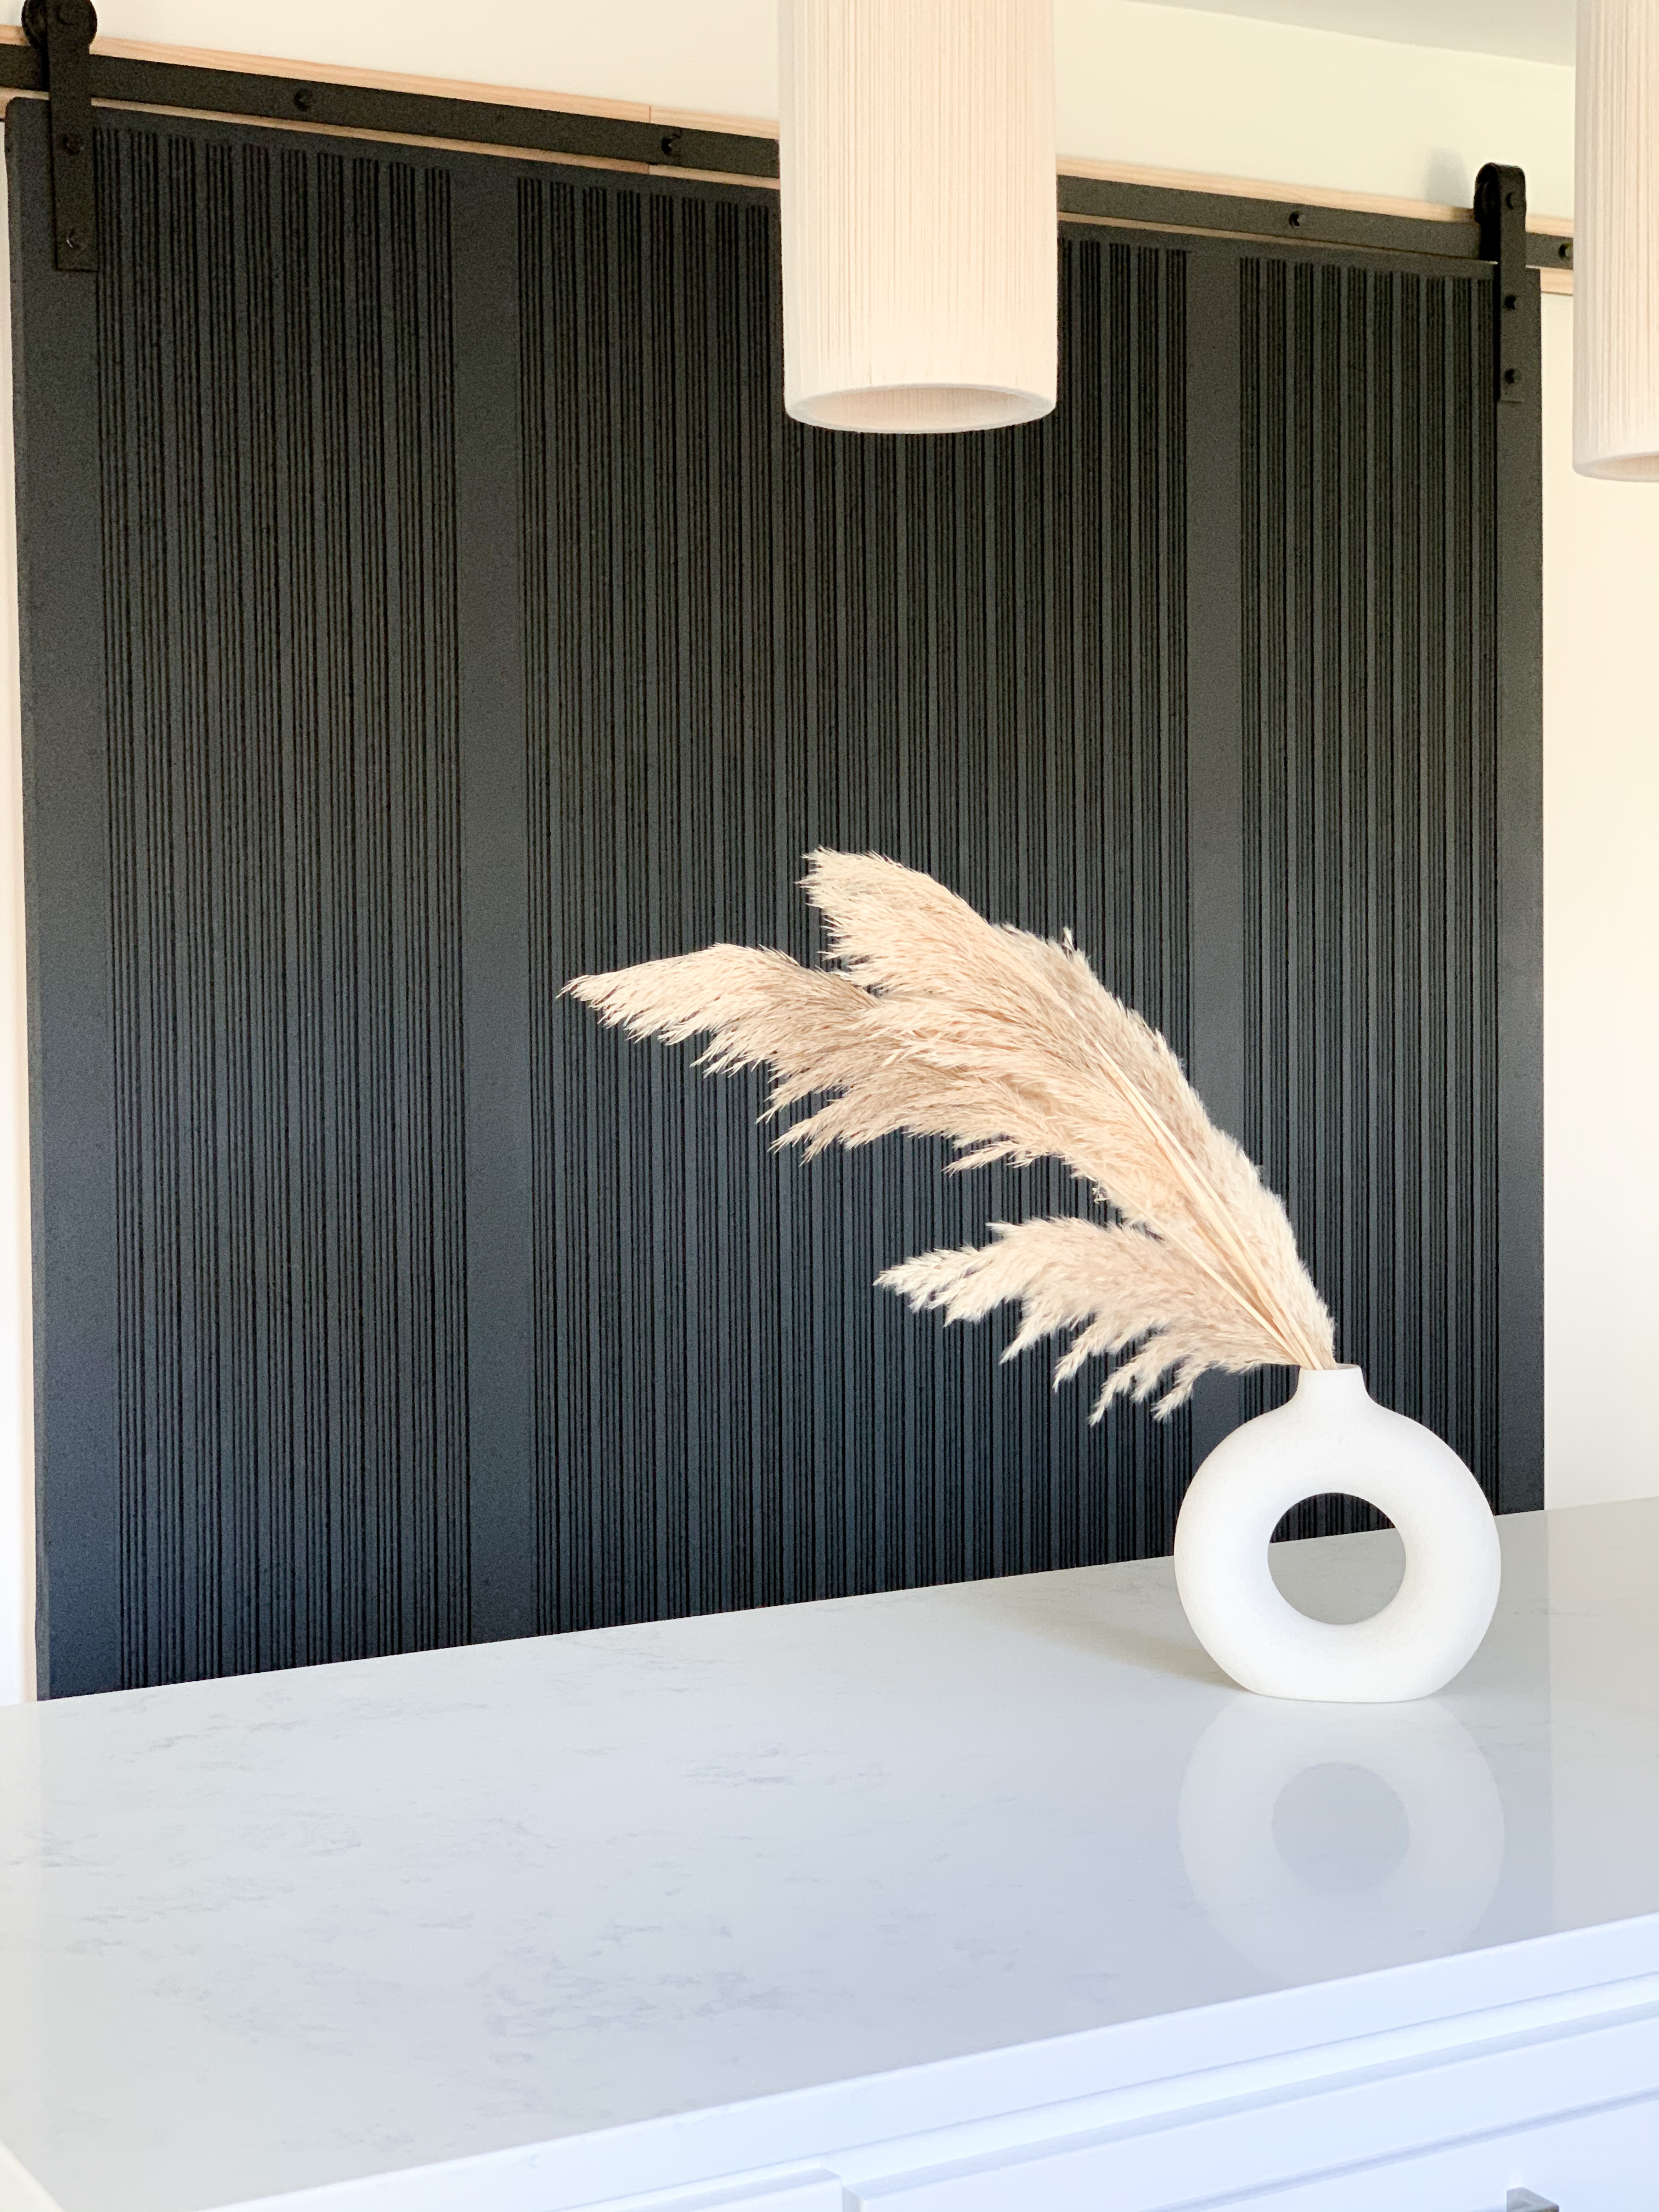
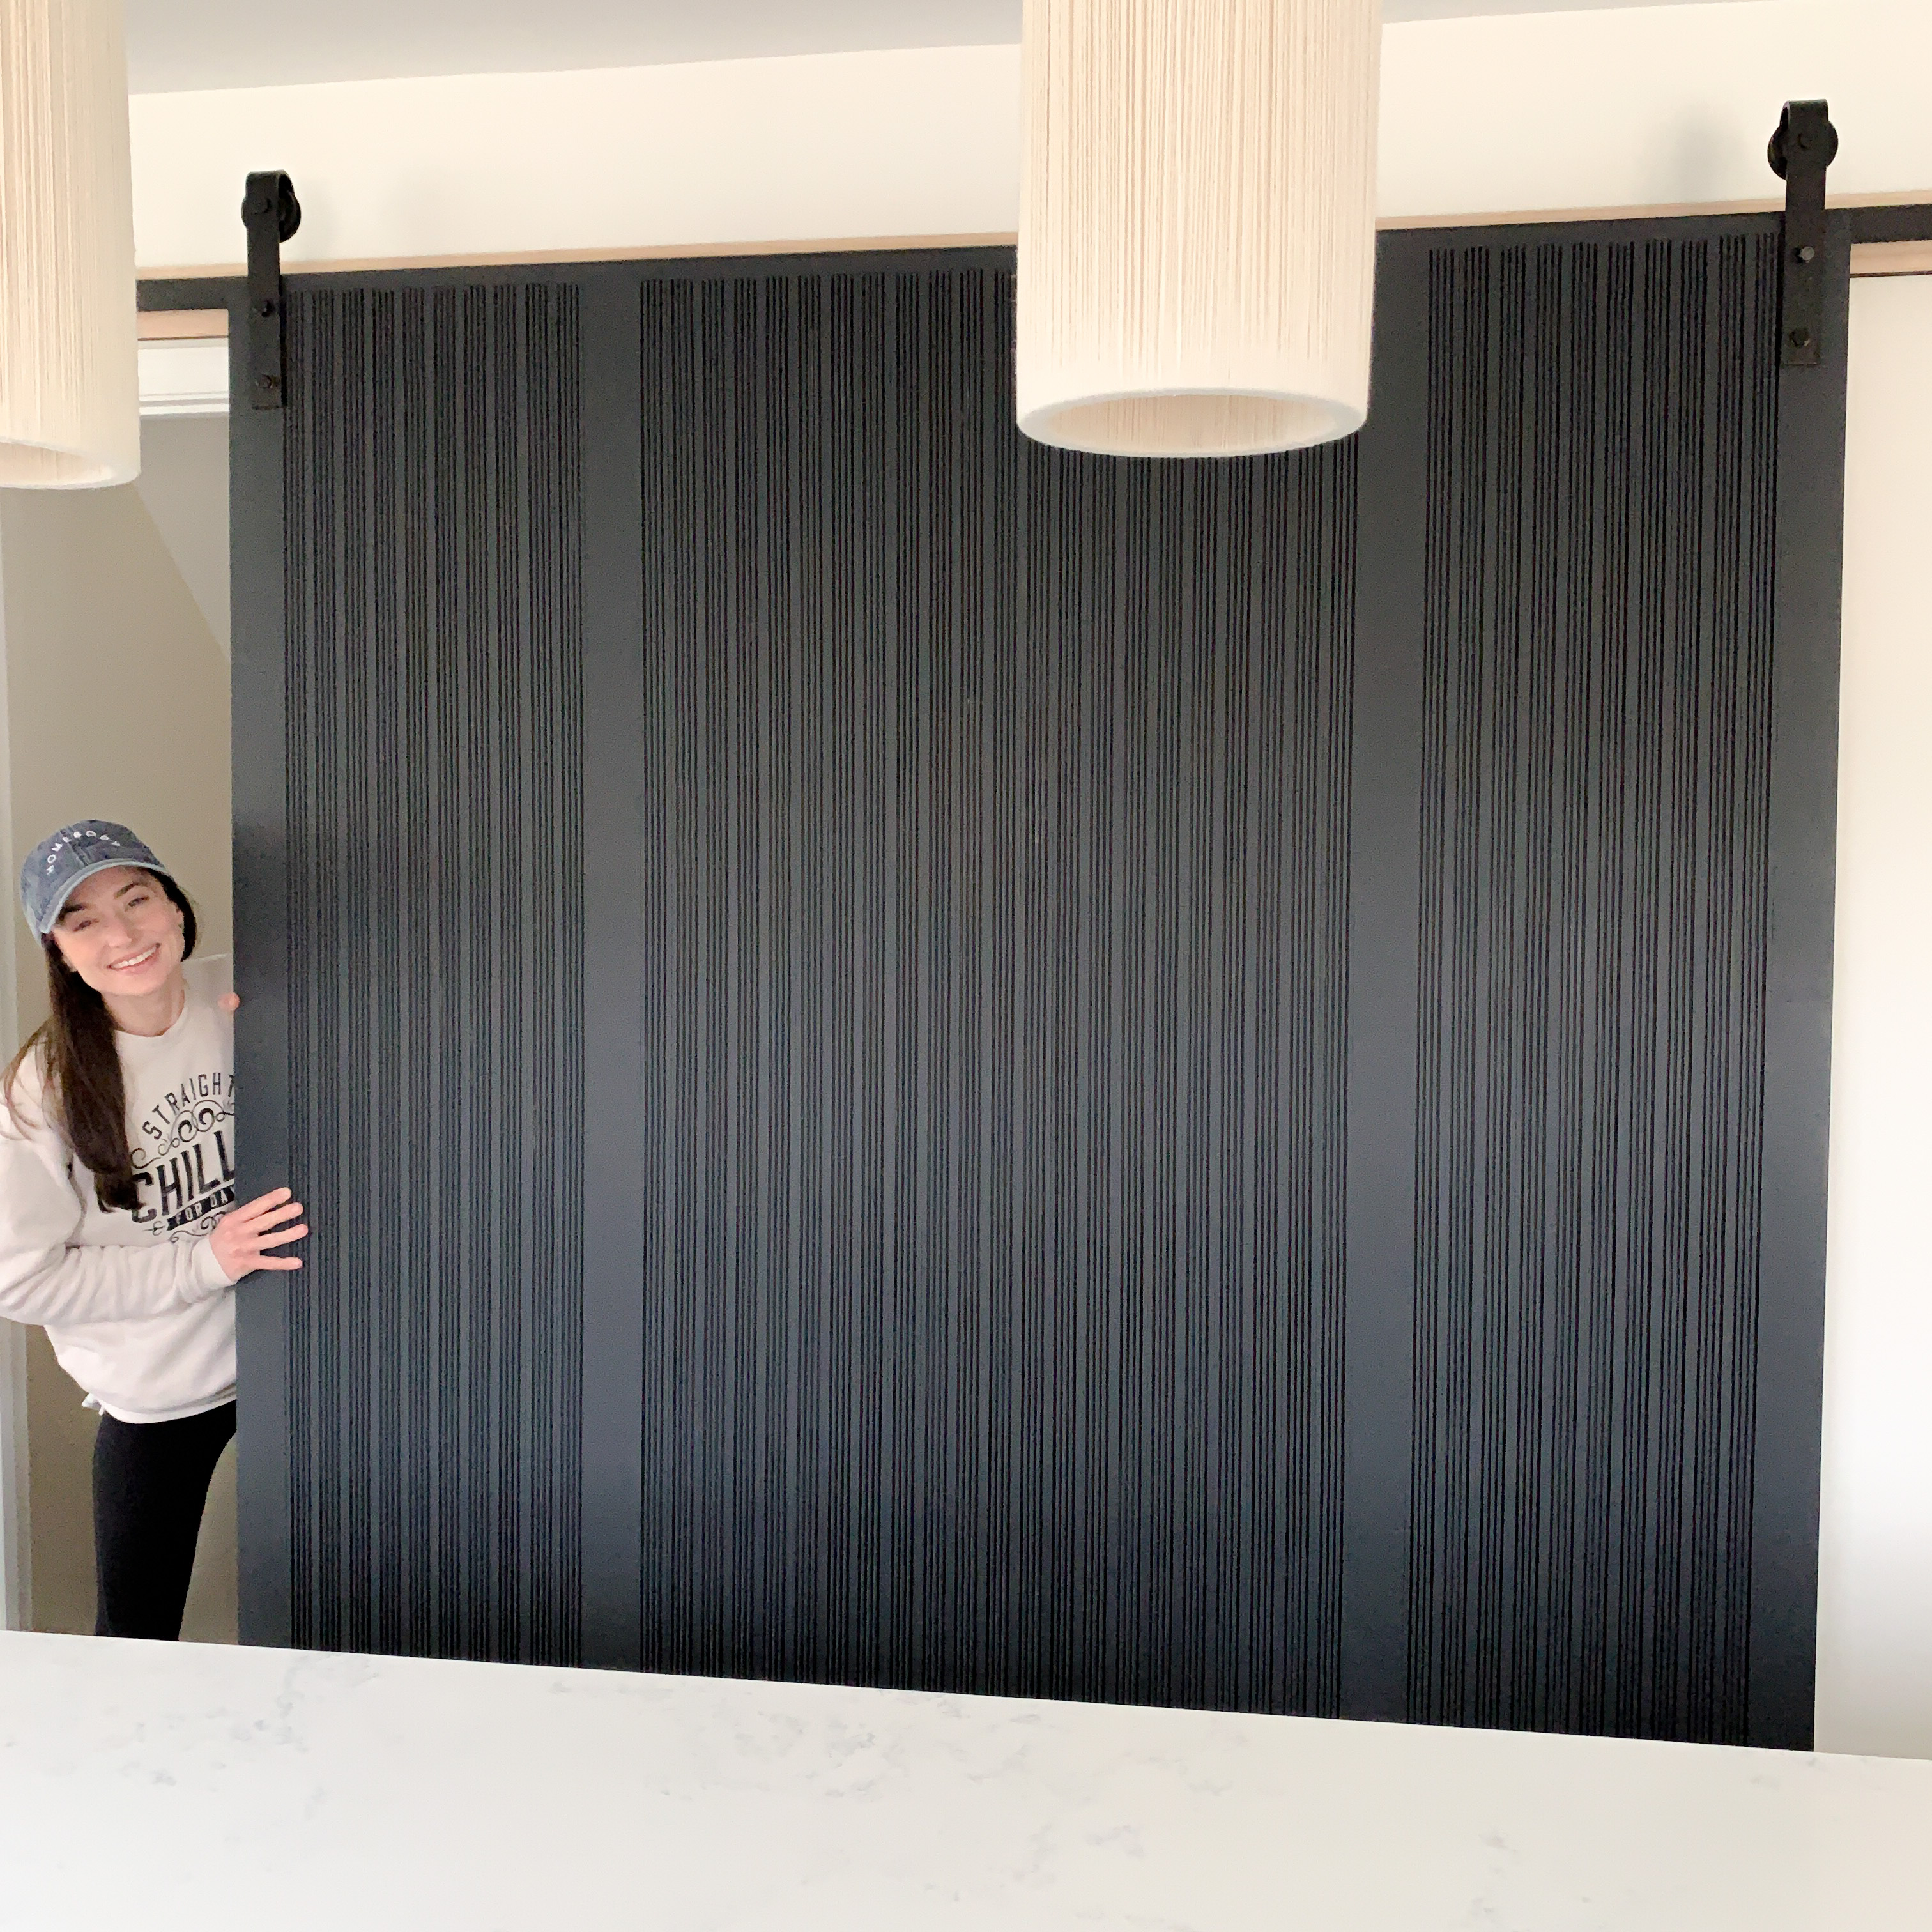
Let me just clarify, I’m not saying this door is cheap to make. It’s still a ton of lumber. It’s cheap-ER than some of the other options out there. For this door, I used 1×2 boards from Weaber Lumber (sold at Home Depot) and a router/router table to create the beaded look. A 1x2x8 board is usually around $4-5 a piece, compared to $8-$20 (per board) for wood trim already beaded/fluted. That made it more cost effective for me to invest in the tools to bead the wood myself… especially since I have more plans for those tools down the road!
This door is about 6 ft wide, so I ended up using 44 of the 1×2 boards for the front (42 were beaded and one to frame out the top and bottom), 9 of the 1×2 boards for the frame in the back, and 4 of the 1×3 boards along the front to break up the pattern (seen in the photos).
The Tools – Router and Router Table
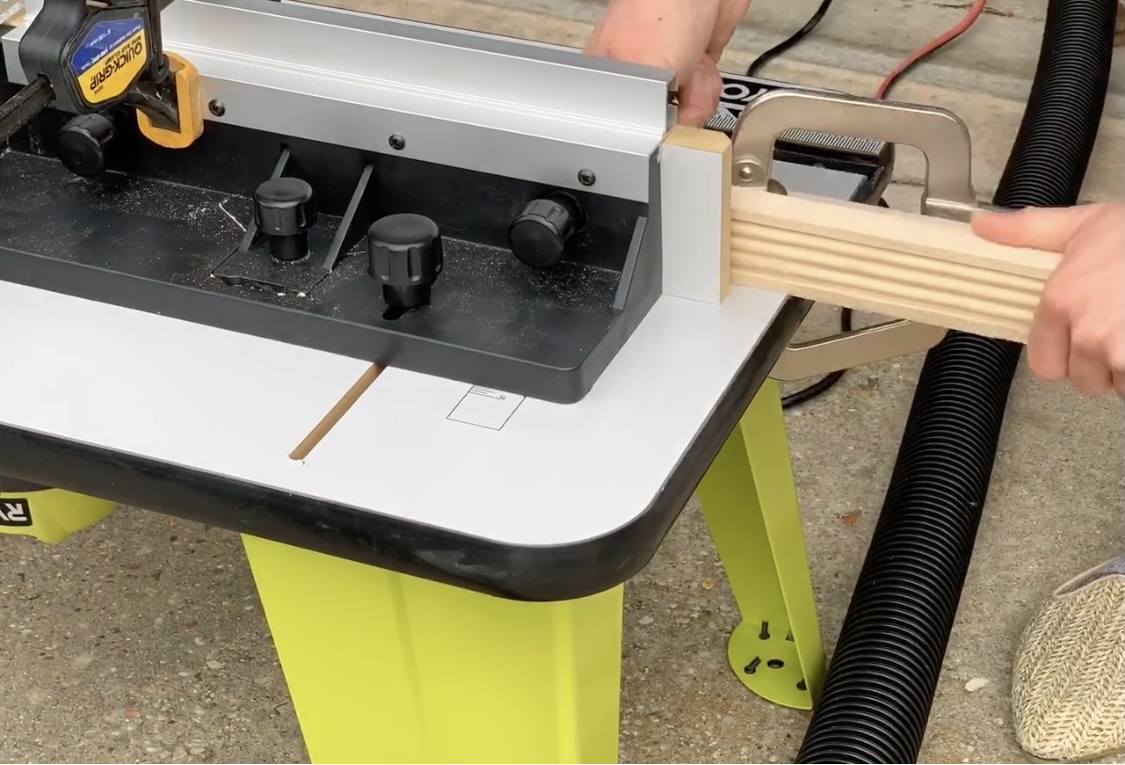
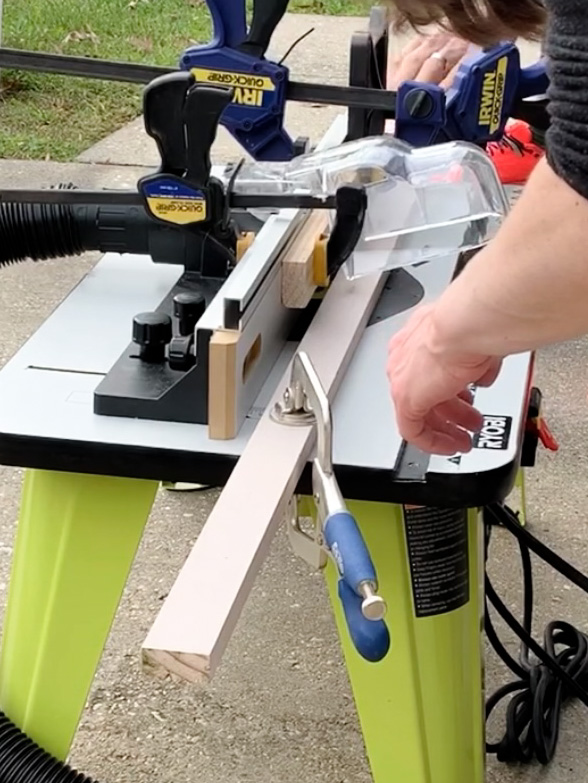
Full disclaimer, this is NOT a tutorial. I’m brand new to using a router, this was my very first time. I purchased this Ryobi router and this Ryobi router table. Just like any other power tool, it was intimidating. There was a ton of research, YouTube video watching, and patience. I literally watched this entire, long video about setting up the router table… linked here … along with a couple others.
The other important component was the beaded router bit. This is the router bit I used for this project. I had hoped to find a router bit that would perfectly span the width of my 1×2 boards (aka 1.5″), but I couldn’t find one that fit the router I had. I won’t go into detail, all I can say is, make sure the shank size fits the shank size meant for your router!
Trimming the Boards
Once the router table was fully set up, running the boards through took some practice. With 8 foot long boards, keeping the board completely stable the entire time it is running across the router bit was tough. I think two people were a necessity. Even with two people, we still needed some help keeping the board from popping up and out, away from the bit. We clamped boards into place above the bit and in front of the bit (pictured below), and that helped. We still needed to manually guide the boards as much as possible.
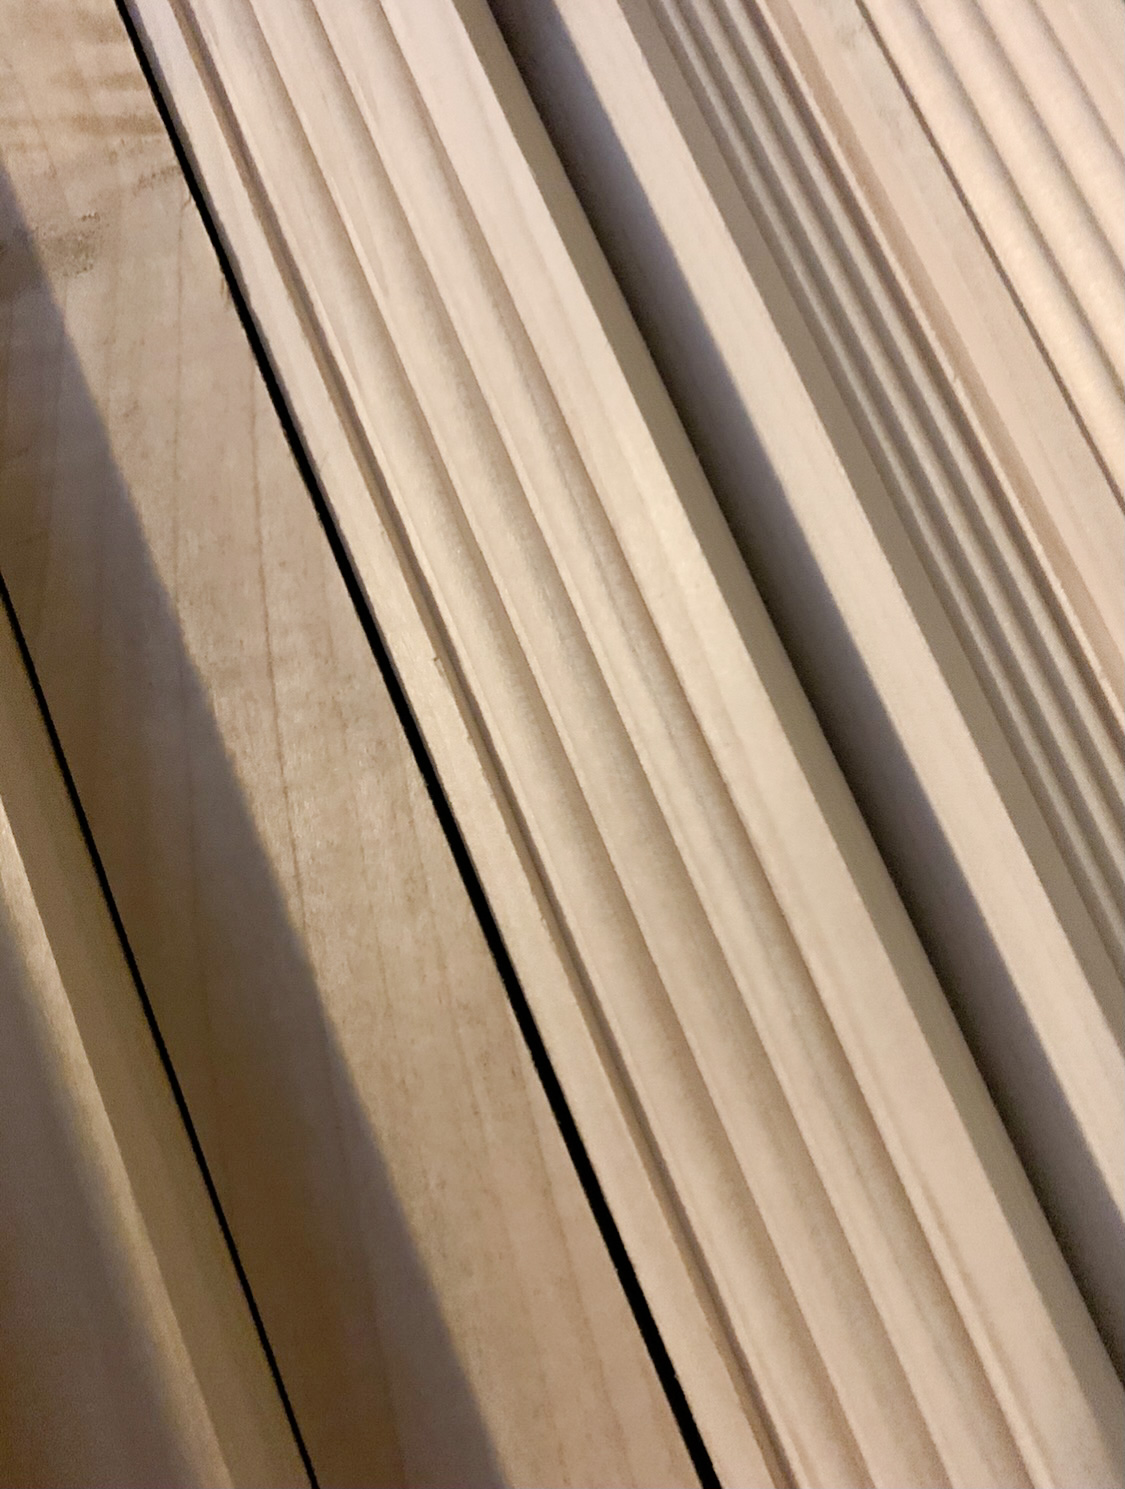
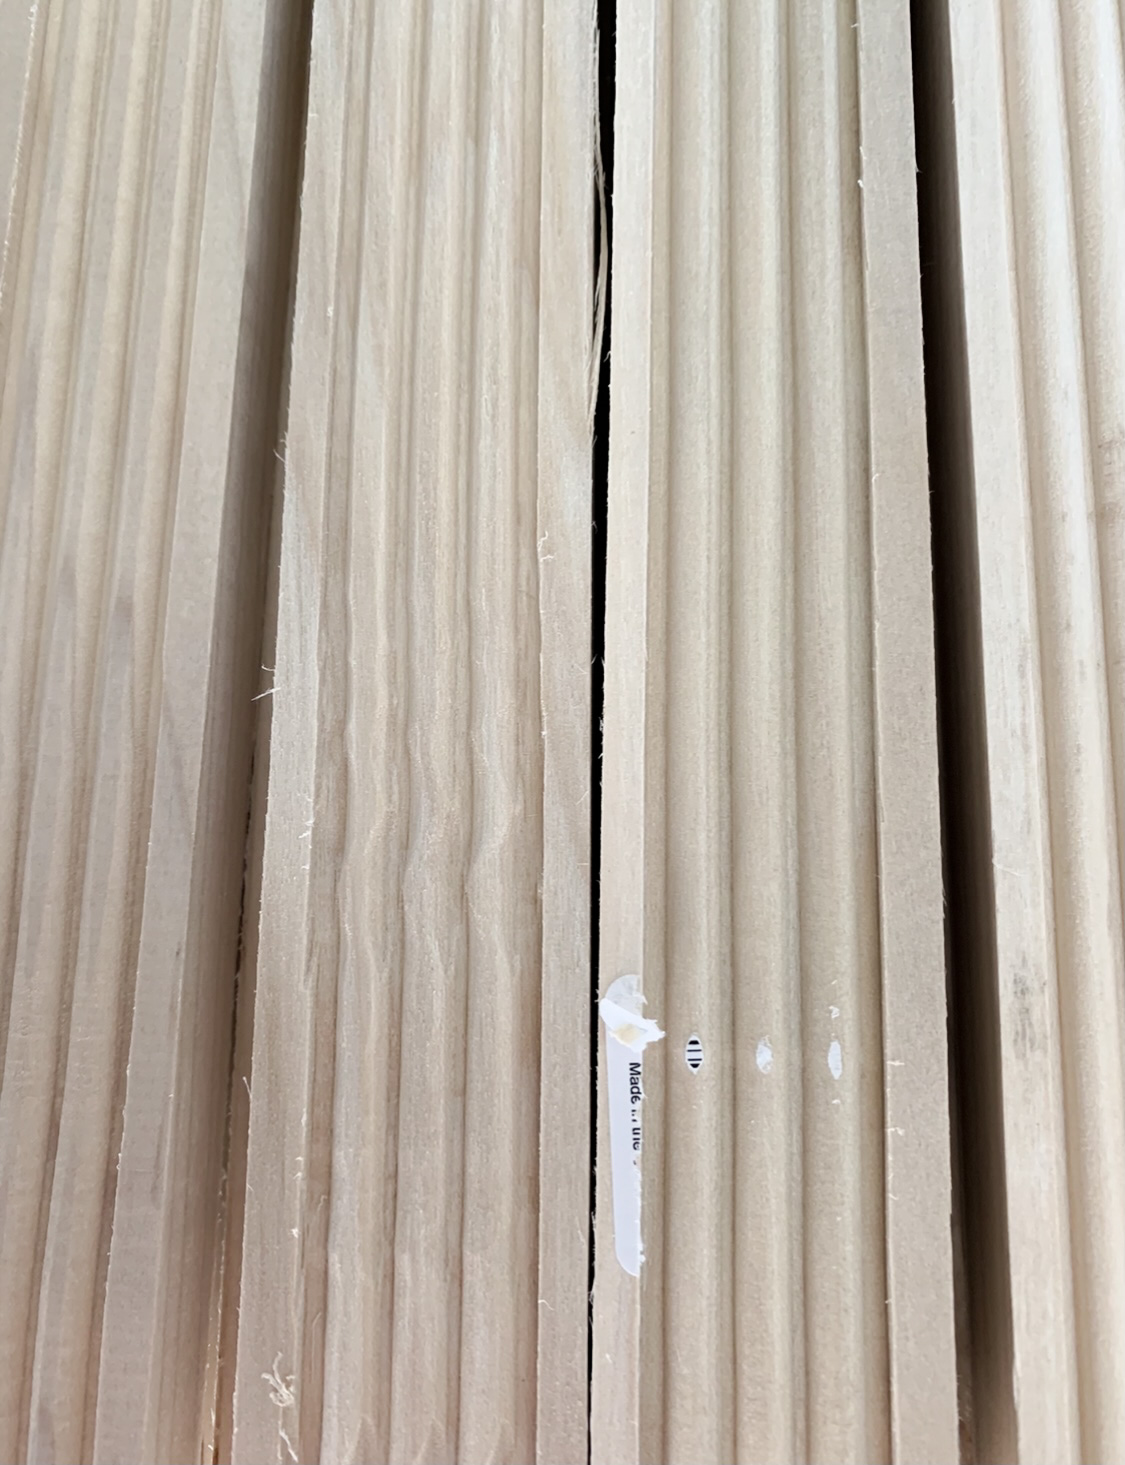
There were also a handful of boards that we couldn’t use for the door. The photos above show pictures of the good pieces vs the bad ones. I wanted each strip to look as cohesive as possible, so we ran extra boards through to give us a wider selection for the door.
Door Assembly
I kept the design of this door super simple. I wanted the focal point to be the beaded front. I built a frame for the back and laid the beaded boards on top. I knew that the base frame wasn’t the sturdiest of frames but also knew that once the boards were attached on top, the strength would increase drastically.
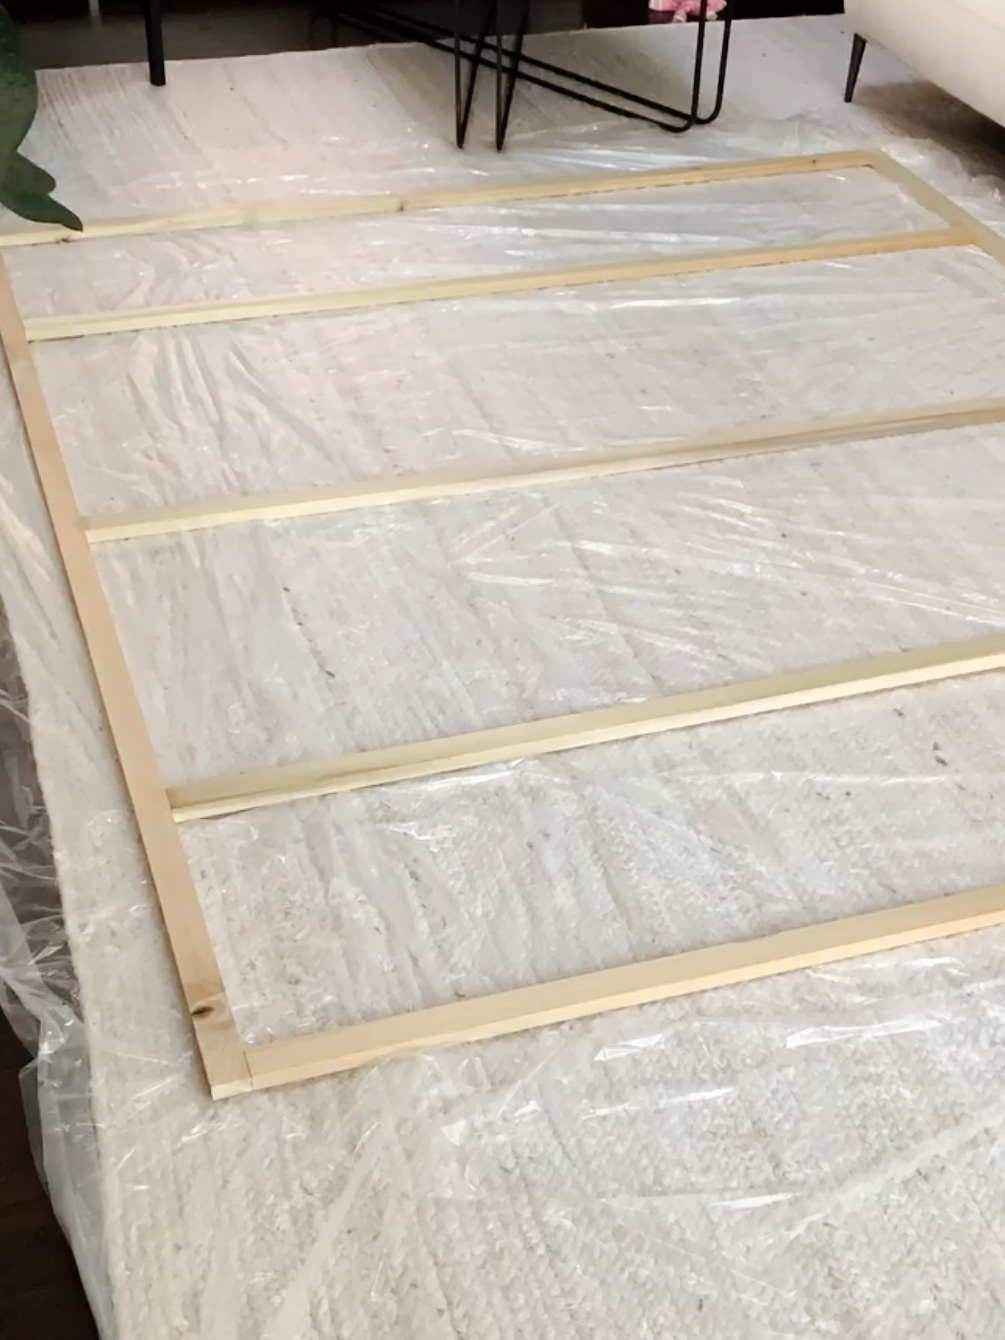
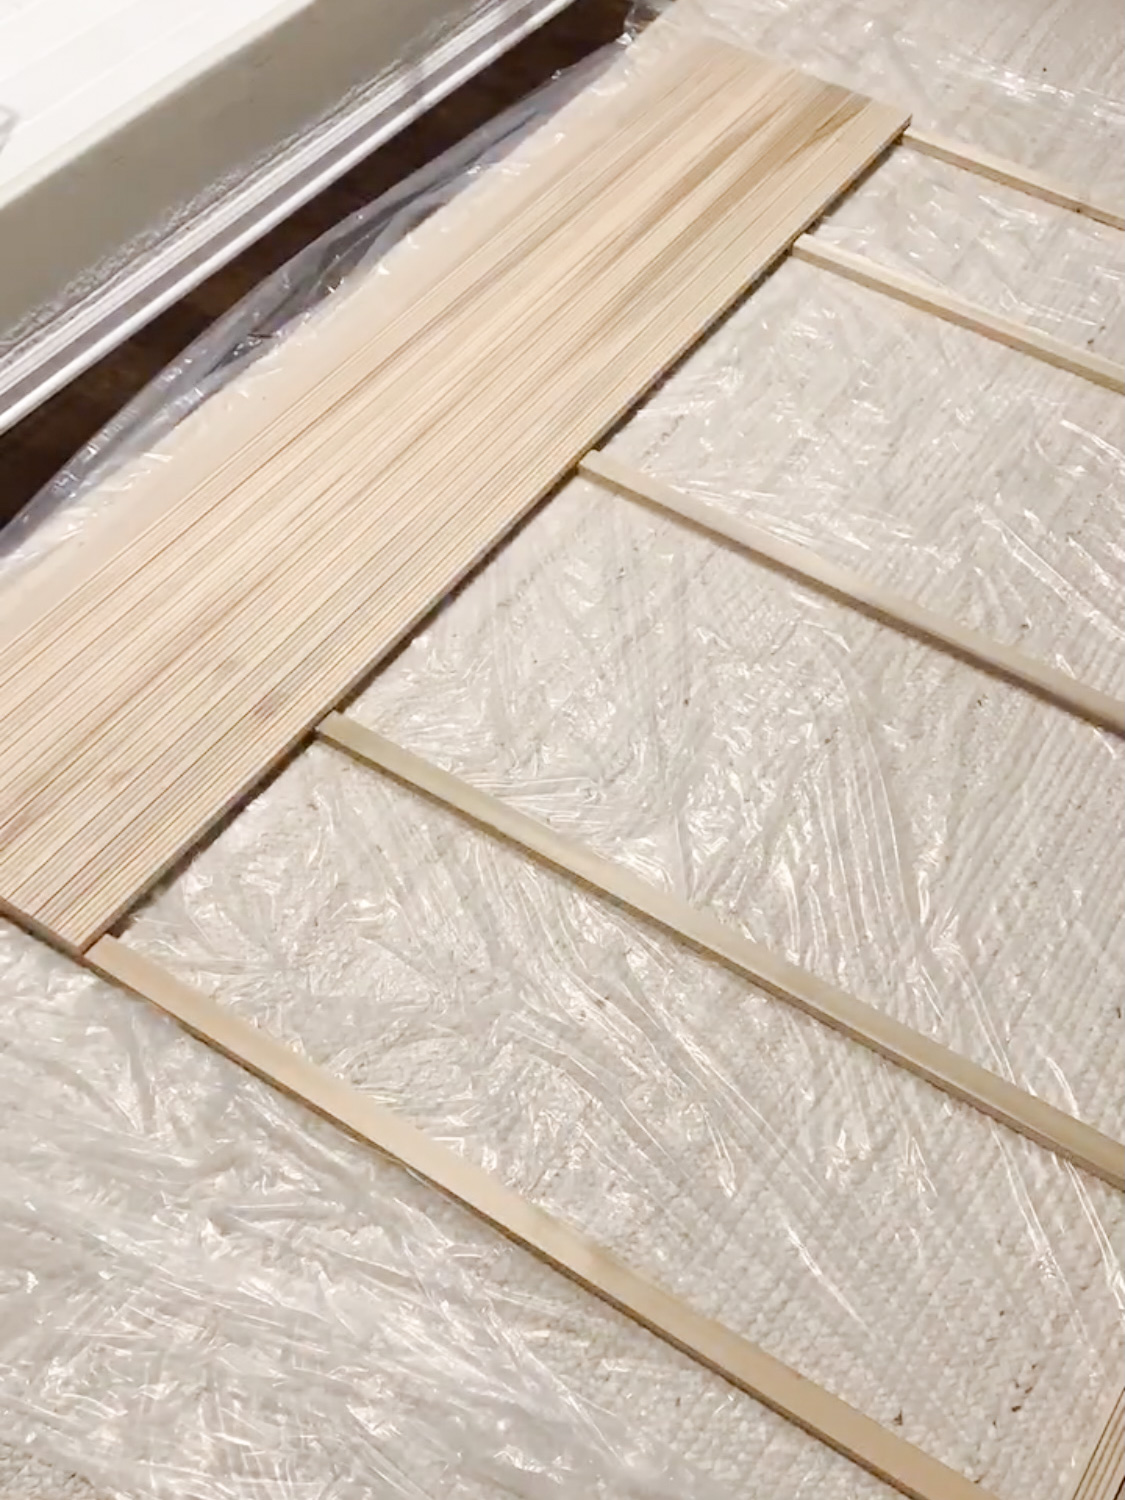
The star of the show with this assembly is definitely the wood glue. I’ve been told by many that wood glue is stronger than any nails or screws, so I made sure to use it anywhere I could and to use lots of it.
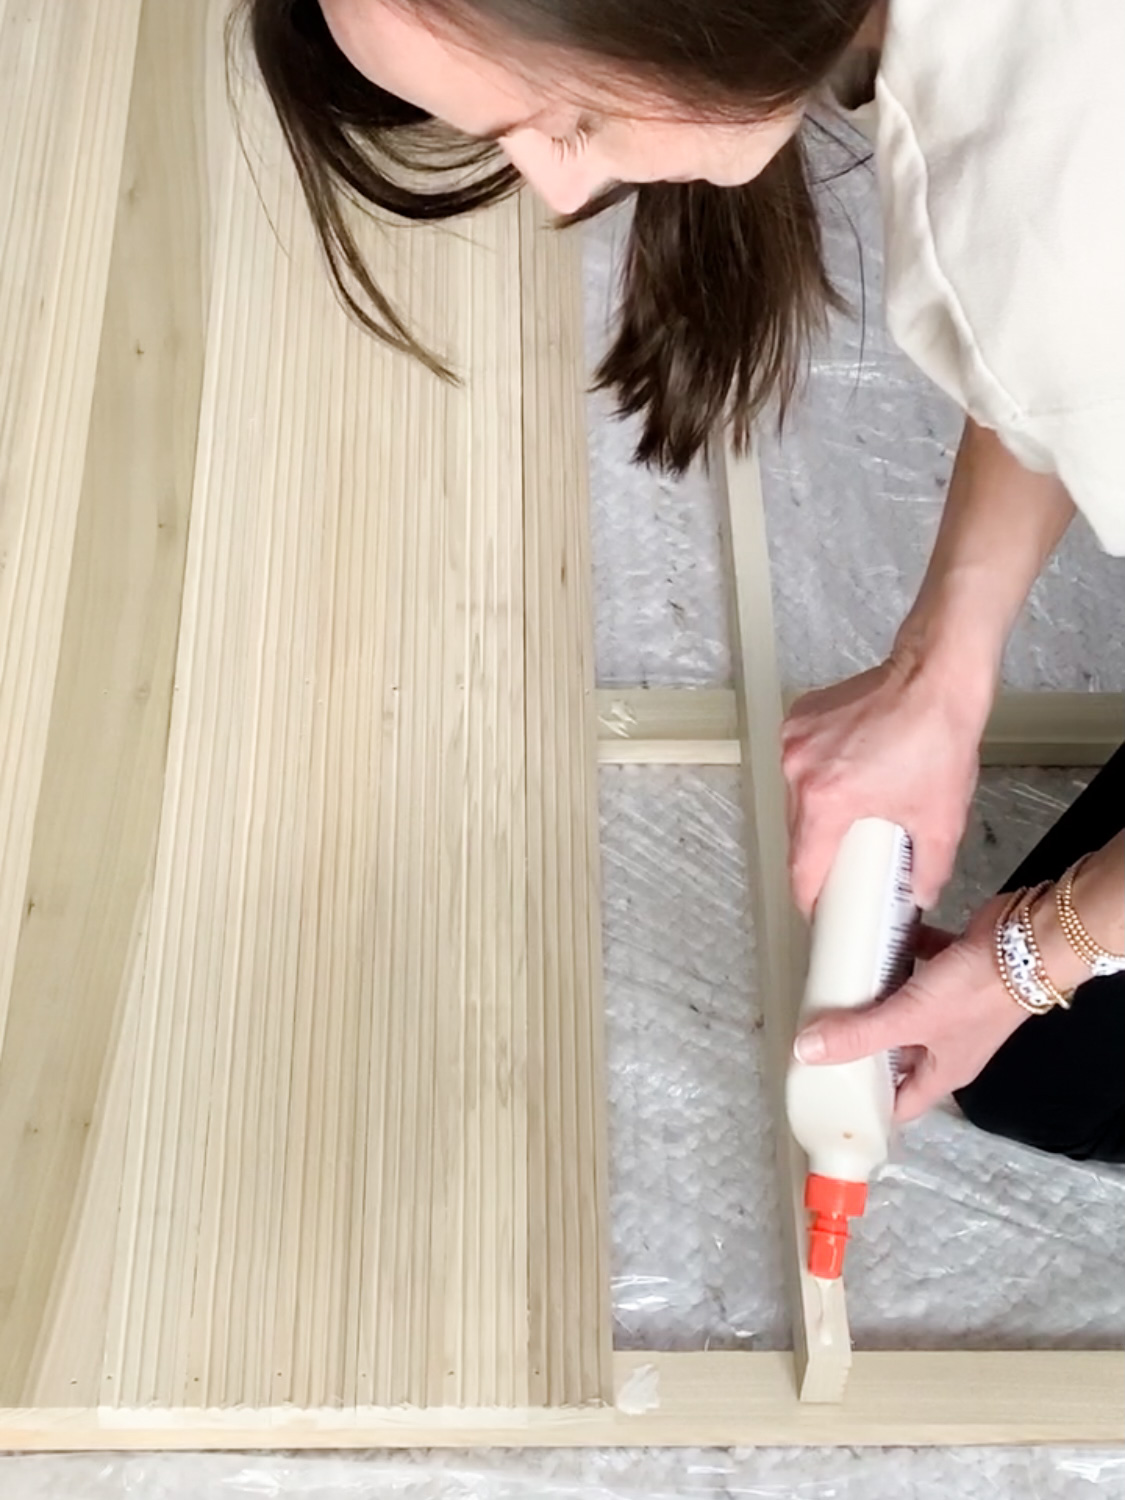
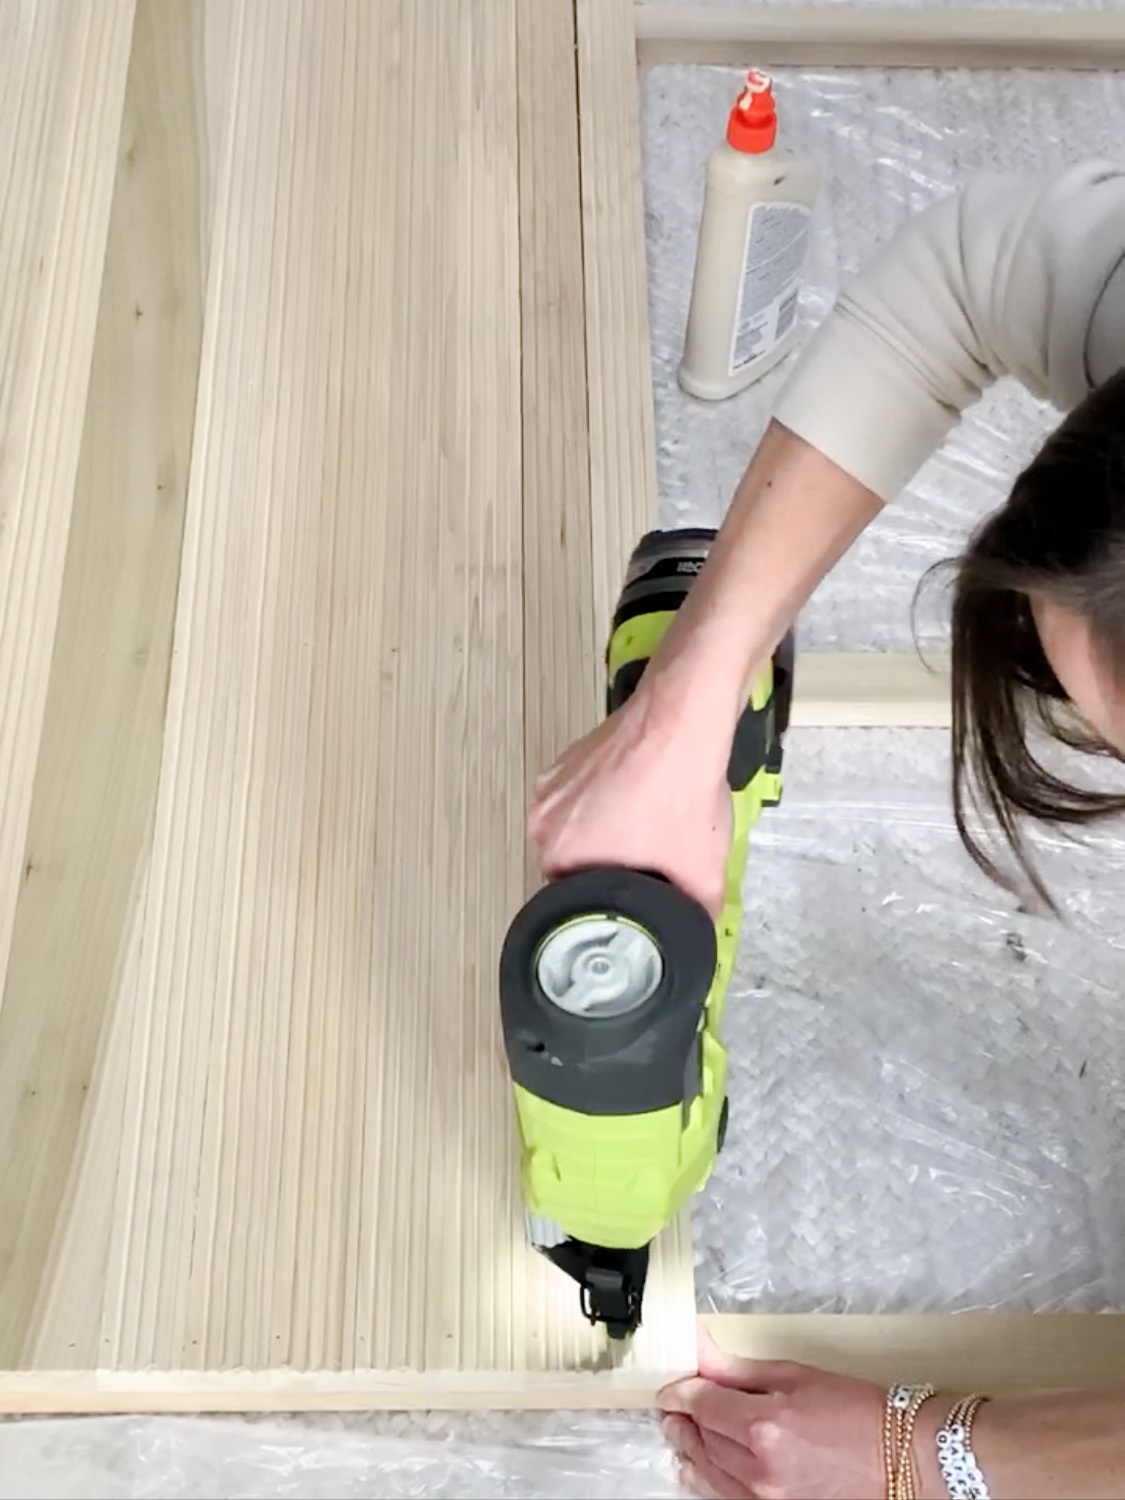
Wood glue went in between each slat and then on the backside where it hit the frame. Then I used the nail gun to attach to each frame piece. The flat edges of the trim were helpful here to give me a sturdy place to use the nail gun.
Once all the beaded pieces are attached, allow the glue to dry. Then sand the edges and the seams and used wood filler between a few of the larger seams (there weren’t many) and in the nail holes. A 1×2 was added along the top and the bottom to give it a more finished look and wood filler went in those seams as well. Once the wood filler dried, I sanded and wiped down those spots as well.
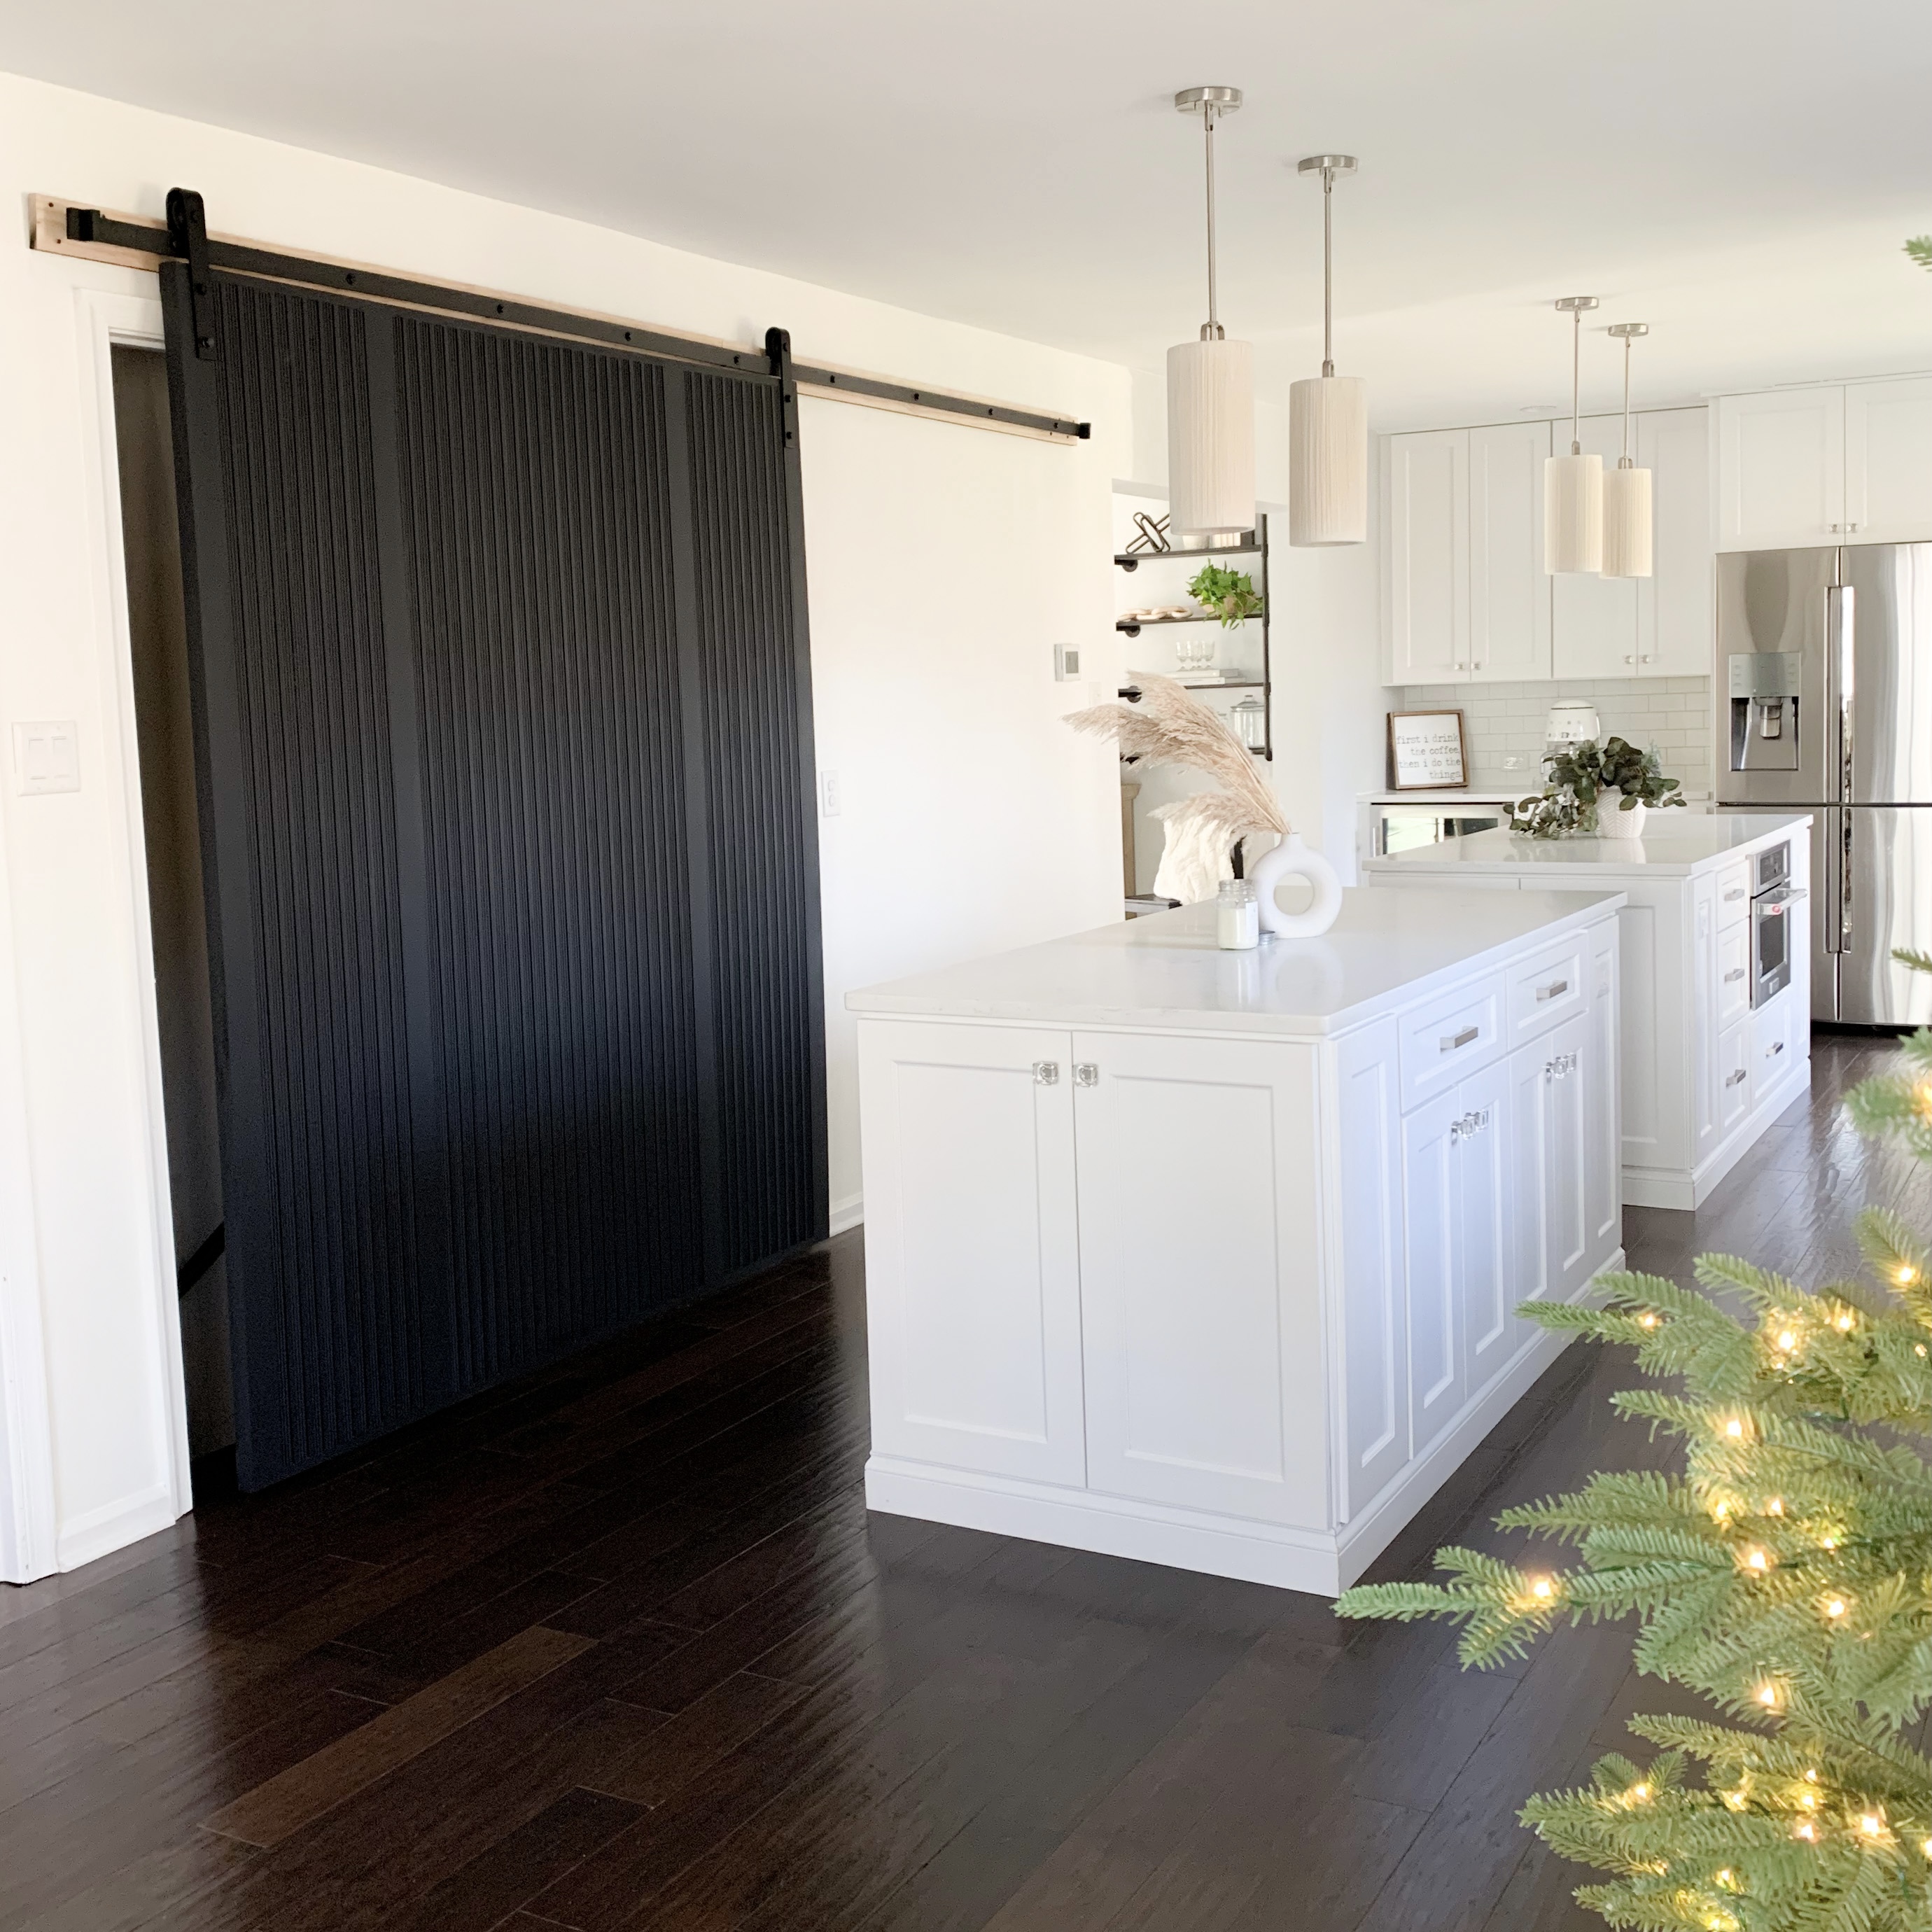
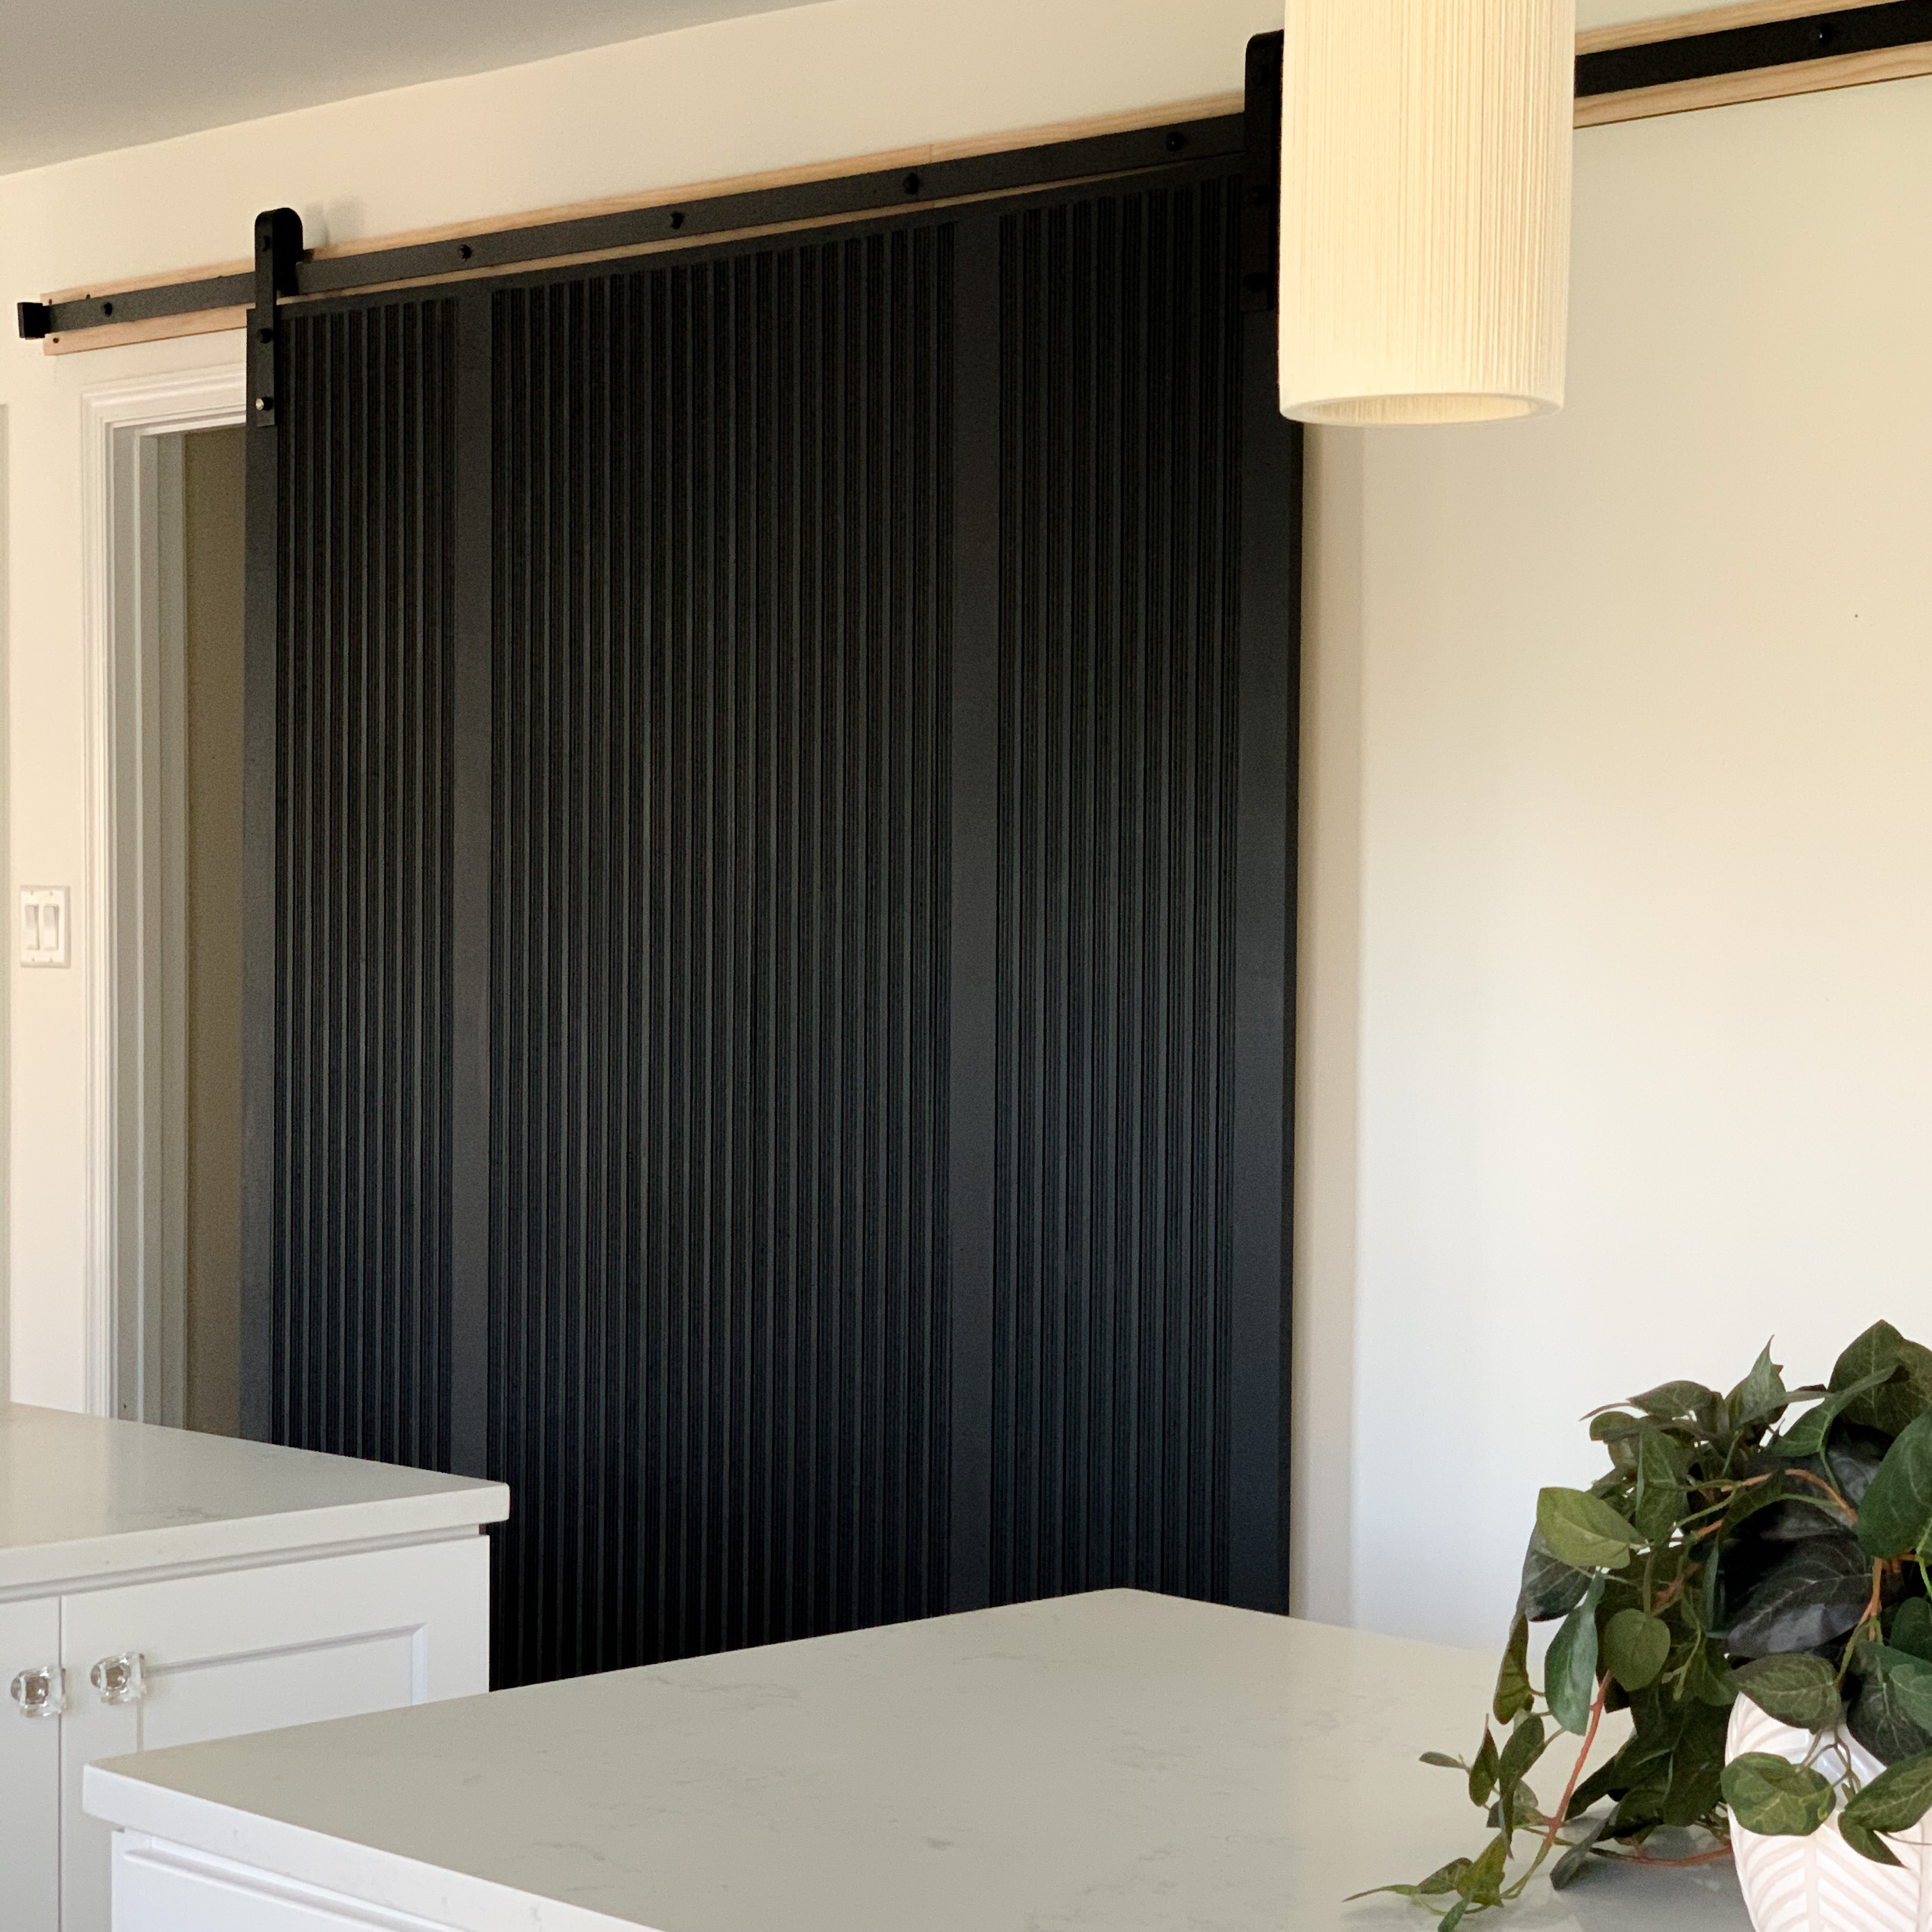
For paint color, I first attempted to stain the door black. I LOVE the look of black stain. It was my first time using it, however, and I didn’t realize how difficult the grooves would make the process. I eventually gave up the fight and switched to matte black paint. I used BEHR Marquis Dark Secret in matte…. Pretty perfect color for this project!
Post may contain affiliate links. Please see disclosure, linked here.
