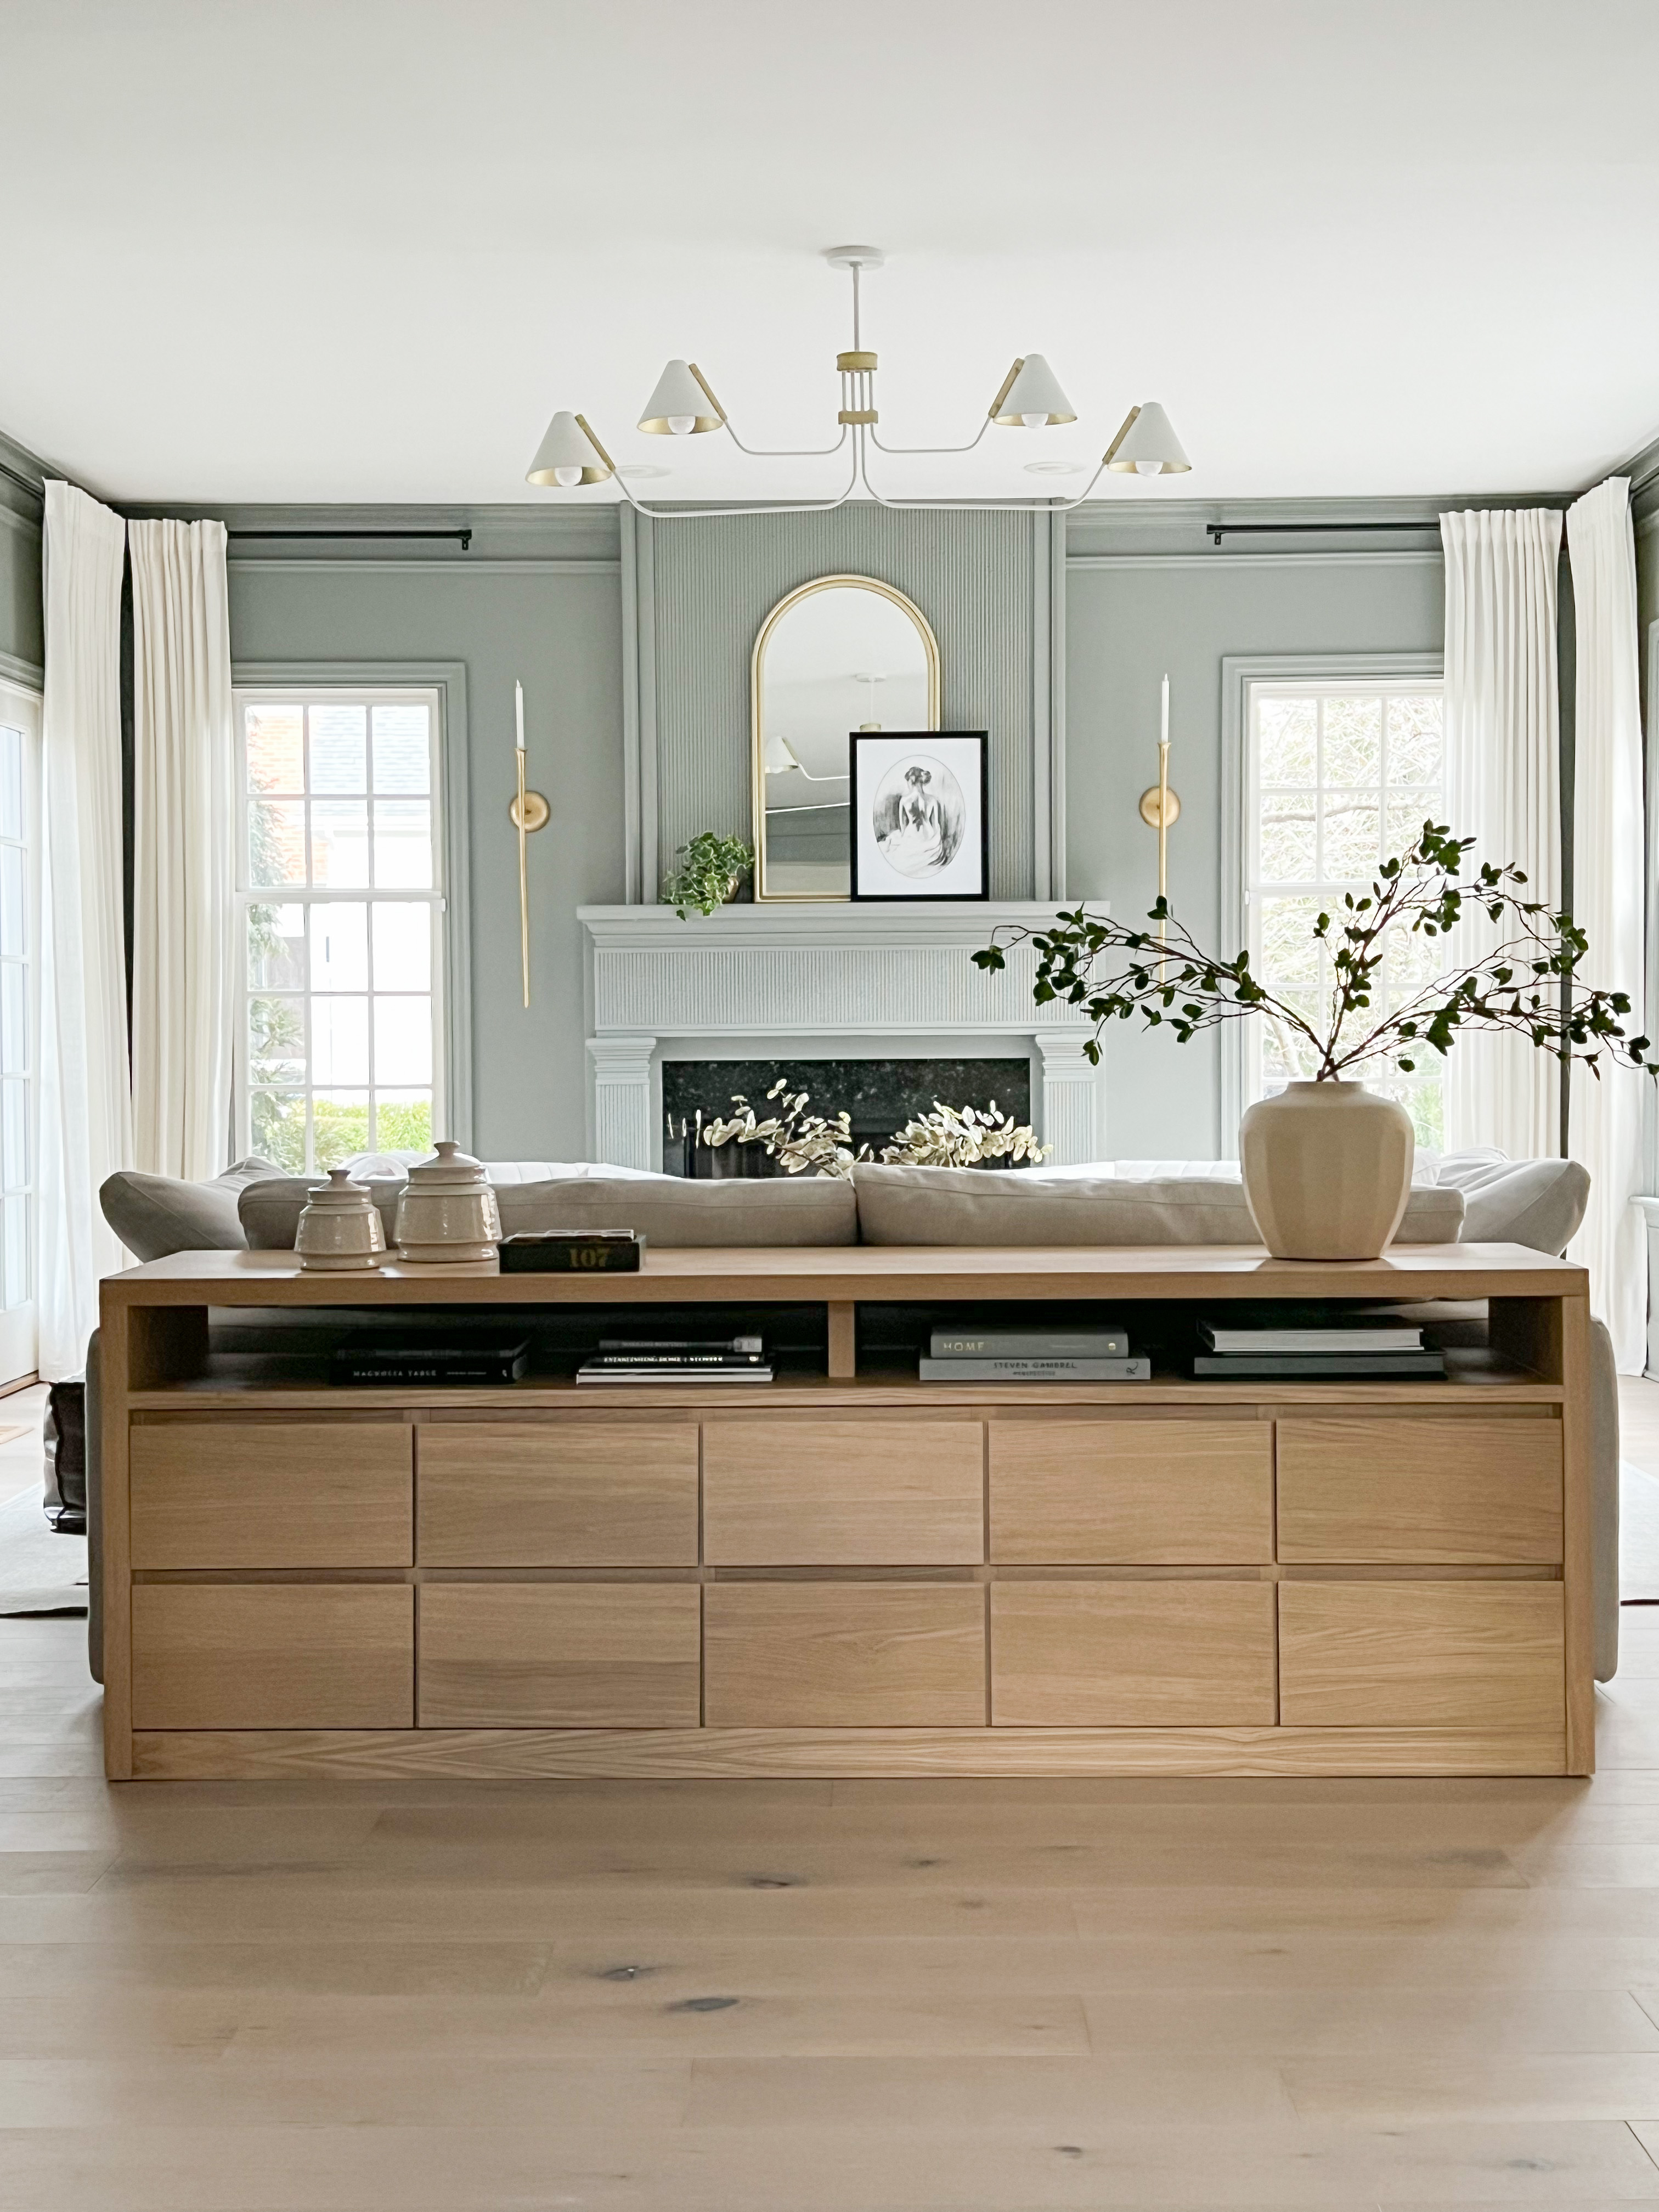
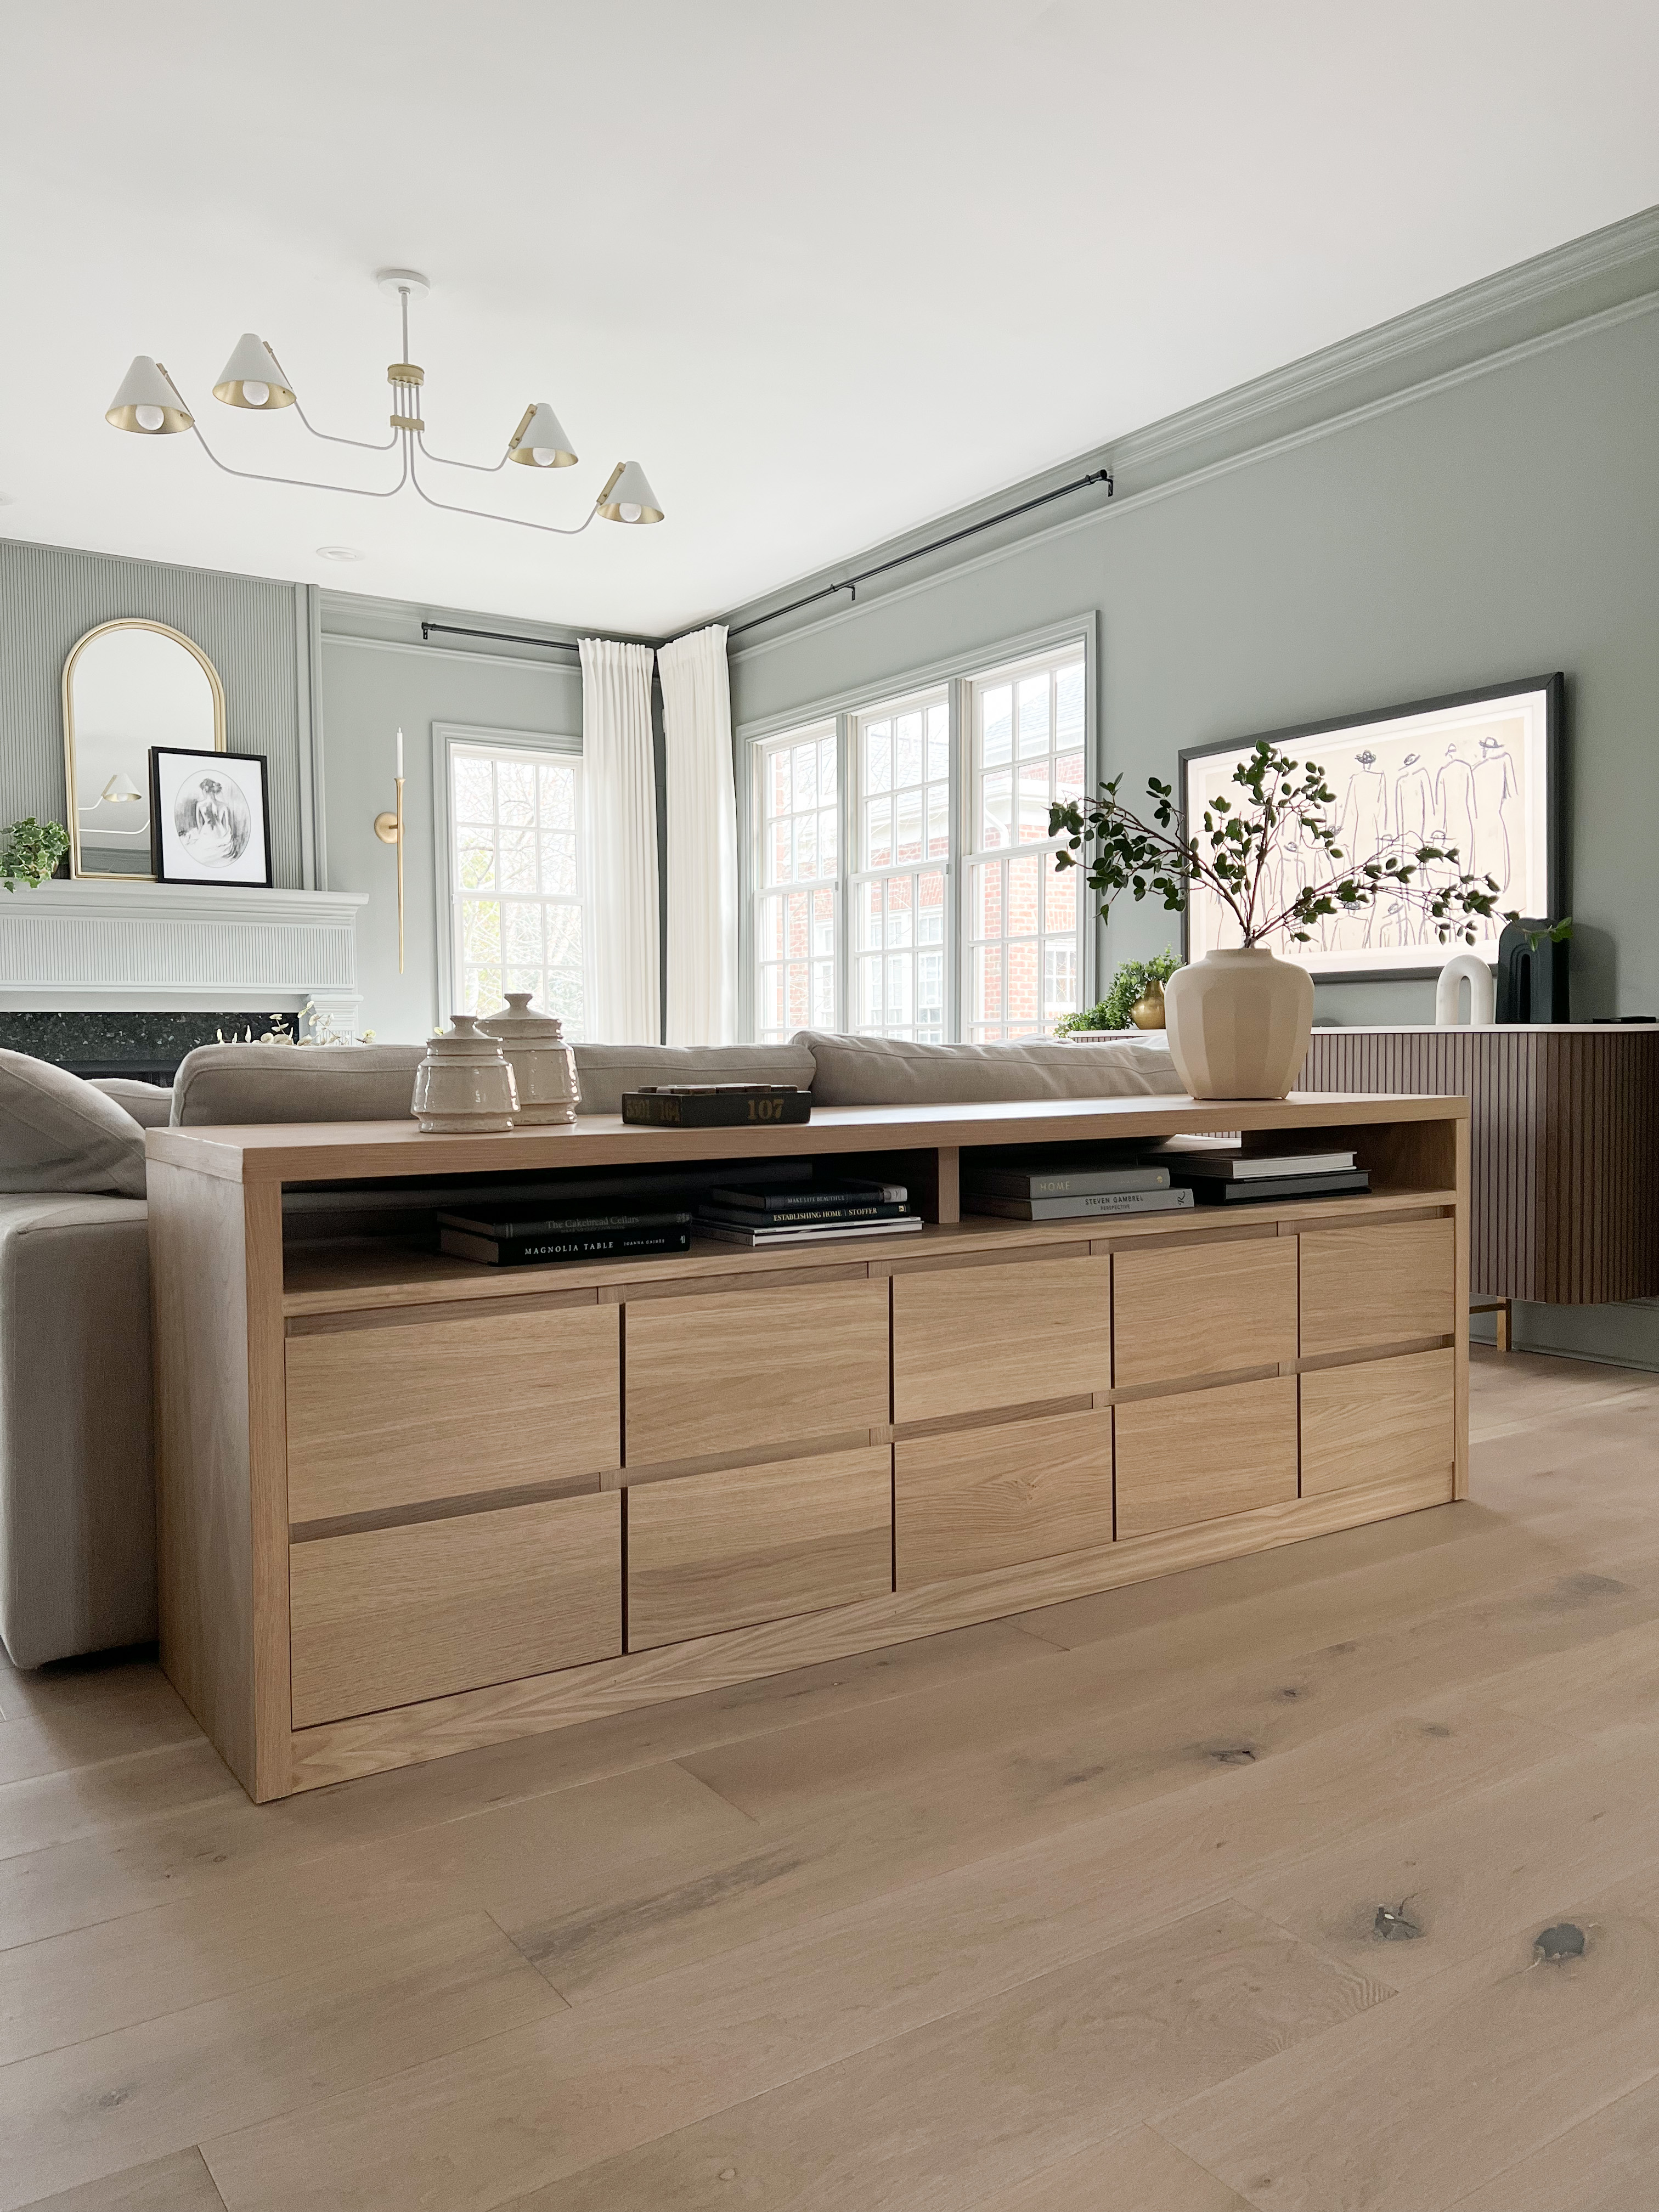
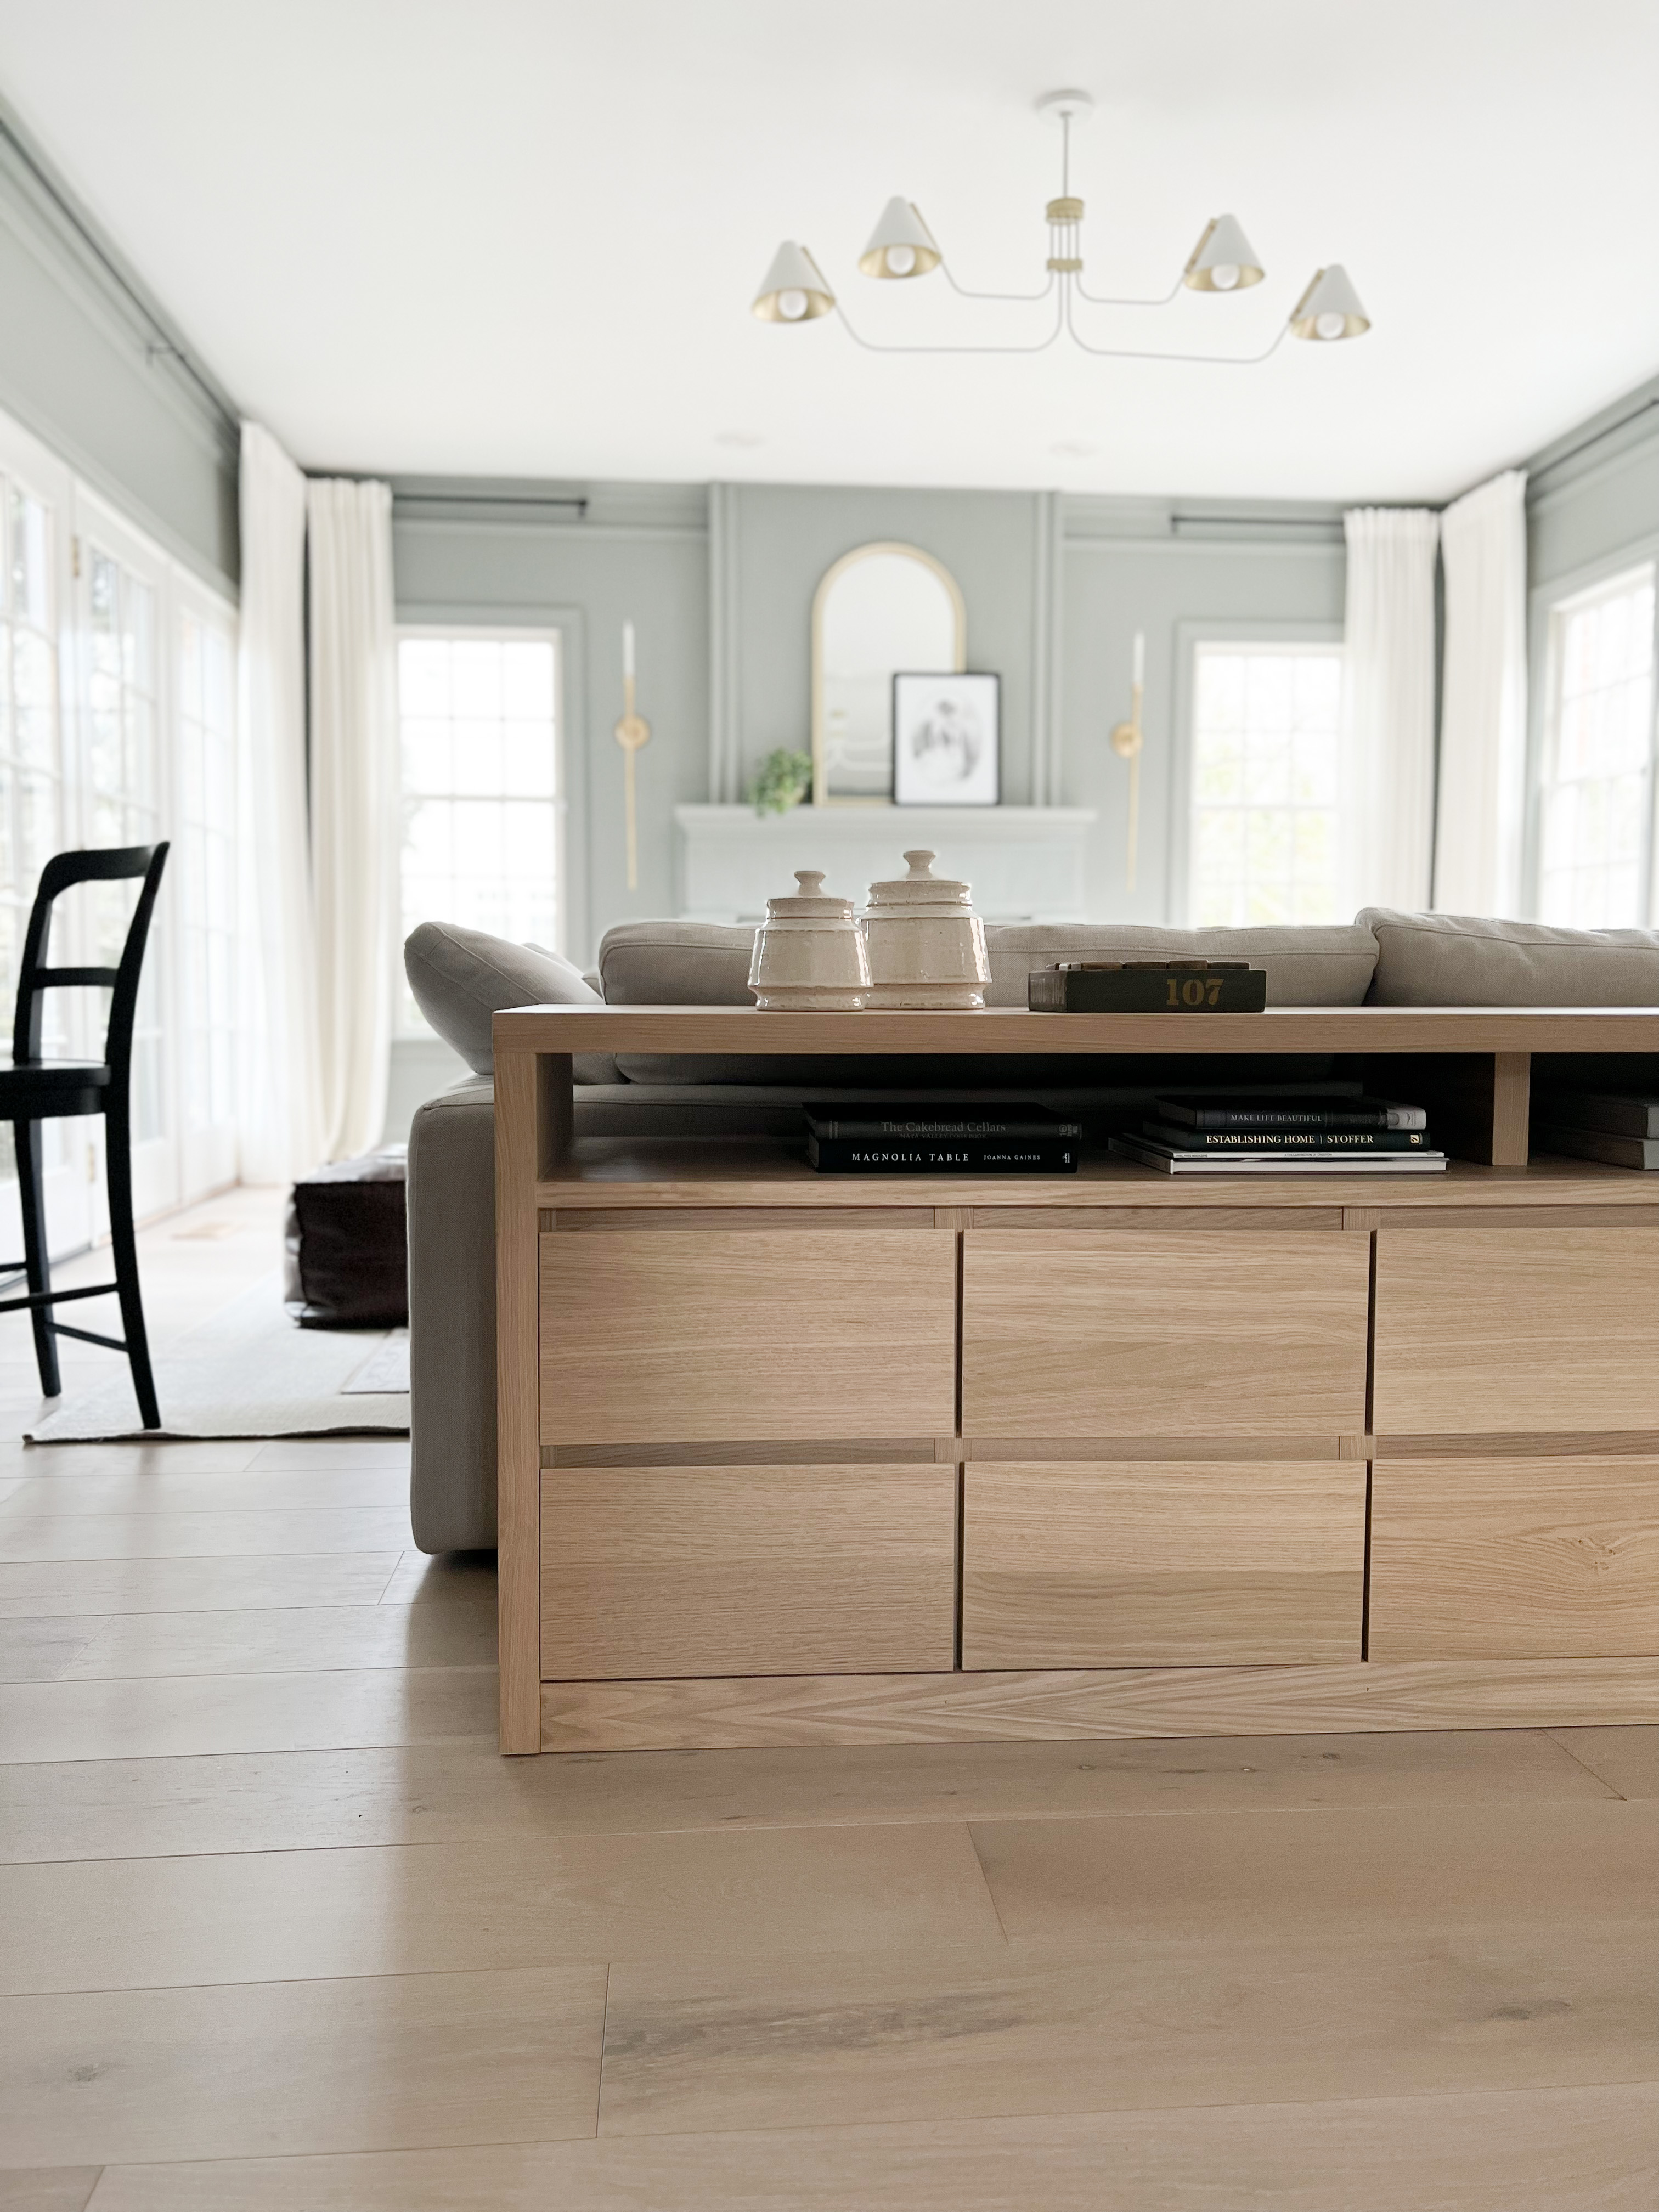
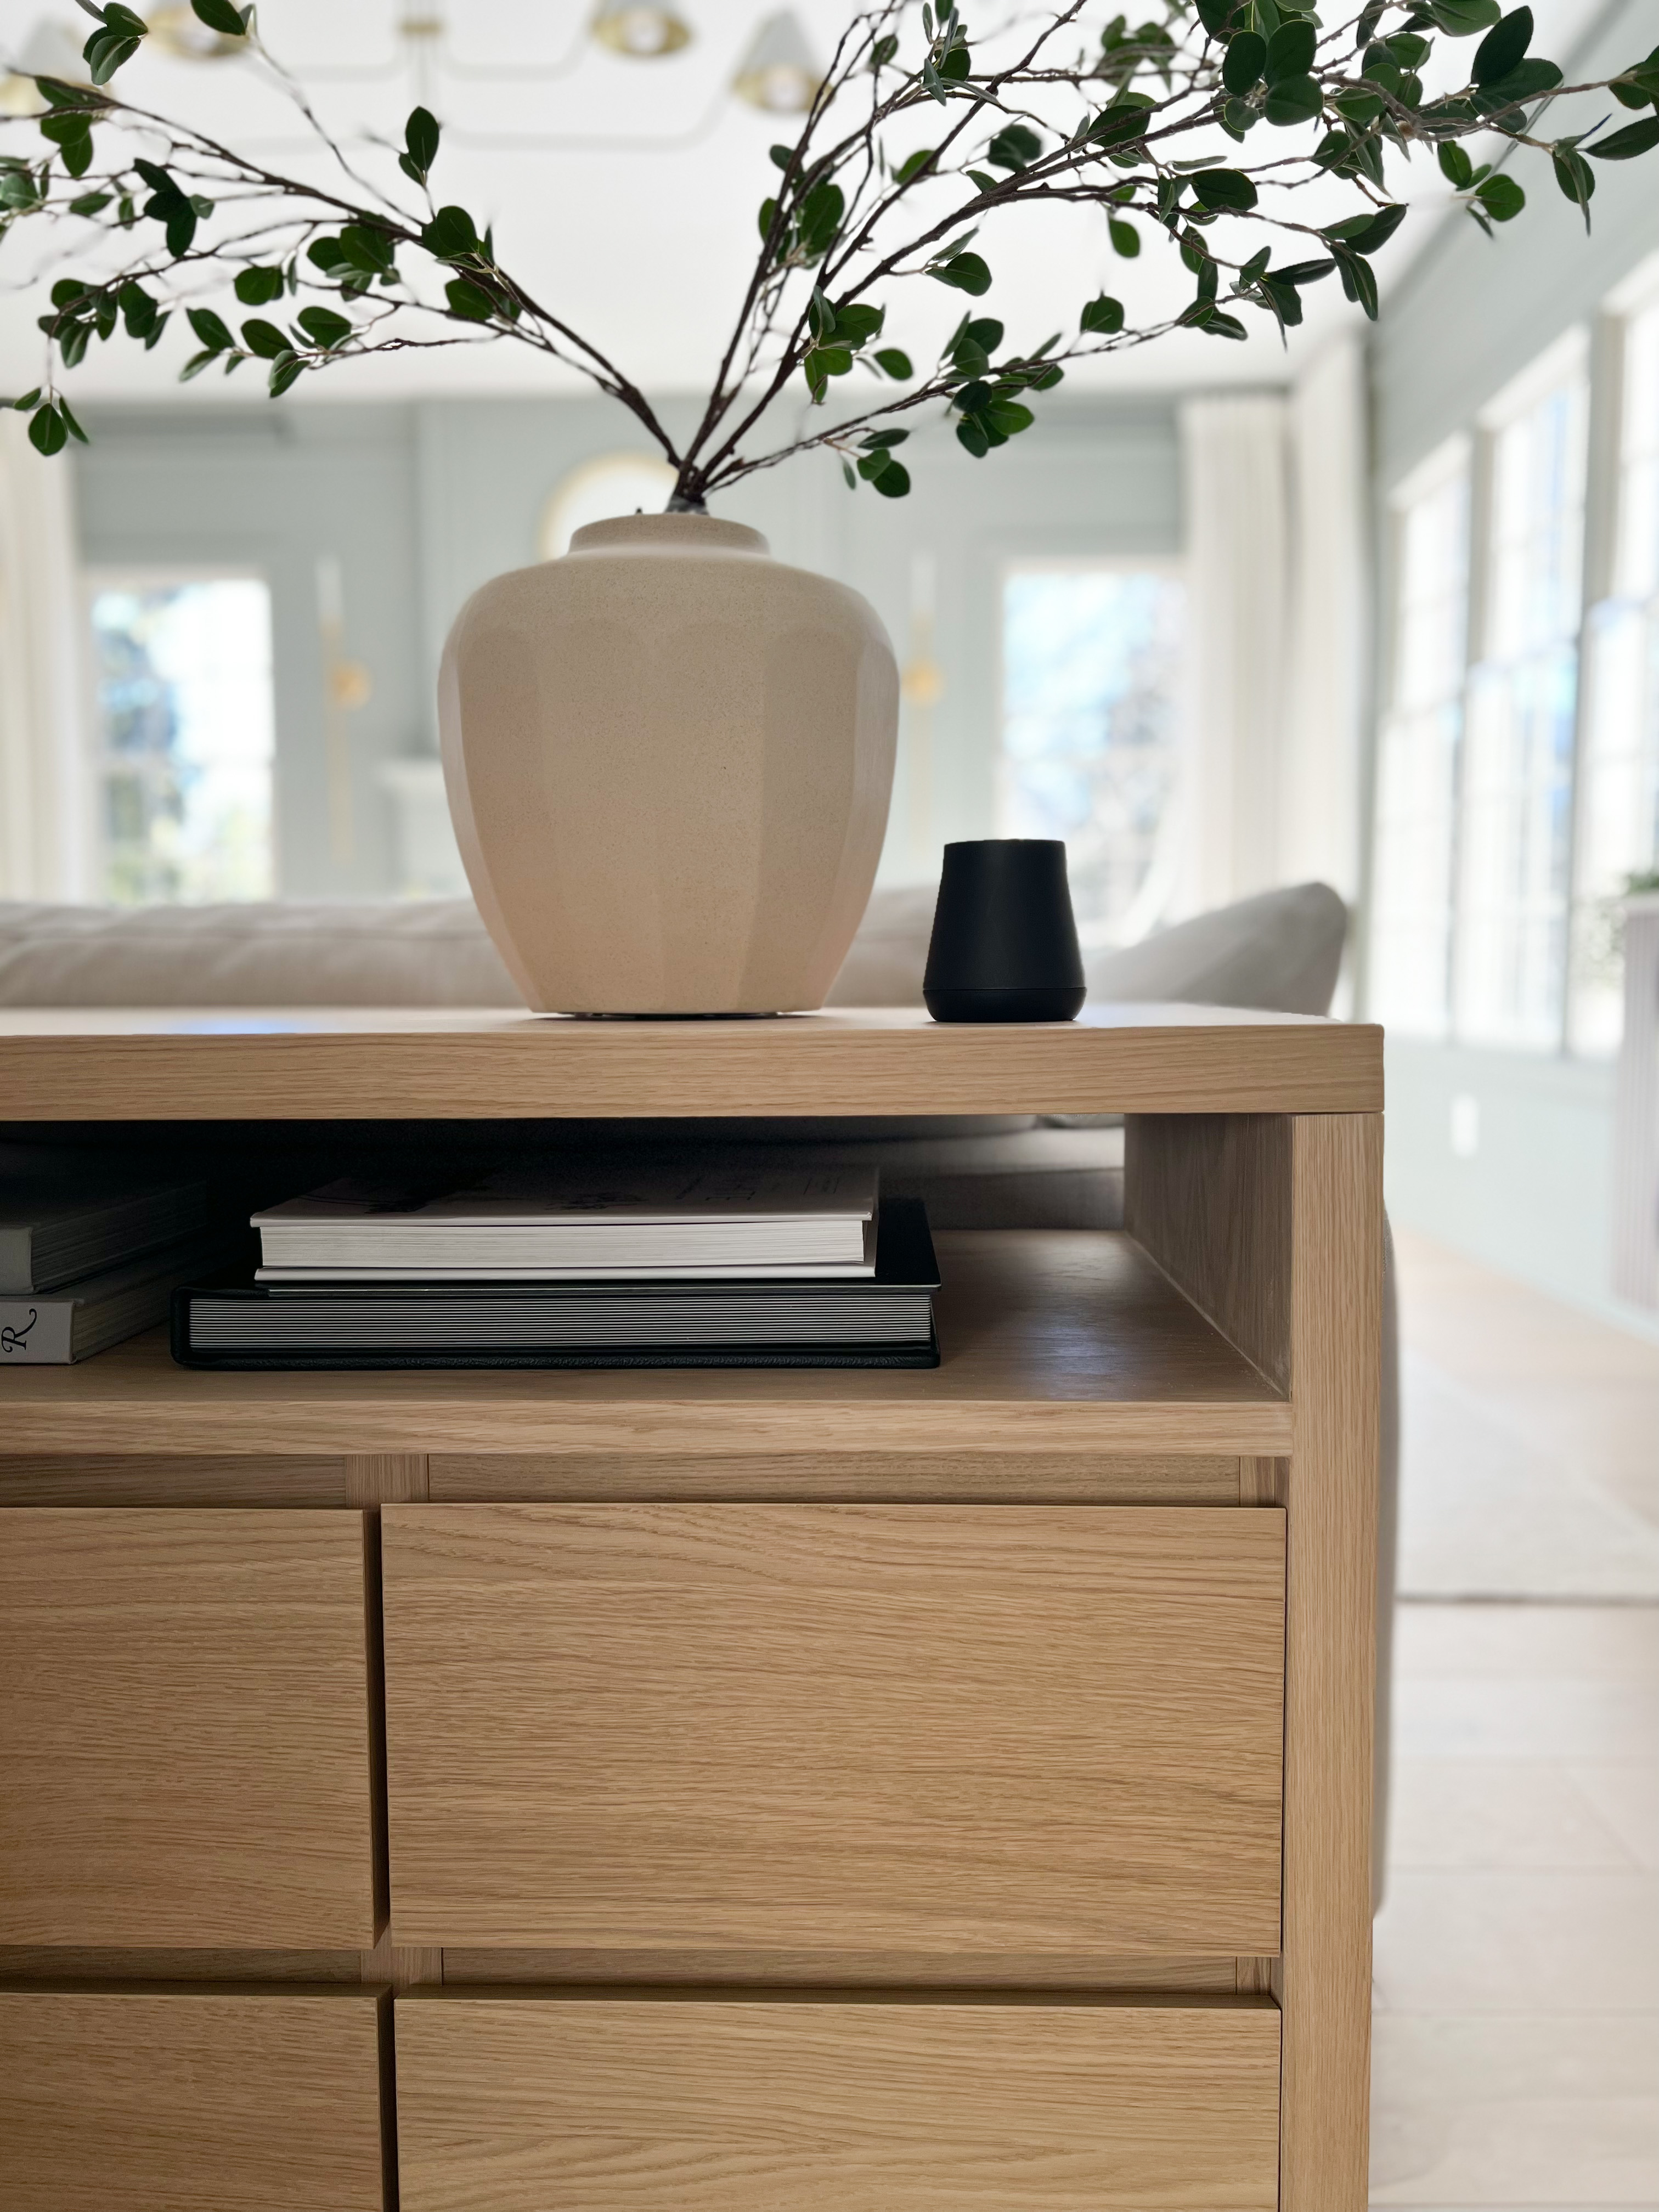
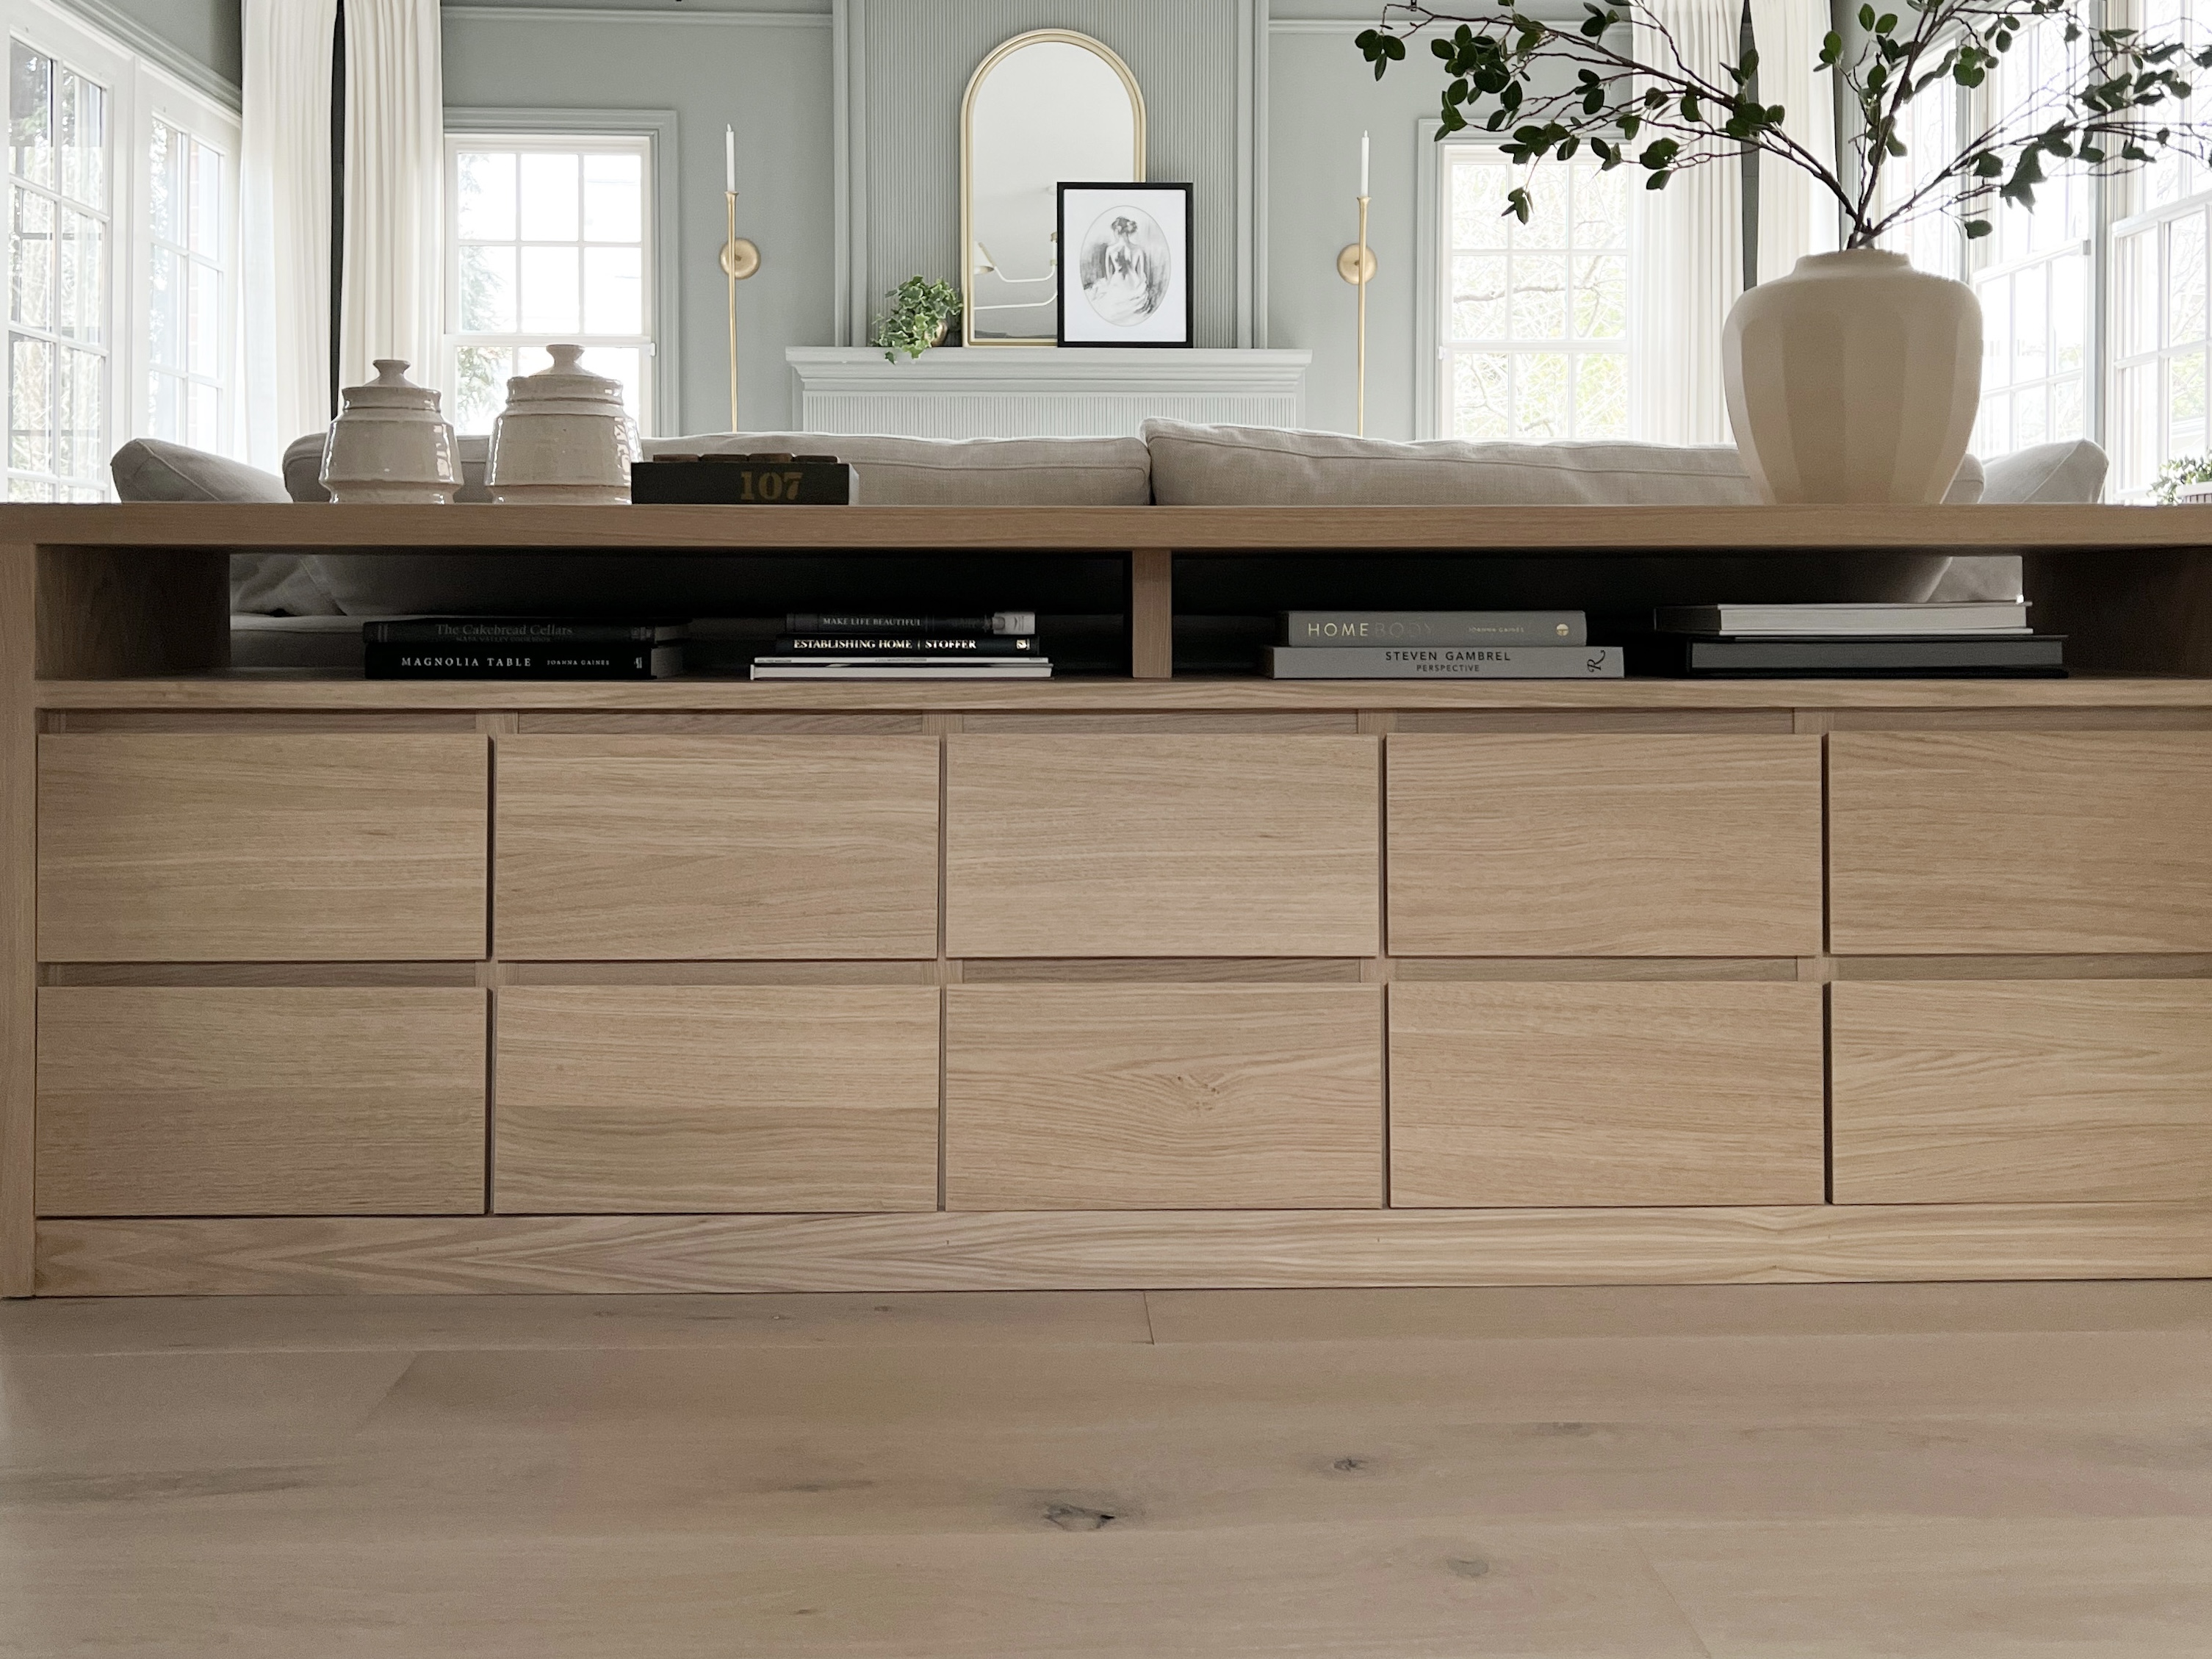
I’m obsessed with White Oak everything. You can see this right when you walk in our door and see our floors. I love the shade, the grain, the whole look of it. So this White Oak Sofa Table was a dream in my head, and I love how I was able to make it a reality using IKEA hacks!
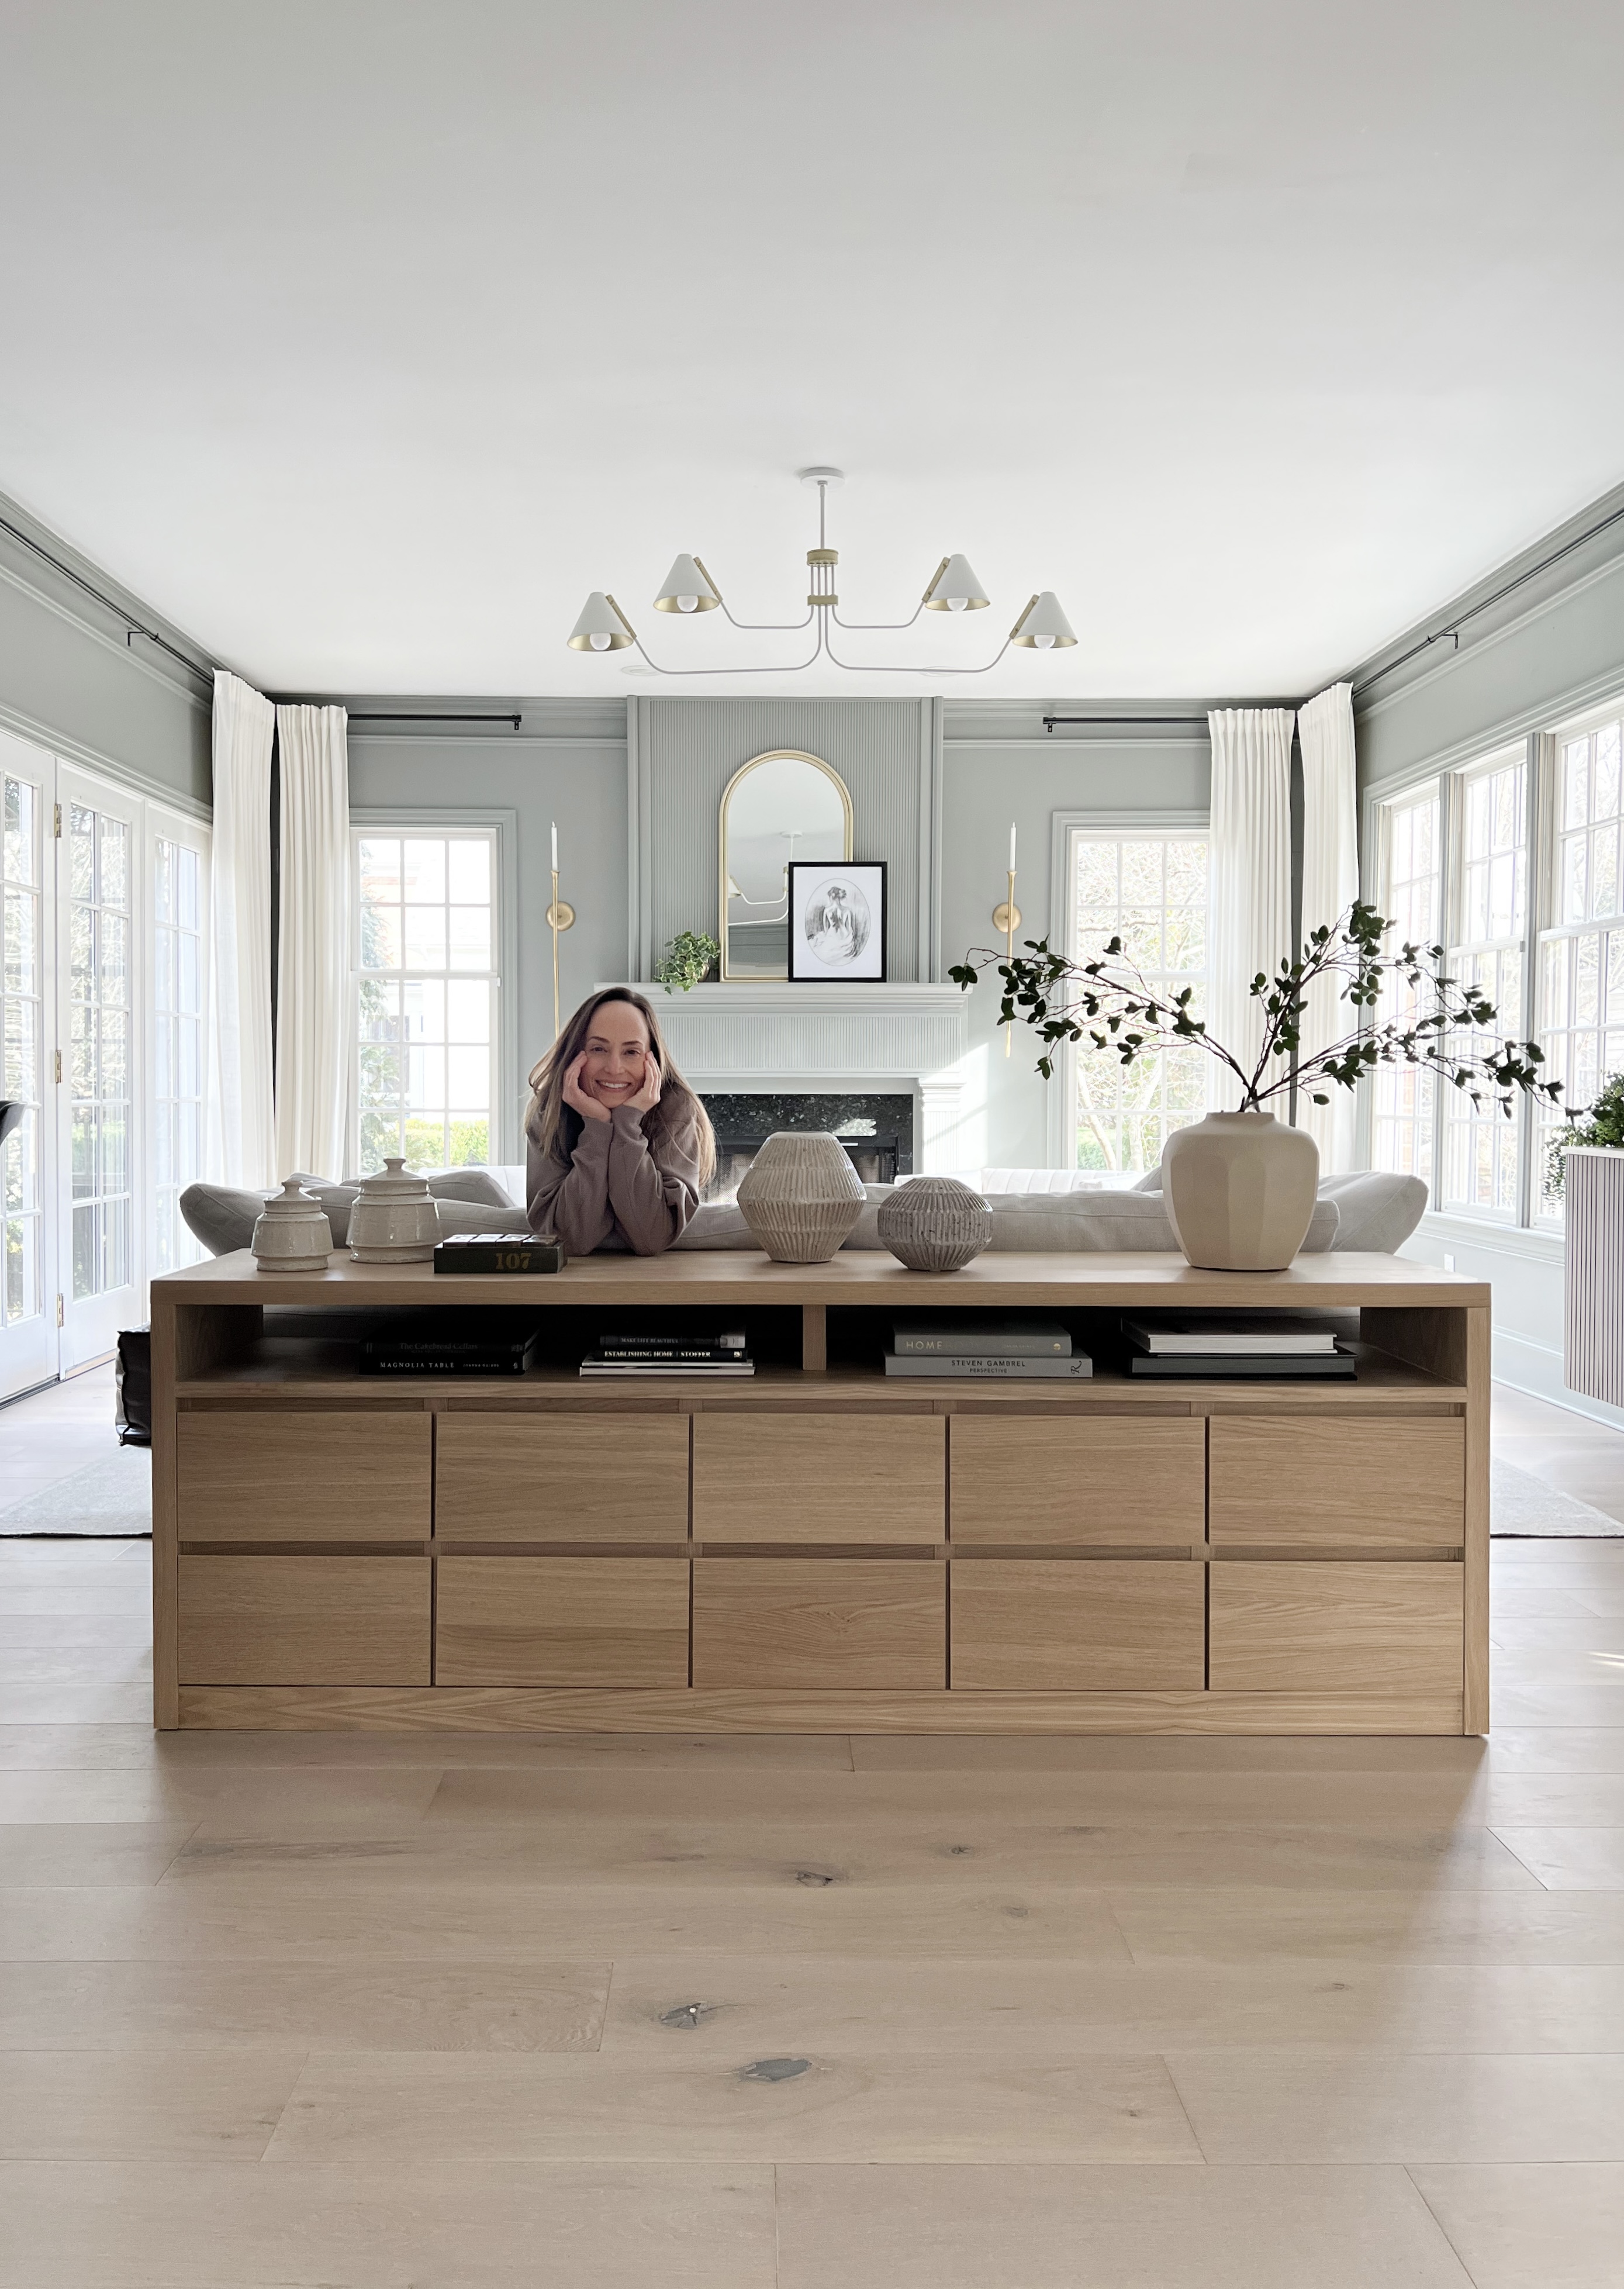
We needed a sofa table with storage behind the couch in the living room. There are a couple of other furniture pieces in the room that are dark walnut, so I wanted to go lighter with this one.
I fell in love with a few pieces that ranged from $3,500-5,000 – going as large as I wanted AND including storage makes things pricey! The plan was to build one myself, hoping that I could finally get over my fear of building my own drawers. I was really close to going for it, but then I saw these white oak IKEA nightstands, and the rest is history.
Using IKEA Malm Nightstands to build a White Oak Sofa Table
If you’re wondering how to build a sofa table using the IKEA Malm nightstands, this post is for you! This blog post will go into a lot of detail, has links to all of the products used, and includes a full budget breakdown!
If watching the process is helpful, in this Youtube video, I dive into this project as well as two other IKEA Hacks.
White Oak Sofa Table Layout
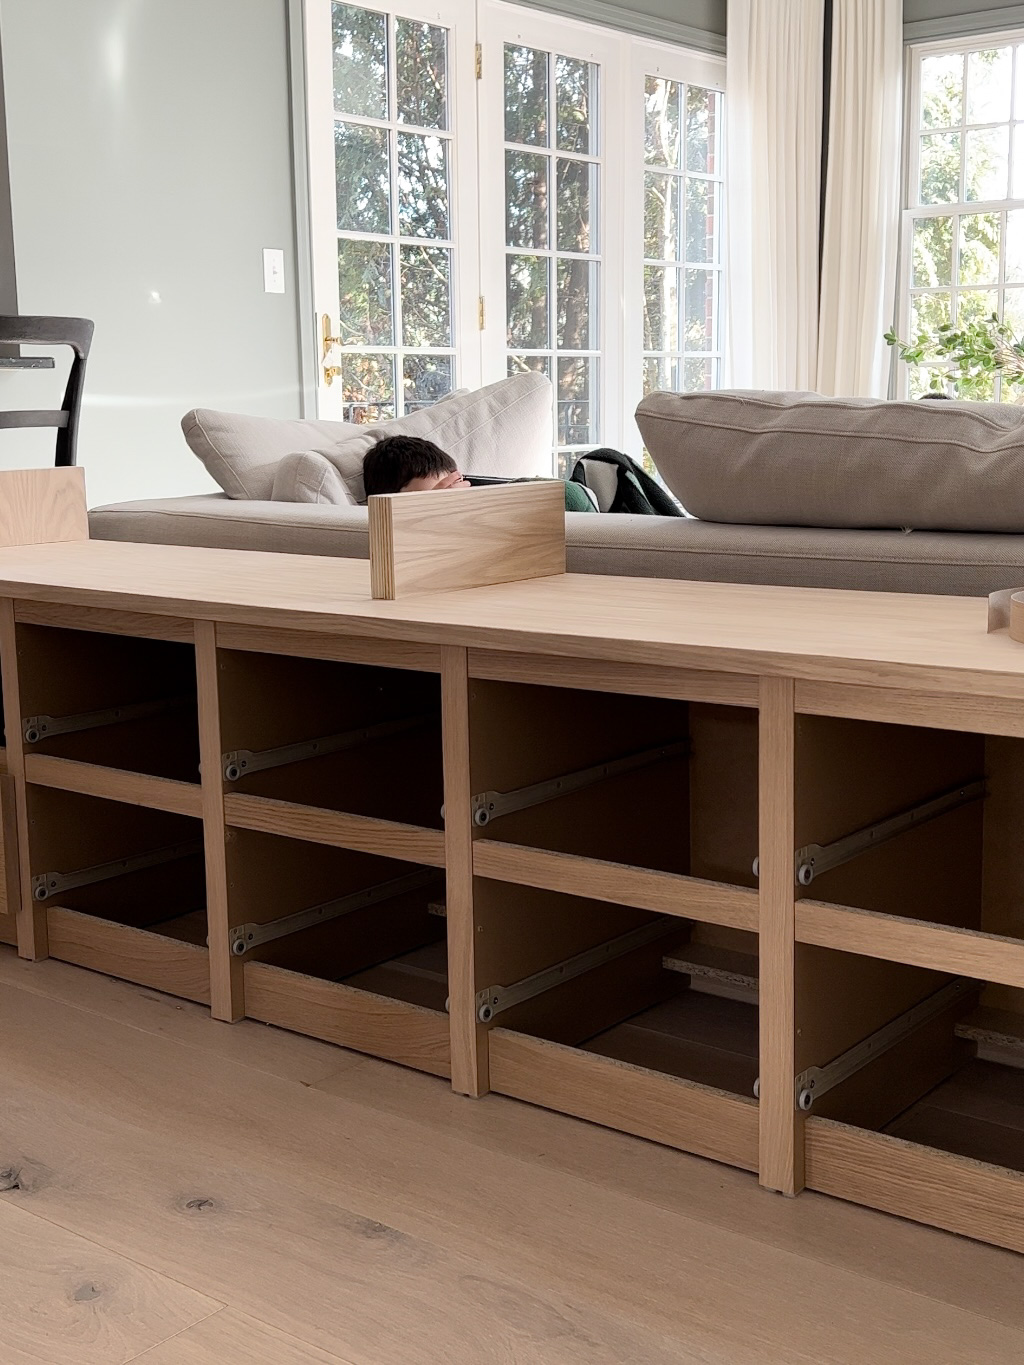
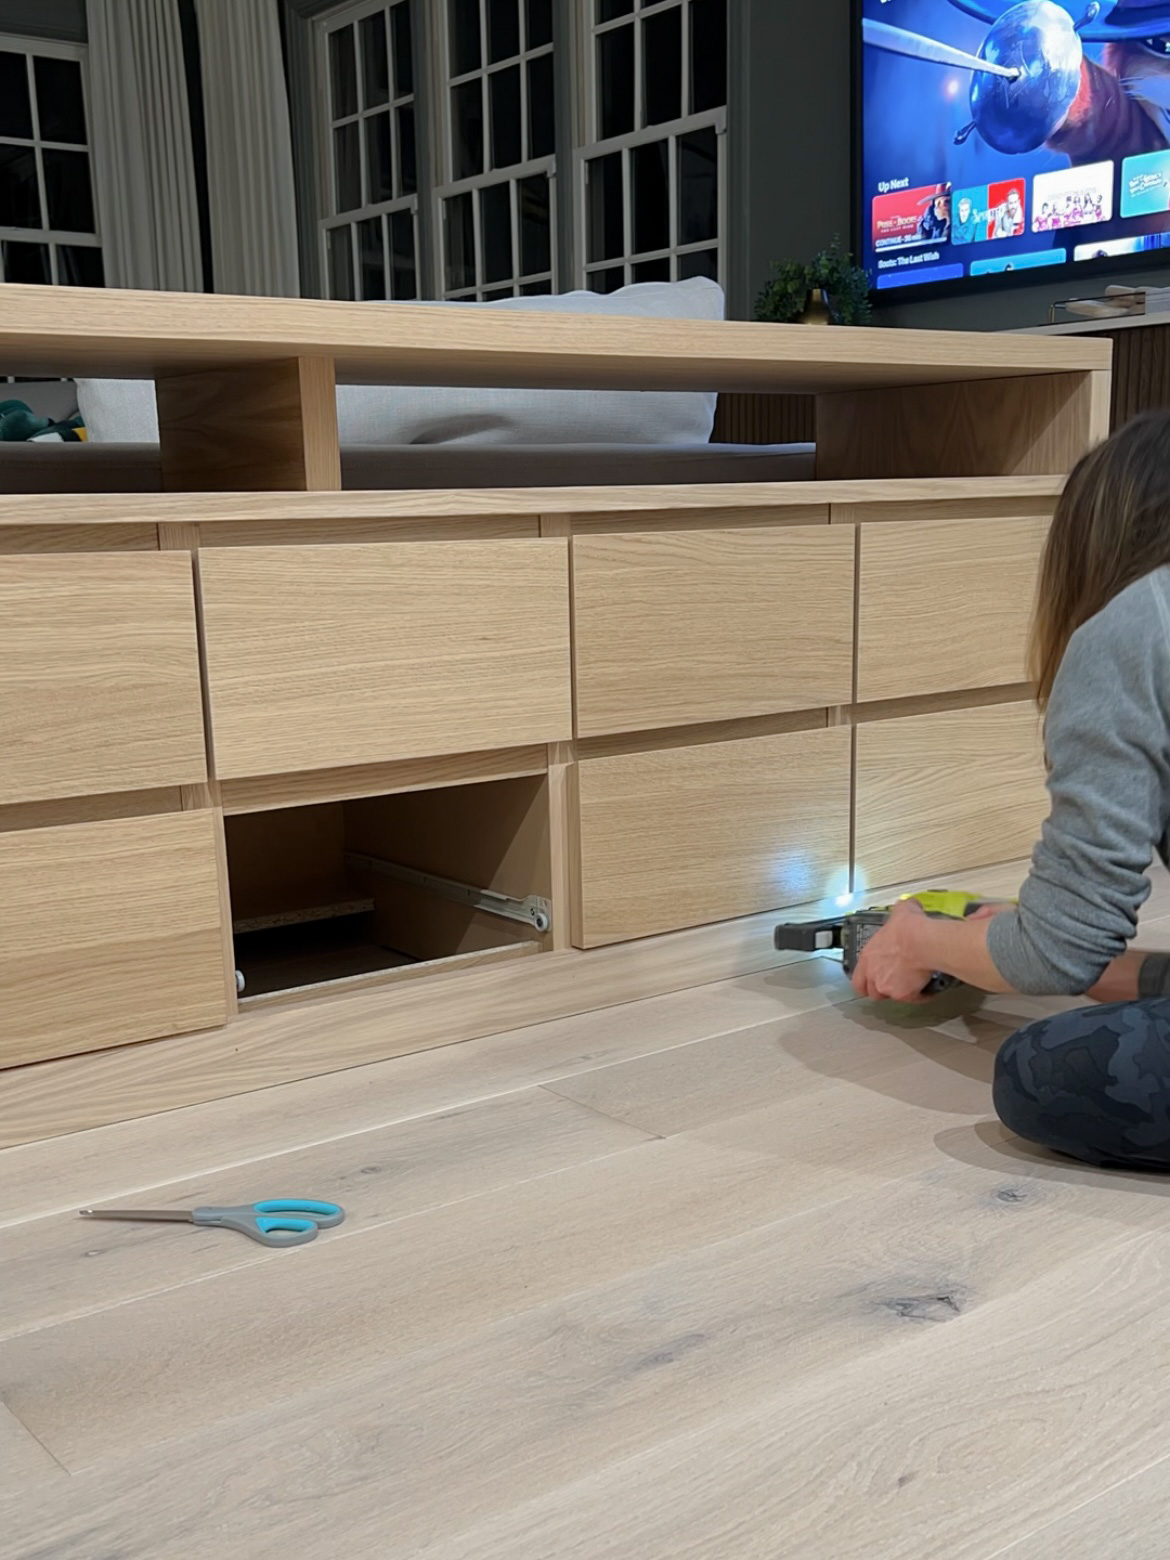
I wanted the table to run the length of the couch, so I went with five nightstands. It’s very large! The drawers are easy to remove, so I took those out to attach the nightstands to each other.
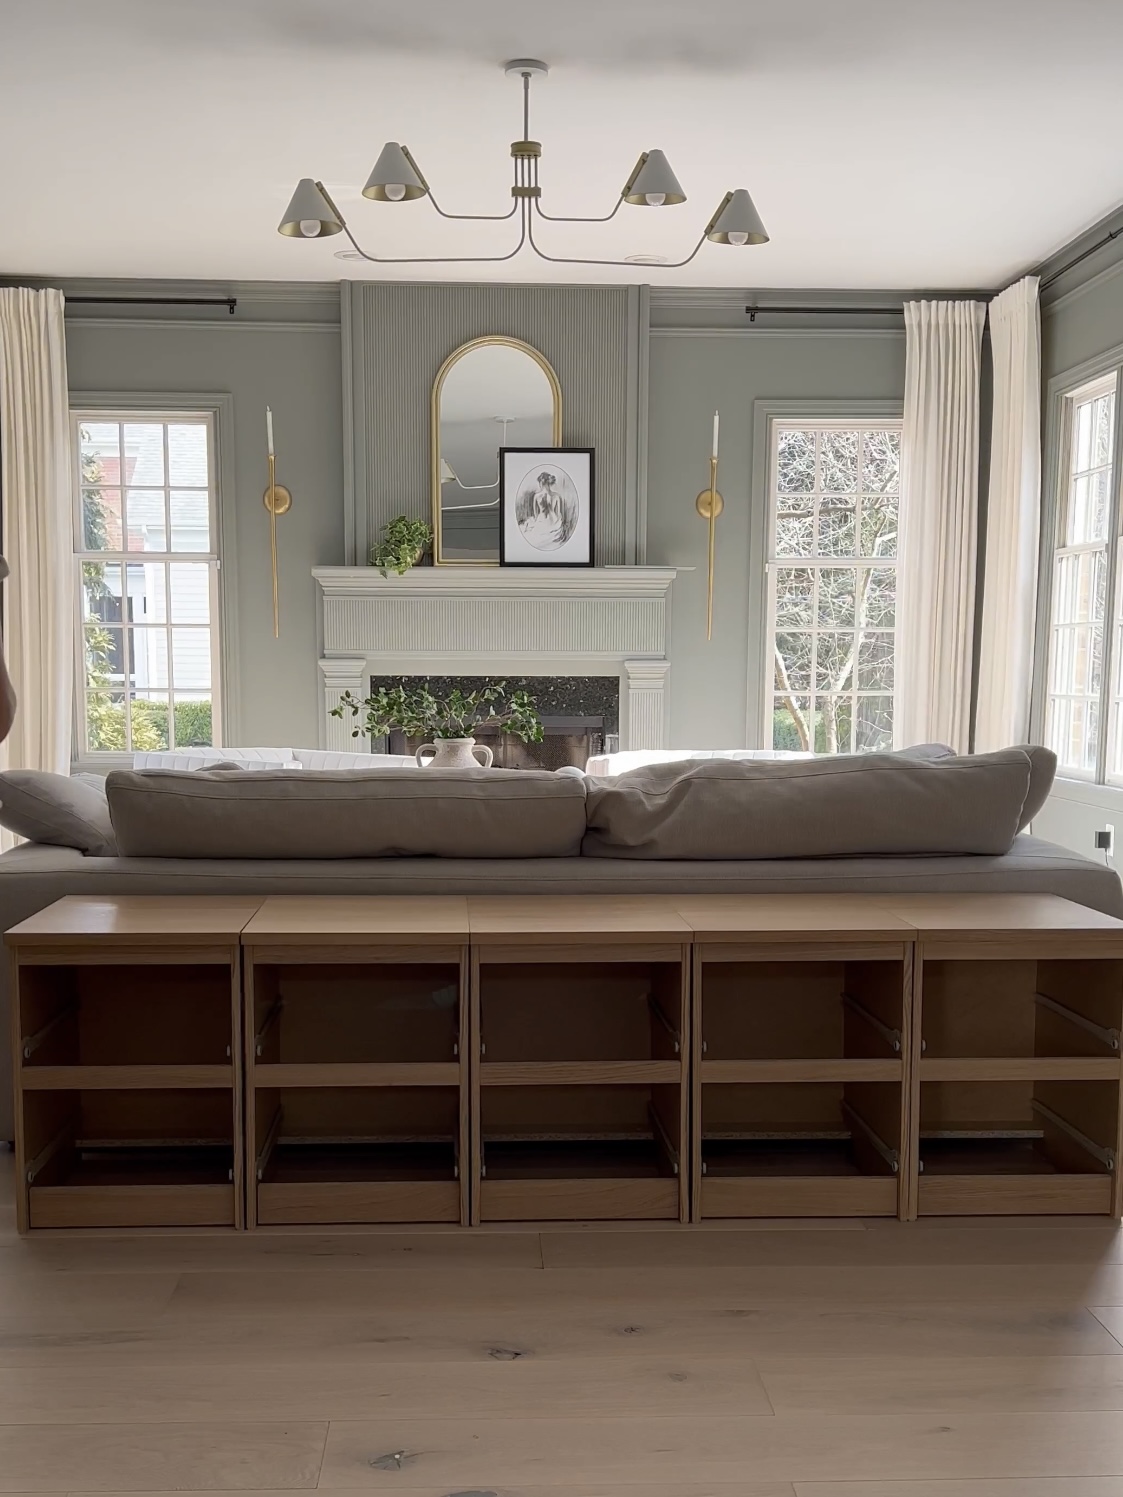
Connecting the Frames
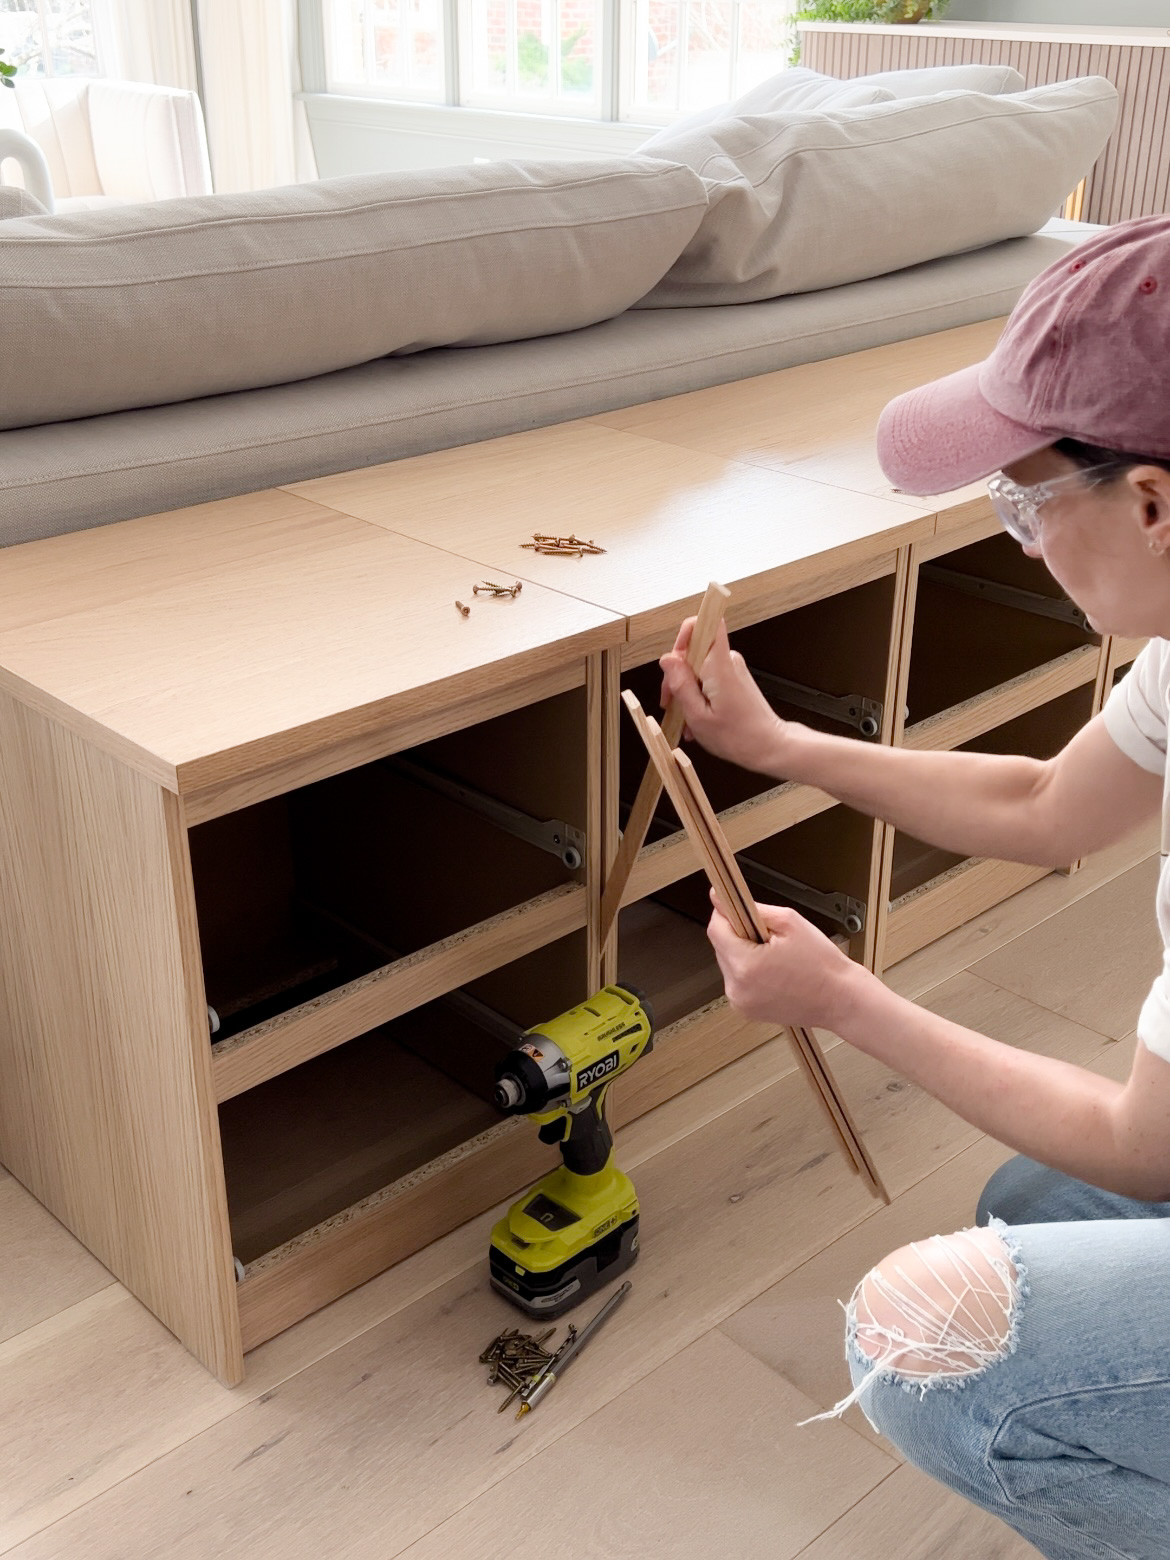
The top of the nightstand has a little “lip” that overhangs each side. This prevents the nightstands from being flush when pushed together. You might be able to cut that off, but I didn’t want to interfere with the function of the drawer.
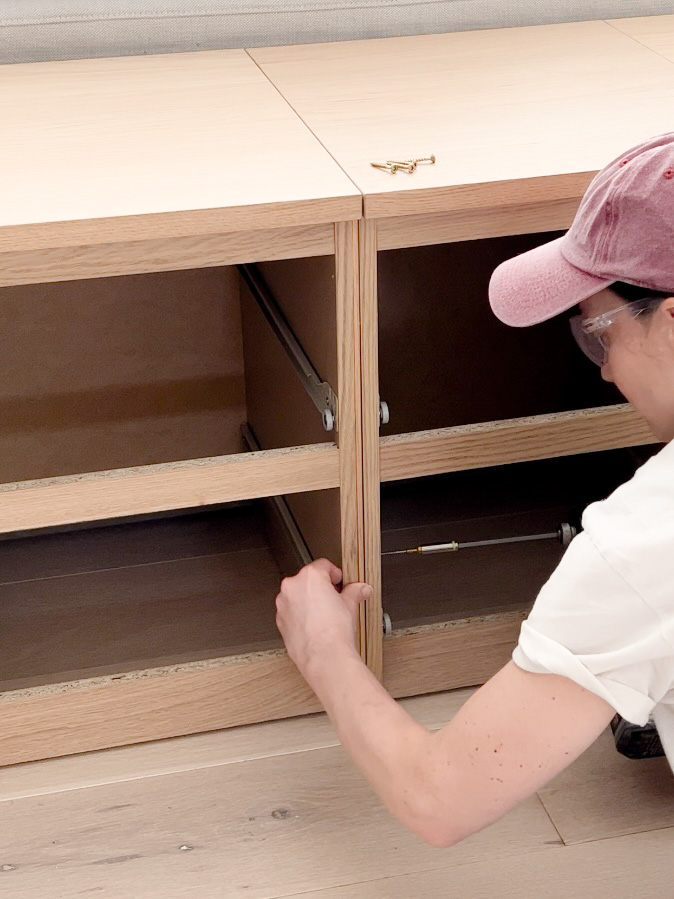
To allow me to screw them together, I added this little screen moulding between each one. Then I drove one screw through the top drawer space, and one through the bottom space.
If you can, I would also add a piece of screen moulding to the back as well. I tried to add a screw in the back, but without the screen moulding in between, the screw couldn’t grip the other piece.
White Oak Peel and Stick Veneer
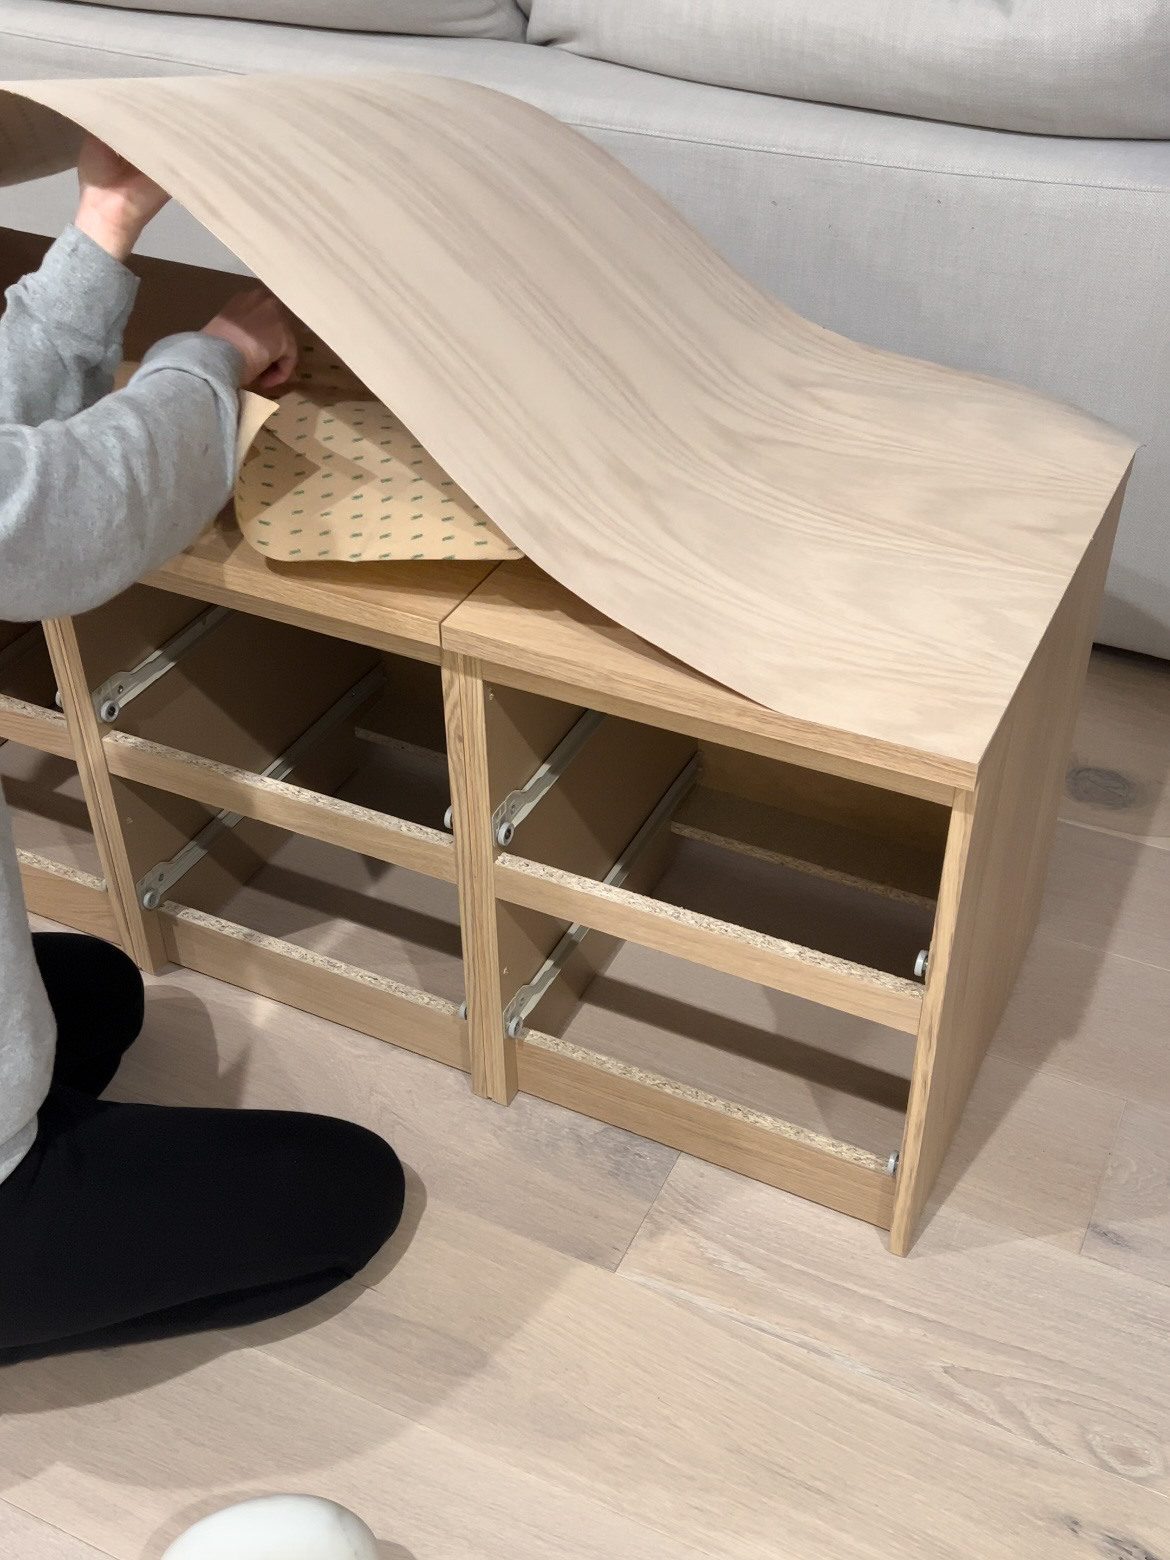
I used a white oak peel and stick veneer over the top to make it all look like one piece. The veneer I used is from a local woodworking shop, but this Rockler one looks to be the same!
Three Tips for Using Veneer
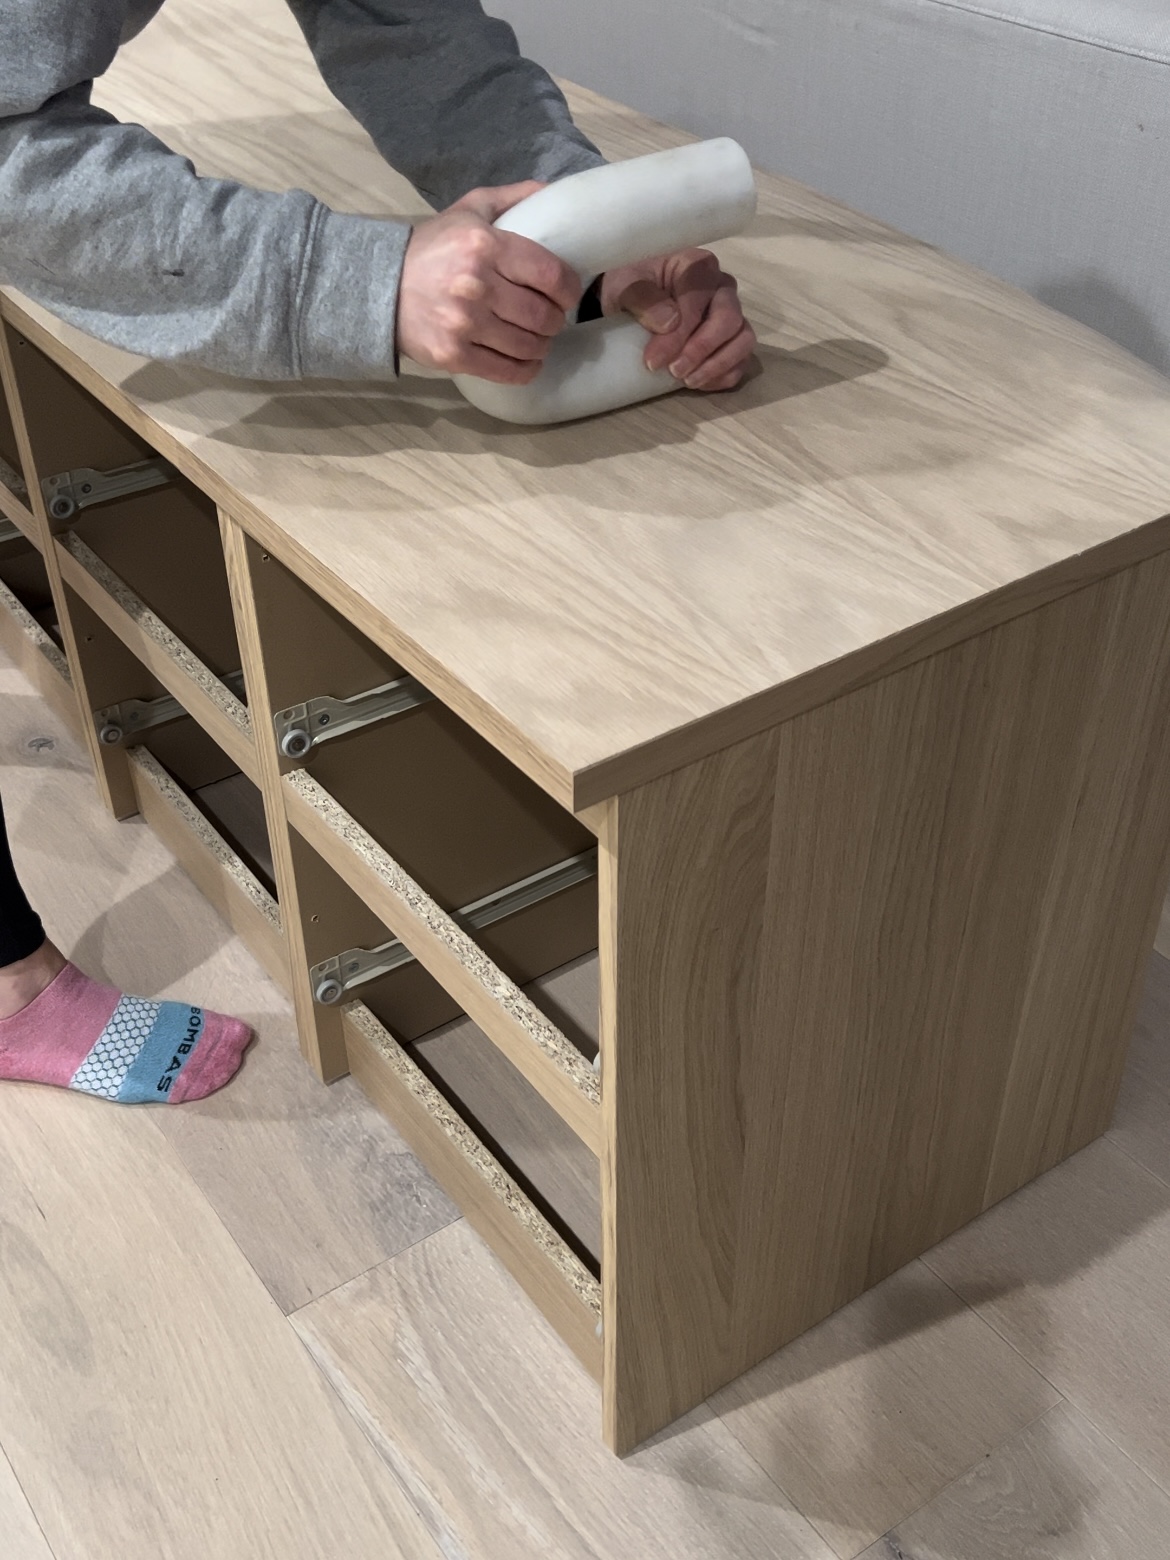
- I was told to use hard pressure to really activate the glue, and this decorative marble arch came in clutch.
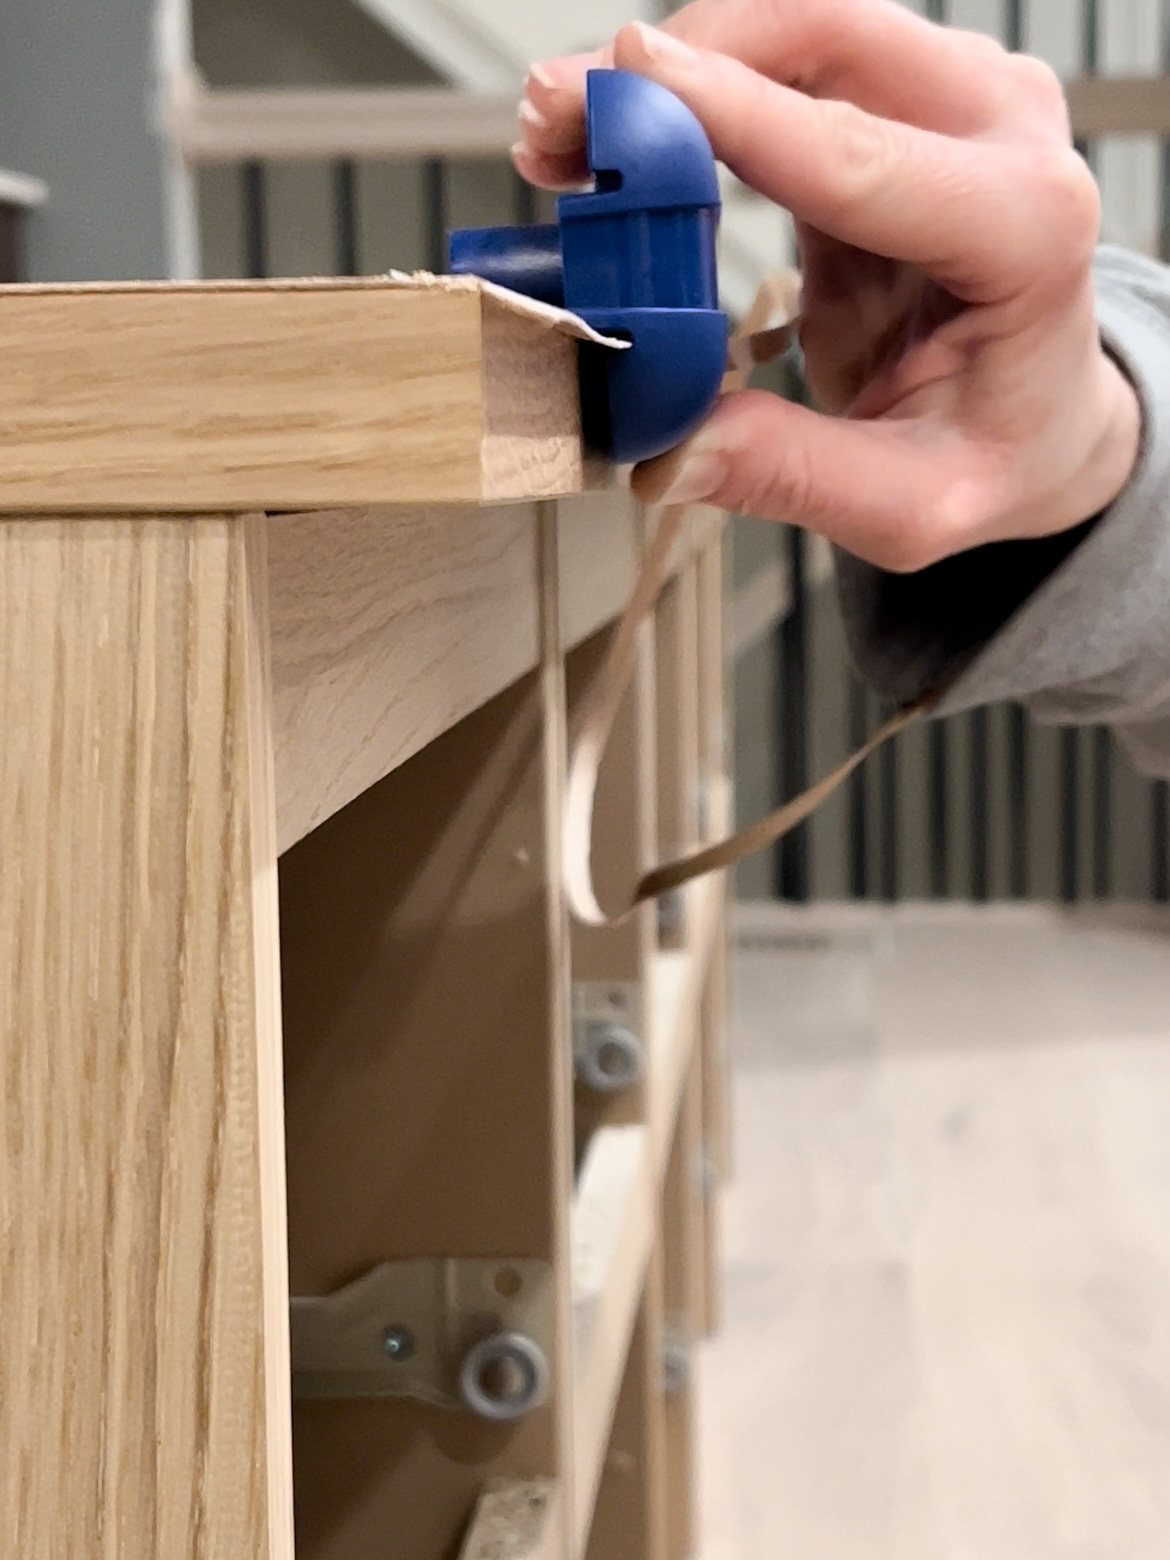
- Another tip was to use a razor blade from the back to trim it, but I was struggling to get a clean edge. The edge trimmer I have for edge banding ended up working SO well here.
- The last tip I got was to allow the adhesive to fully cure for 3 days before using any type of sealer on it.
Fixing My Error on the Side Pieces
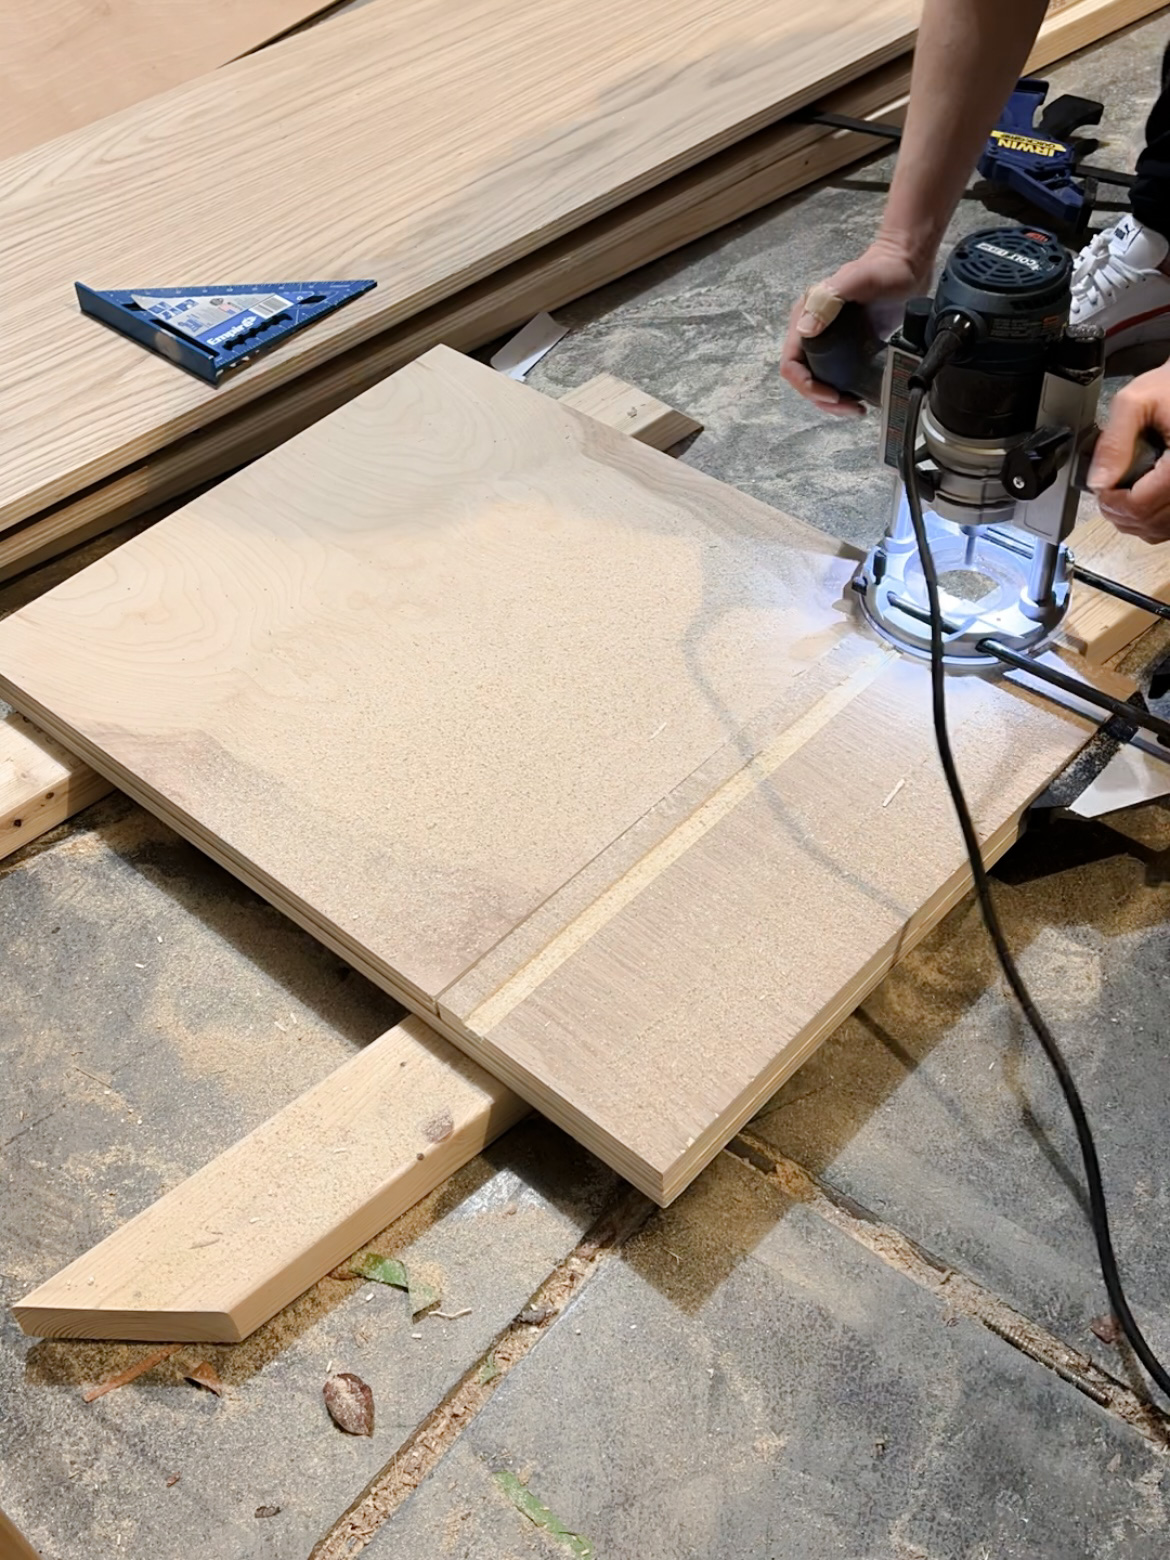
For the sides of the piece, I used two pieces of 3/4″ plywood sandwiched together. For the inside of this side panel, I thought I’d save some money by using a more affordable plywood for the bottom portion. I routed too large of an area and forgot that the inside of the cheaper plywood would also be visible, so I had to do damage control. Oops!
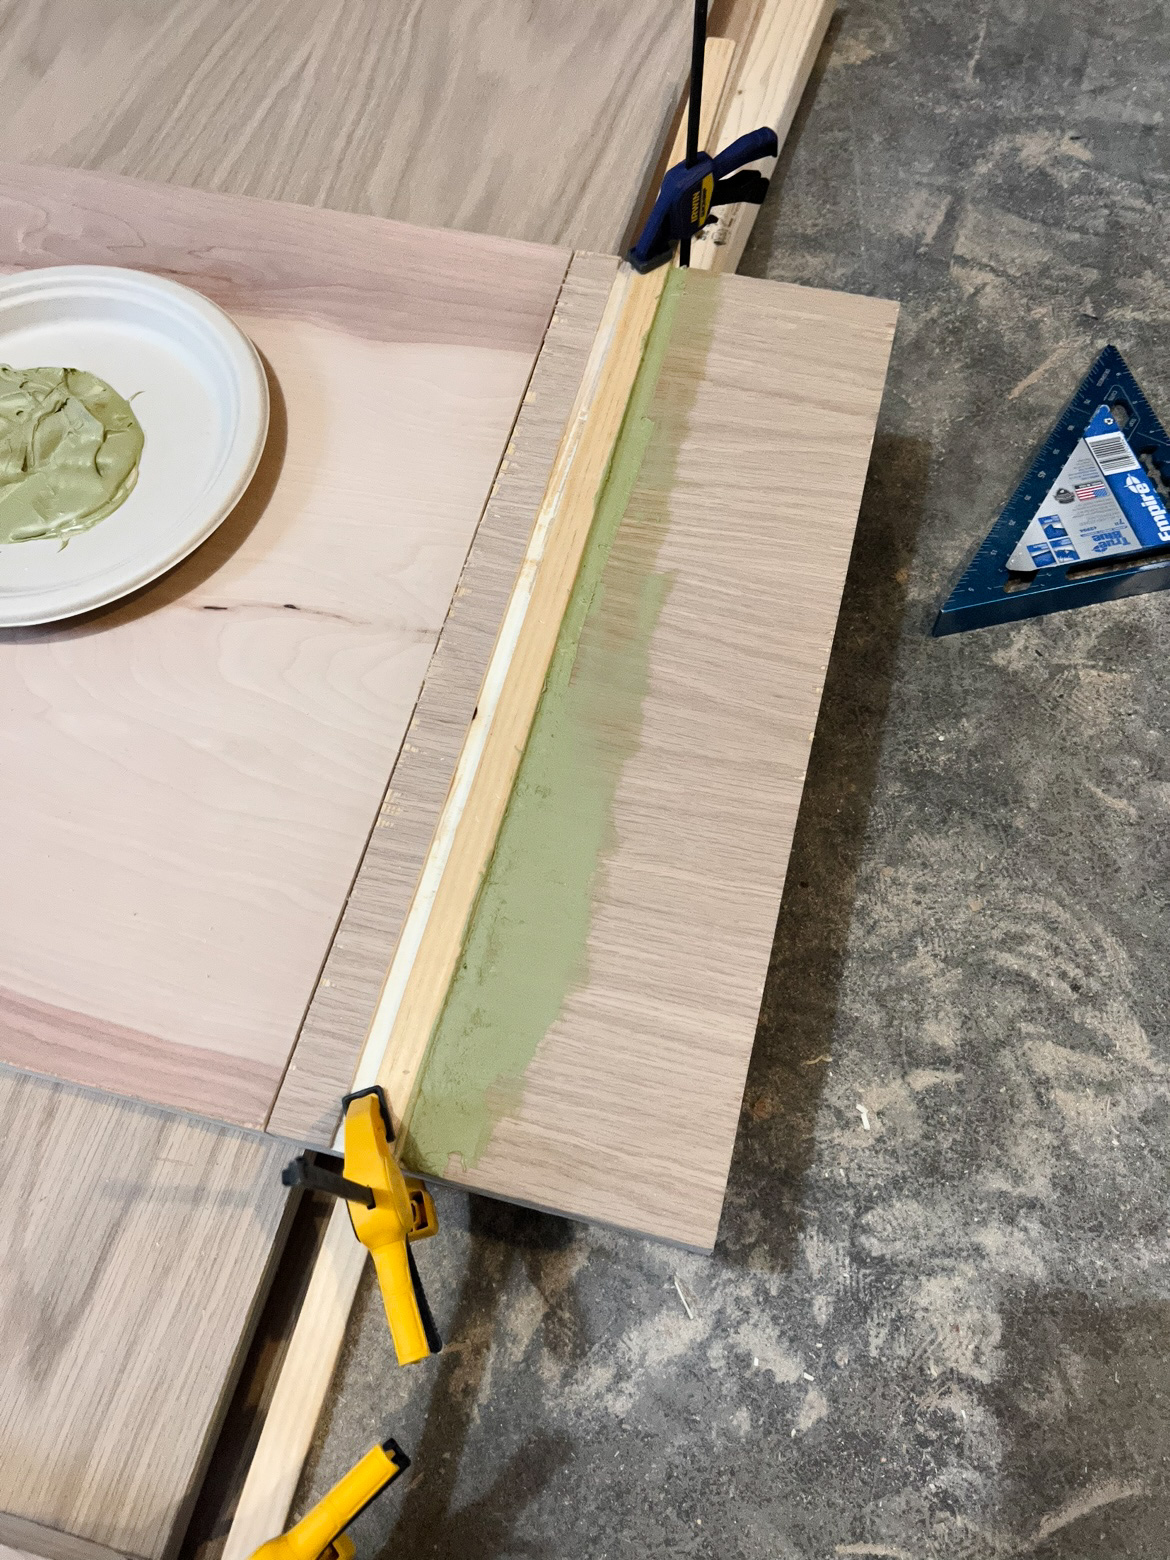
I ended up using Bondo (the gross grey/green color above) to fill the groove that was visible. Once dry, I was able to sand down the Bondo to be flush with the white oak plywood.
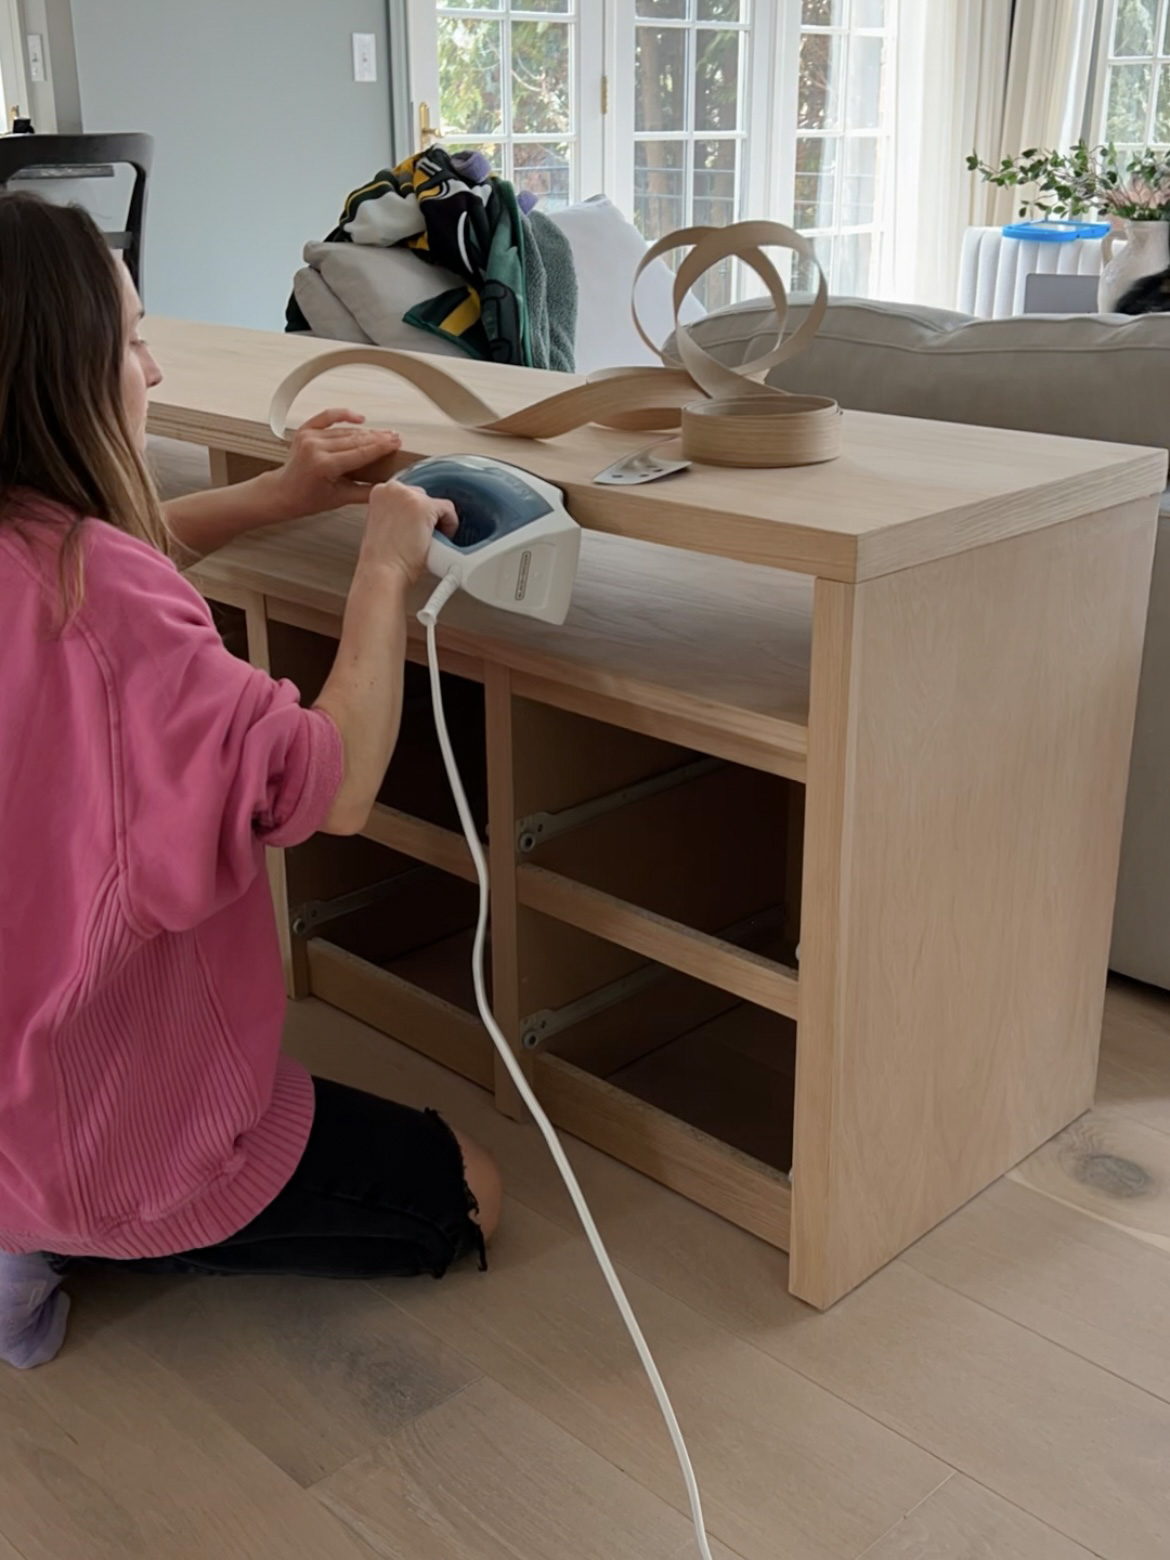
Then I attached the leftover peel-and-stick veneer over the top portion and used iron-on edge banding for the exposed side.
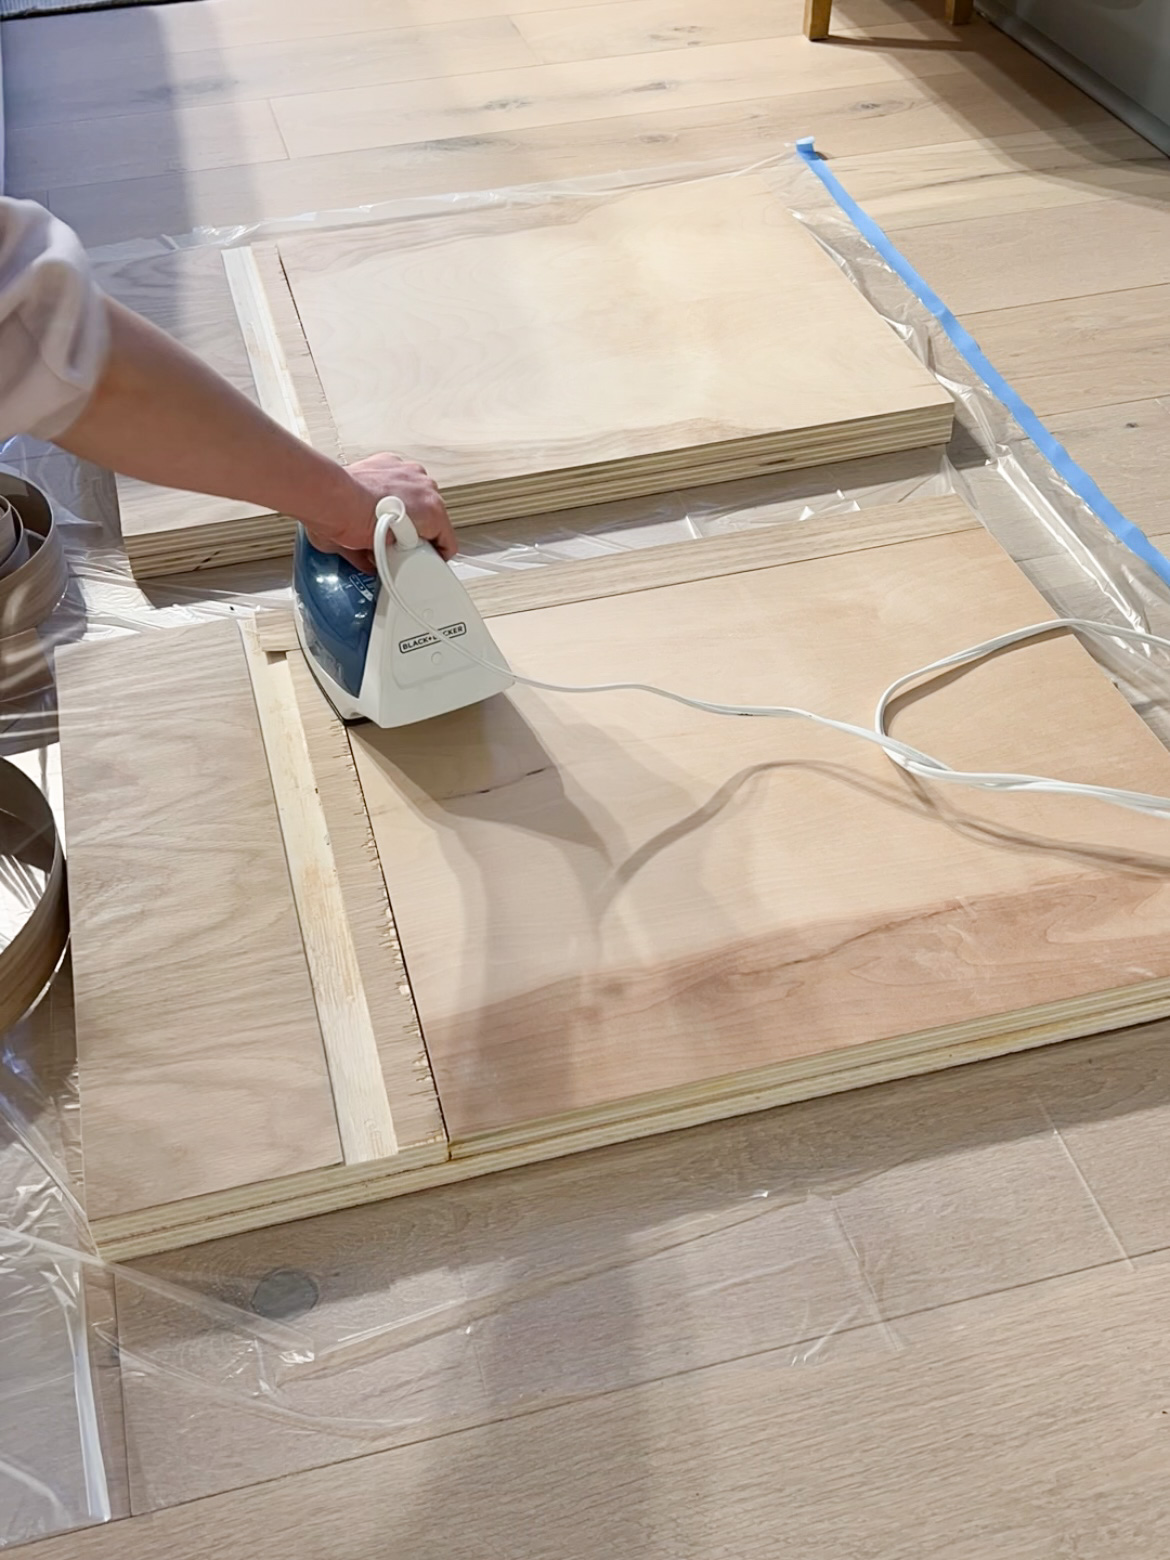
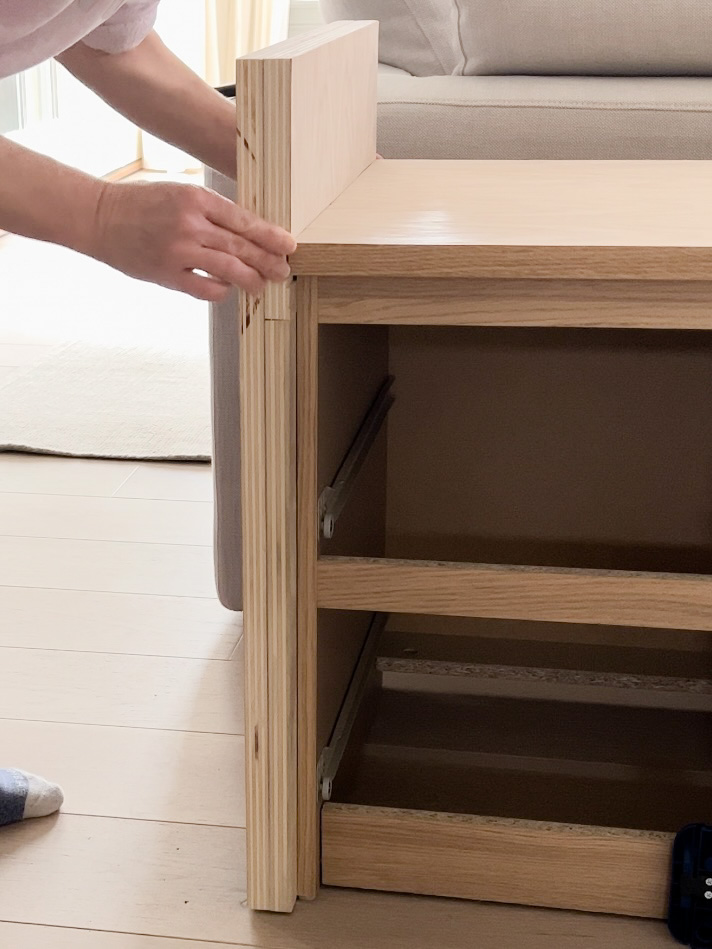
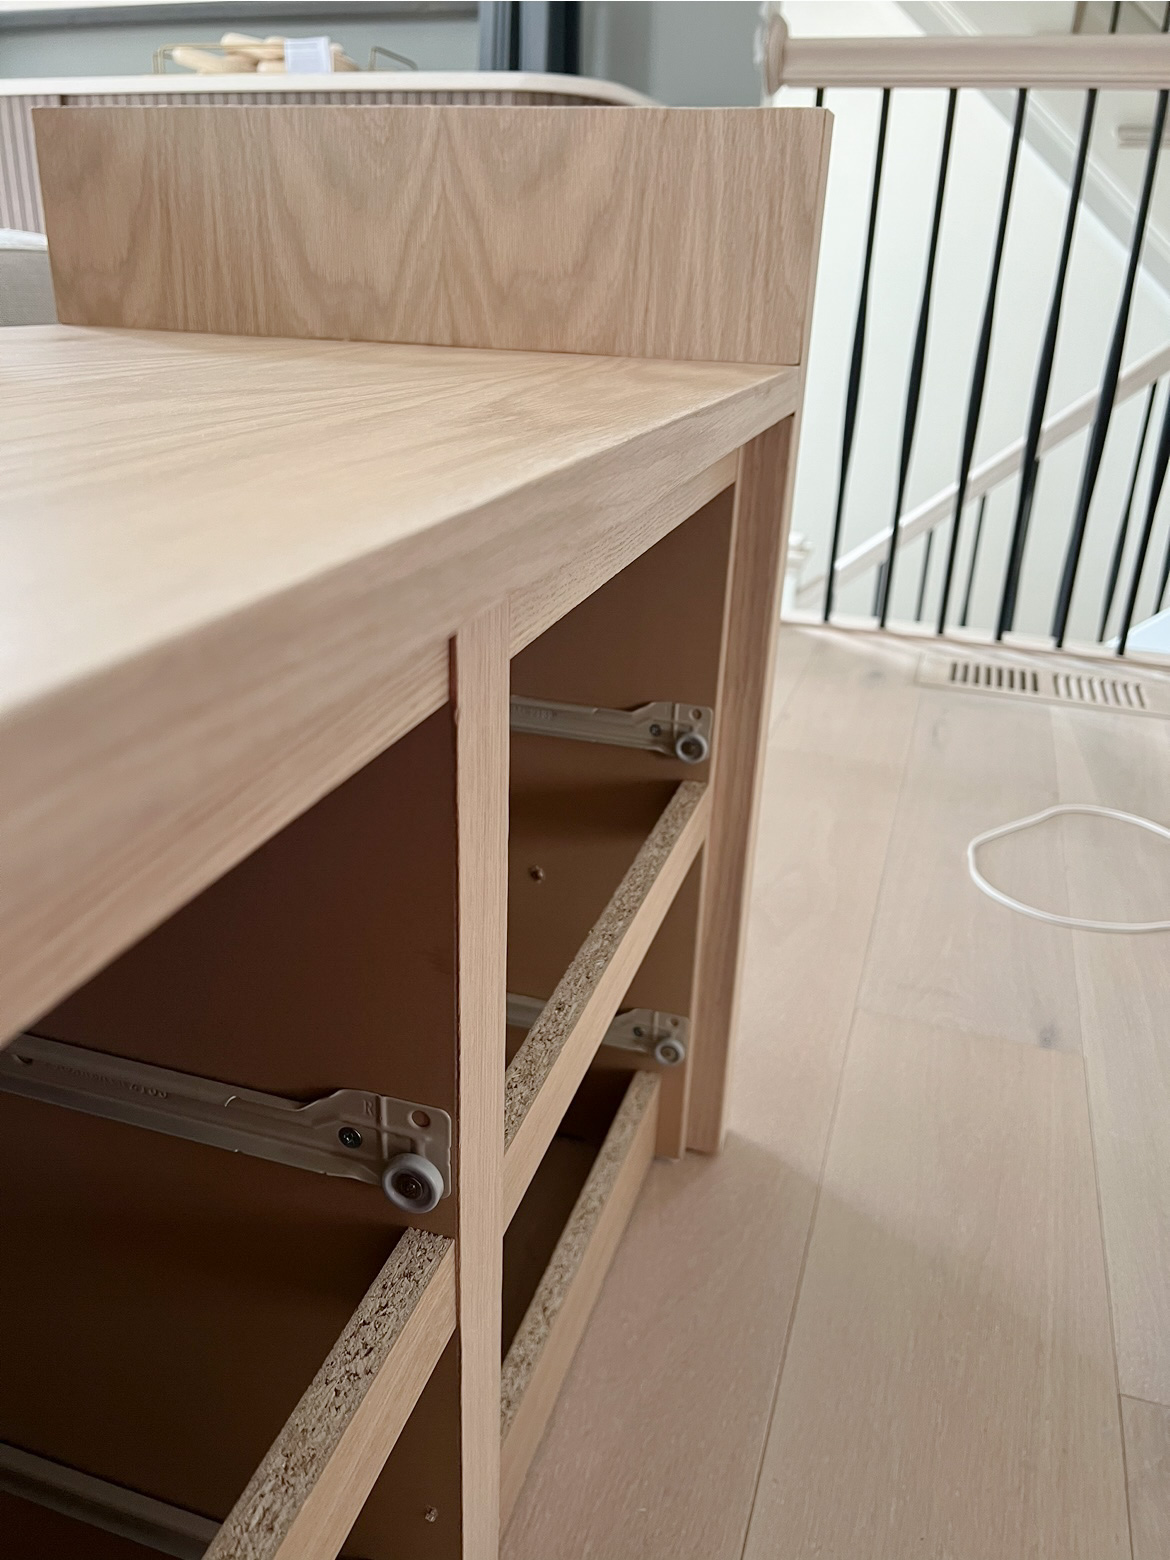
You can see in the above photos, that all the exposed pieces of plywood were able to be covered by the white oak veneer and edge banding… As if my mistake had never happened!
Obviously, if I had just used white oak plywood for both pieces to begin with, none of this would have been a problem.
Using Iron-On Edge Banding
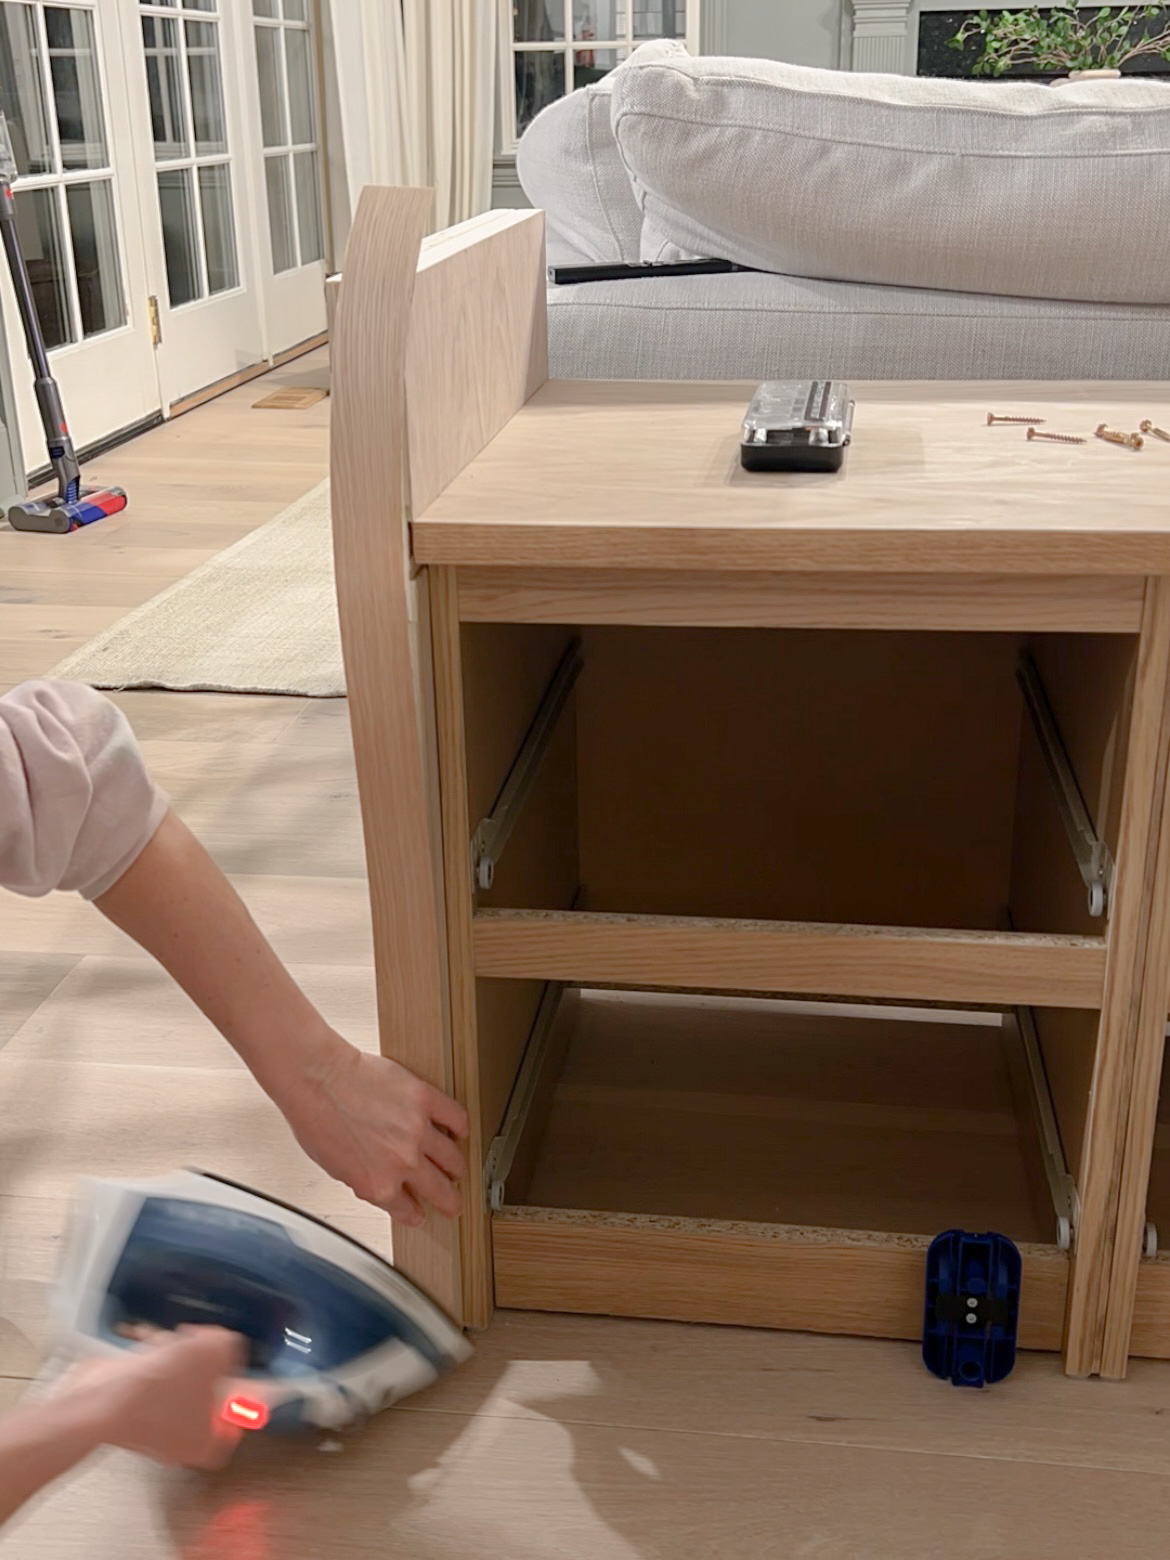
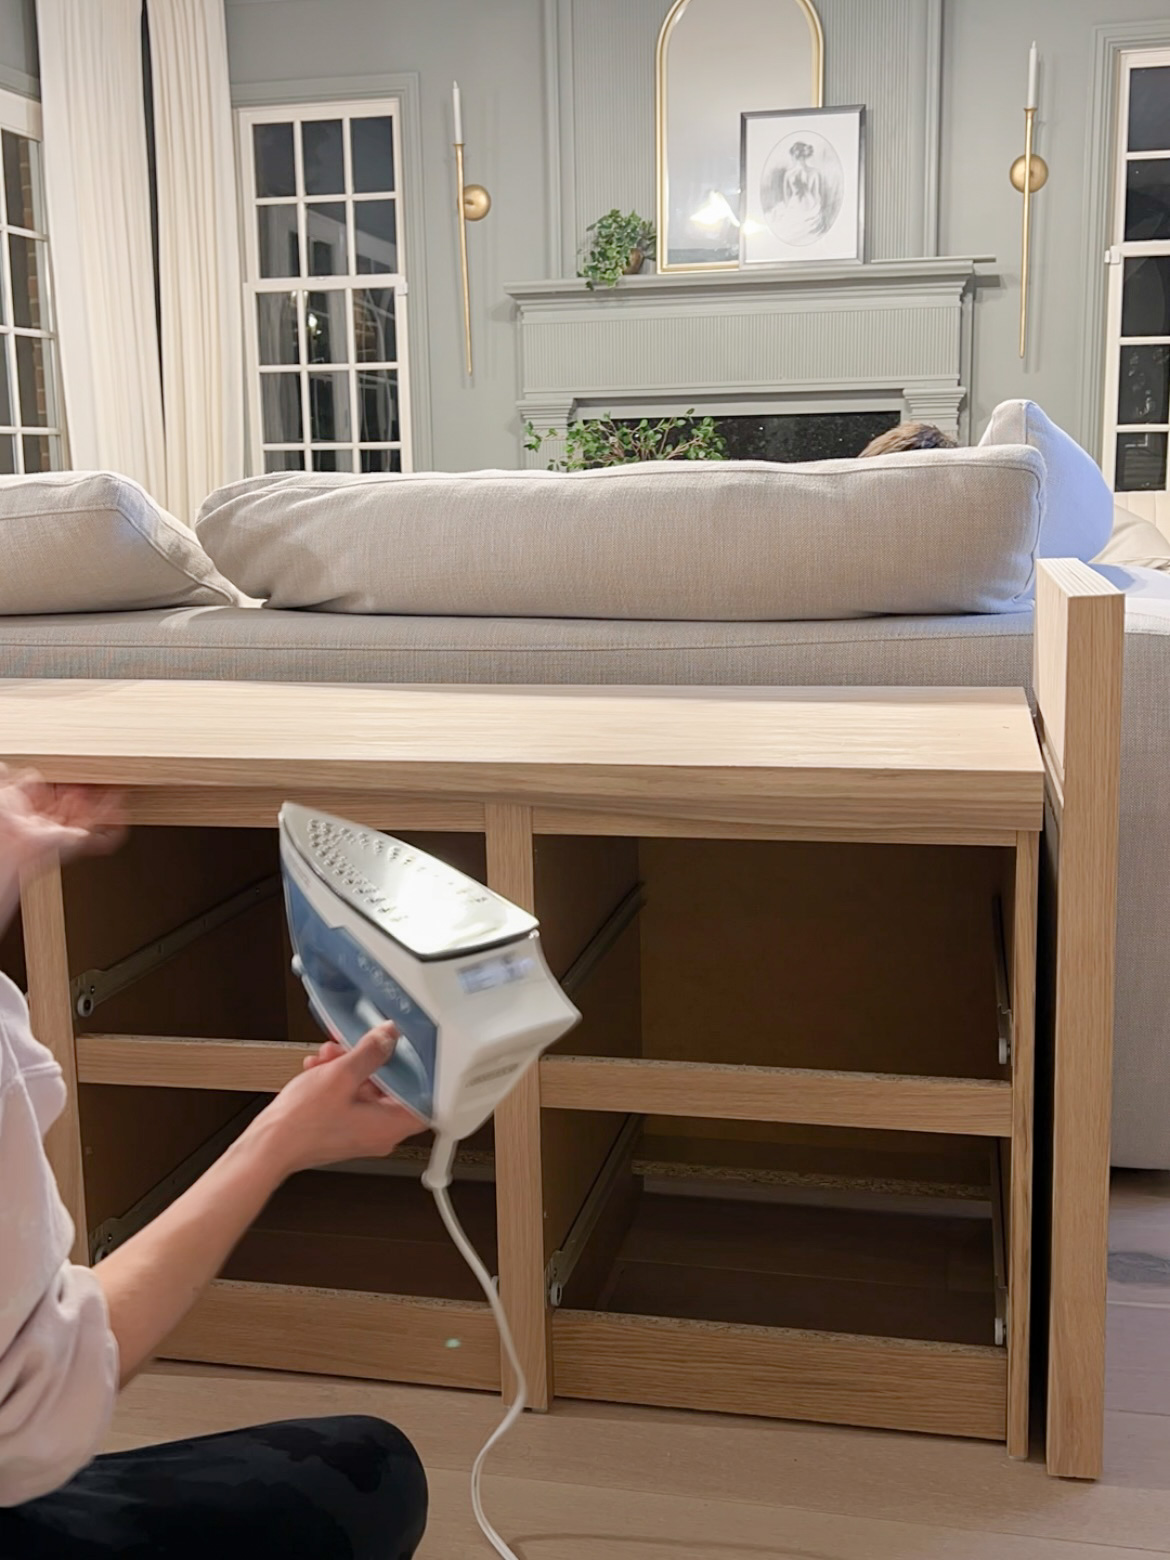
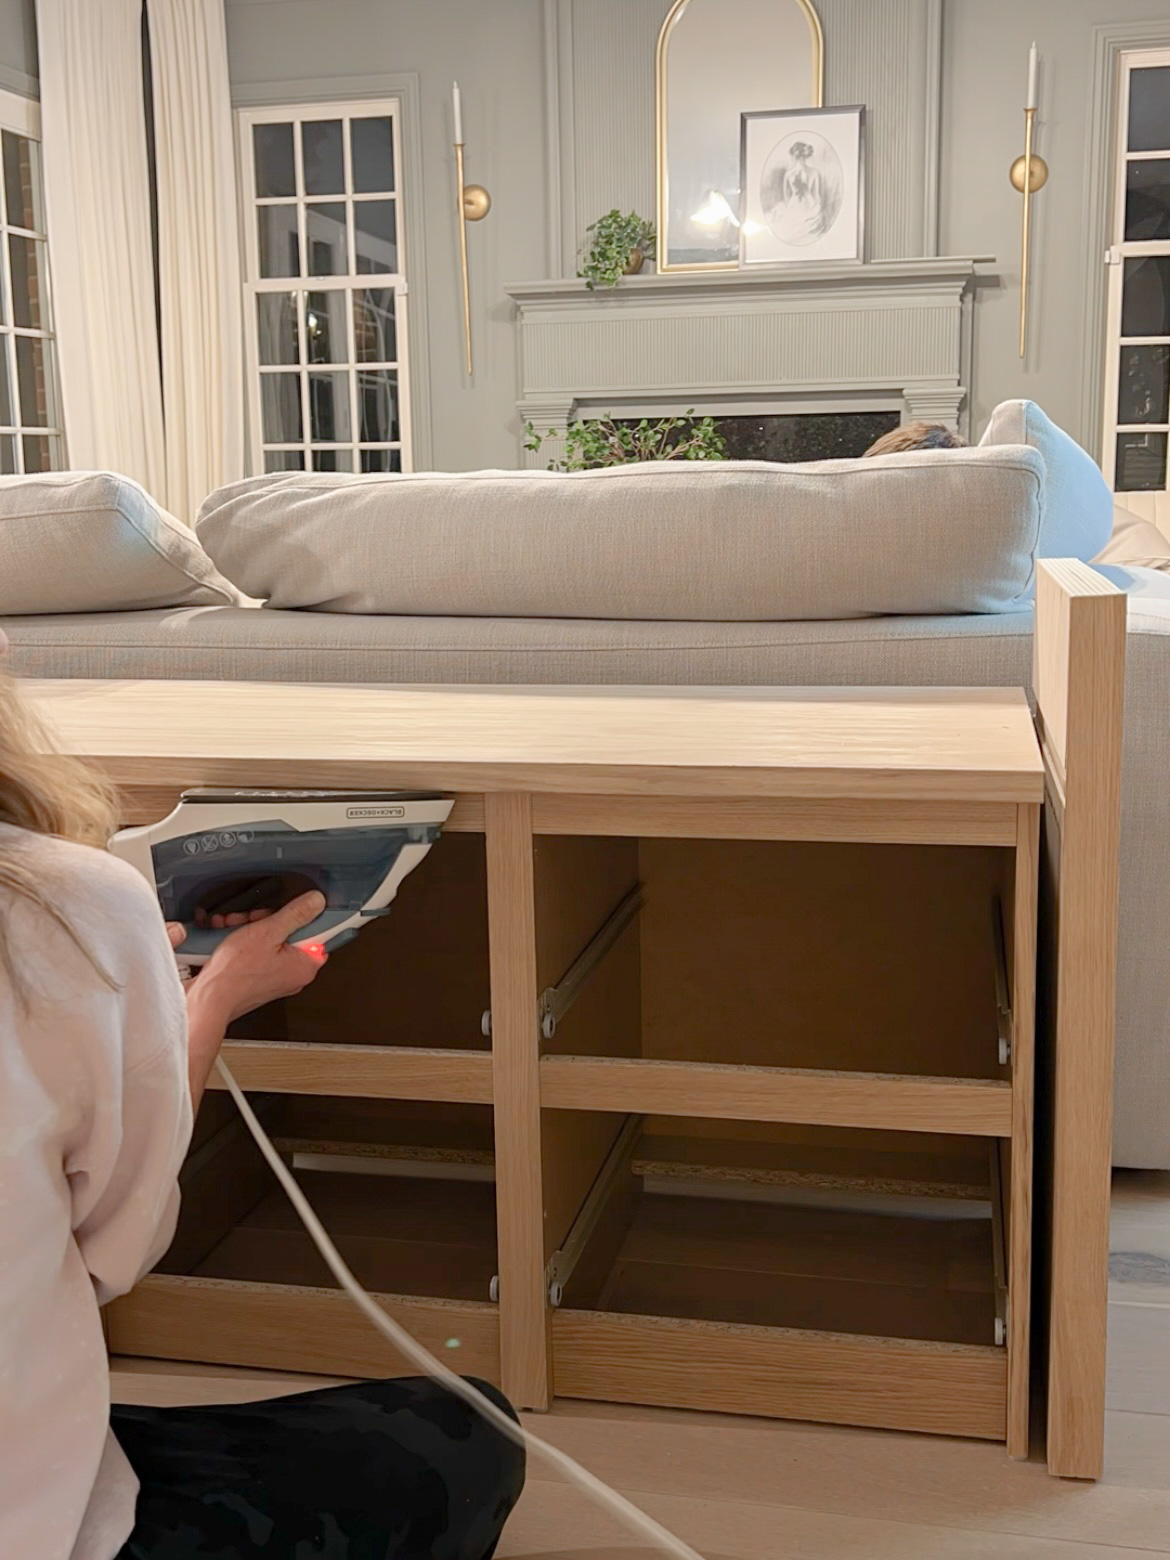
I used iron-on edge banding to cover up any evidence that this was not one large piece of furniture. I used 1 1/2″ edge banding for the edges of the side panels and to cover up where each nightstand was attached to the one next to it.
2″ edge banding worked for the top edge of the nightstands because it was the perfect thickness to wrap underneath the edge (pictured below).
Adding Height to the White Oak Sofa Table
I sandwiched another two pieces of the white oak plywood together to form the middle vertical bracket for the top.
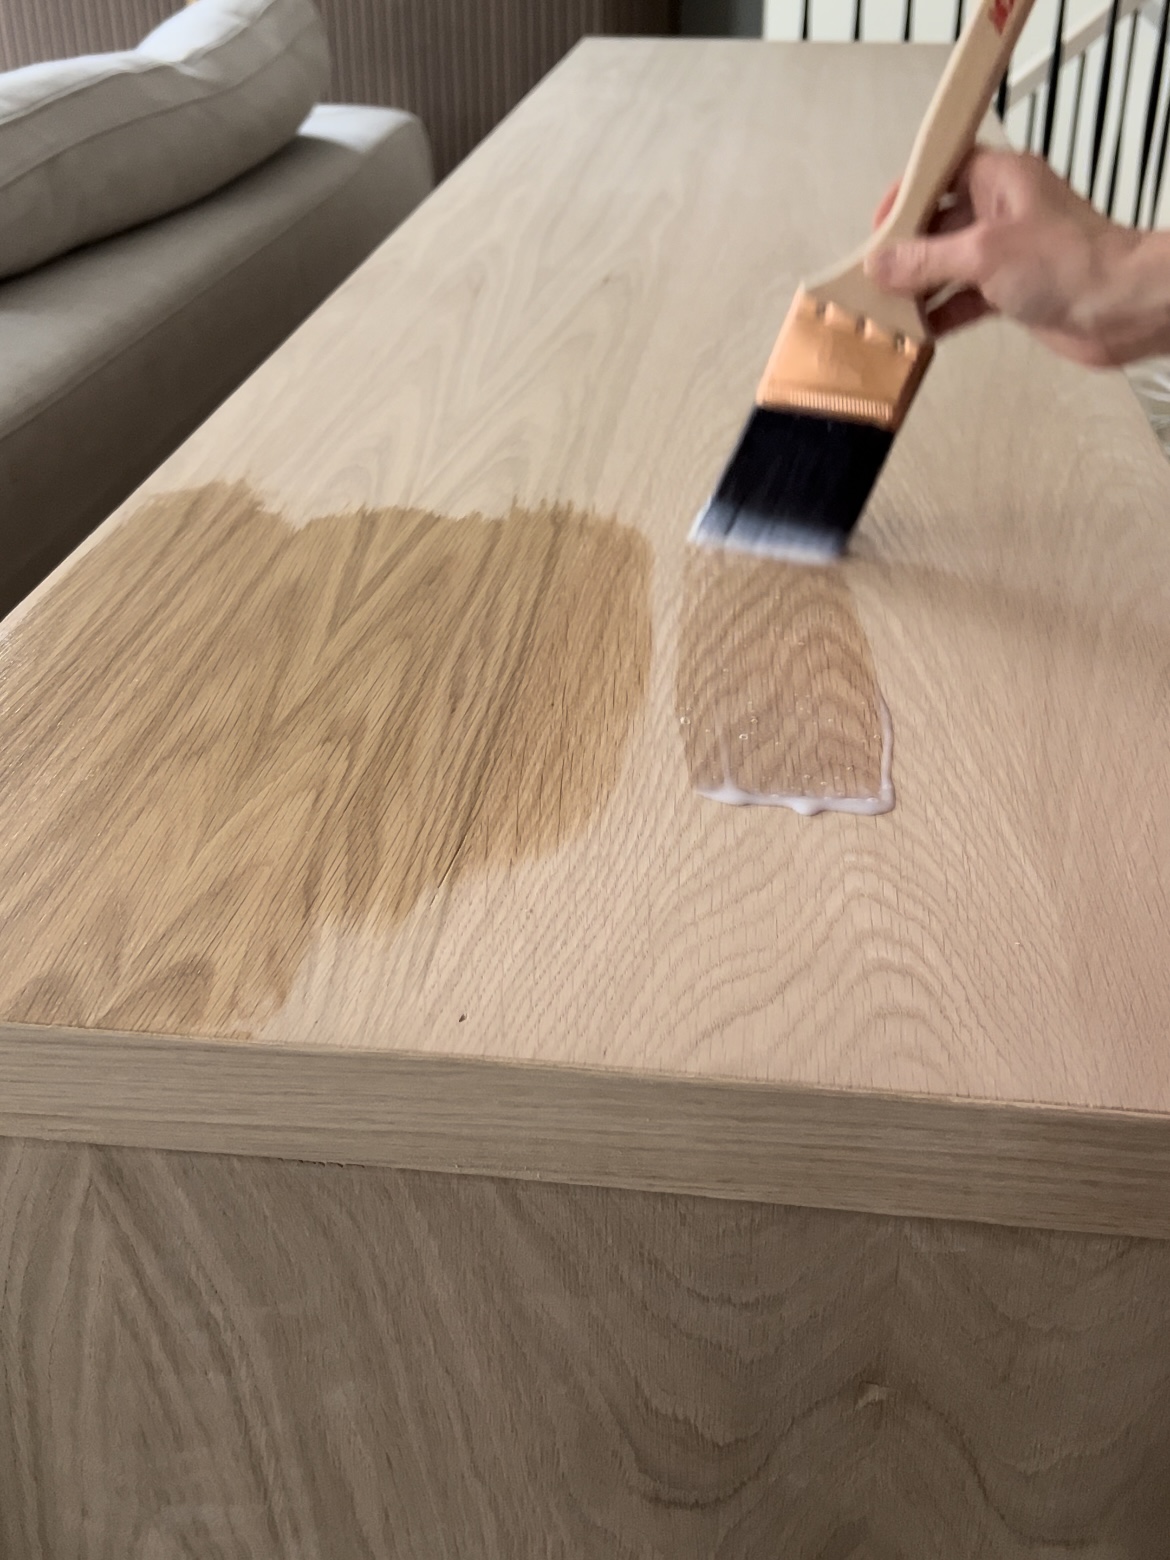
Then I sealed the whole thing with General Finishes High Performance Flat sealant. Do this now while you can reach these surfaces!
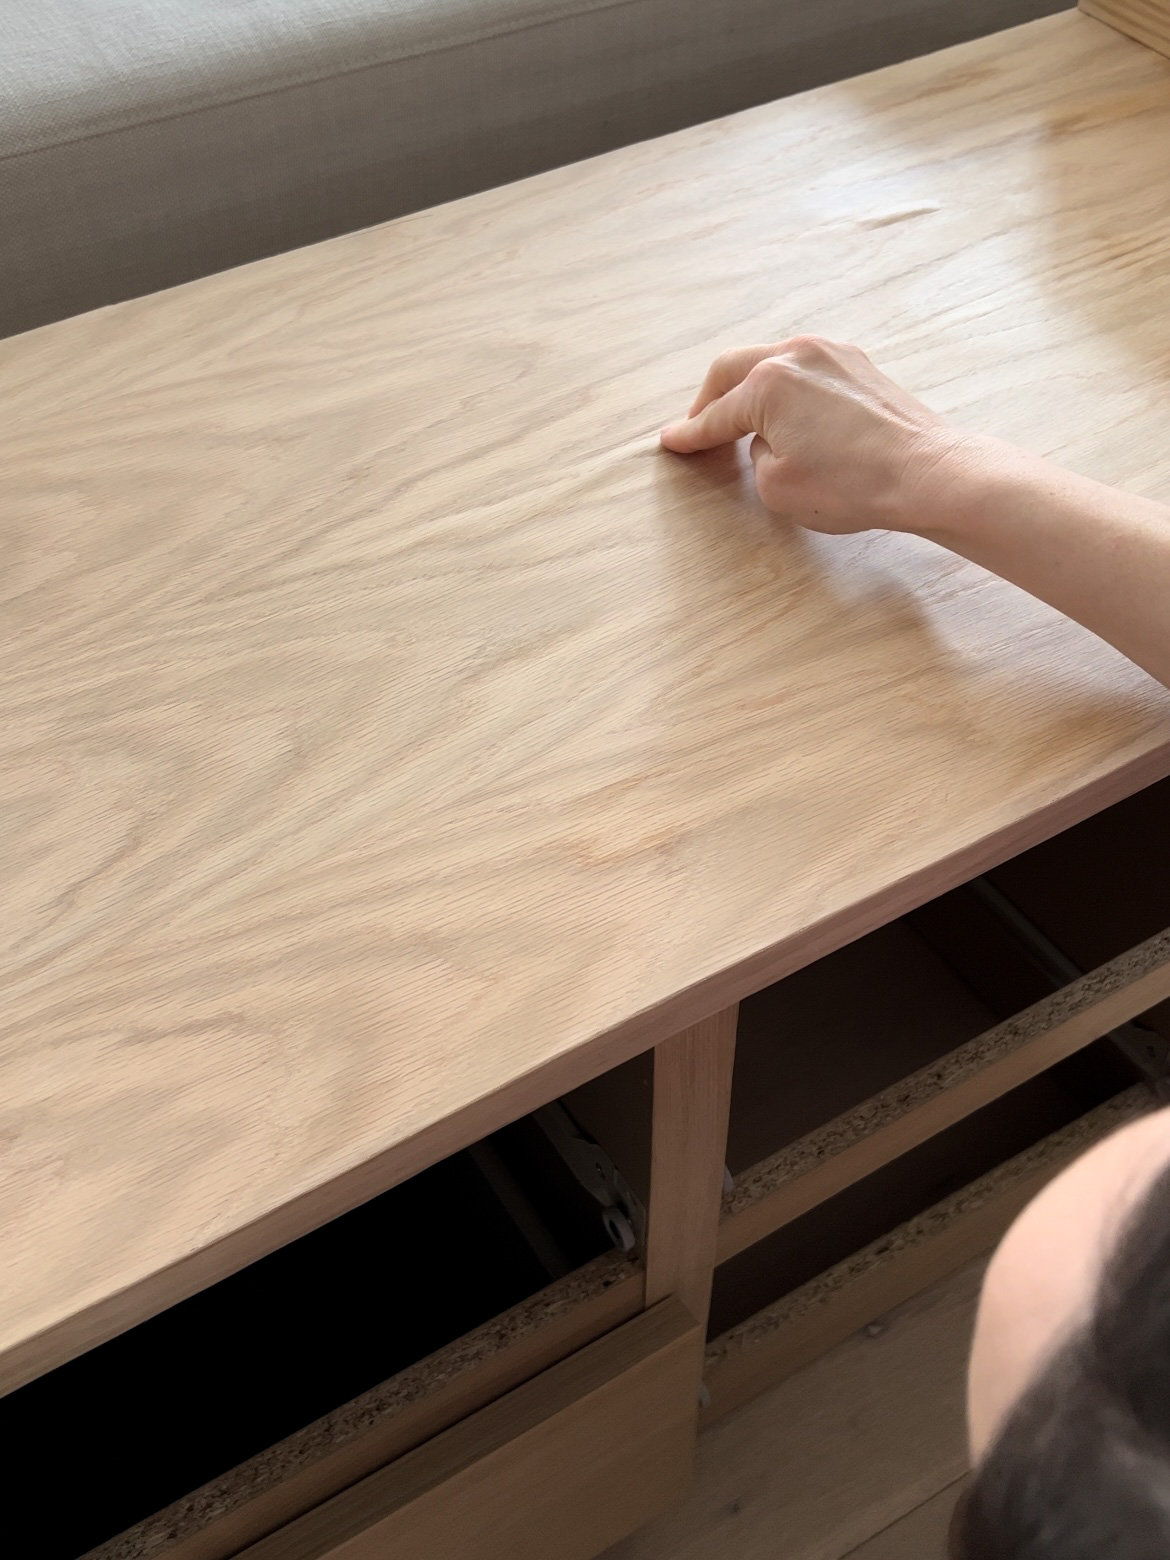
Even though I waited the correct amount of time, the veneer still developed a couple bubbles. Thankfully, I was able to push most of them back down. For the ones that were harder to push, I ended up poking a tiny hole with a needle to let the air out, which then allowed me to successfully push the bubble down.
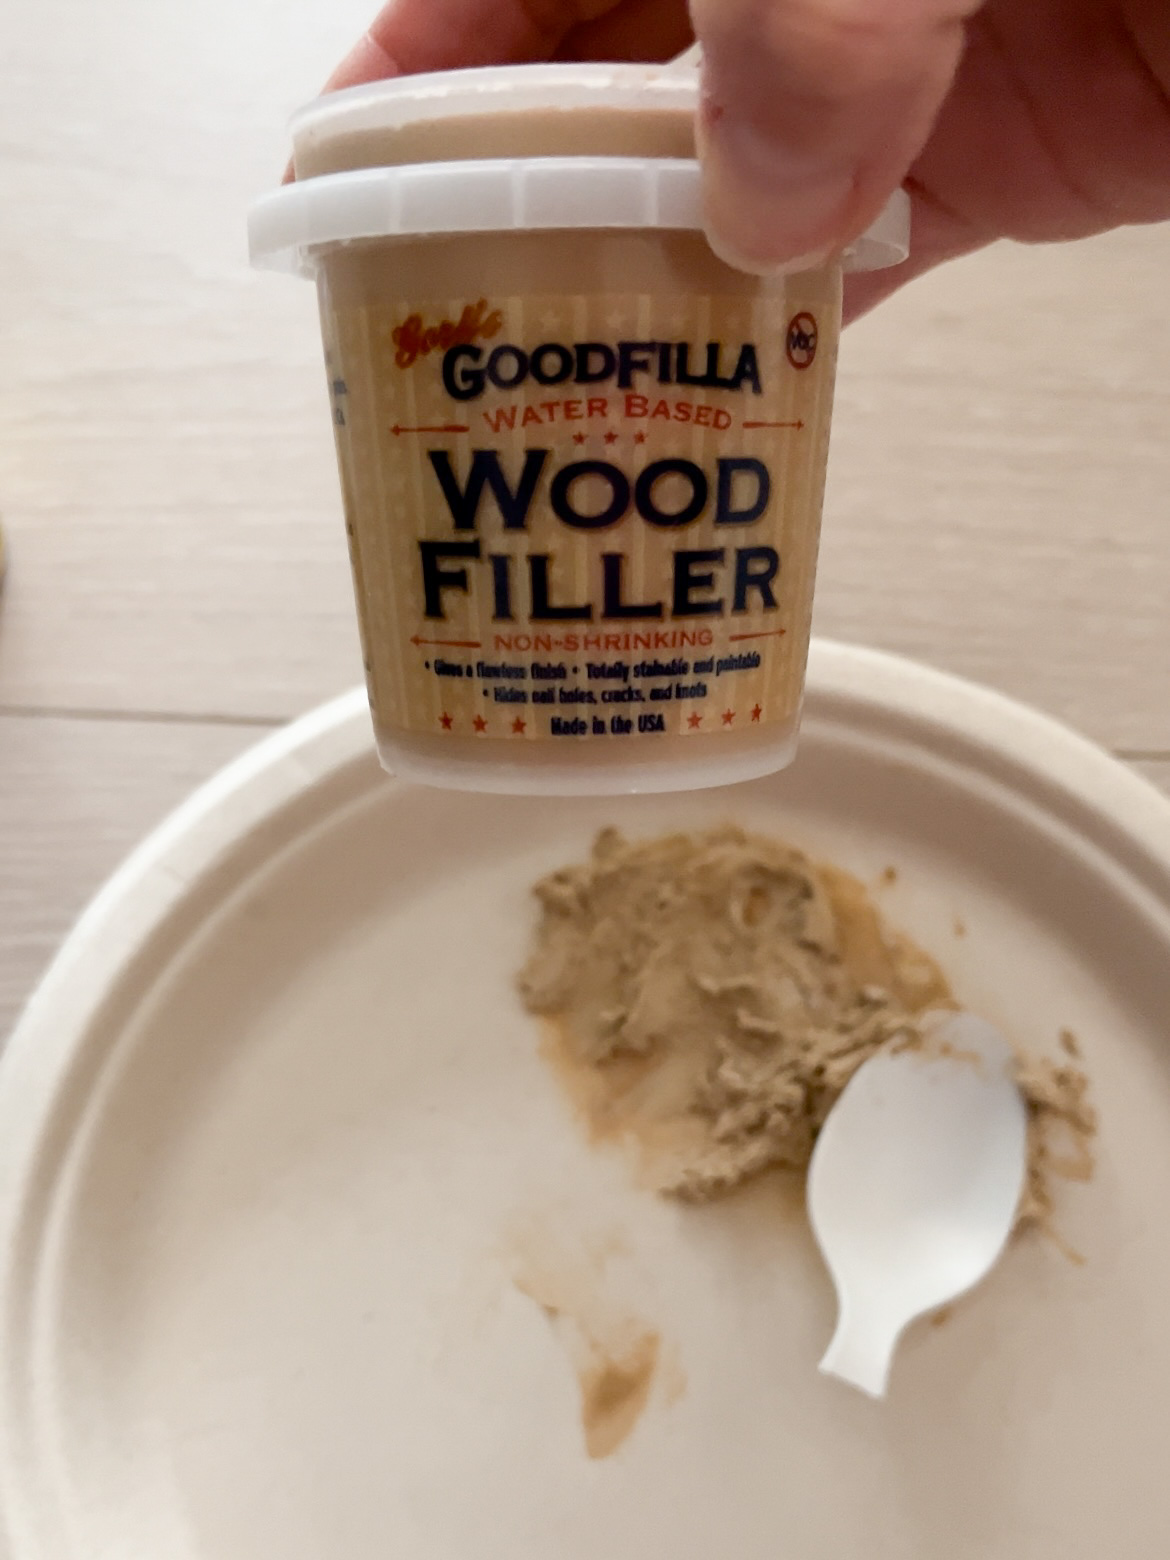
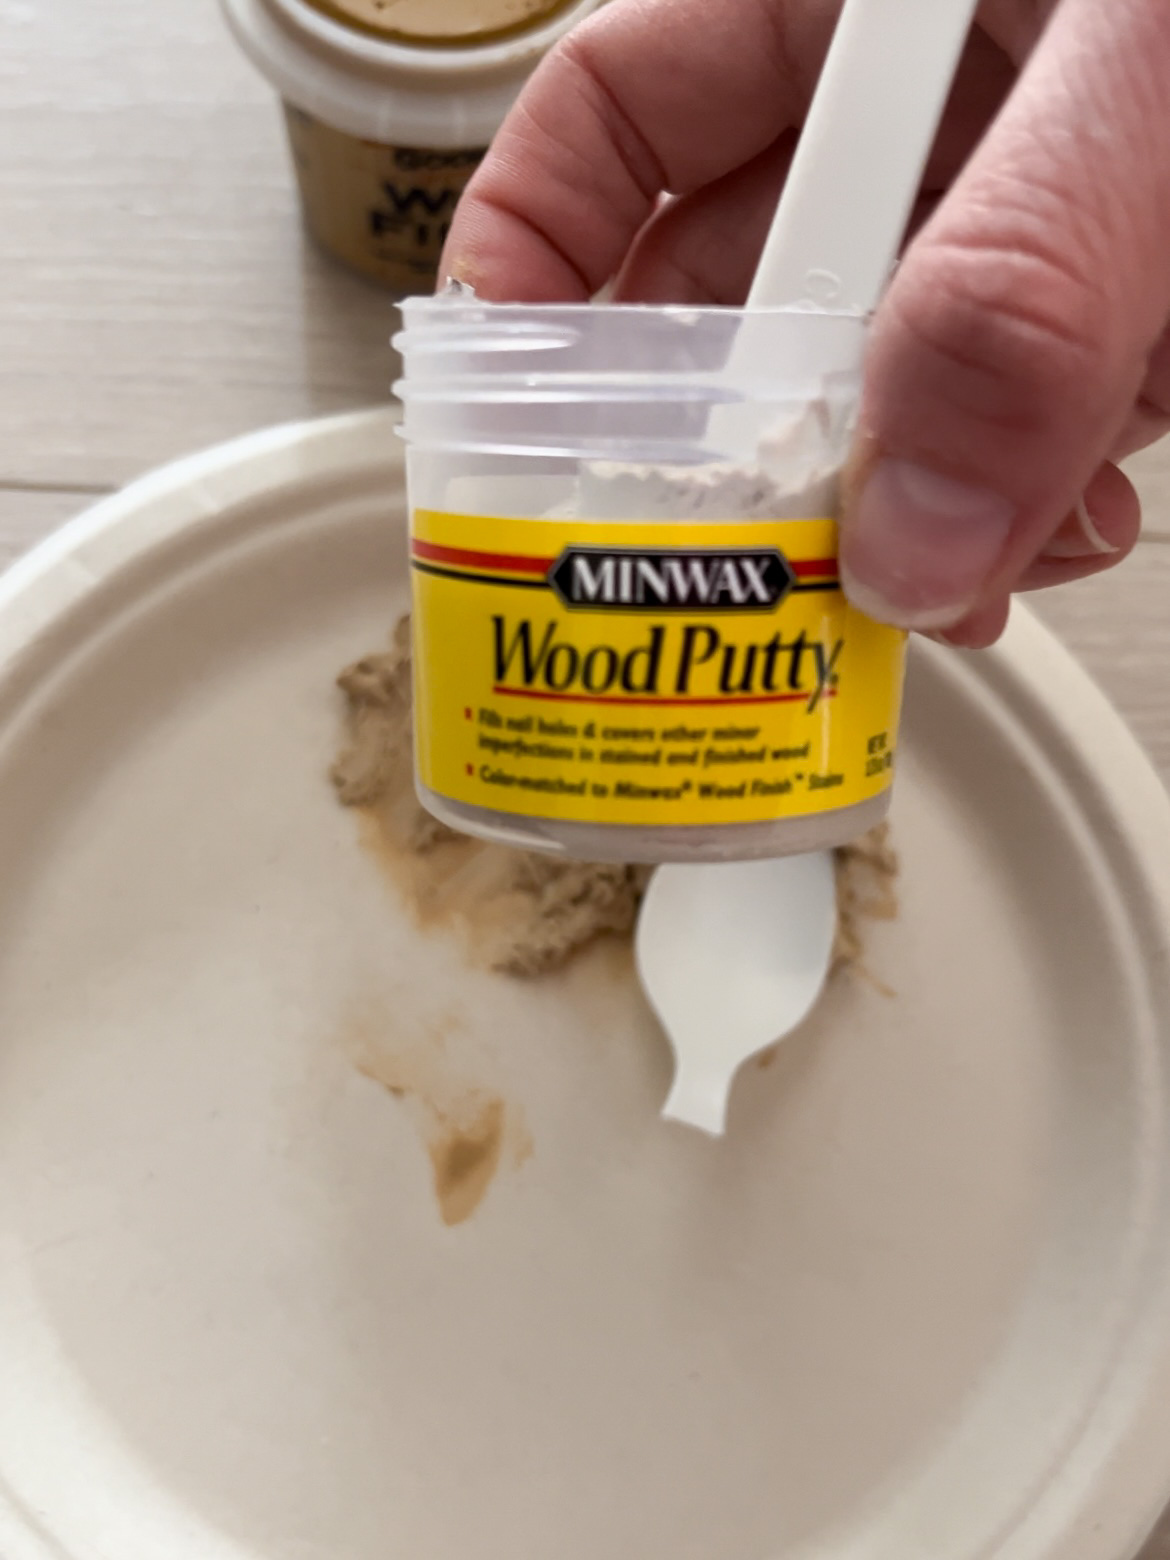
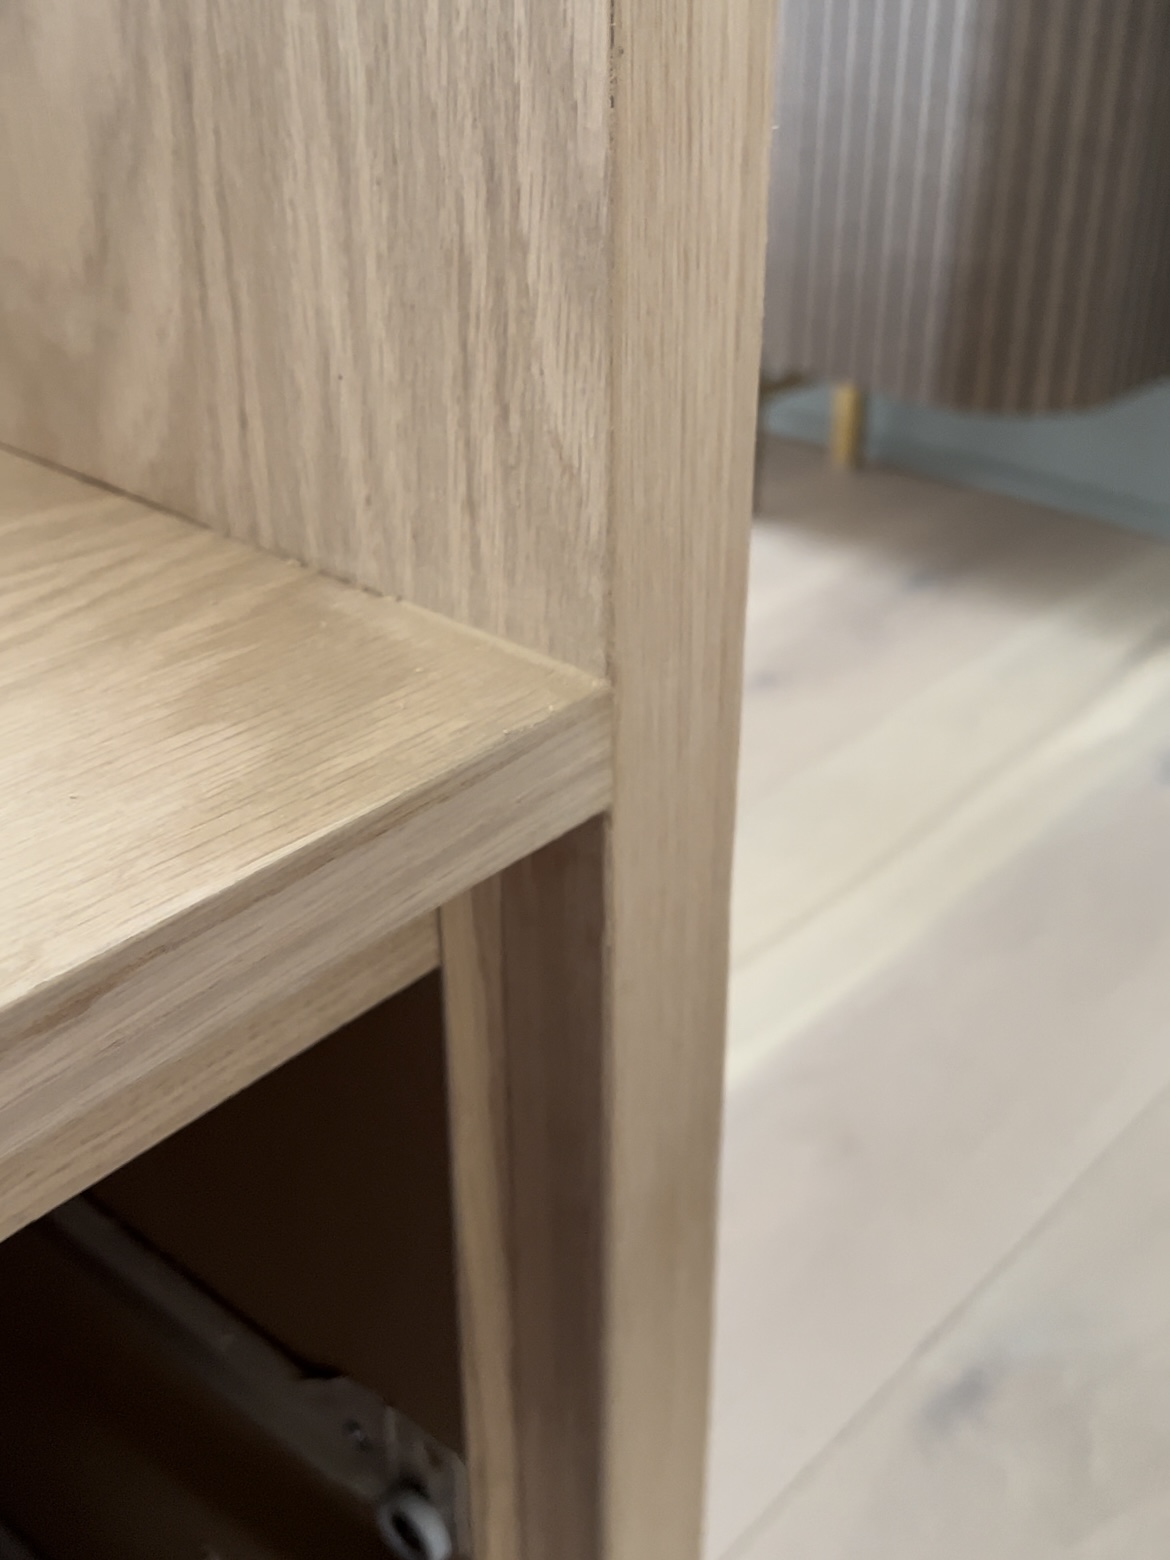
I used a combination of Goodfilla white oak wood filler and minwax pickled oak wood putty to get the perfect color for nail holes and a couple small gaps at the joints.
Attaching the White Oak Top
You obviously don’t need to double up on the plywood for everything like I did. I wanted a really substantial surround of the nightstands, so that’s why I used two 3/4″ plywood pieces for the sides and the top. I don’t think the sofa table would have looked as luxe or custom if it had been thinner.
For some reason, I have major commitment issues when it comes to DIY projects, so I used zero glue on this top. I clamped the two pieces together to make sure they remained flush, and then I nailed them into the base.
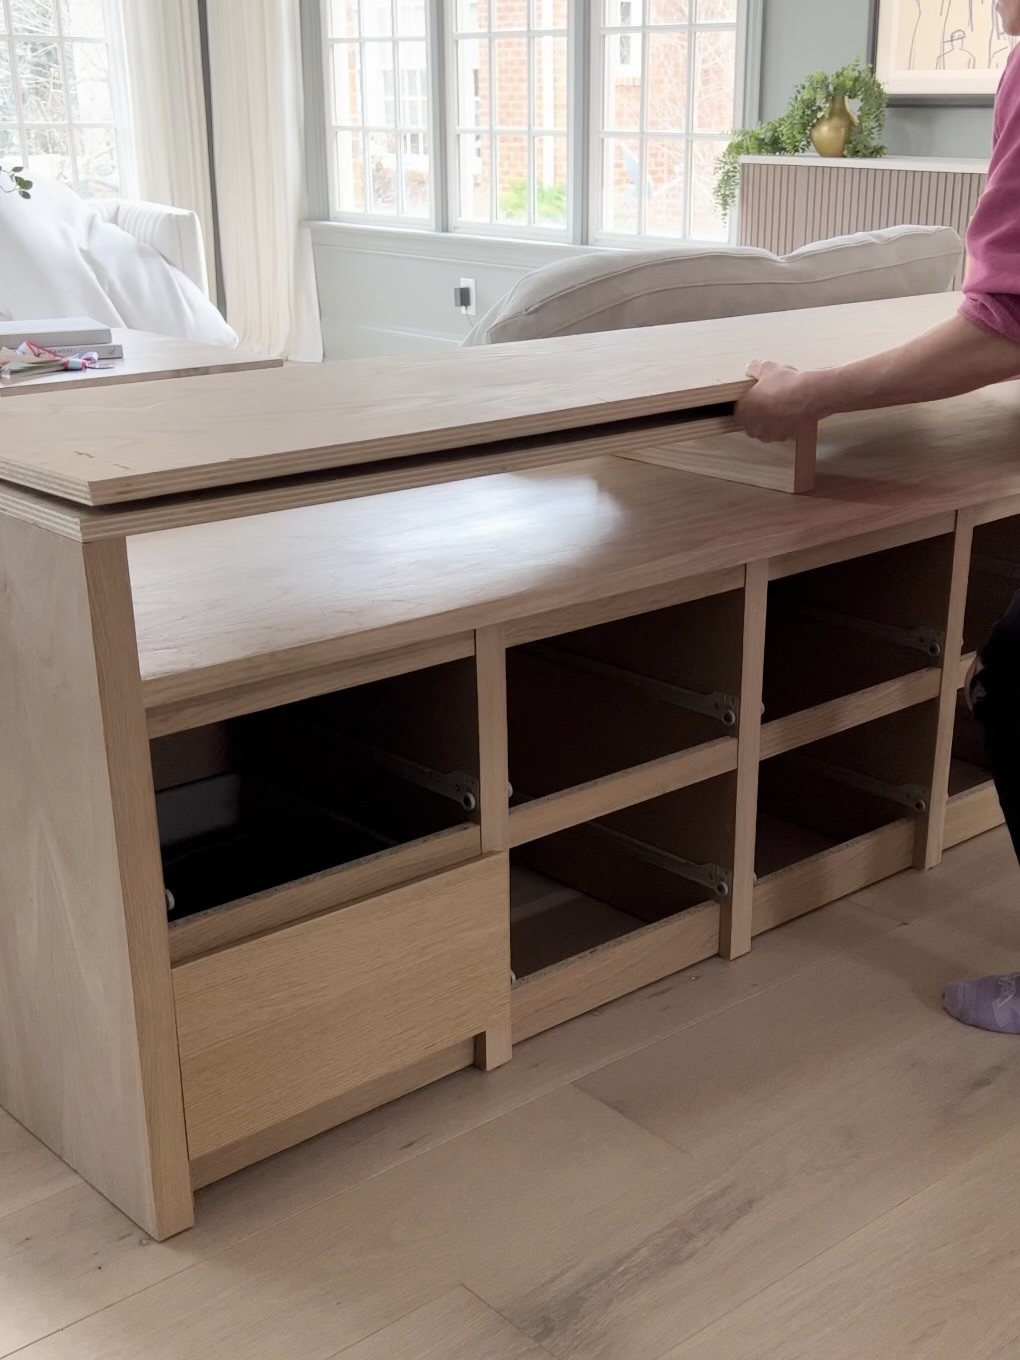
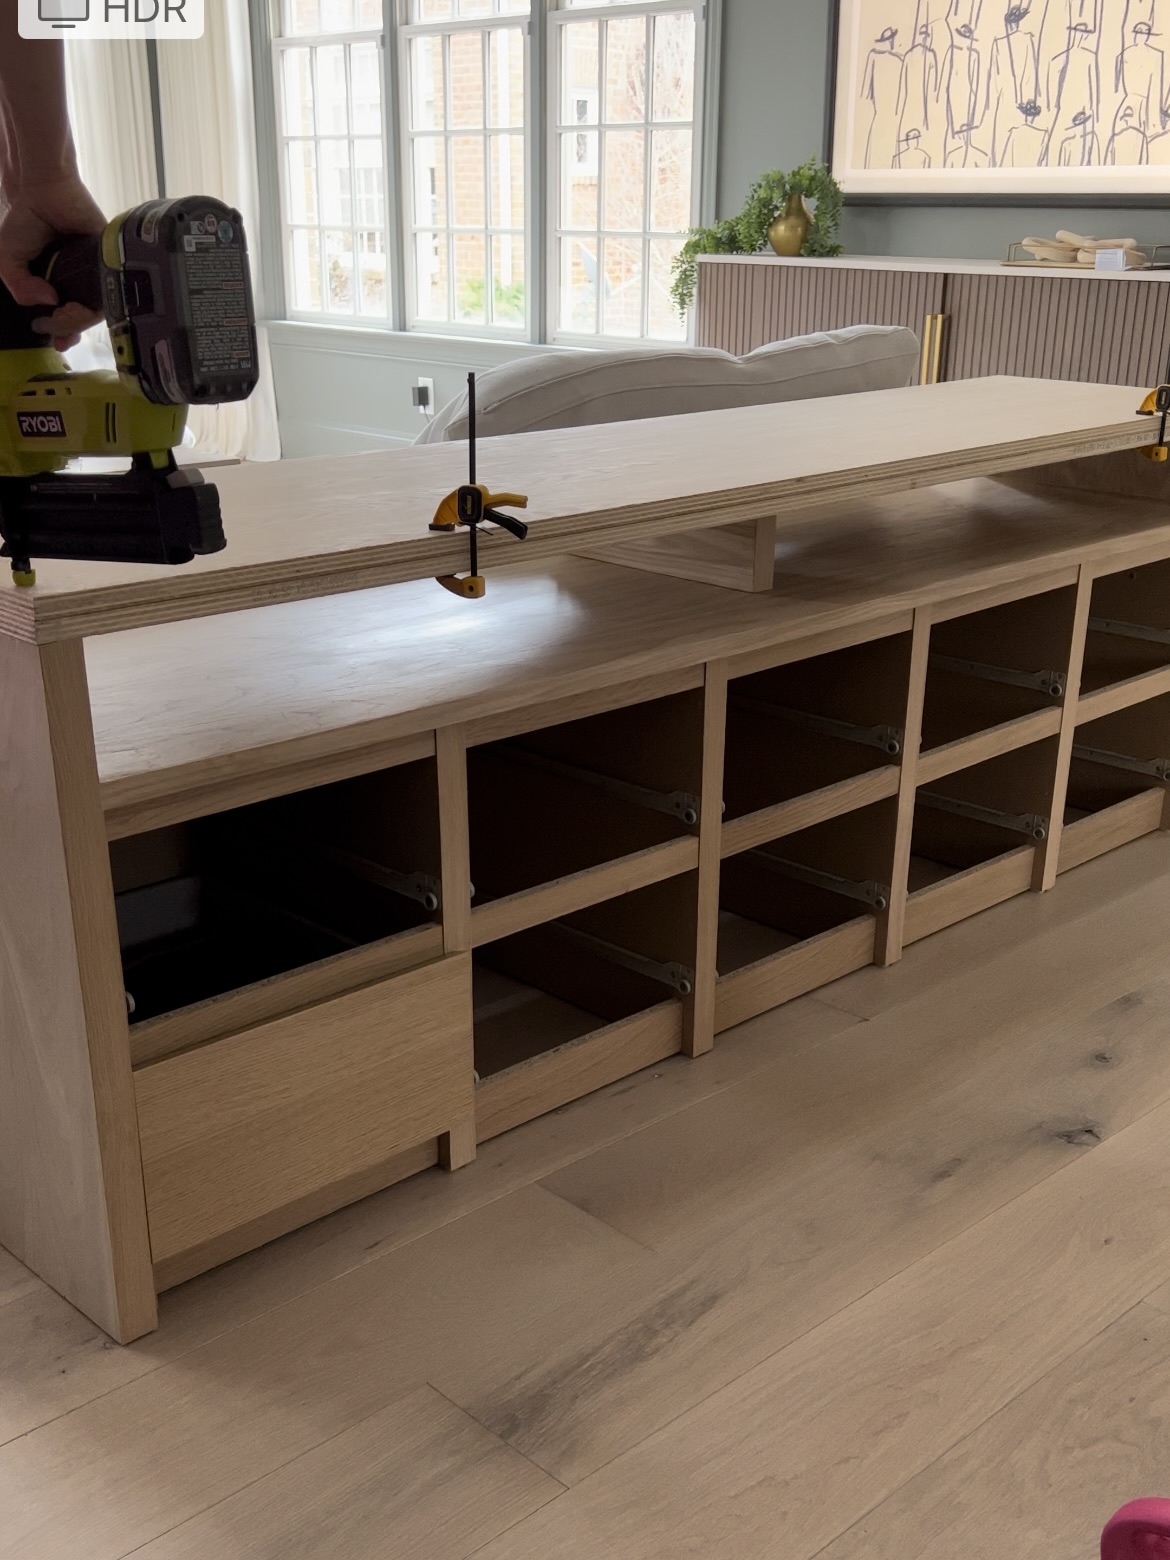
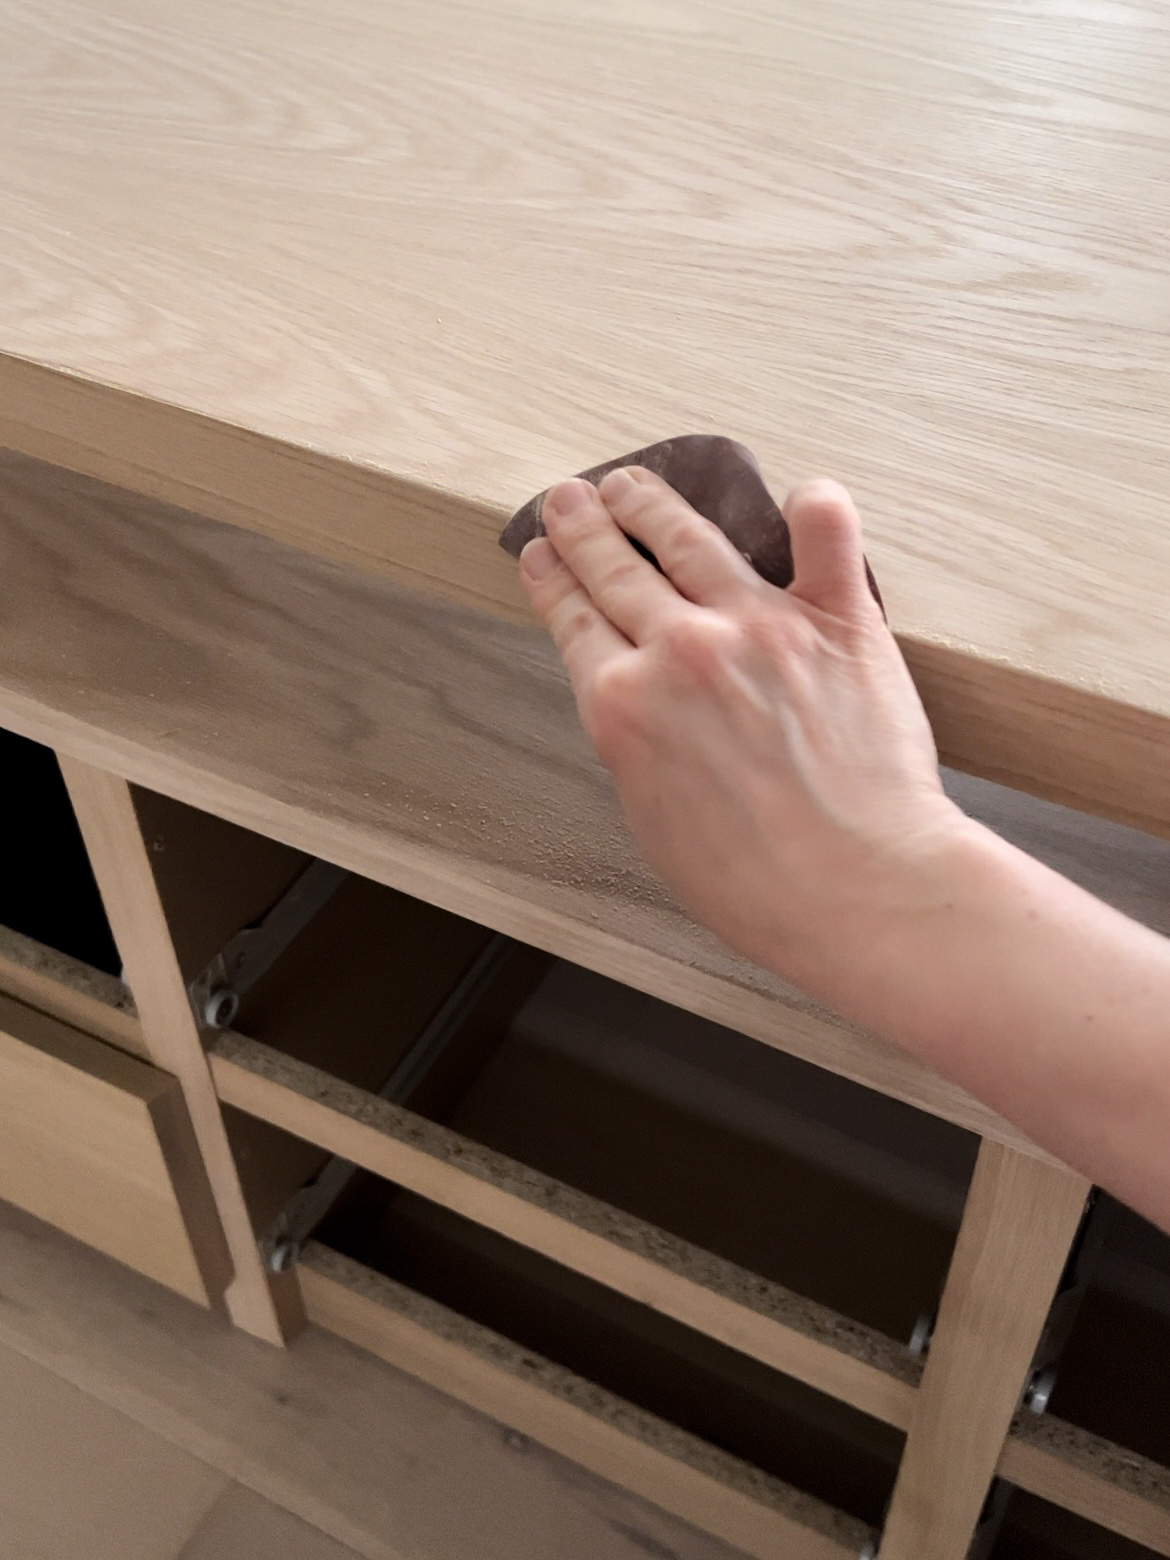
I used the 1 1/2″ edge banding all around the top, and very lightly sanded the edges. You’re probably not supposed to do this with edge banding, but the adhesive was coming out in a couple places so sanding helped.
Everything was sealed with the General Finishes top coat, sanding with a high grit paper in between coats. I did four coats since this is in a high traffic area.
Finishing the Base
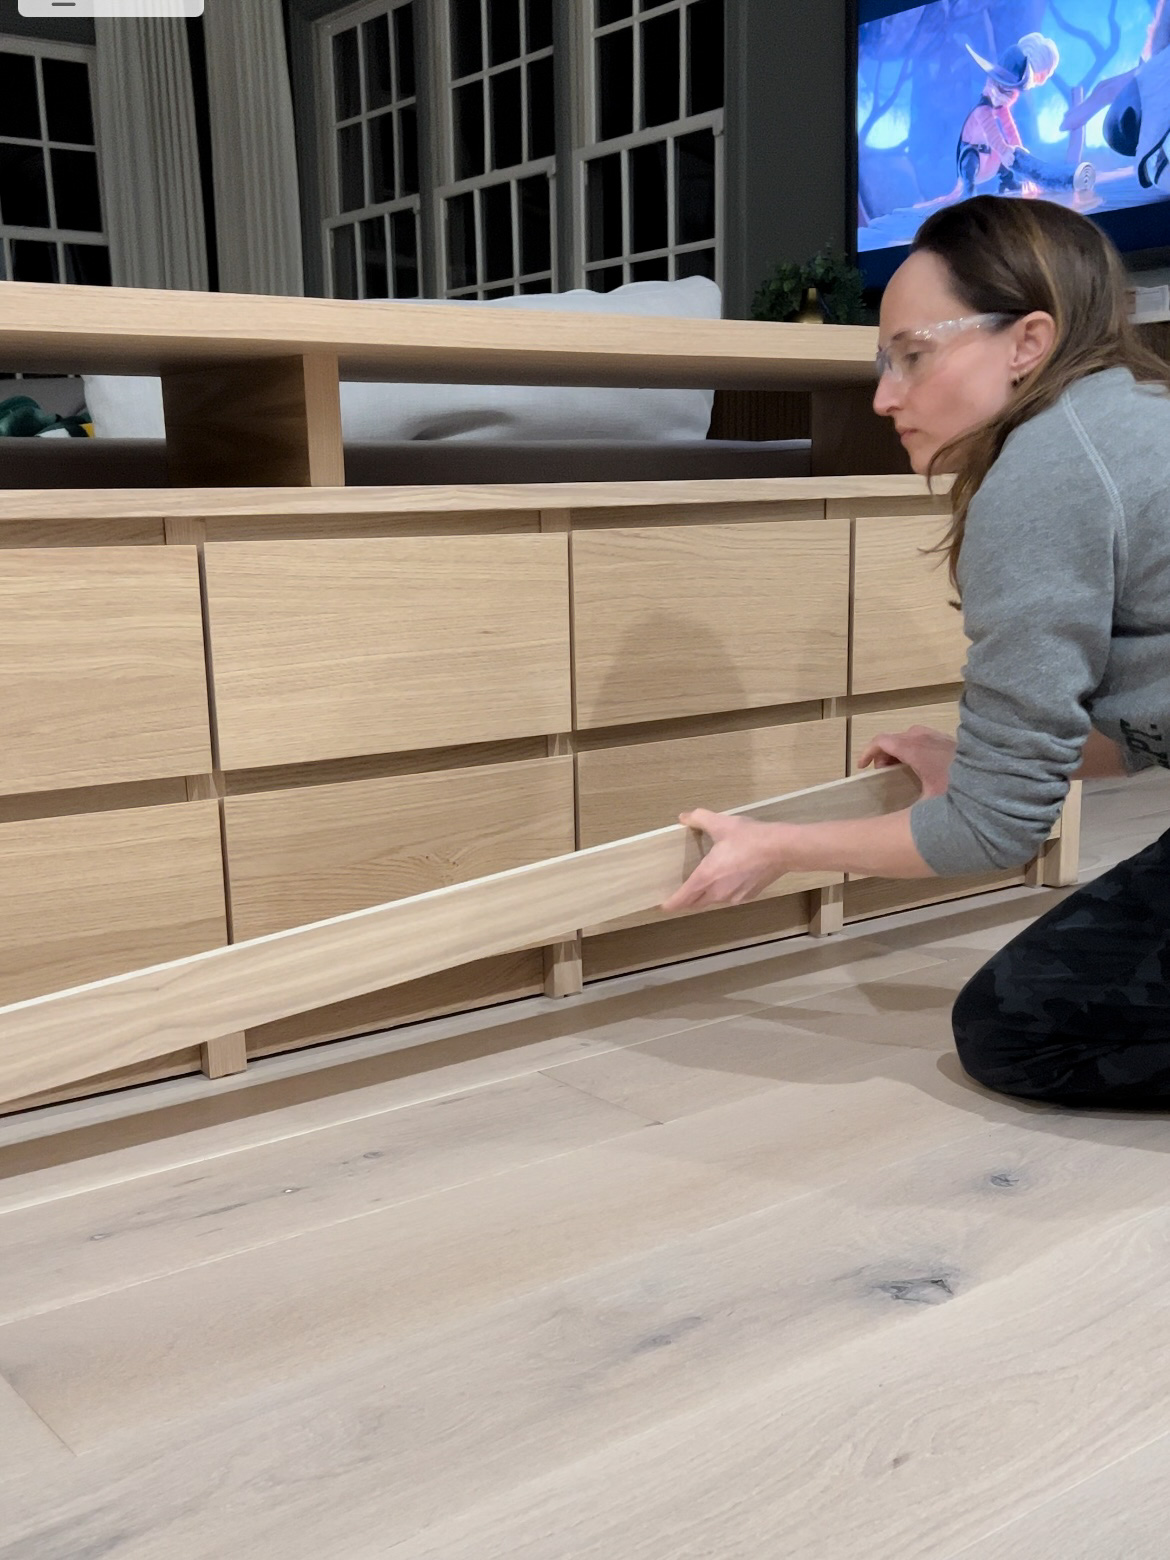
The last step was adding a strip of the oak plywood along the bottom to finish it off. It’s important to make sure that the strip doesn’t get in the way of any of the drawers before nailing it on.
Cost Breakdown of the White Oak Sofa Table
Let me preface this with the fact that white oak furniture is expensive. The inspiration pieces that I wanted ranged from $3500-$5000. I also built this thing large. It’s even larger and has more storage than the inspo pieces.
Nightstands – 5 x $90 = $450
White Oak Plywood – $350 (one solid 4×8 sheet cost me $260. White Oak plywood was next to impossible to find around here, so I couldn’t shop around)
Peel and Stick Veneer – $100
Edge Banding – $60
Total Cost – $960
You could save money by making it shorter (using fewer nightstands). You could also skip building up the top, and just stop after using the veneer over the top of the nightstands.
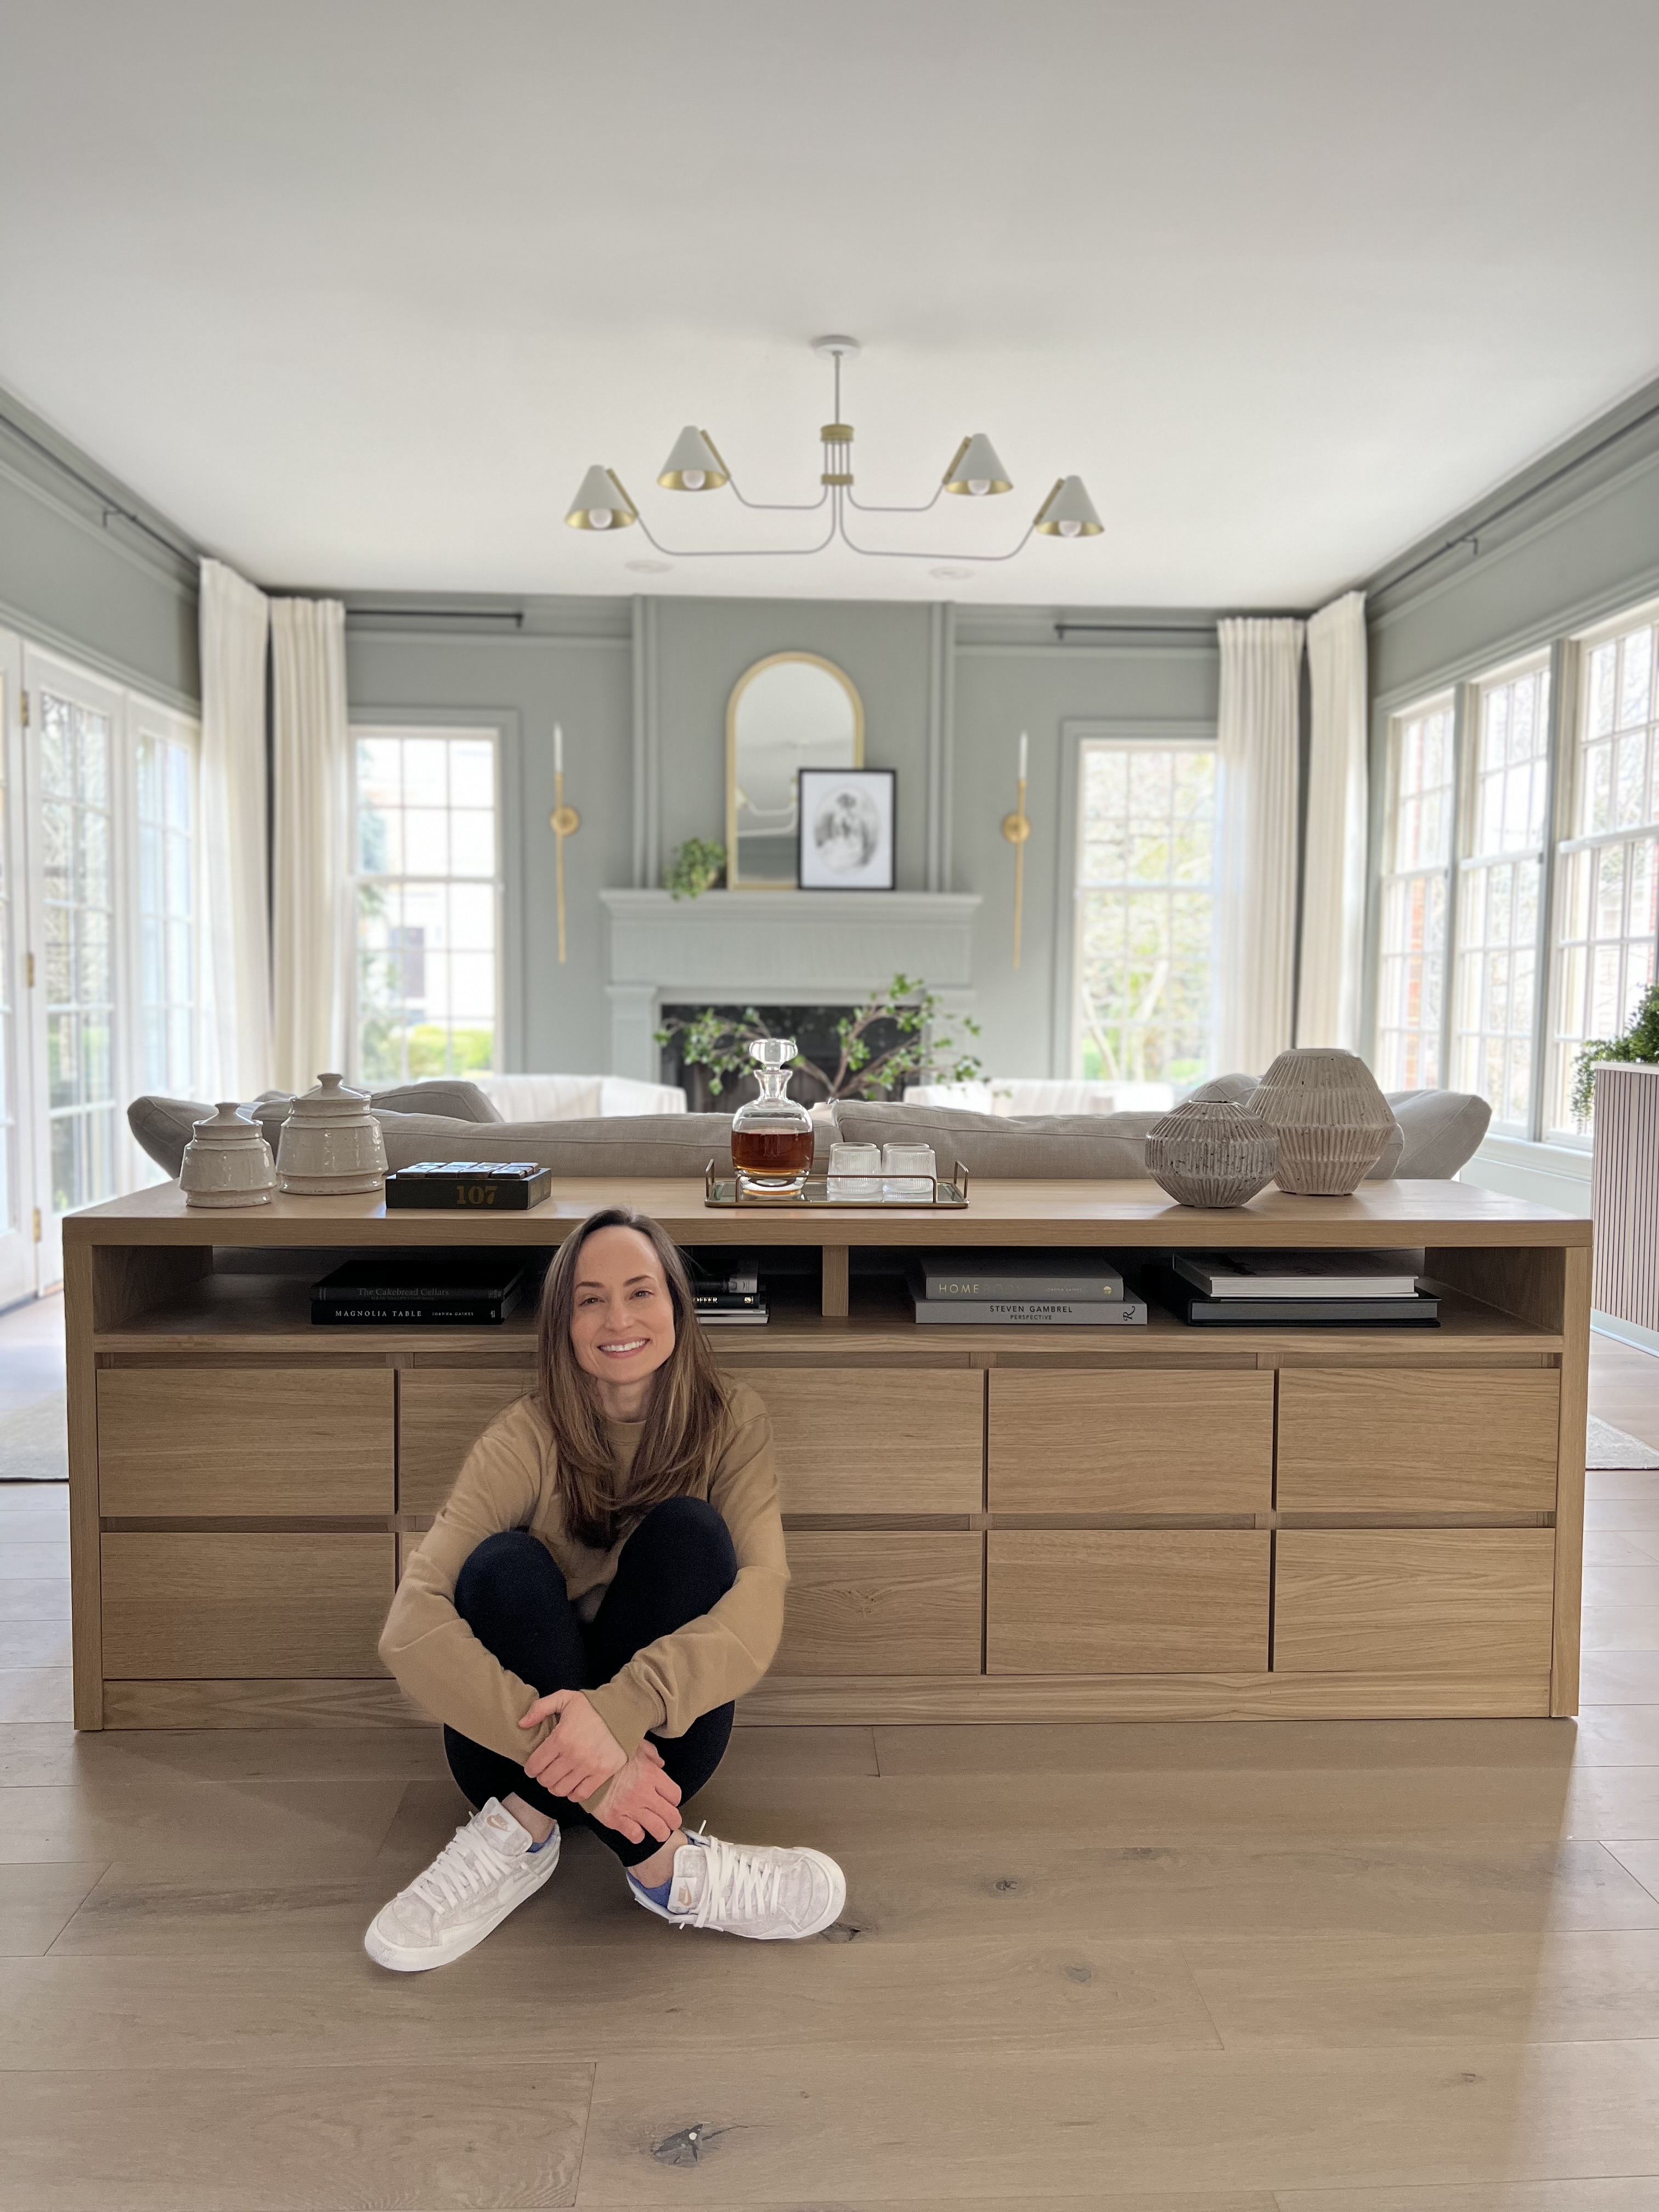
I’m so in love, and we’ve already used this piece a TON.
It’s filled with kids’ toys, and I finally have a table for all the stuff I need when I’m working on the couch at night.
Similar Projects to my White Oak Sofa Table:
IKEA Hacked Cabinet Dupe
Easy DIY Coffee Table
Modern Transitional Family Room Makeover
.
Post may contain affiliate links. See disclosure linked here for details.
