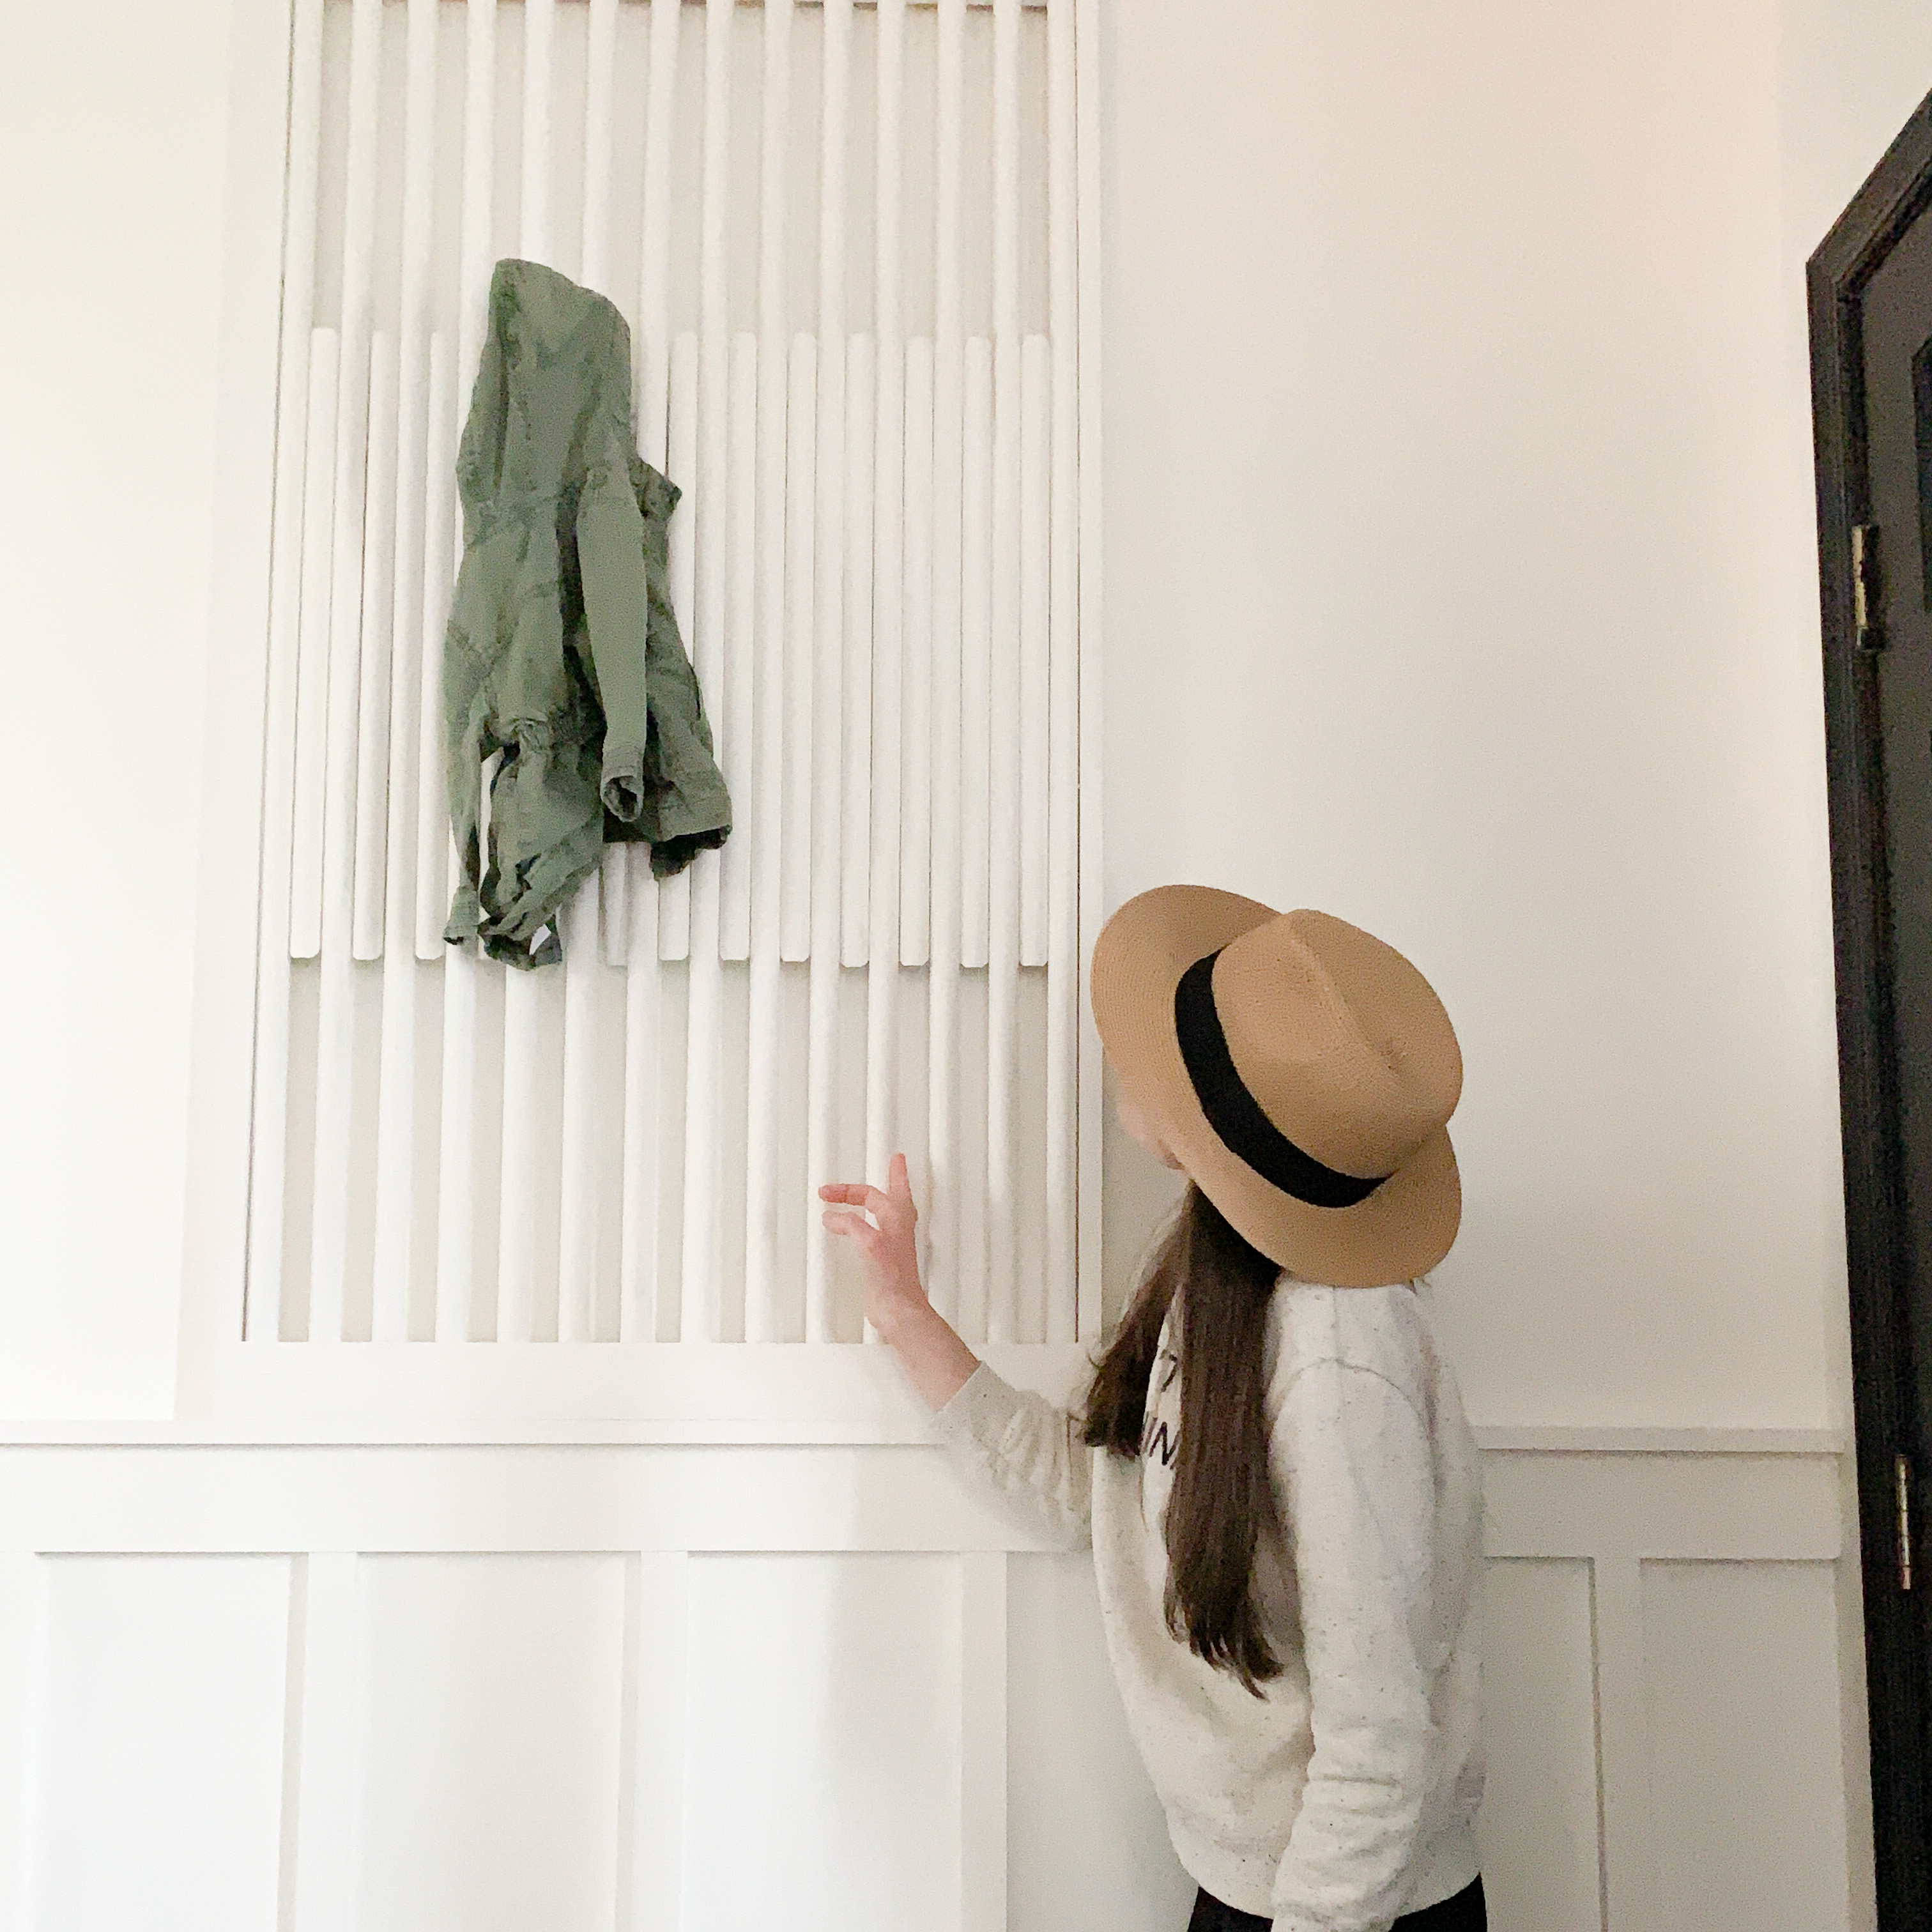
We’ve lived in this house for almost four years without a coat rack by the front door. Even though it’s been the year of no house guests, I thought now was the time to change that. There was a blank wall to the right, when you walk in the front door. My hope was to create a functional coat rack but also something nice to look at.
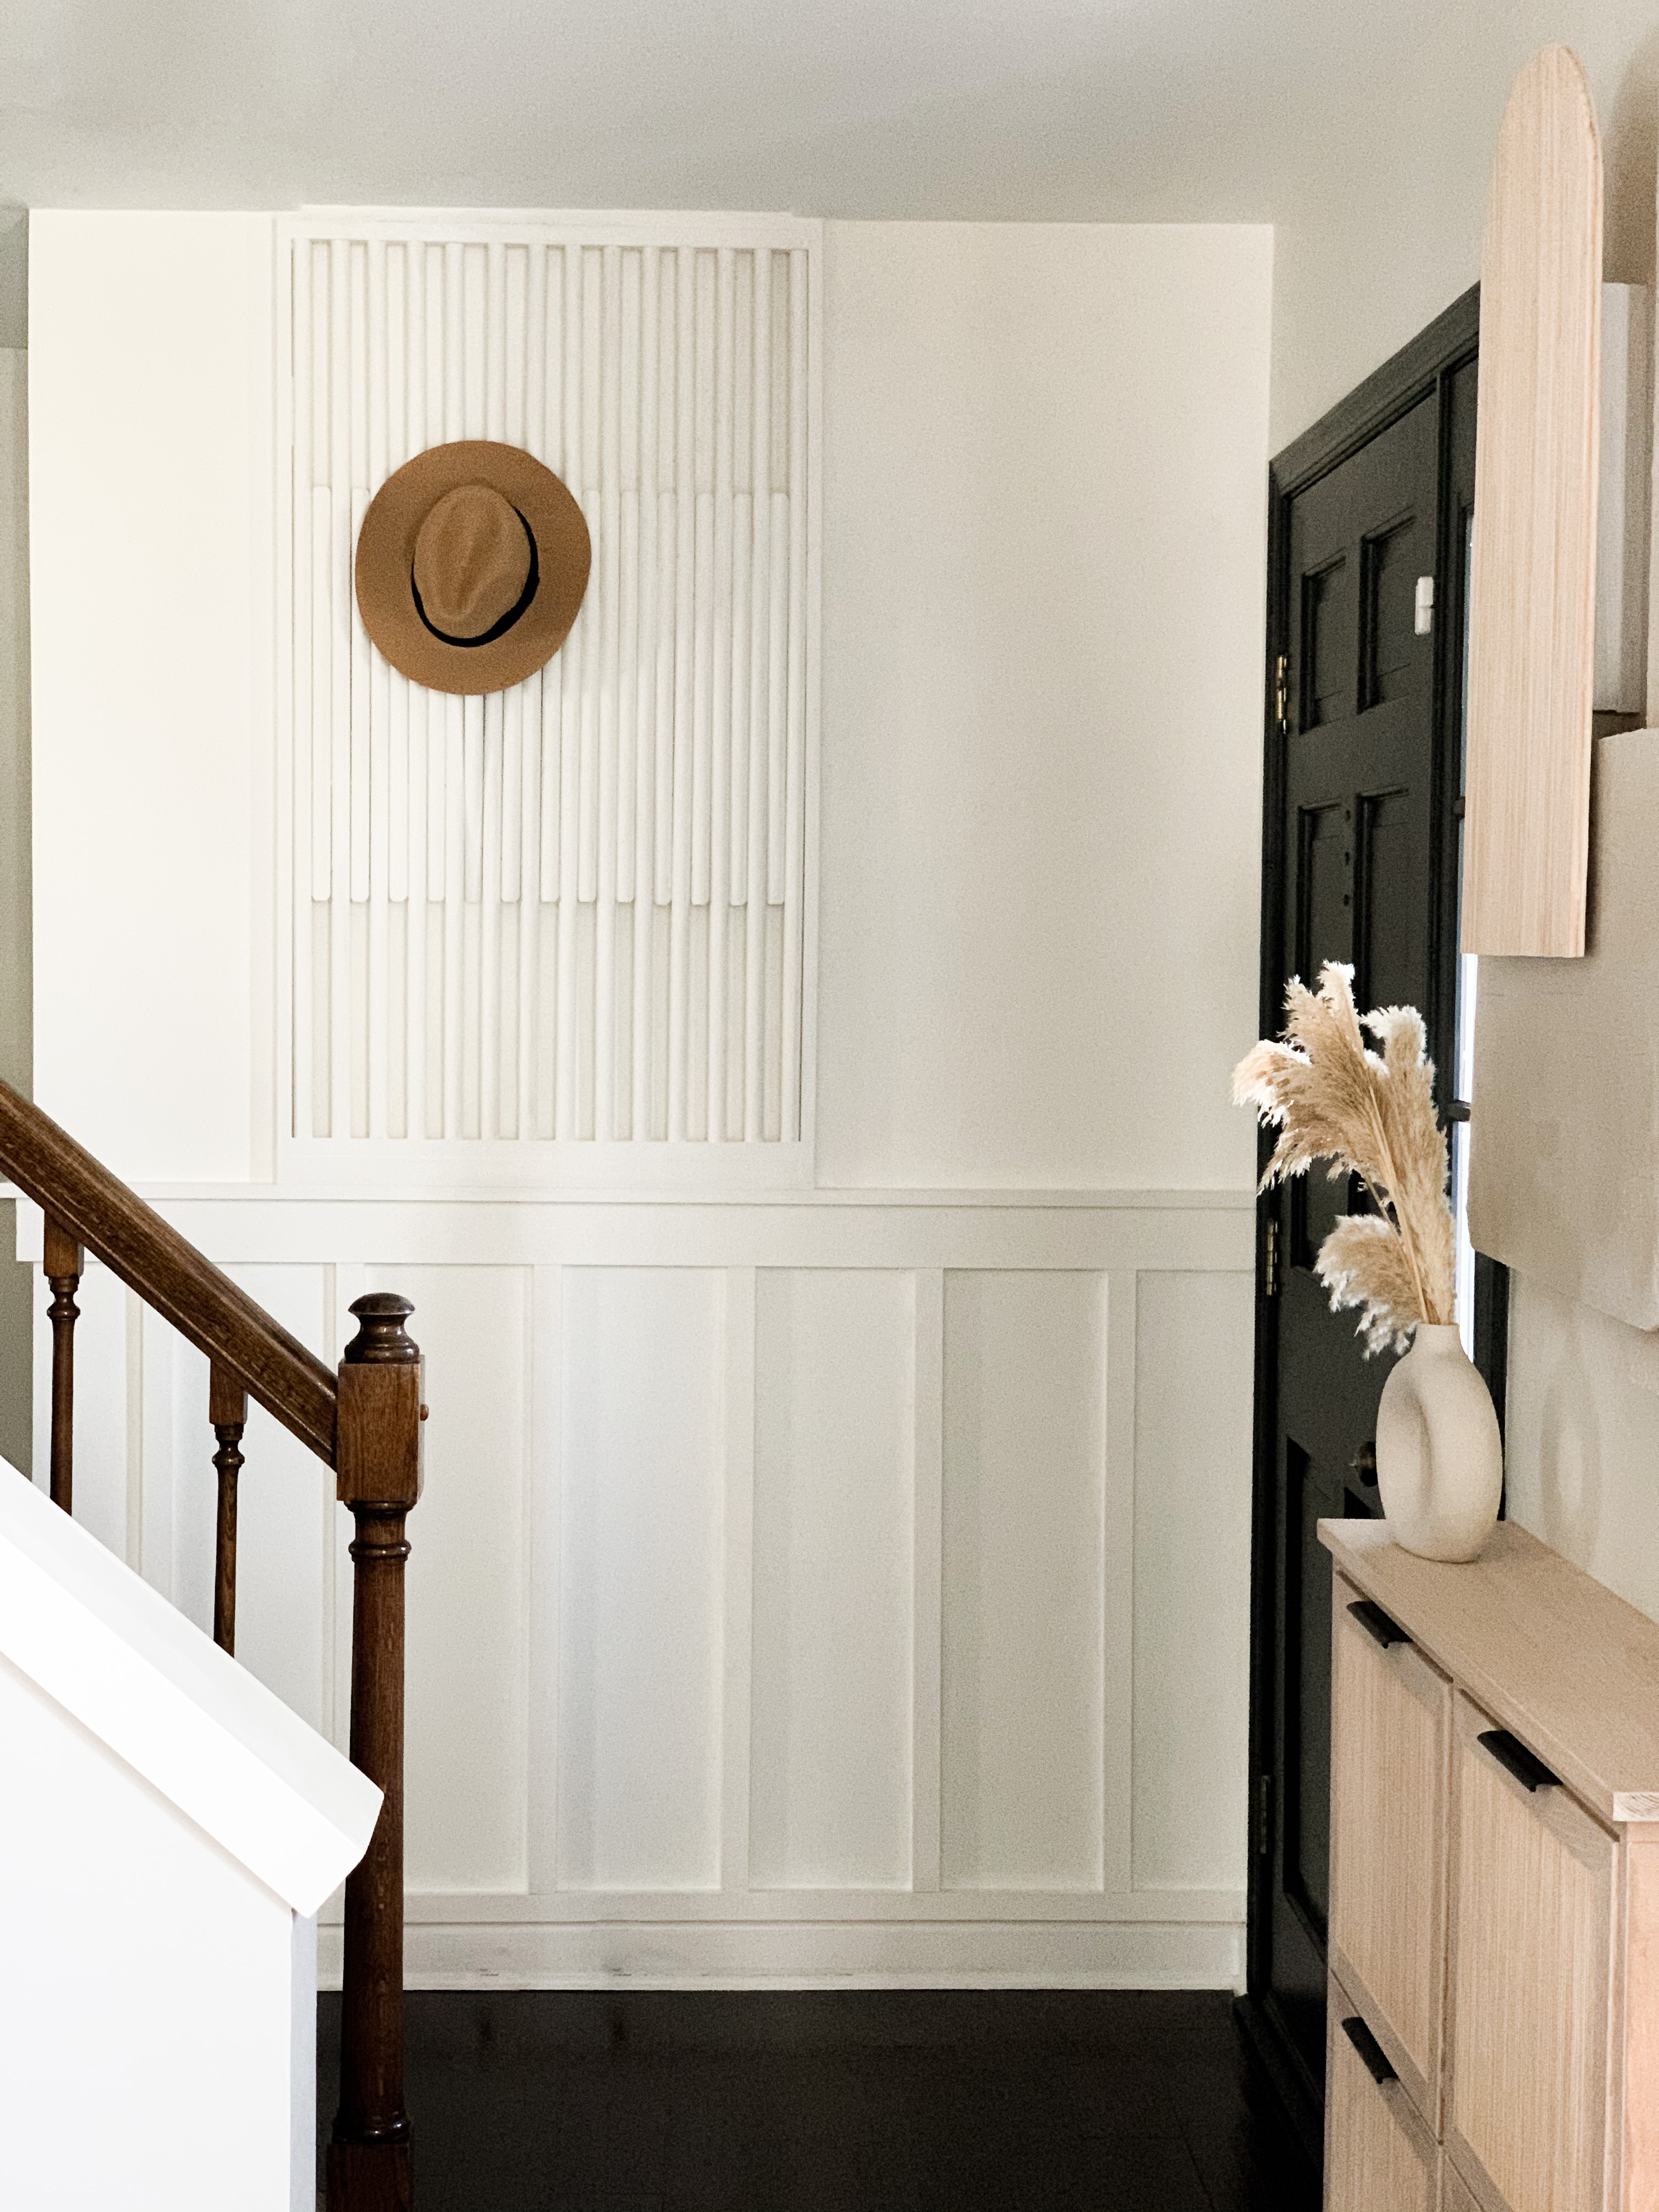
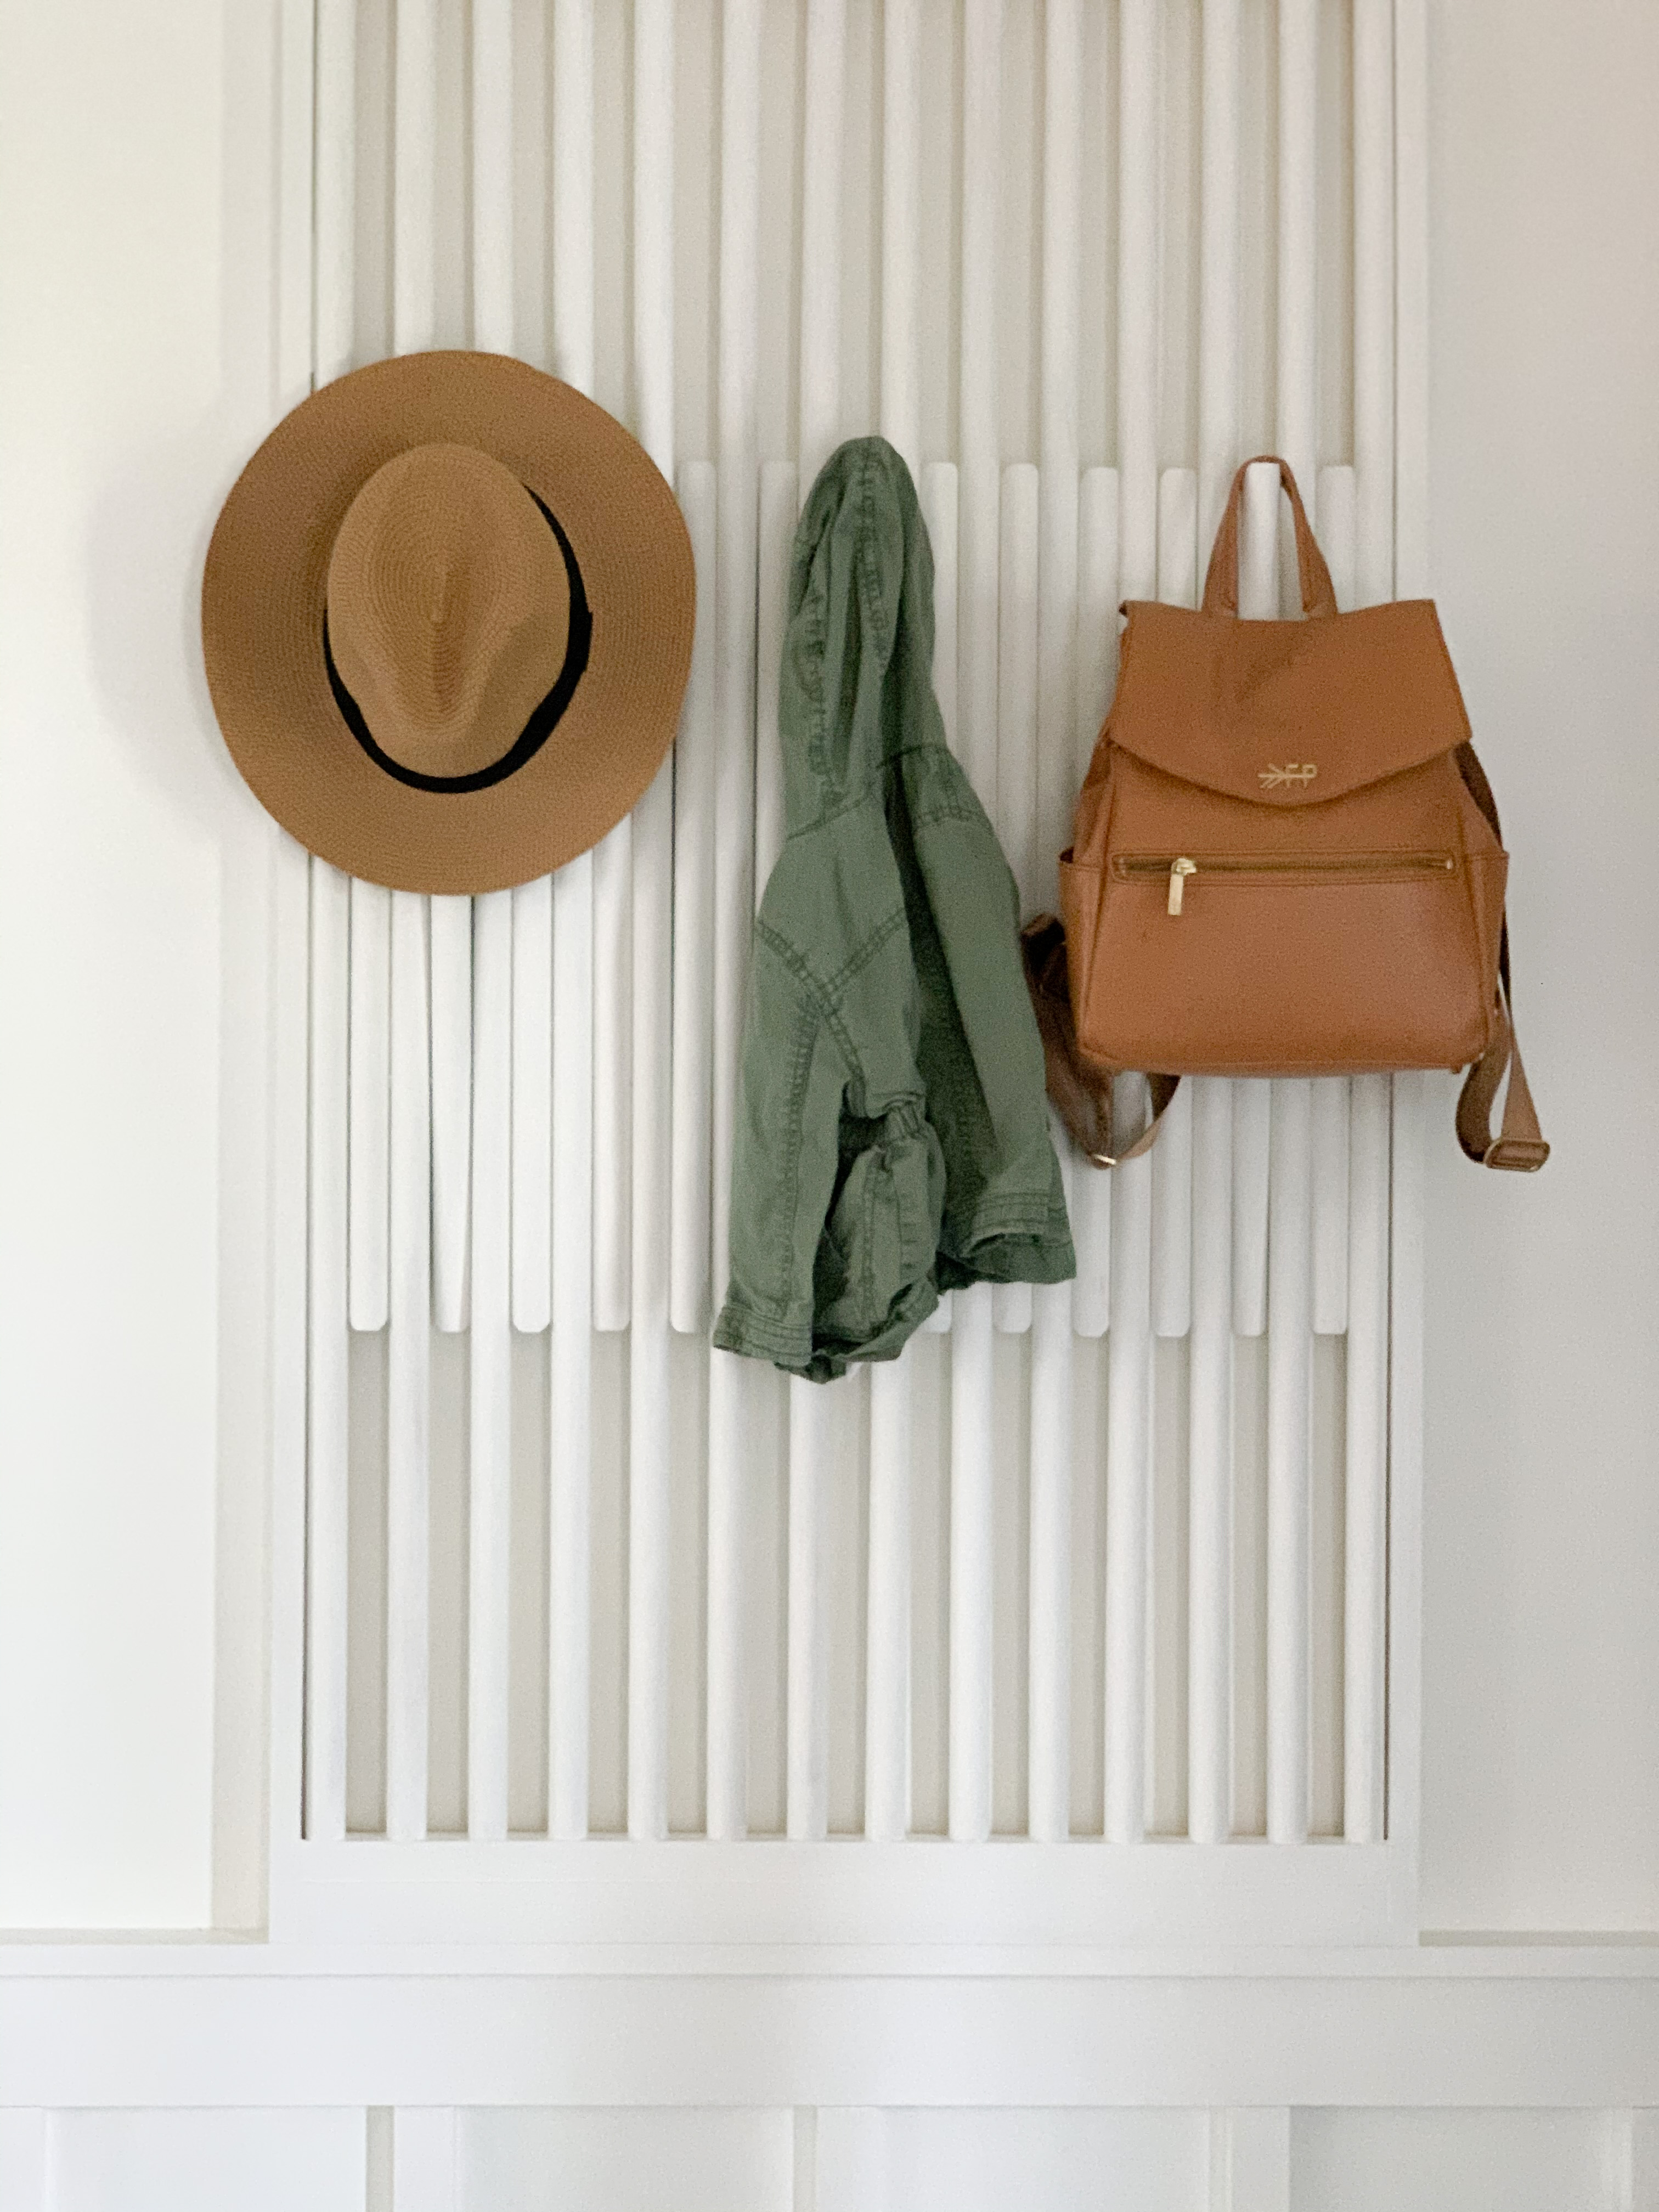
I had seen piano hooks made out of slats and loved the look so much. We already had board & batten in the entry, so instead of slats, I wanted to attempt the same concept with dowels. I thought it would also tie back to the fluted IKEA shoe cabinet (blog post for that linked here) that is also in our entry.
The Design
I started the coat rack by figuring out the space on the wall I wanted to fill and getting measurements. I decided to use 1 inch dowels to keep measurements simple, but you could really do whichever size you prefer. I then had to decide on the design for the staggered smaller pieces and how many rows. I chose to do one row of longer dowels to eliminate room for error by needing to drill a second set of holes.
*In hindsight, I wish I had done two rows of the shorter dowels because the “hooks” themselves would’ve been more controlled.
The Drill Holes
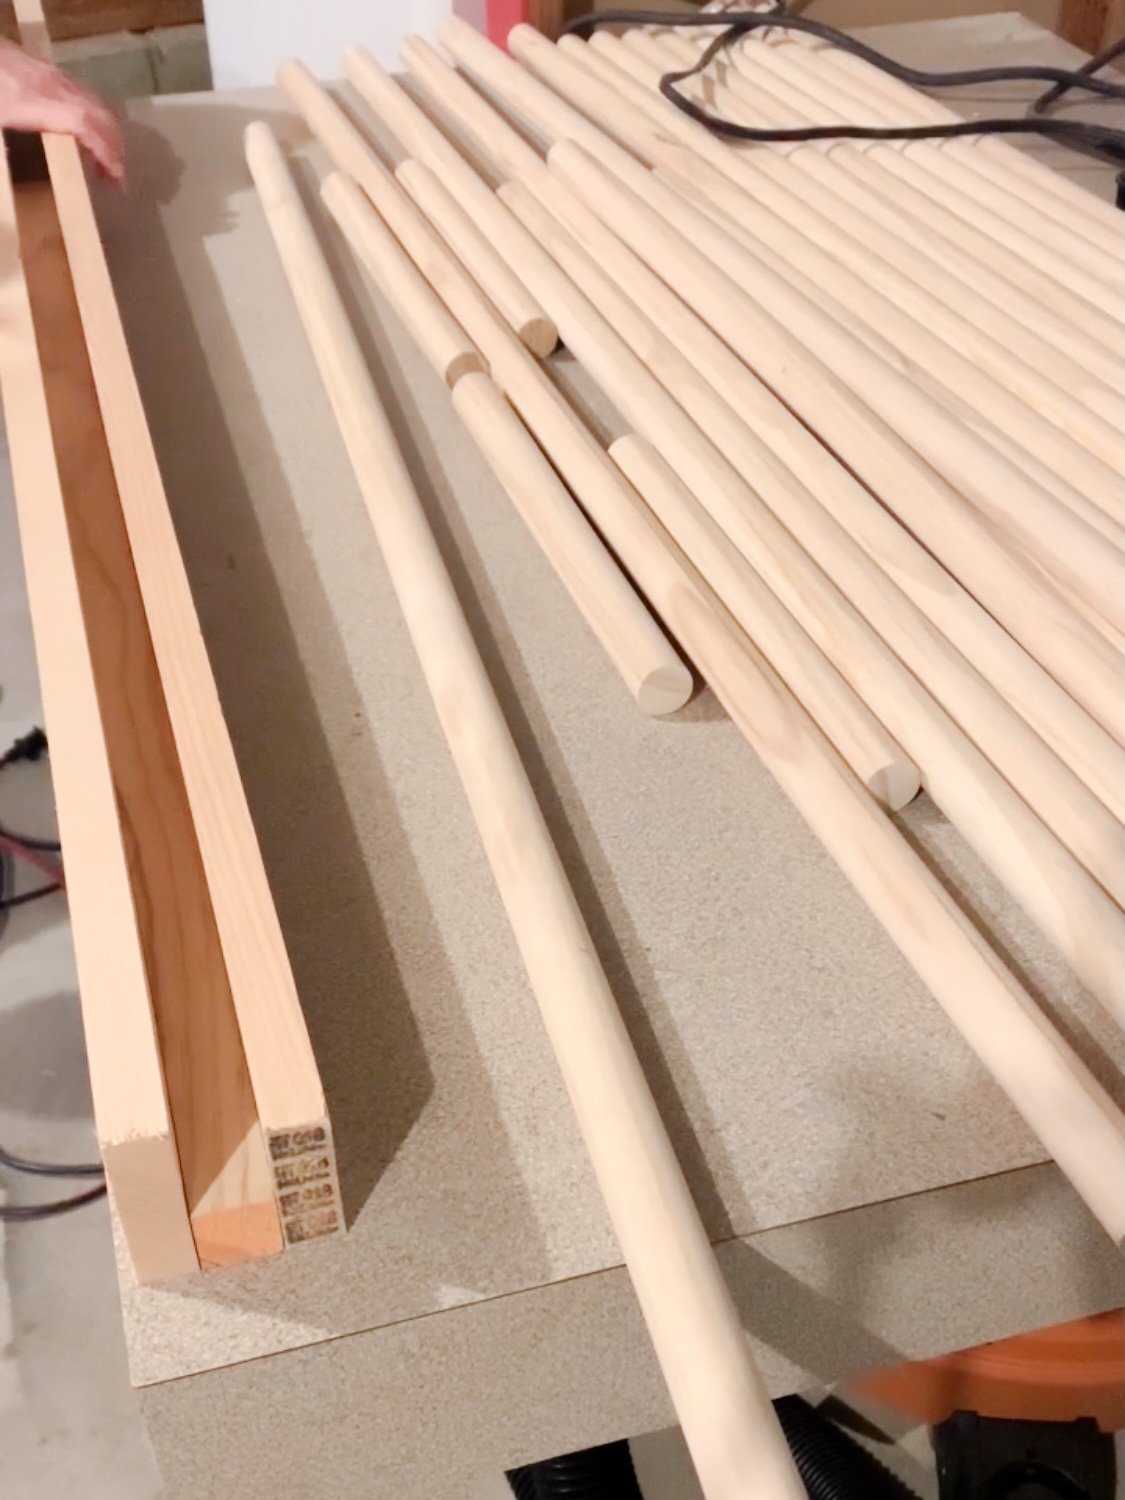
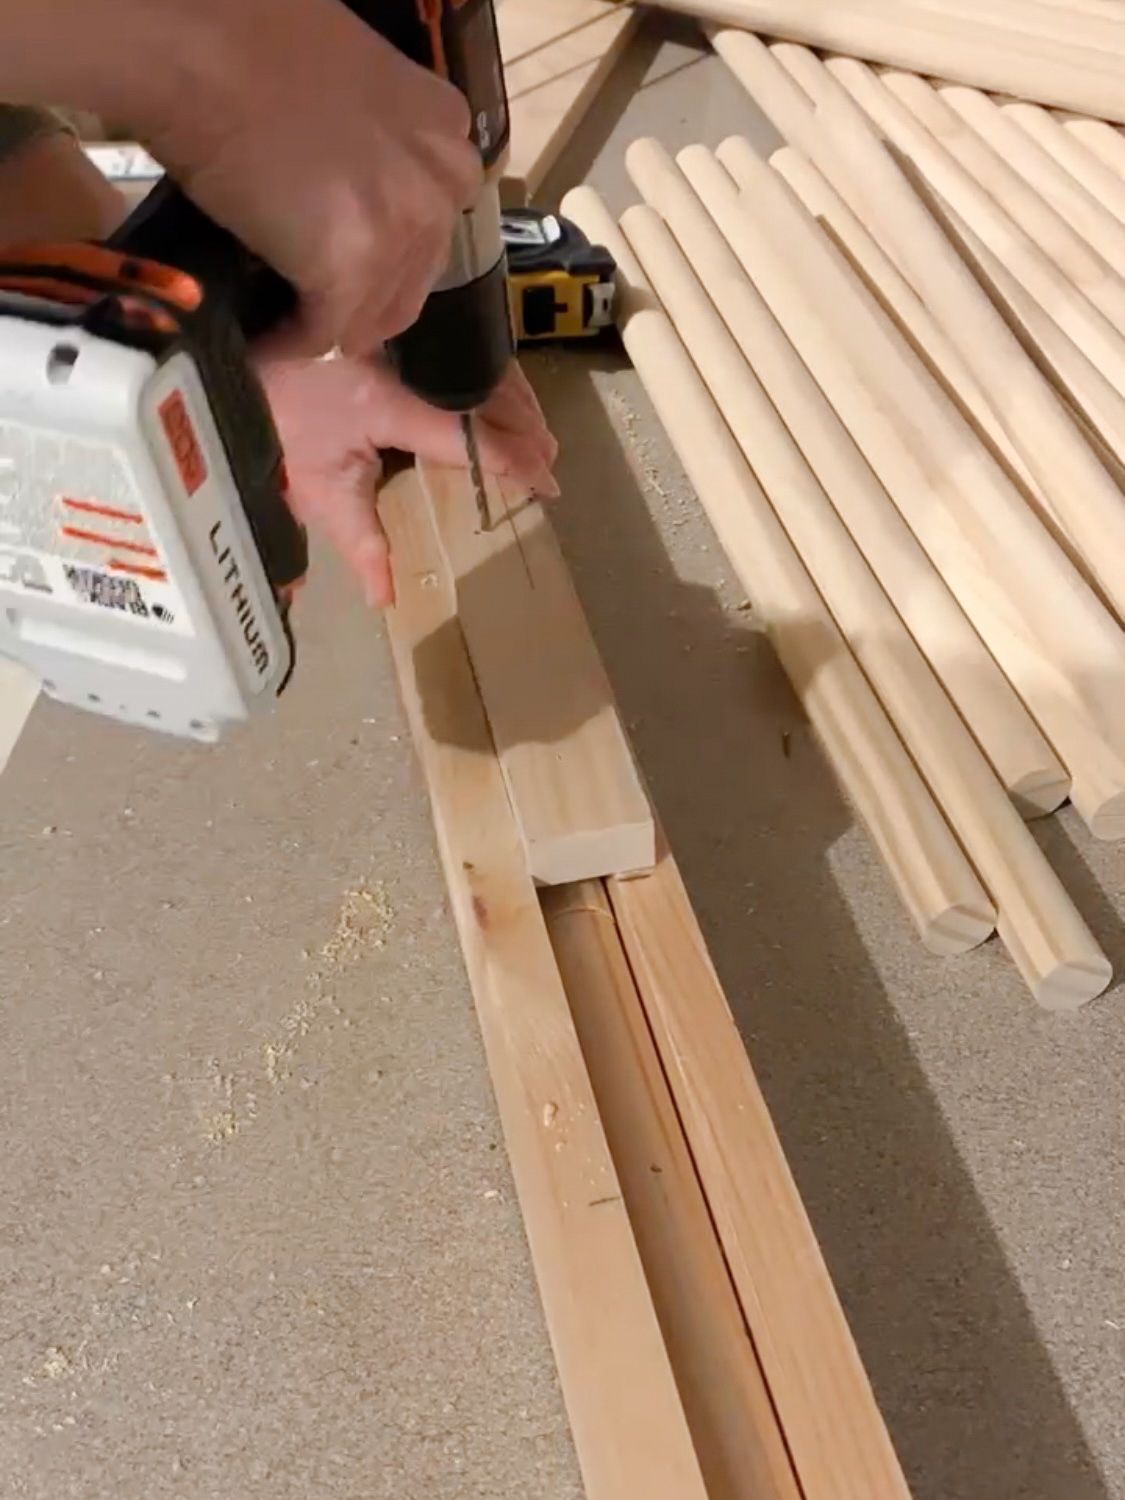
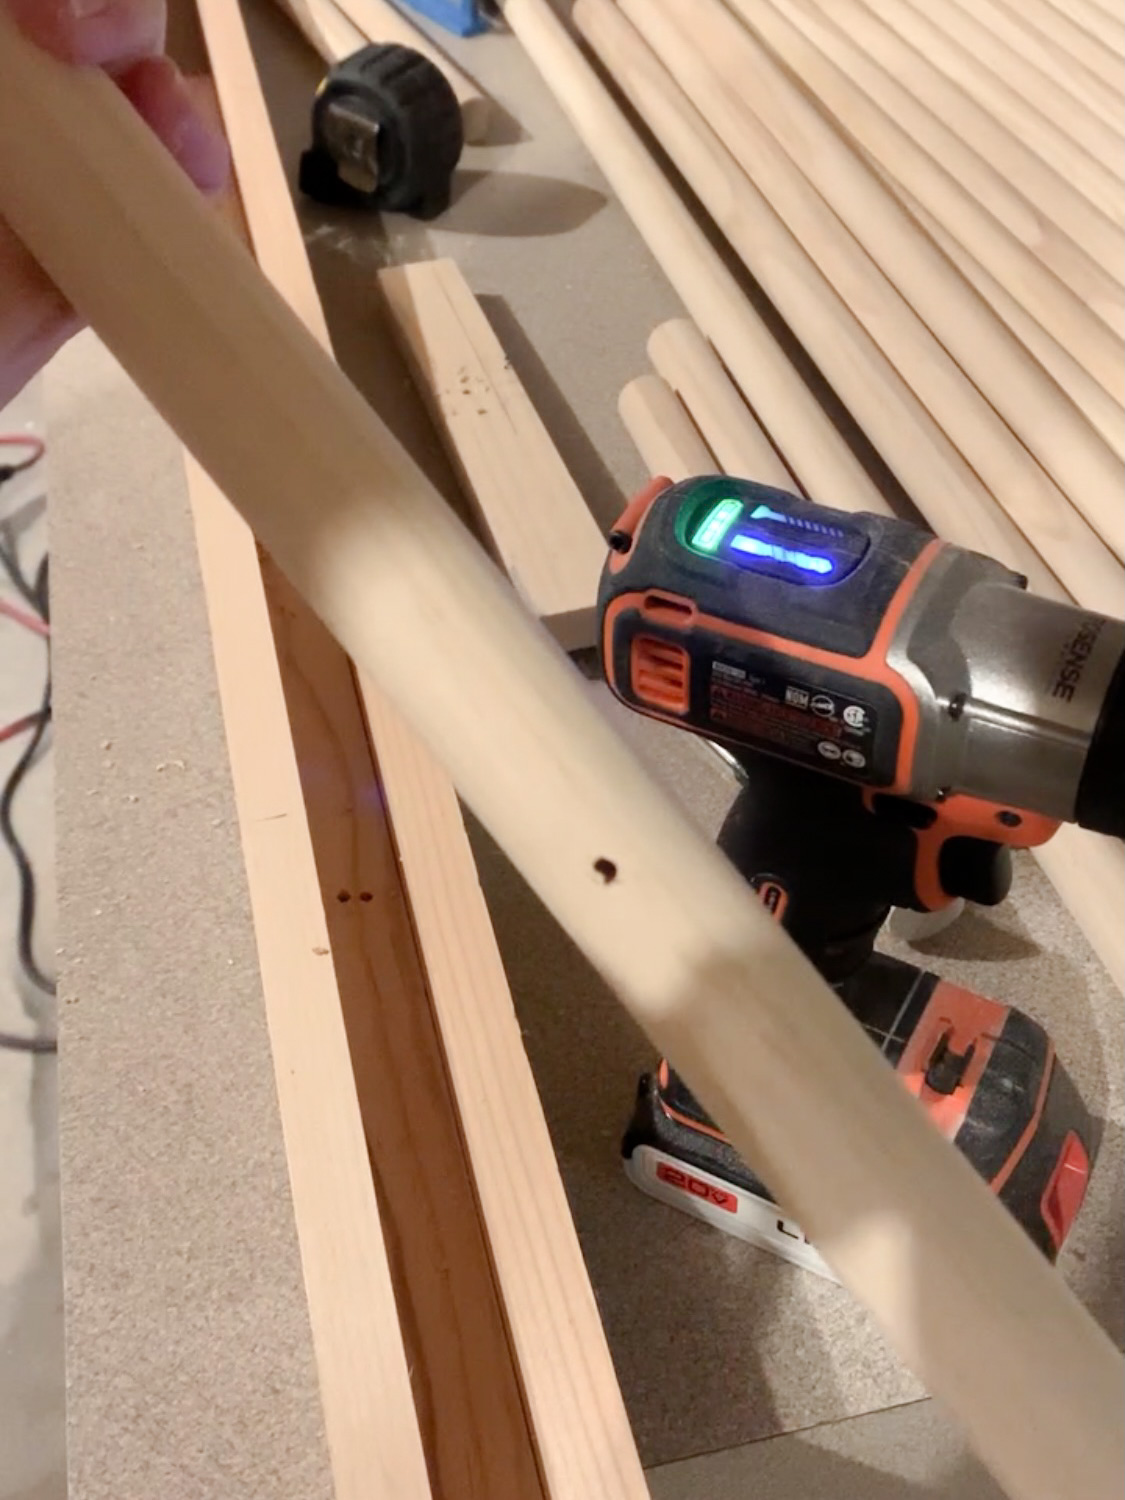
Once the dowels were cut to size, I needed to drill the holes for the rod. I had an 1/8th inch metal rod to connect all the dowels. I selected a drill bit slightly bigger than the rod. Dowels obviously roll, which posed a challenge. I put together a snug little “bed’ for the dowels to sit in while I drilled the hole. I made sure to mark where to line up the dowel each time to drill. I sometimes find it difficult to drill straight down, so I used a block as a guide (middle picture above).
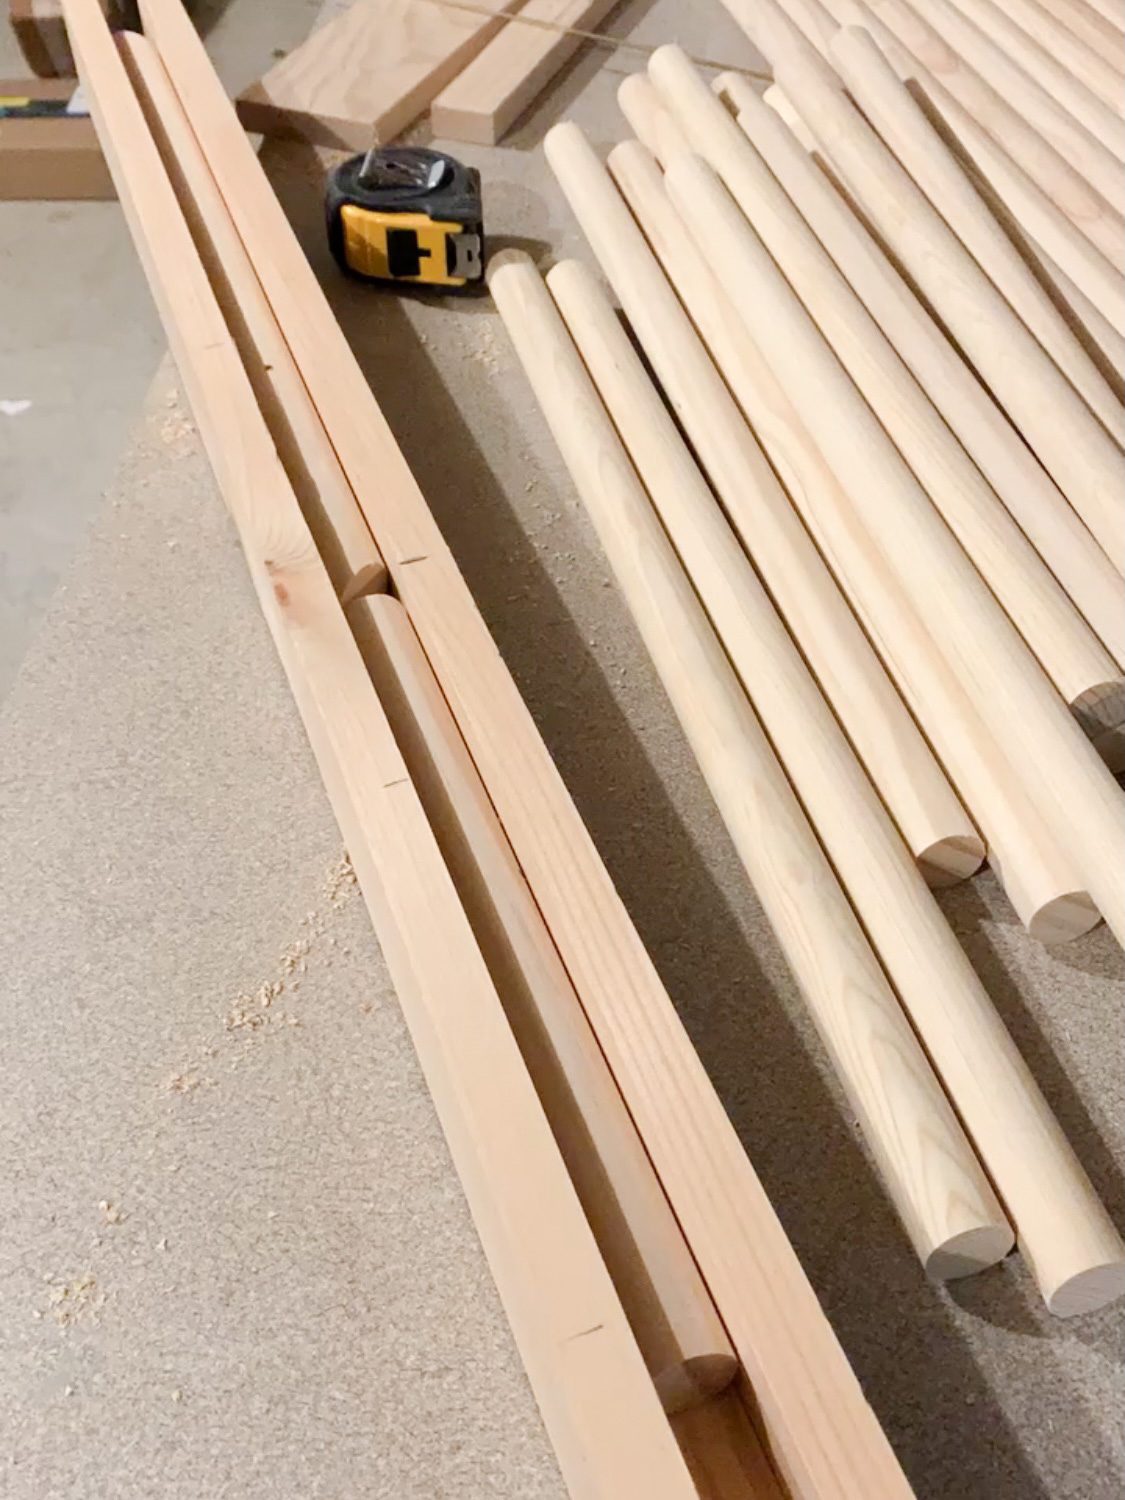
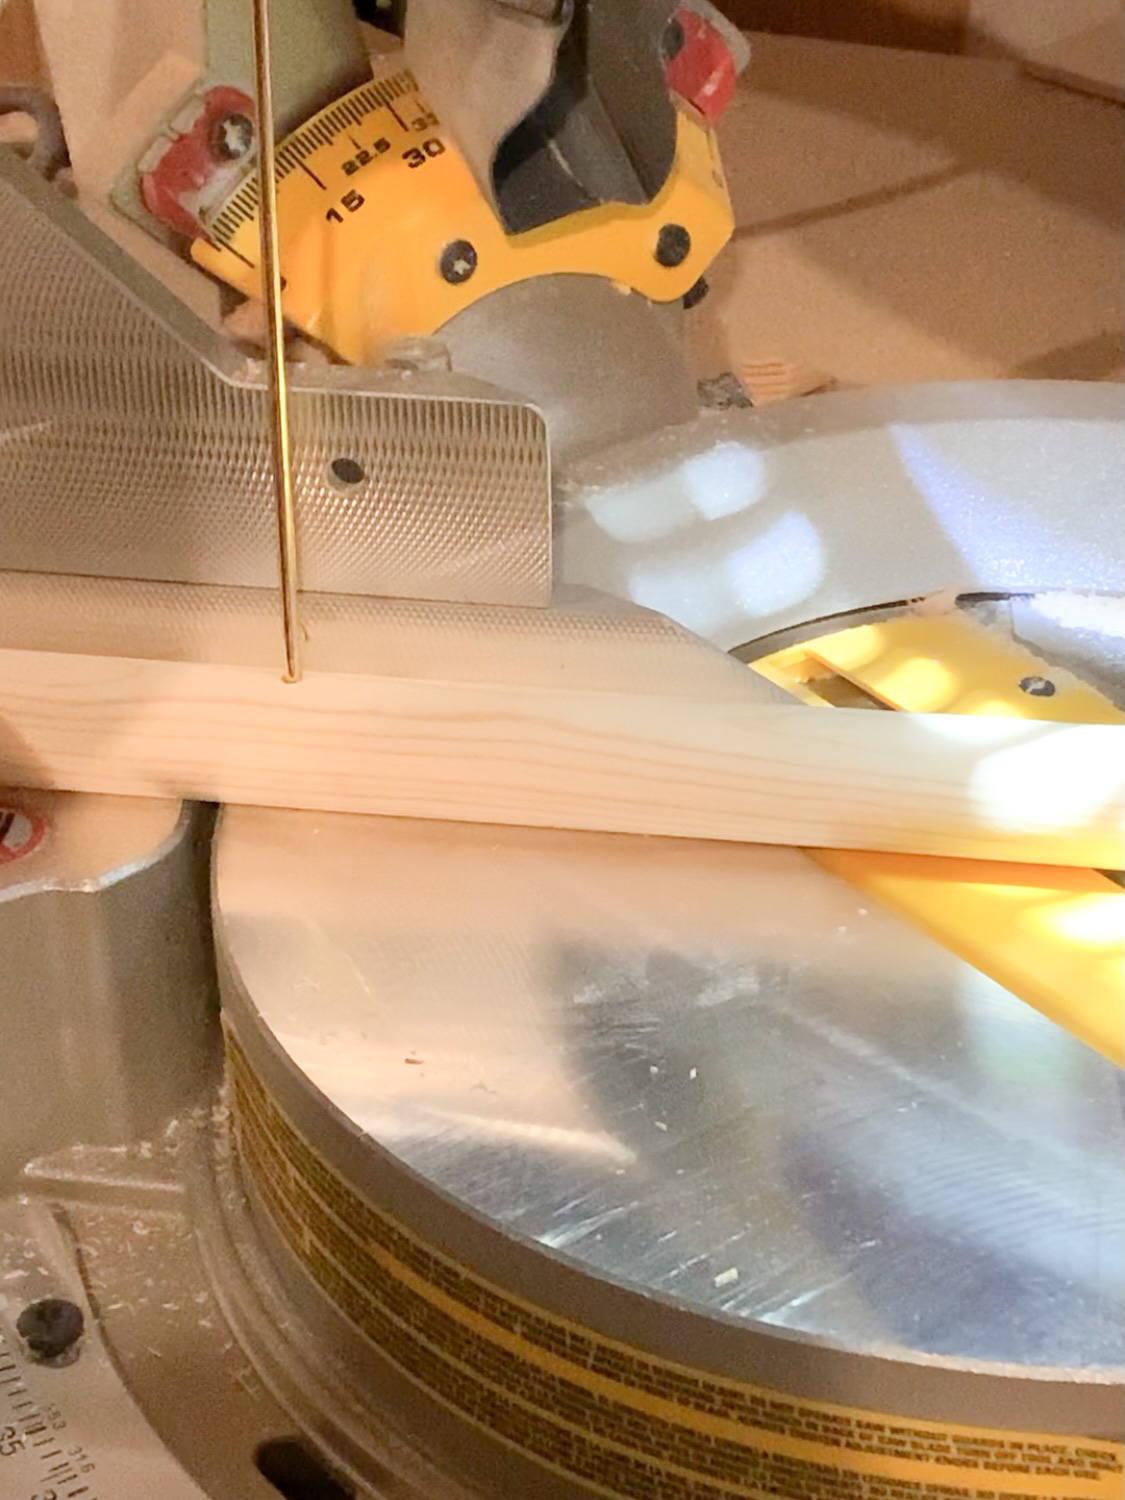
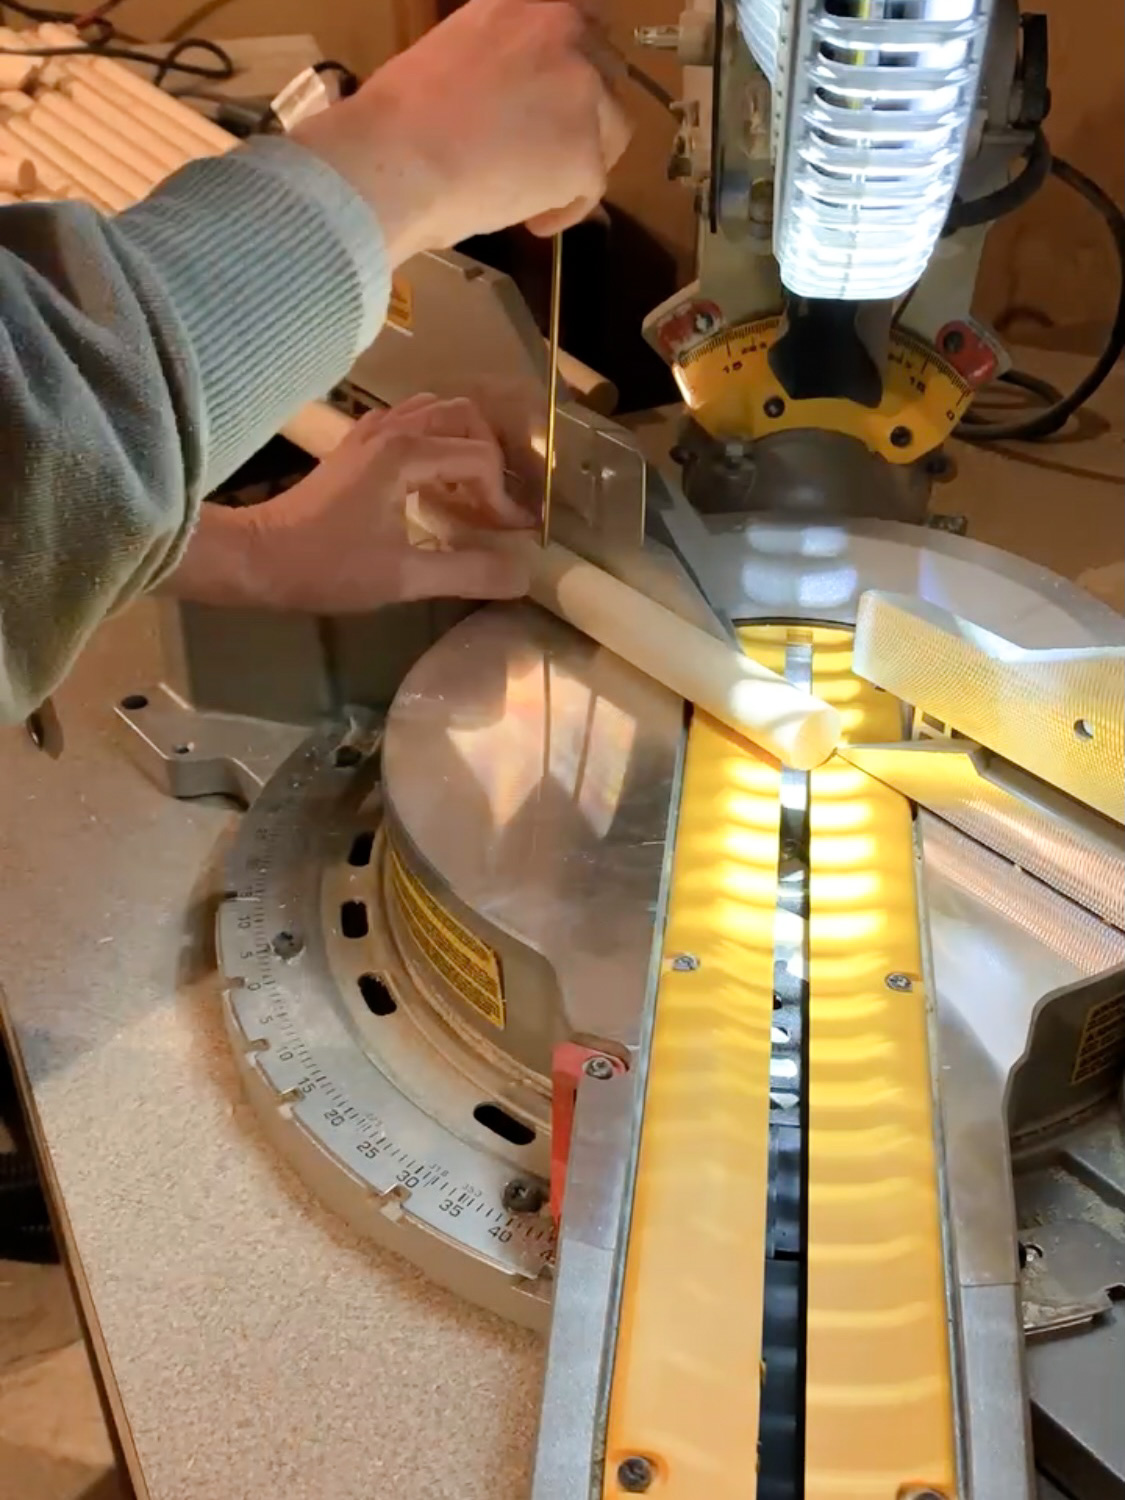
The shorter dowels were a little more challenging because I needed the portion of the dowel facing the wall to be cut at a 45 degree angle on both ends. I used the metal rod to keep the dowel straight. After cutting the first short dowel, I marked my miter saw (two different spots since I was cutting both ends). I made sure to line up the drill hole/dowel to that mark each time. This is how I got the shorter dowels to look uniform from the front and back.
The Magnets
I needed something that would keep the shorter “hook” dowels against the wall when not in use. Since I went with the longer look, most of them swung out easily when up on the wall. I found little magnets, drilled a hole, used gorilla glue to keep them in place. I then did the same into the strip of wood mounted to the wall behind the hooks.
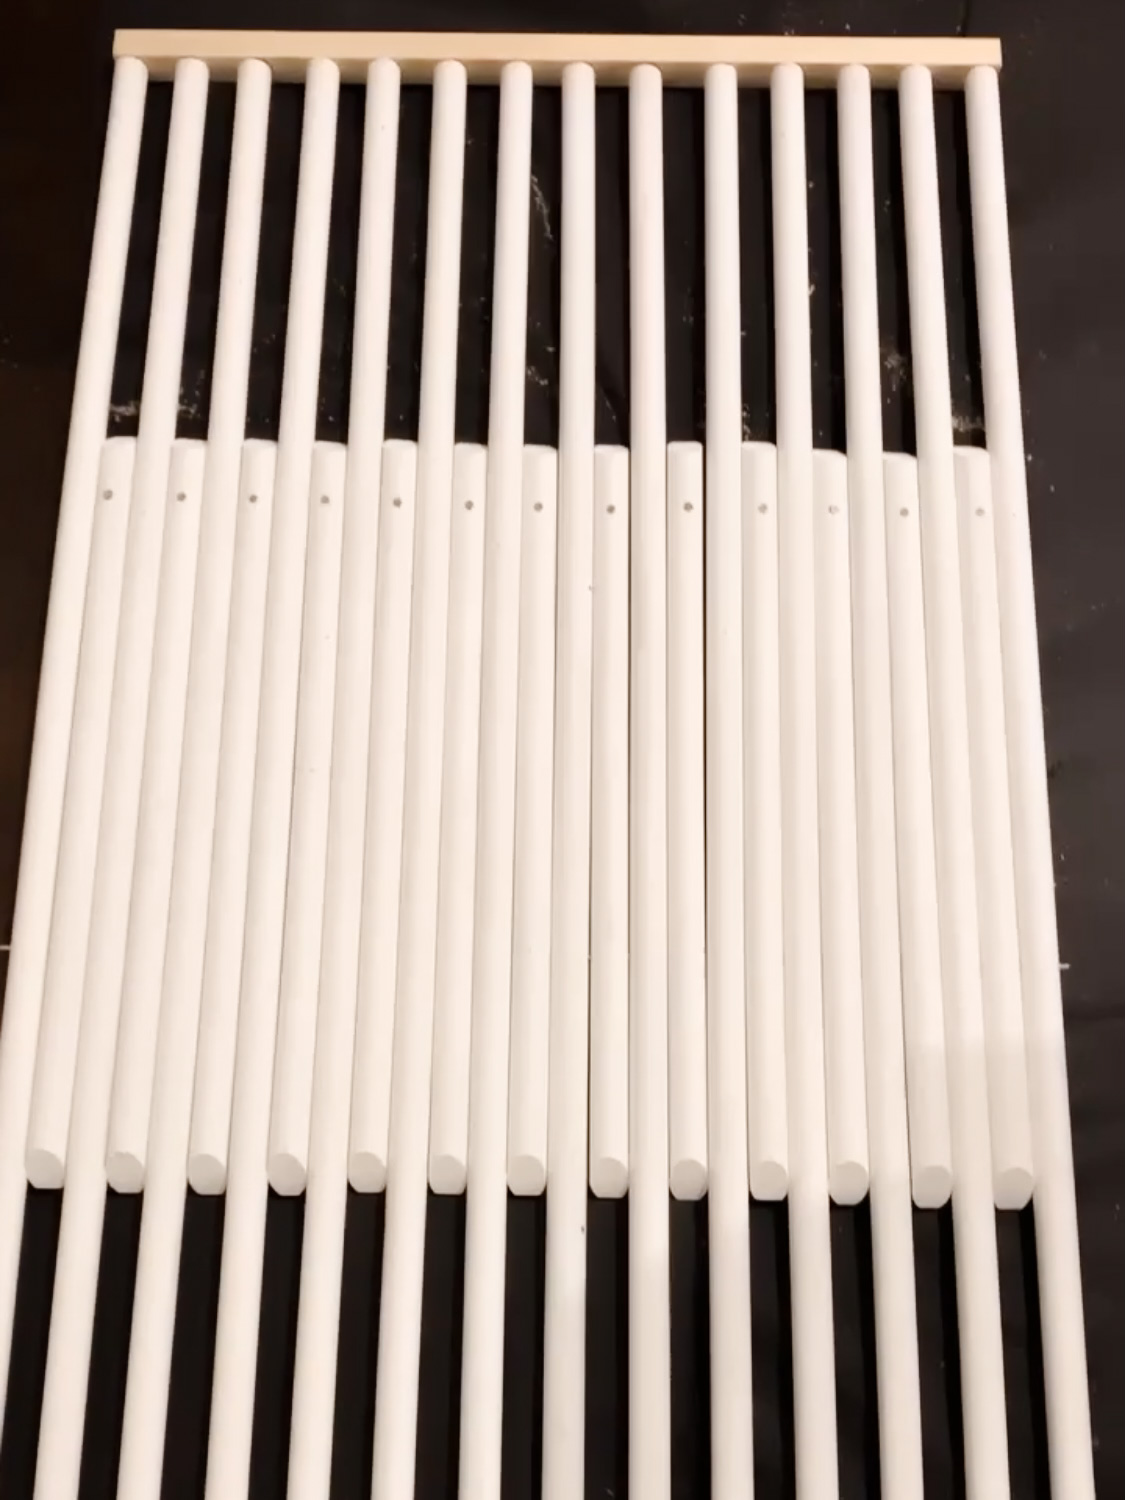
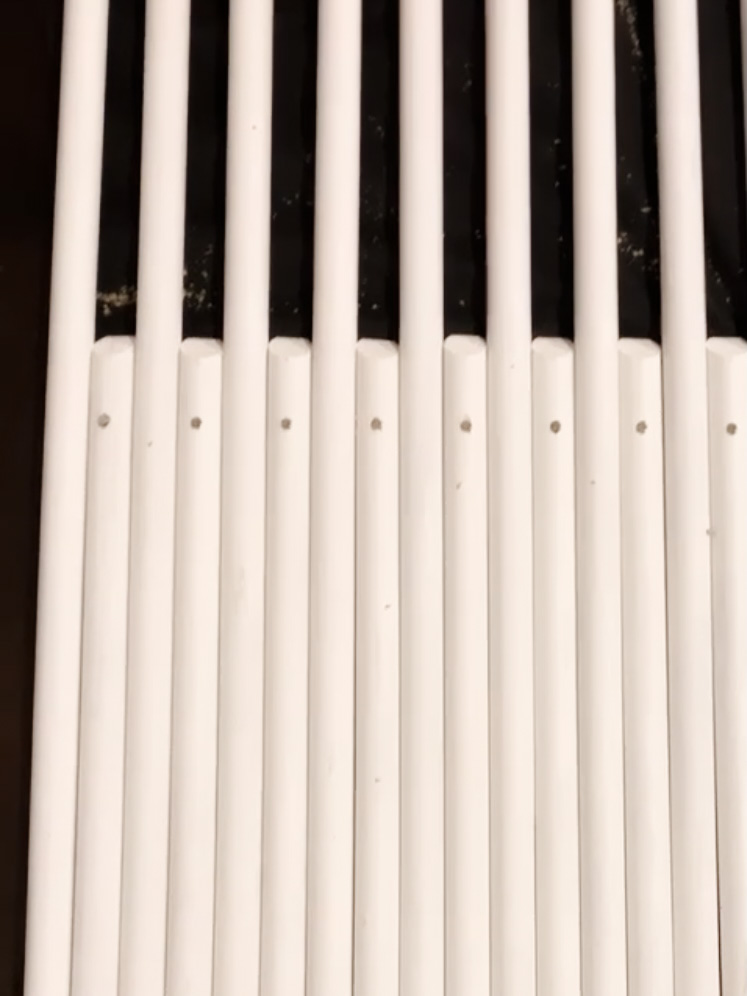
I learned a trick from a friend that helped me find where to drill…. I put the matching magnet onto the first one that was glued into the dowel. I then did a dot of paint on the back of each magnet. When I held it in place on the wall, it left a little paint mark where I needed to drill. The paint also helped me keep track of which side to glue into the wall. **Make sure to note the sides of the magnets, so you don’t accidentally make them repel.** A follower made a really good call after I shared this…. a strip of metal on the wood trim on the wall would’ve made this part easier!
Wall Mounting
I wanted this coat rack to be flush with the 1 1/2″ trim piece on top of the board and batten. This guided my decisions for how to mount the rack. If making this rack in your space, I would experiment to see what works best. My dowels were 1 inch thick, and I had trimmed them out at the top and bottom with a 1 inch square dowel. Therefore, I knew I had 1/2″ to work with behind the coat rack.
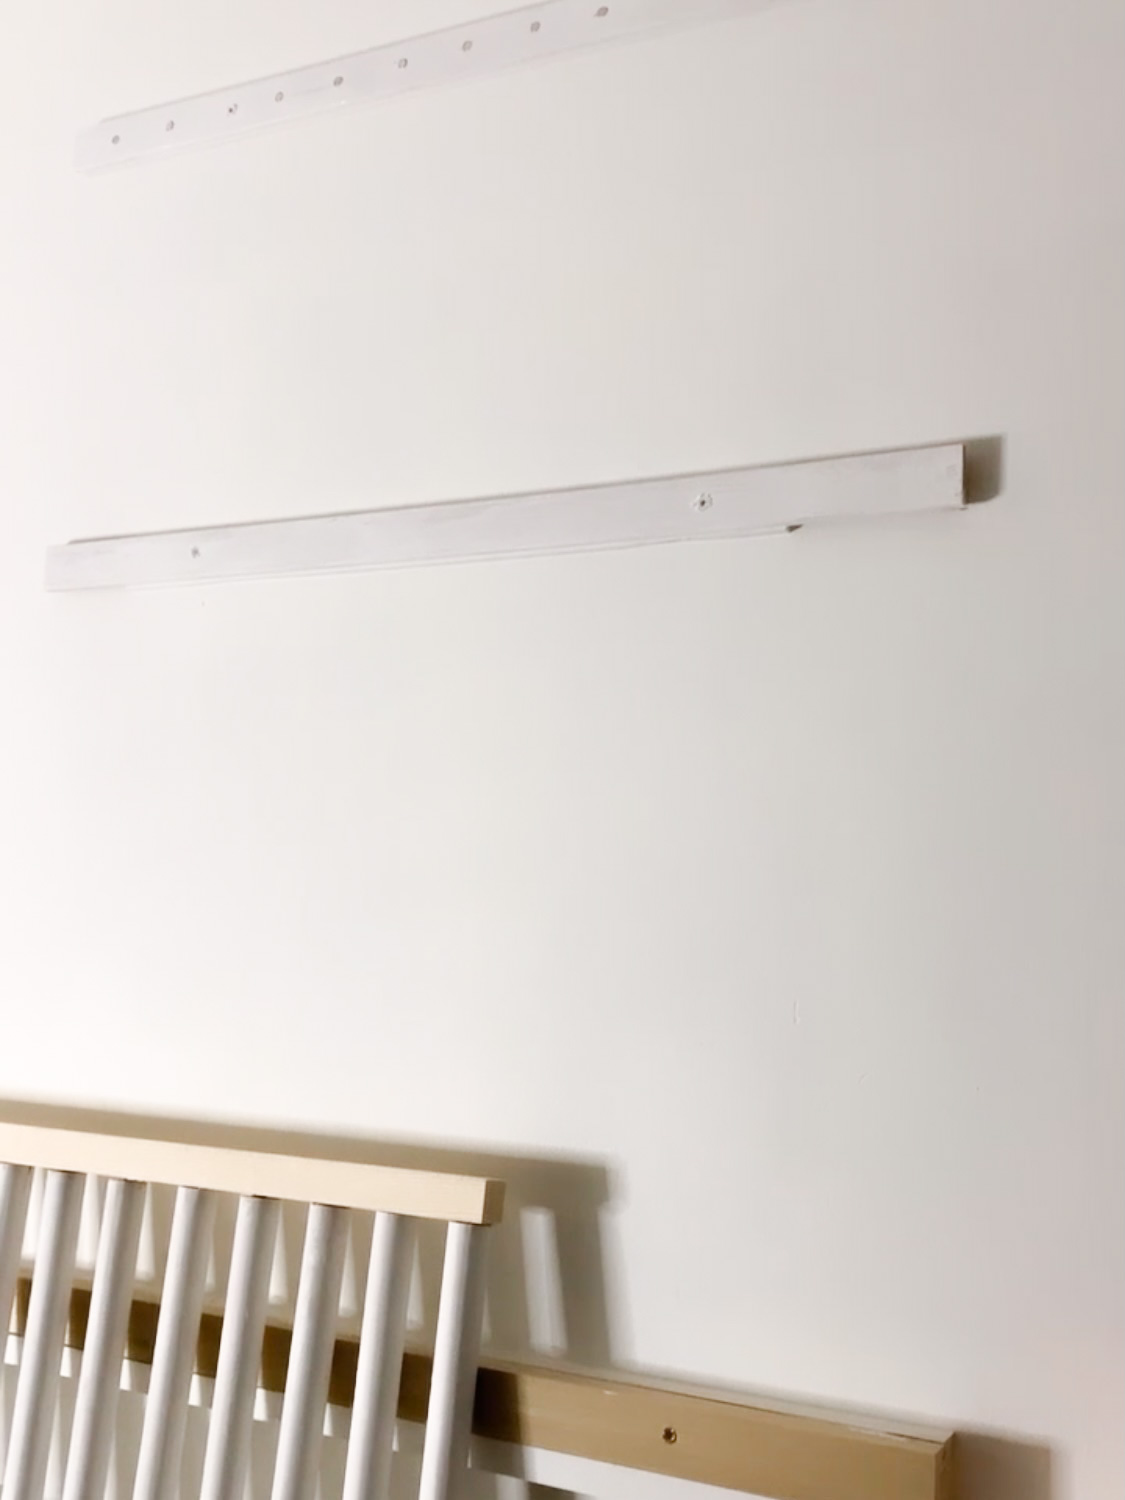
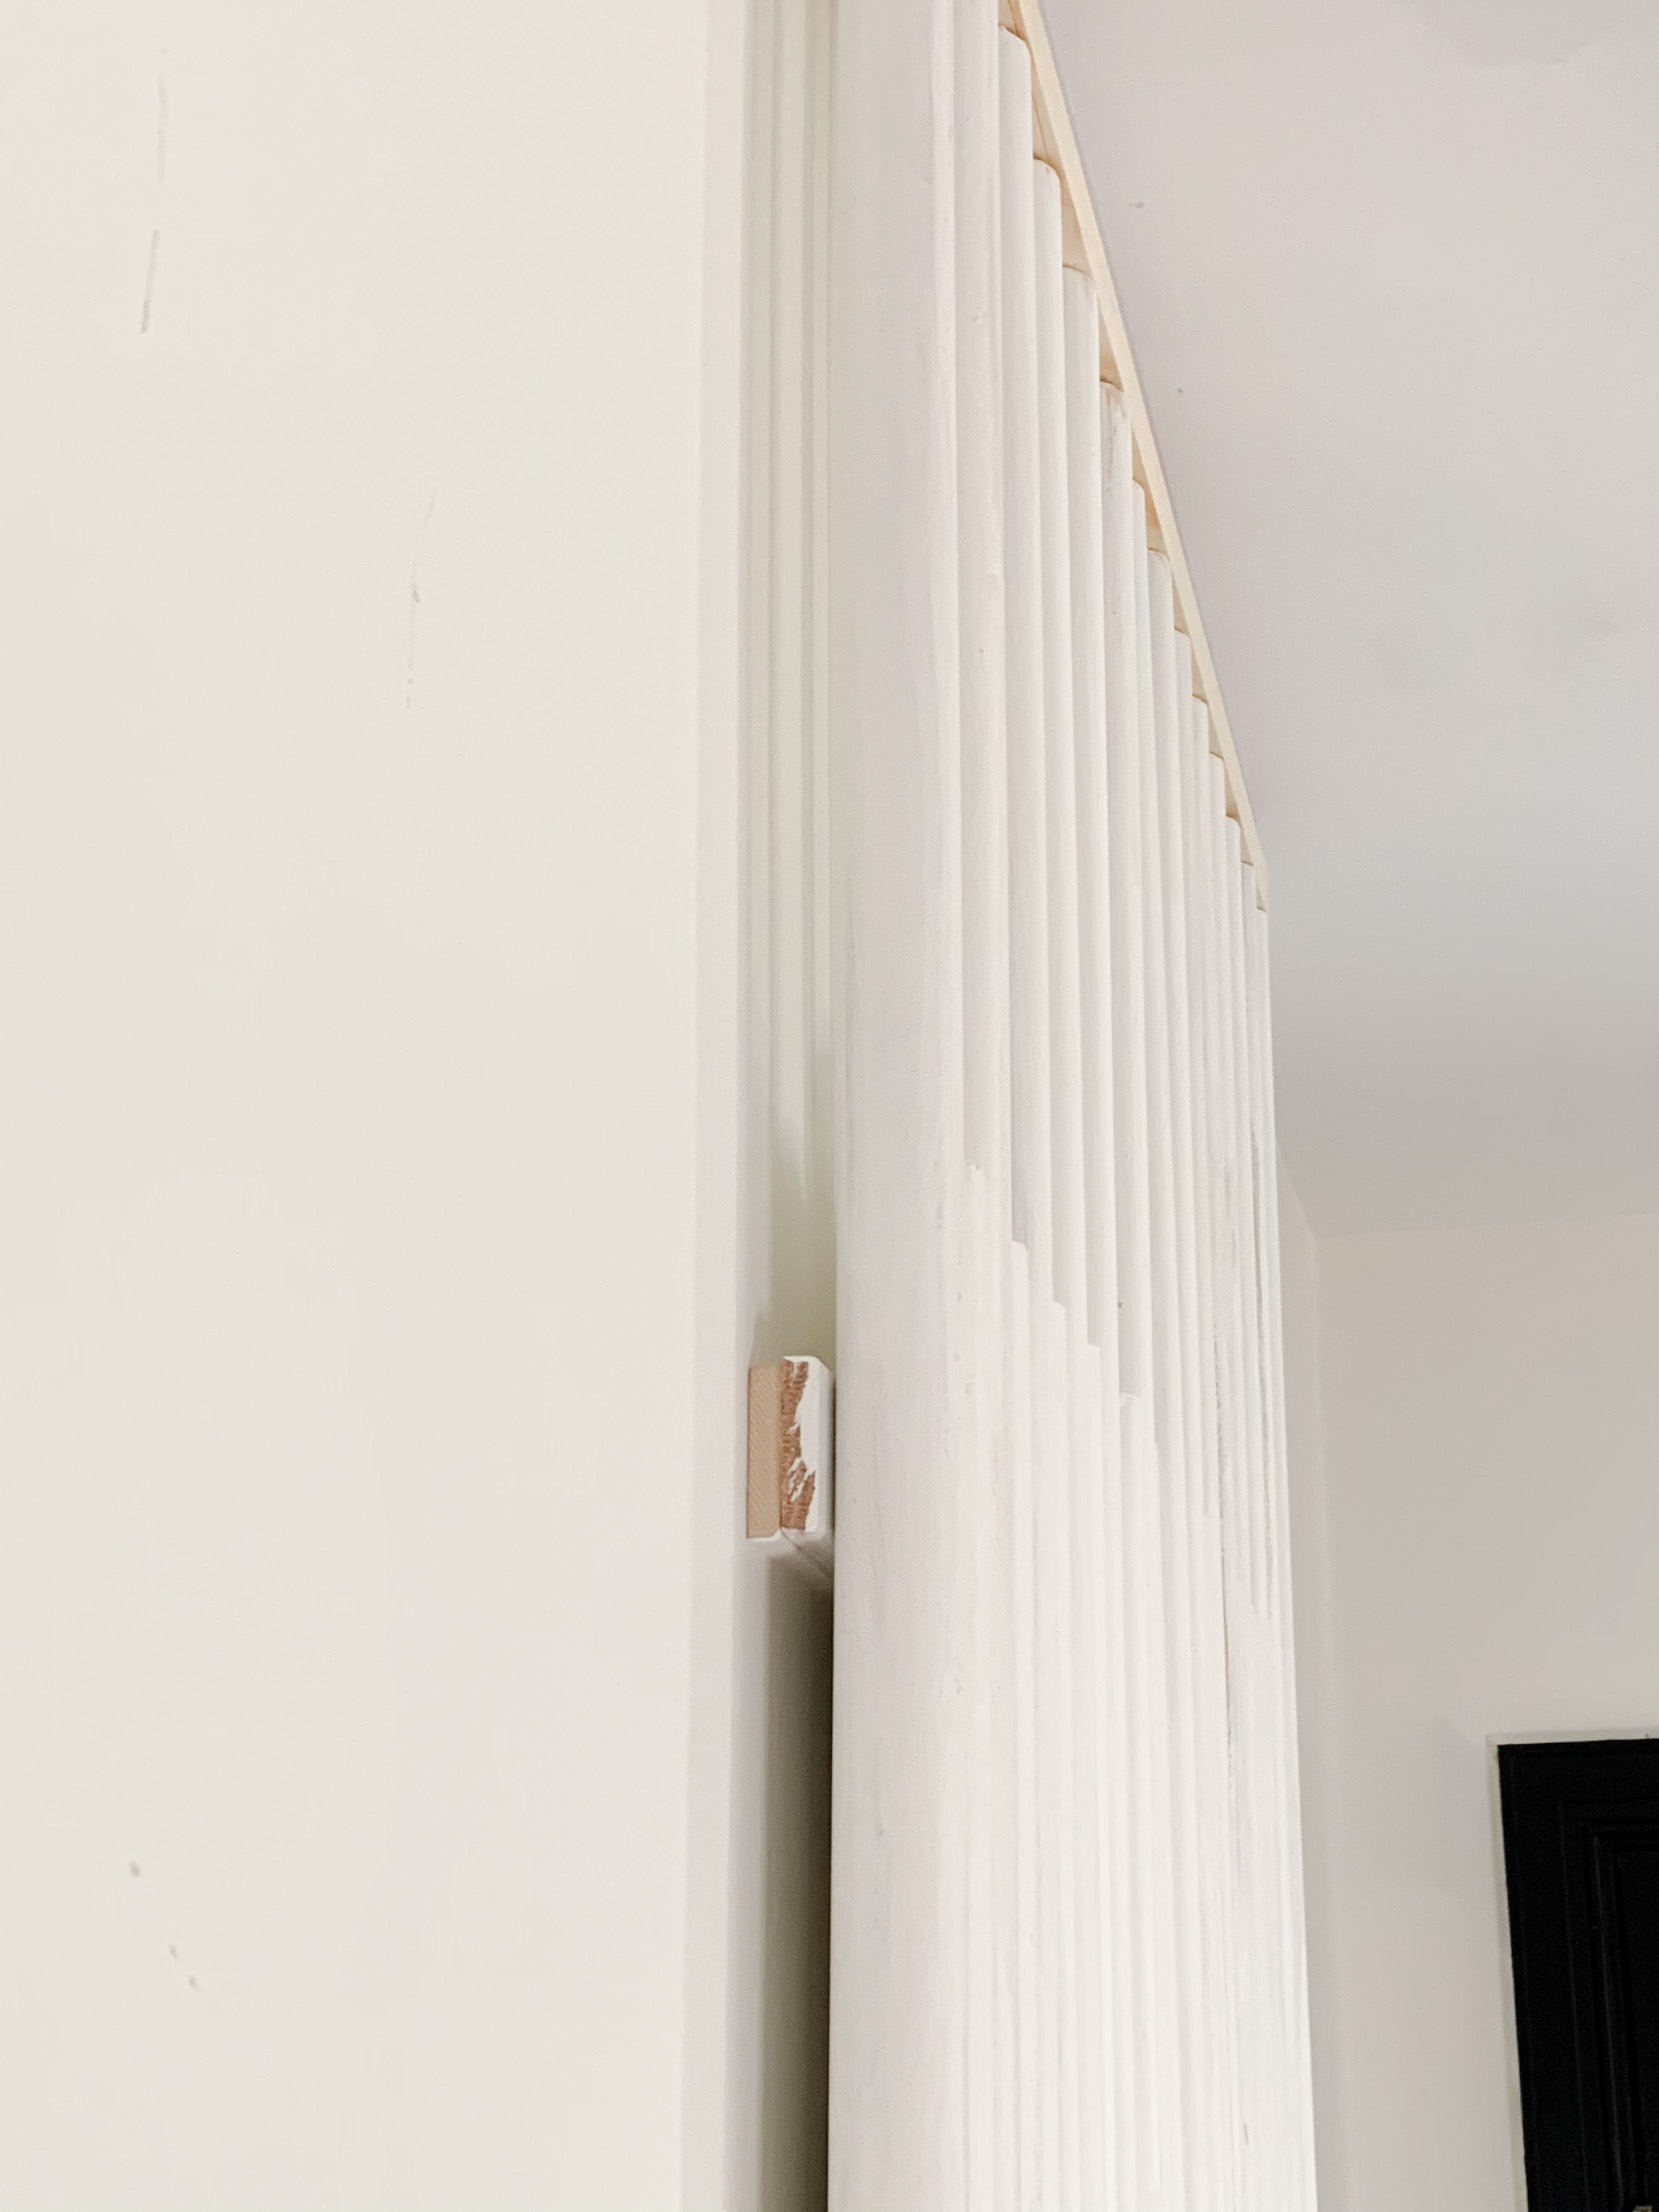
I had 1/4″ thick lattice on hand, so I sandwiched two pieces together and screwed those into studs. One lined up toward the bottom of the shorter dowels. This strip needs to be low to help push the hook out further. Another thing to experiment with while planning your design! The other sandwiched lattice was toward the top, with the magnets drilled in.
Framing it Out
I used 1x2s at the top and bottom of the coat rack. These pieces were also screwed into the studs. I had accounted for these during the design step and factored them into the length I chose for the long dowels. Don’t forget to account for the 1 inch square dowel on each end also!
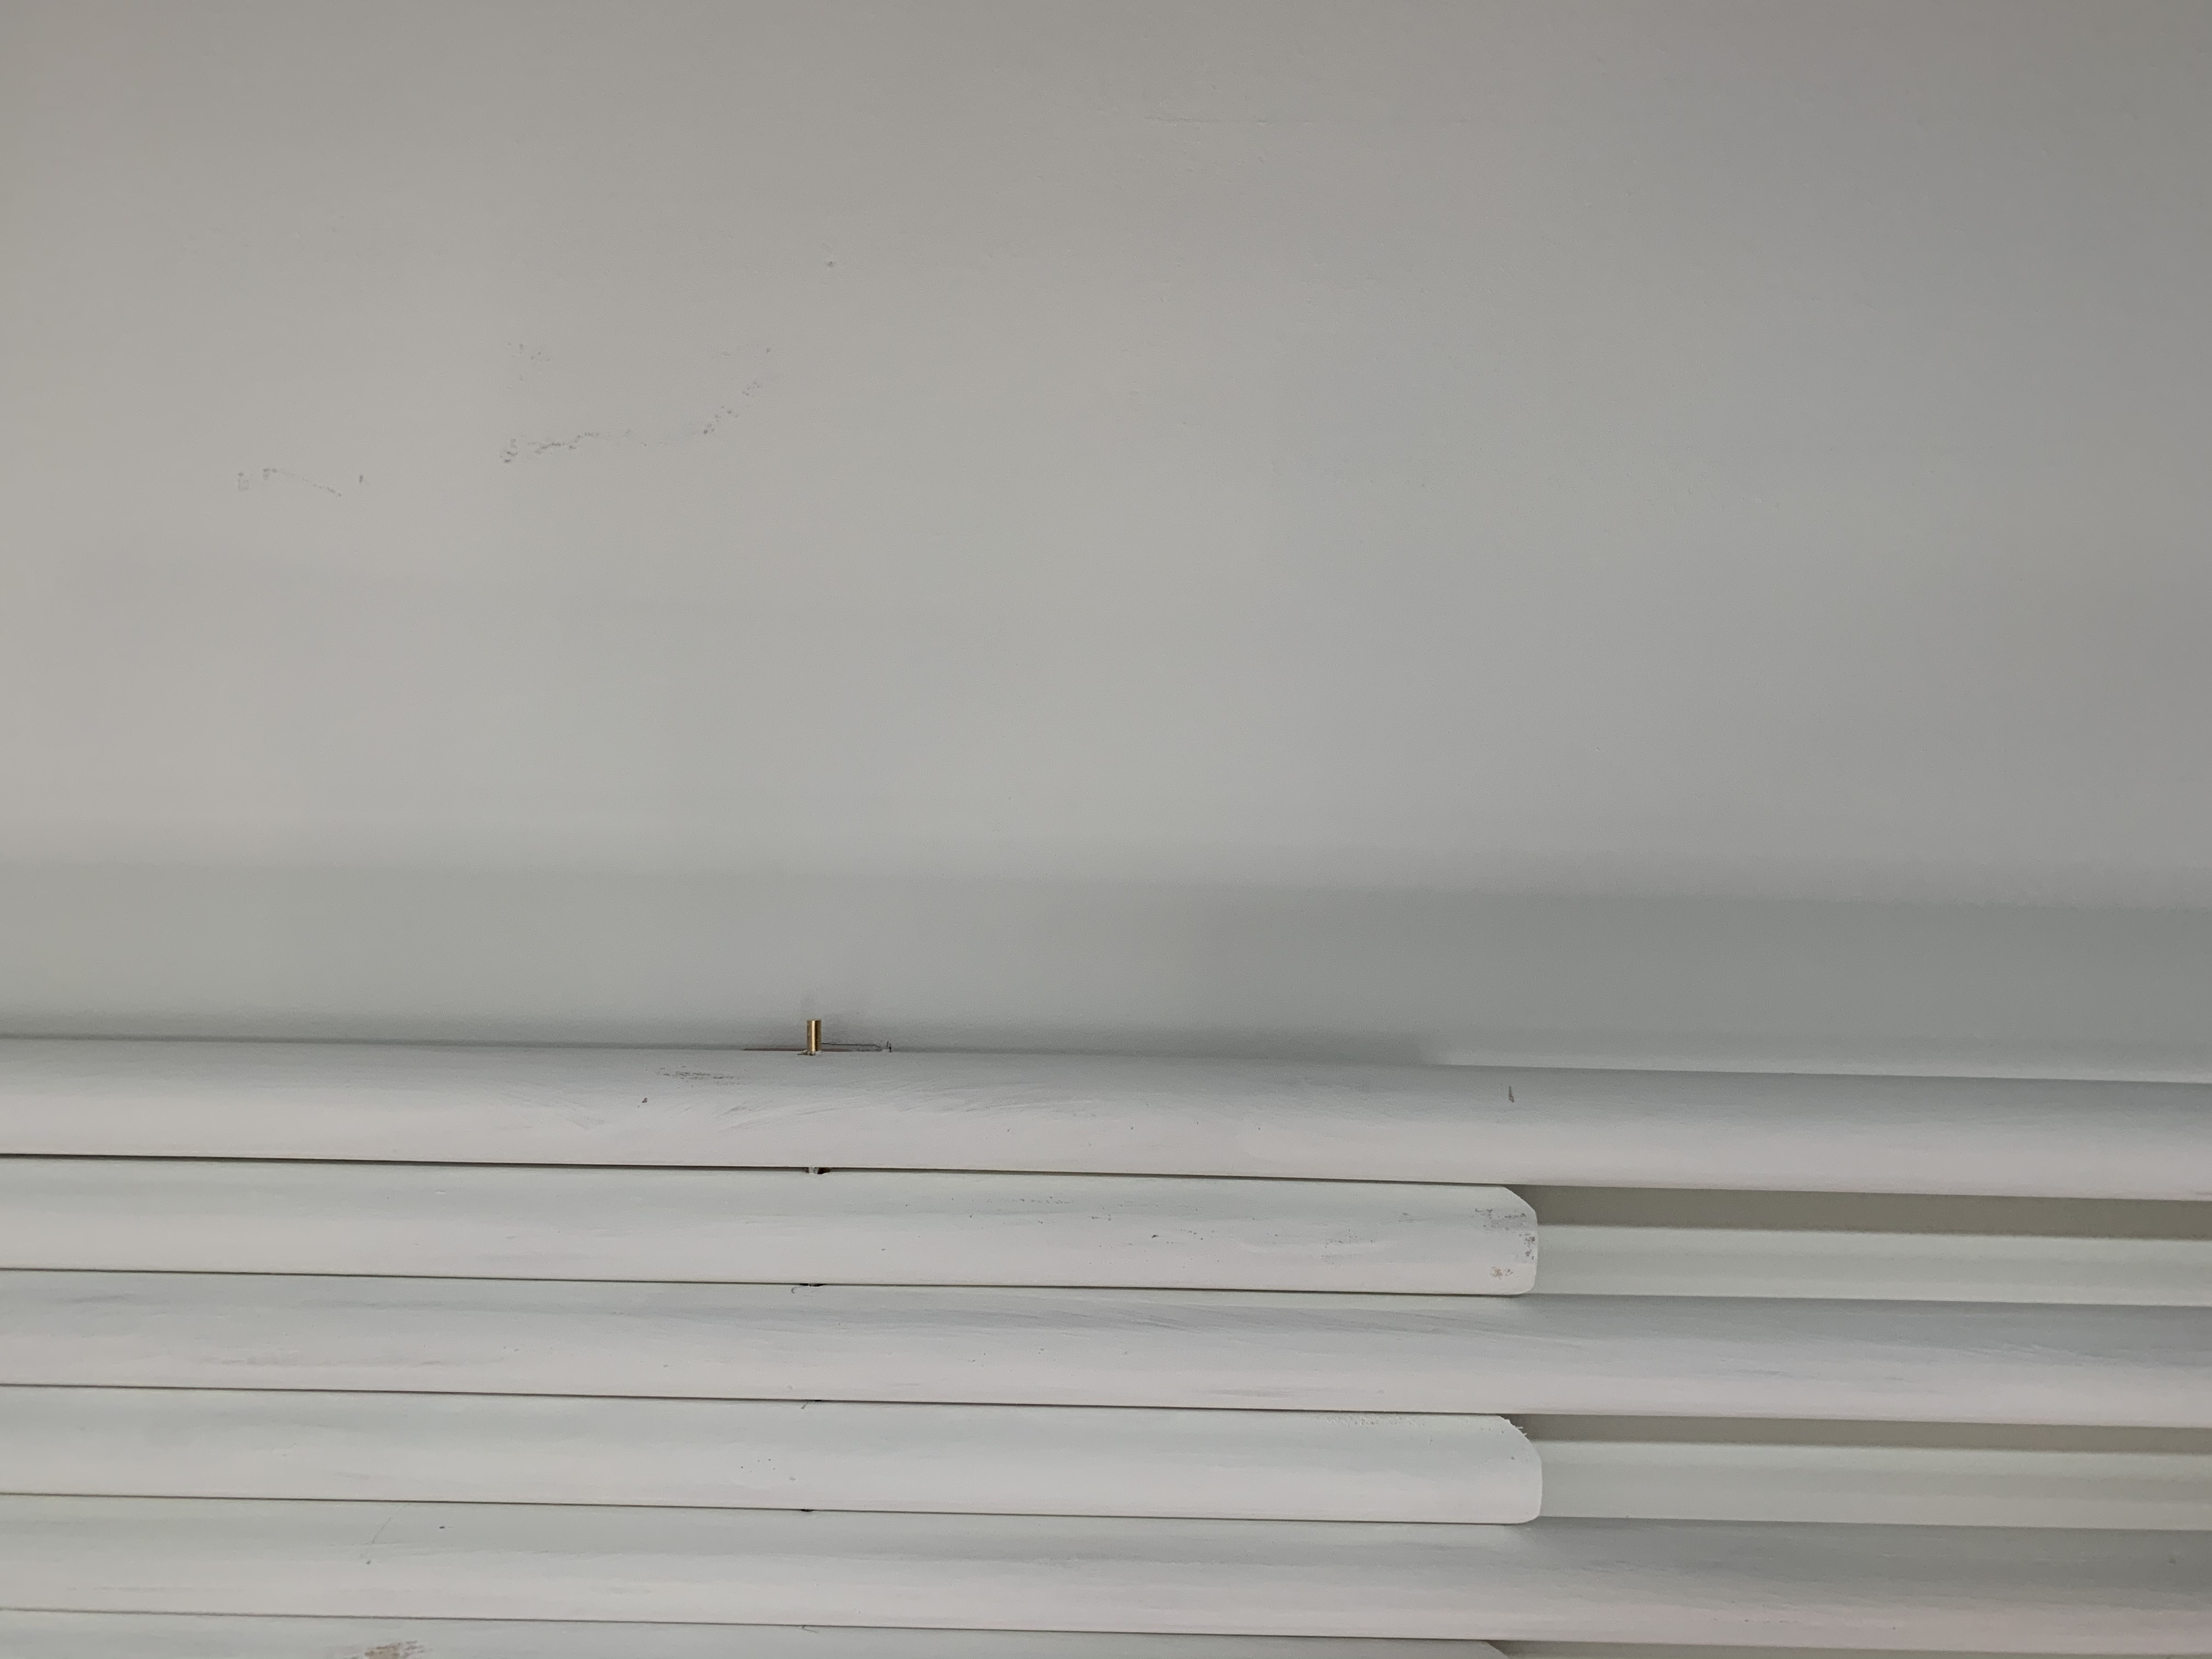
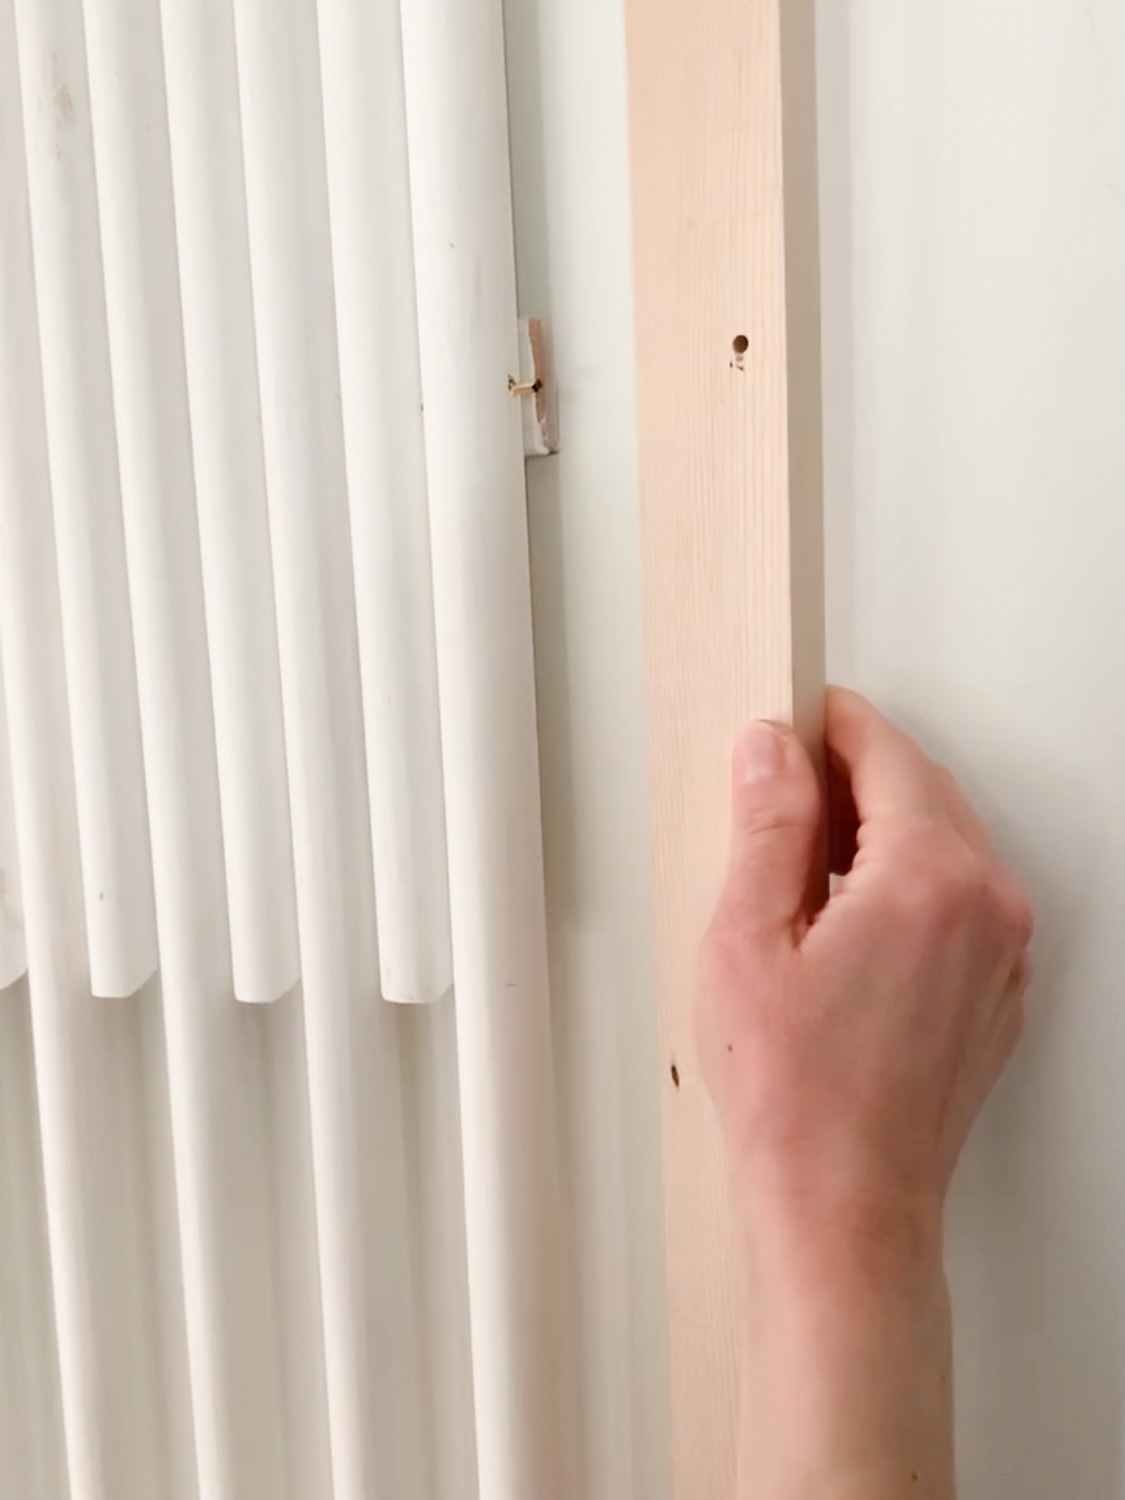
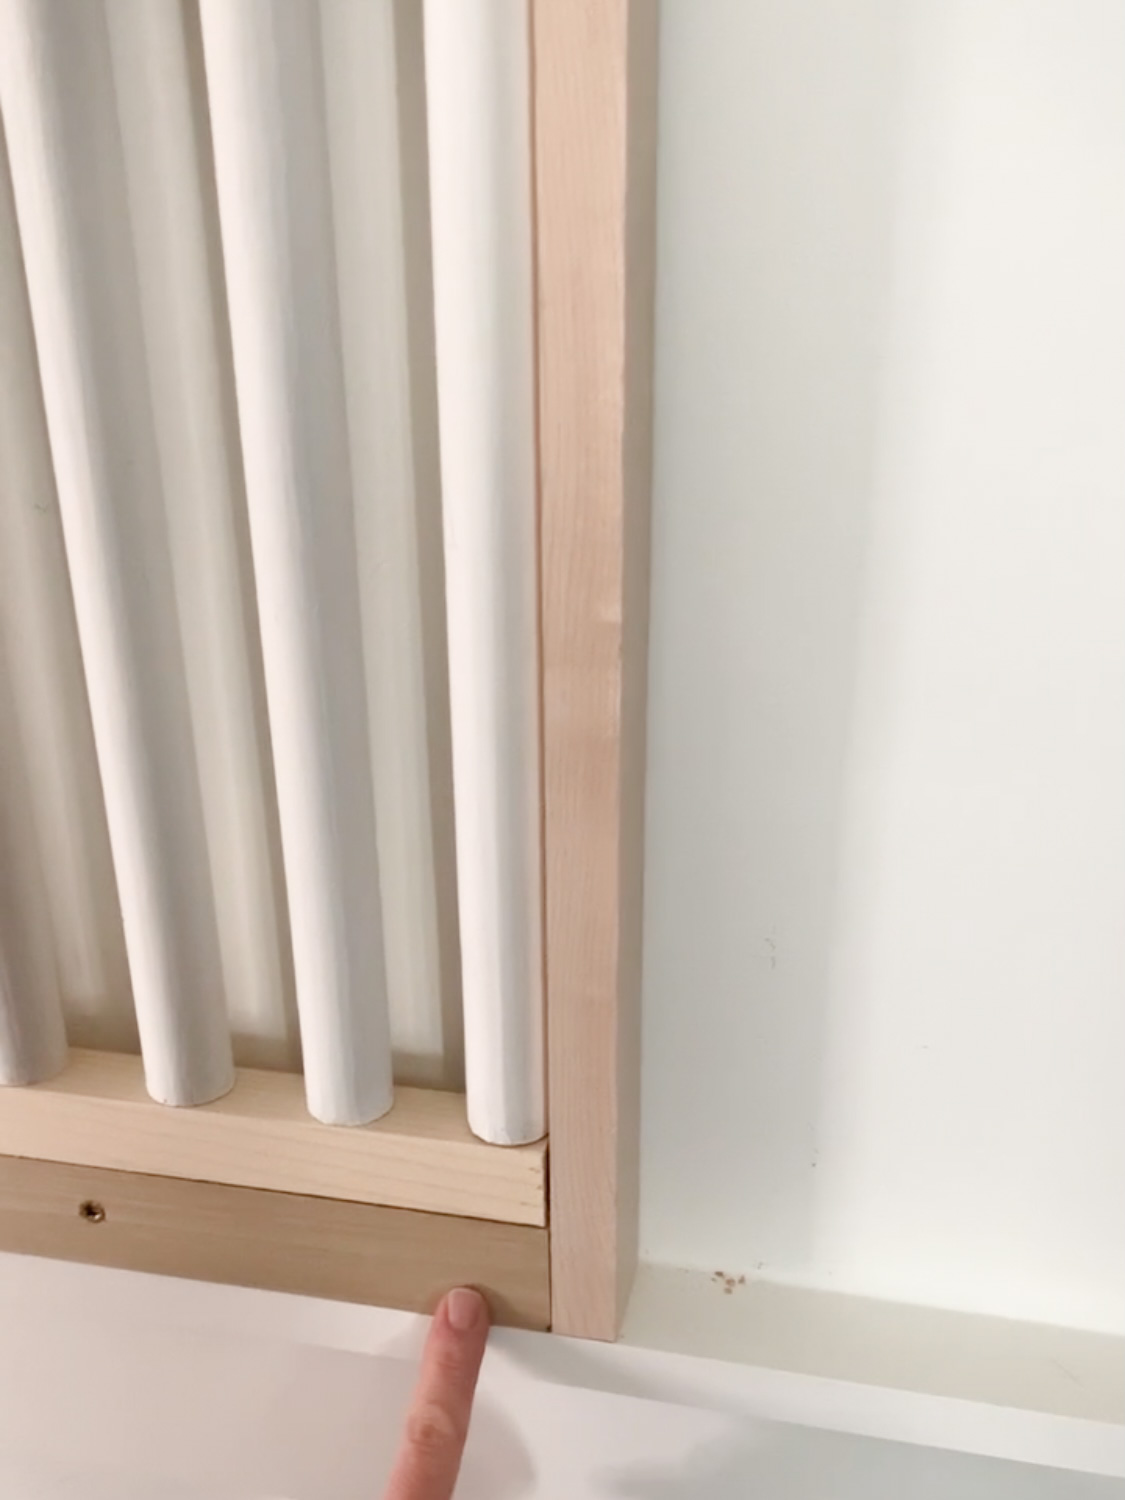
The metal rod running through the dowels was 28″, but the dowels themselves only made up about 27″. I left the remaining metal rod poking out, and I used it when framing the sides with a 1×2. Using the paint trick to mark where to drill, I made a little hole to fit the end of the rod into. This allowed the 1×2 to fit nice and snug. I nailed this 1×2 into the top and bottom 1x2s that were screwed into studs. The point of this entire mounting process was to avoid ruining the wall. This coat rack can be very easily removed…. Just a few screw holes to fill!
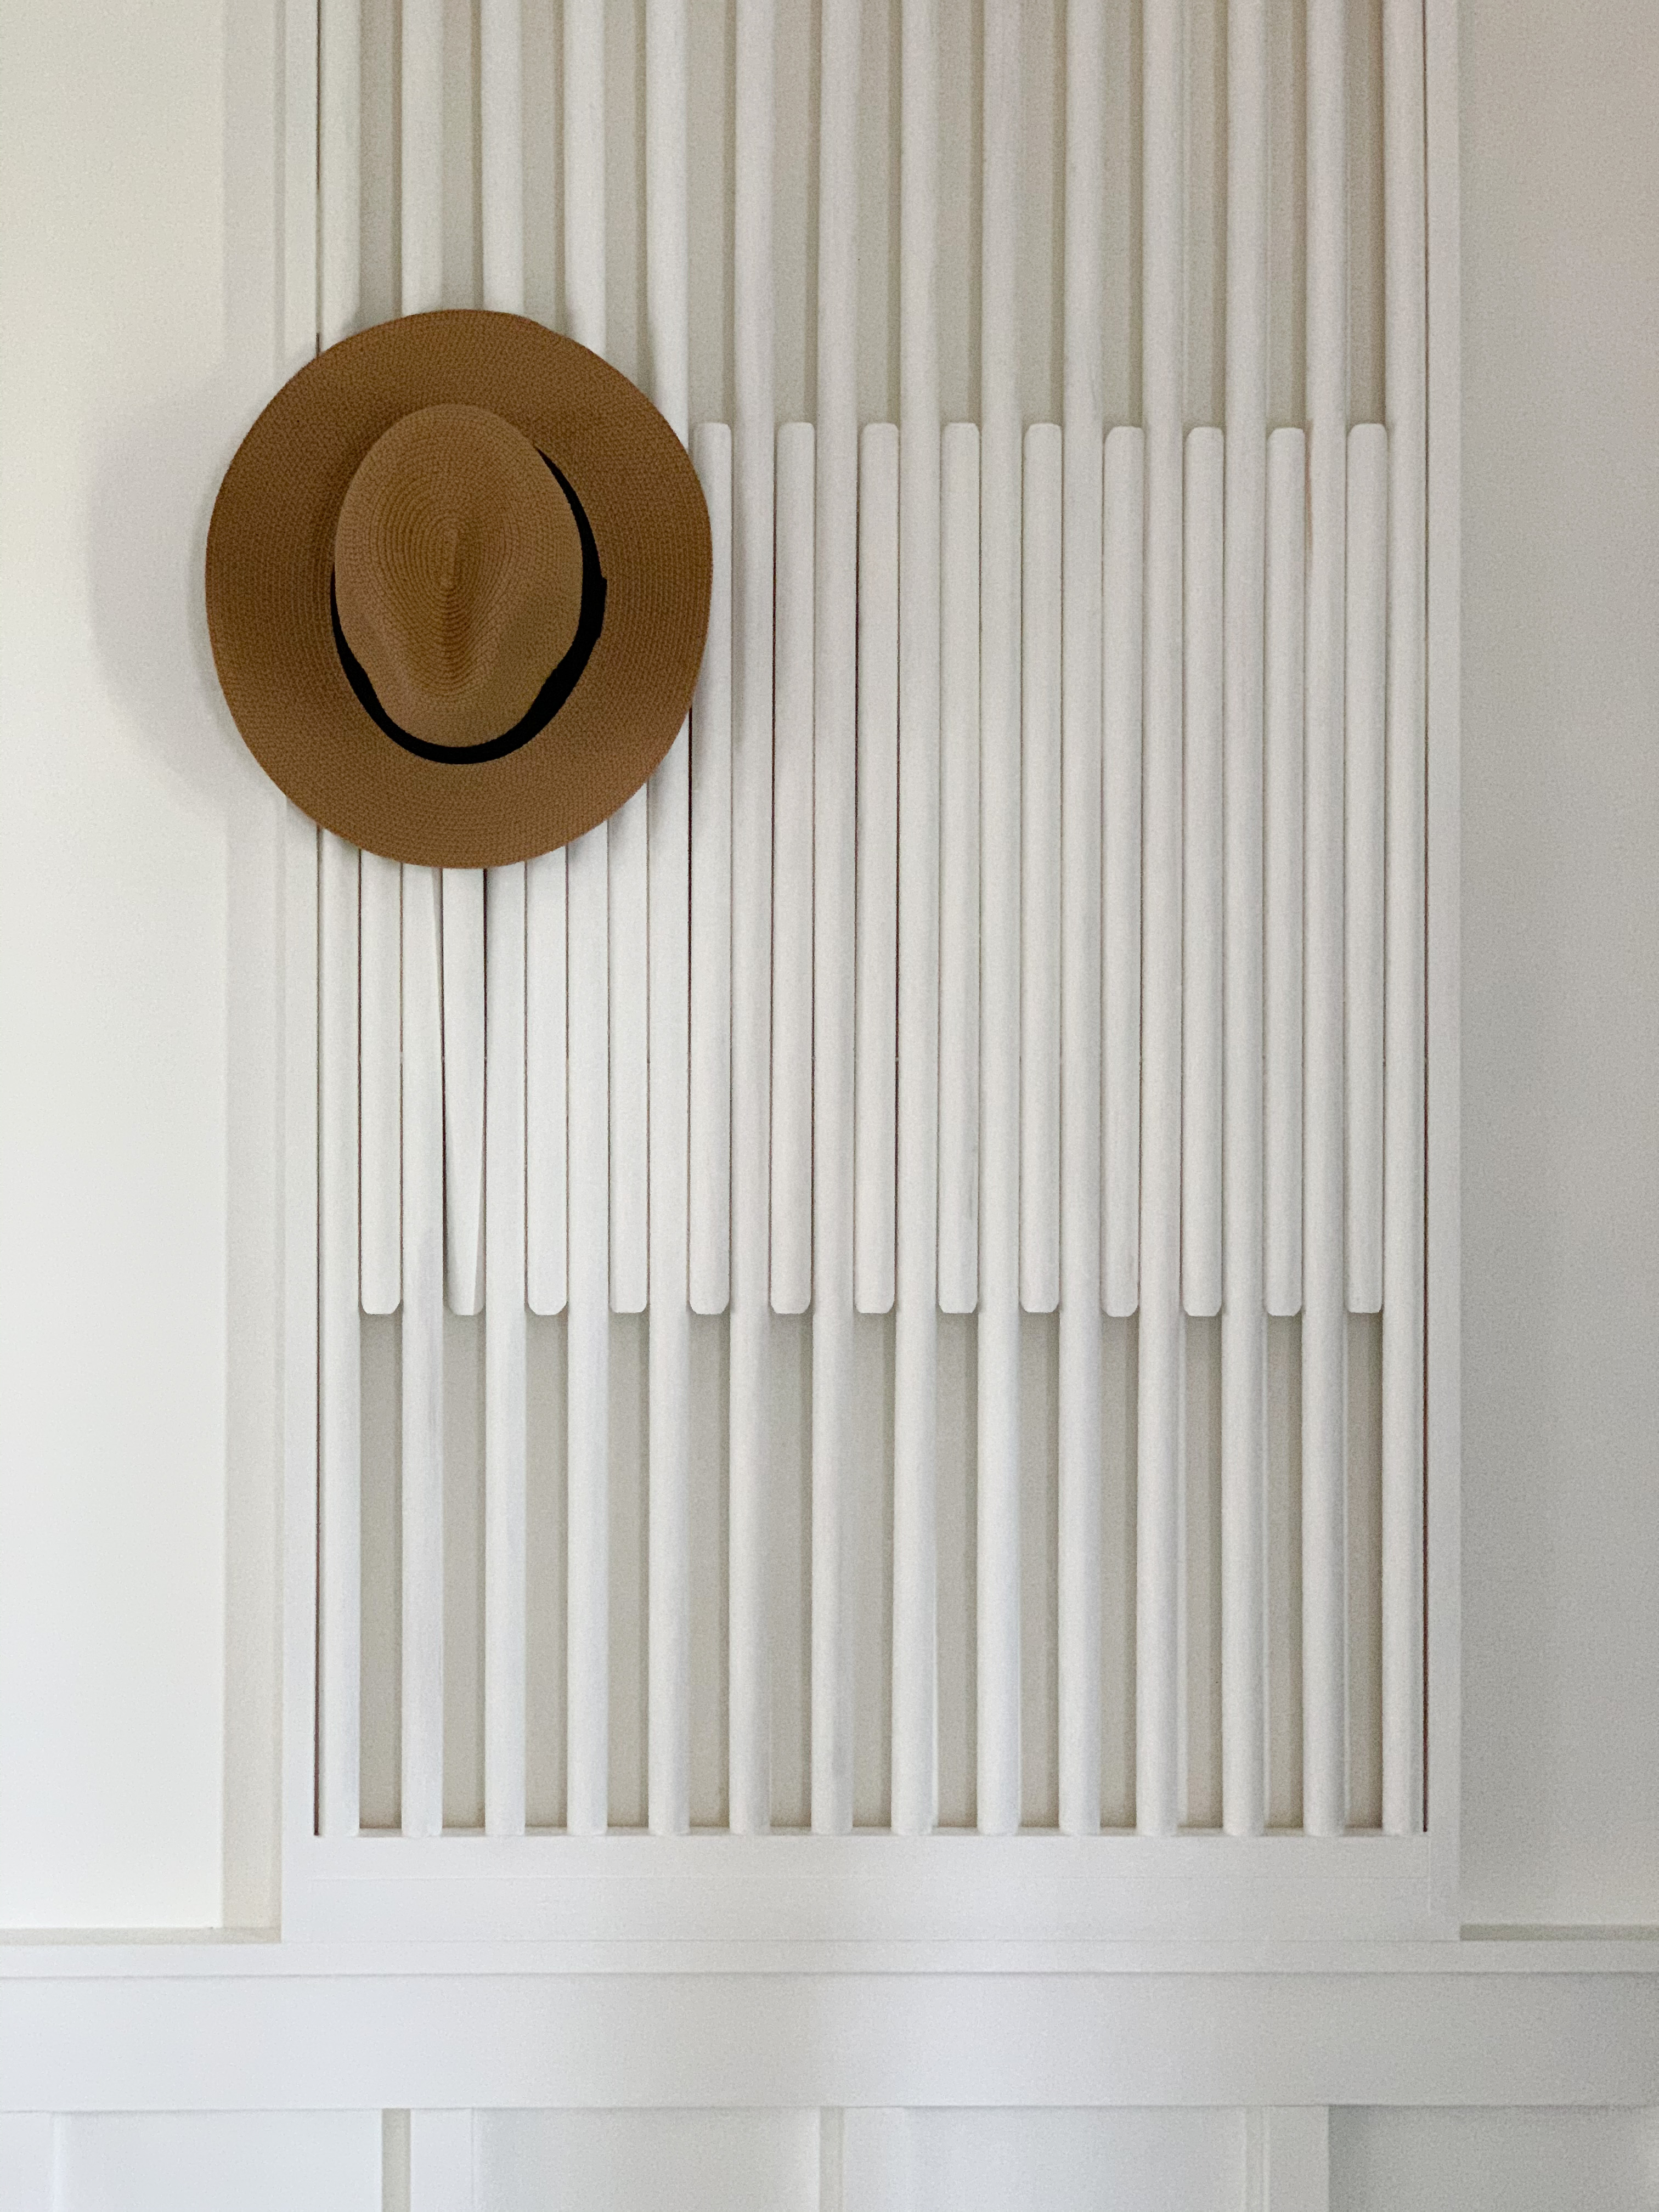
This project, like most, wasn’t easy. The end result made it all worthwhile. Since it’s the same color as the wall, it looks like a cool trim detail. The fact that it also functions as a coat rack makes it even better!
This post may contain affiliate links. Please see disclosure, linked here.
