When you open our front door, you immediately see the fireplace. It clearly had taken a beating over the years and was kind of a sad greeting. This whole family room makeover started because of that fireplace. We wanted a mantle that we would be excited to decorate for our first Christmas in the new house!
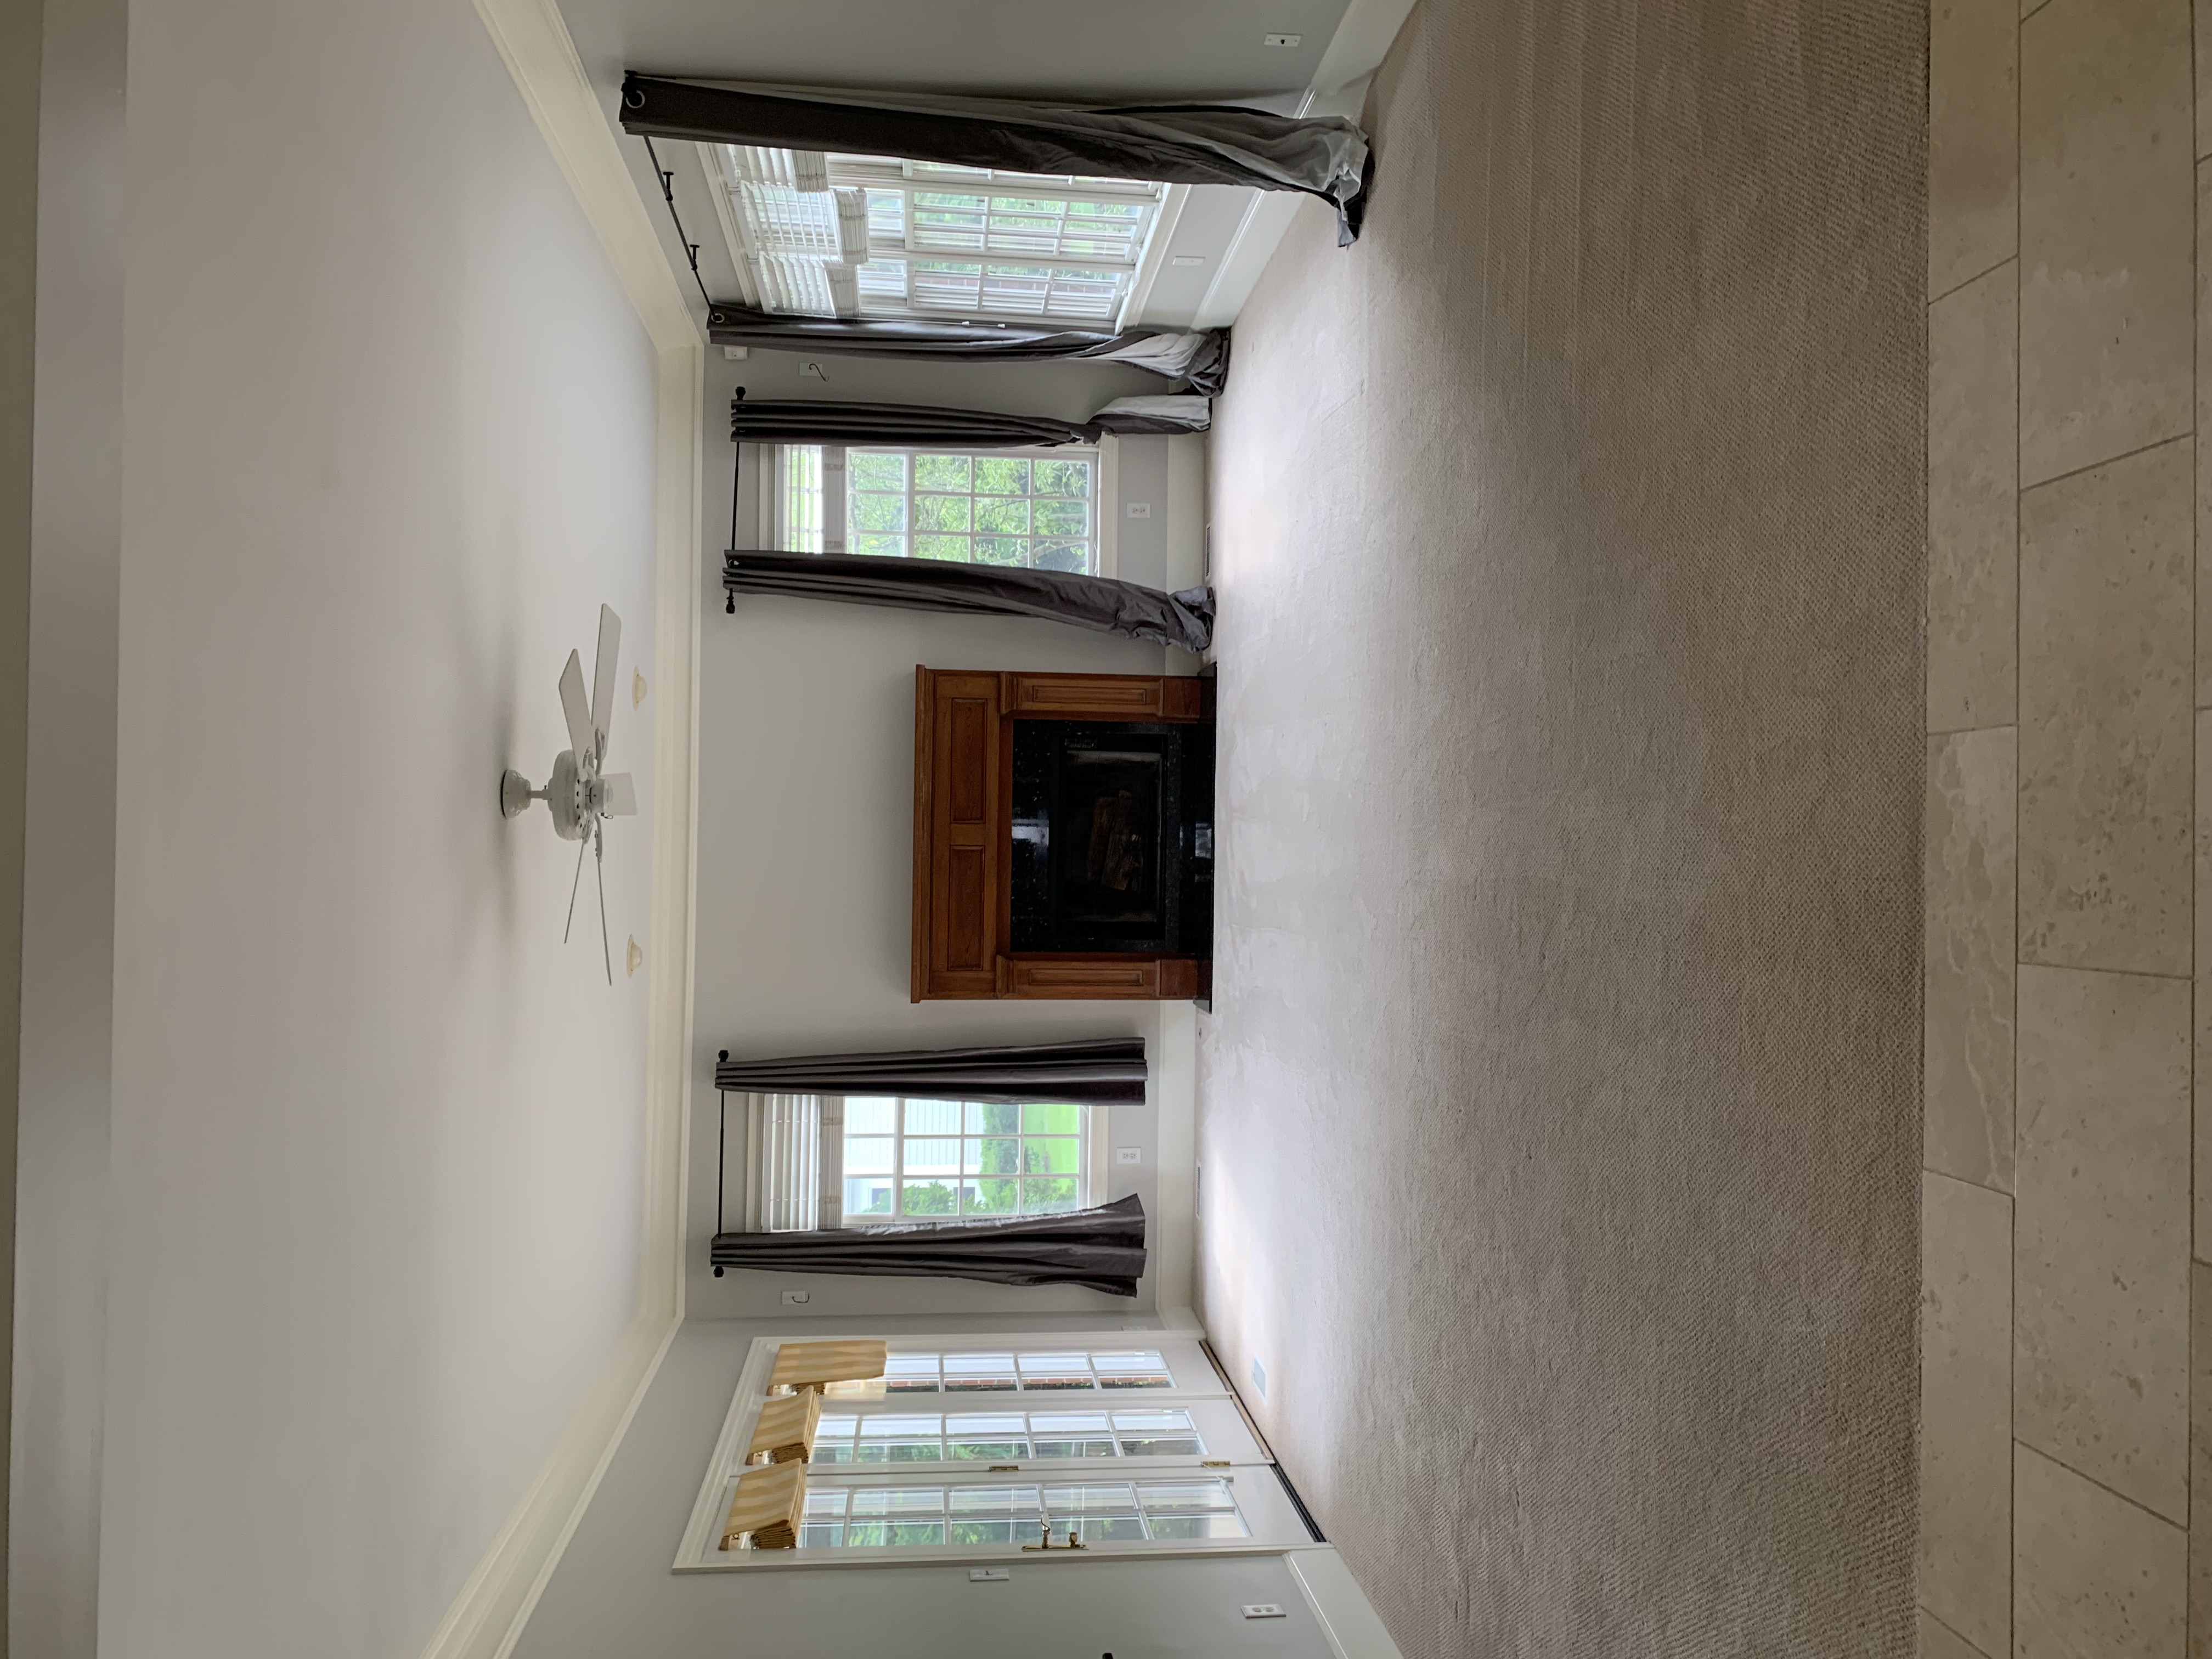
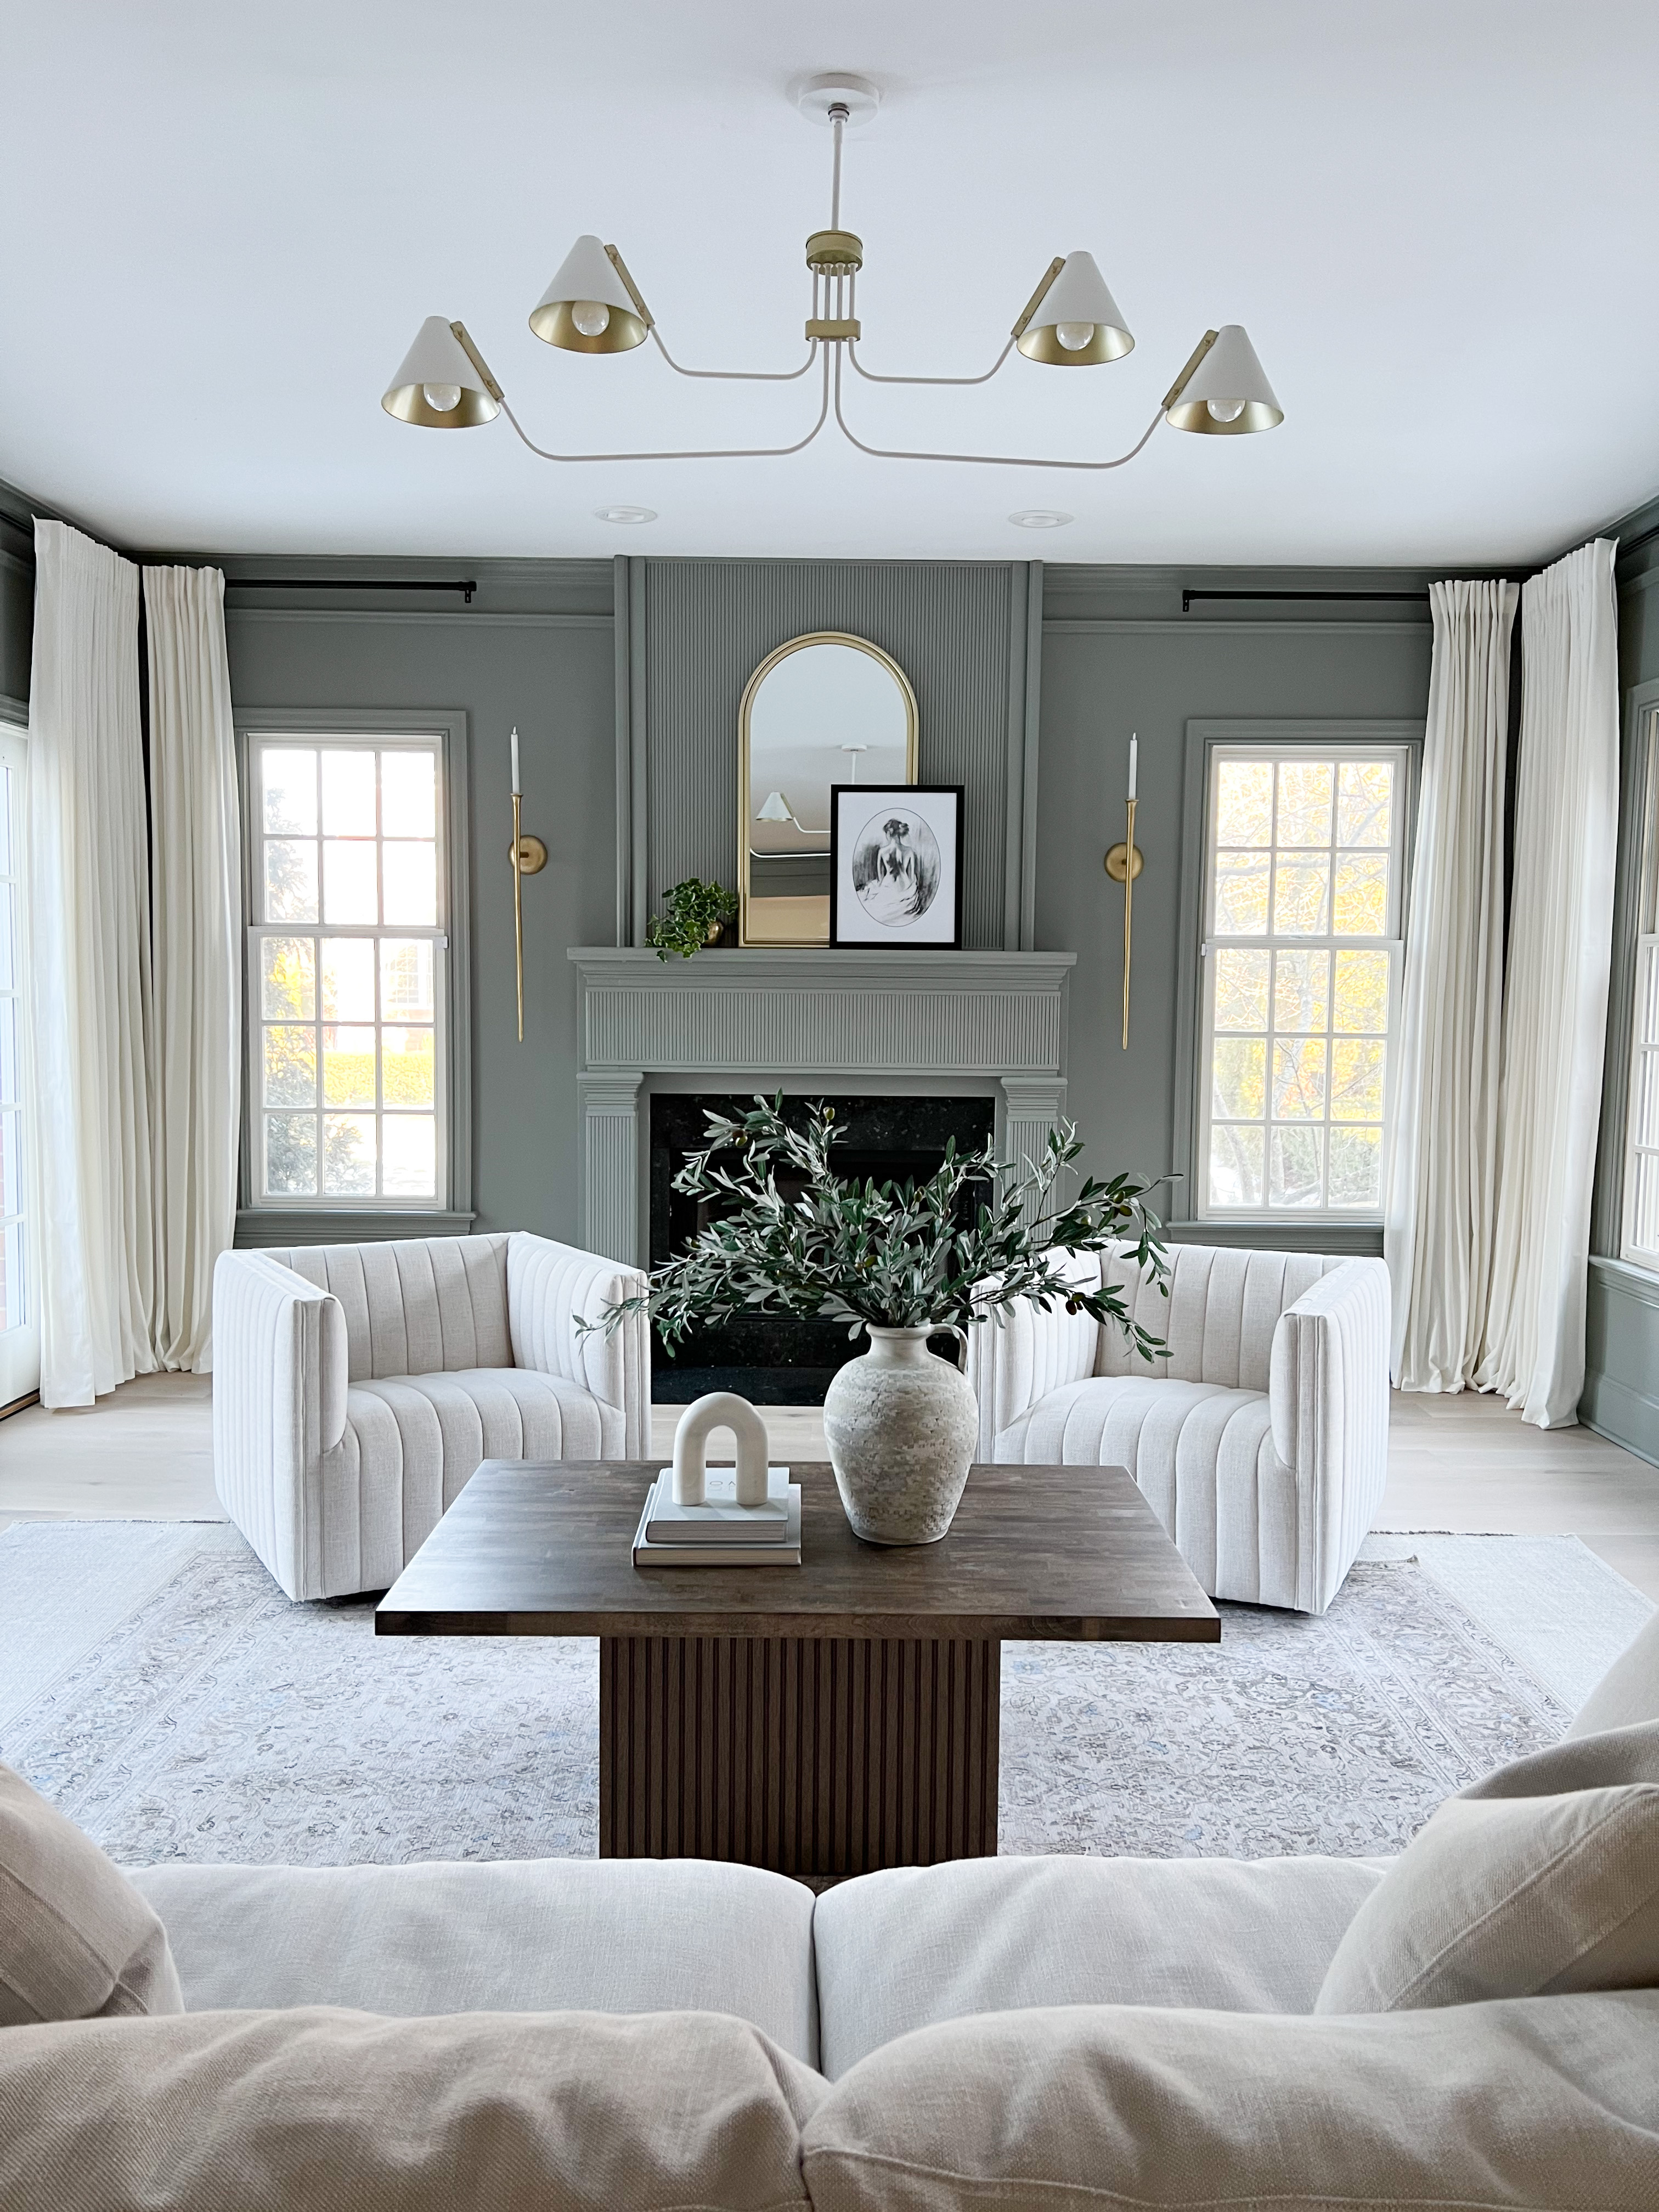
The detailed process is written out below, or you can watch my youtube video of the entire process here!
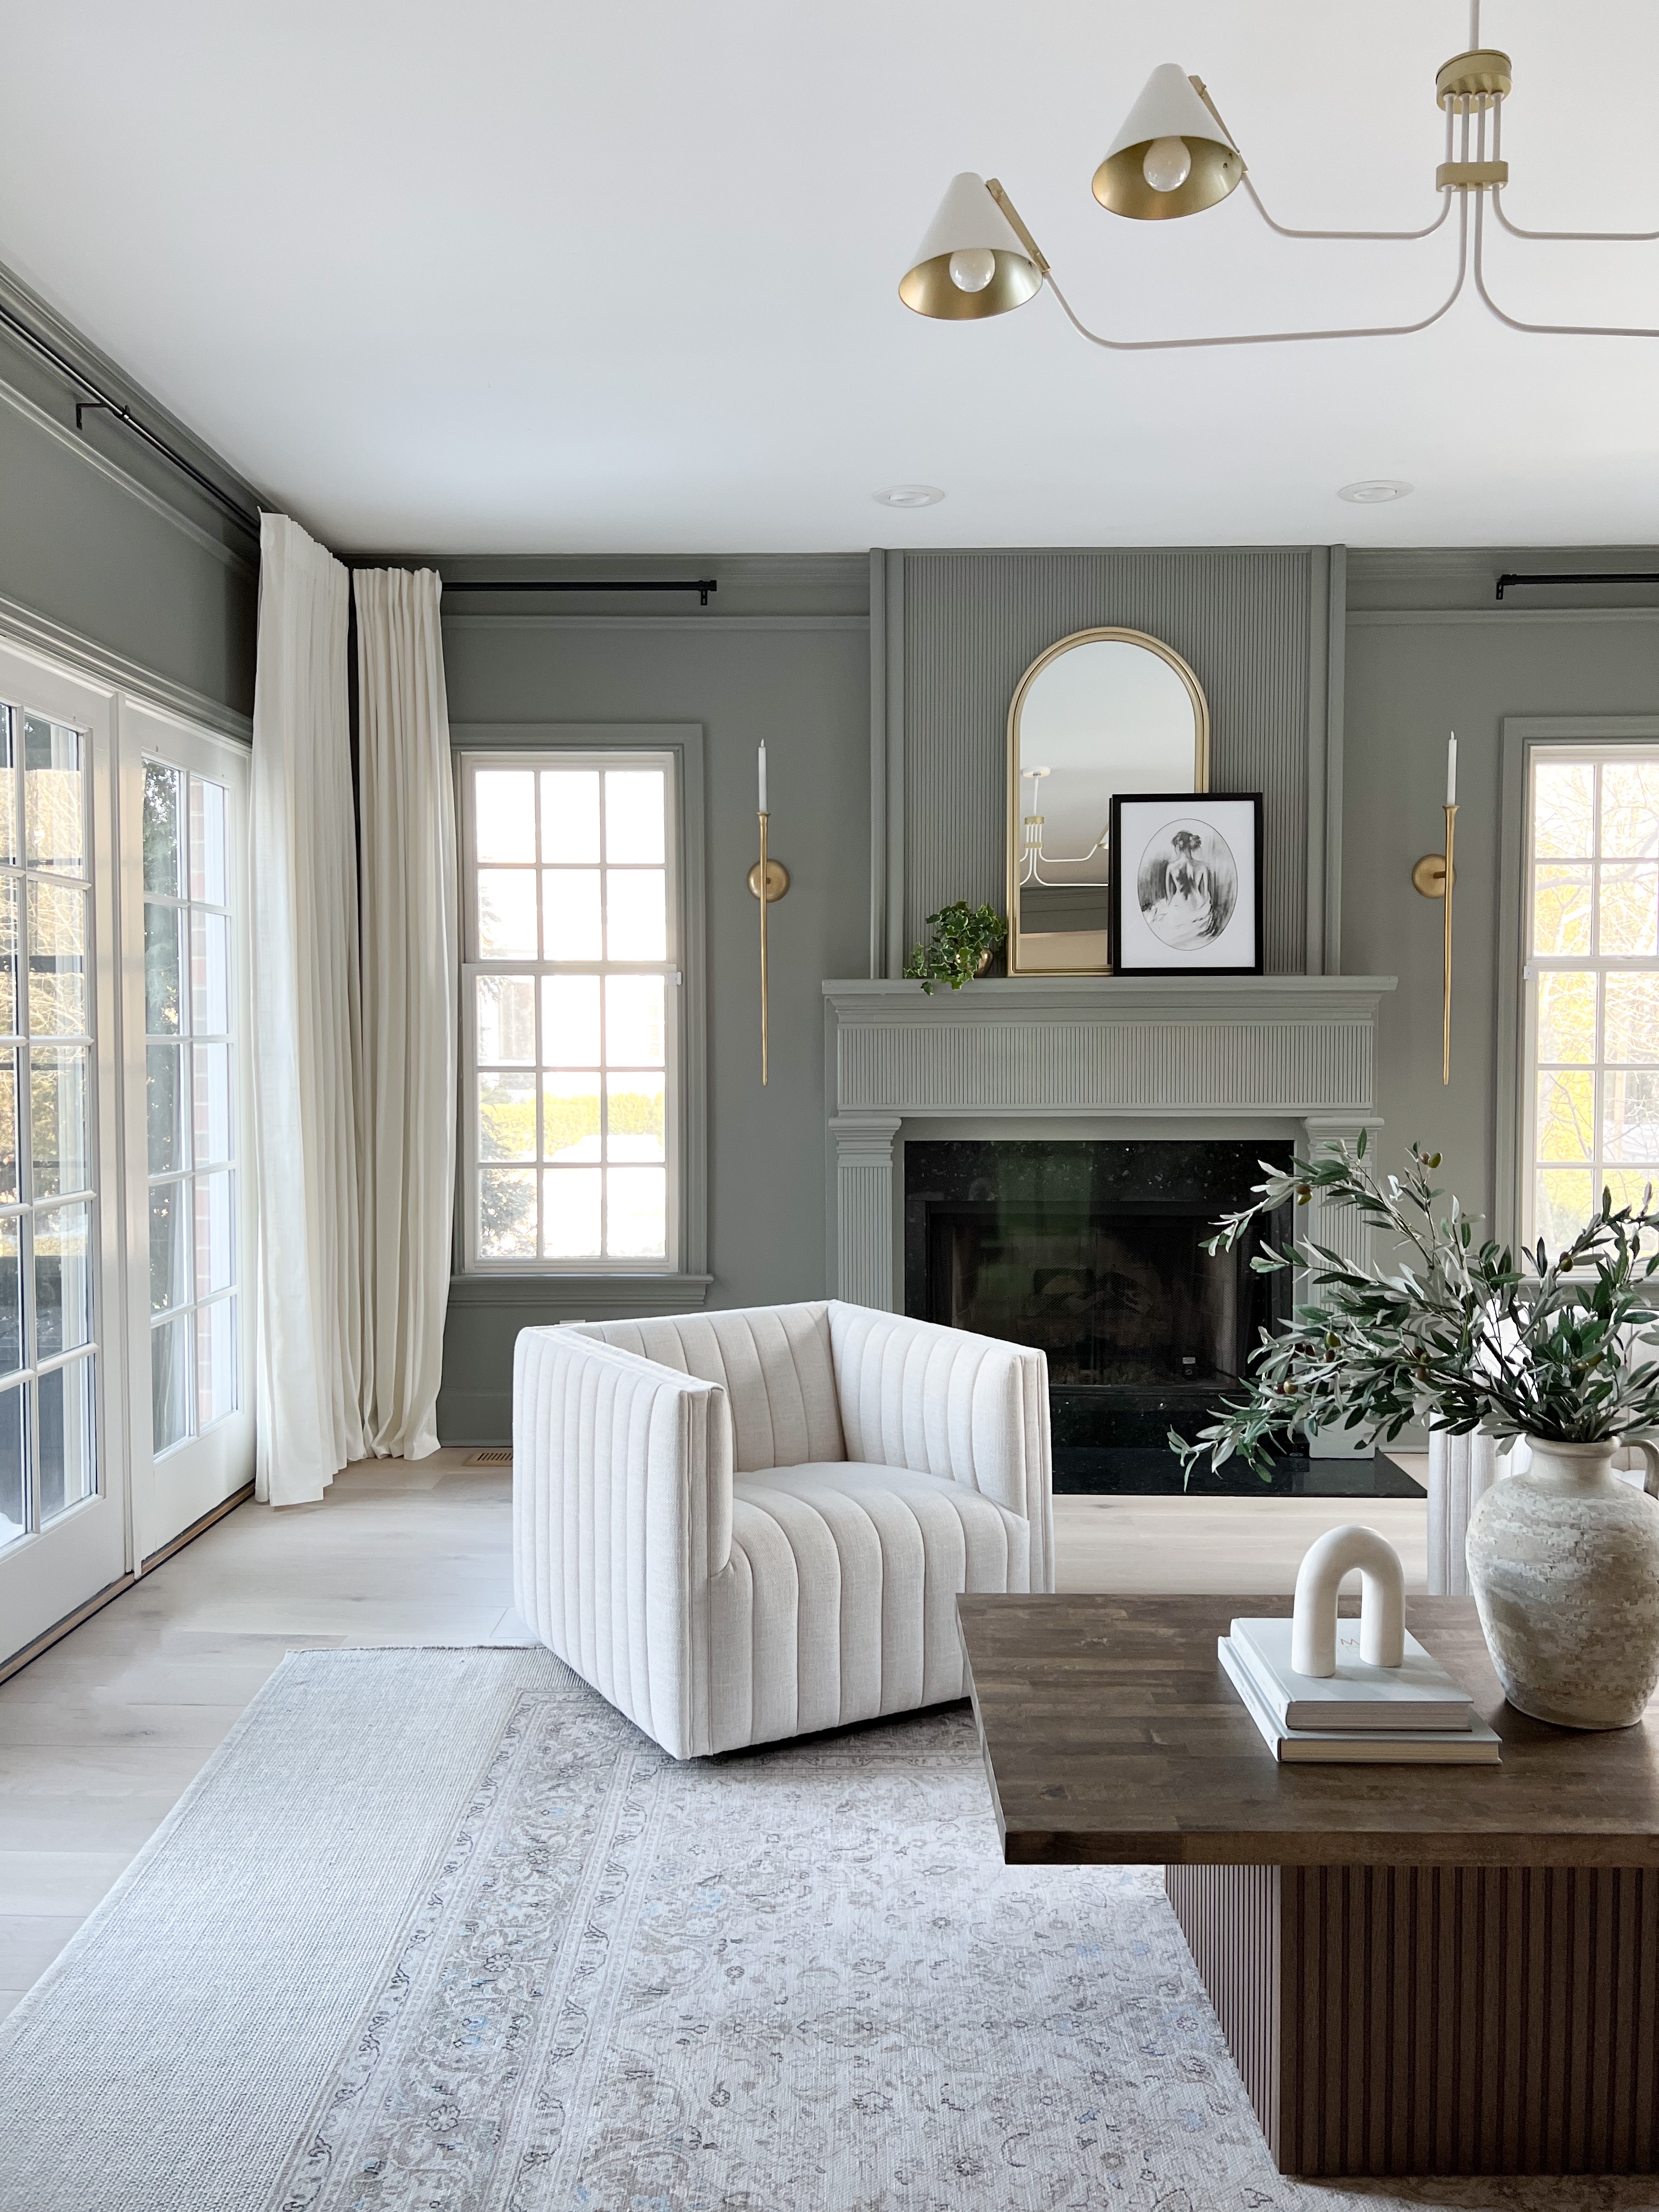
We had the floors done right when we moved in (more about floors at the end), and we removed the window treatments the previous owners left. That made a big difference in itself. For the fireplace, I wrapped it in pole wrap (linked here) to give it a more modern vibe. Taking it all the way up to the ceiling was the best decision, the room feels so much taller!
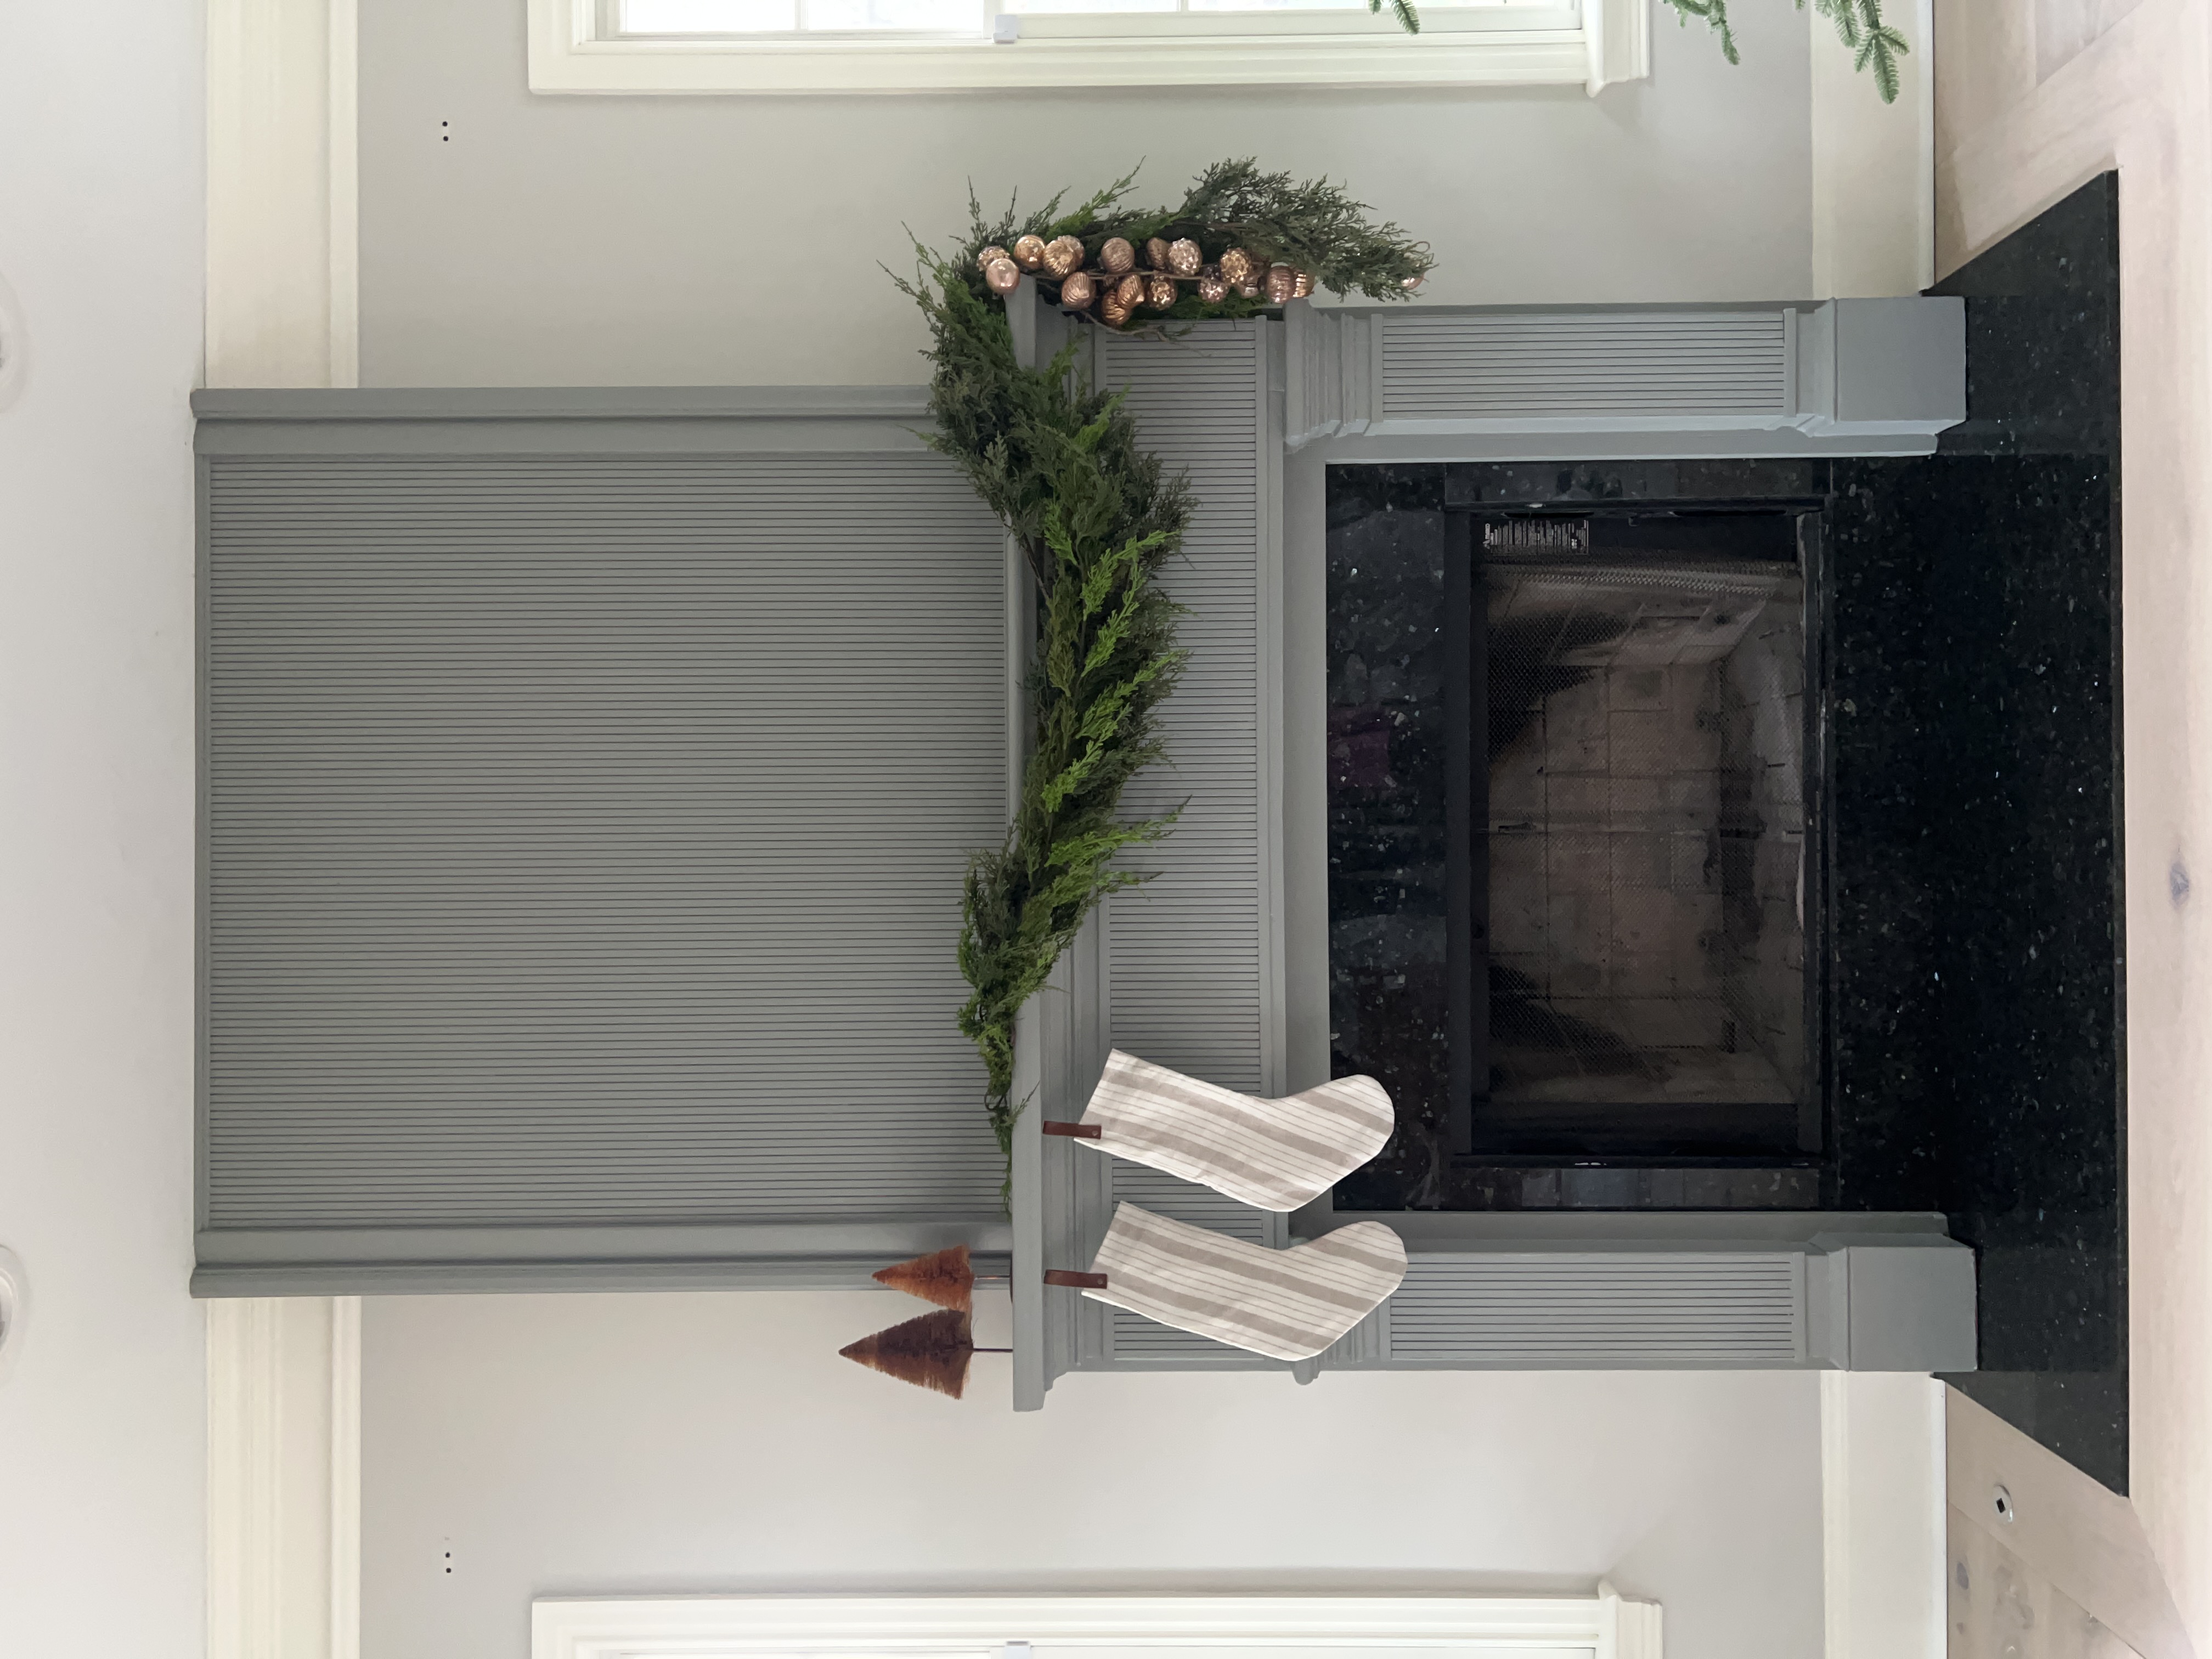
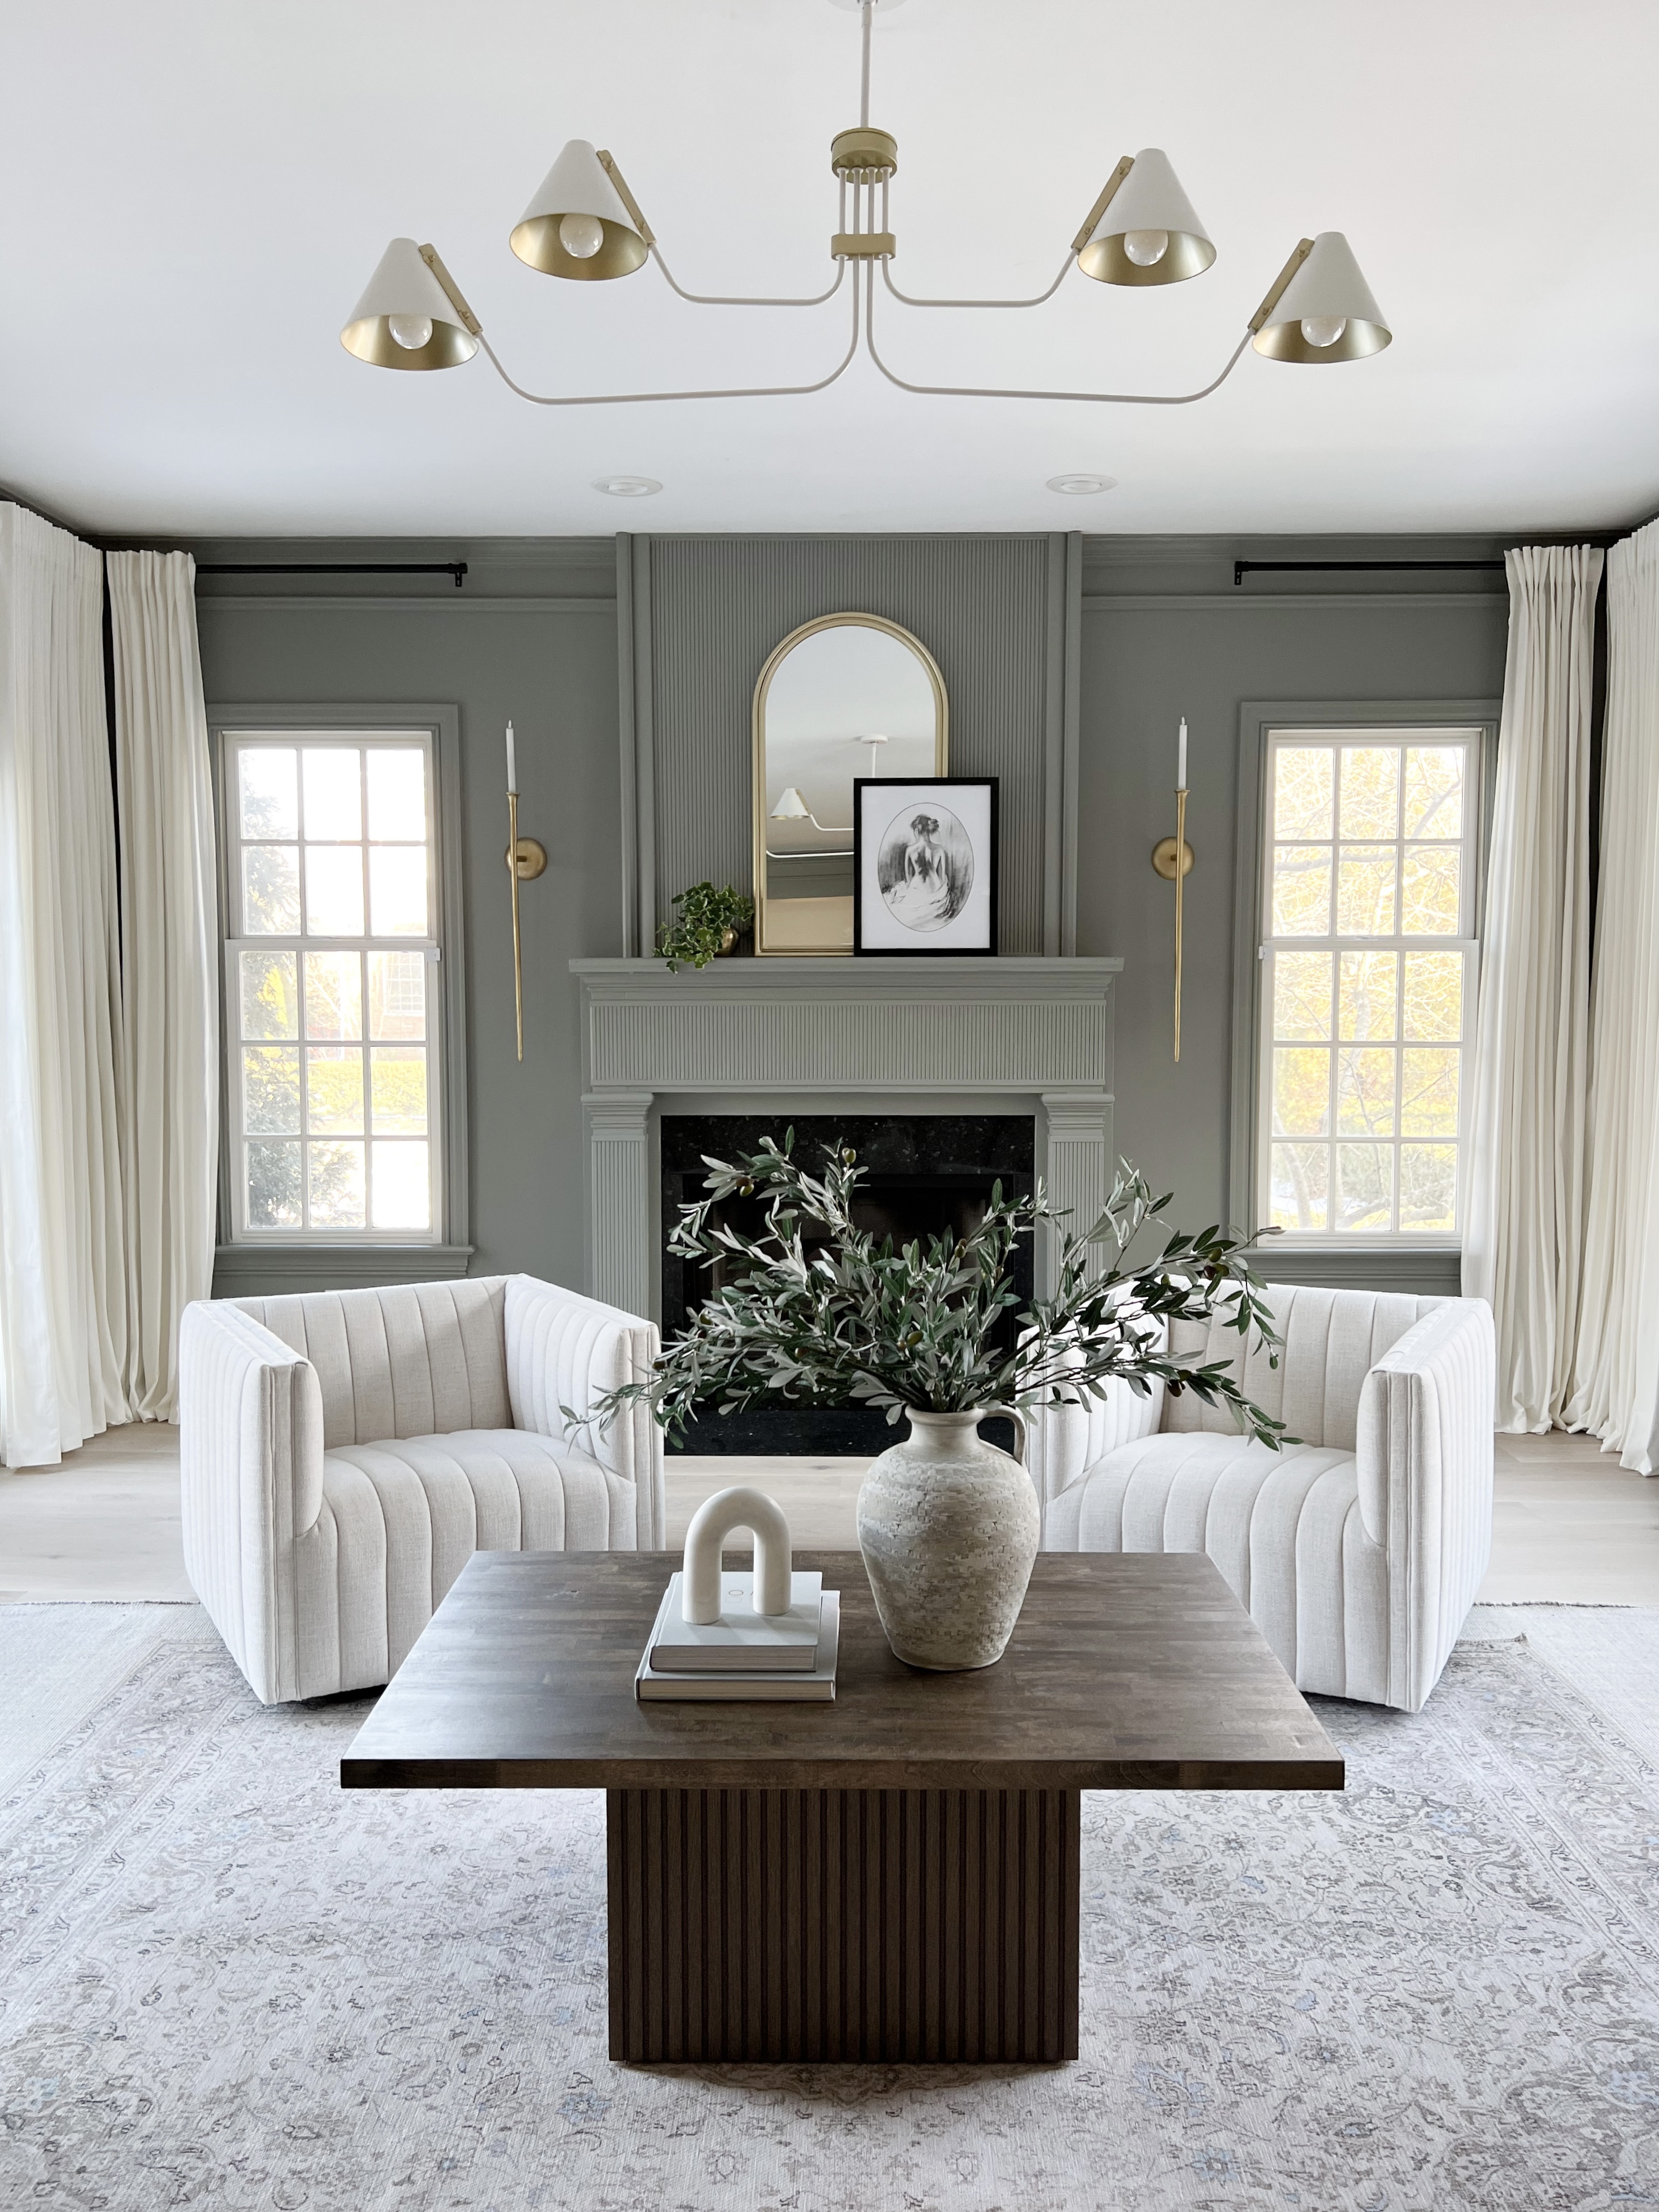
Pole wrap isn’t cheap, but it makes such a statement, and I haven’t found an easier or affordable fluting technique yet. With the height of the fireplace, I needed a 4’x8′ sheet (about $170 in the oak) and part of a 4’x4′ sheet (about $70). Pole wrap is quicker than using half round moulding or another type of moulding to achieve the fluted look, and it’s usually around the same price, sometimes less.
The Paint
I chose Illusive Green by Sherwin Williams for this room and LOVE the color so much!! It’s the perfect moody green/gray color… It sometimes looks more gray, sometimes more green, and sometimes even a little blue. It all depends on the lighting, but all look awesome.
Trim – Sherwin Williams Pro Classic, Satin Finish
Walls – Sherwin Williams Emerald Paint, Satin Finish
I did two coats on everything, a few spots needed three!
Fluted Media Console
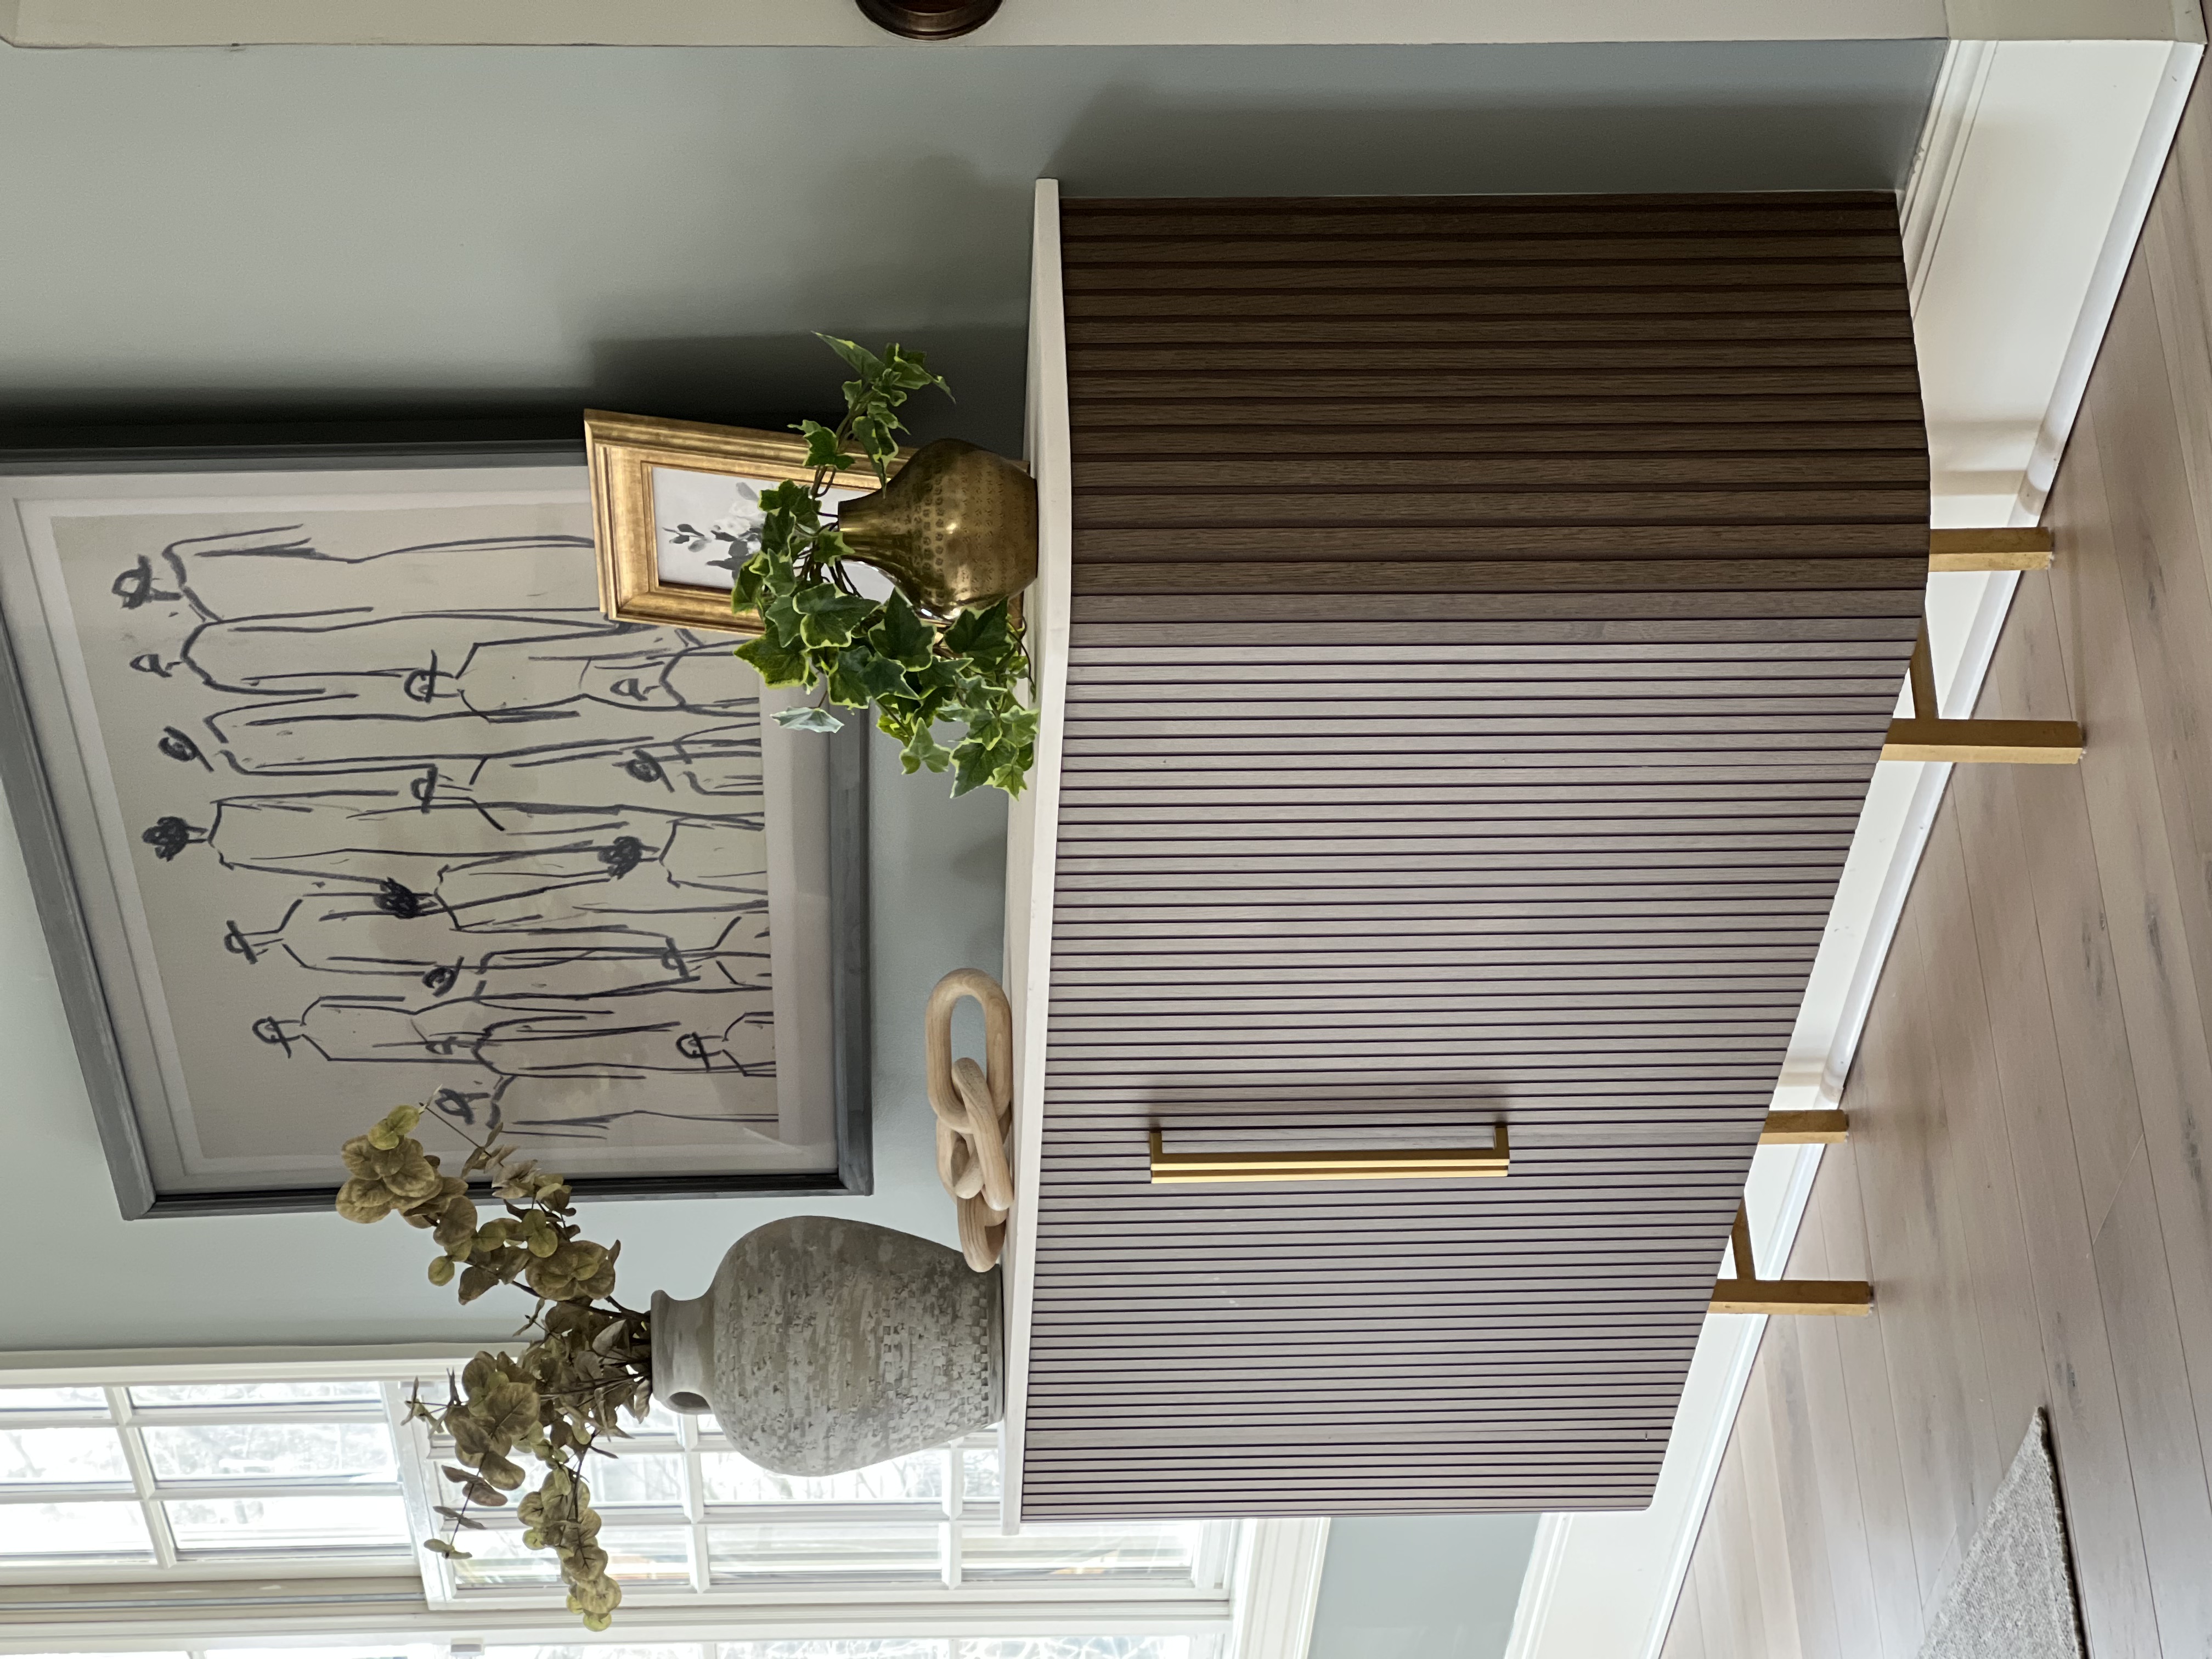
The second piece to this room was the fluted media console that I DIY’d, blog post for it linked here. The TV didn’t look right over the new fireplace, so we moved it to a different wall. Instead of a having floating TV on a random wall, I built the cabinet to make it look more purposeful. We have the Samsung Frame TV which is cool because it looks like actual artwork when not in use. This digital artwork is from Vintage Supply.
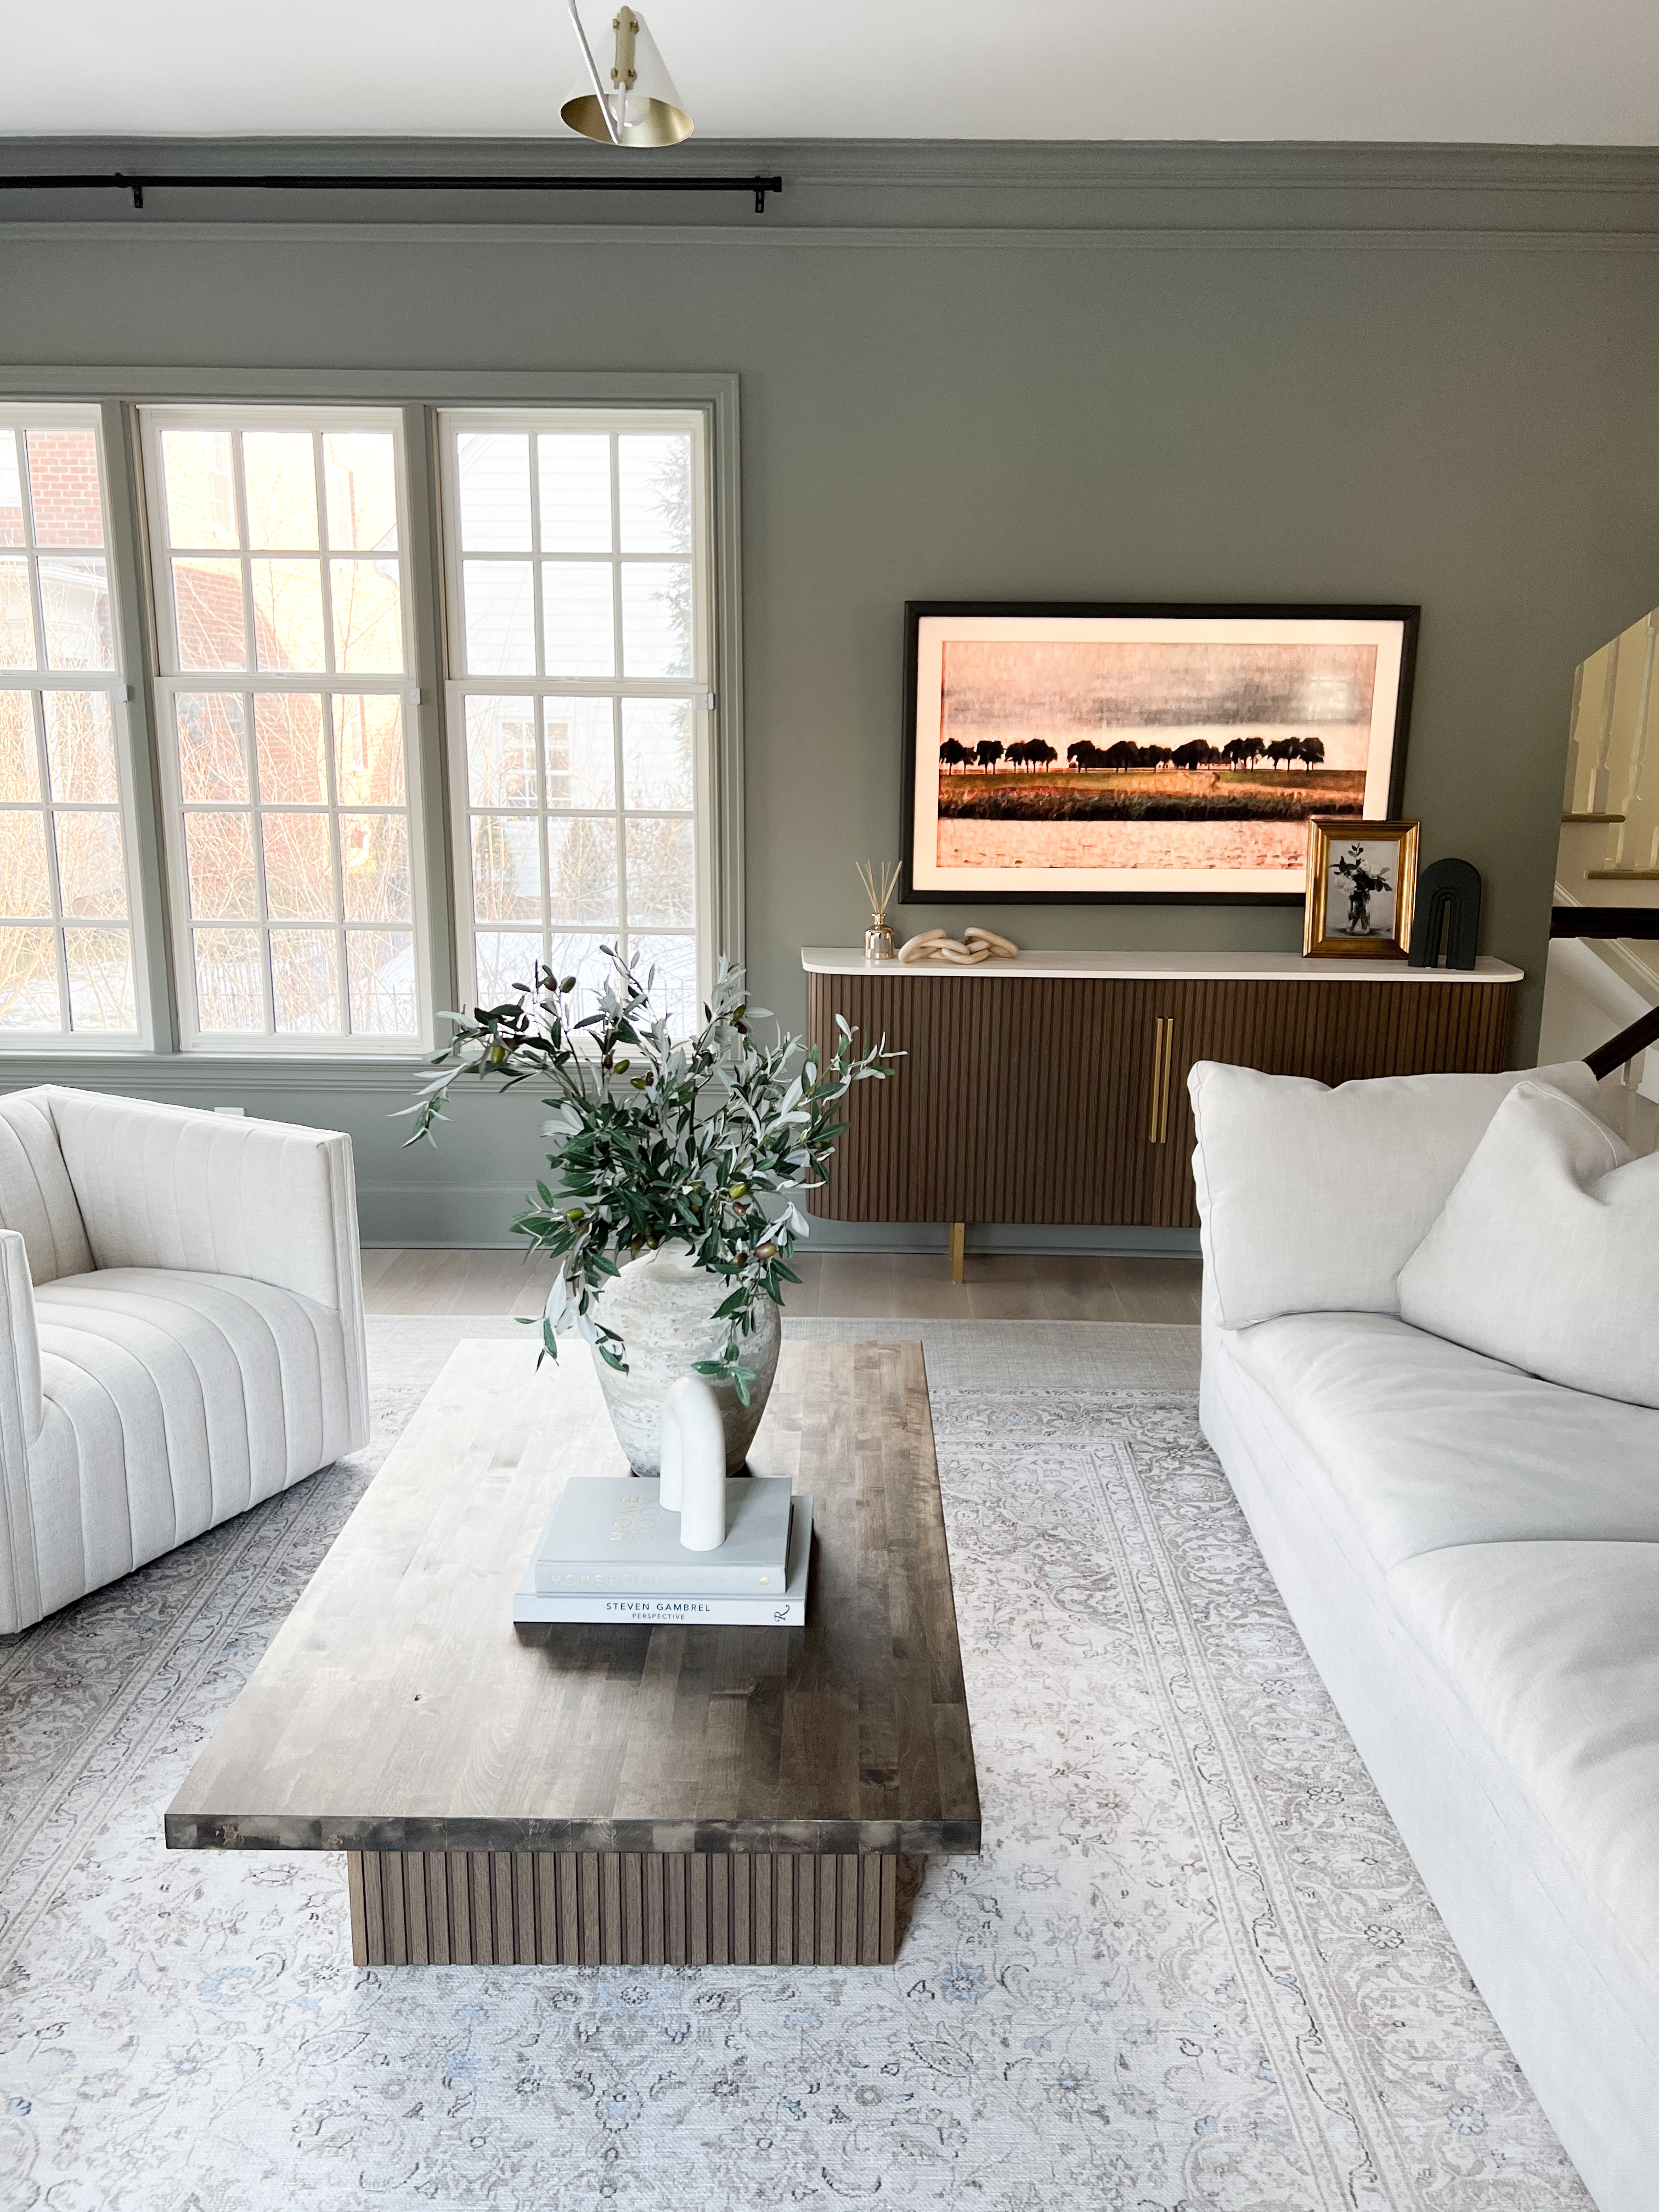
After seeing how amazing the Sherwin Williams Illusive Green color looked behind that walnut stain, I decided the whole room needed to be that color. I eventually took it all the way to the trim too! There is honestly a good chance that I’ll be painting the window grids and maybe even the ceiling someday. Hopefully Joe doesn’t read these blog posts too closely.
The Layout
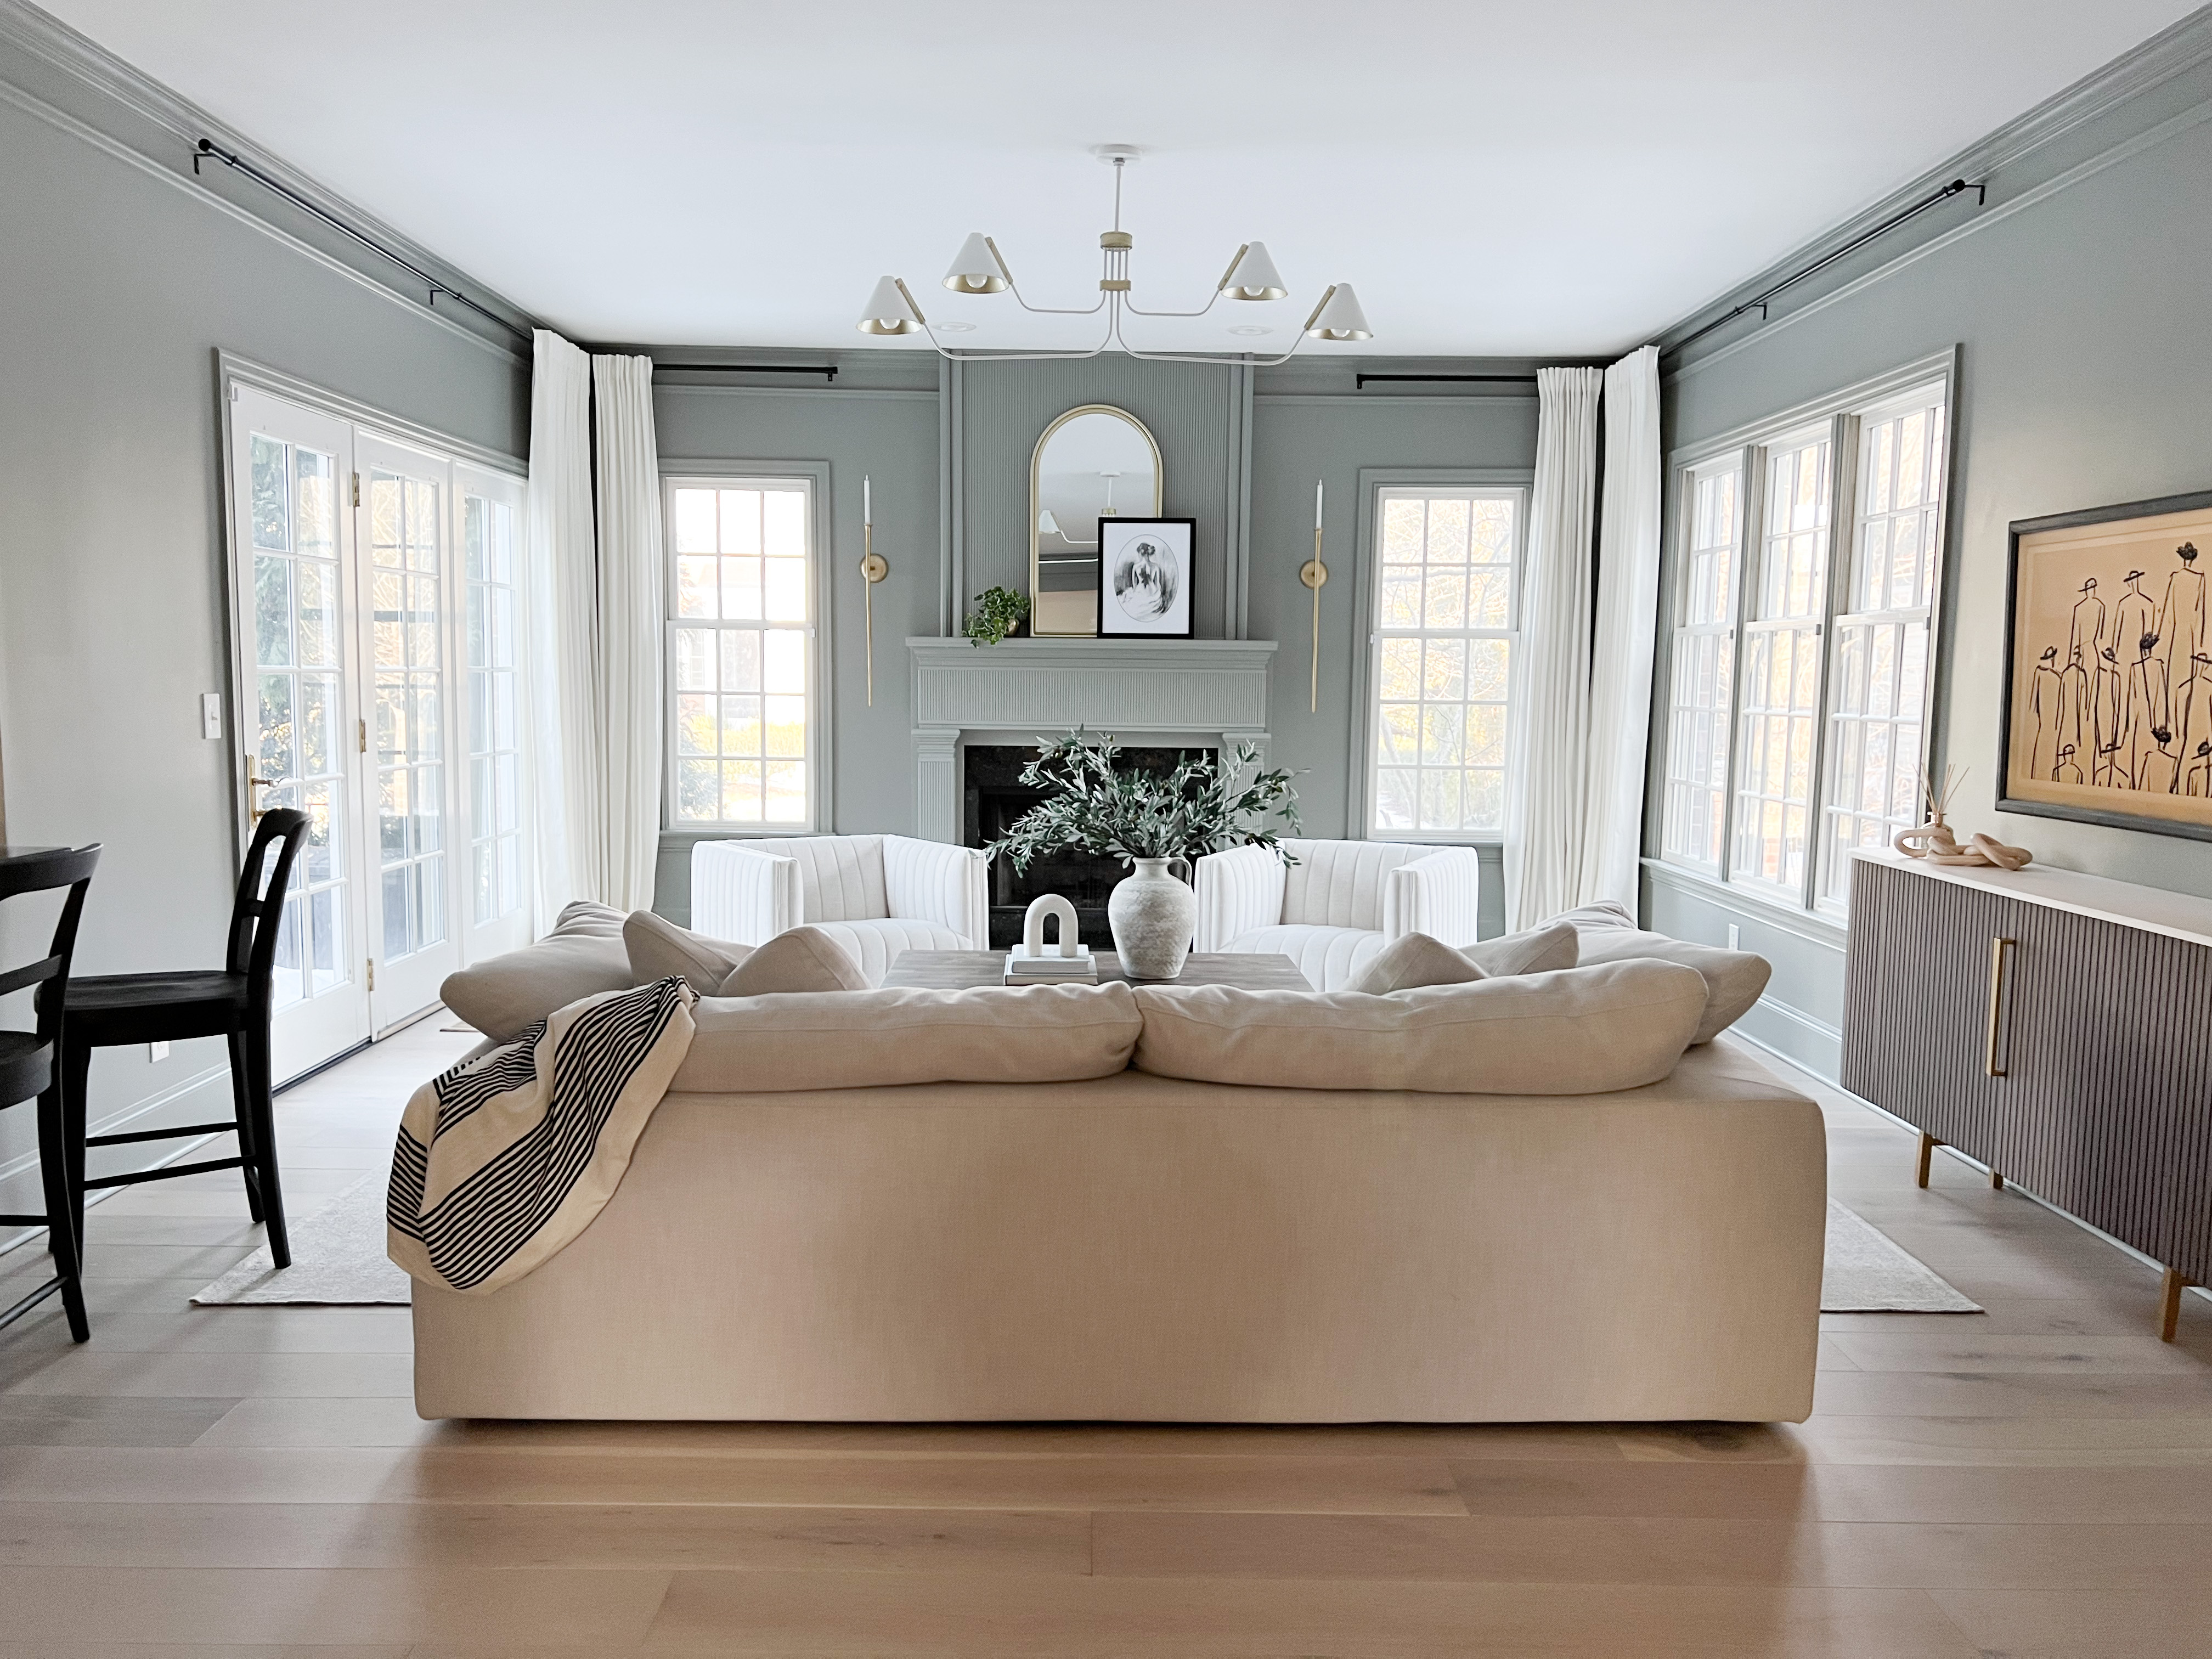
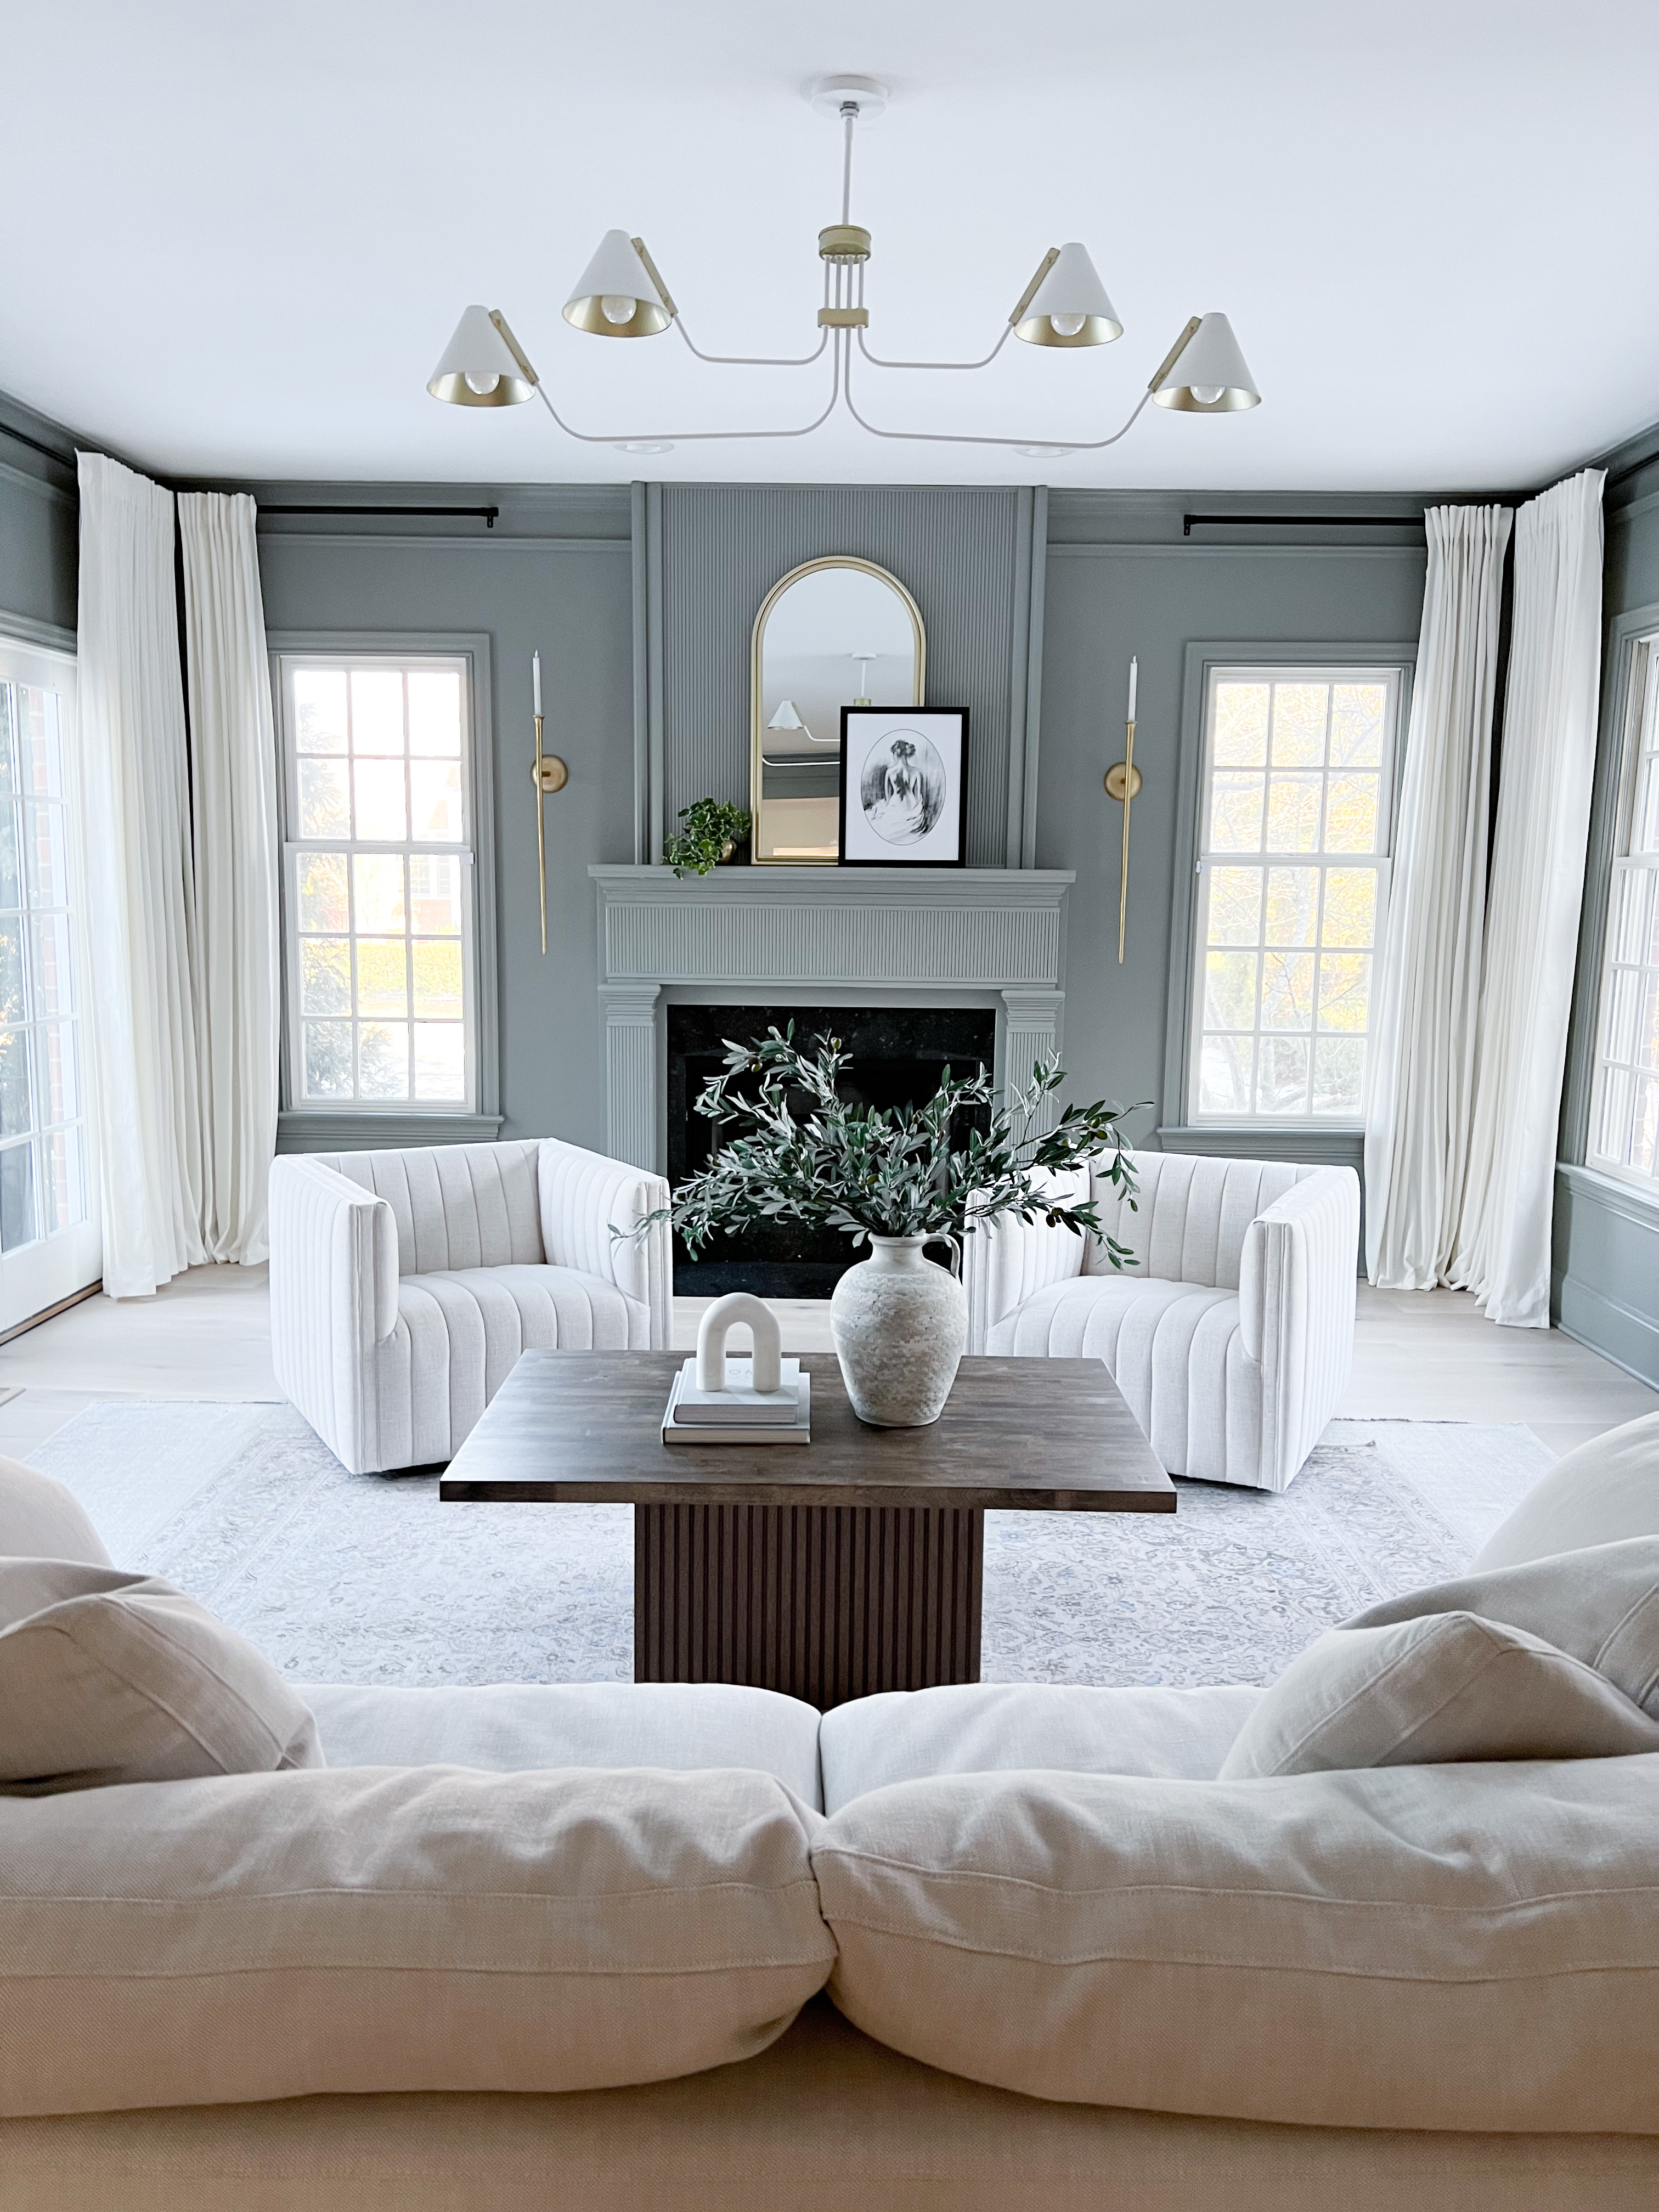
We changed around the room layout multiple times and lived with it for days/weeks each time before deciding on one. The layout pictured below was another favorite and was definitely more functional to watch TV. We could all sit on the couch to see the TV, and the swivel chairs could swivel around to face it when additional seating was needed.
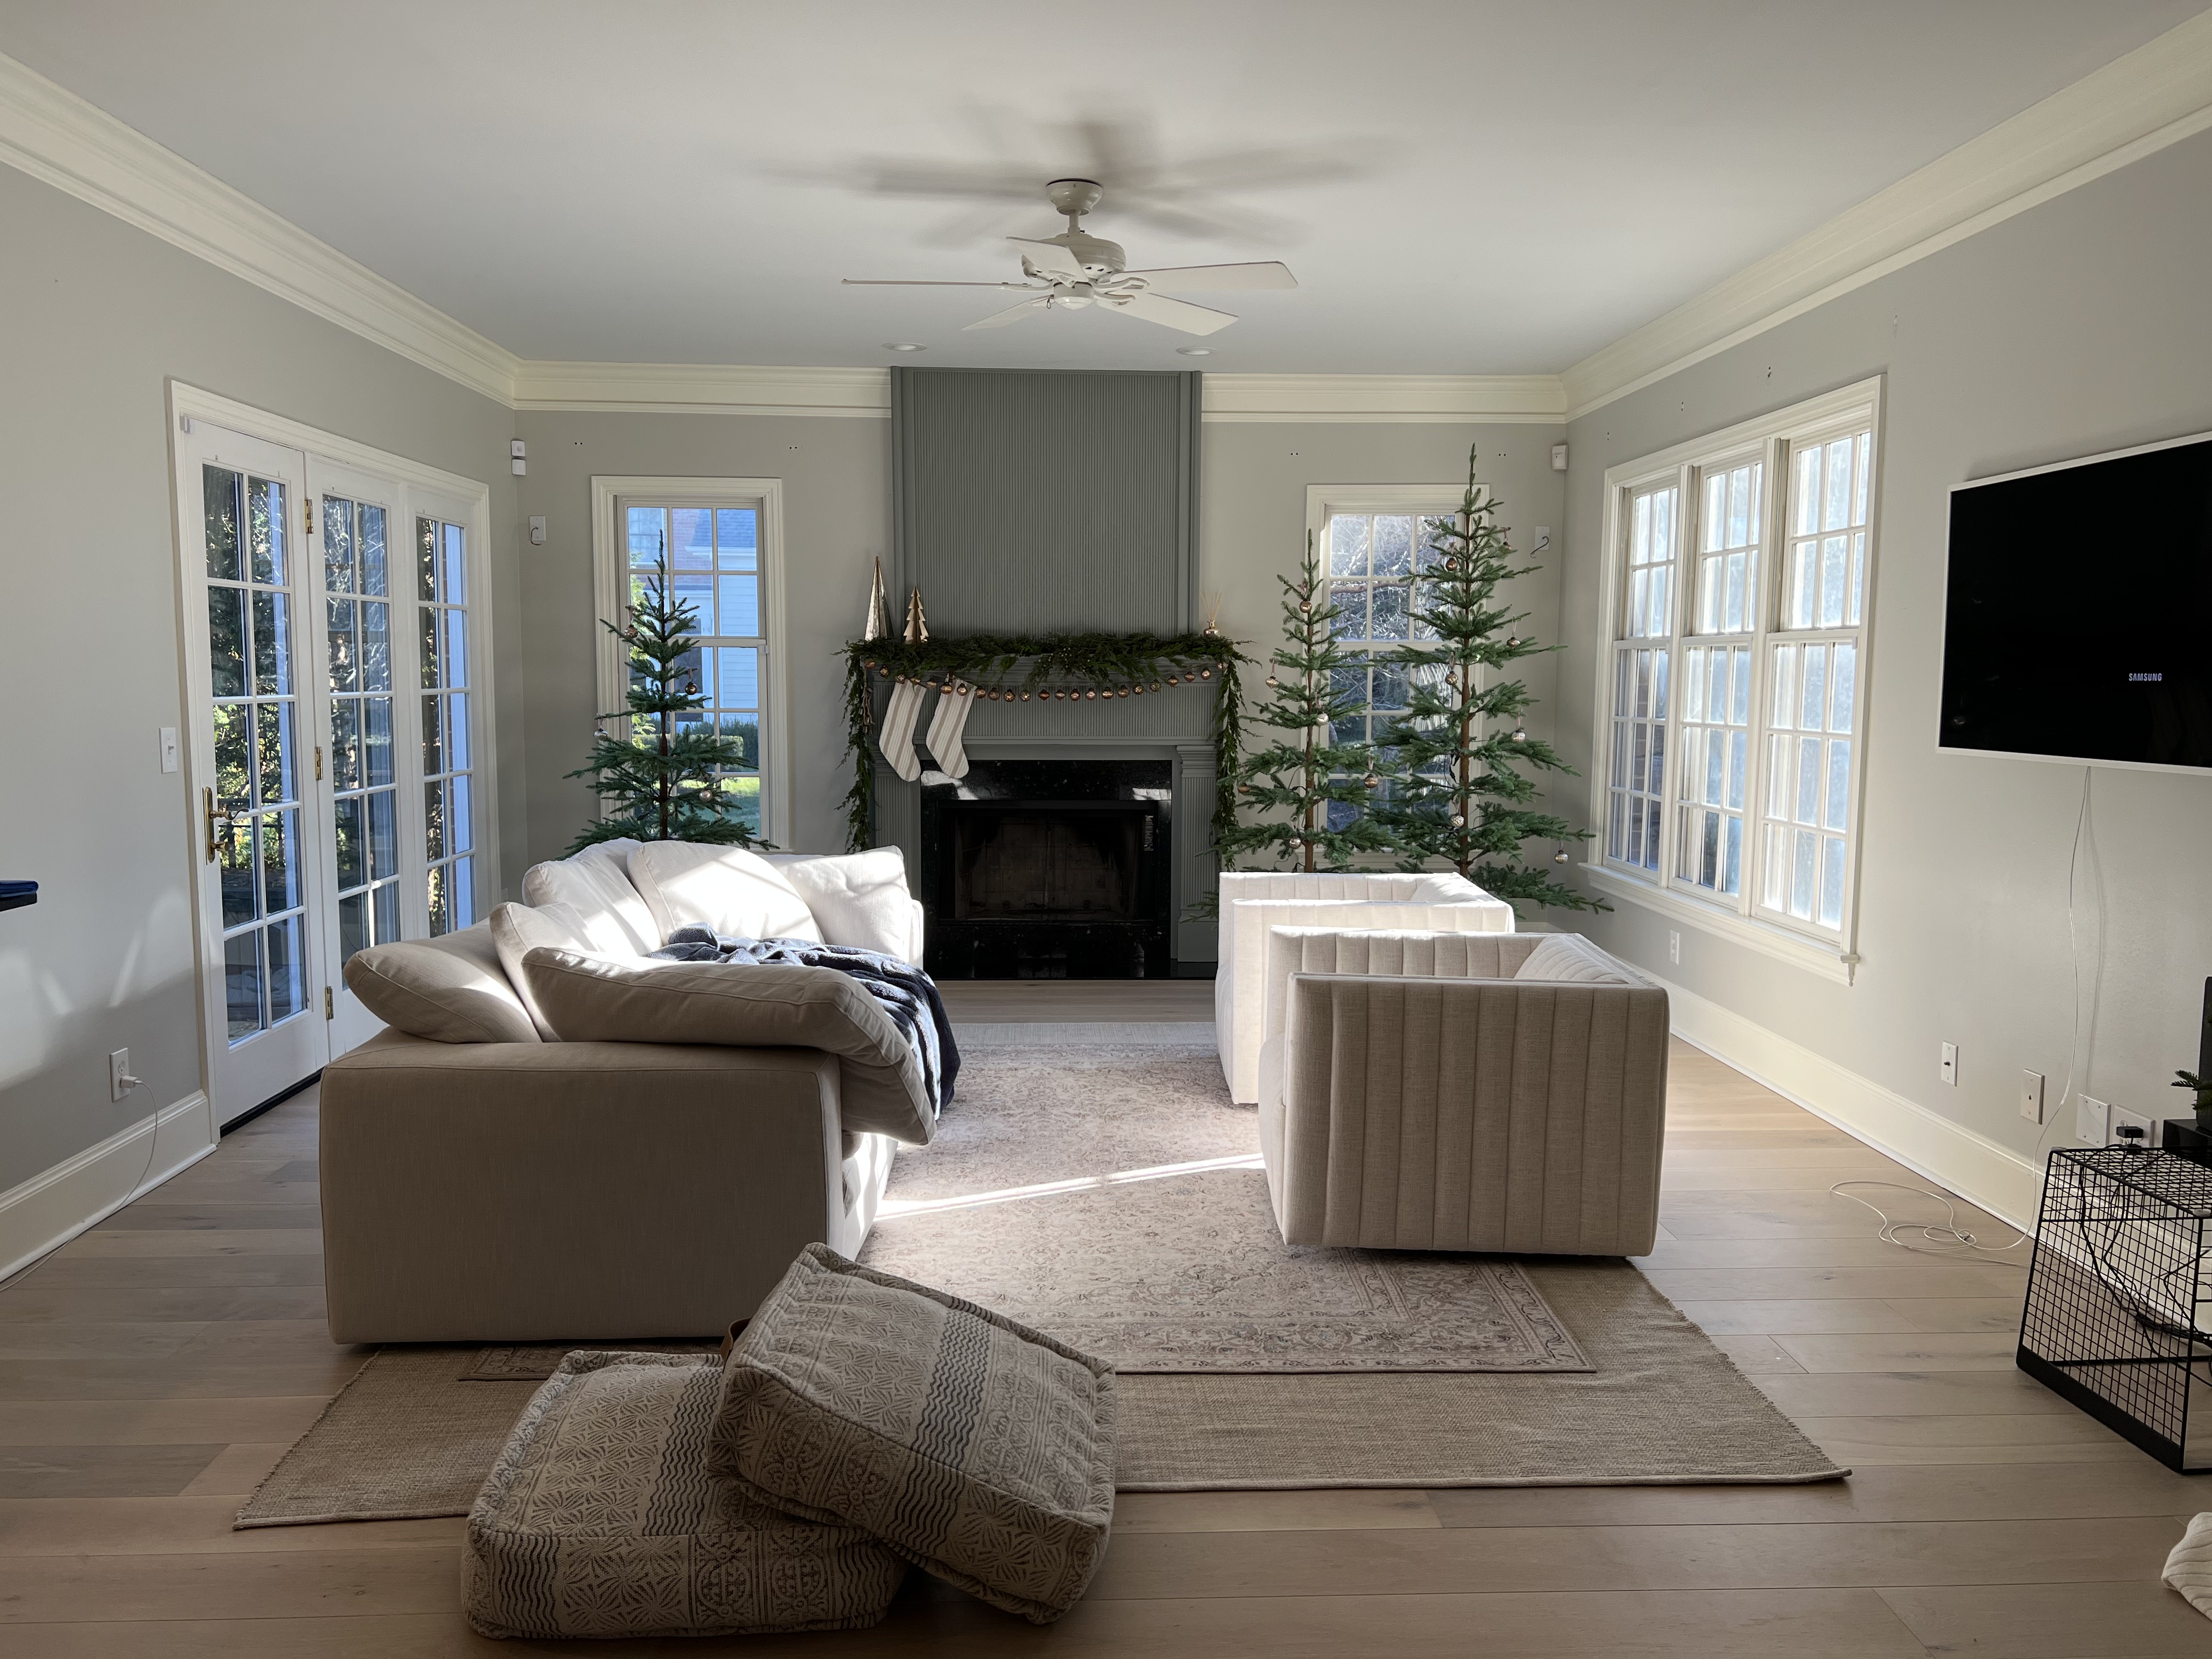
We ultimately chose the other layout because it defined the space a little better, and it didn’t block the door to the left that leads out to the deck. The couch facing the fireplace isn’t as perfect for TV watching, but we haven’t had issues sitting length-wise on the couch to face the TV when needed!
The Curtains
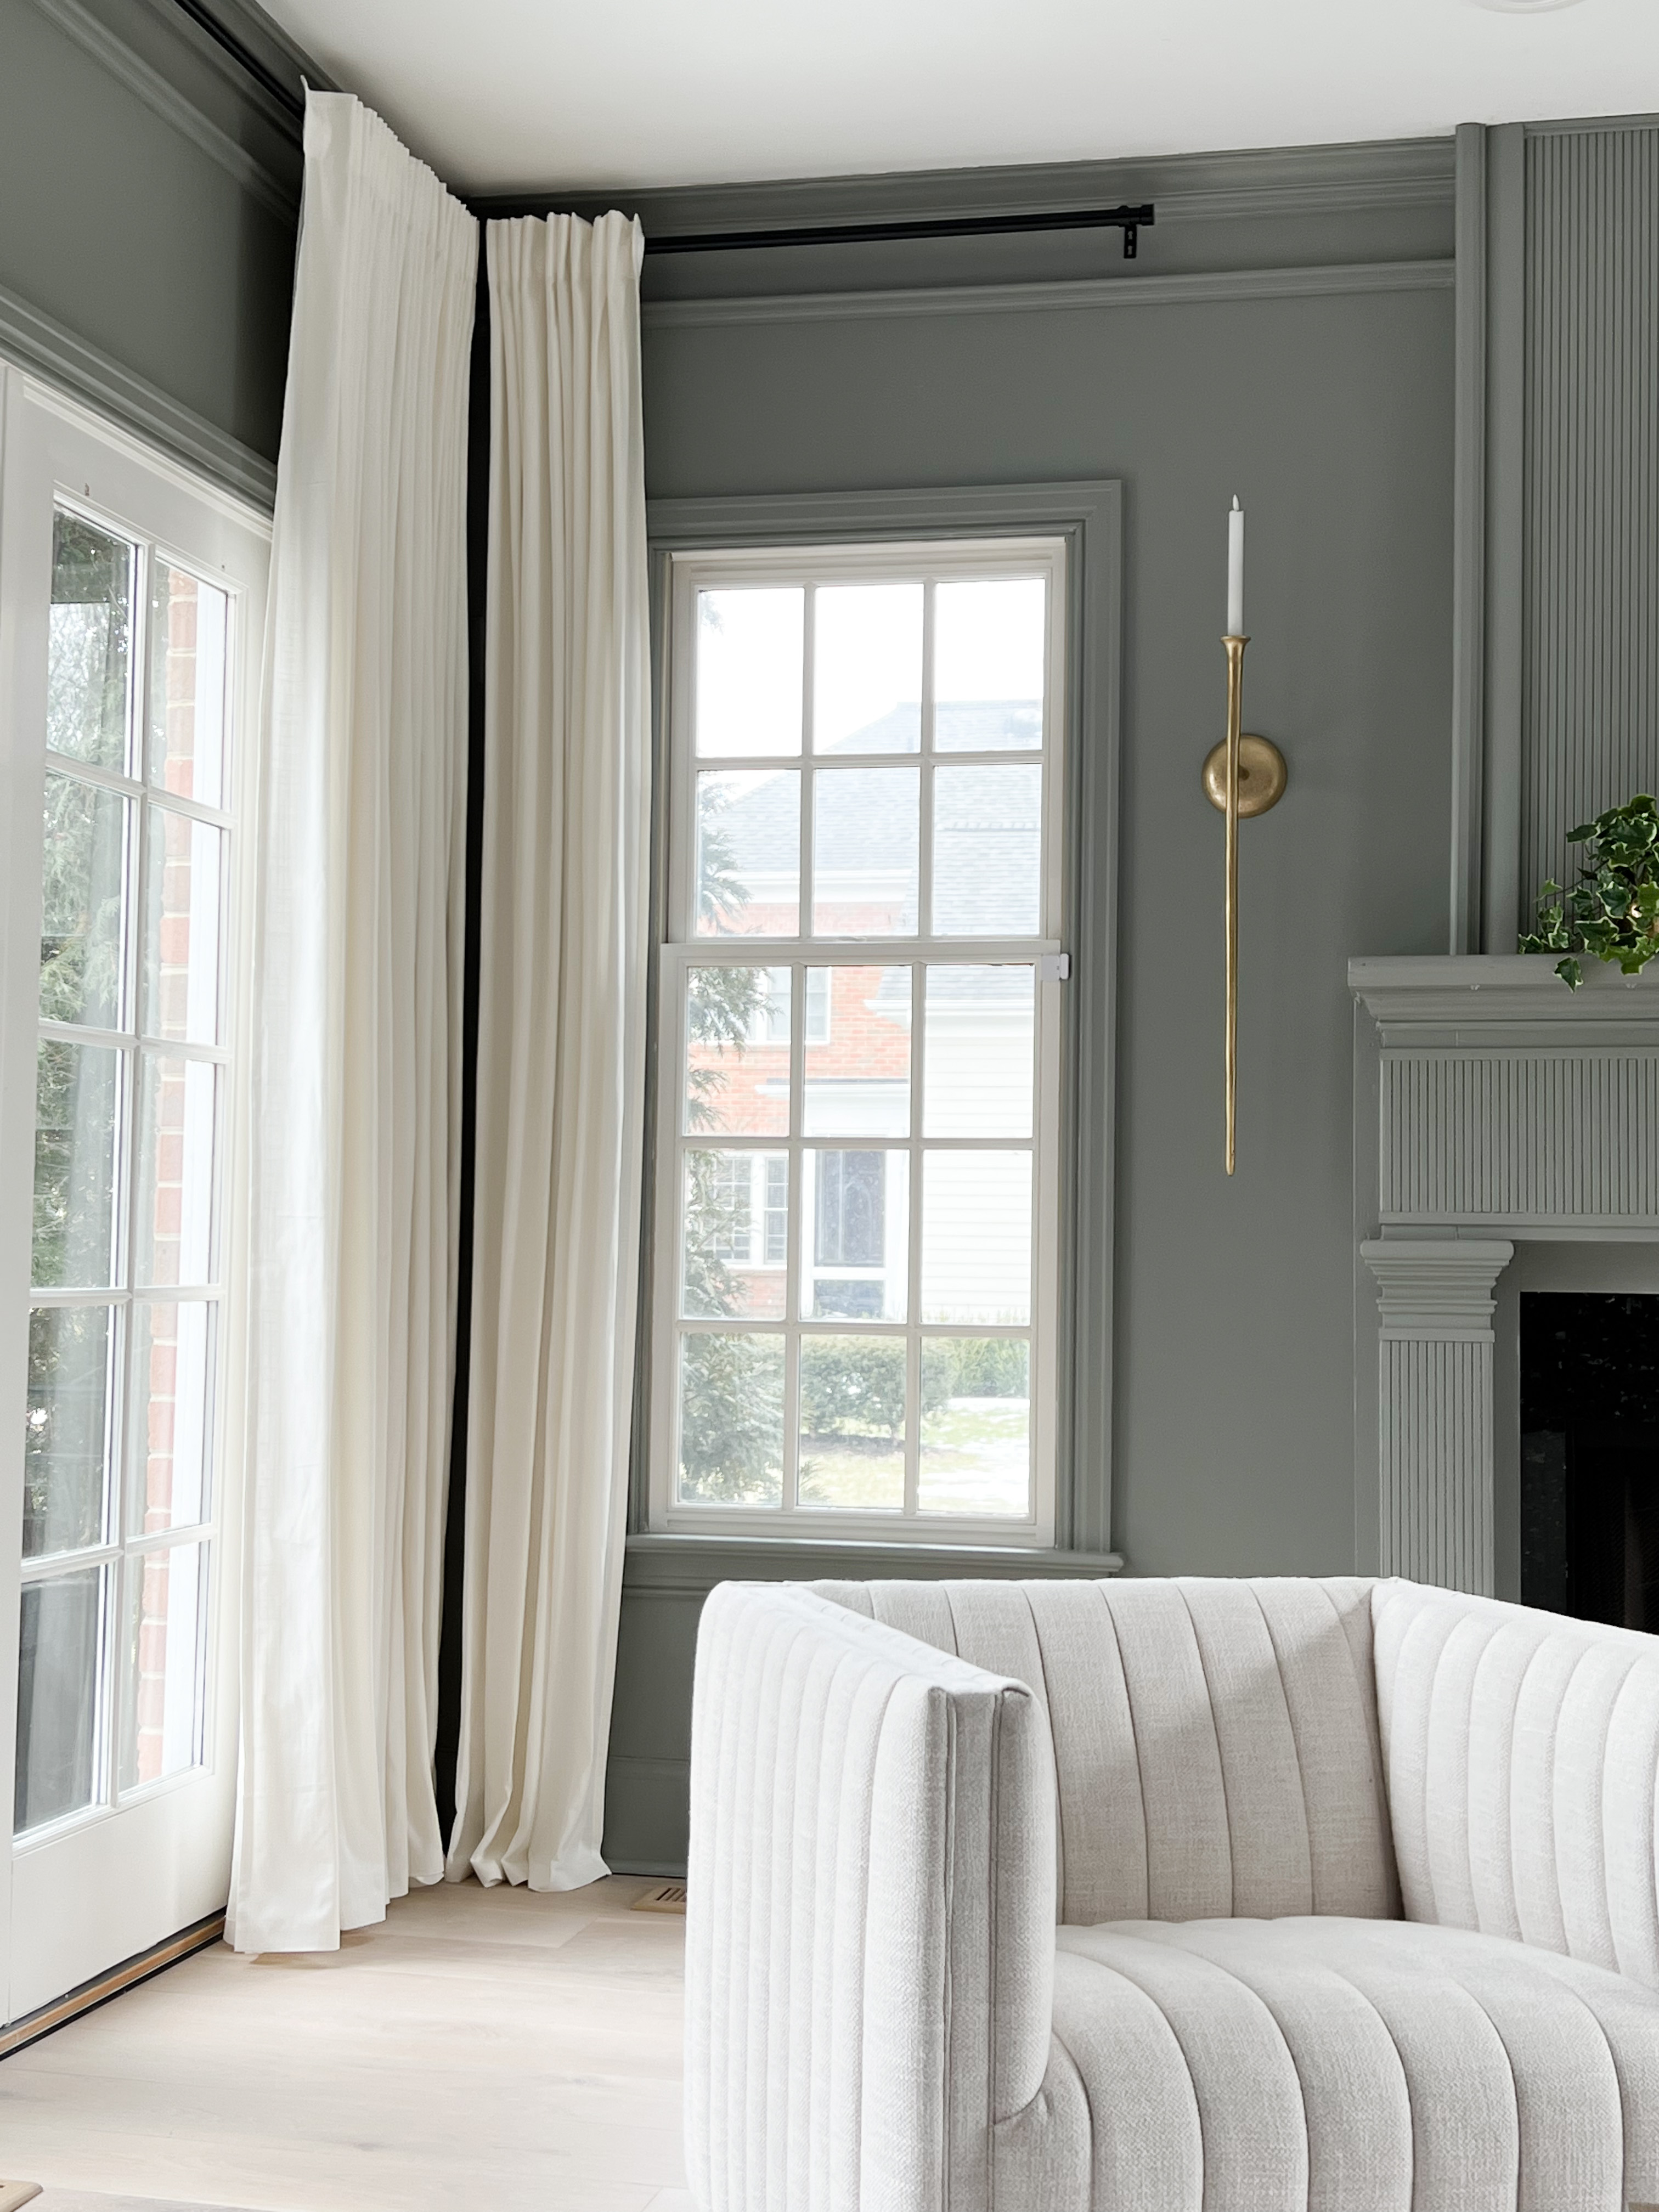
We broke the “rules” a little bit with the curtains. I wanted all the curtains gathered in the corners to flank the sides of the room. The sides of the rooms have longer curtain rods that can’t go without supports. I’ve ordered a support piece that is supposed to allow for movement with closing the curtains, so I will report back once that arrives! Steaming the curtains made a huge difference, and it allowed me to give it the pleated look I wanted. I was going for a fluted appearance to fit in the rest of the room!
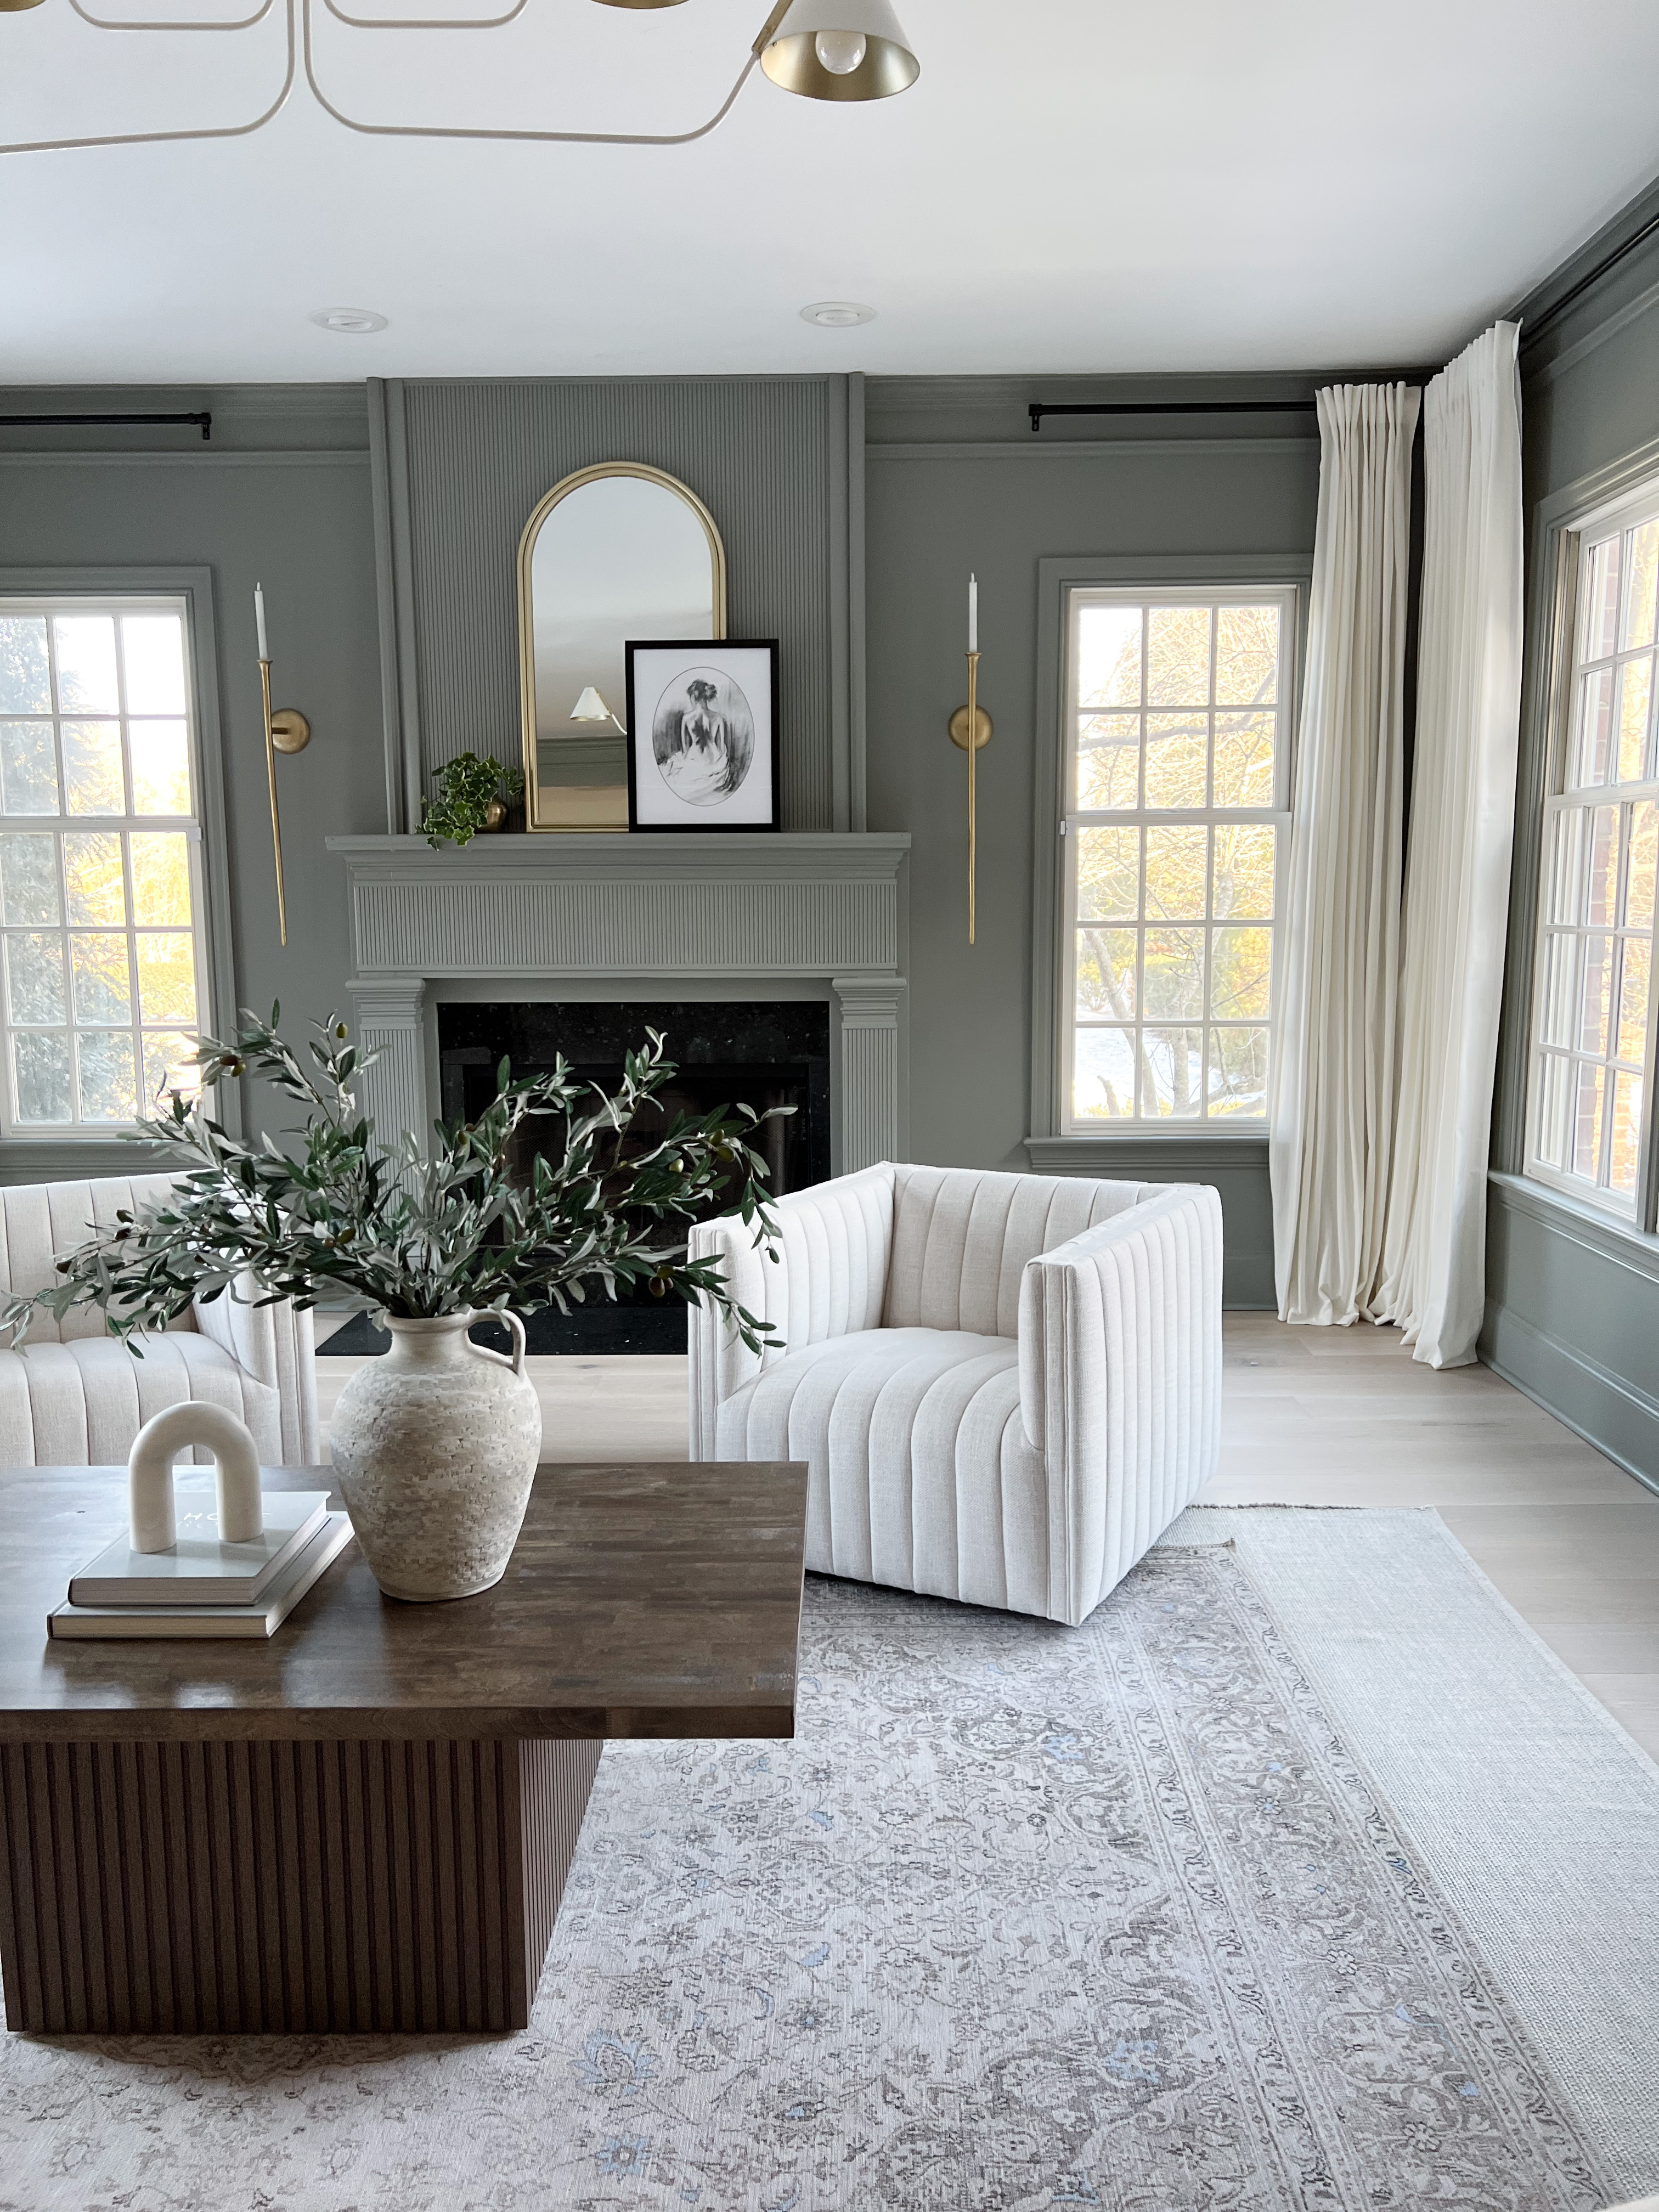
We also hung the rods right in the middle of the crown, to get it as close to the ceiling as possible. I know it sounds odd to drill into crown, but the section in between the top piece of crown and the trim below it is actually drywall. We were able to screw into studs or use a drywall anchor. (Curtains linked below). The crown, baseboards, and window trim was all here when we moved in, we were fortunate to not have to add it! The curtain rods butt up against each other in the corners.
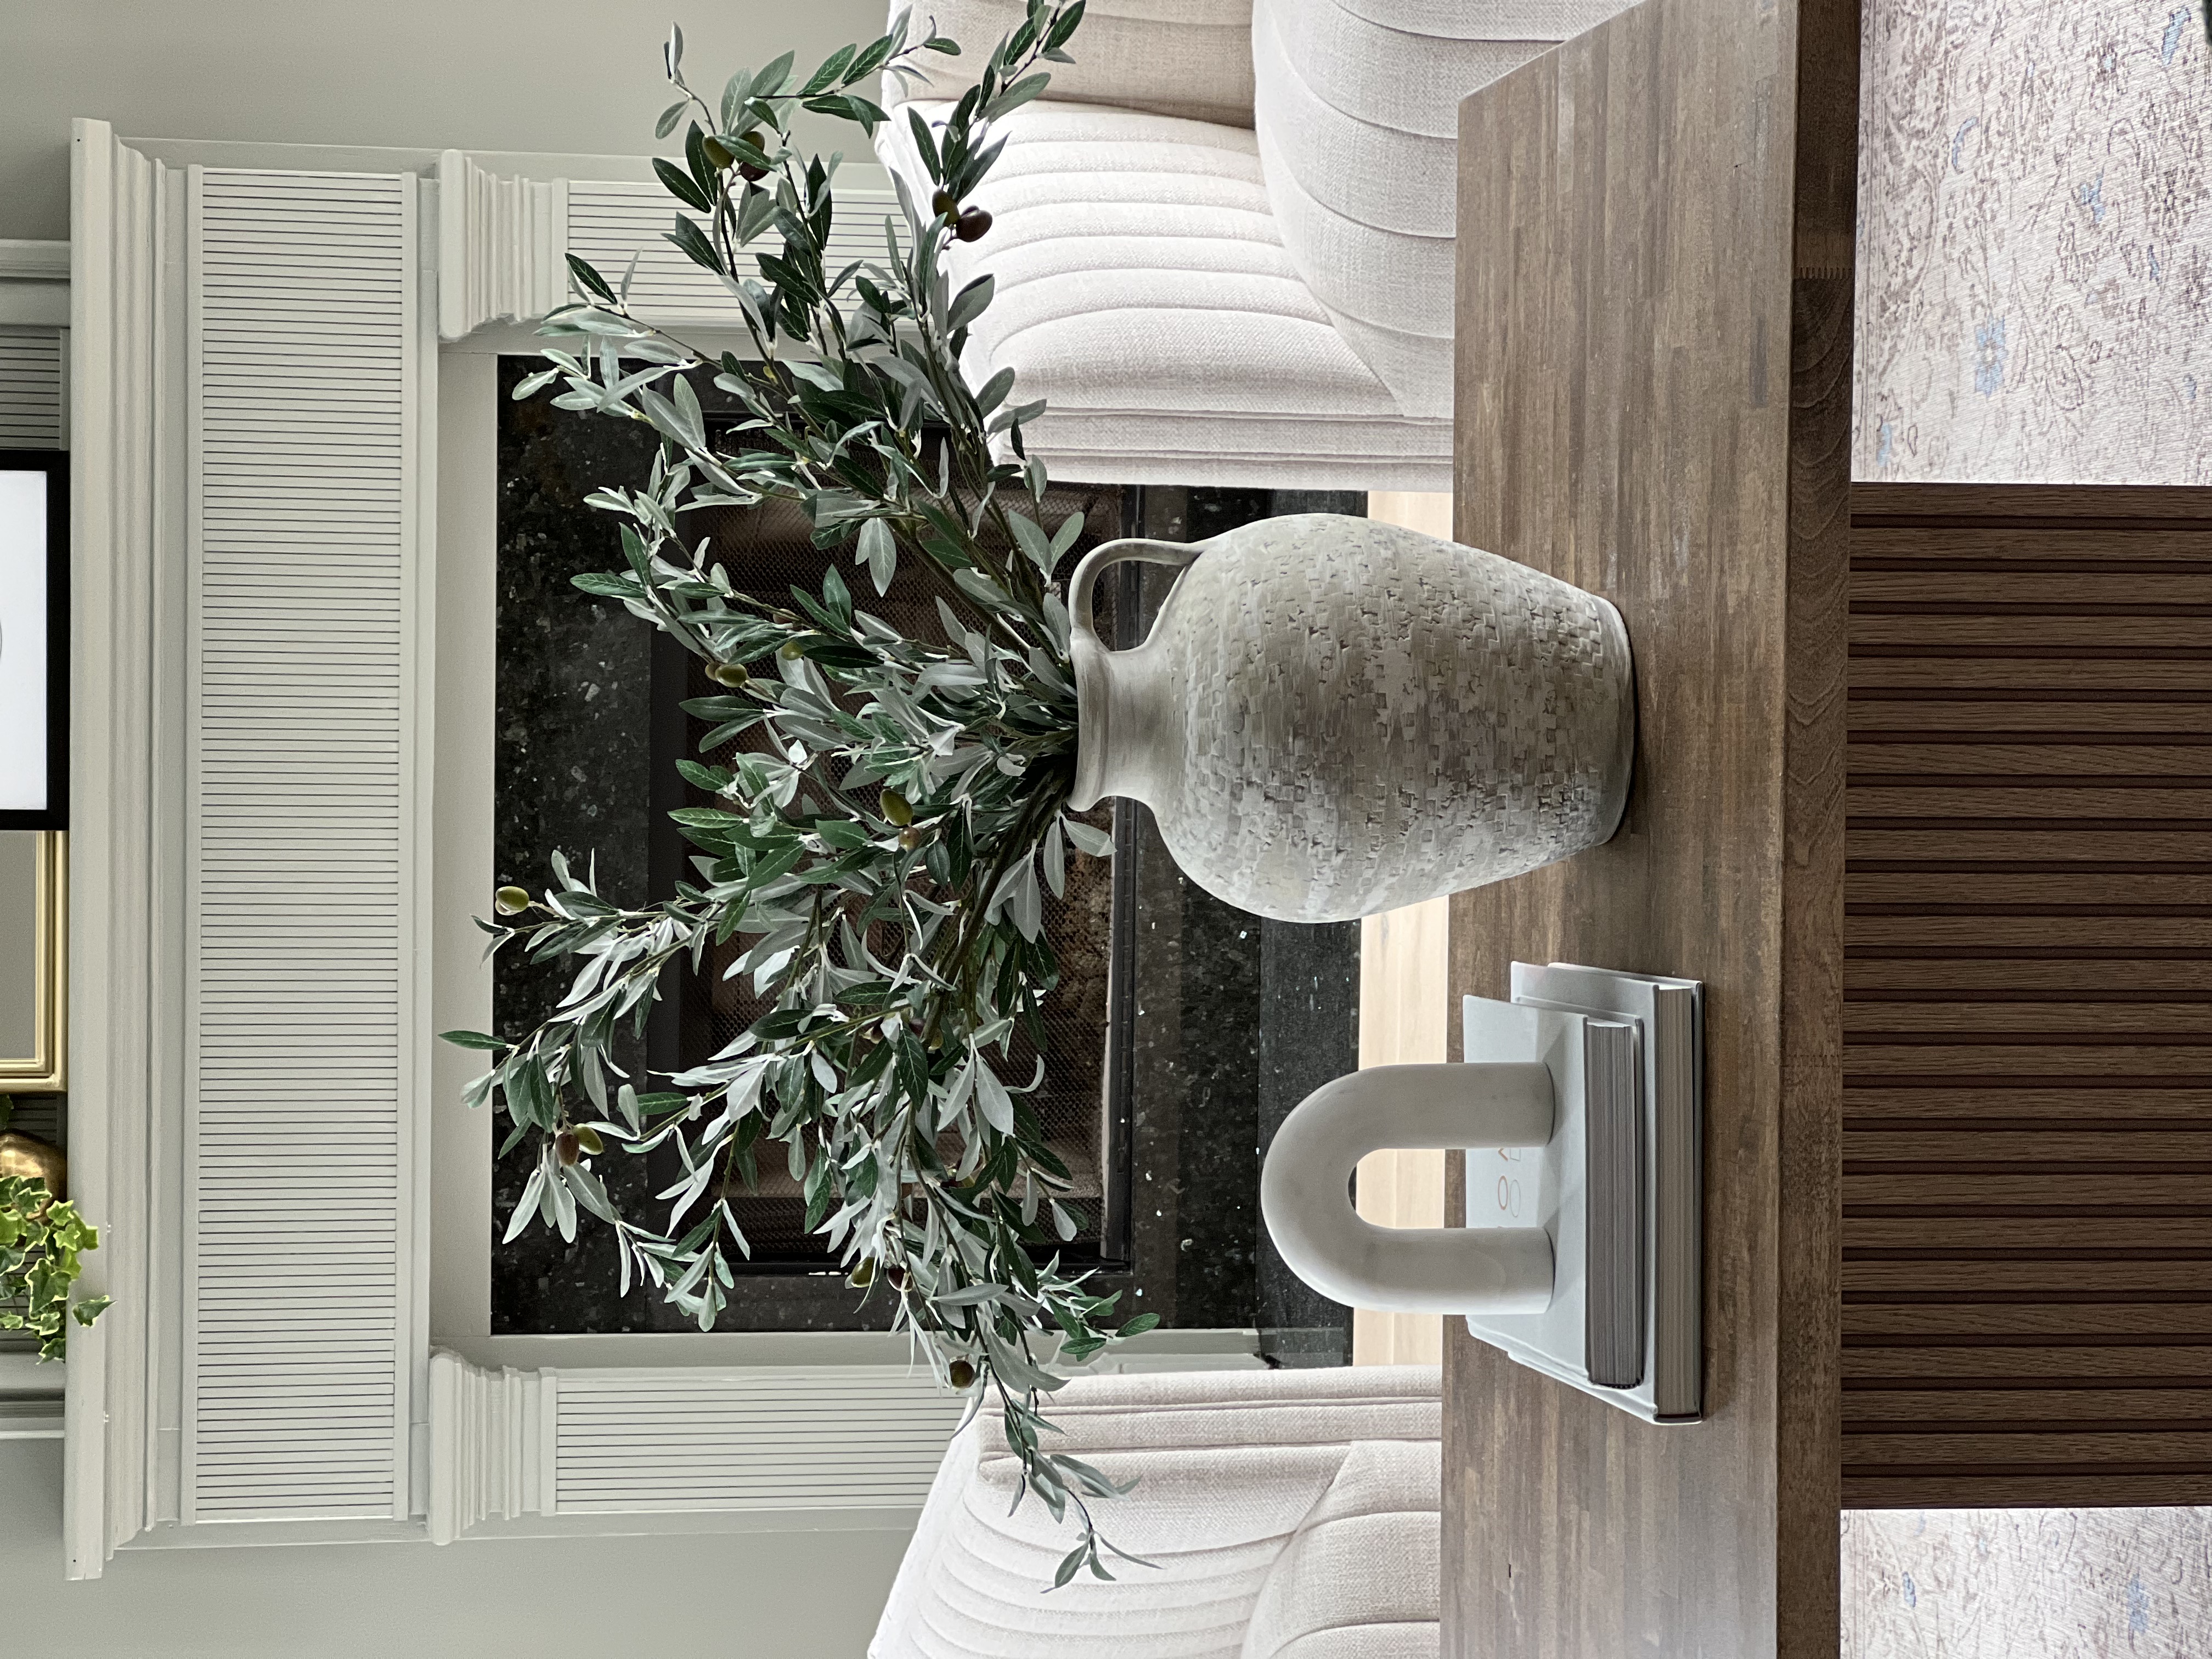
Sources Linked Here
Light Fixture – Hunter Grove Isle 4-light Chandelier
Swivel Chairs – Urban Outfitters Charlotte Swivel Chair (I bought mine from Elm & Iron, but this looks to be identical)
Coffee Table – DIY’d using these IKEA cabinet doors and this butcher block top (working on the blog post for that build as we speak)
Top Layer Rug – I bought mine from Amber Interiors during a sale (linked here), but since then, have found it cheaper on Amazon (linked here)
Bottom Layer Rug – from Shades of Light
Olive Branches – from McGee and Co – there are three stems in this vase, the vase was a Homegoods find awhile ago so unable to be linked
Marble Arch – Threshold collection with Studio McGee from Target
Arched Mirror – from Amazon – painting over top is Homegoods
Gold Sconces – from z gallerie
Battery-powered Candles – from Amazon
Curtain Rods- from Amazon
Curtains – IKEA Ritva Curtains (I got the 118″ with the 9′ ceilings and had to hem them) – They sell out so fast, but set up notifications and grab when they’re back!
Hemming Tape – from Amazon
Steamer – from Amazon, this is how I got the pleated look I wanted
Media Console – DIY using the same IKEA cabinet doors as the coffee table, blog post linked here
Black Counter Stools – The black chair off to the left in a couple of the photos is one of our new counter stools, looking into the kitchen. They’re Pottery Barn and linked here
The Couch
We moved into this house with very little furniture and really nowhere to sit. Add in crazy long lead times for furniture, and we were scrambling. We weren’t totally in our right minds during the craziness of the move, but we decided to splurge and get our first nice sofa. Attempting the more affordable option for our last purchase didn’t go so hot, our kids destroyed it in two months…. potty training toddler, anyone? I do still absolutely love having light-colored sofas. I don’t know if I’ll ever go back.
This time, we knew we needed durable fabric and removable slipcovers. It also needed to be comfortable and most importantly… in stock! We ended up getting the Restoration Hardware Cloud Sofa and are in love. This couch was mine and Kate’s bed for the first two months living here, no joke. We didn’t have beds either haha
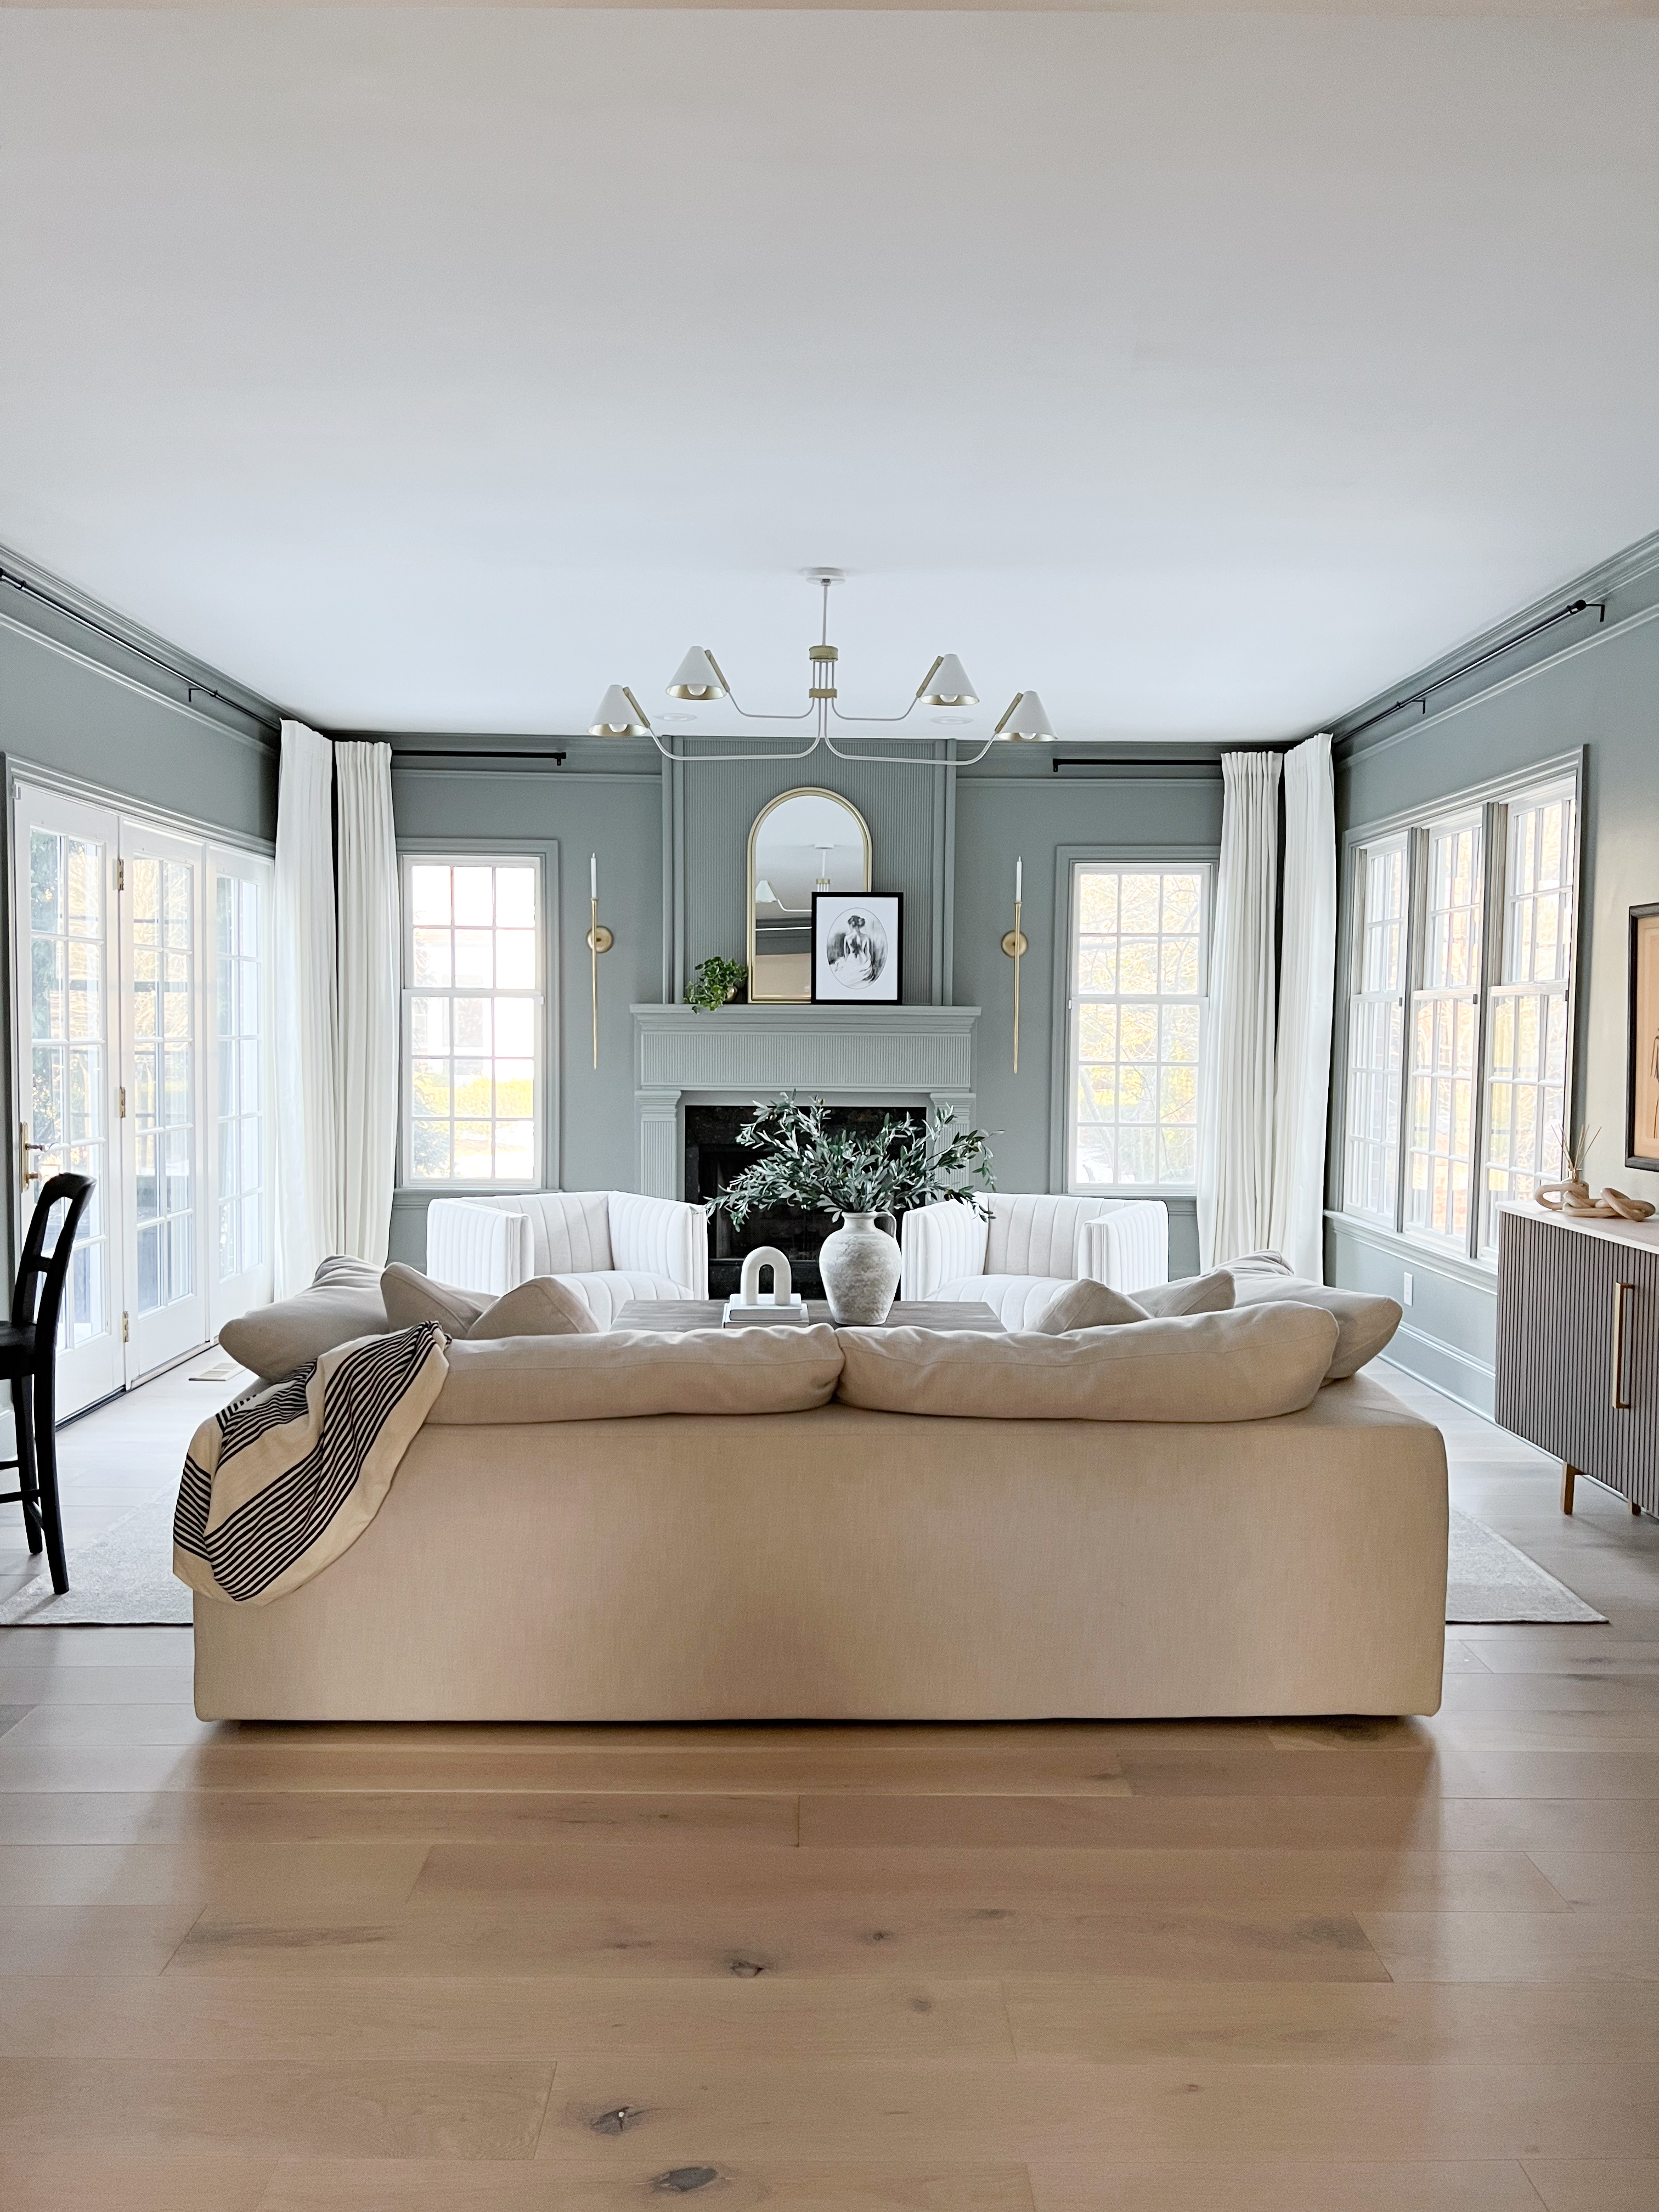
The view from the front door makes me so ridiculously happy now! There’s still a lot to be done on the first floor, but this was a HUGE step in the right direction!
*Disclaimer – The Floors*
I get asked about our floors a lot, and I really do love the look and color so much! However, we had a negative experience with the company and therefore, I can’t give my recommendation for the floors. They’re from Lumber Liquidators, the Bellawood Artisan Collection in Barcelona. We had issues with the installation, and I can’t tell if the damaged parts of the floor are due to that, or if the floors themselves are damaged. The company has been very difficult to deal with as well, which is disappointing. We are still talking with them to at least get the damage to the stairs resolved. Stay tuned!
Post contains affiliate links, disclosure linked here
