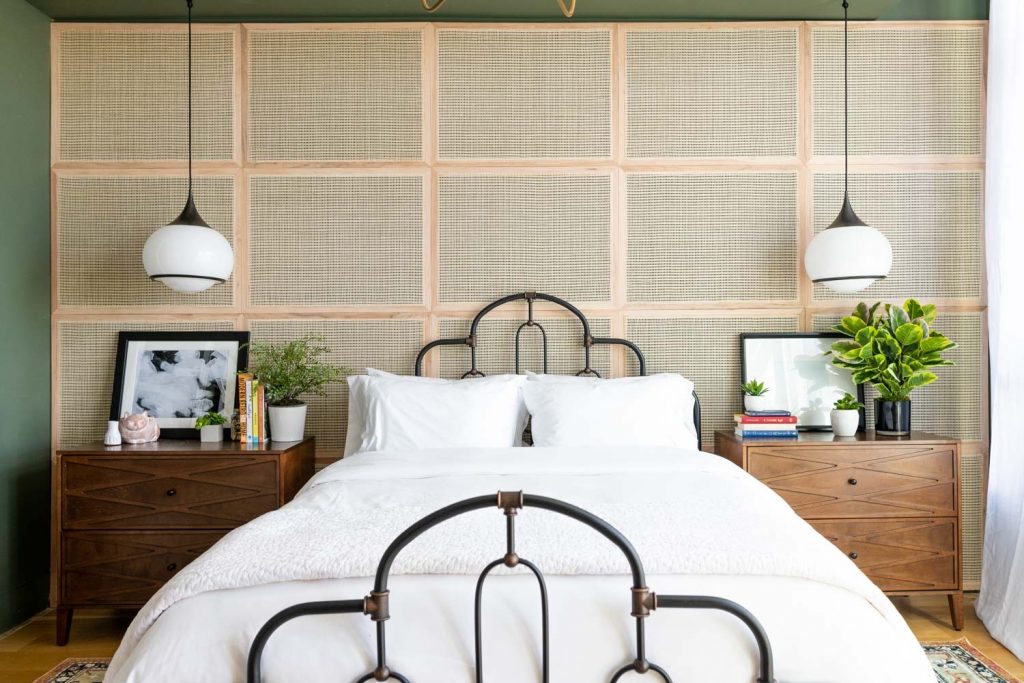
Week three was no piece of cake as we added board and batten to the slanted ceiling, yet somehow we managed to make it through. Fueled by our recent accomplishment, tons of research, and LOTS of coffee, we were ready to tackle the next step: our cane headboard!
A Plan Gone Awry
This was Week 4 of the One Room Challenge, hosted by Better Homes & Gardens. I am tempted to say that it’s been the hardest week. However, who knows what’s in store for us next week!
The week started with trying to make a decision on a frame pattern for the cane headboard. I thought that was going to be the most difficult part! This post was supposed to be filled with lots of helpful information on how to build a cane headboard yourself, but you’ll have to wait on that until next week.
For this week, I’m going to include links to my inspiration. Then, I will explain what went wrong with our project, and how we hope to proceed.
“Nothing Ever Goes As Planned”
No matter how many times I tell myself these words, I’m still somehow super bummed out when I can’t achieve my exact vision. Wouldn’t it be awesome if you could get yourself to listen to the logical voice inside your head?
Cane Headboard Inspo #1
A couple of months ago, I fell in love with this GORGEOUS cane wall done by Mandi at Vintage Revivals. Her blog post is one of the most detailed tutorials I’ve ever seen. Mandi outlines the process step-by-step and includes links for absolutely everything you would need to get this look.
I’m not even going to attempt to repeat that process. However, if you’re interested in doing legit caning, I highly recommend checking out her post. You could apply this tutorial to a number of scenarios, not just a headboard!
Cane Headboard #2
The other post that inspired me at the beginning of this was this Ikea hack Hunker Home. I had REALLY wanted to try to do true caning for this wall since it was going to be the main feature.
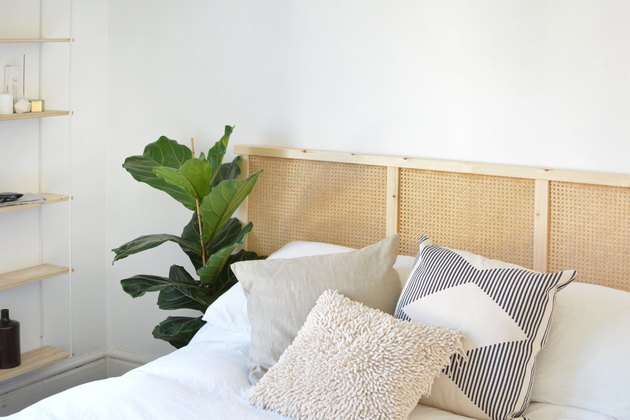
In hindsight, I should not have brushed aside the hack idea. Our original attempt was a bust. Our plan going forward is basically a combination of these two inspiration posts.
Lessons Learned
Here is the knowledge we’ve walked away with so far and a couple of the reasons why plan A is no longer:
- Creating the groove took some time.
We started the process by rigging up our table saw to create the groove we needed. Then we had to remove the safety guards that came with the saw because it wouldn’t allow the full piece to run all the way through.
We used extra 1×2 boards and clamps to create our own guide to keep the board in line, then another extra board on top to keep it flat on the table. It also required two people since the boards were 7 feet long and we don’t have an outfeed table. Putting those things into place made it MUCH easier. Since the boards are only 1.5 inches wide, it also felt much safer. - The groove needed to be slightly wider.
I’m still not totally sure what we did wrong here. The cane was impossible to fit down into the groove, and we tried HARD. Some pieces of the cane even snapped, and very little cane actually made it into the groove. We tried hammering the 3/16″ splining on top to force some security, but even that wasn’t happening.
We’re new to DIY and didn’t know how to expand the grooves we’d already made, so we had to scrap our original plan. - Maple wood is HARD.
Not a total surprise since that’s why we used it. The hardness of the wood helps prevent bowing when the cane dries. We just didn’t realize that our nail gun wouldn’t work well with maple.
Very few of the nails actually went far enough into the wood, so we had to go back over and hammer them in/down. Totally our fault for not taking it seriously when the blog post said to use finishing nails to make the frames.
Our Plan Going Forward
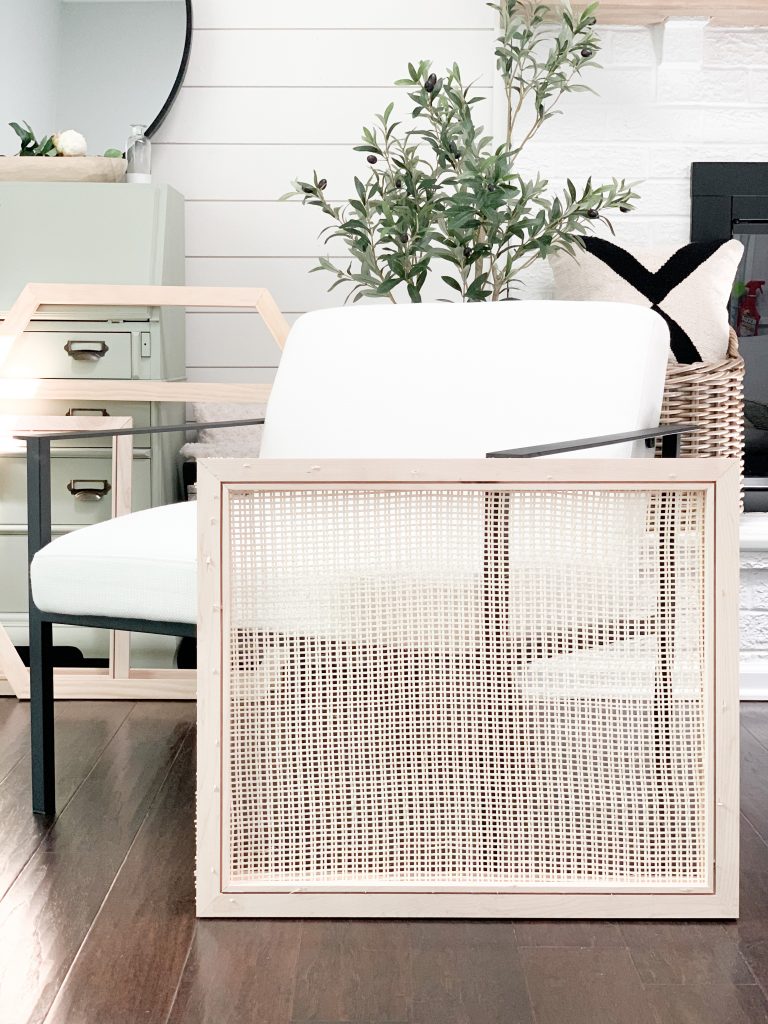
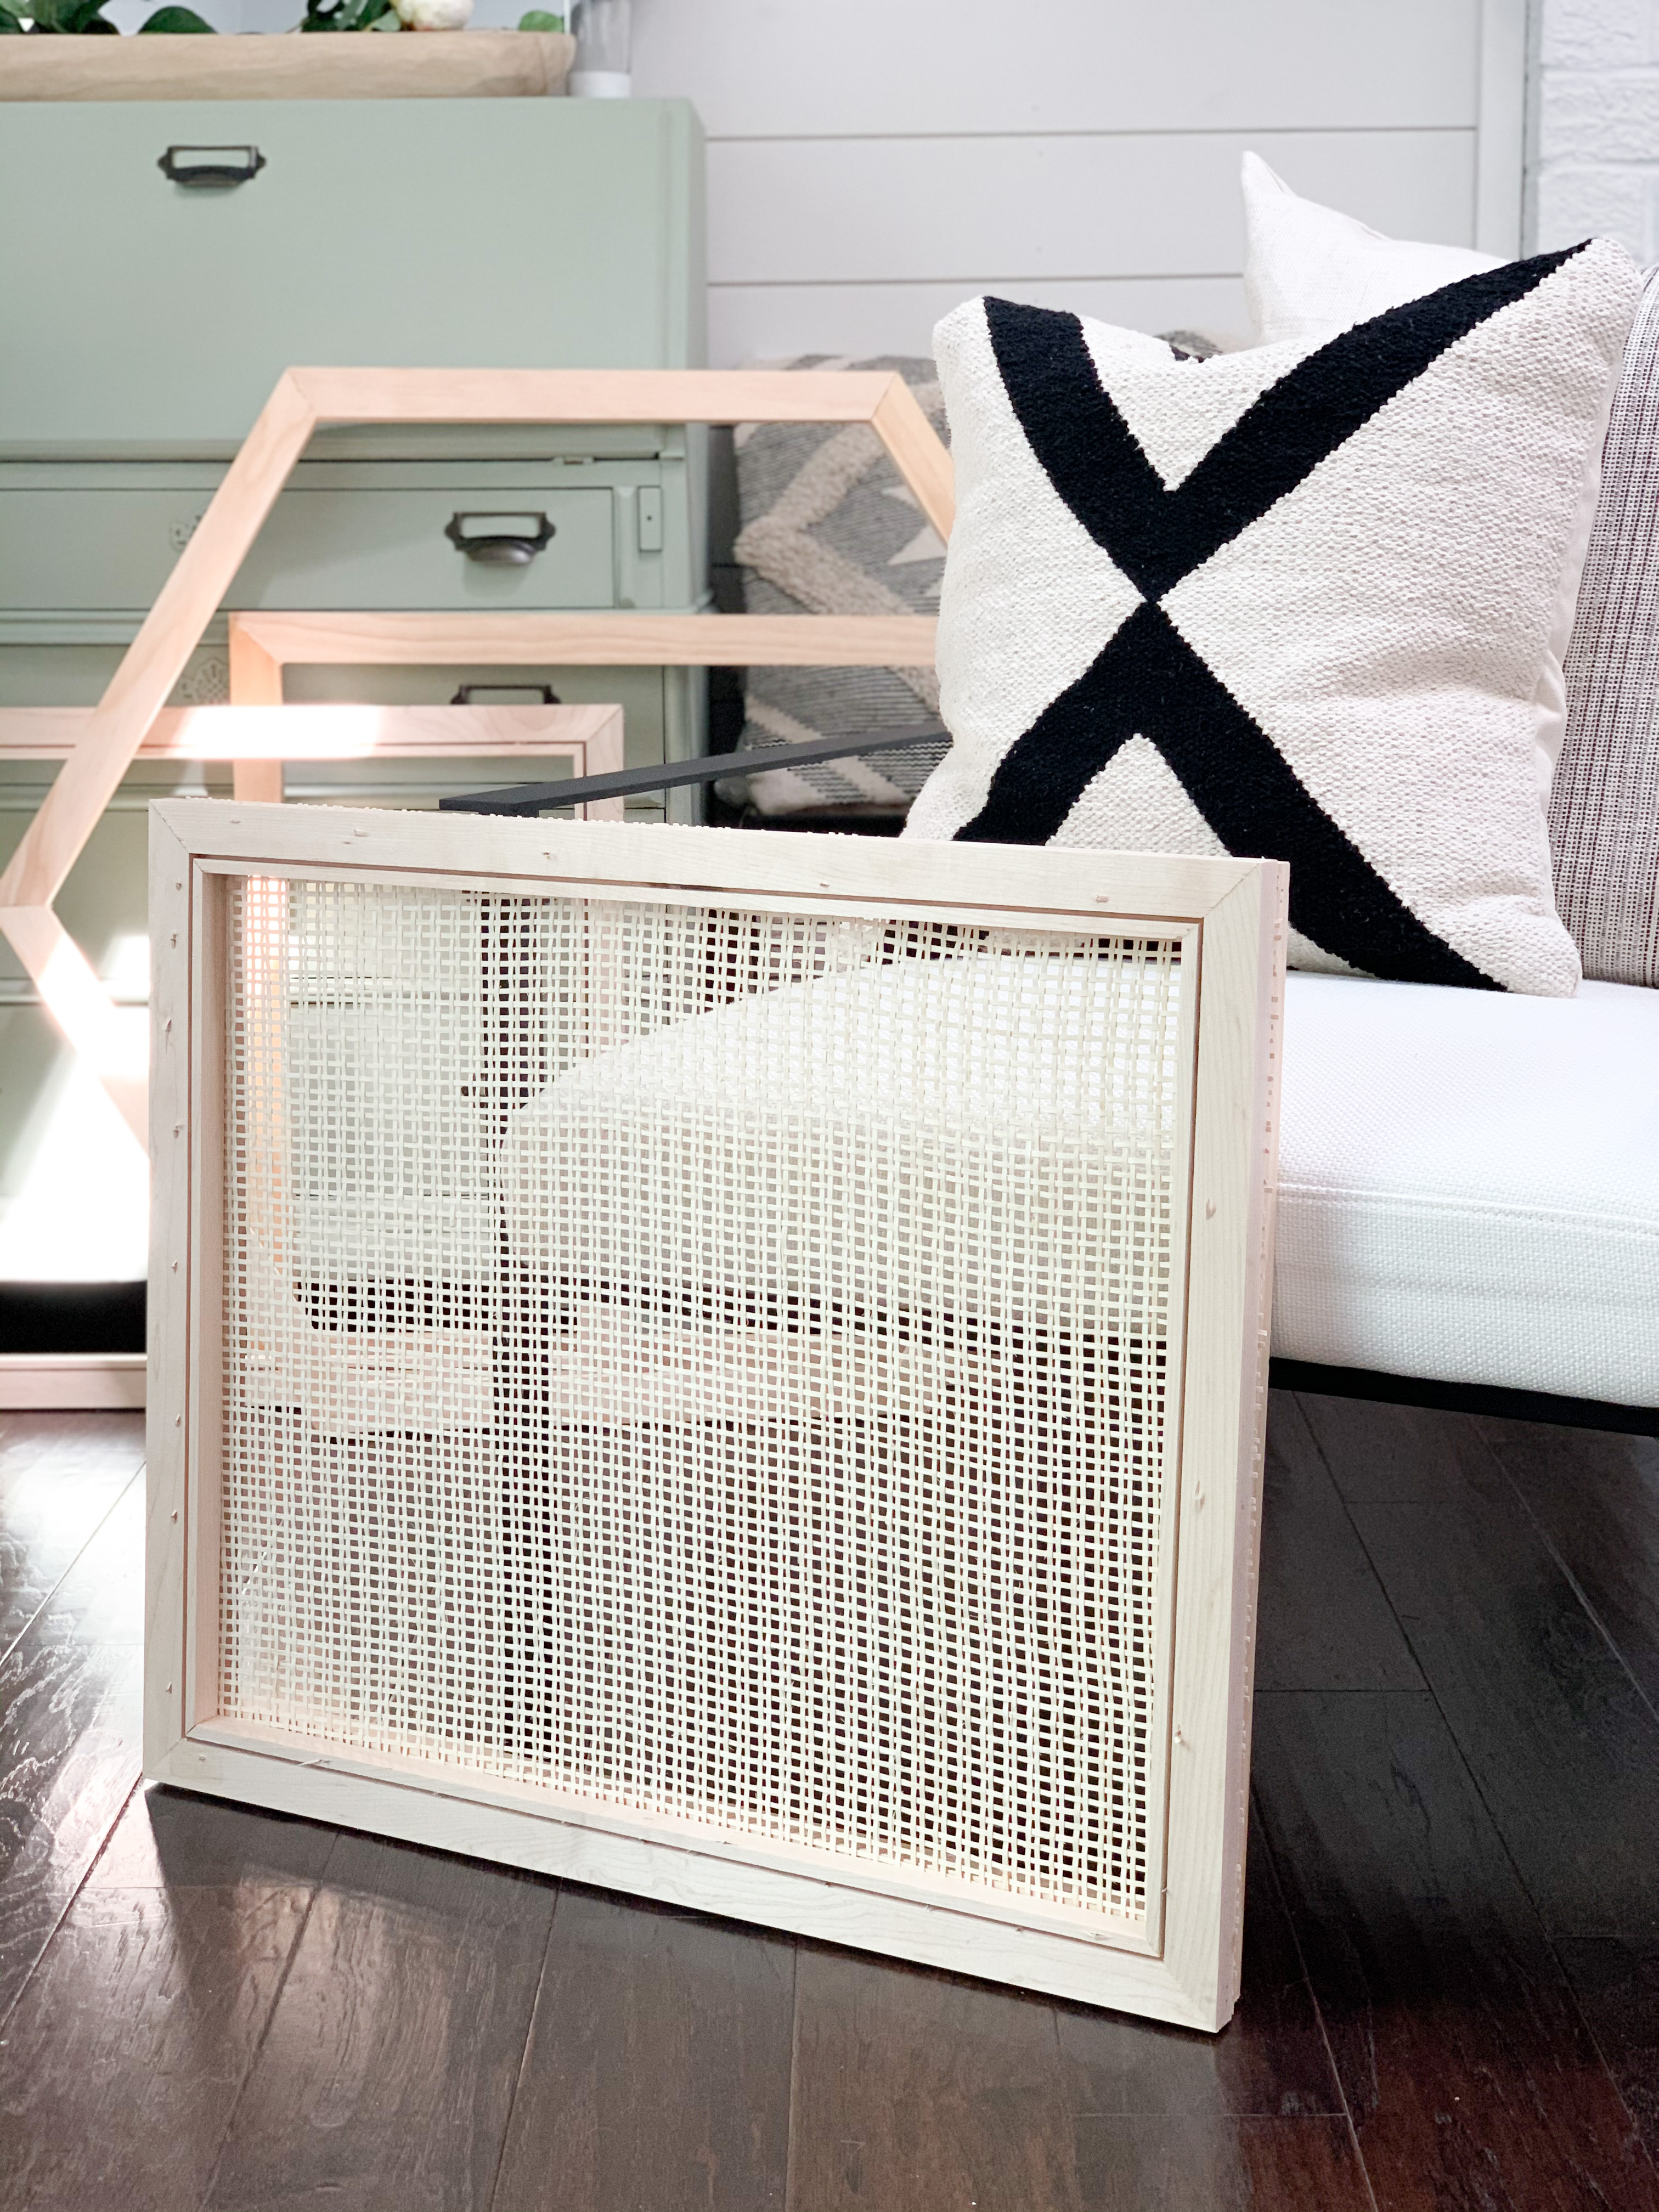
The original plan clearly doesn’t seem to be working. We are trying to find a new way to use the cane fabric and maple frames. Our hope is to seal the cane between two wood frames.
The new plan is to use pine wood on the back, then glue and nail the two frames together to hold the cane tight. To avoid “wasting” the grooves we made, those will face forward on the front of the headboard, giving it a decorative feature.
If you can ignore the sharp nails poking through (we learned the ones we had were too long), you can see the potential!
This entire process took up all of our spare time this week, but the creation of the Cane Headboard will be happening this coming week, in addition to prepping the room for paint…. Stay tuned!!
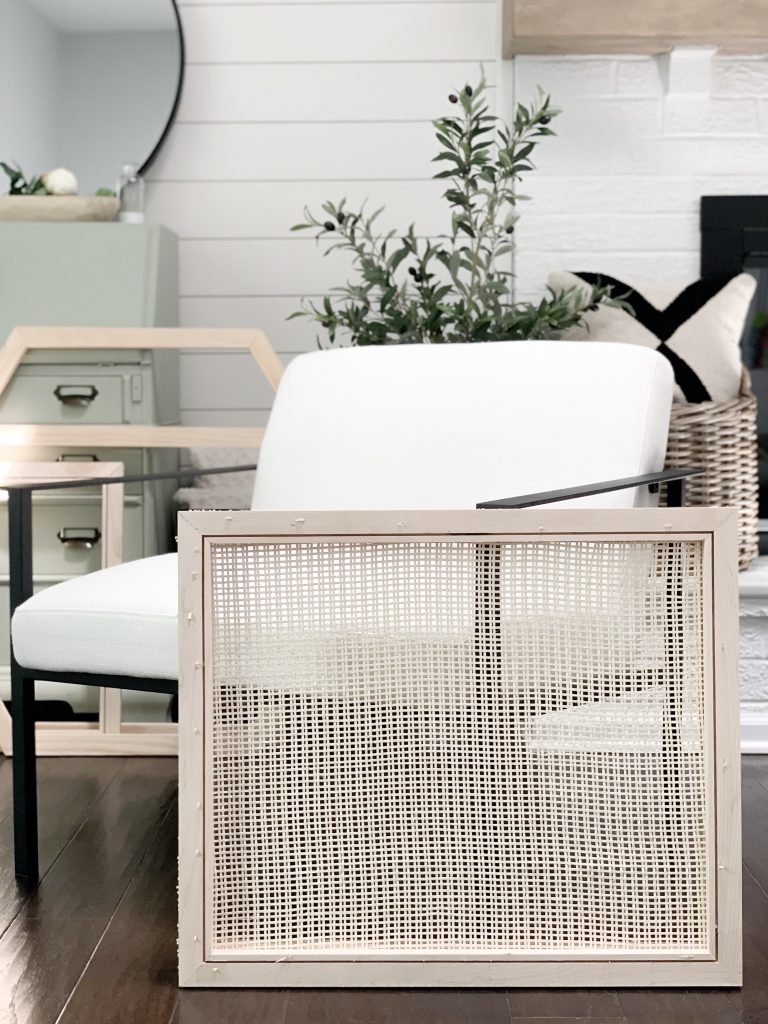
Next Post: ORC Week 6 – DIY Cane Headboard, The Build

One Reply to “ORC Week 4 – Cane Headboard, The Plan”
Comments are closed.