I learned a couple things while doing this third Christmas tablescape. The biggest lesson being, nothing goes according to plan. I was hoping to have this blog post up a week ago to potentially be helpful. Instead, it’s going up two days before Christmas, when everyone is done decorating.
I also learned that fresh greenery is totally complicated! My initial reaction was that it’s gorgeous enough to be worth the mess. Then it all died on me. I had a vision of a big presentation of fresh greenery down the center of the tablescape, with lights running through it and the wooden candlestick holders “floating” on top. (I had found acrylic risers that would prop up the candlestick holder and be easily hidden) I knew there wasn’t a lot of life left in the amazing stems I had come across the previous week, but I thought I could disguise it a bit.
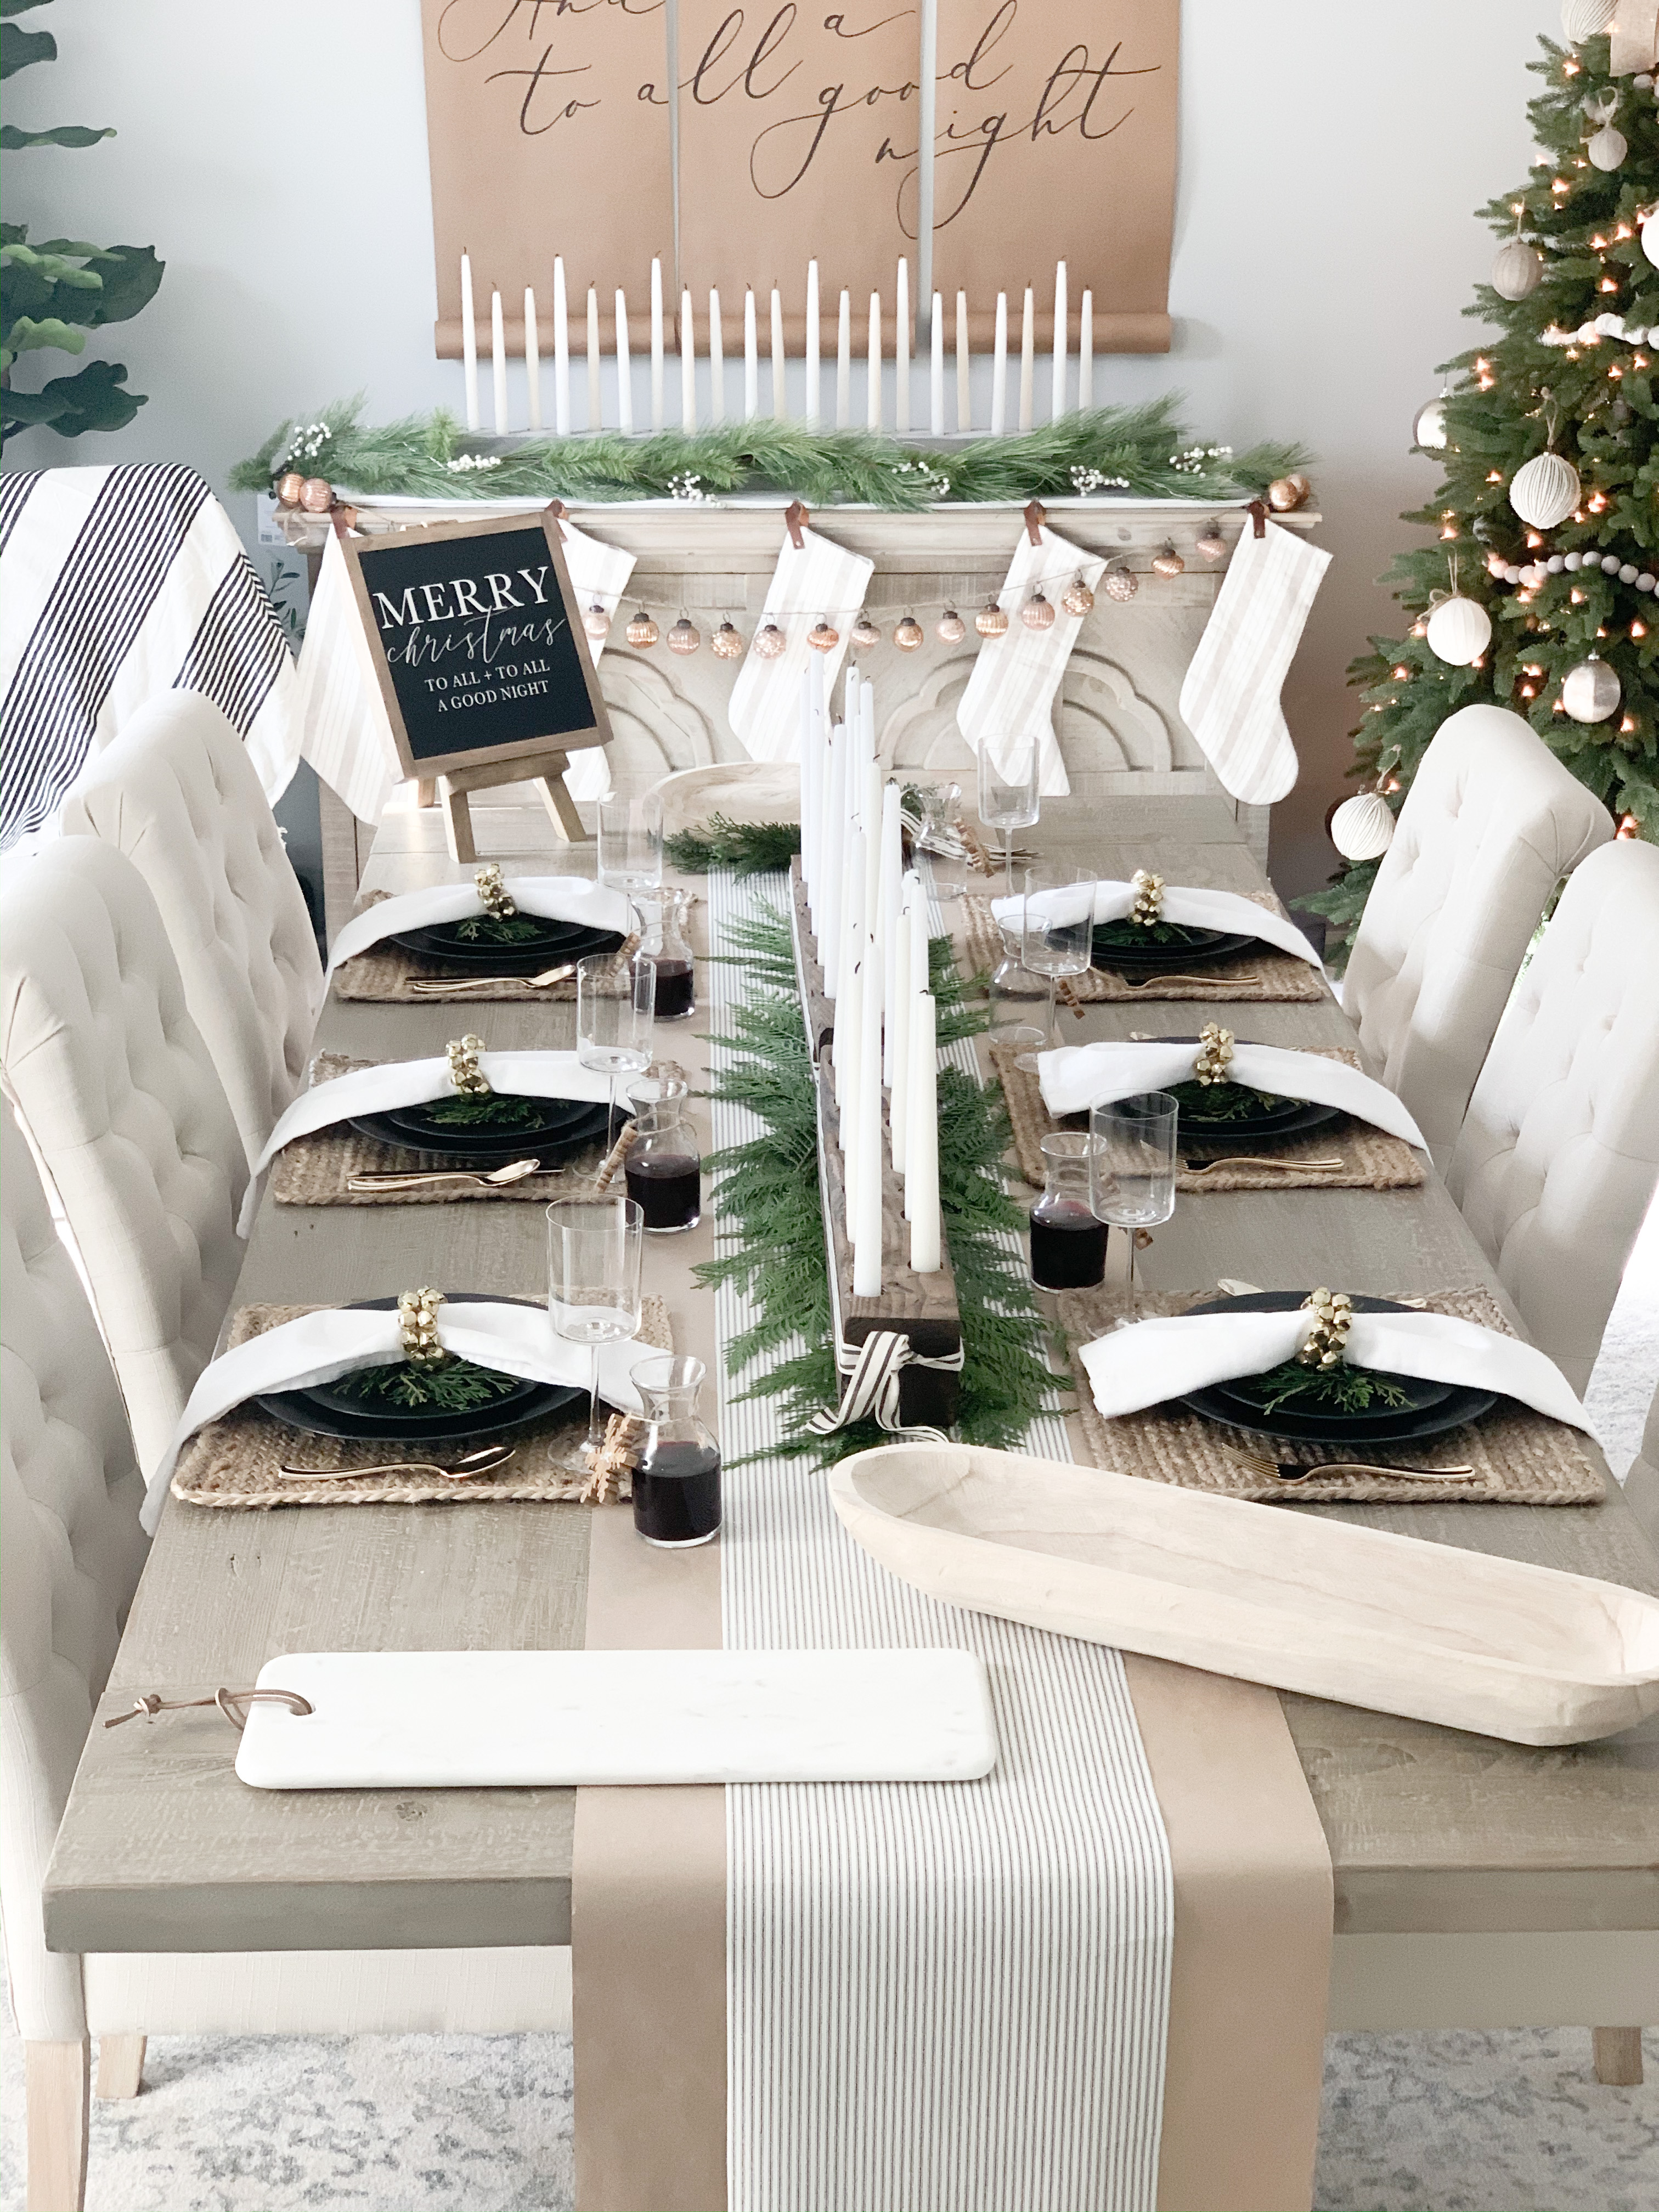
After a few splinters and a TON of mess from the brittle, dead branches, I gave up. I threw out anything that wasn’t salvageable, and was left only with a few cedar stems. I was bummed about having to throw away so much, BUT the cedar stems are my absolute favorite! They also lay nice and flat, so I had the option to set the candle holder directly on top… silver lining!
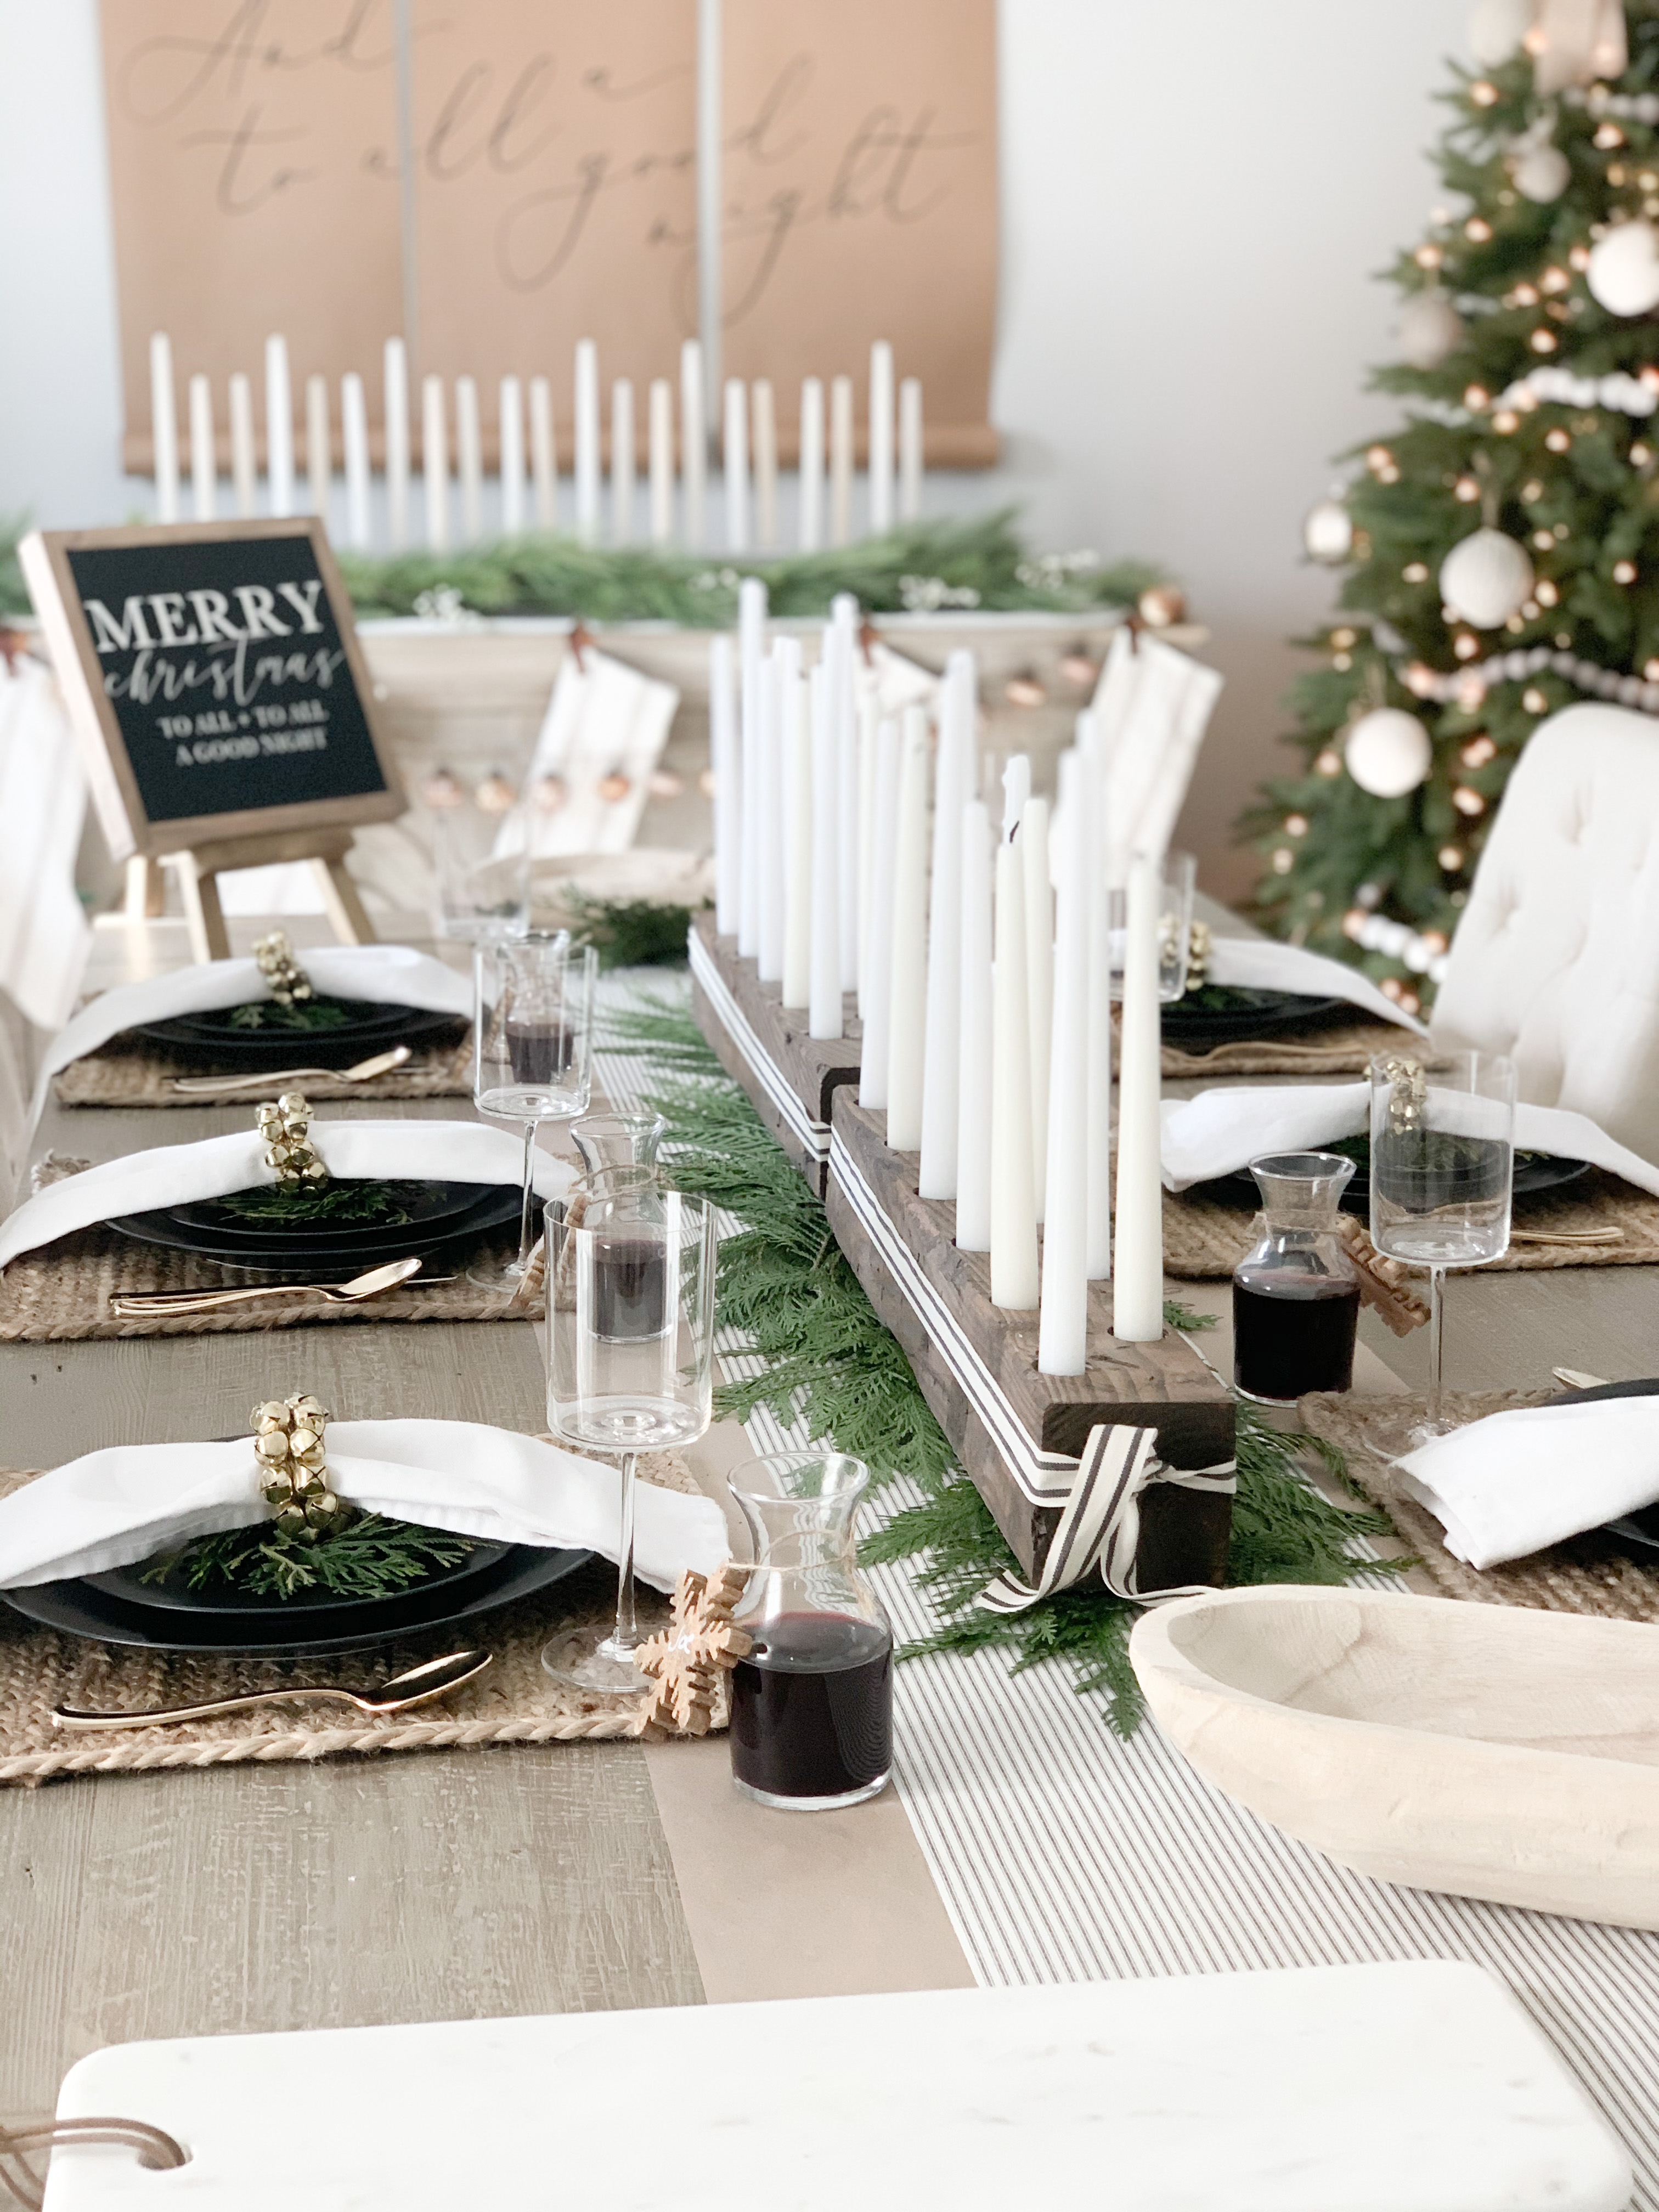
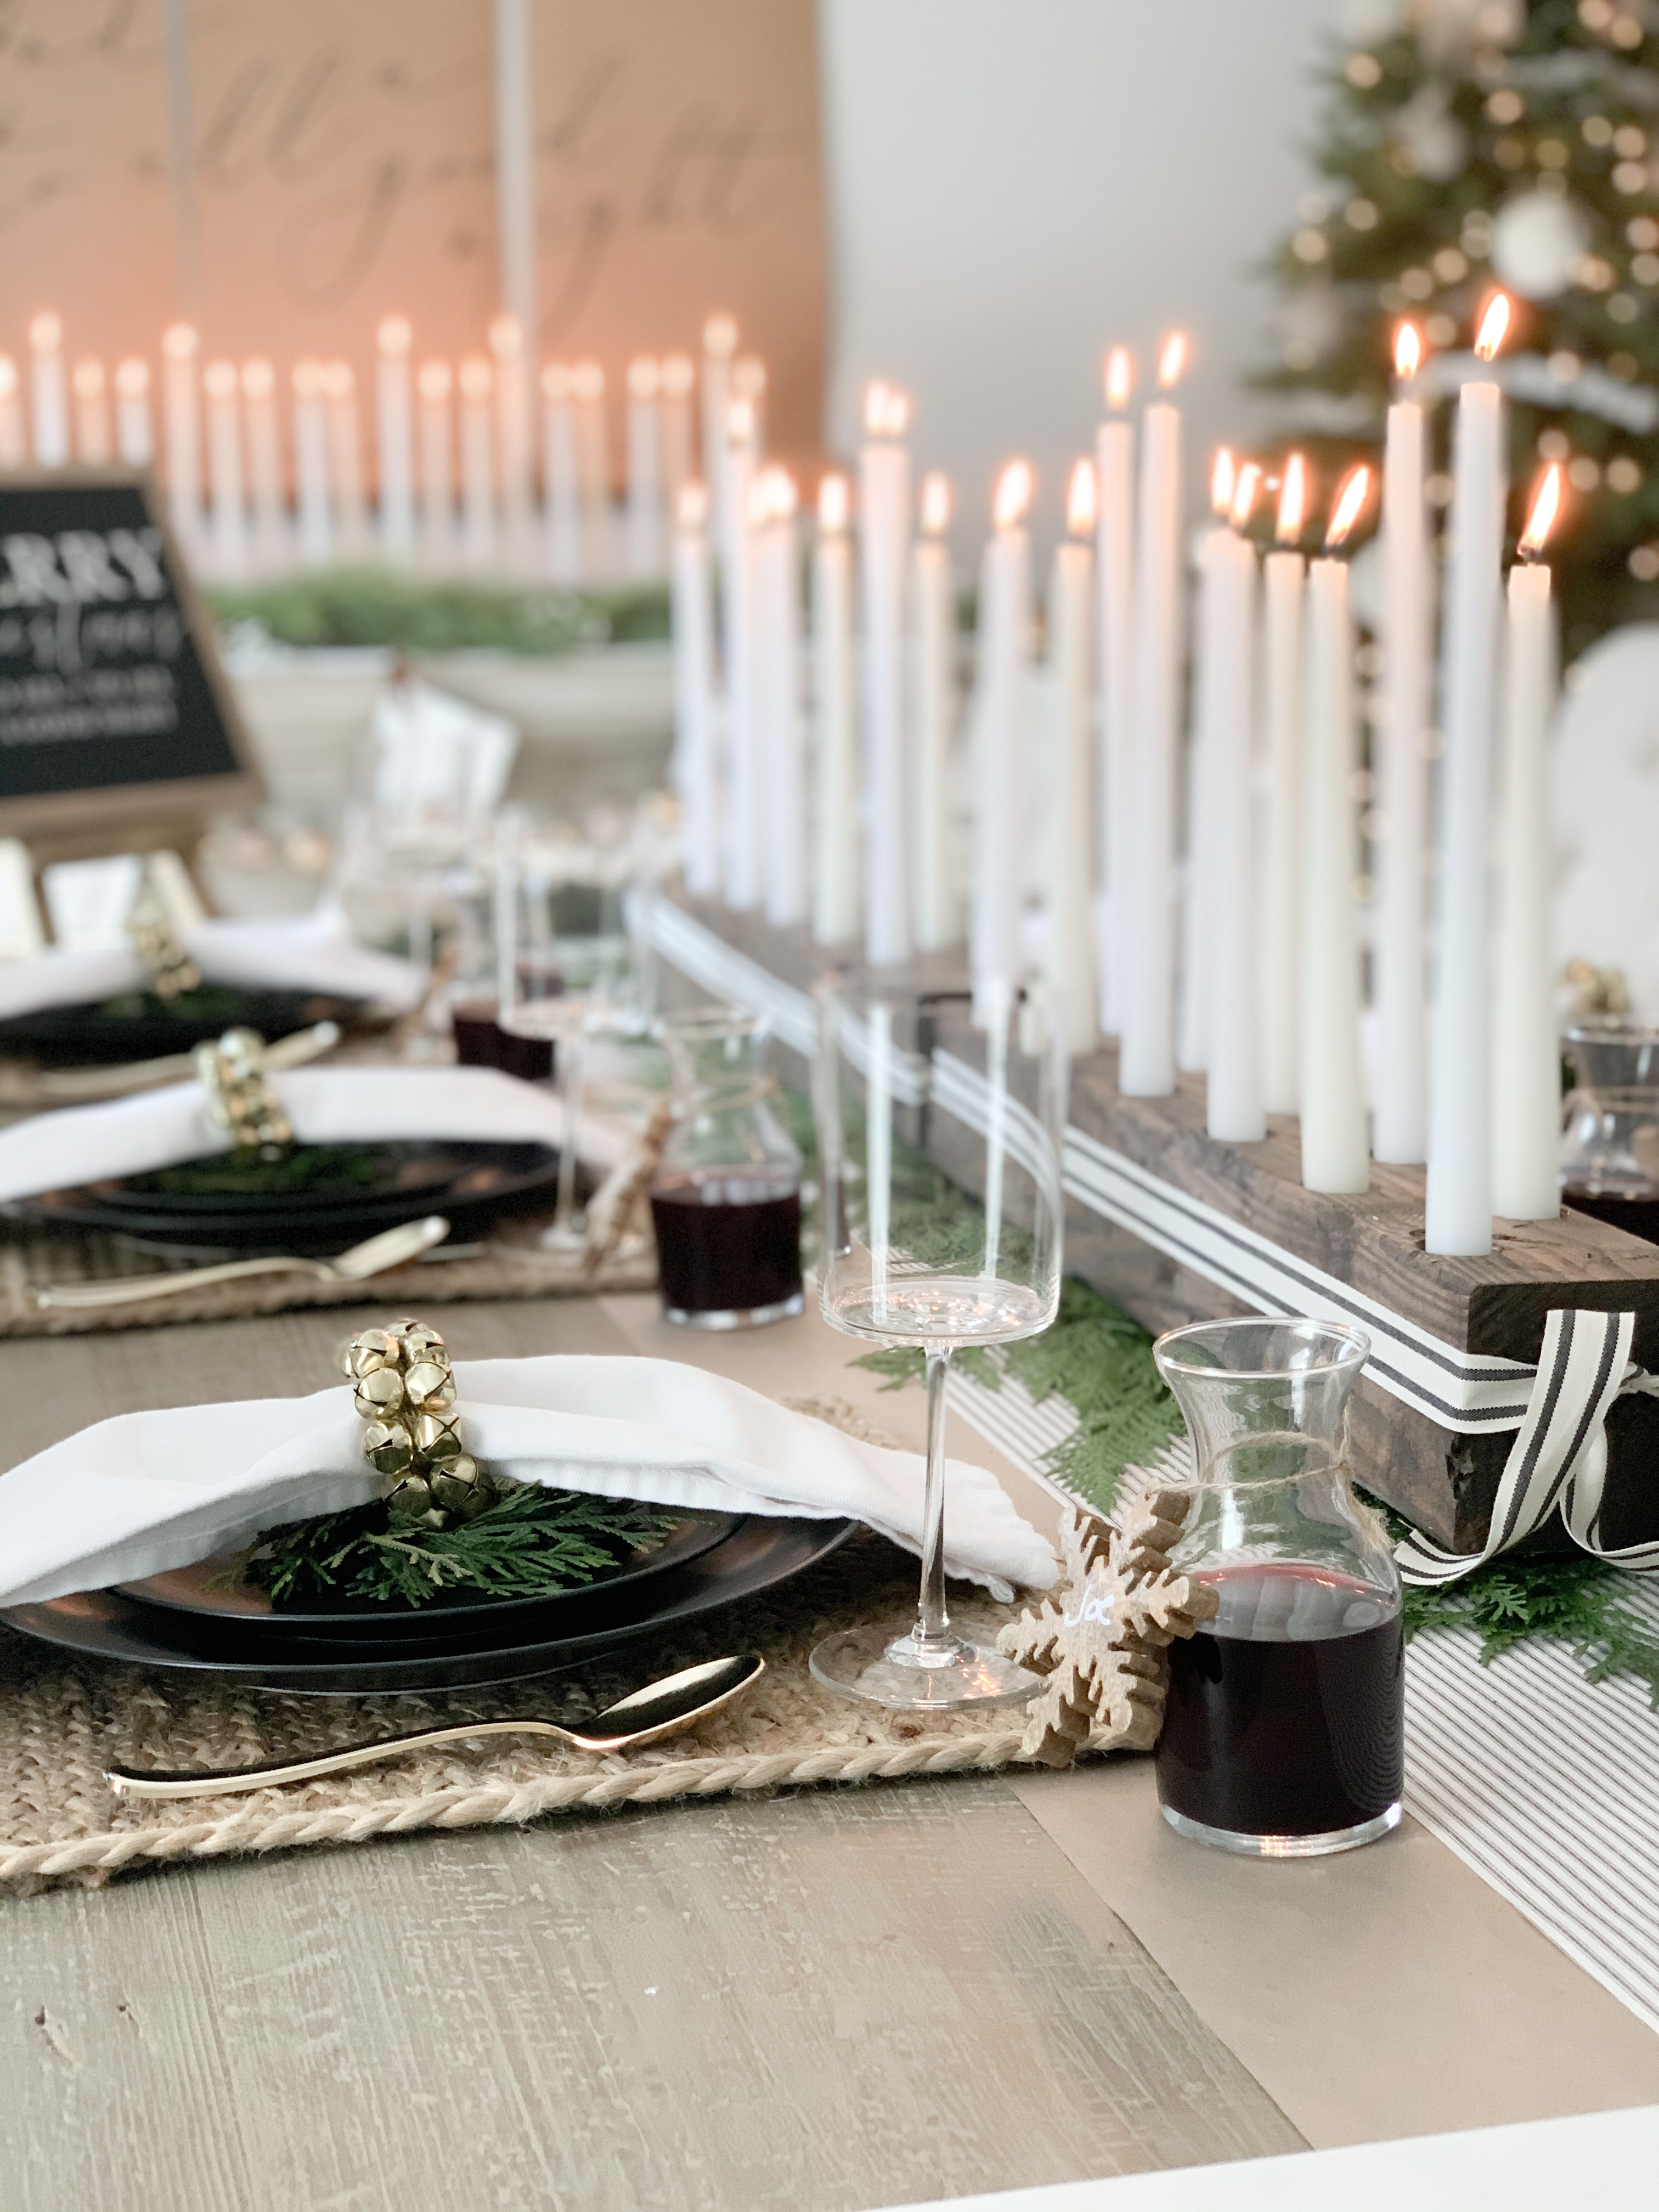
If you saw my previous post of the neutral and cost-affective Thanksgiving tablescape, you will recognize this candle holder. We found the instructions on how to make this incredible candlestick holder on Liz Marie Galvan’s blog, linked here. We loved the first one we made, but the color was never my favorite. This time around, we found a dark walnut stain that looked better, AND Joe distressed the wood himself to make it look a little more salvaged. No joke, he was out in the garage with a chisel and a bunch of nails, and I thought he was crazy. Turns out, he’s brilliant and did an amazing job!
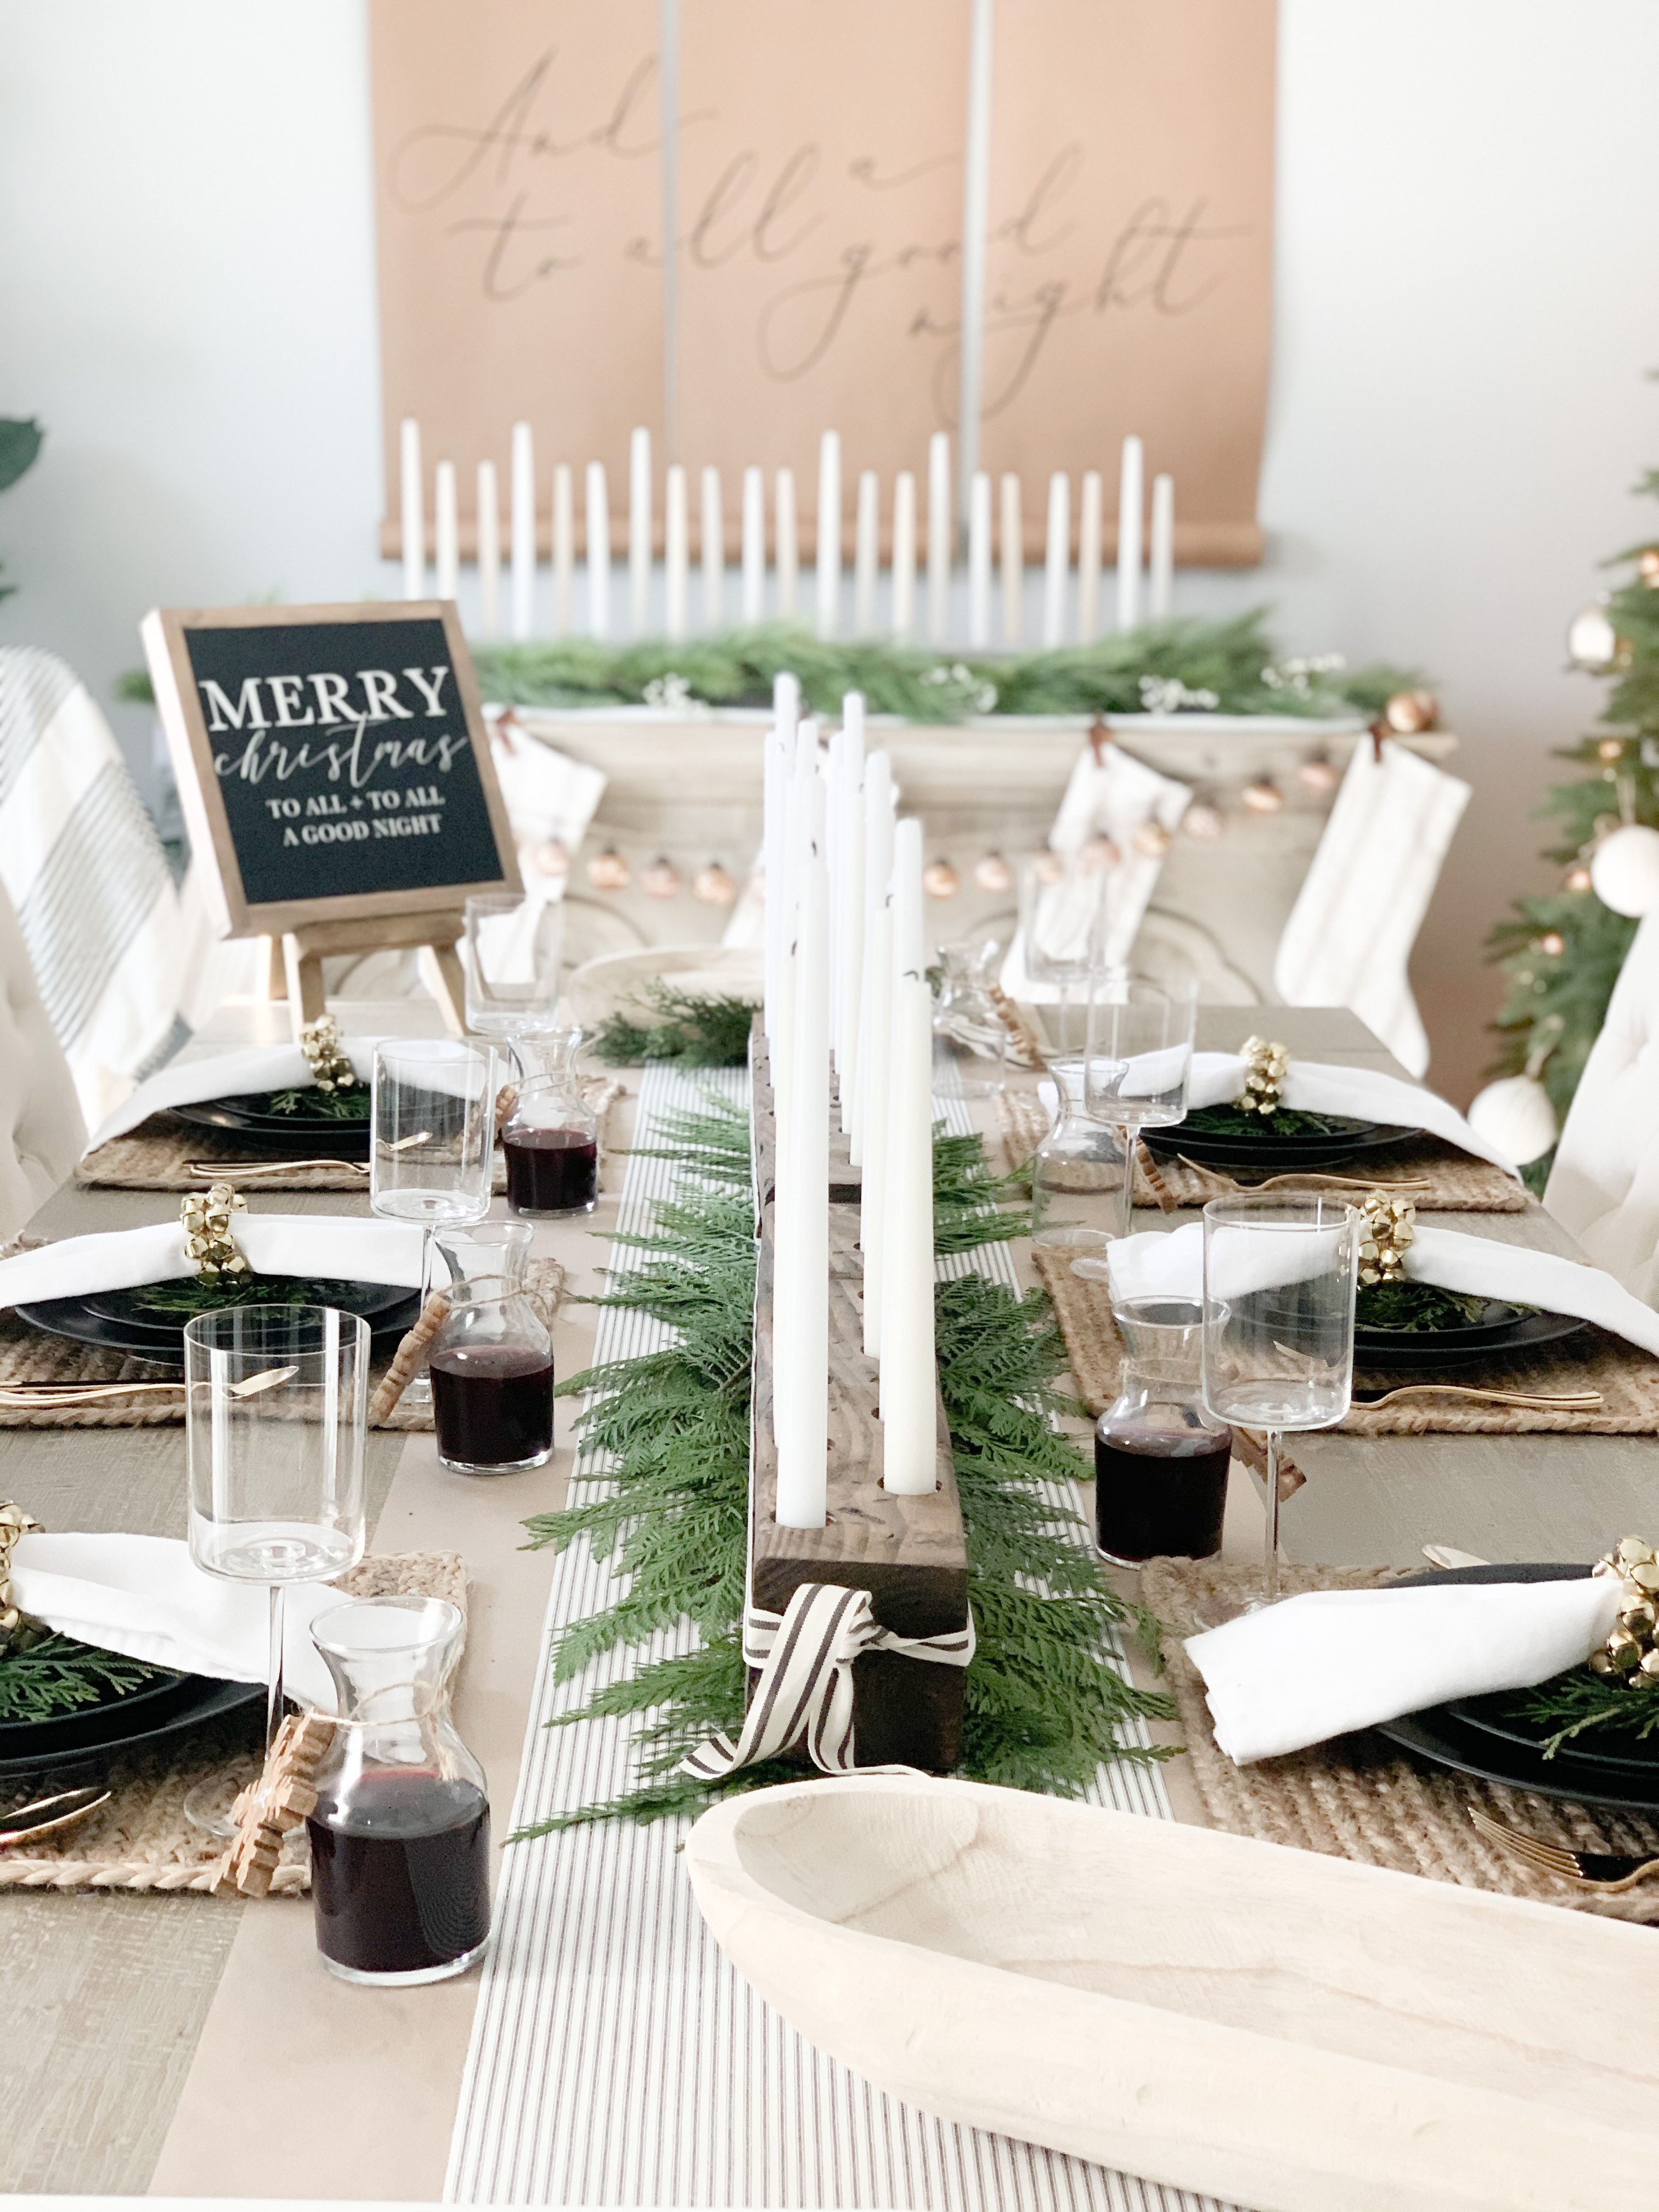
Another shoutout to Joe for the idea of tying the ribbon around the blocks of wood. I was so bummed about not being able to do the lit-up greenery centerpiece, I felt like something was missing. This ribbon has been a favorite of mine this Christmas, and I just love what it adds here too.
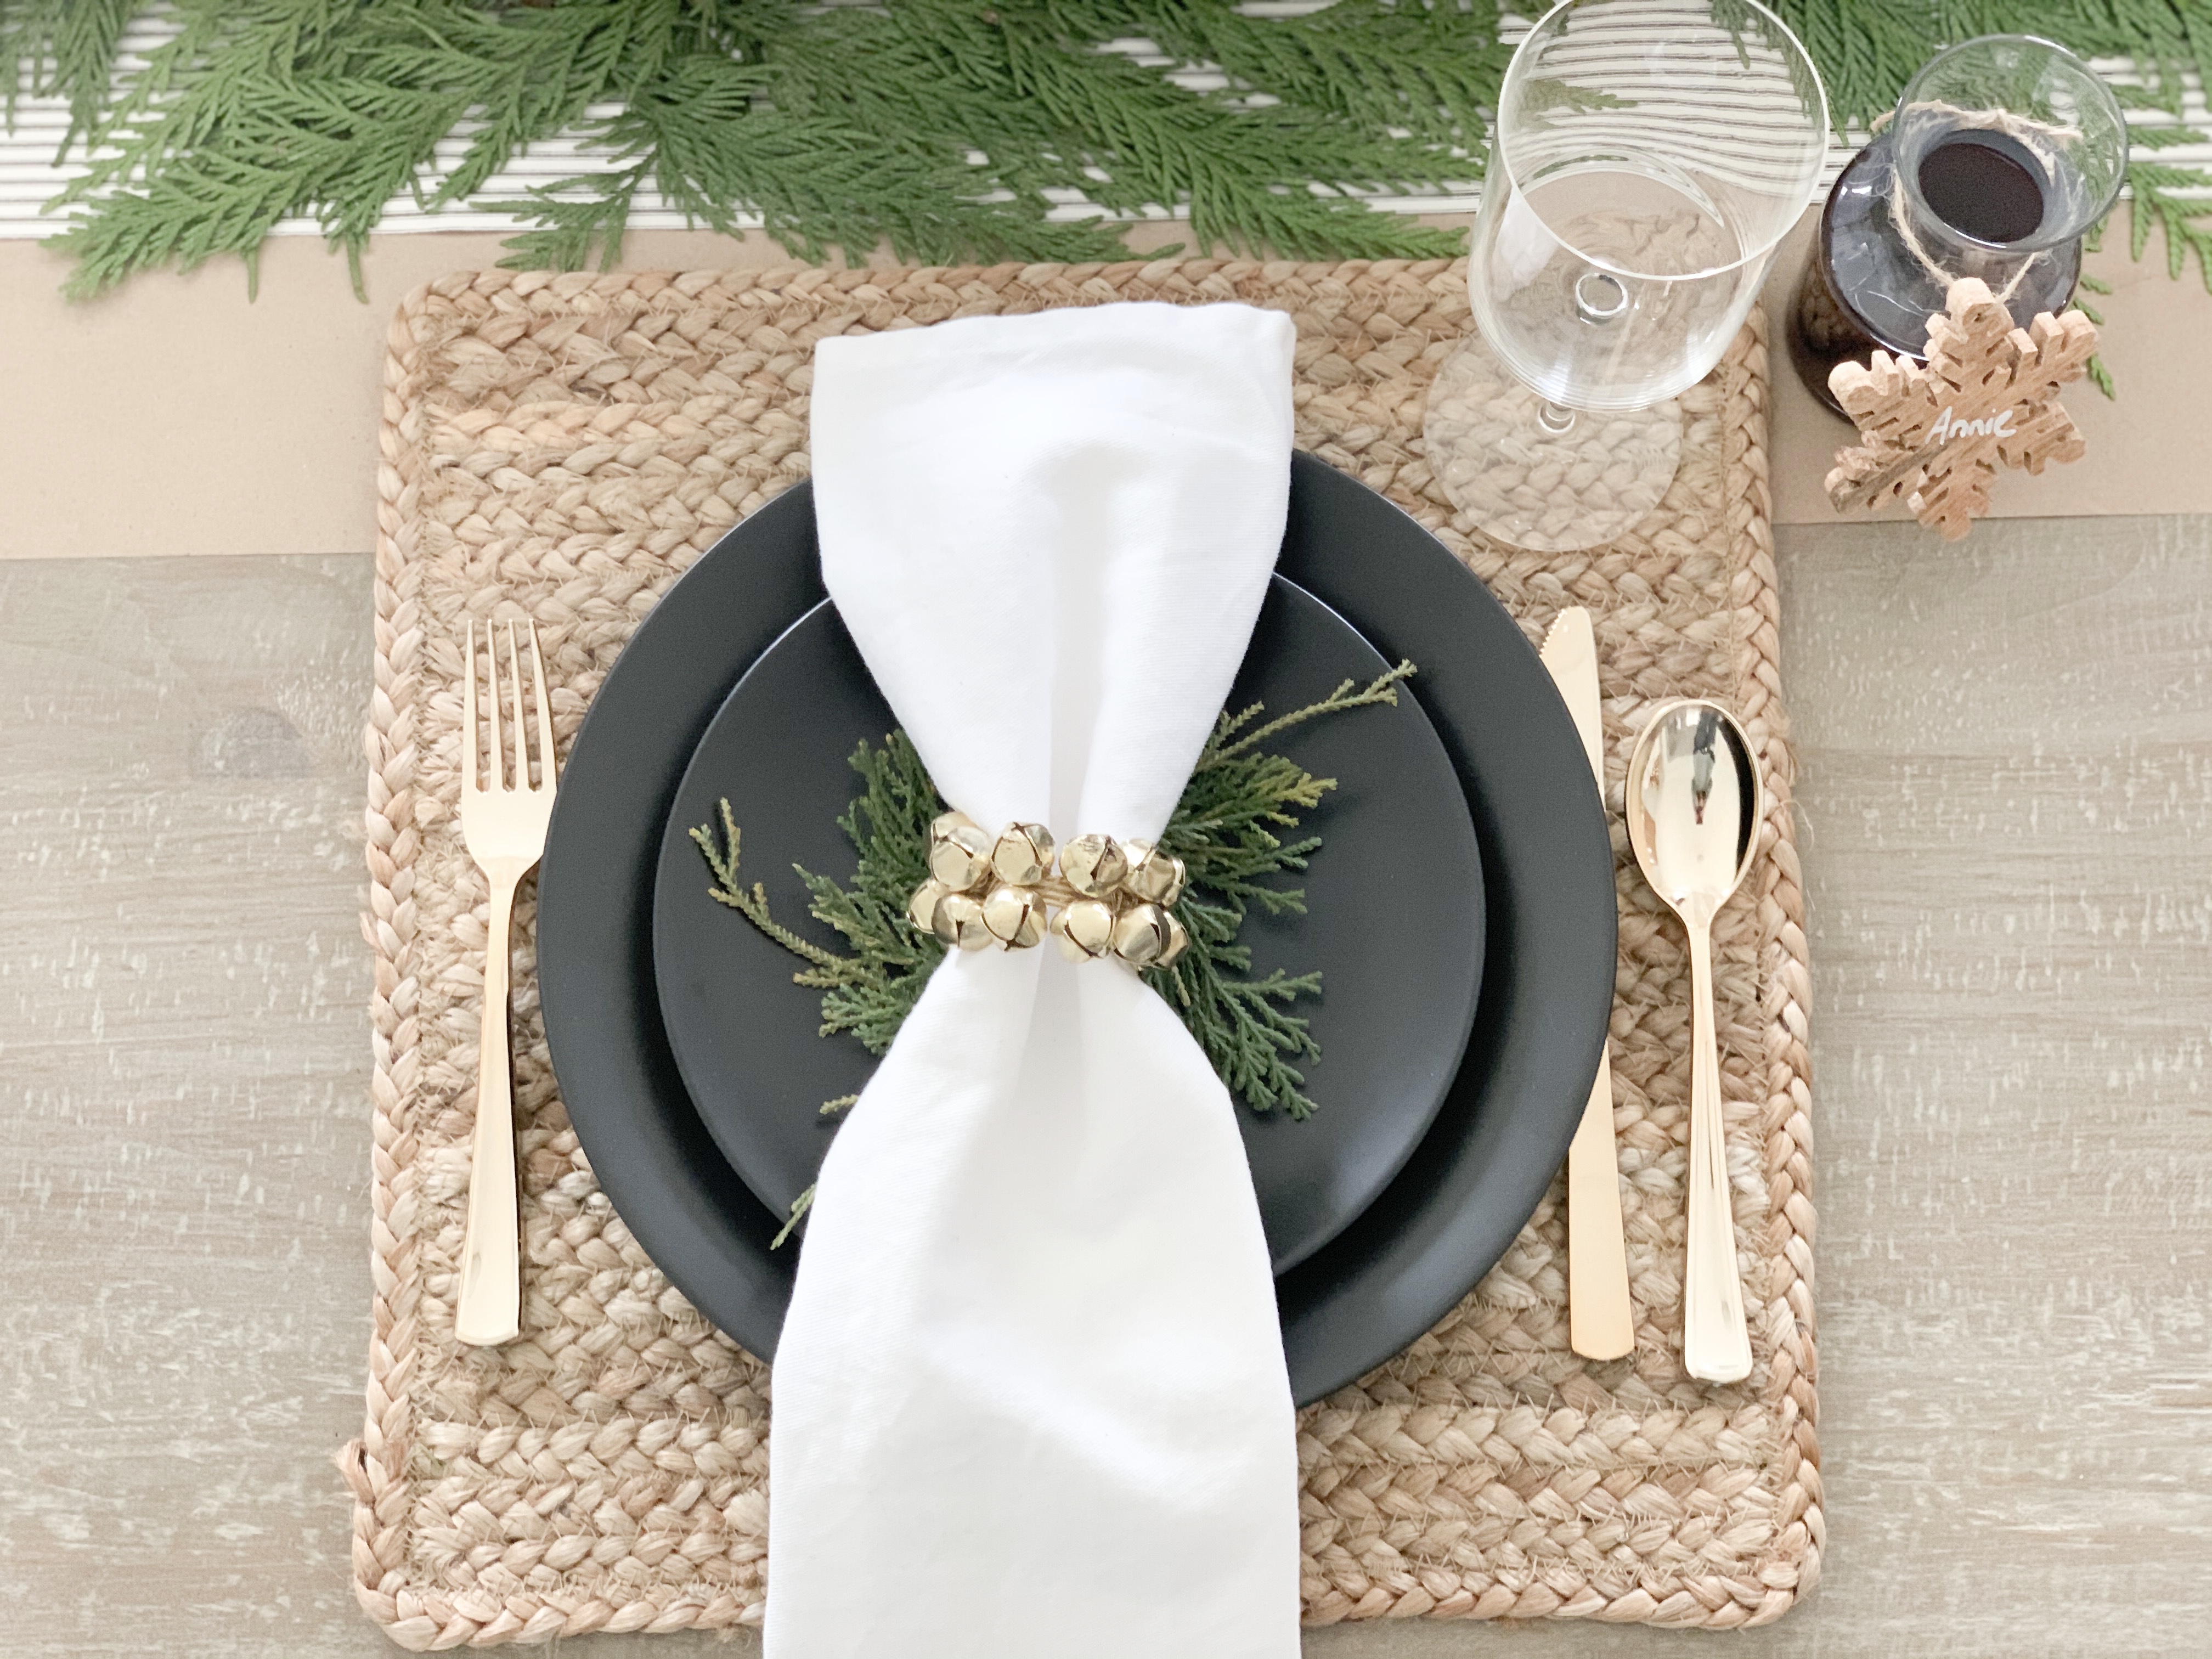
These placemats were only $3 from Walmart, linked here, and I love them so much! I was torn between a few different napkin ring and name tag options, so I figured out how to use them all. I got to use the bells, while also getting that hit of greenery I love so much in a place setting. I just set the napkin with the bells (from Homegoods) right on top of the cedar napkin rings. Then I used the cute wooden snowflakes (also Homegoods) as the name “cards” and attached them to the individual wine decanters.
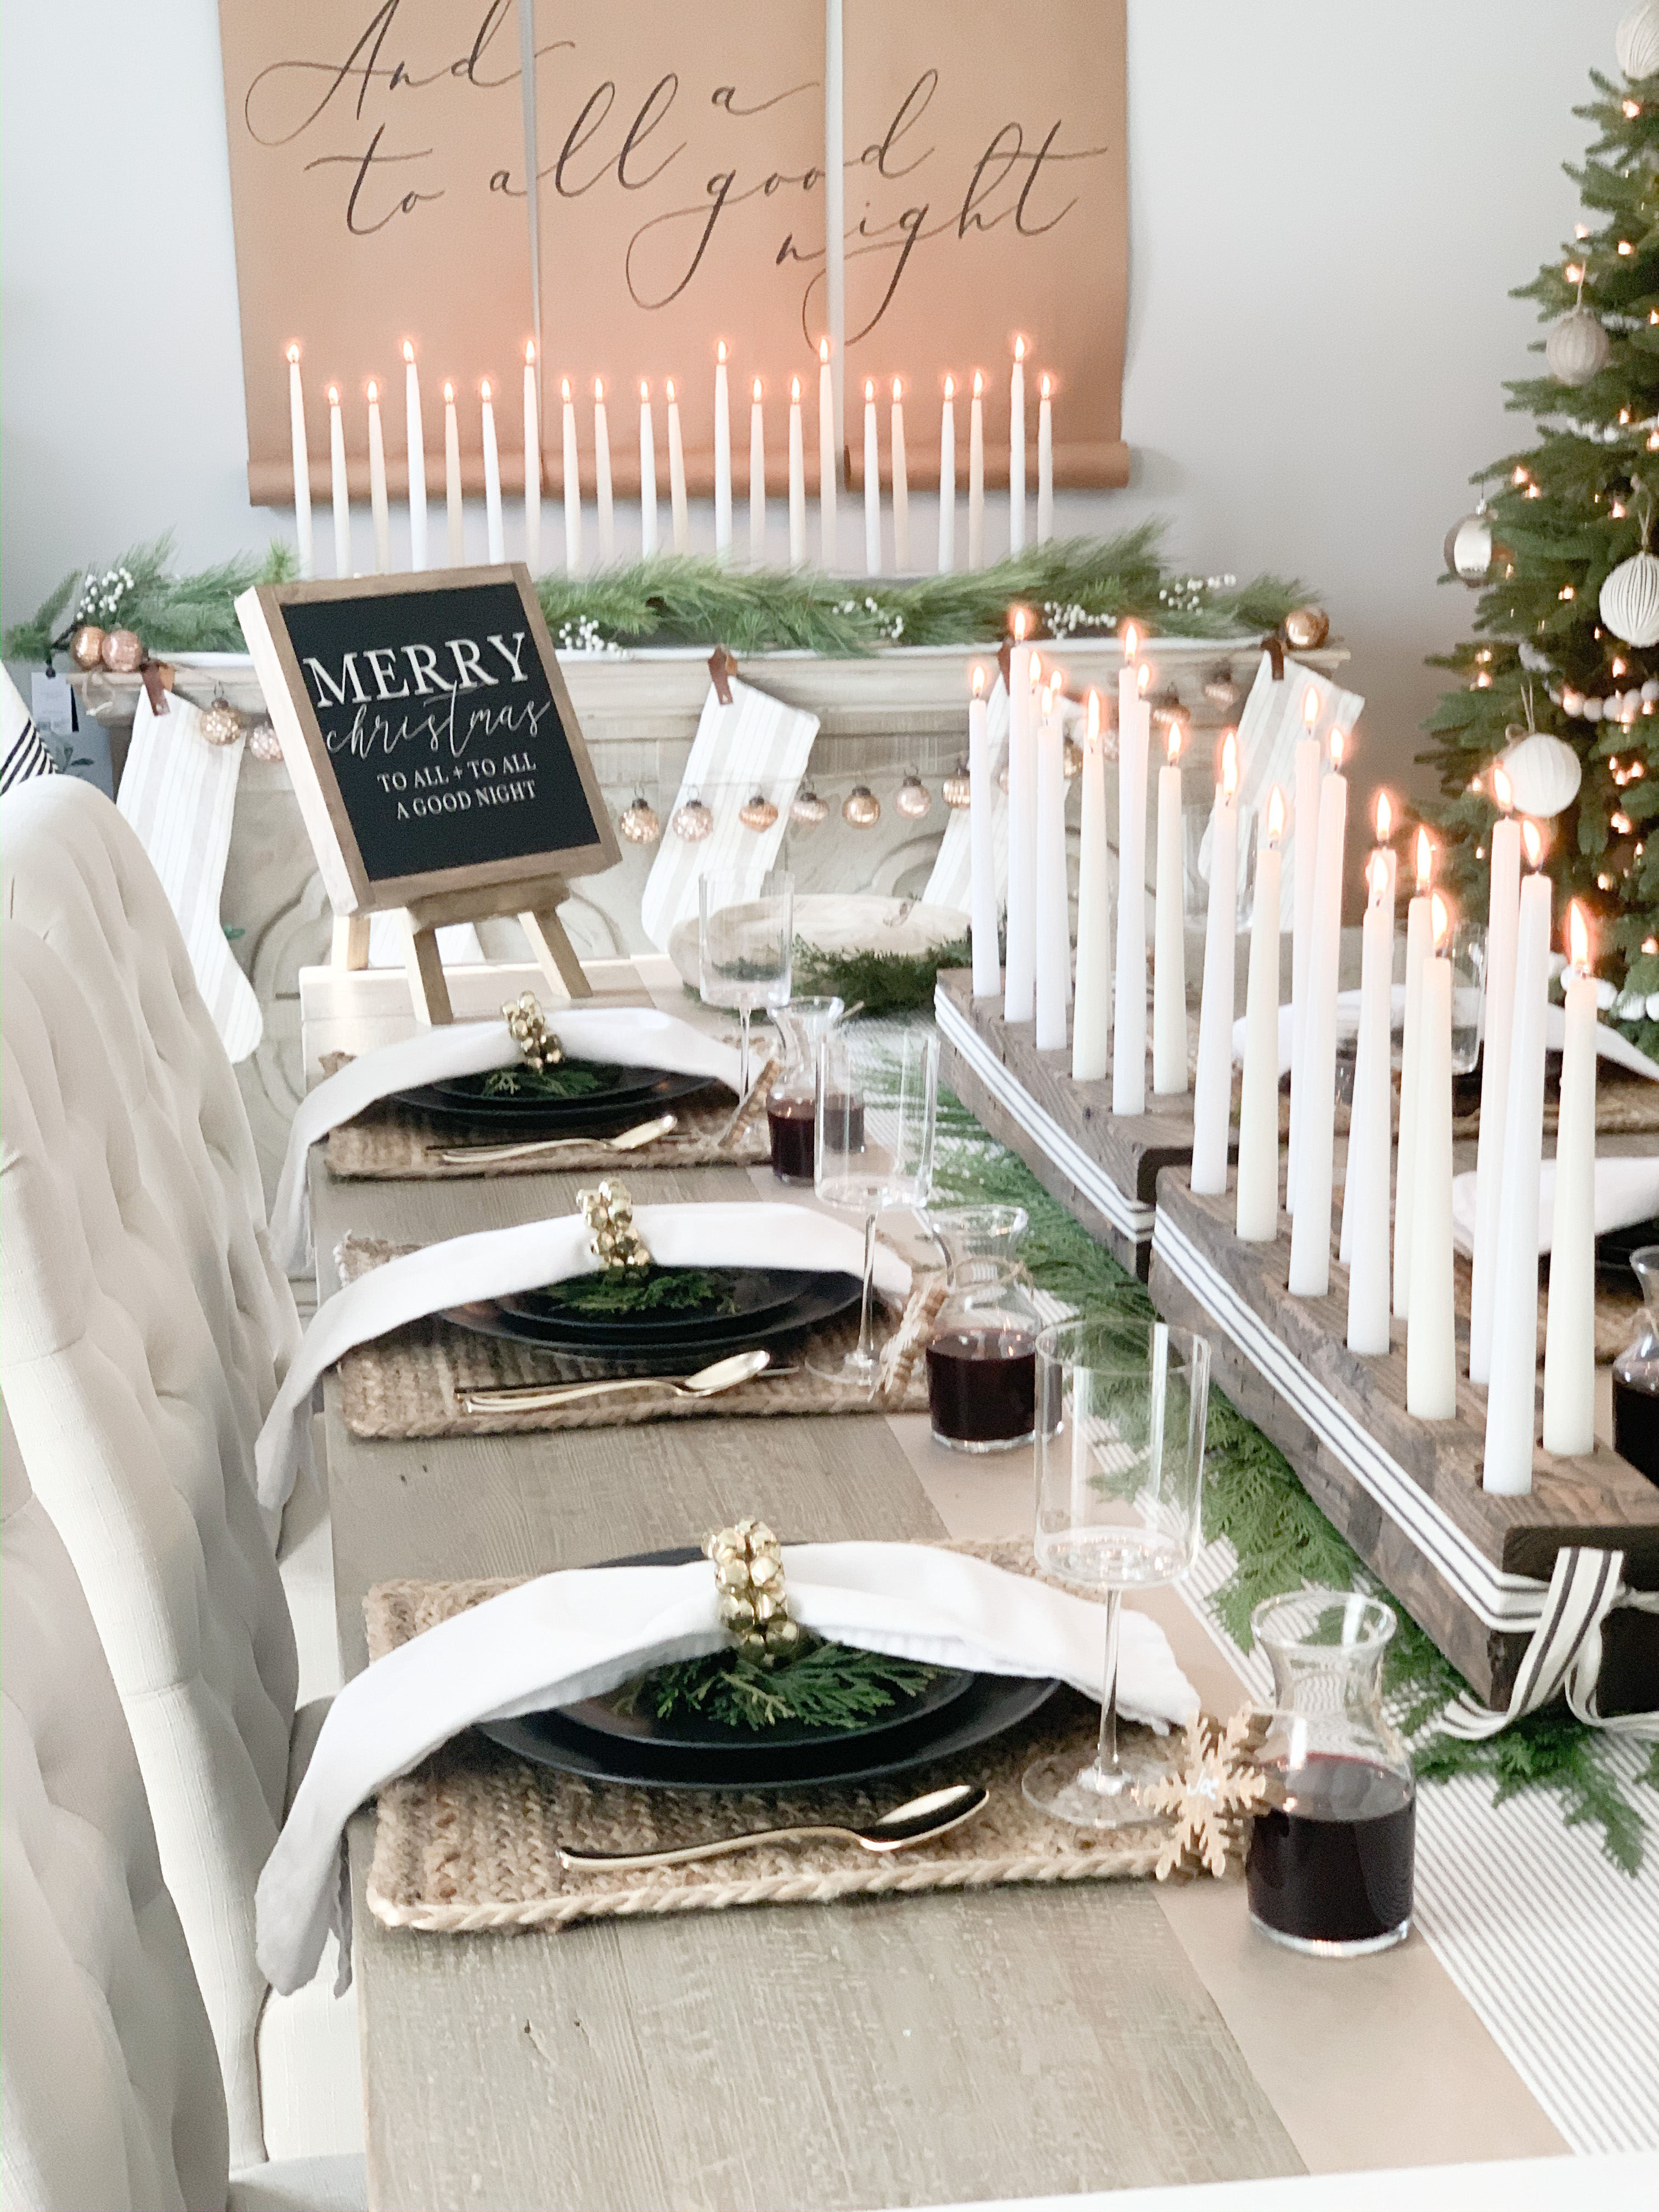
For the first candleholder we made, we used the lighter to warm the bottom of the candle to somewhat “mold” the candle into the holder. This time around, I came across a new product on Amazon, called Stick-um, and wanted to give it a try. It’s a cross between an ointment and a wax, and you dip the end of the candle into it, and then place it in the holder. It worked pretty well! TBD on how messy/easy it is once we are ready to remove them, but it works well for now!
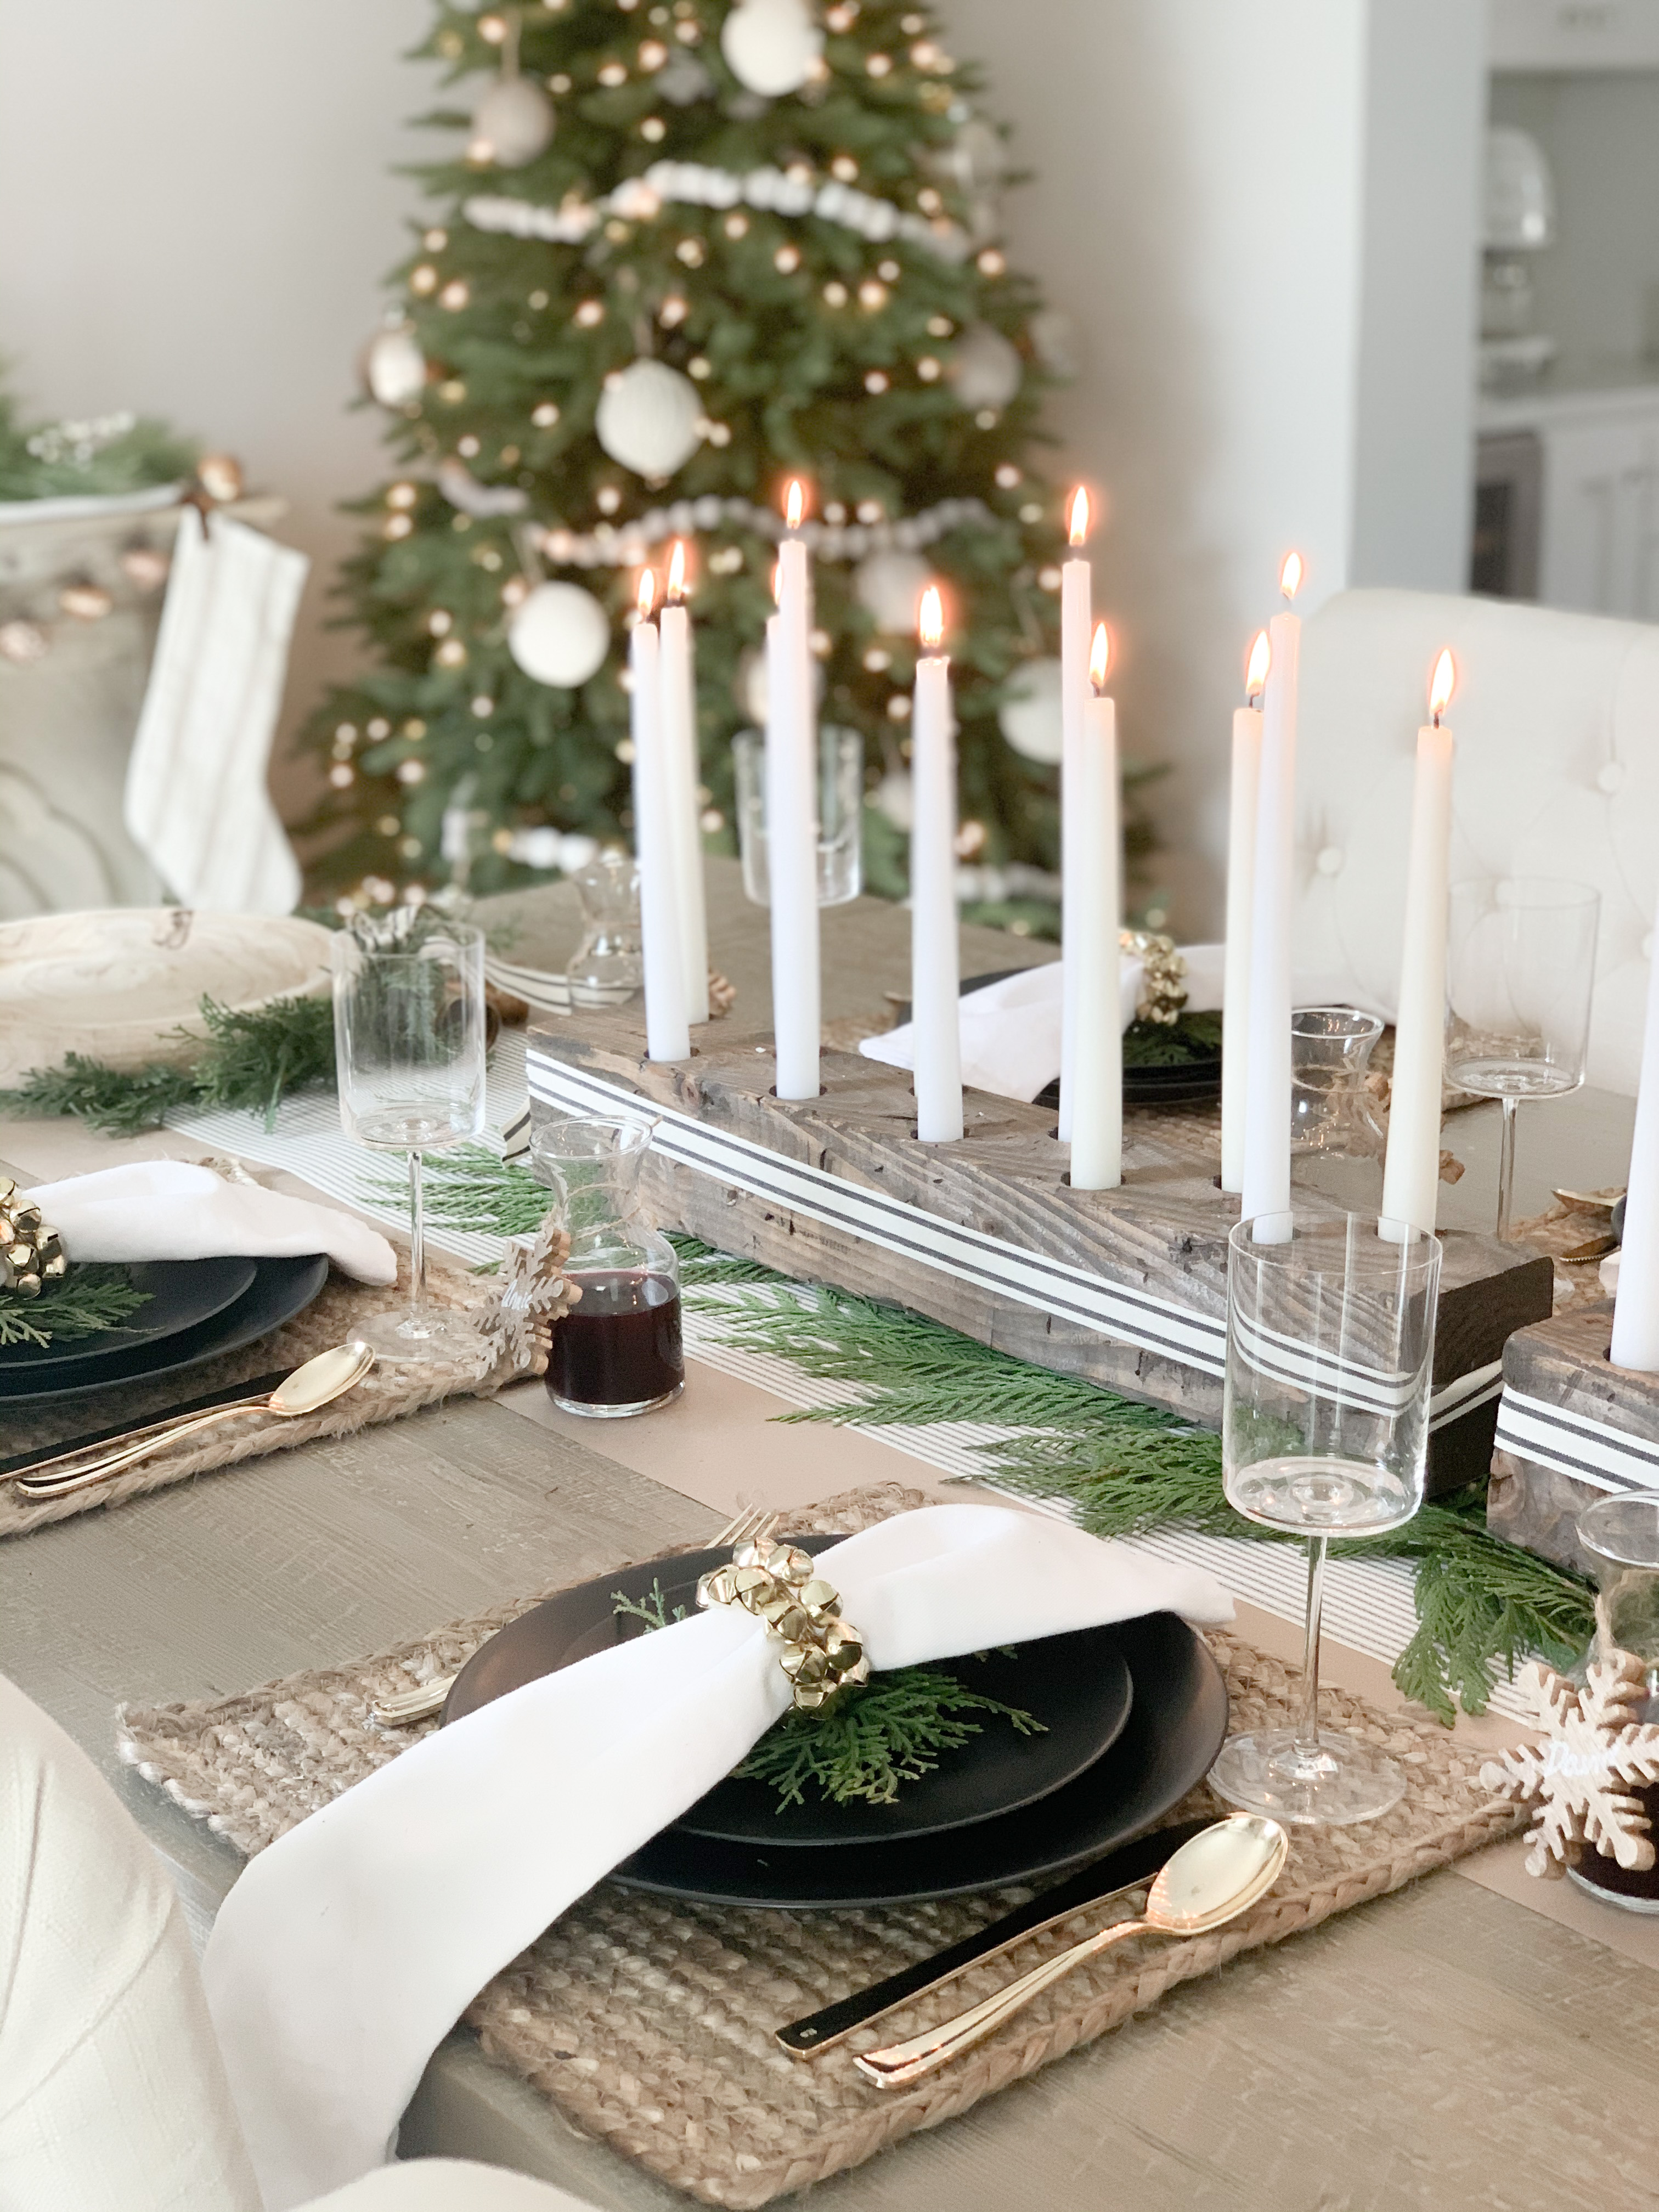
I was bummed I couldn’t find a way to incorporate Christmas lights down the center, but the 40+ candles definitely helped set the mood!
