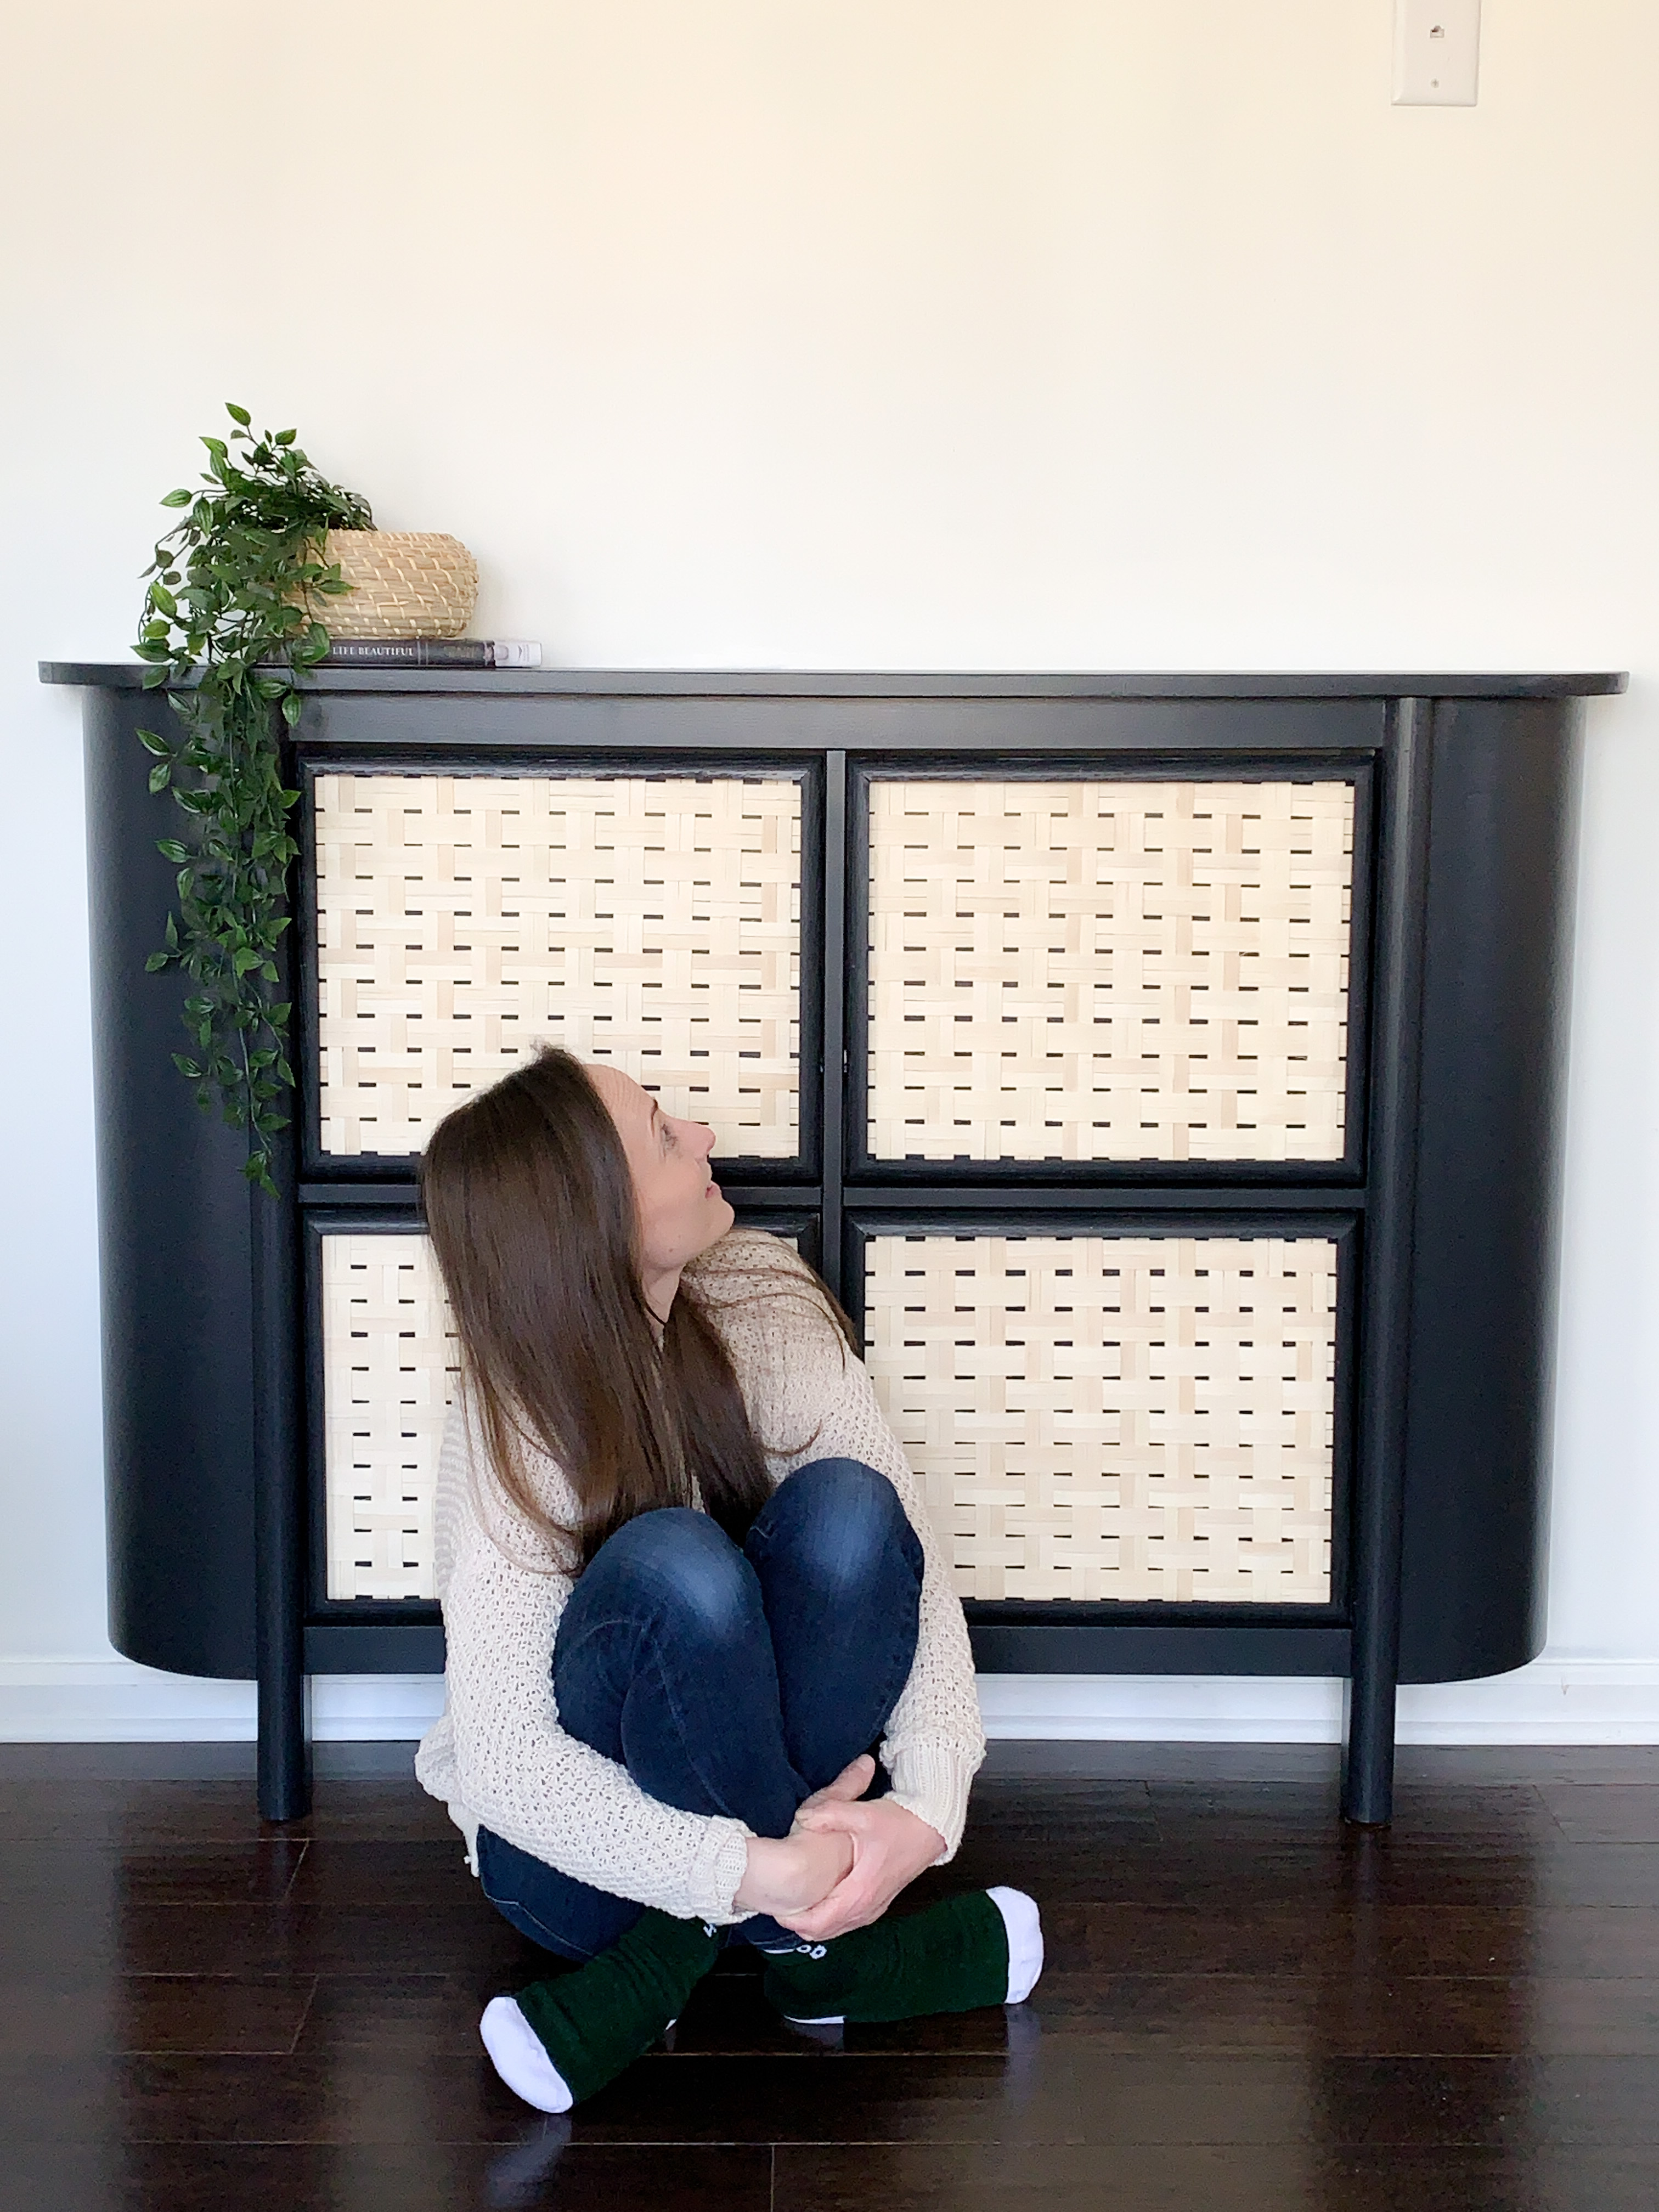
Curves in furniture right now is all the rage, and I am Here. For. It. When I started researching ways to curve wood to make furniture, I was instantly overwhelmed… It’s intense! I’m not saying I’d never try one of those methods, but for now, I wanted something a little easier to scratch the curved furniture itch- hence, this shoe cabinet IKEA hack.
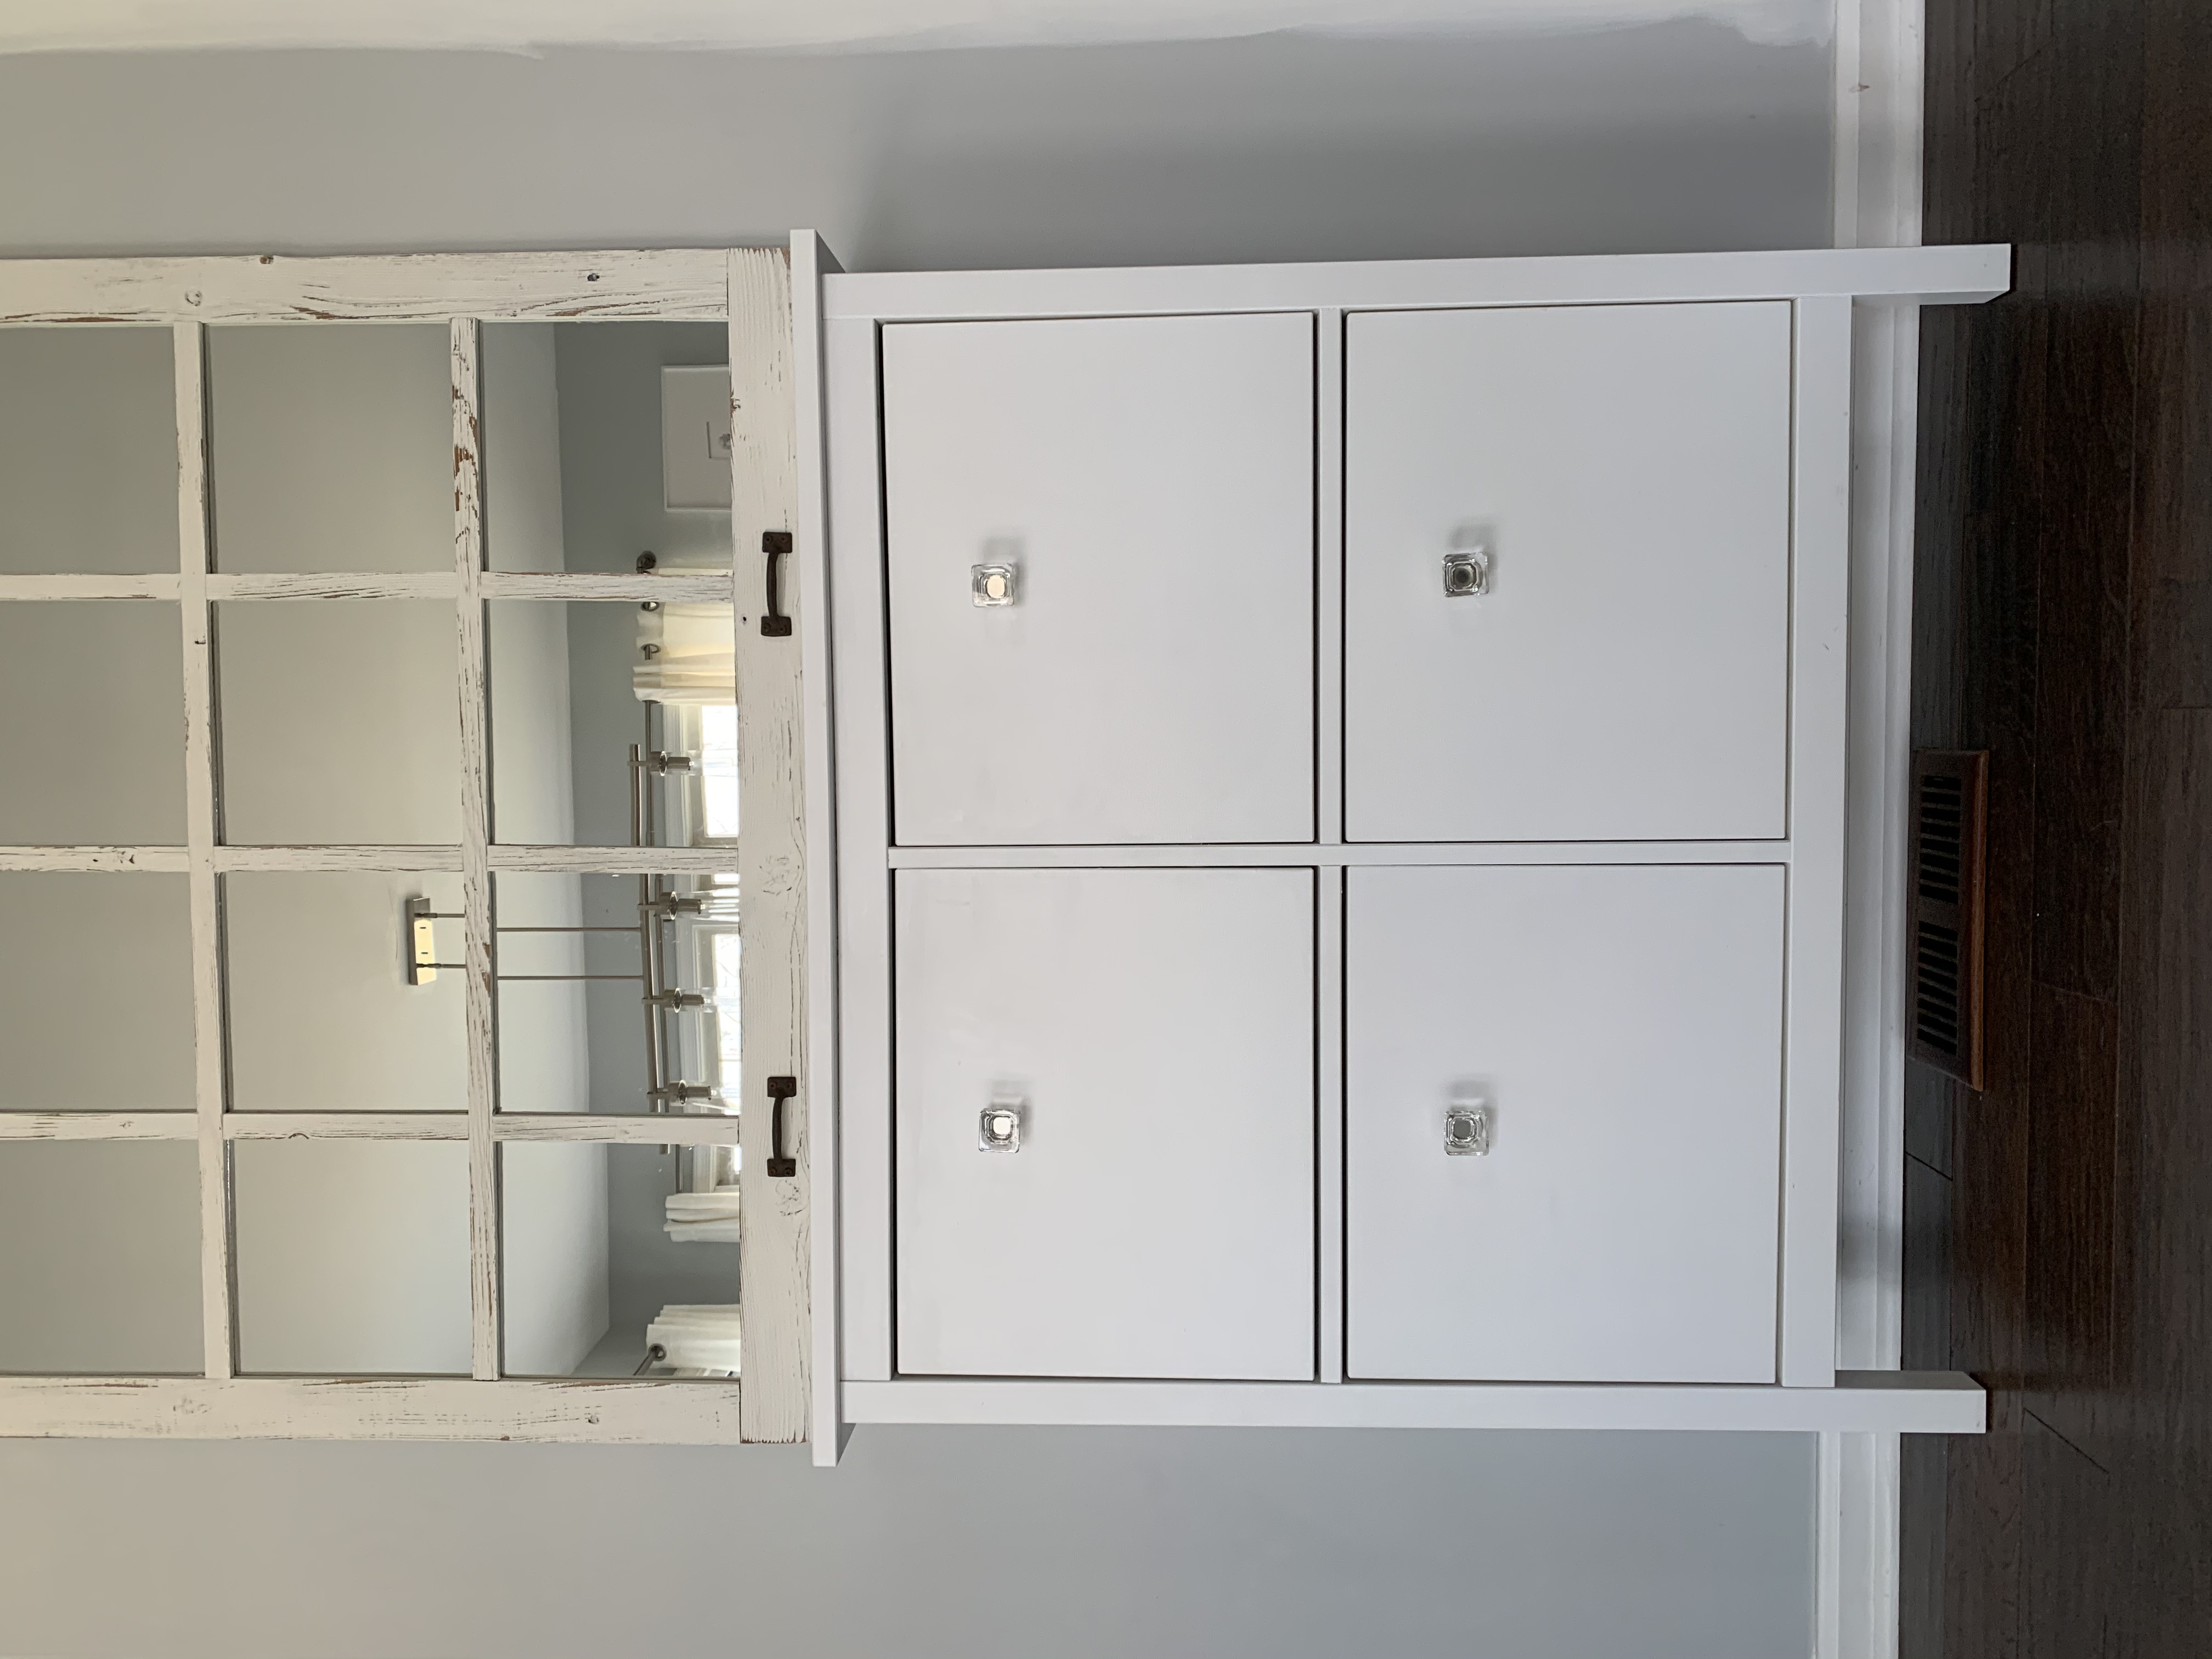
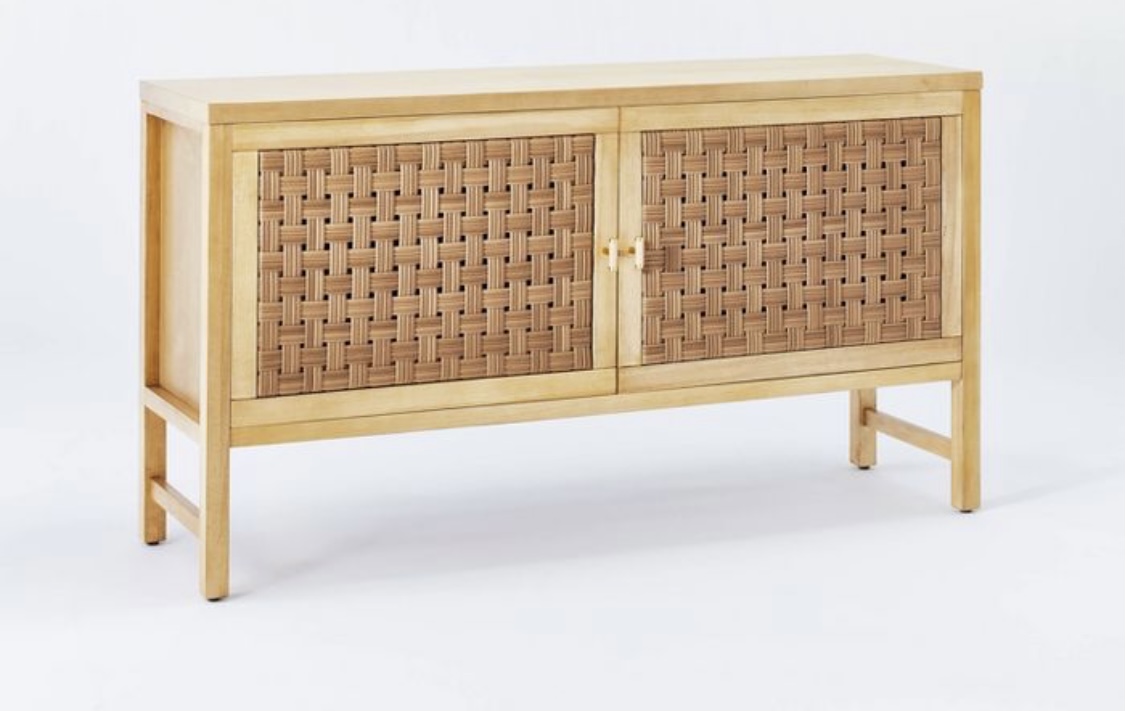
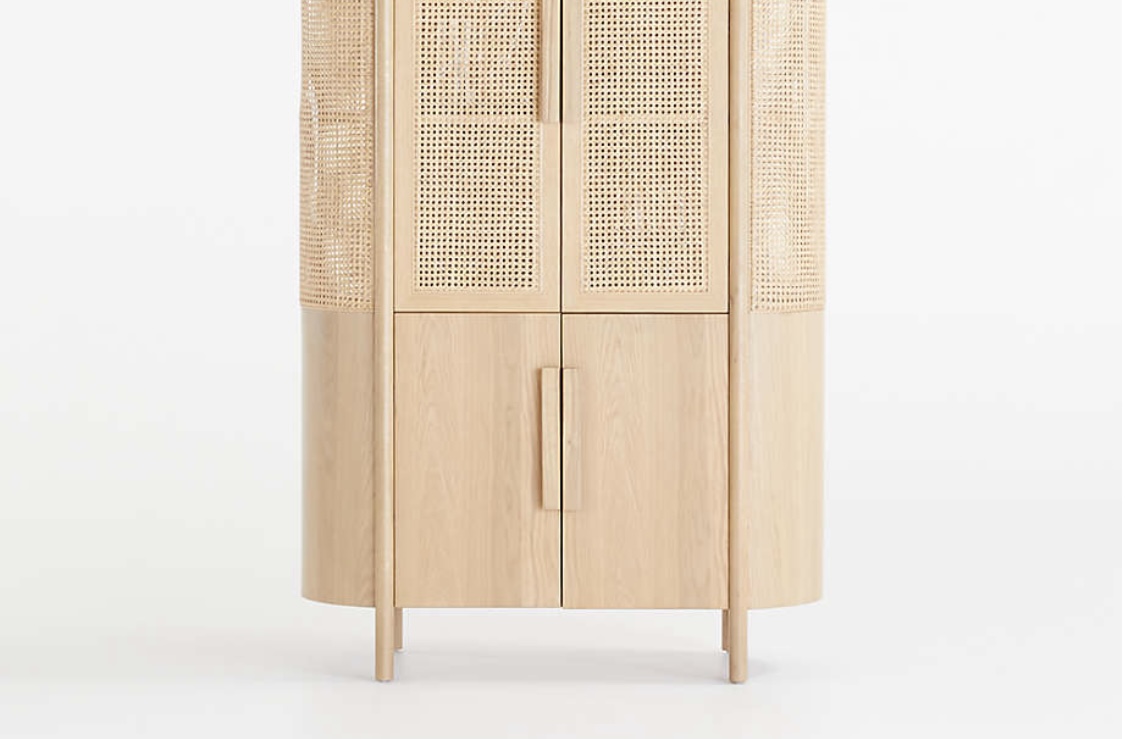
We added this IKEA cabinet off our kitchen for added storage space because it didn’t take up much room. It’s perfect for hiding electronics and random kid toys. It was finally time to make it more fun to look at! Two pieces of furniture I’ve recently fallen in love with are pictured below. When I was deciding how to update the shoe cabinet, I couldn’t decide which direction to go in. Instead of forcing myself to choose, I decided to combine the two! (The photos are linked in case you want to skip the hack and go straight to the furniture)
Adding the Curve
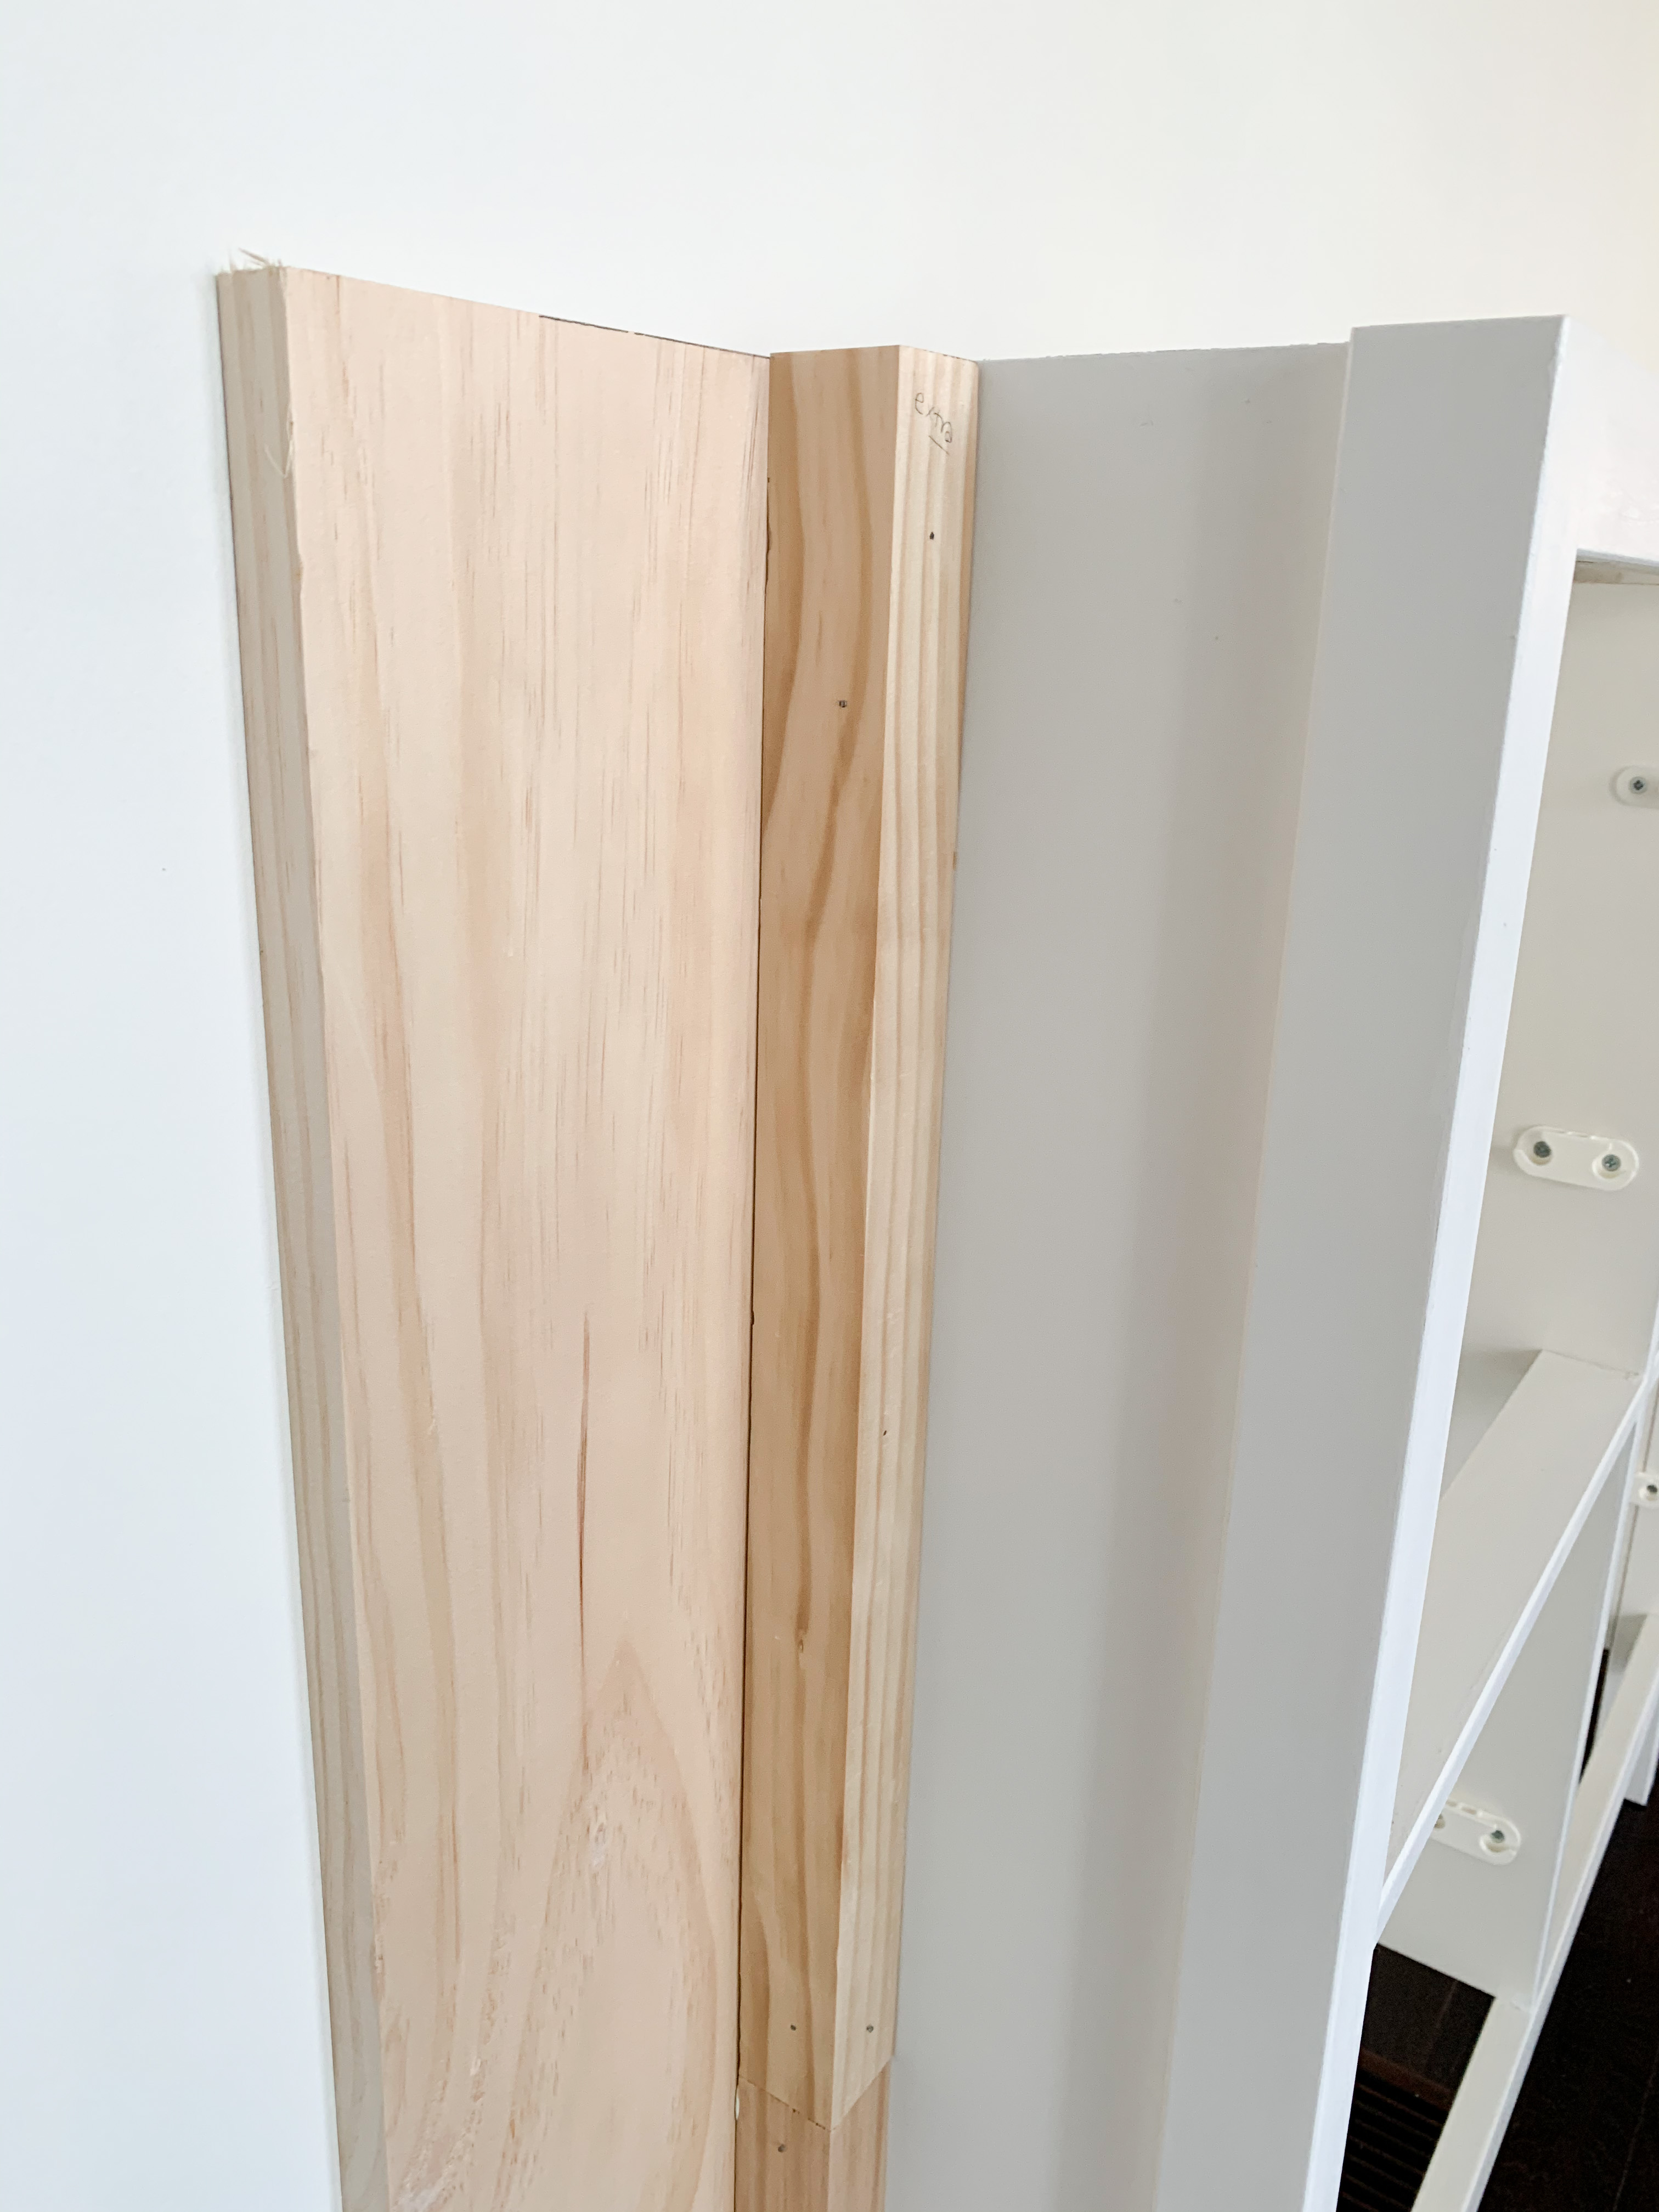
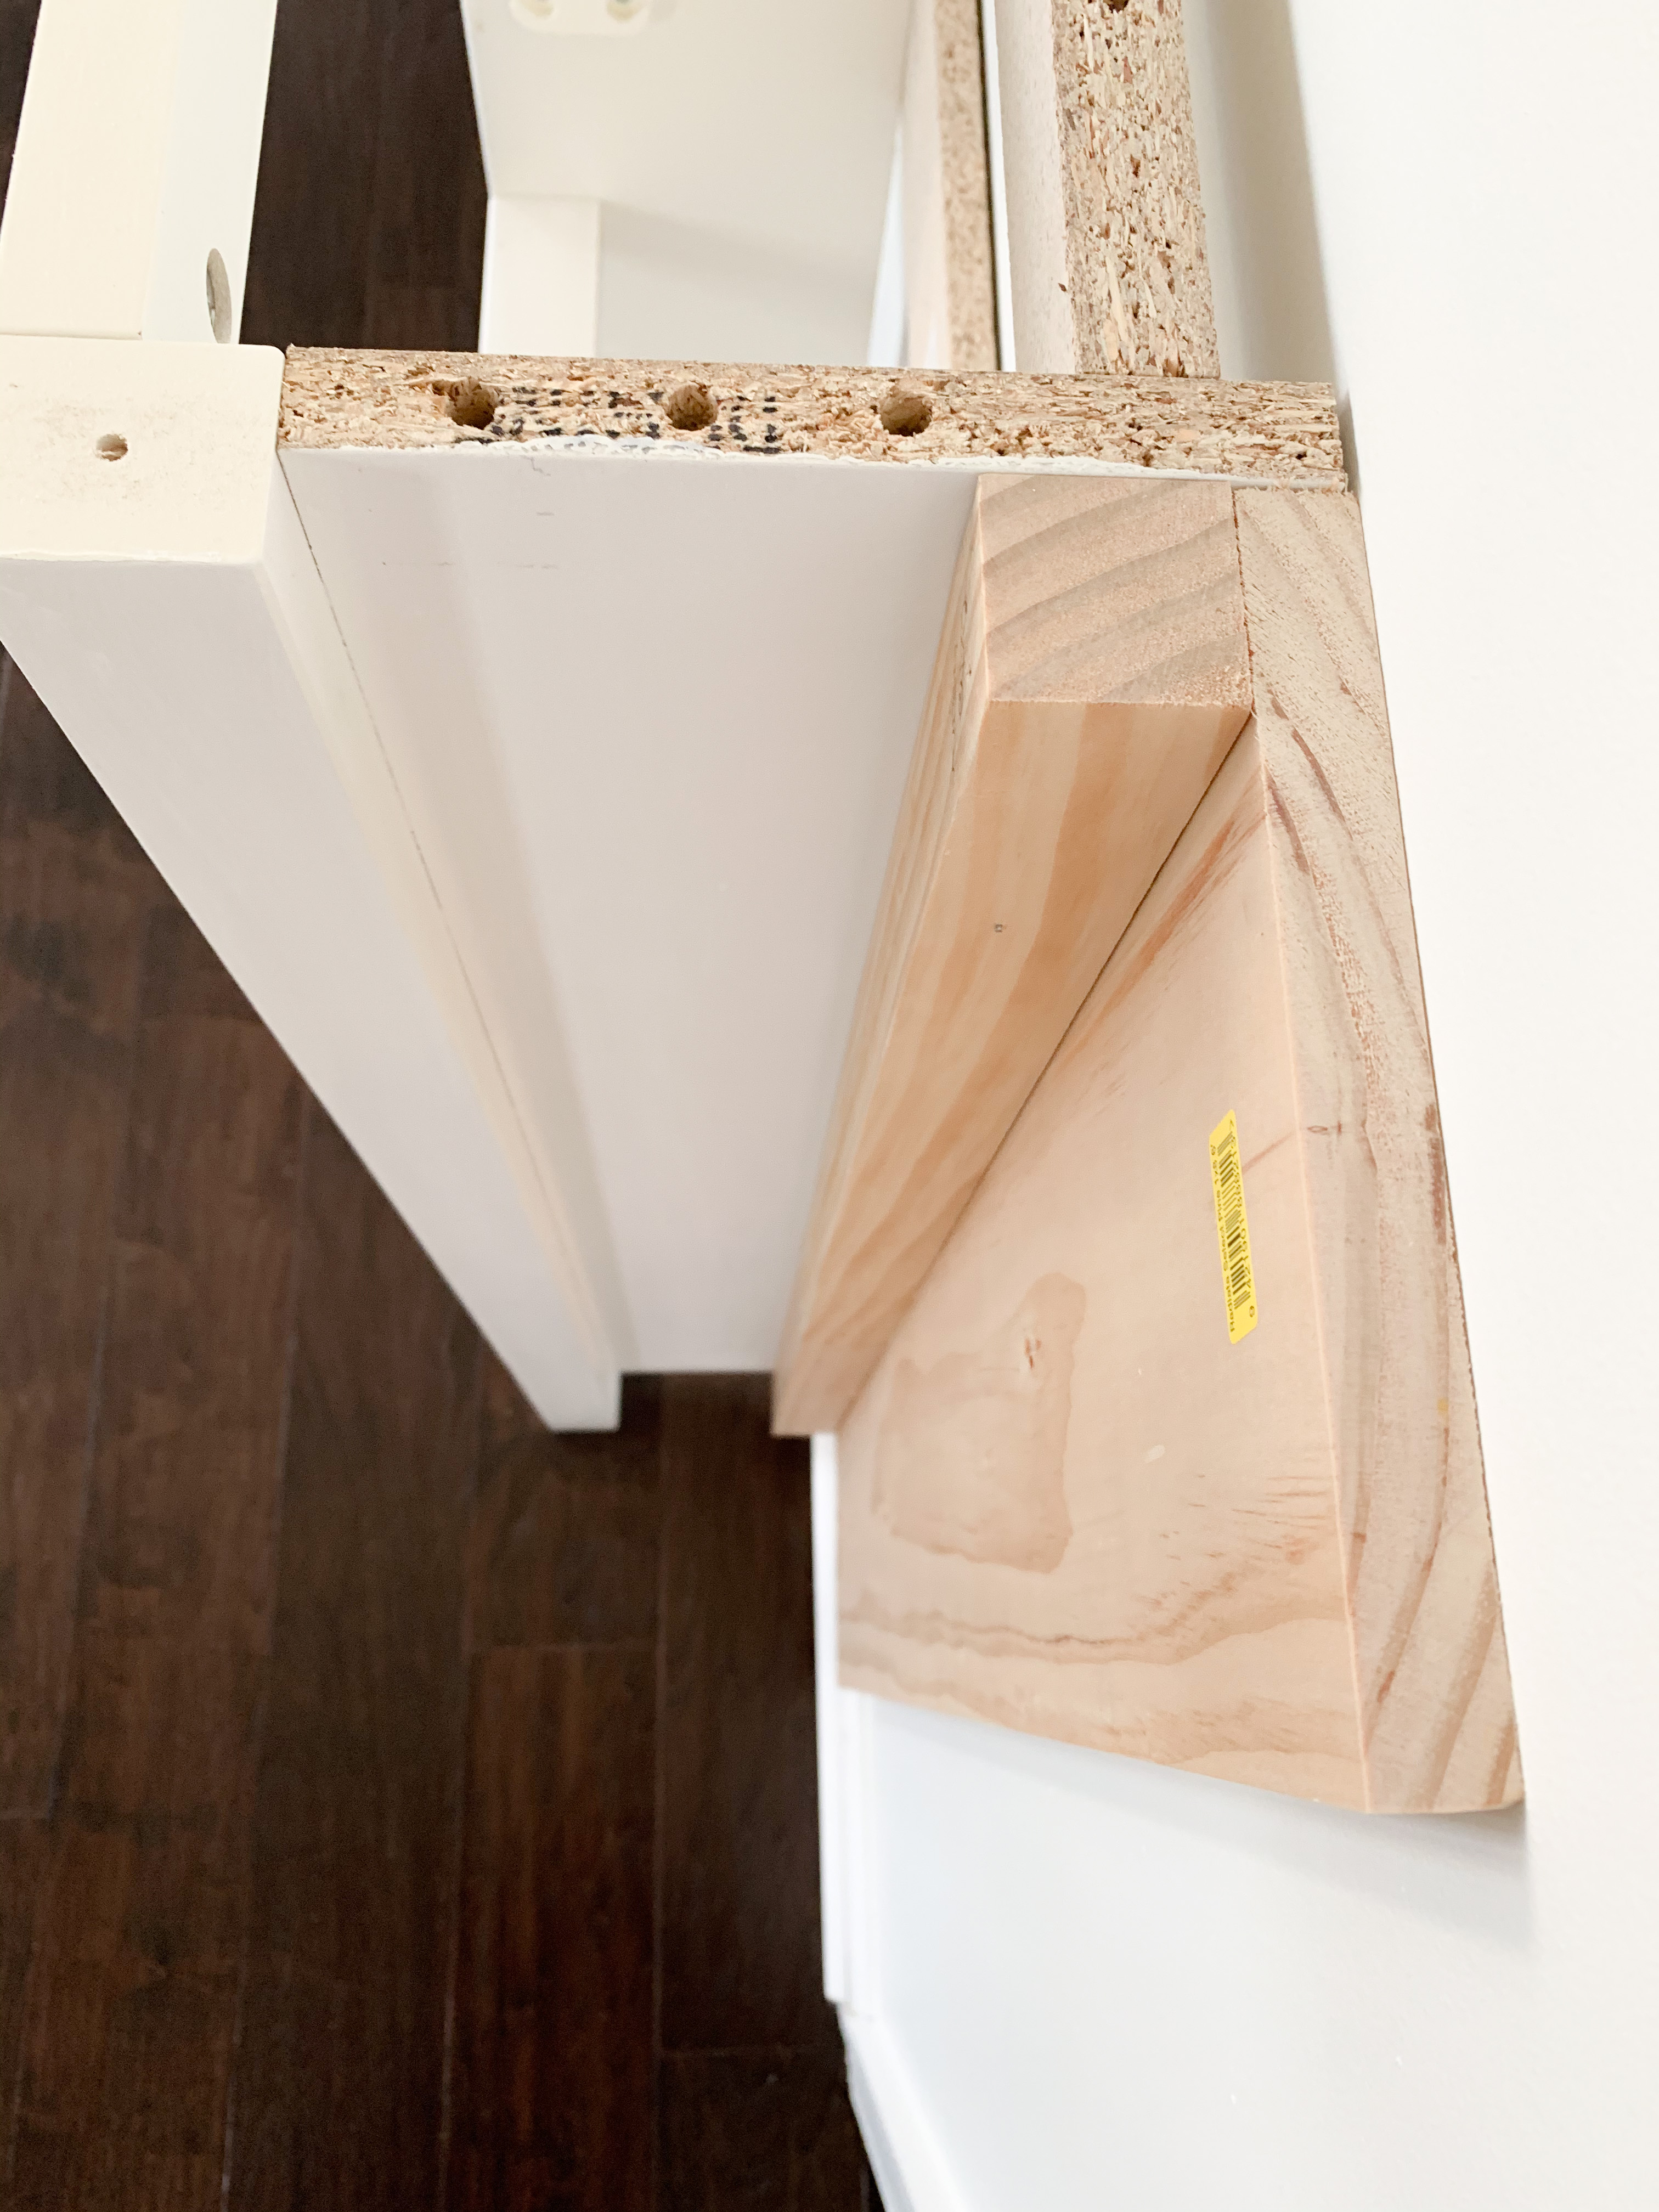
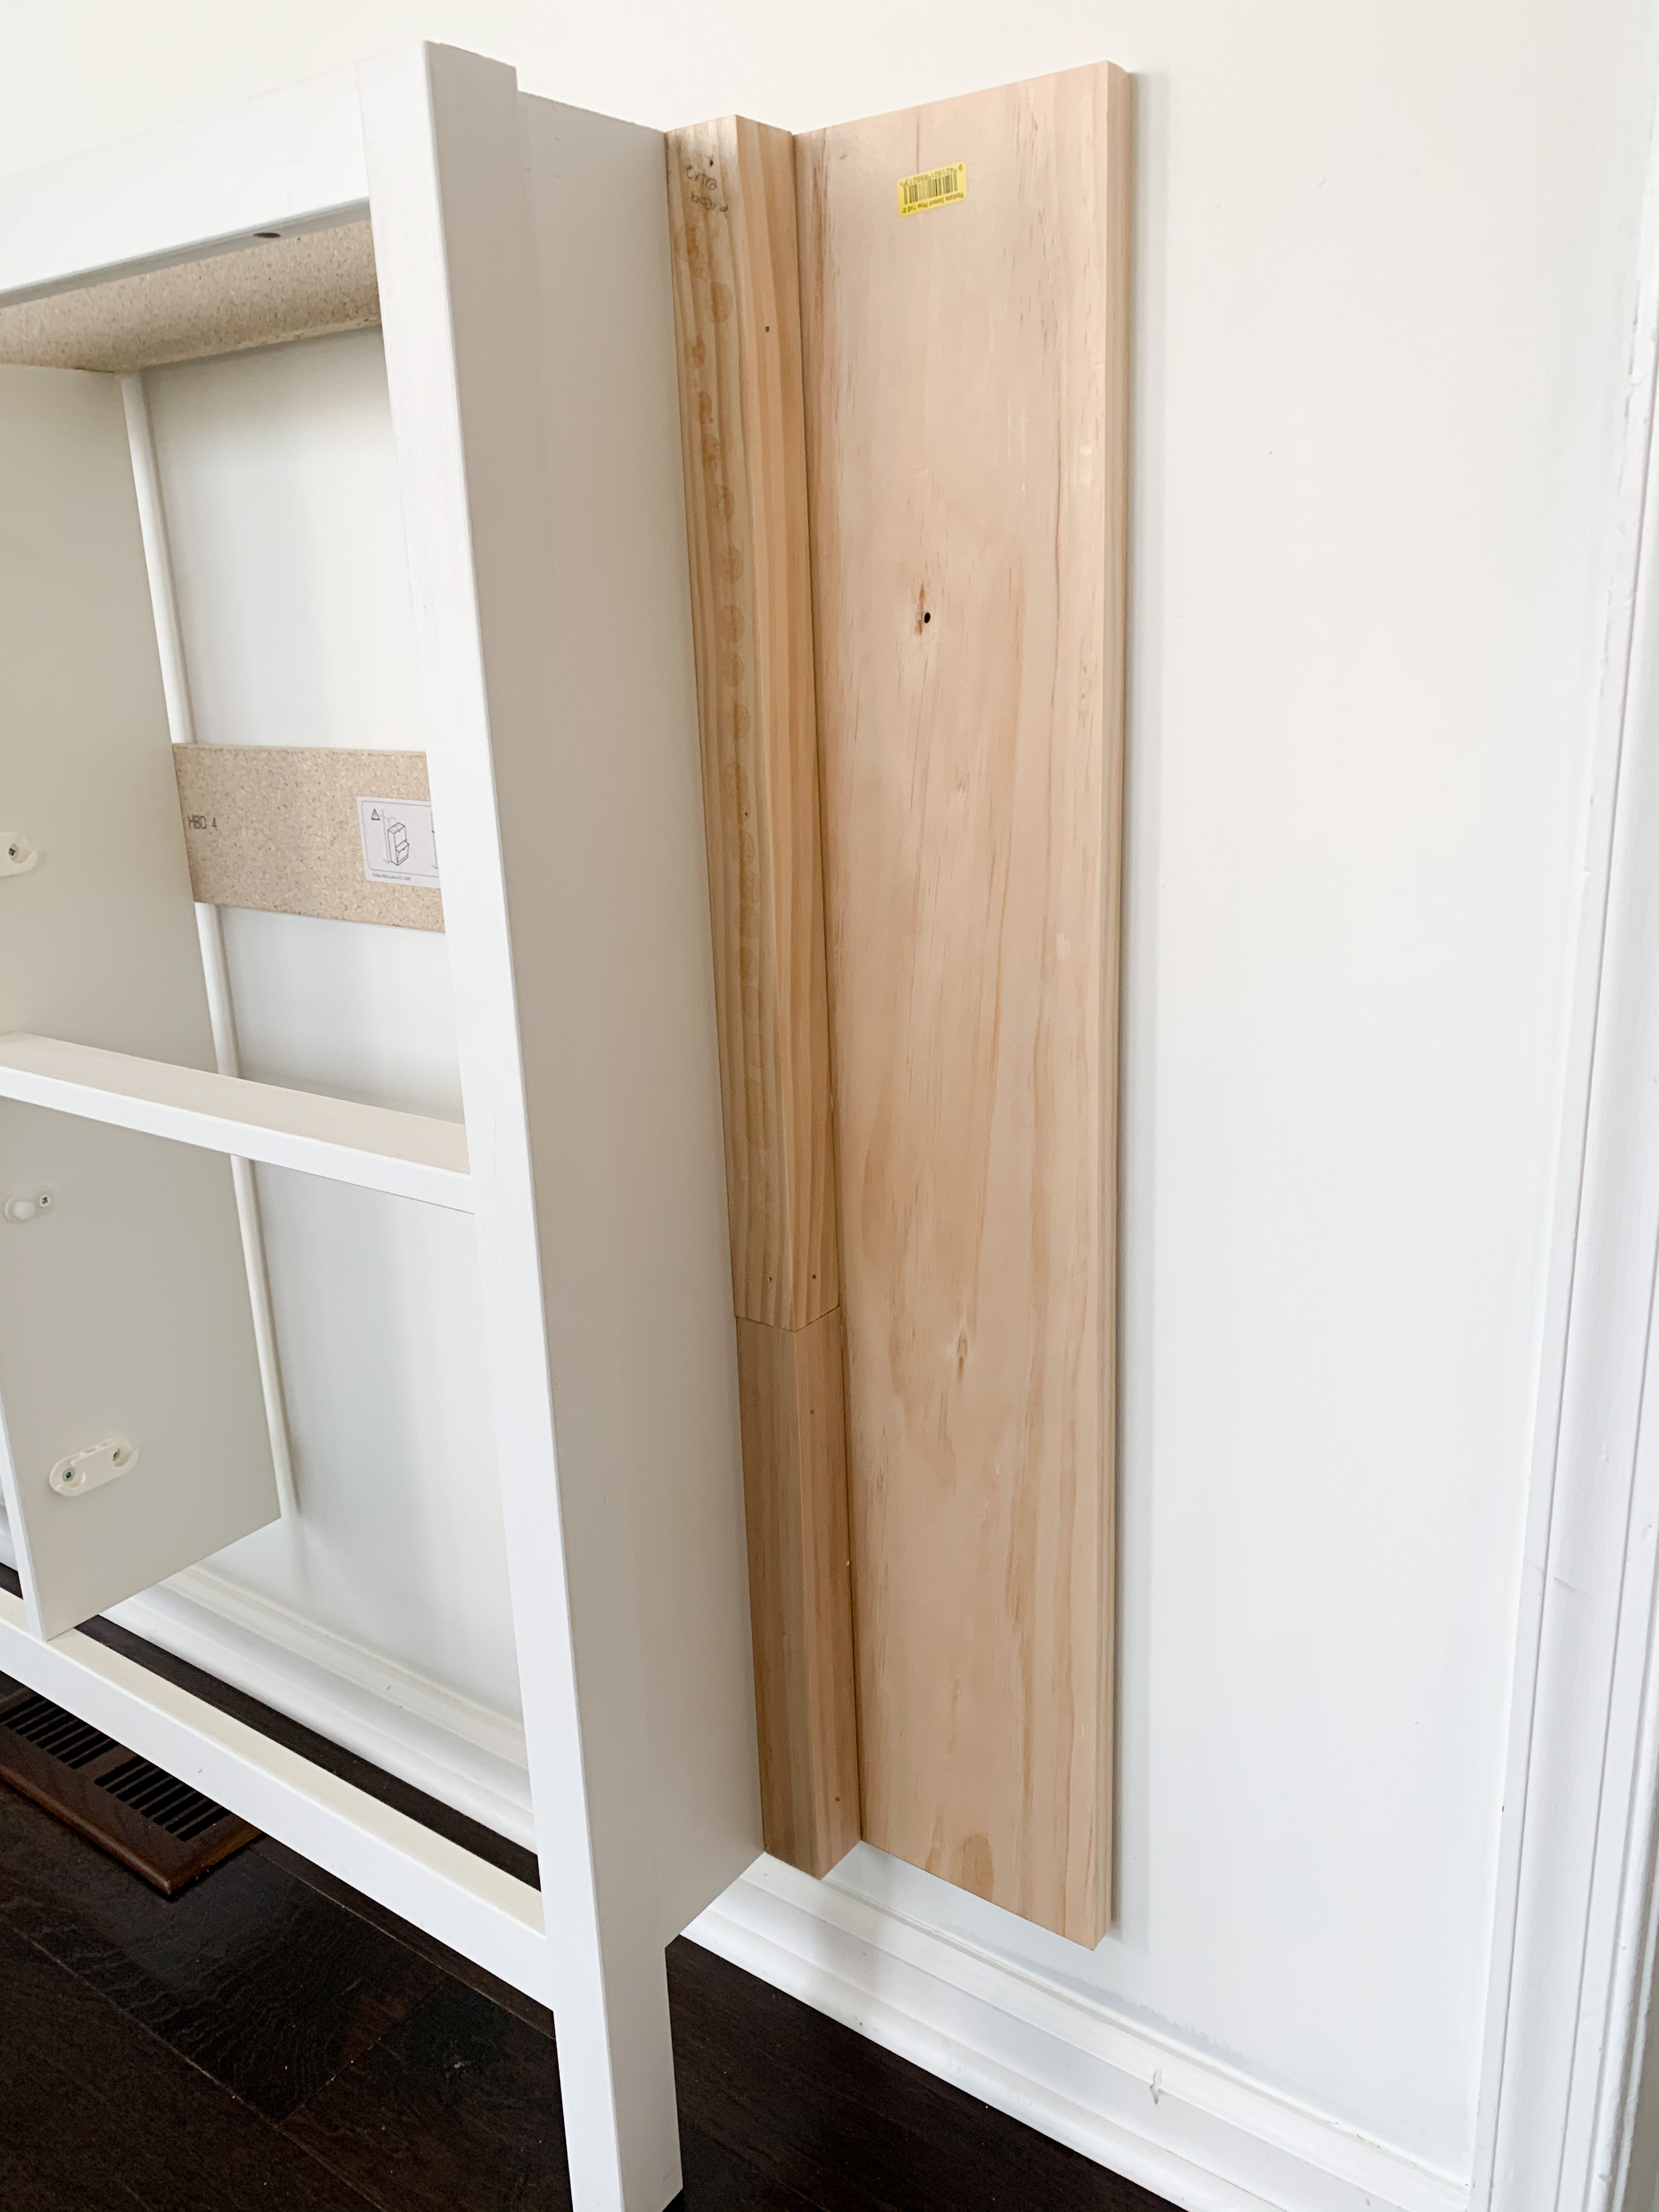
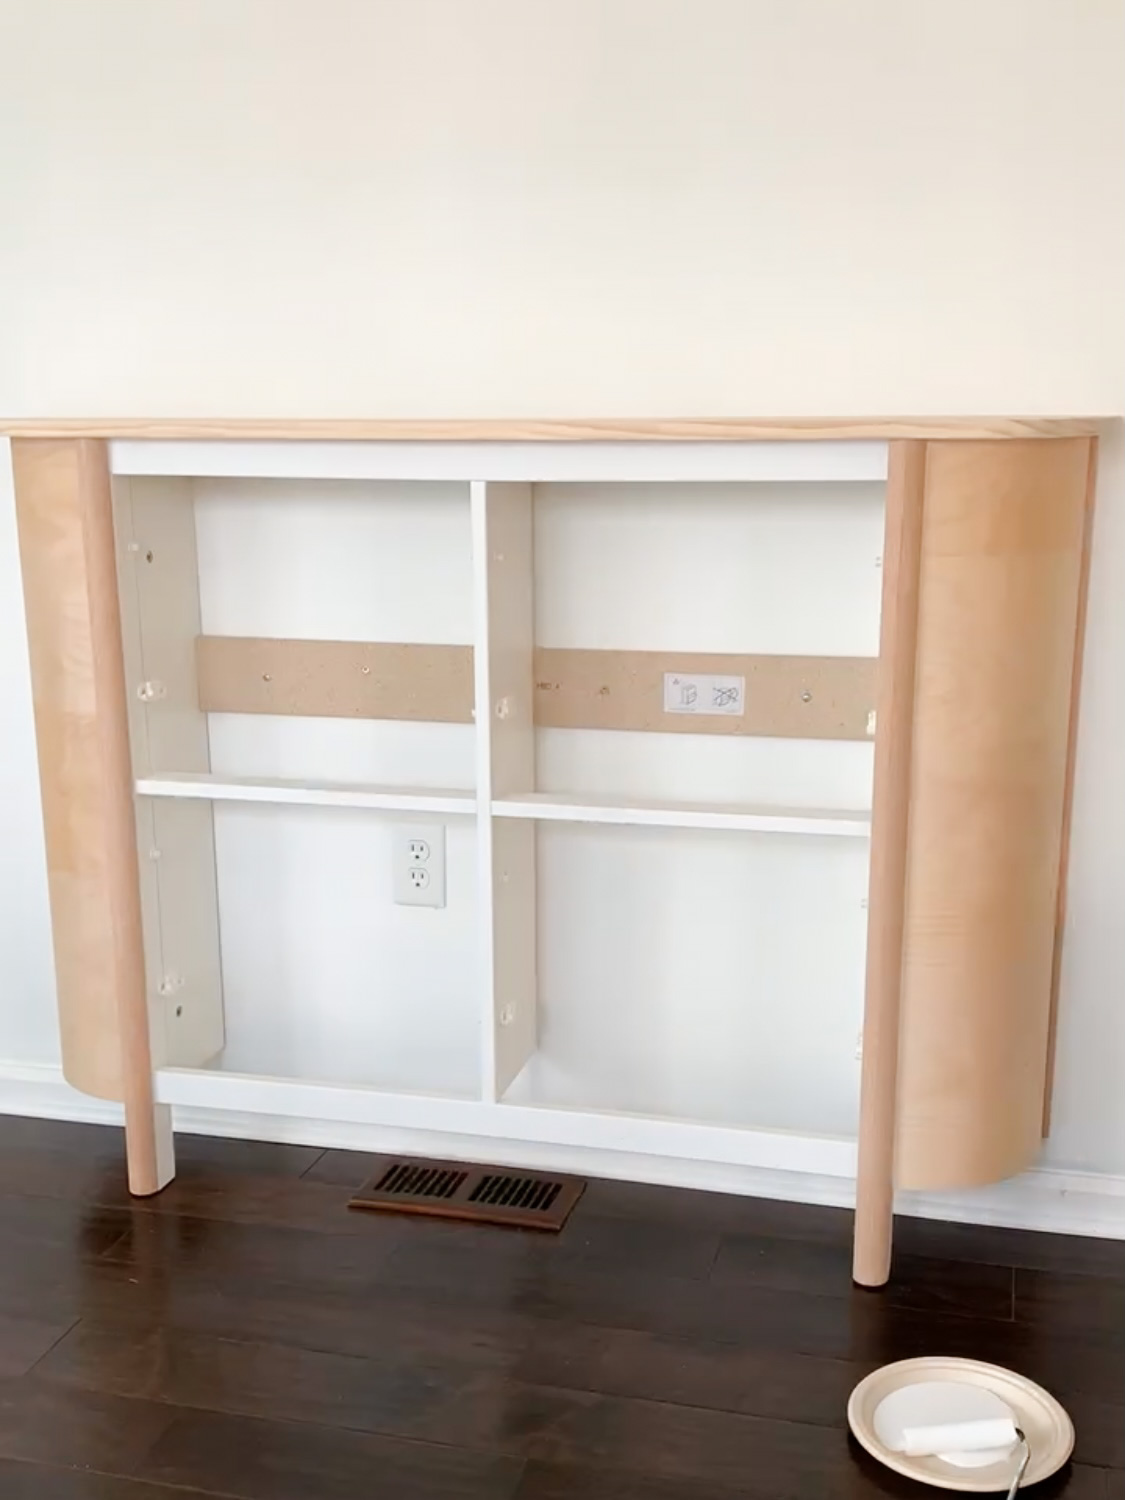
The first step was building out the frame to hold the bendable plywood. I used a tape measurer to estimate the arch and how far to build out the piece. I ended up using a 1×8 board to lengthen the back of the cabinet. I attached a 2×2 board just inside it with glue and nails. Once the glue dried, I was able to nail the 1×8 directly into the 2×2 (pictures below).
*I had to remove the cabinet inserts and unscrew the cabinet from the wall to access the back for this part.*
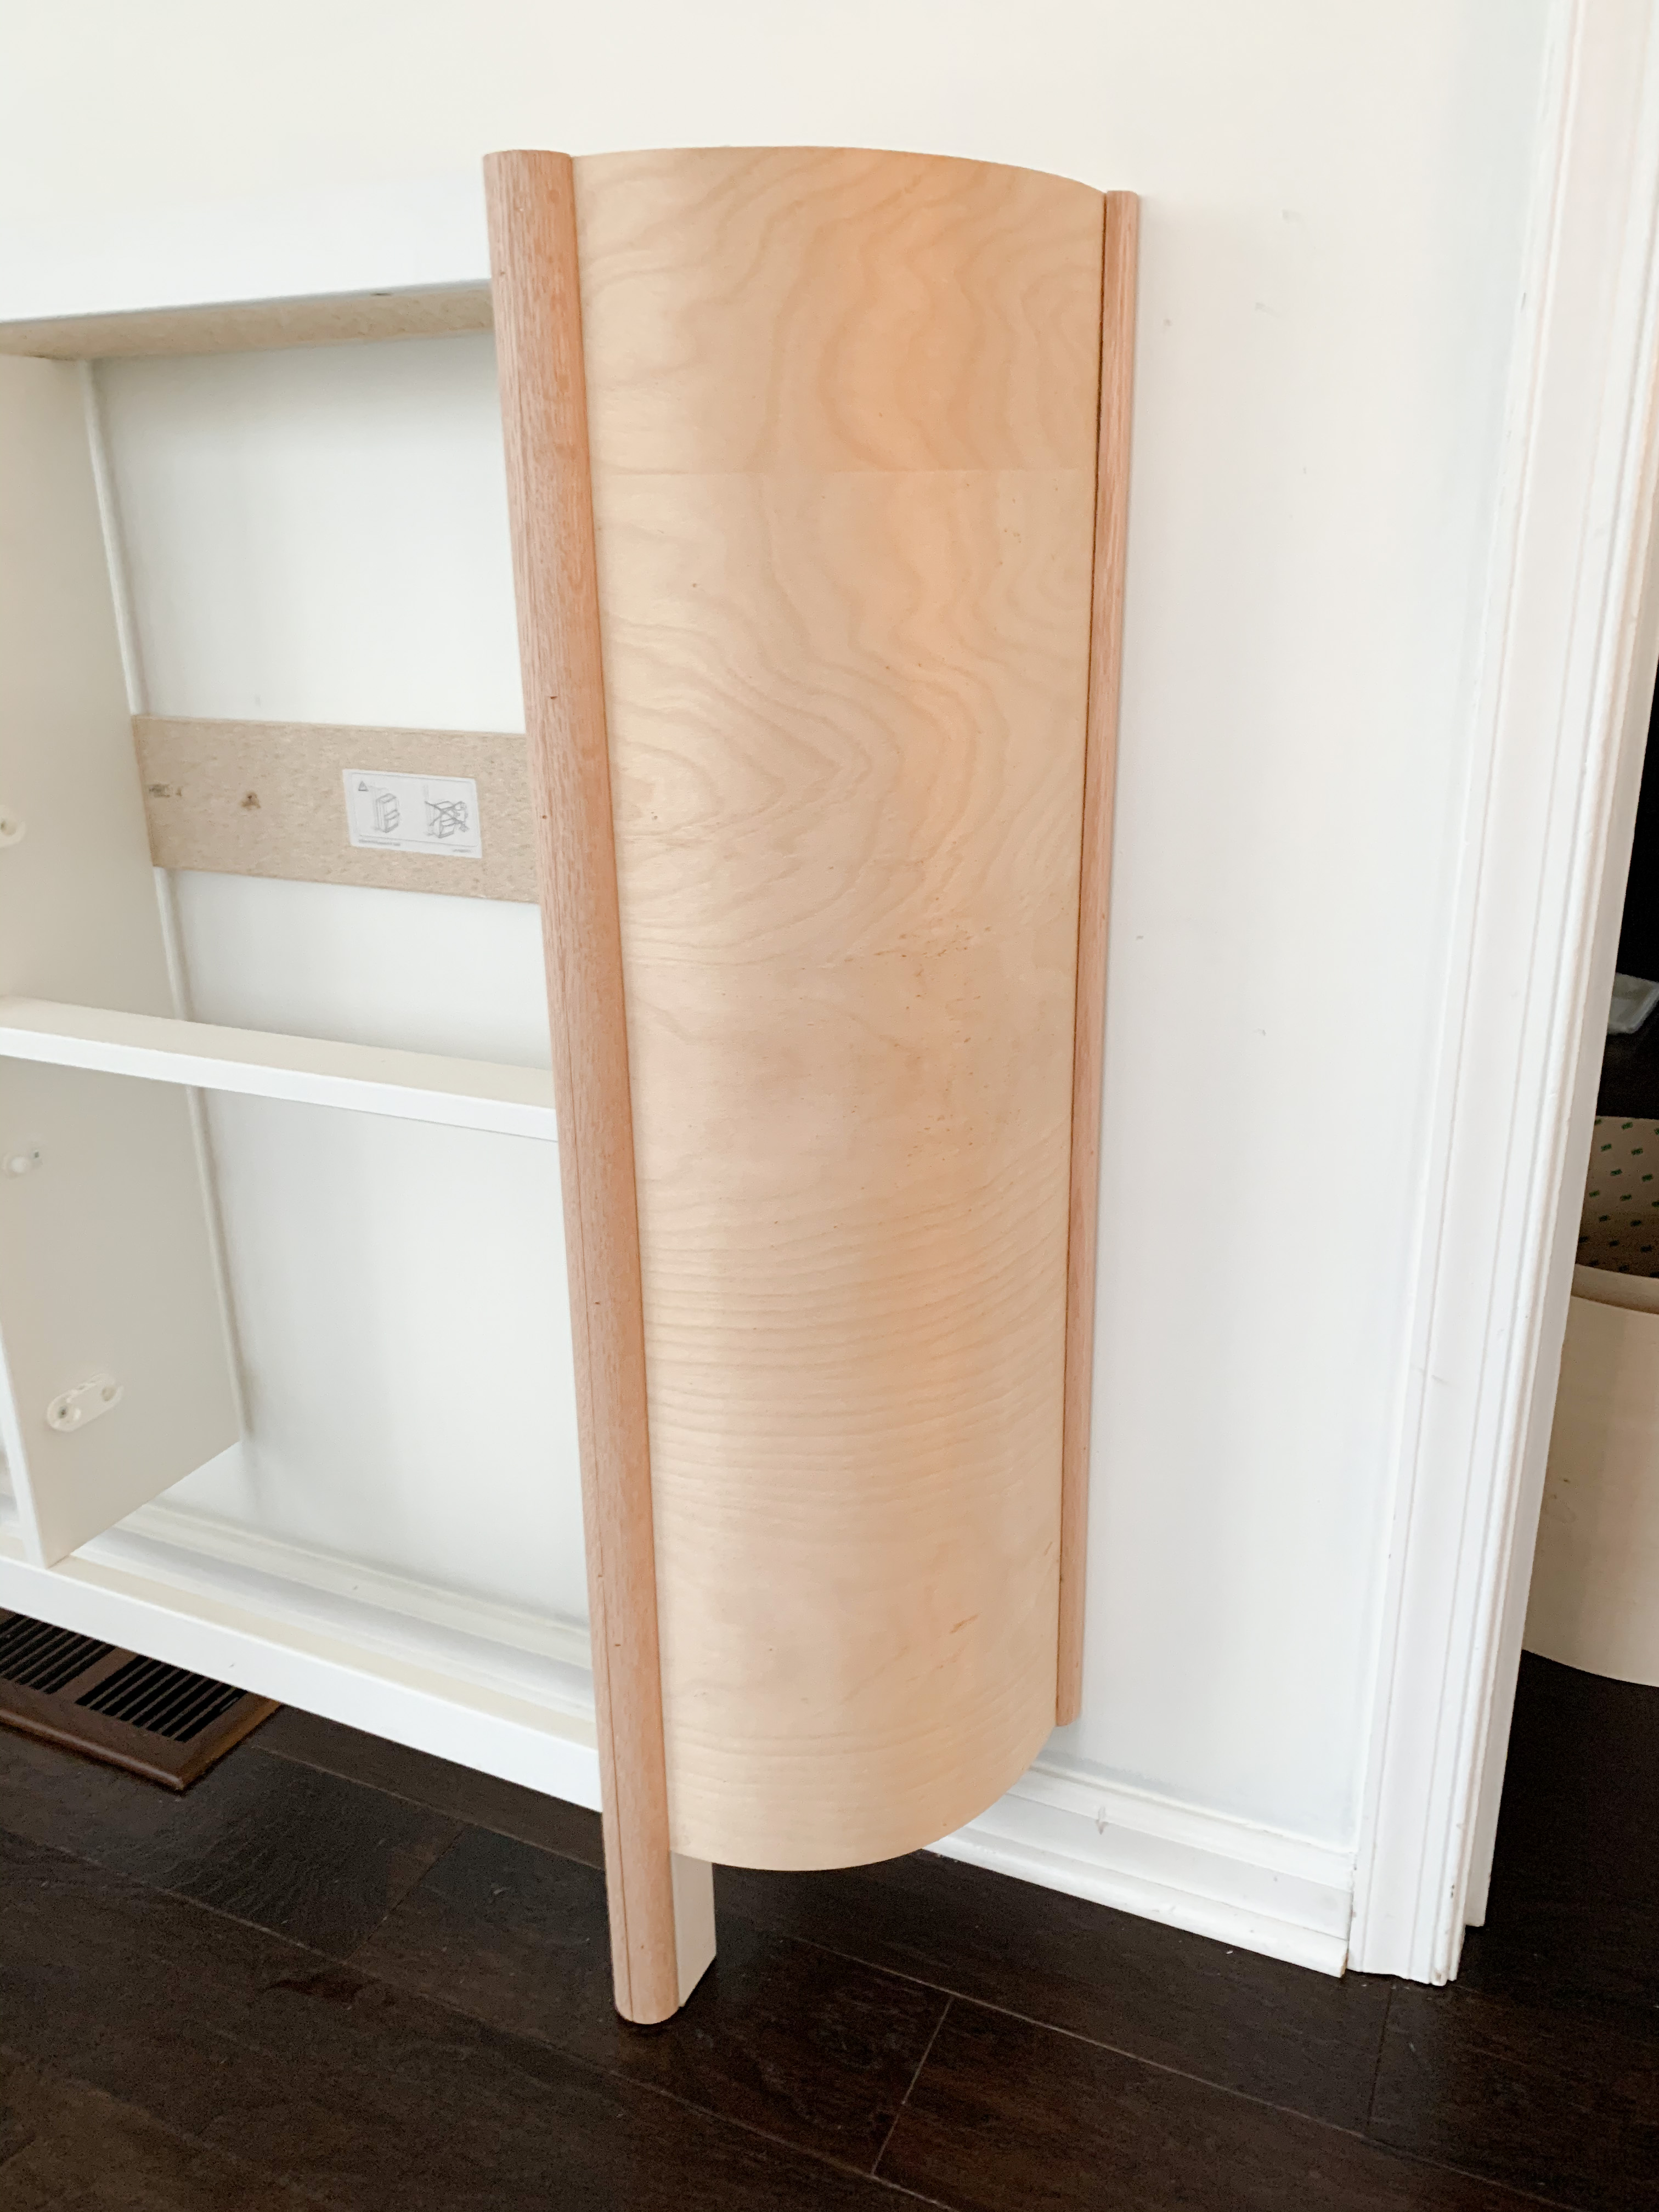
I found bendable plywood (linked here) from Home Depot. It arrived in a 4×4 sheet, and I had to play around with it for a few minutes to figure out the correct direction to bend it. Don’t force it! When you bend it the right way, it will curve very easily. I used a jigsaw to cut it down to the appropriate length.
I used the tape measurer to estimate the width I would need for the curve I wanted. I estimated 12 inches, so I cut the piece to 15…. Always over-estimate, you can cut more off, but you can’t add! I held the 15 inch wide piece in place and marked where I needed it cut. Not the most technical method, but it worked!
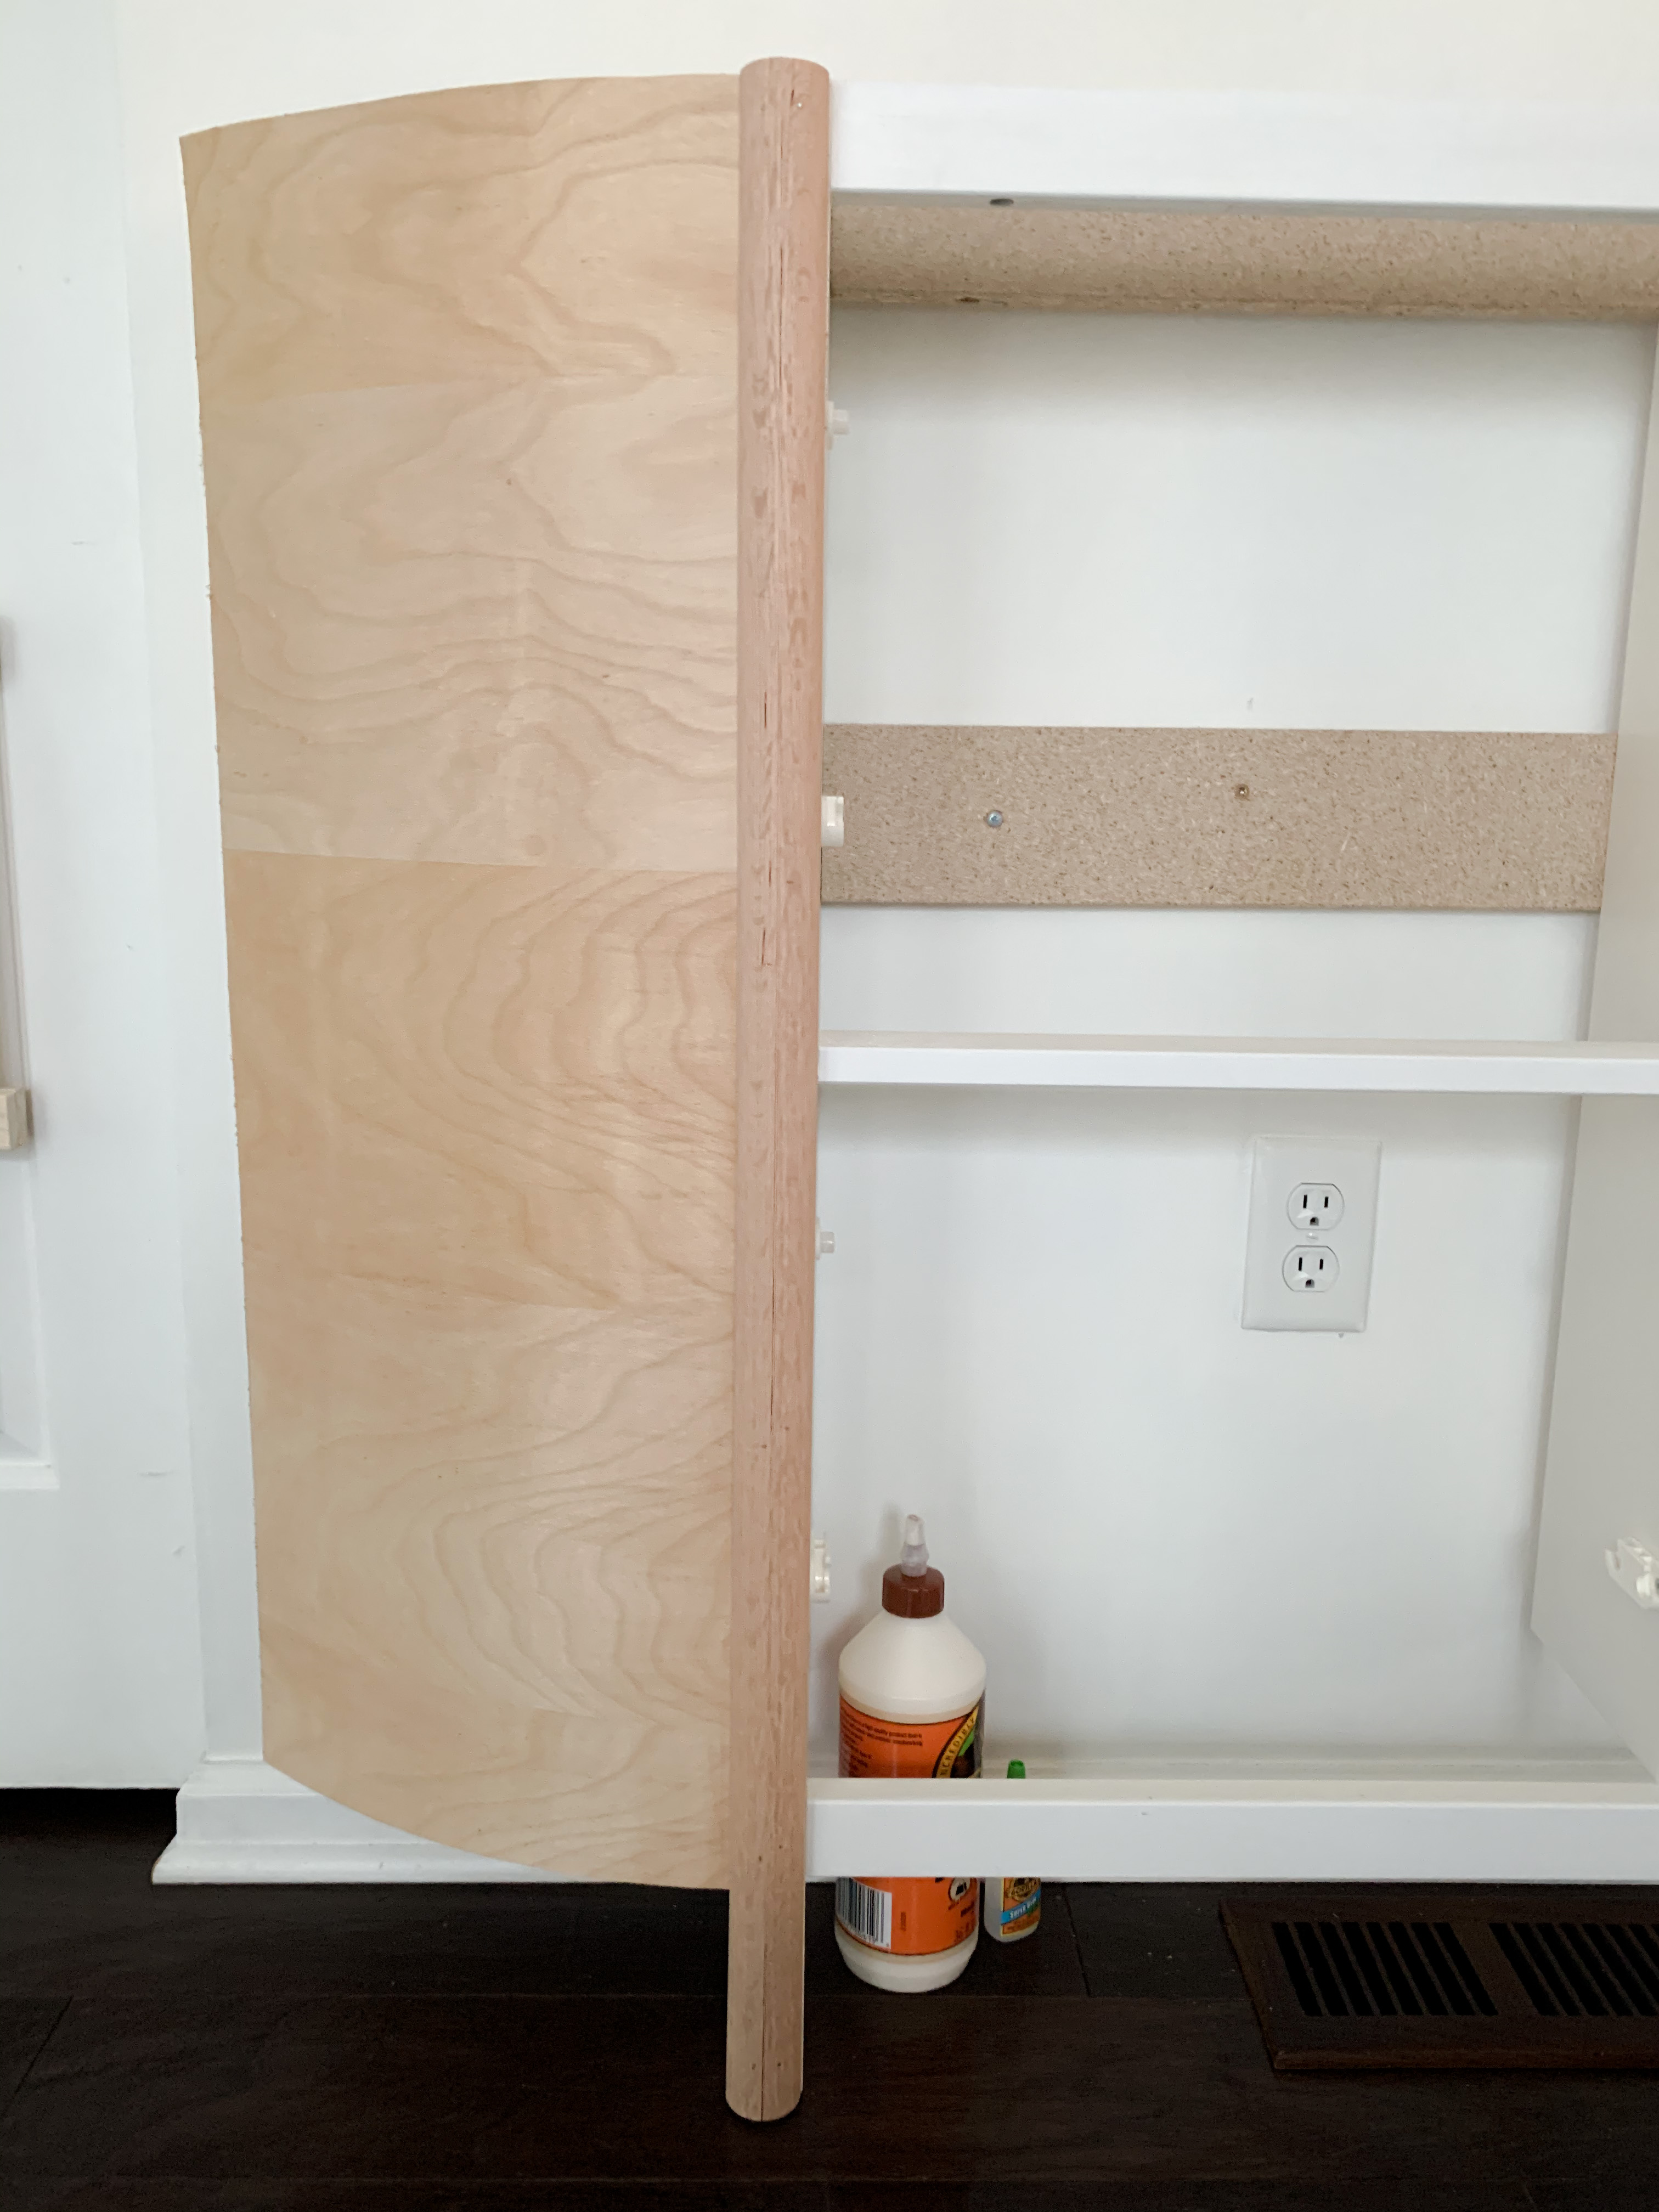
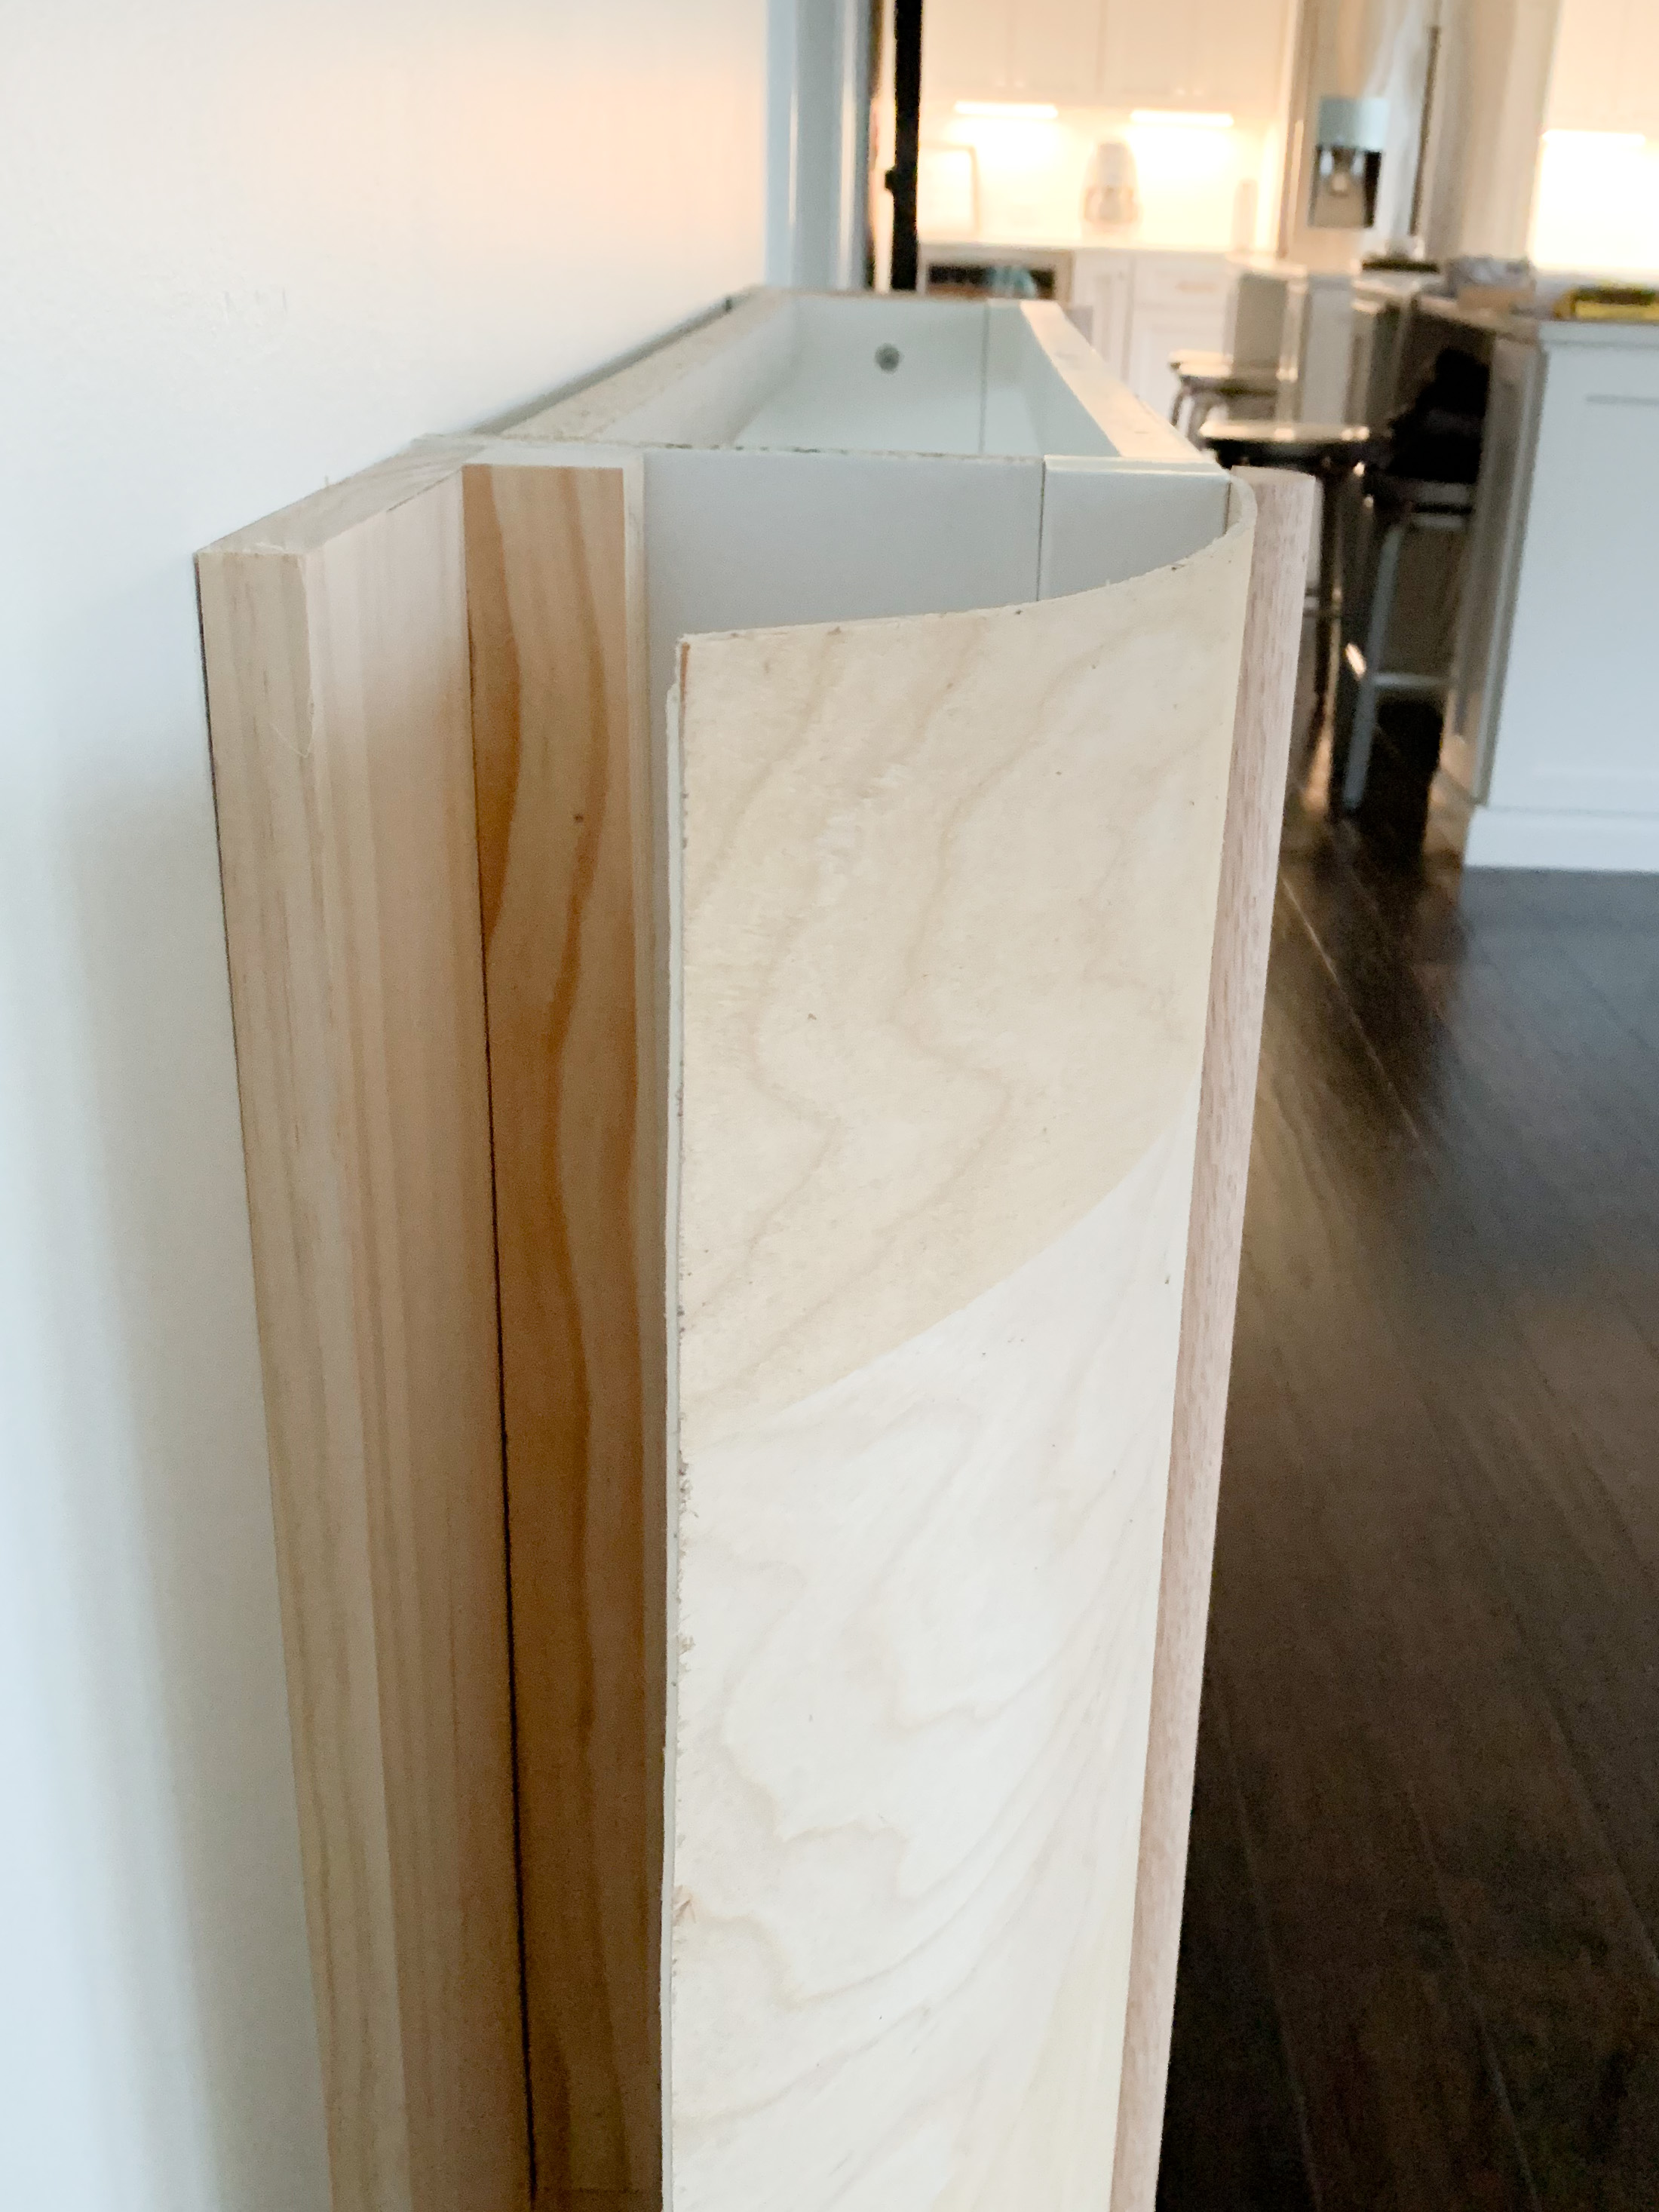
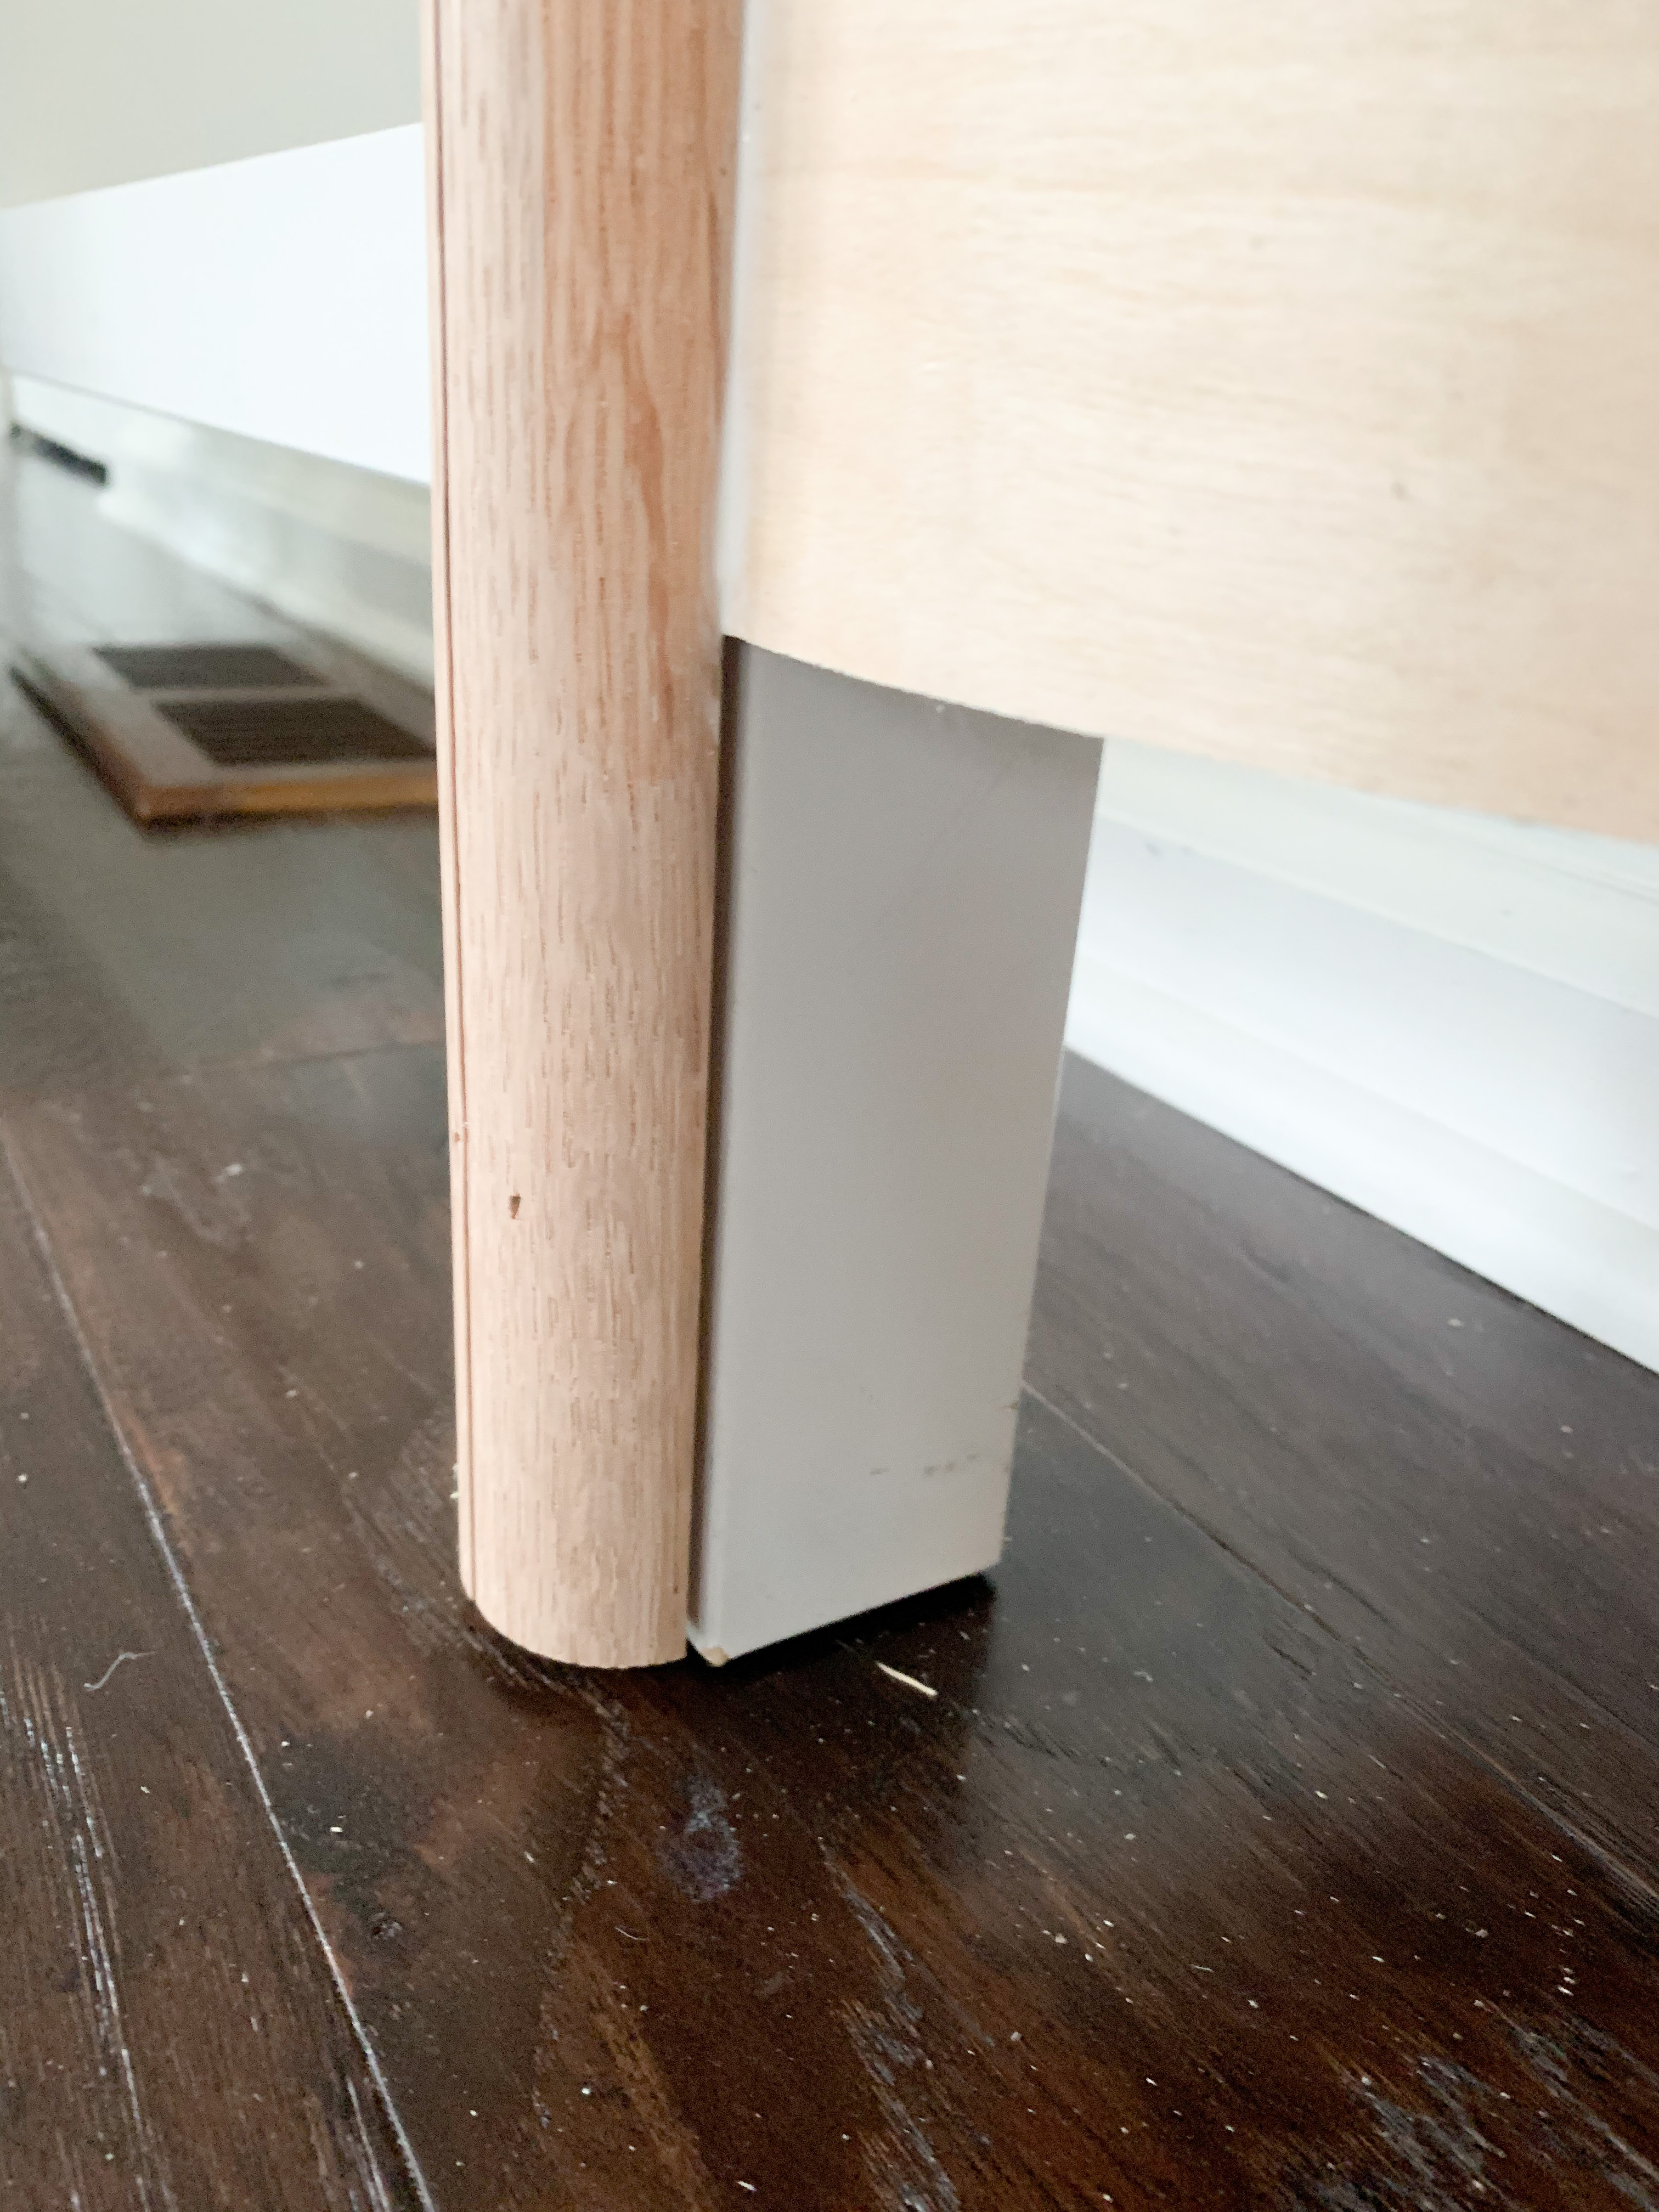
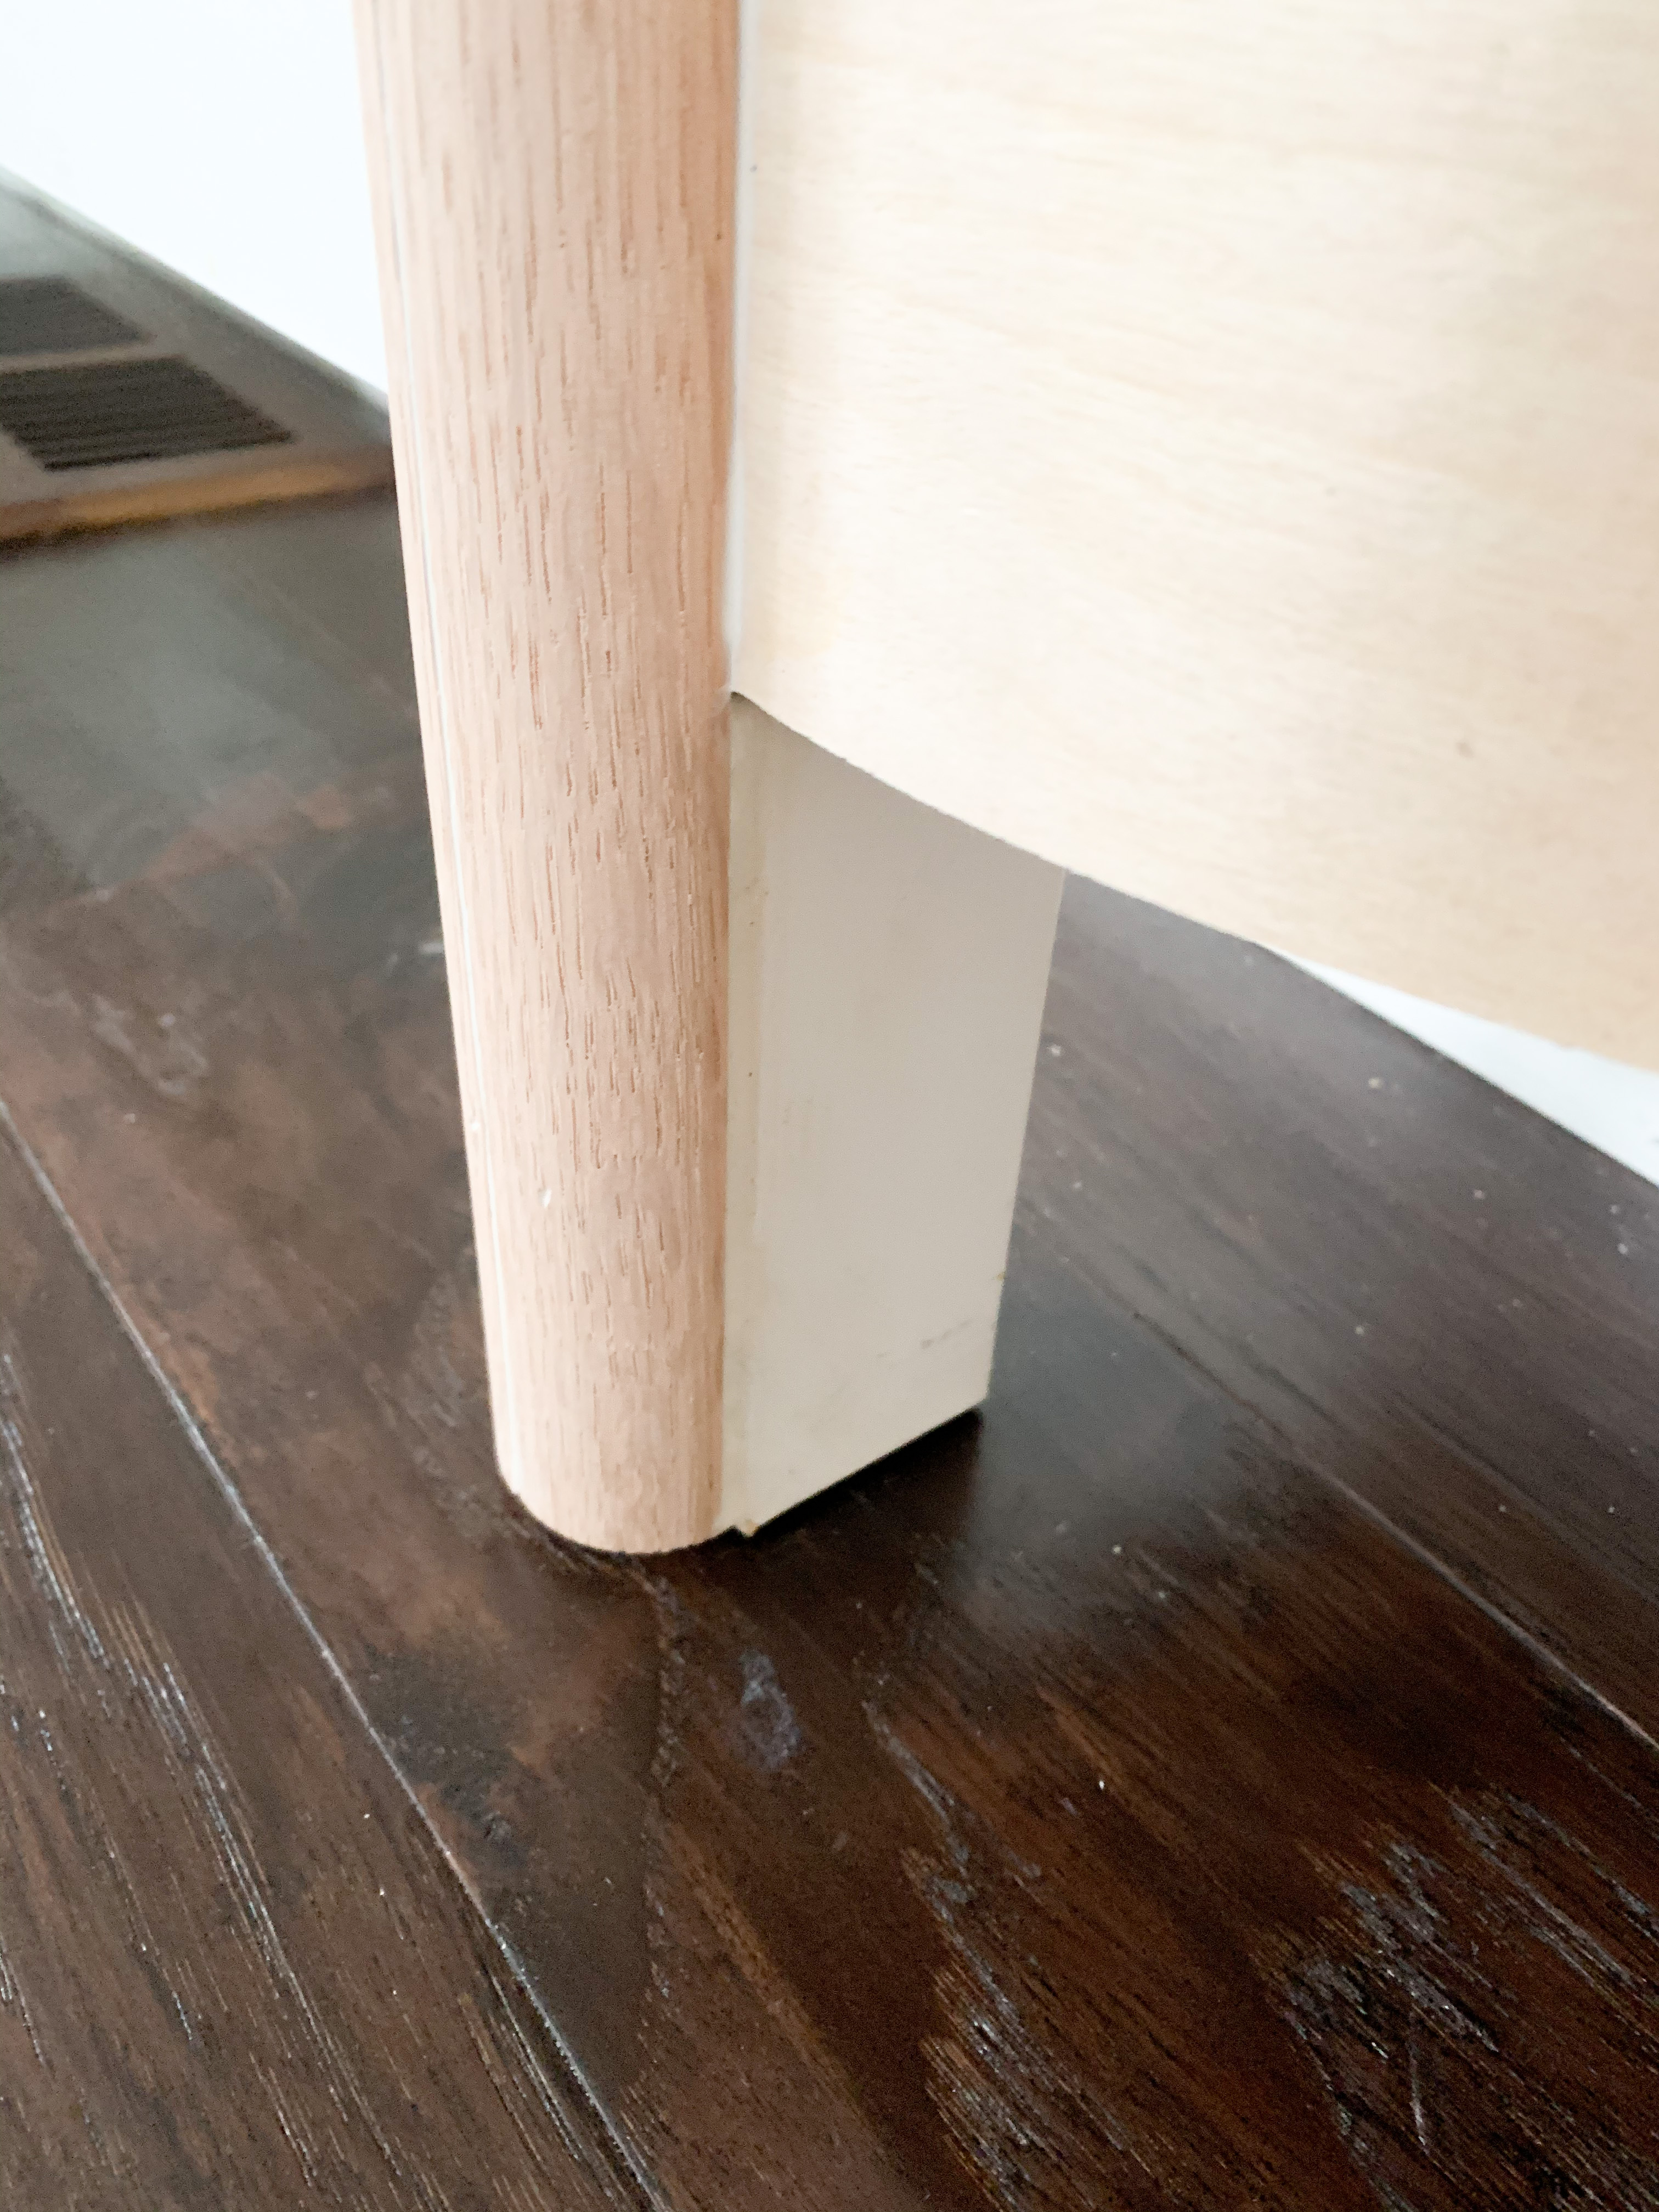
To attach the bendable plywood, I glued and nailed/stapled the front of the curve first. I then glued and nailed the trim on top. I wanted the legs to look curved, so I used two pieces of quarter round trim for this look. The width being covered was 1.5″, so I used two 3/4 inch wide pieces. I waited a few hours for the glue to dry, then I was able to curve the plywood and attach the other side. I used the same method, adding quarter round trim along the backside as well, nailing into the 1×8 piece on the back.
Adding the Top
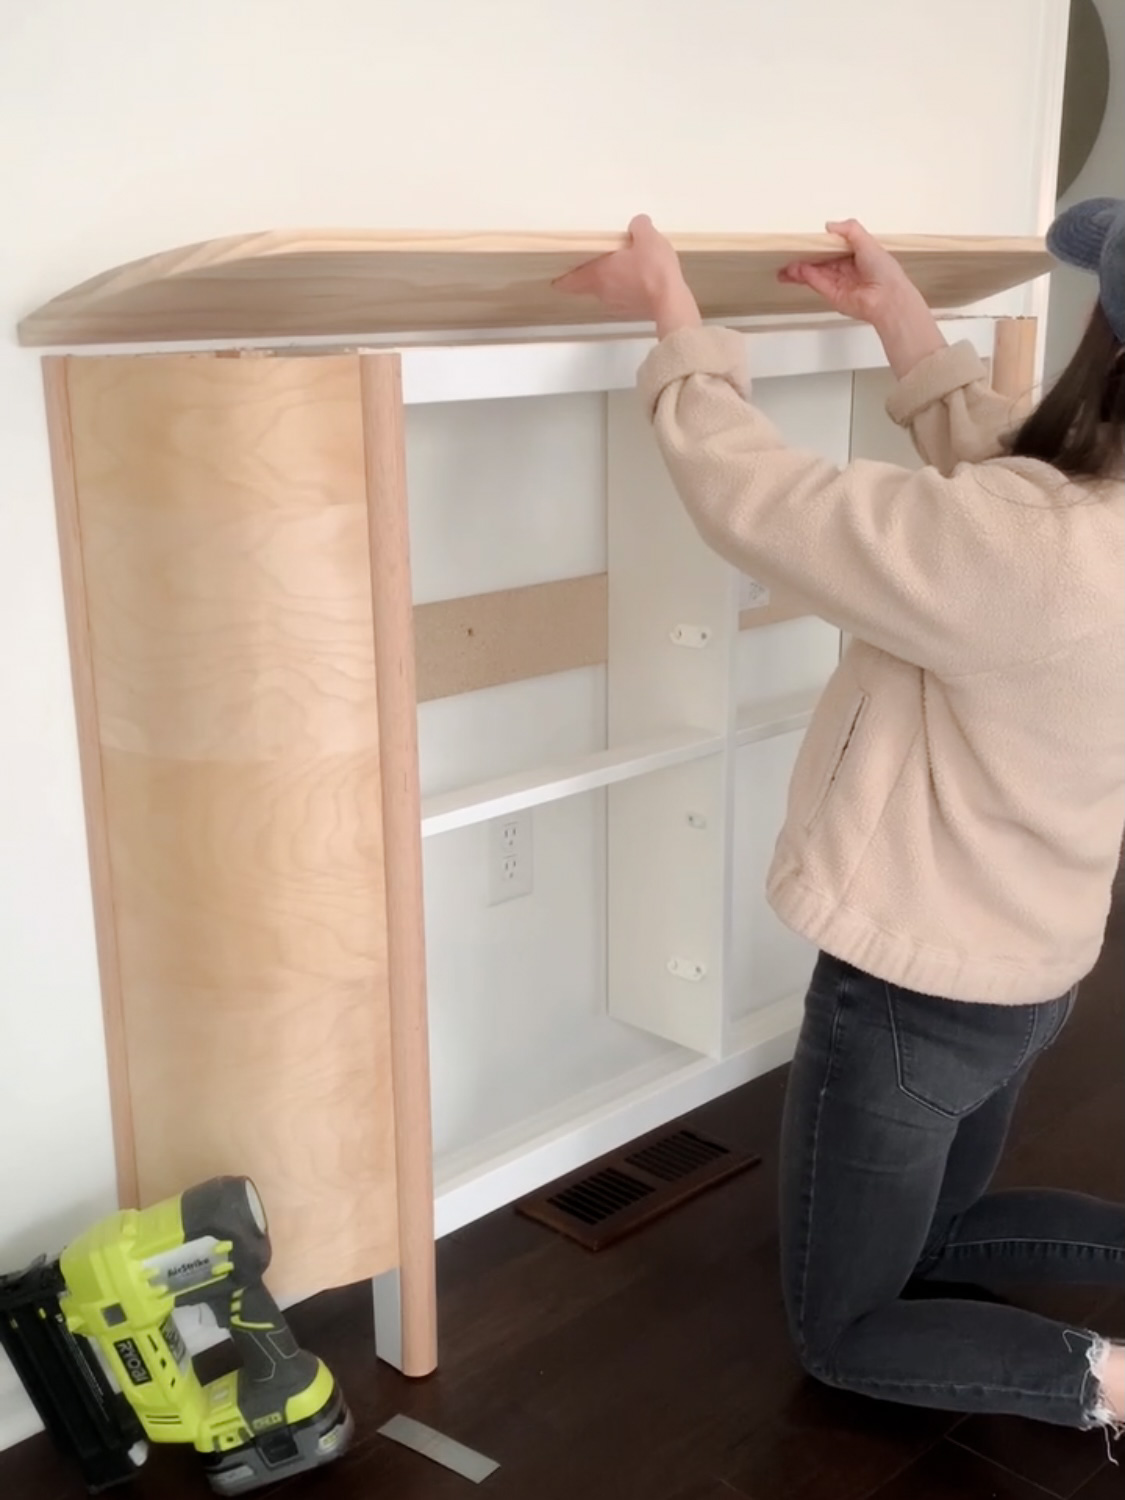
I had removed the original cabinet top to add the curves, so I needed to add a top to this thing. I used a 1×10 board for this part. I traced the arch and cut out a template to use to form the shape of my top. I used a jigsaw to curve the edges and sanded it down. Then just glue and nails to install it!
I wanted to do a fun color, but I knew that black was going to fit best in the space. I used BEHR Marquis Dark Secret in Matte. It’s not a true black, more of a dark charcoal with cool undertones. I also used this primer on the frame and the cabinet face. It’s supposedly really good for IKEA furniture!
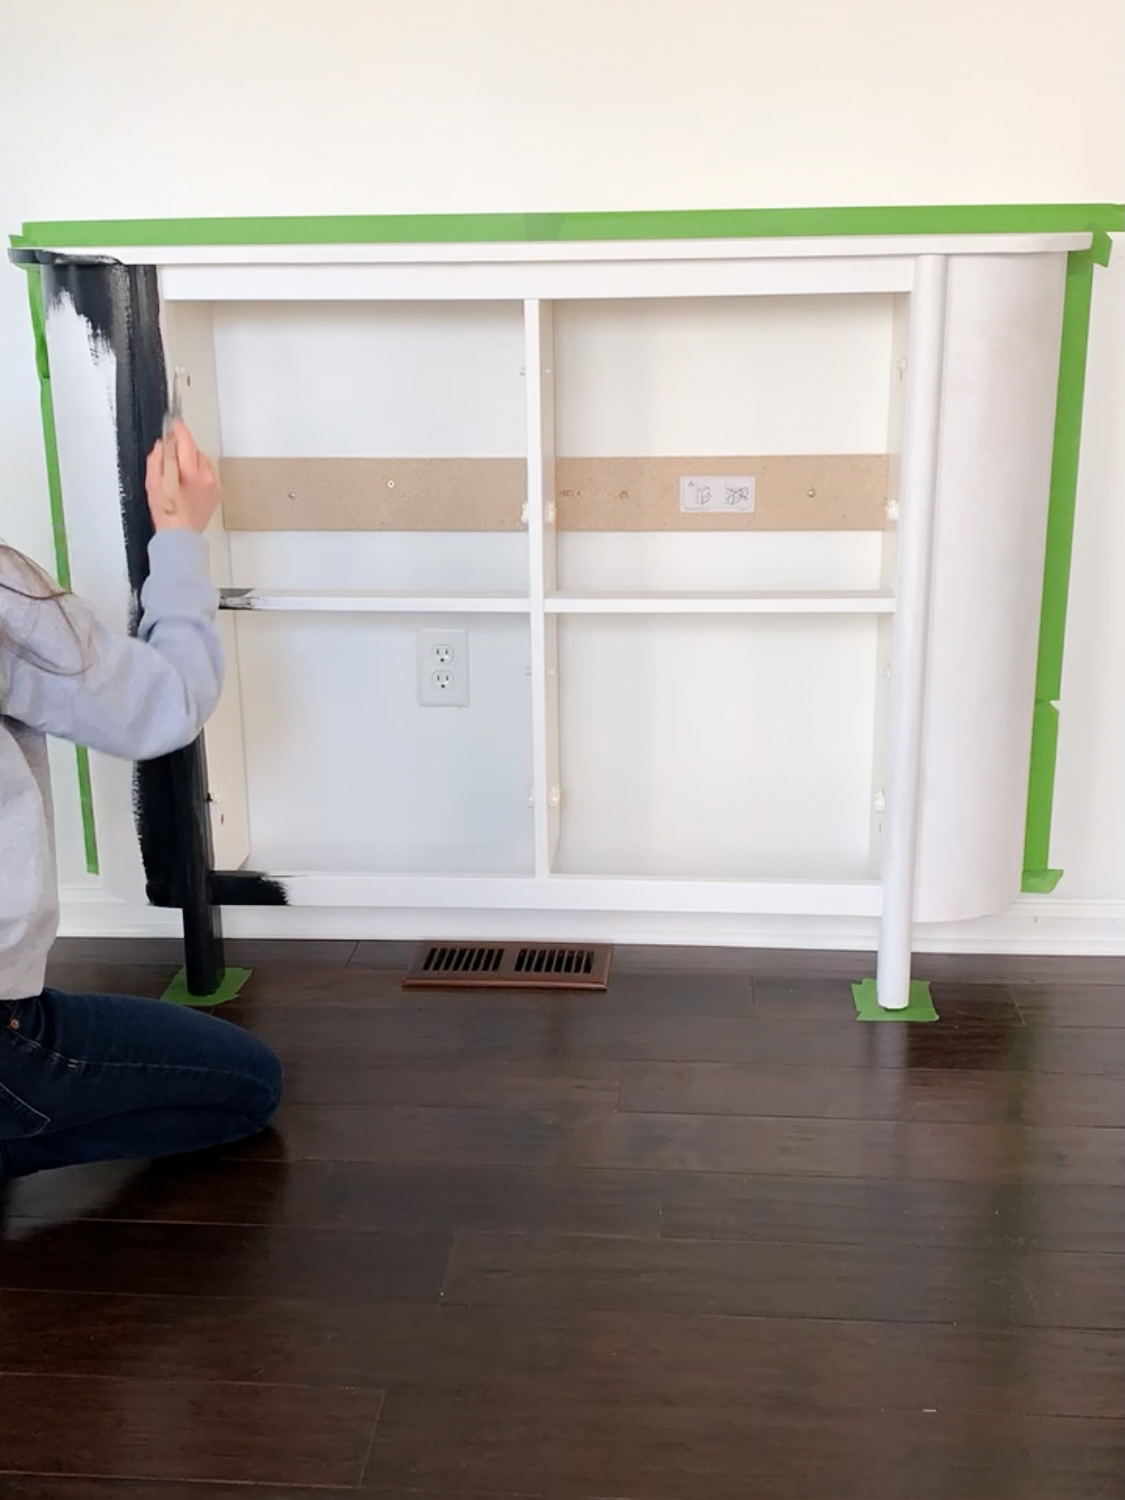
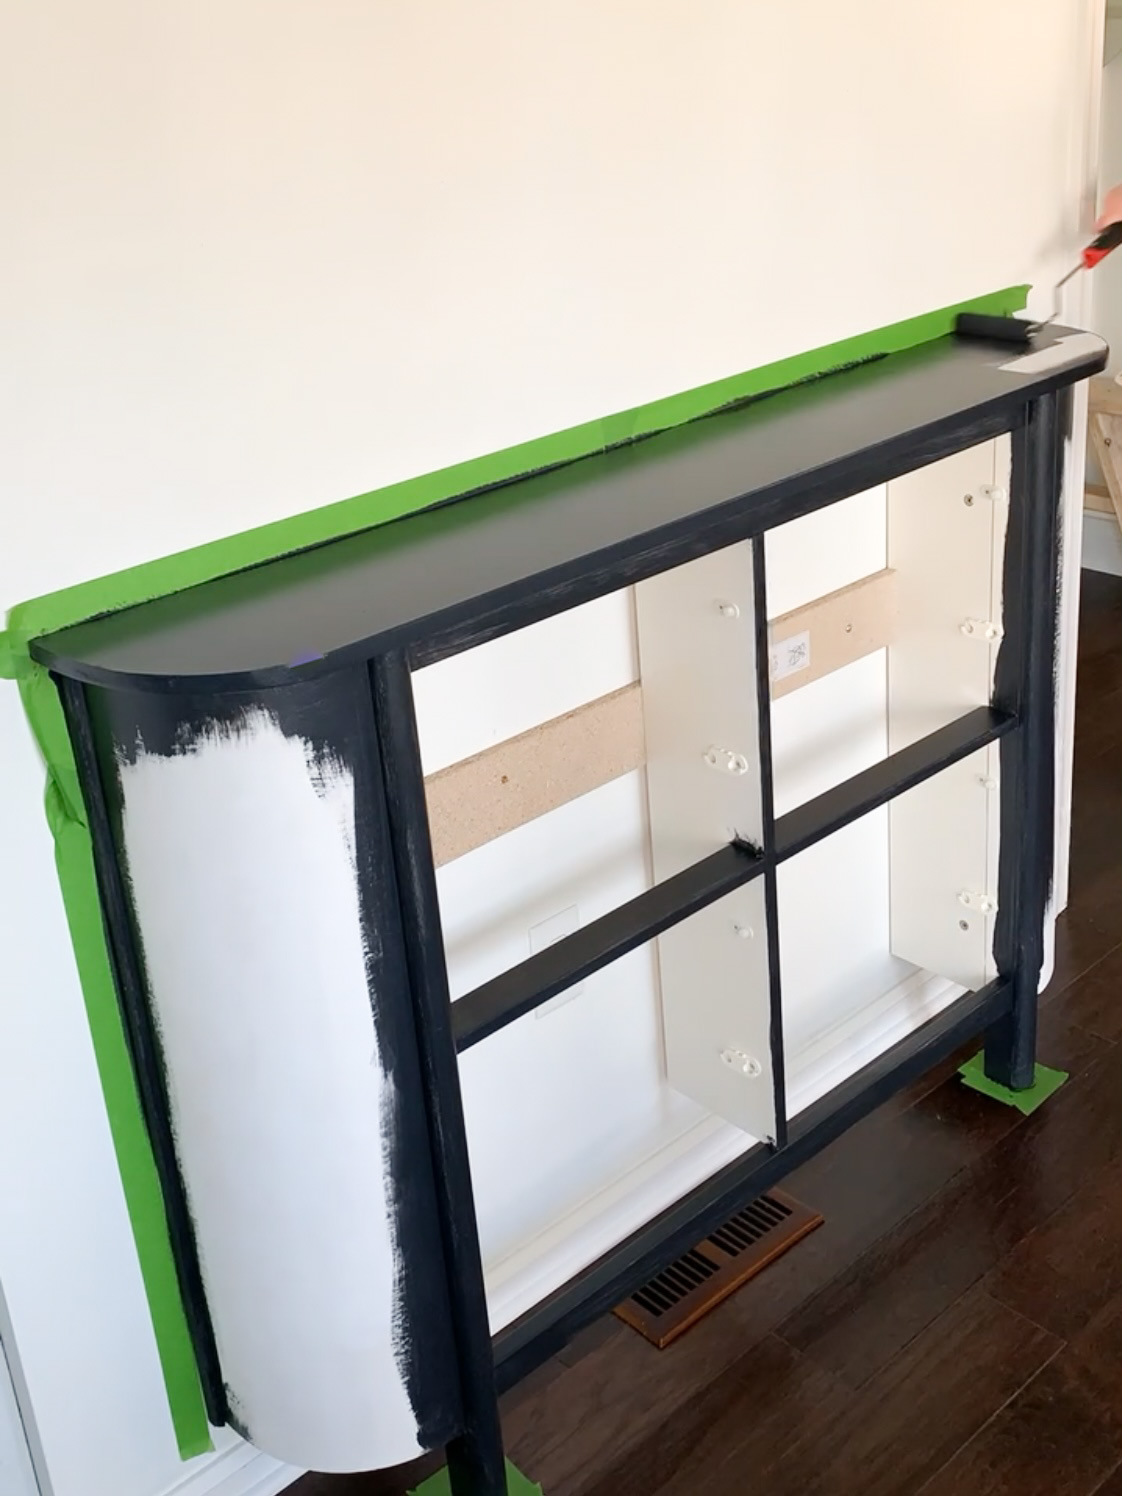
The Cabinet Faces
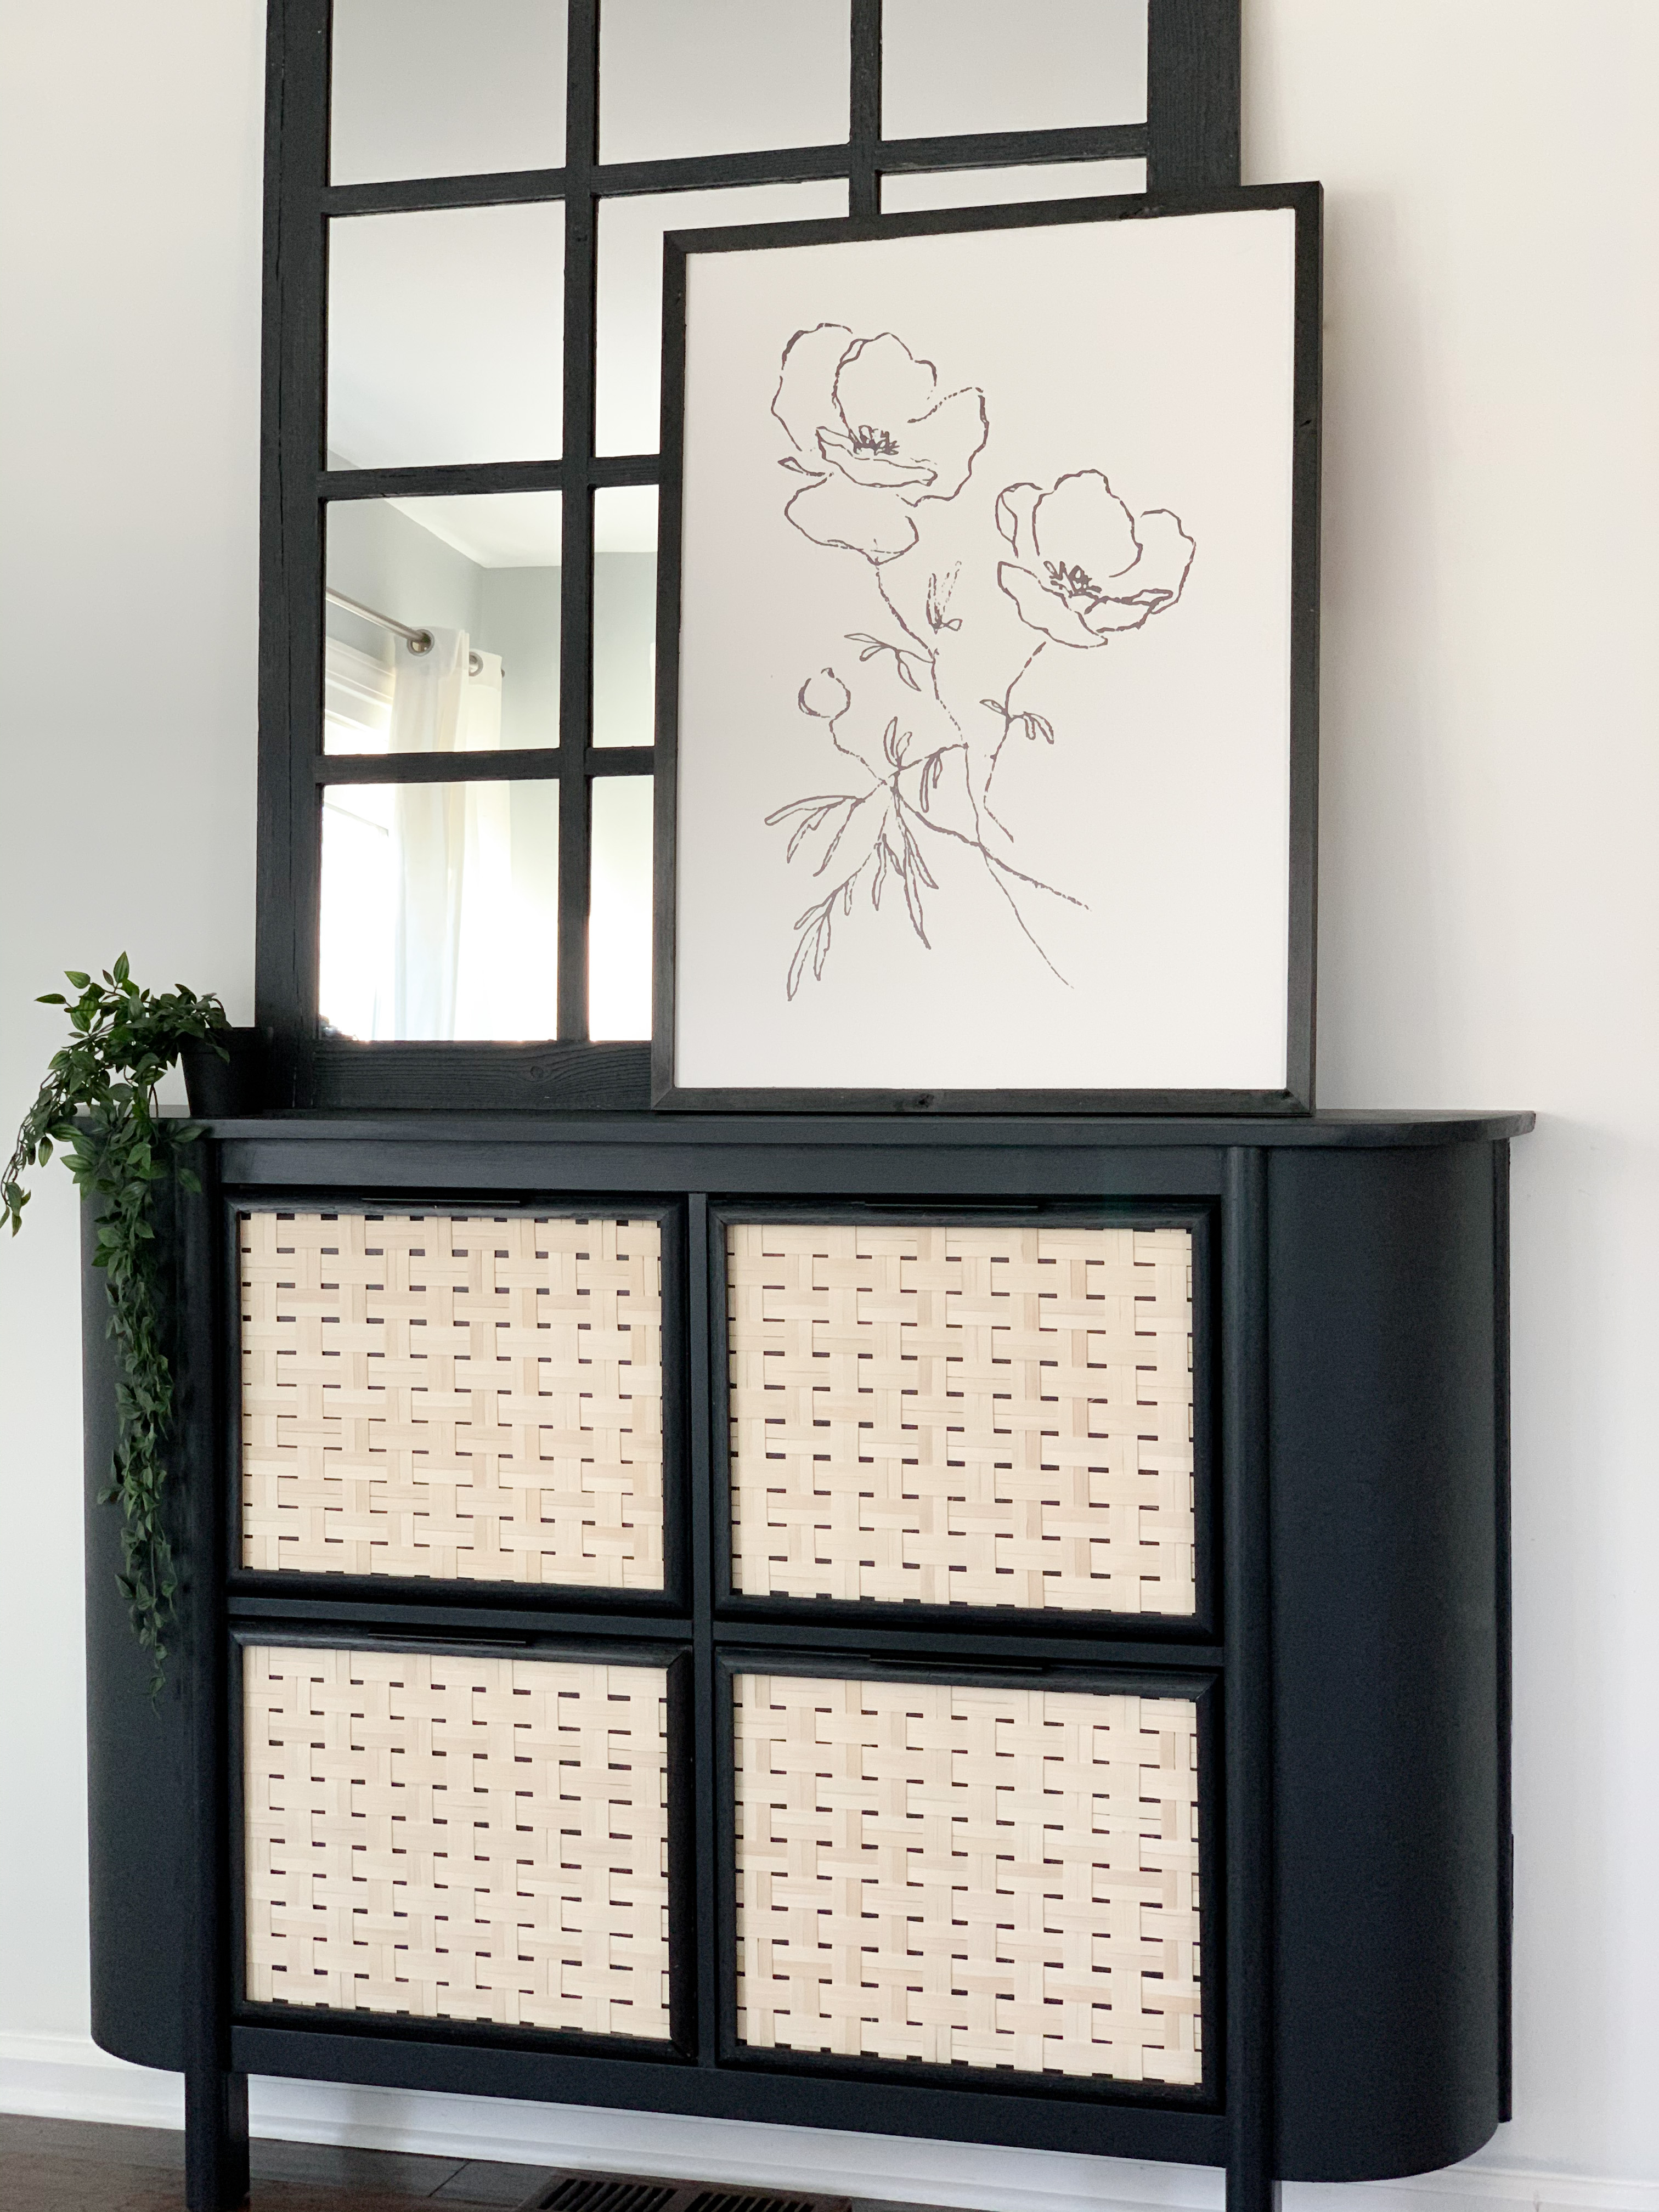
The next step was to add some detail to the cabinet faces. I love the woven look of the Studio McGee piece (pictured at the top), so I decided to basically weave a basket on the front. I ordered this reed from Amazon. I had to order two of them, but I didn’t use the whole second one. I cut all the strips down to the length and width of the cabinet face.
*Make sure the pieces stay within the cabinet face and don’t hang over at all… You want to be able to hide it completely with the trim and fill the gap with caulk. If anything, I made the pieces slightly shorter than the width and length of the face.*
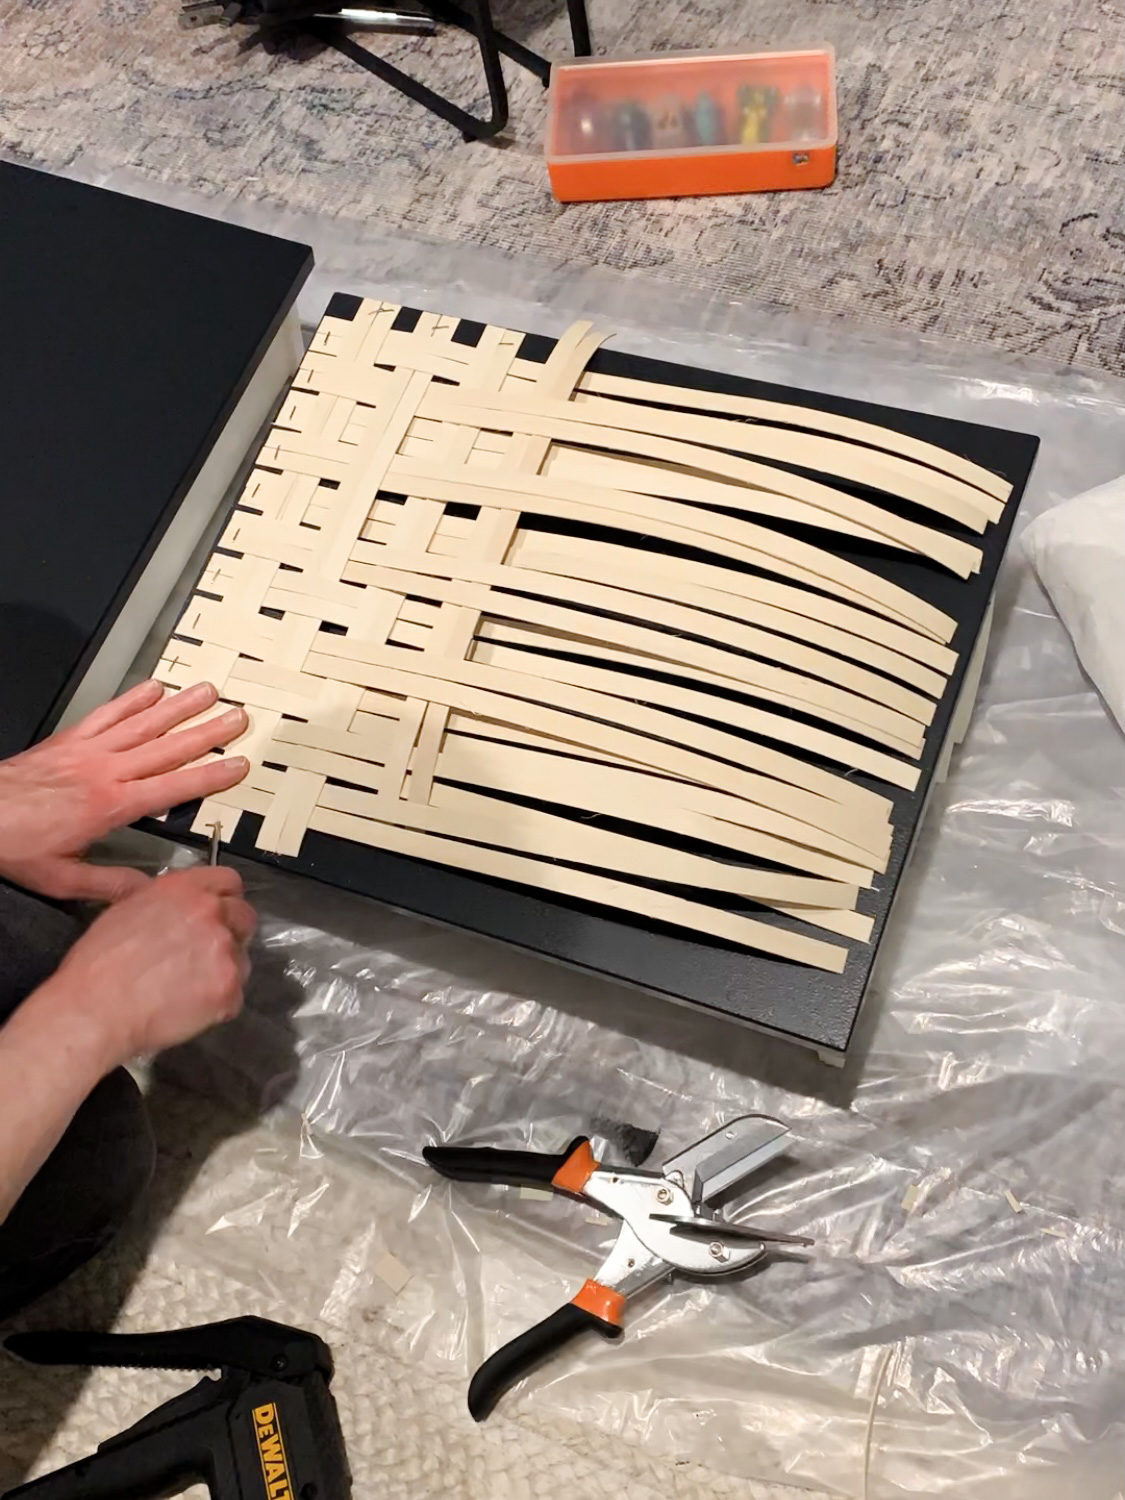
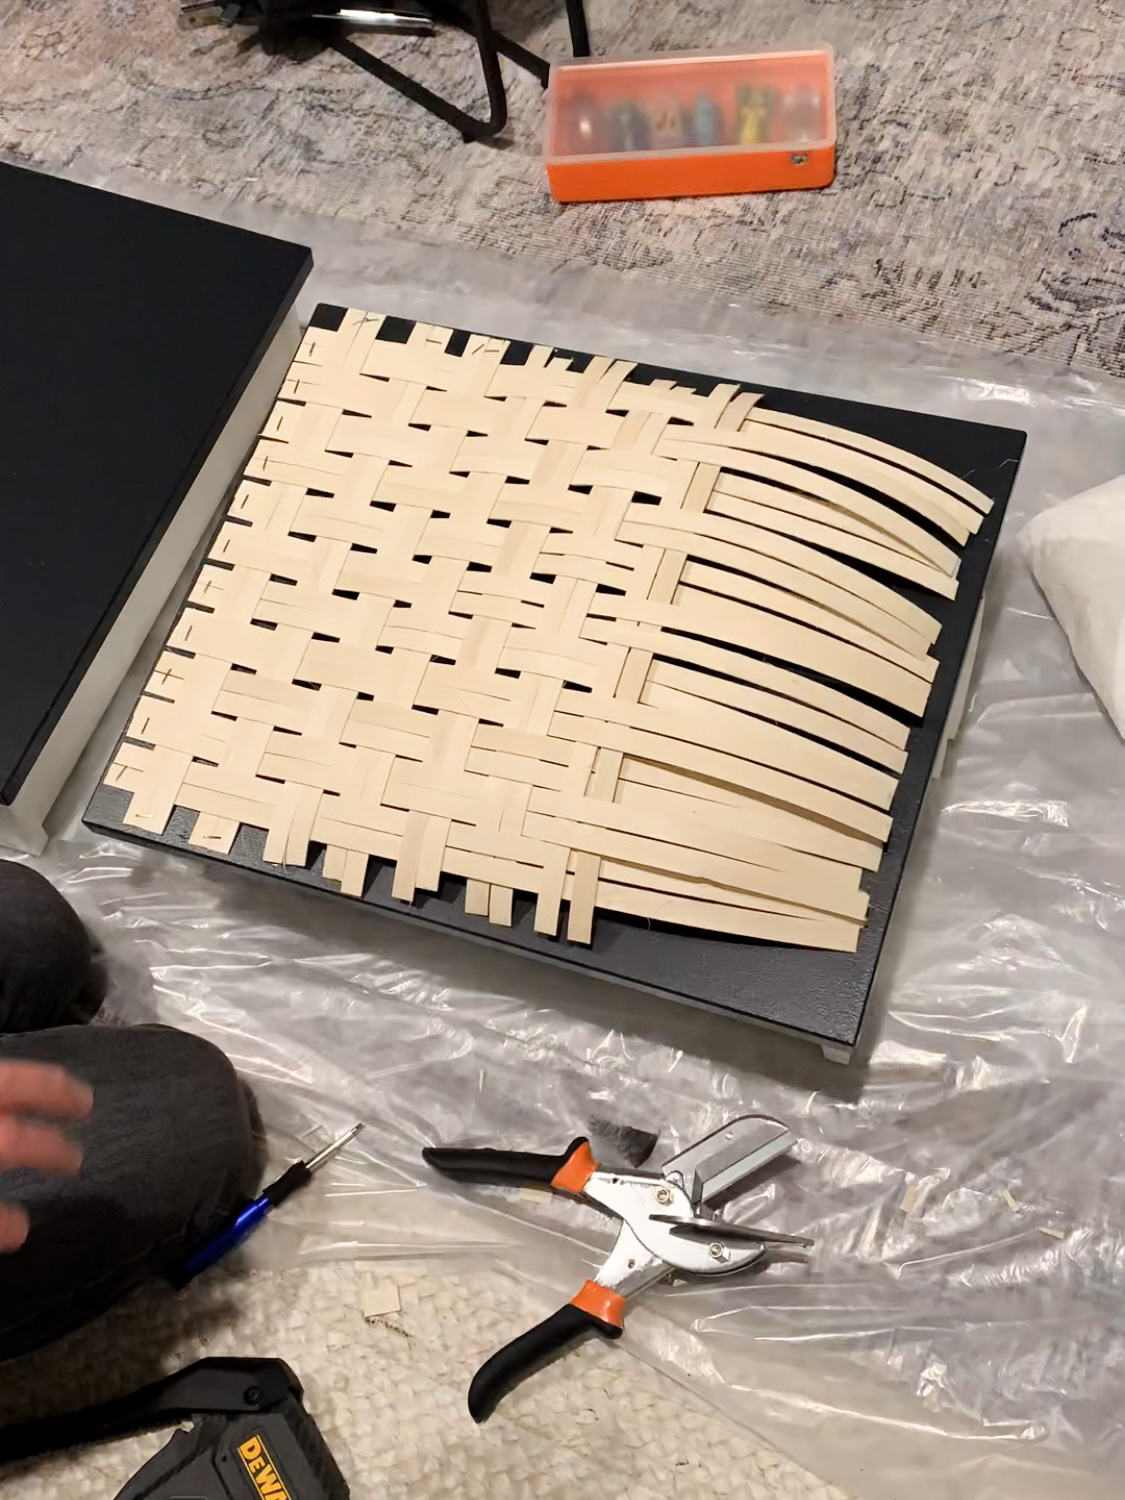
I used a staple gun to attach the reeds and paired them together to get the look I wanted… You can totally play around with this part. Then just weave like a basket! I tried to weave as much as I could without stapling a ton because I wanted to be able to adjust to make them even. Once you do one cabinet face, be sure to reference back to that pattern with all the rest to match. Pull tight to make sure it lays flat!
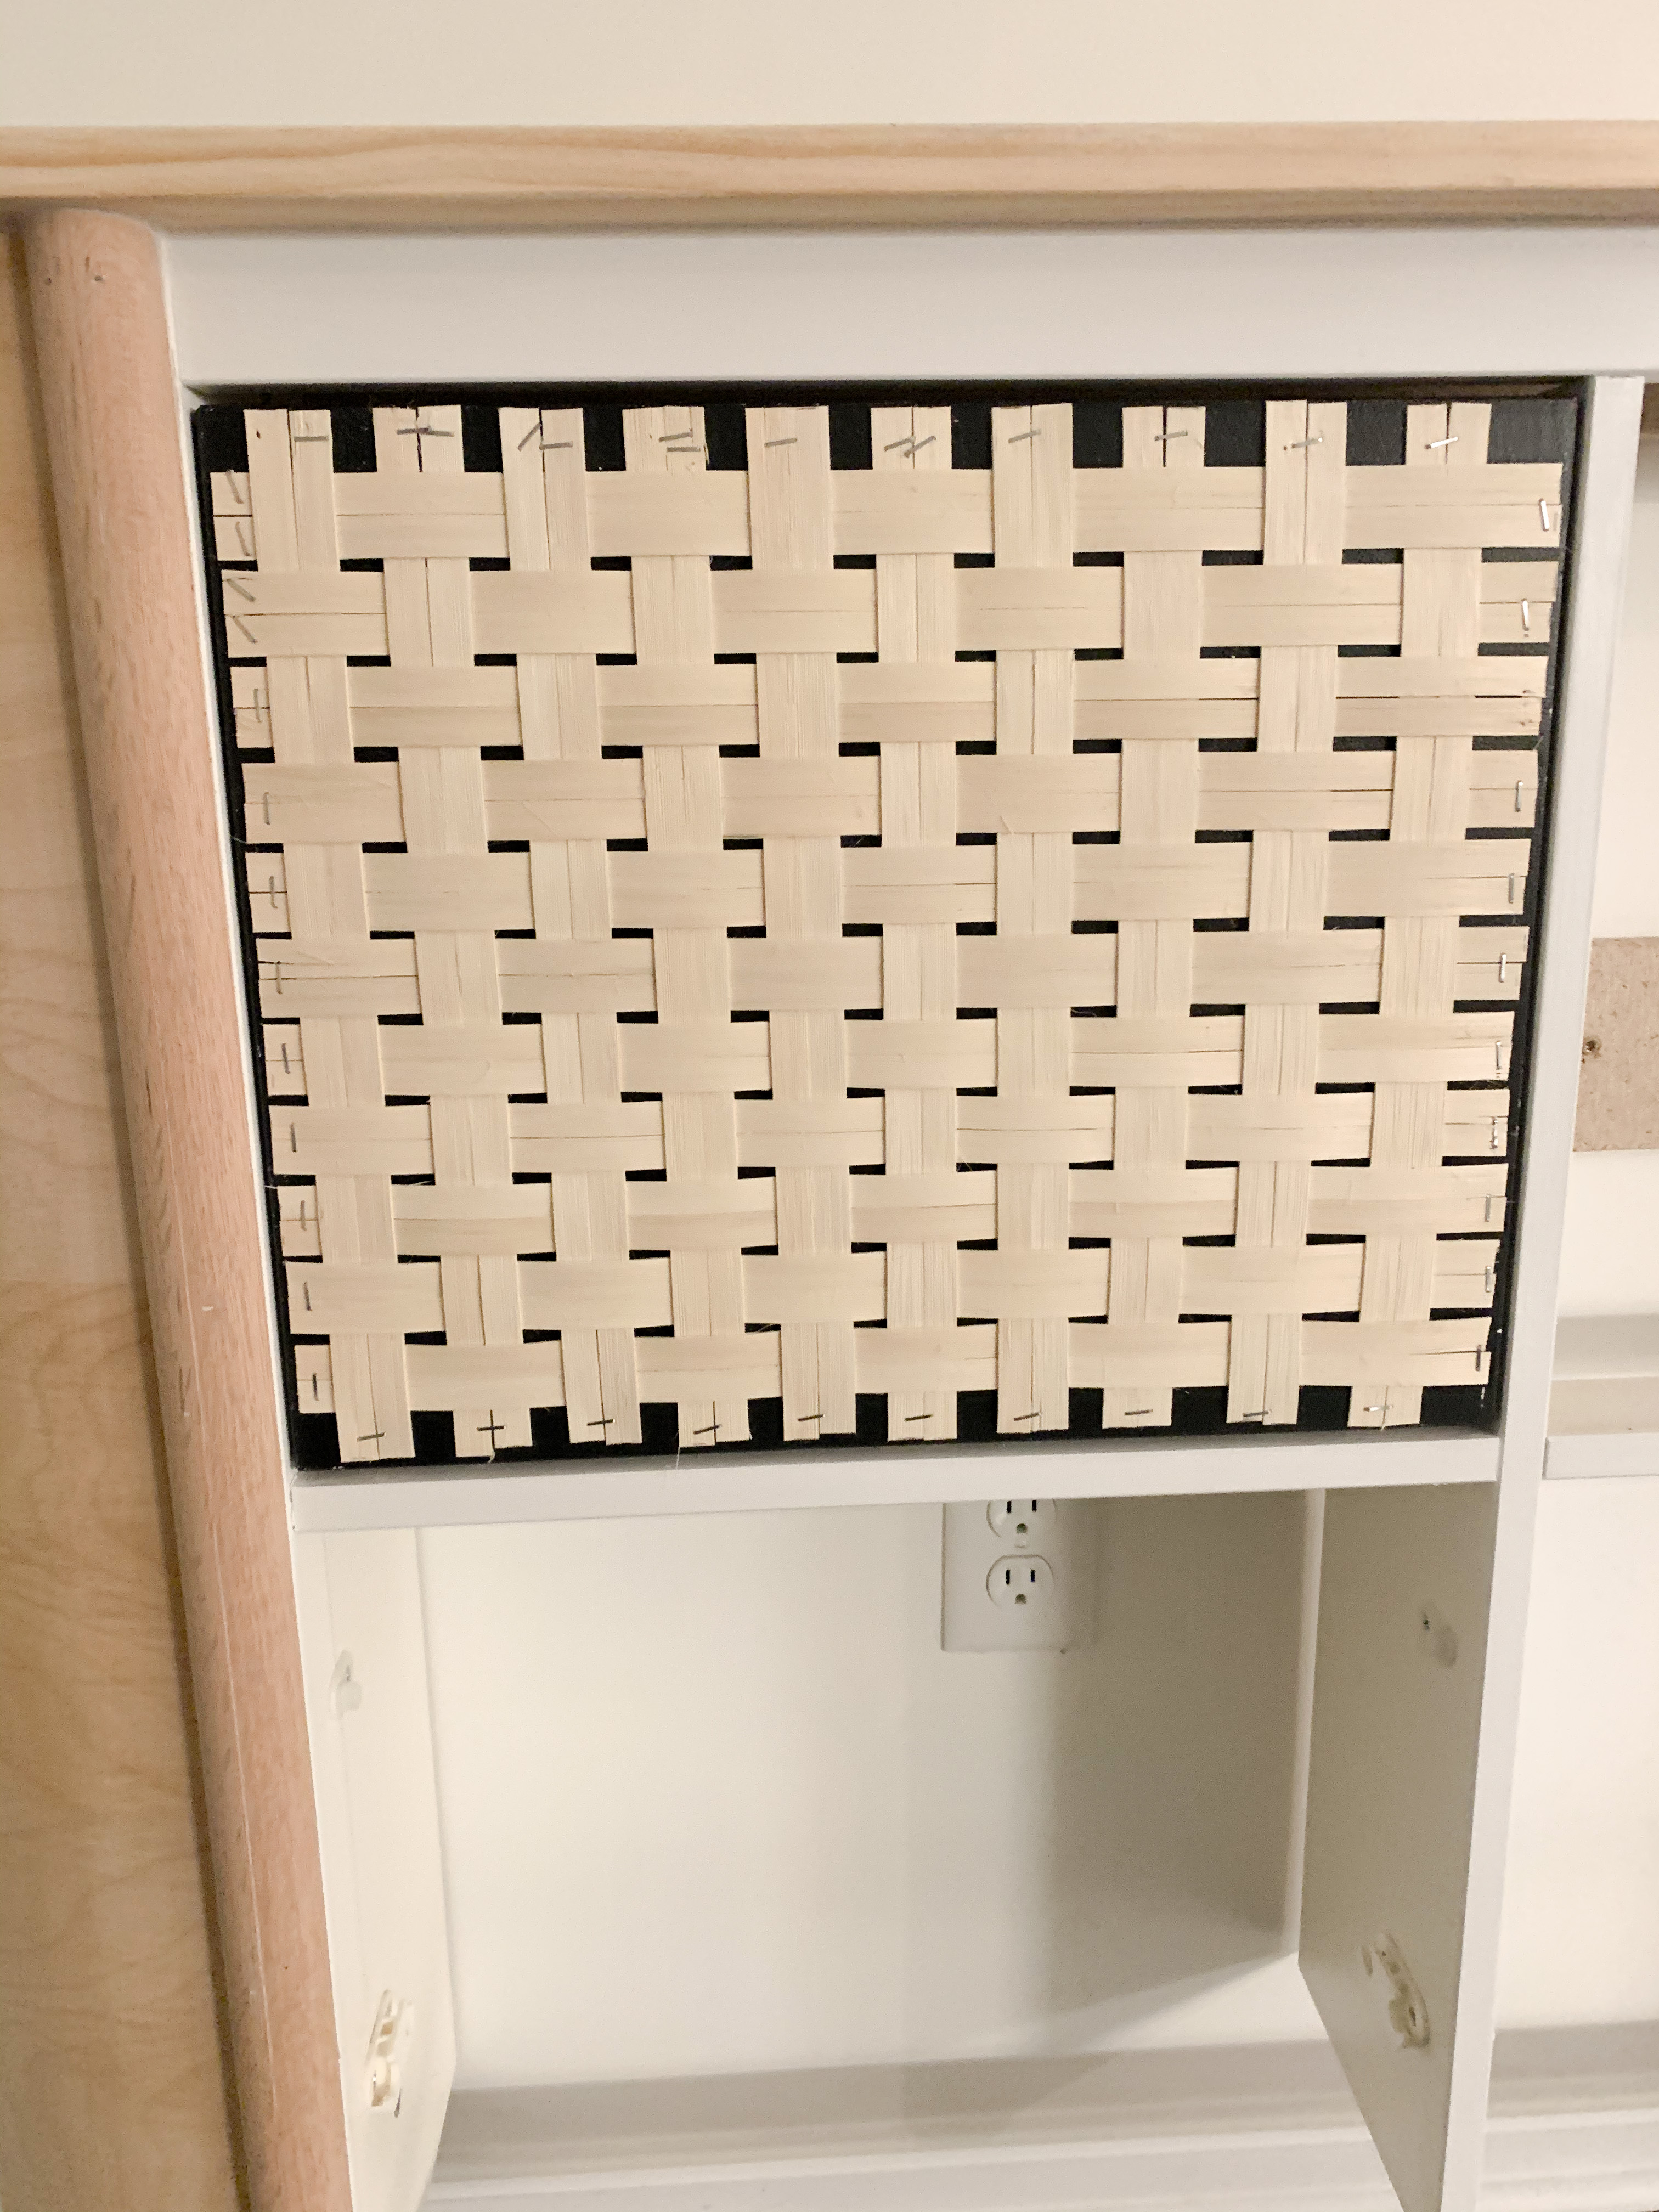
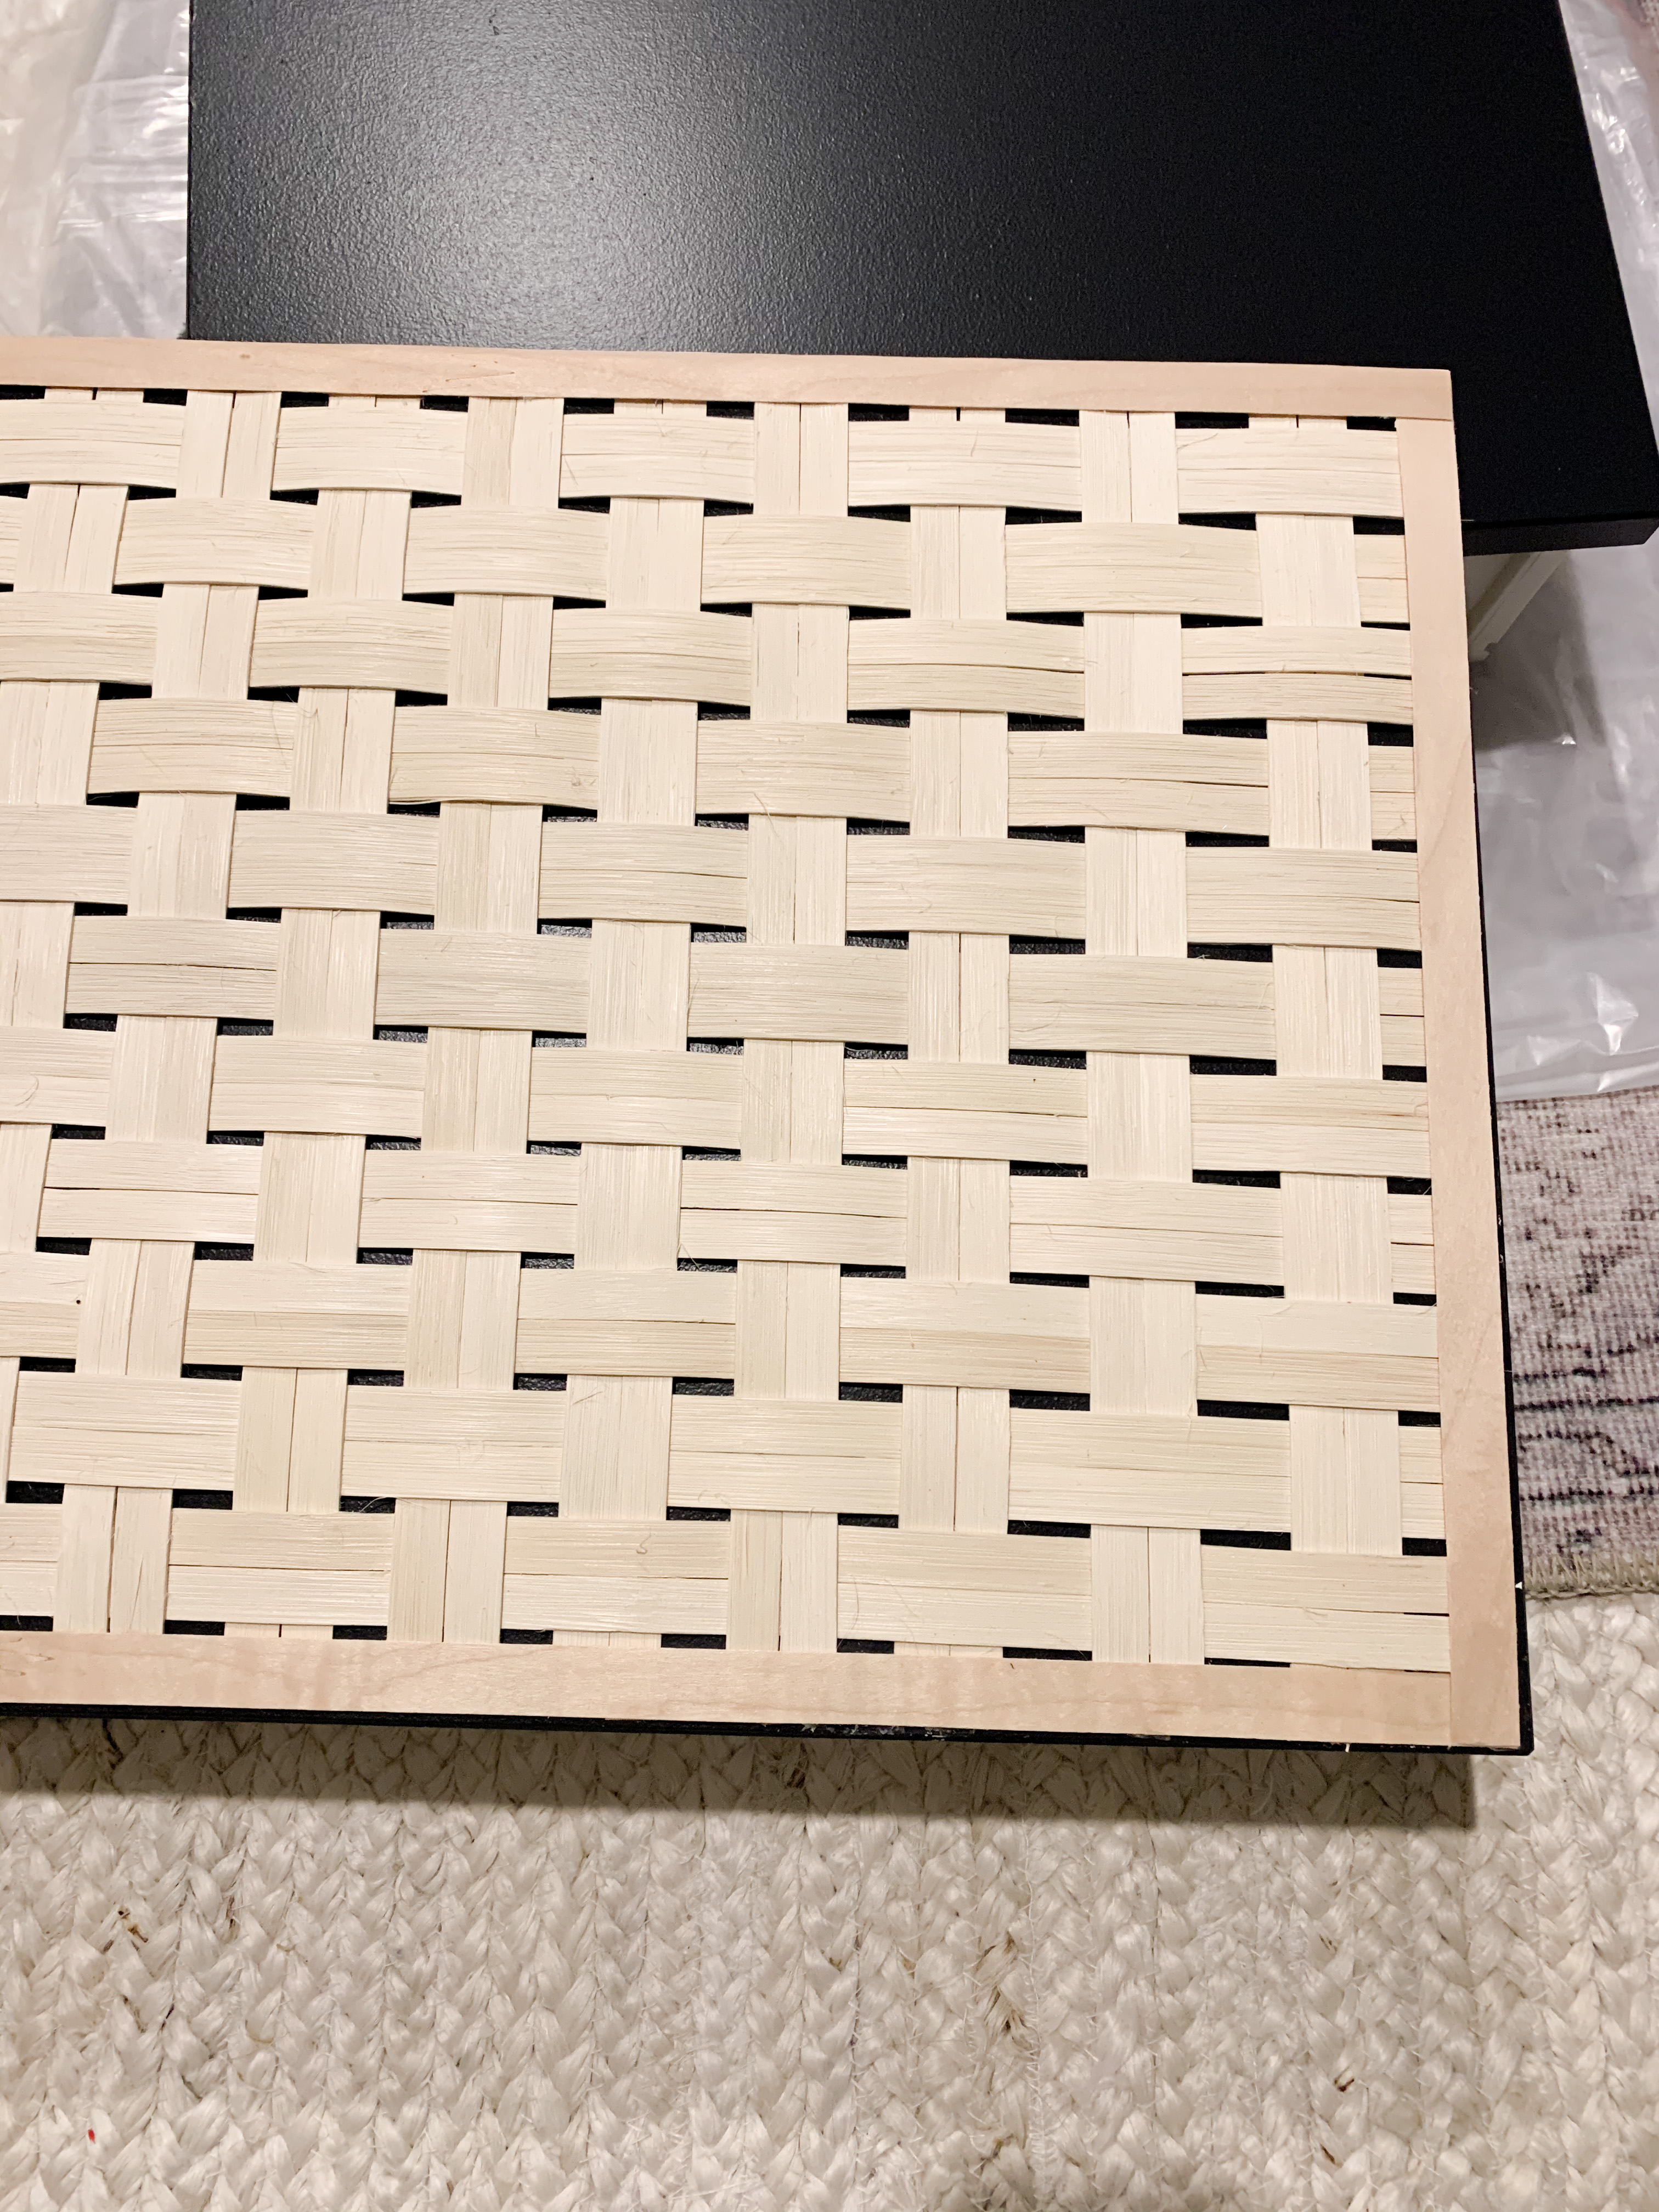
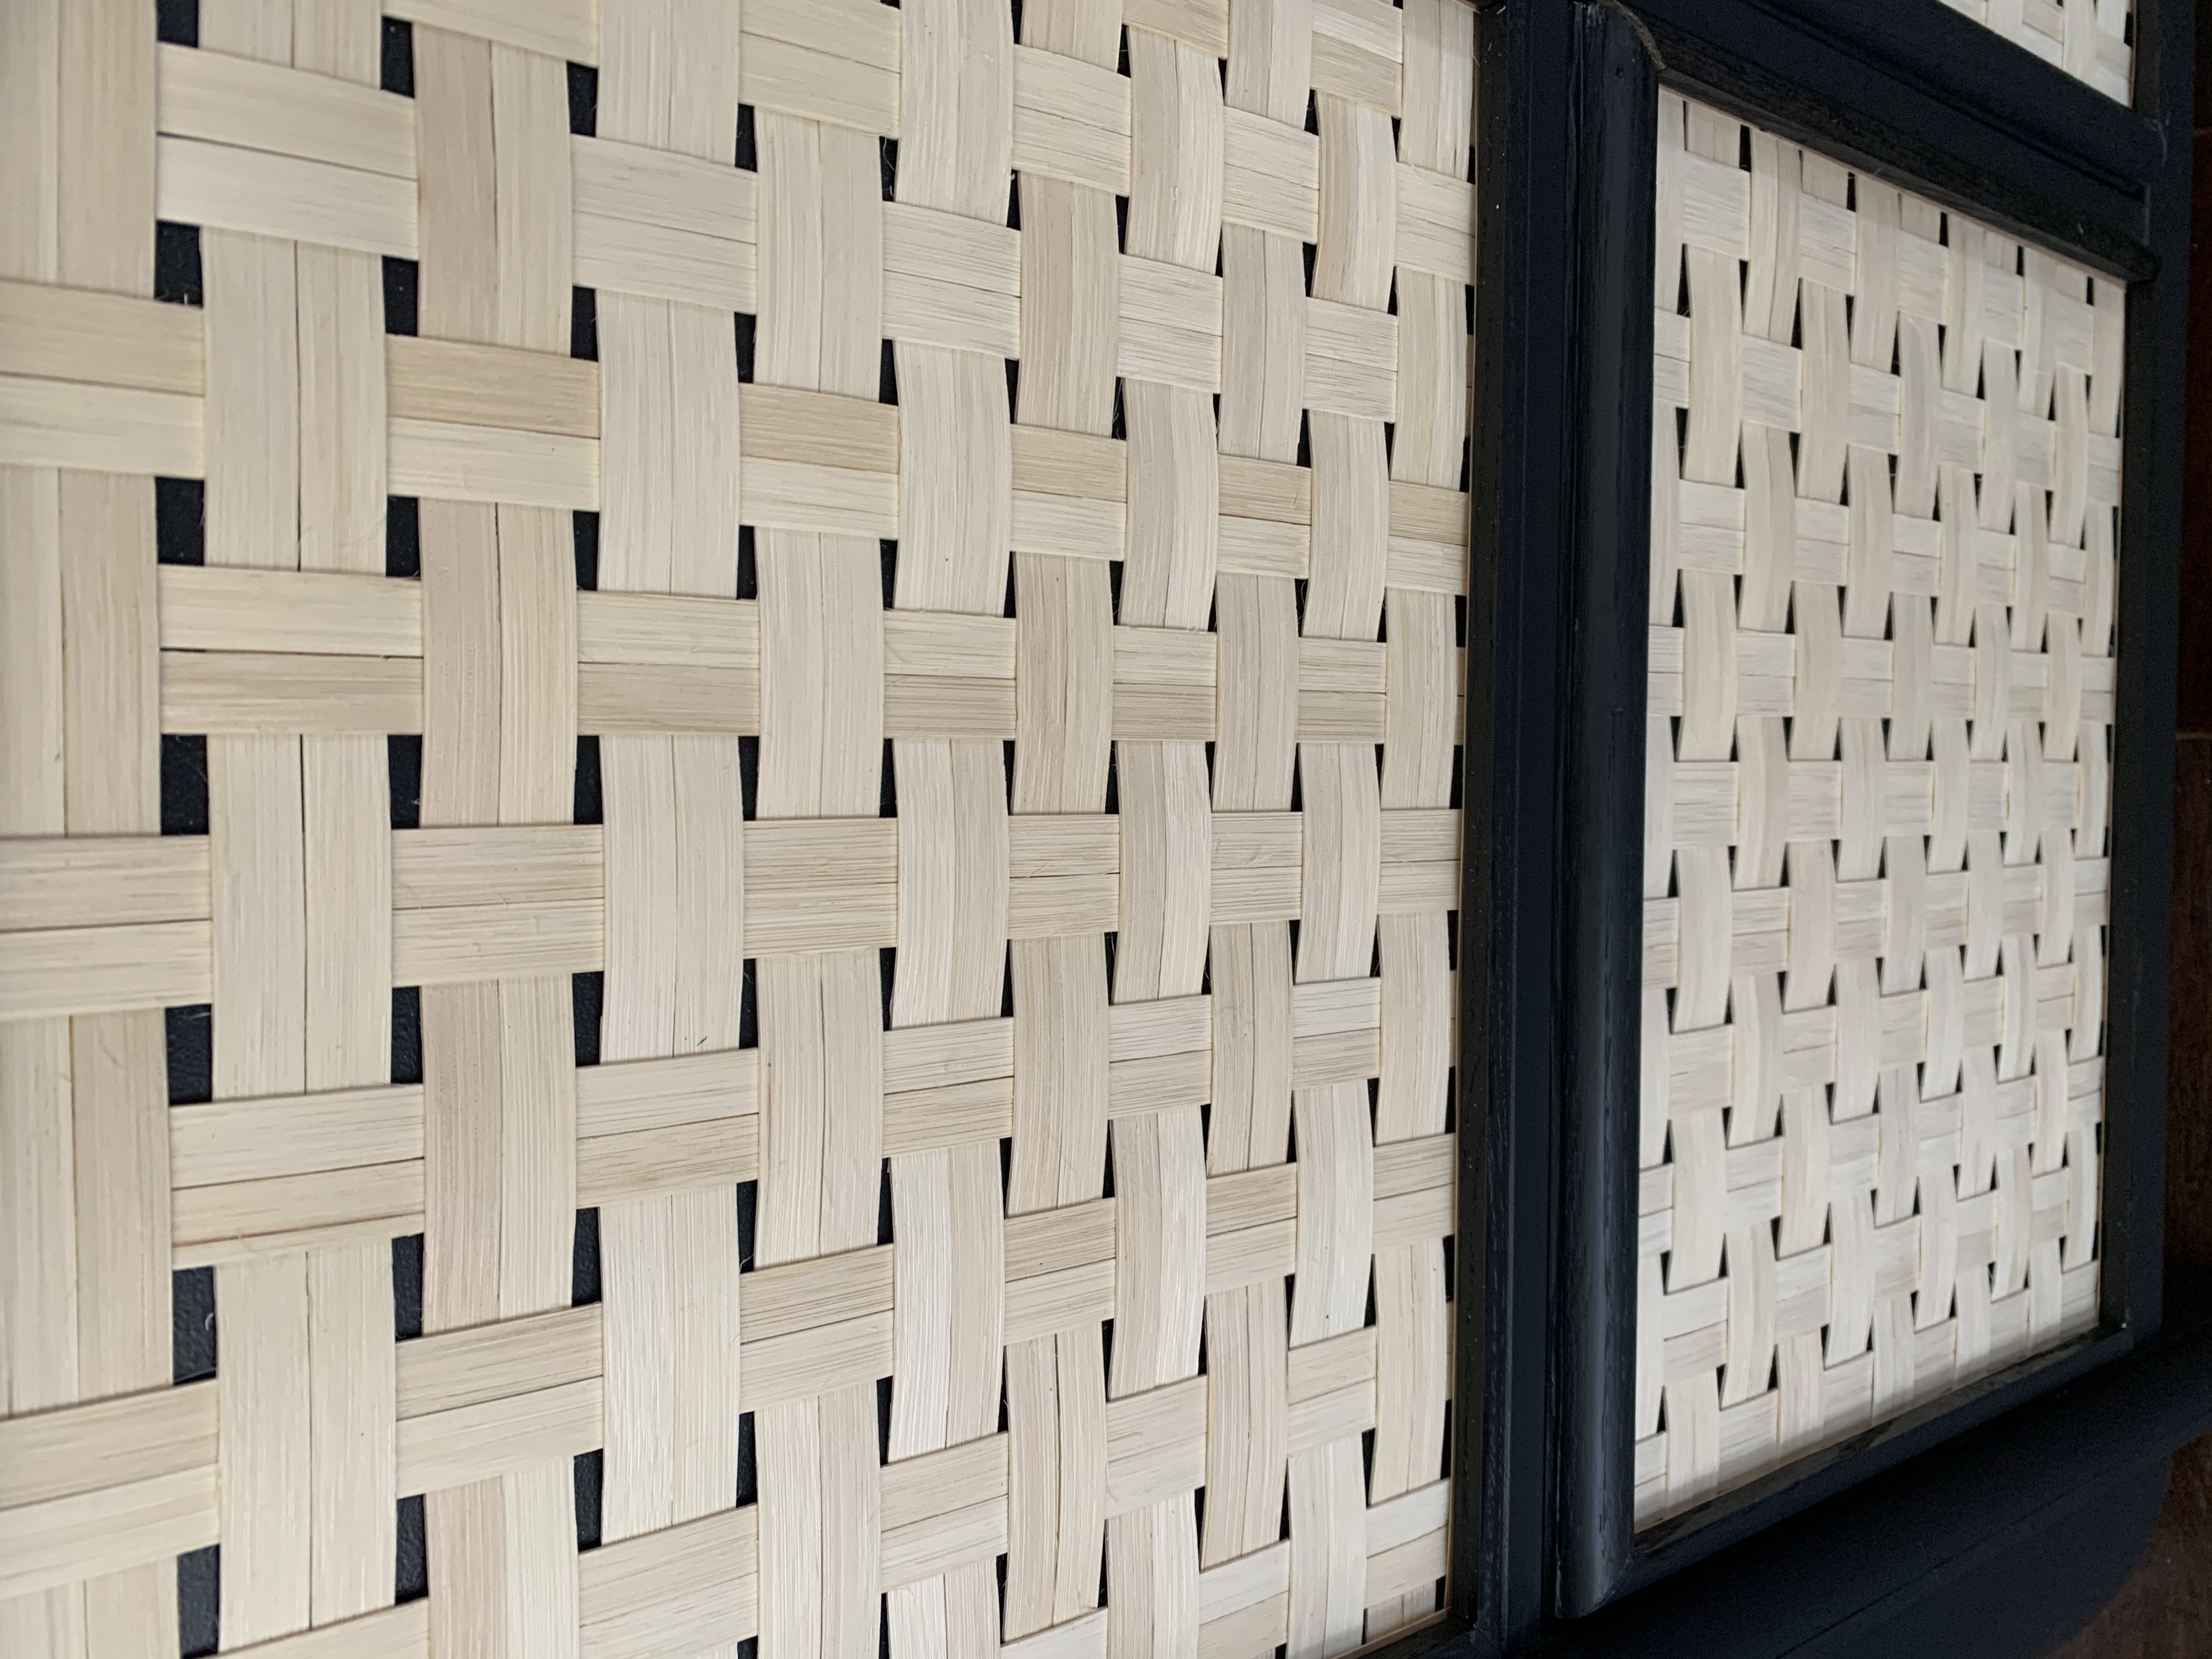
I had ordered a second type of reed (linked here), so I happened to have this thinner option on hand. I wouldn’t use the thicker weave to outline the cabinet face because it might mess with the trim I put on top. I’m not sure that this thinner weave layer is even needed, or maybe even a strip of electrical tape would work! I’m only including this detail because I had added it. Before I realized that wood trim would work, I was planning on covering up the staples by gluing the thin reed on top.
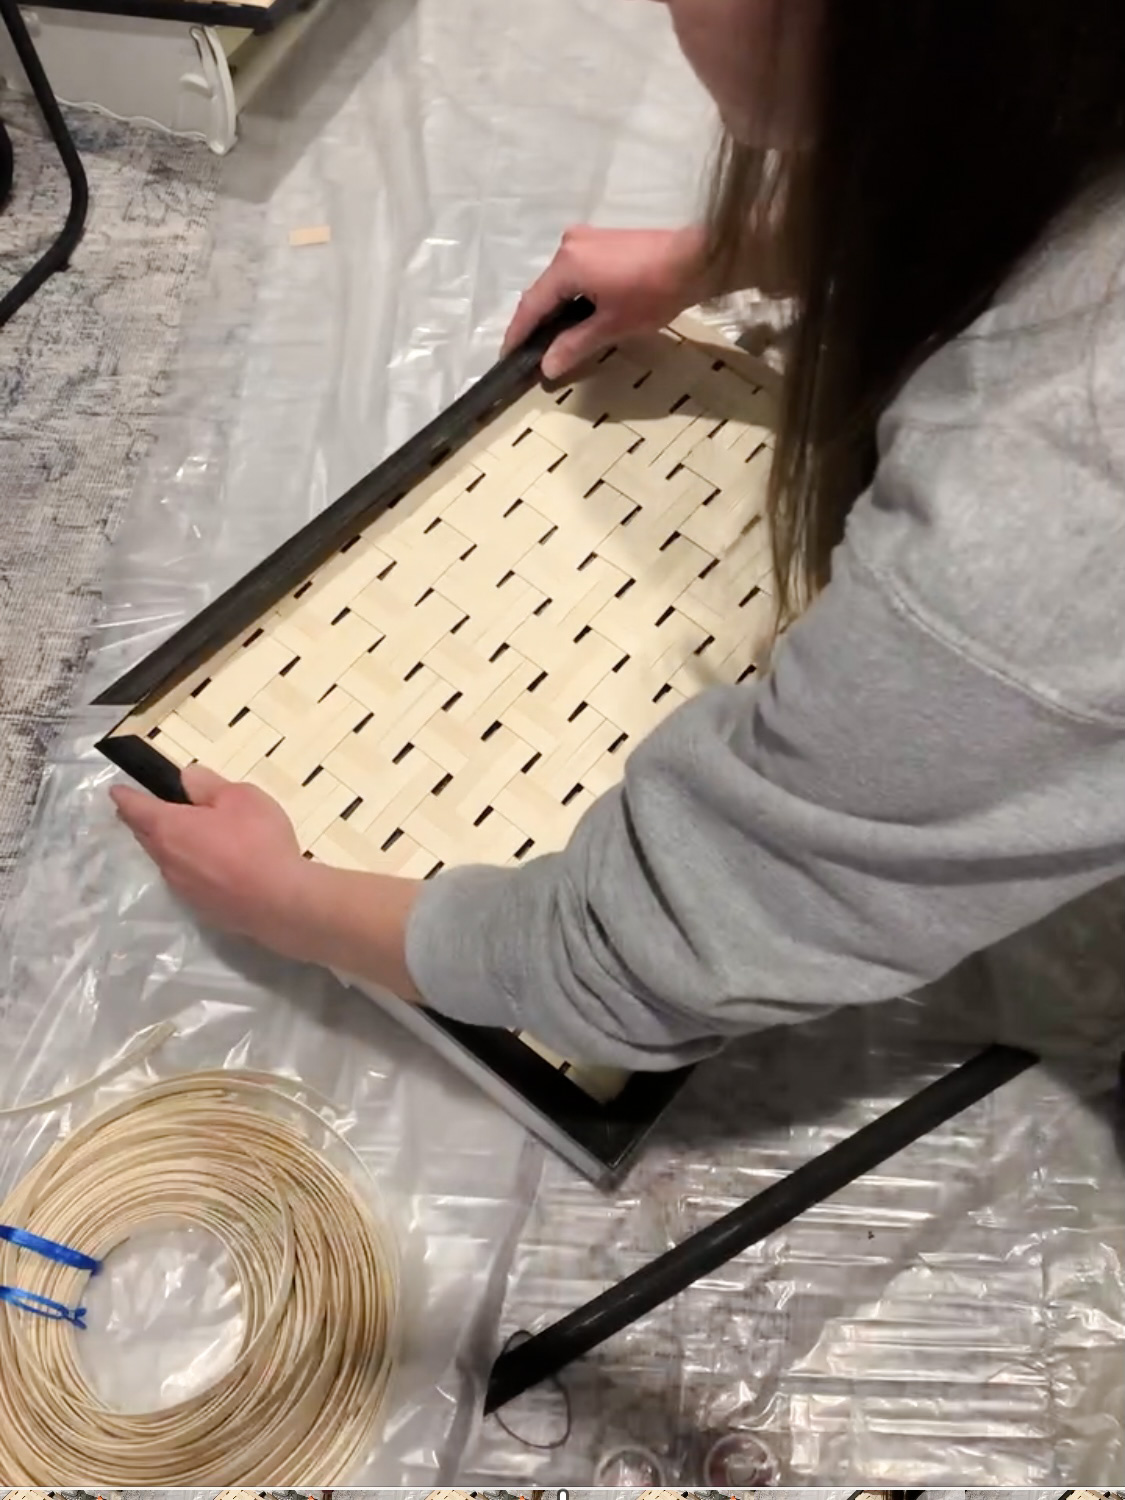
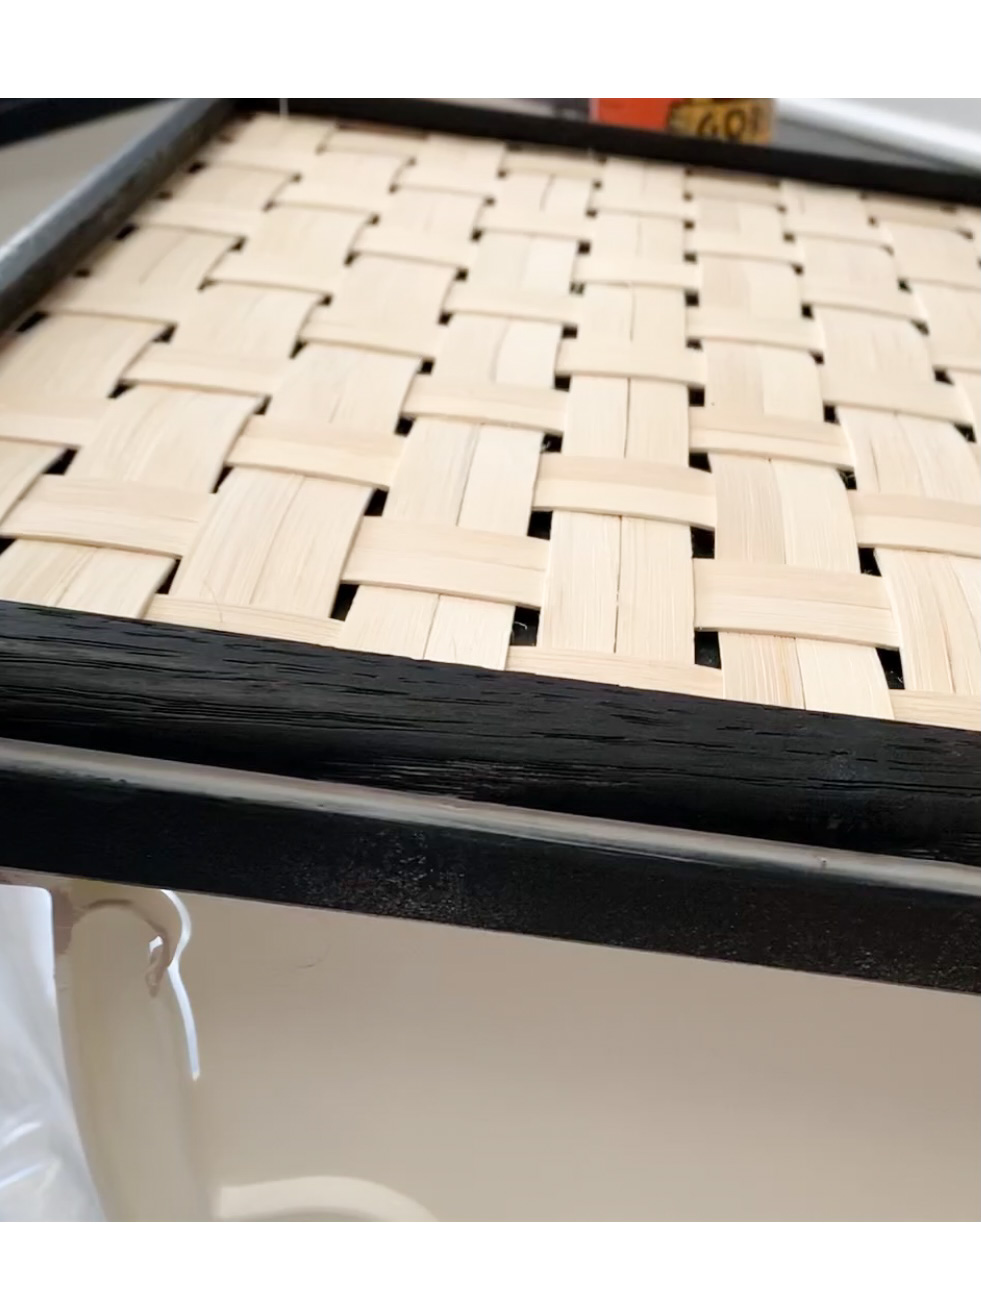
Fortunately, this quarter round trim worked so well for trimming out the face of the cabinet! Since it was covering the uneven surface of the stapled reed, the mitered corners didn’t come together perfectly, and it didn’t lie flush with the cabinet face. It was close, though, and nothing that caulk couldn’t fix!
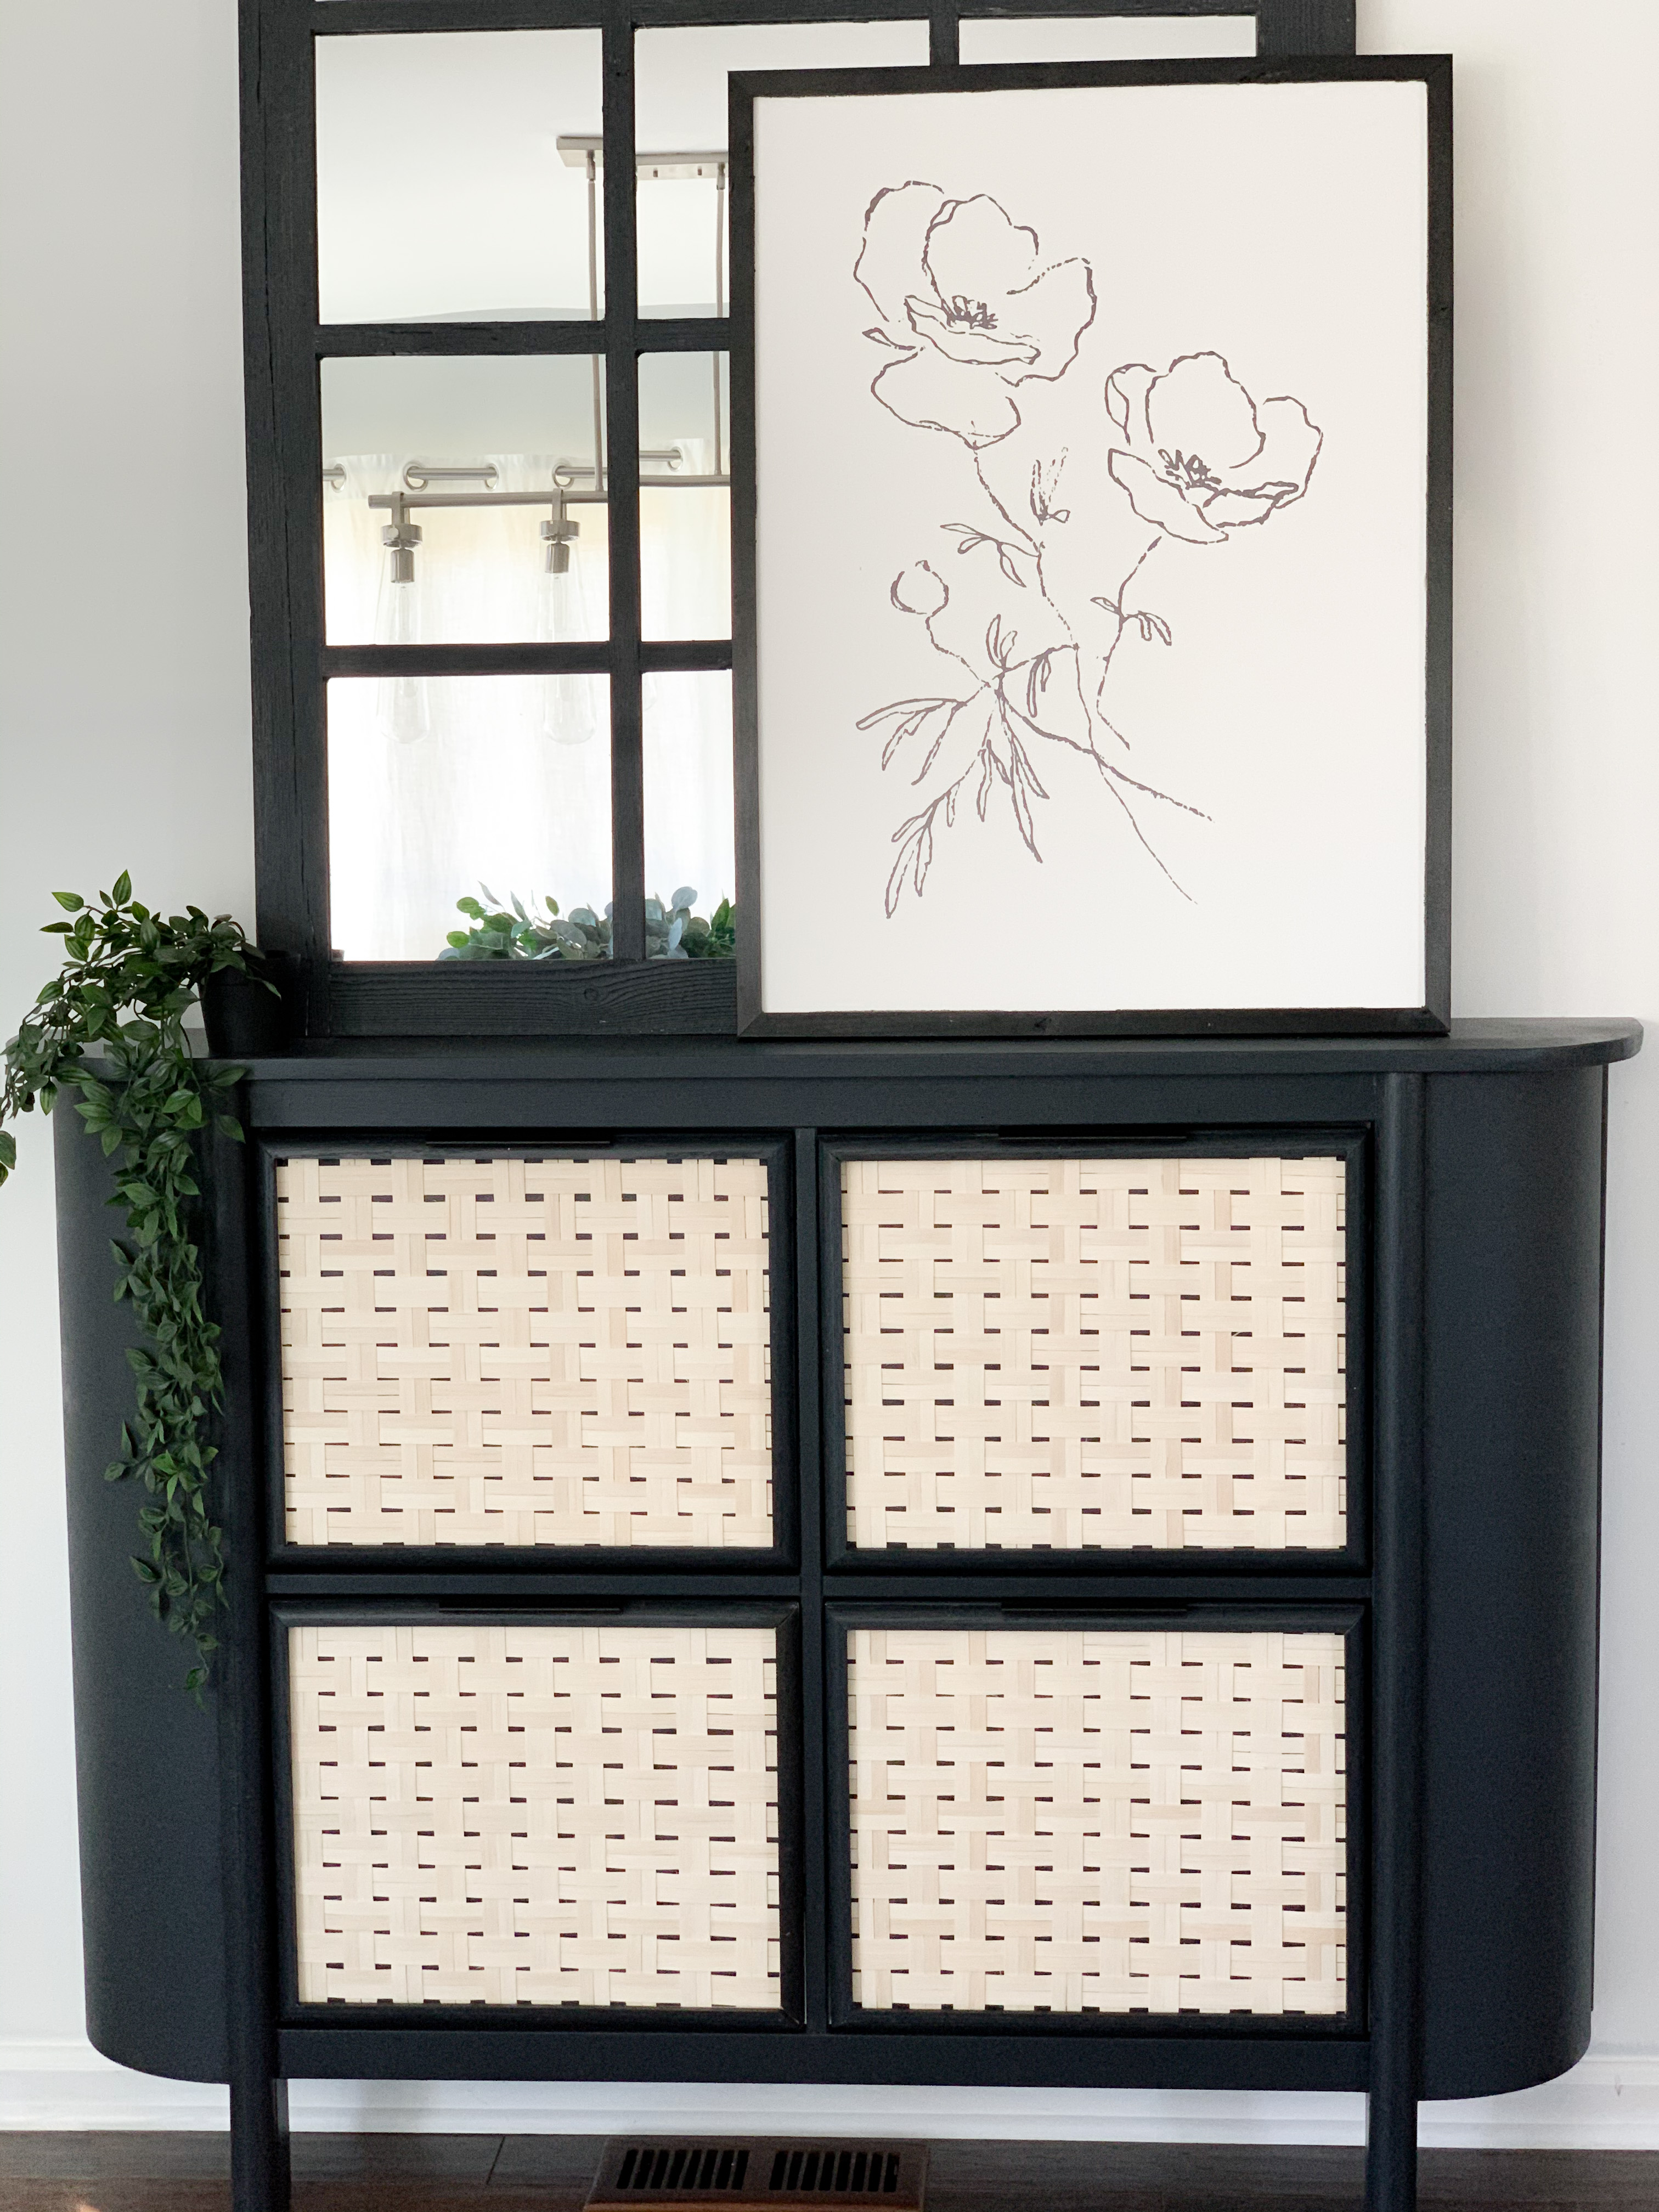
I ended up using the same pulls that I used on the fluted IKEA cabinet because they are almost invisible and super easy to install. Handles linked here!
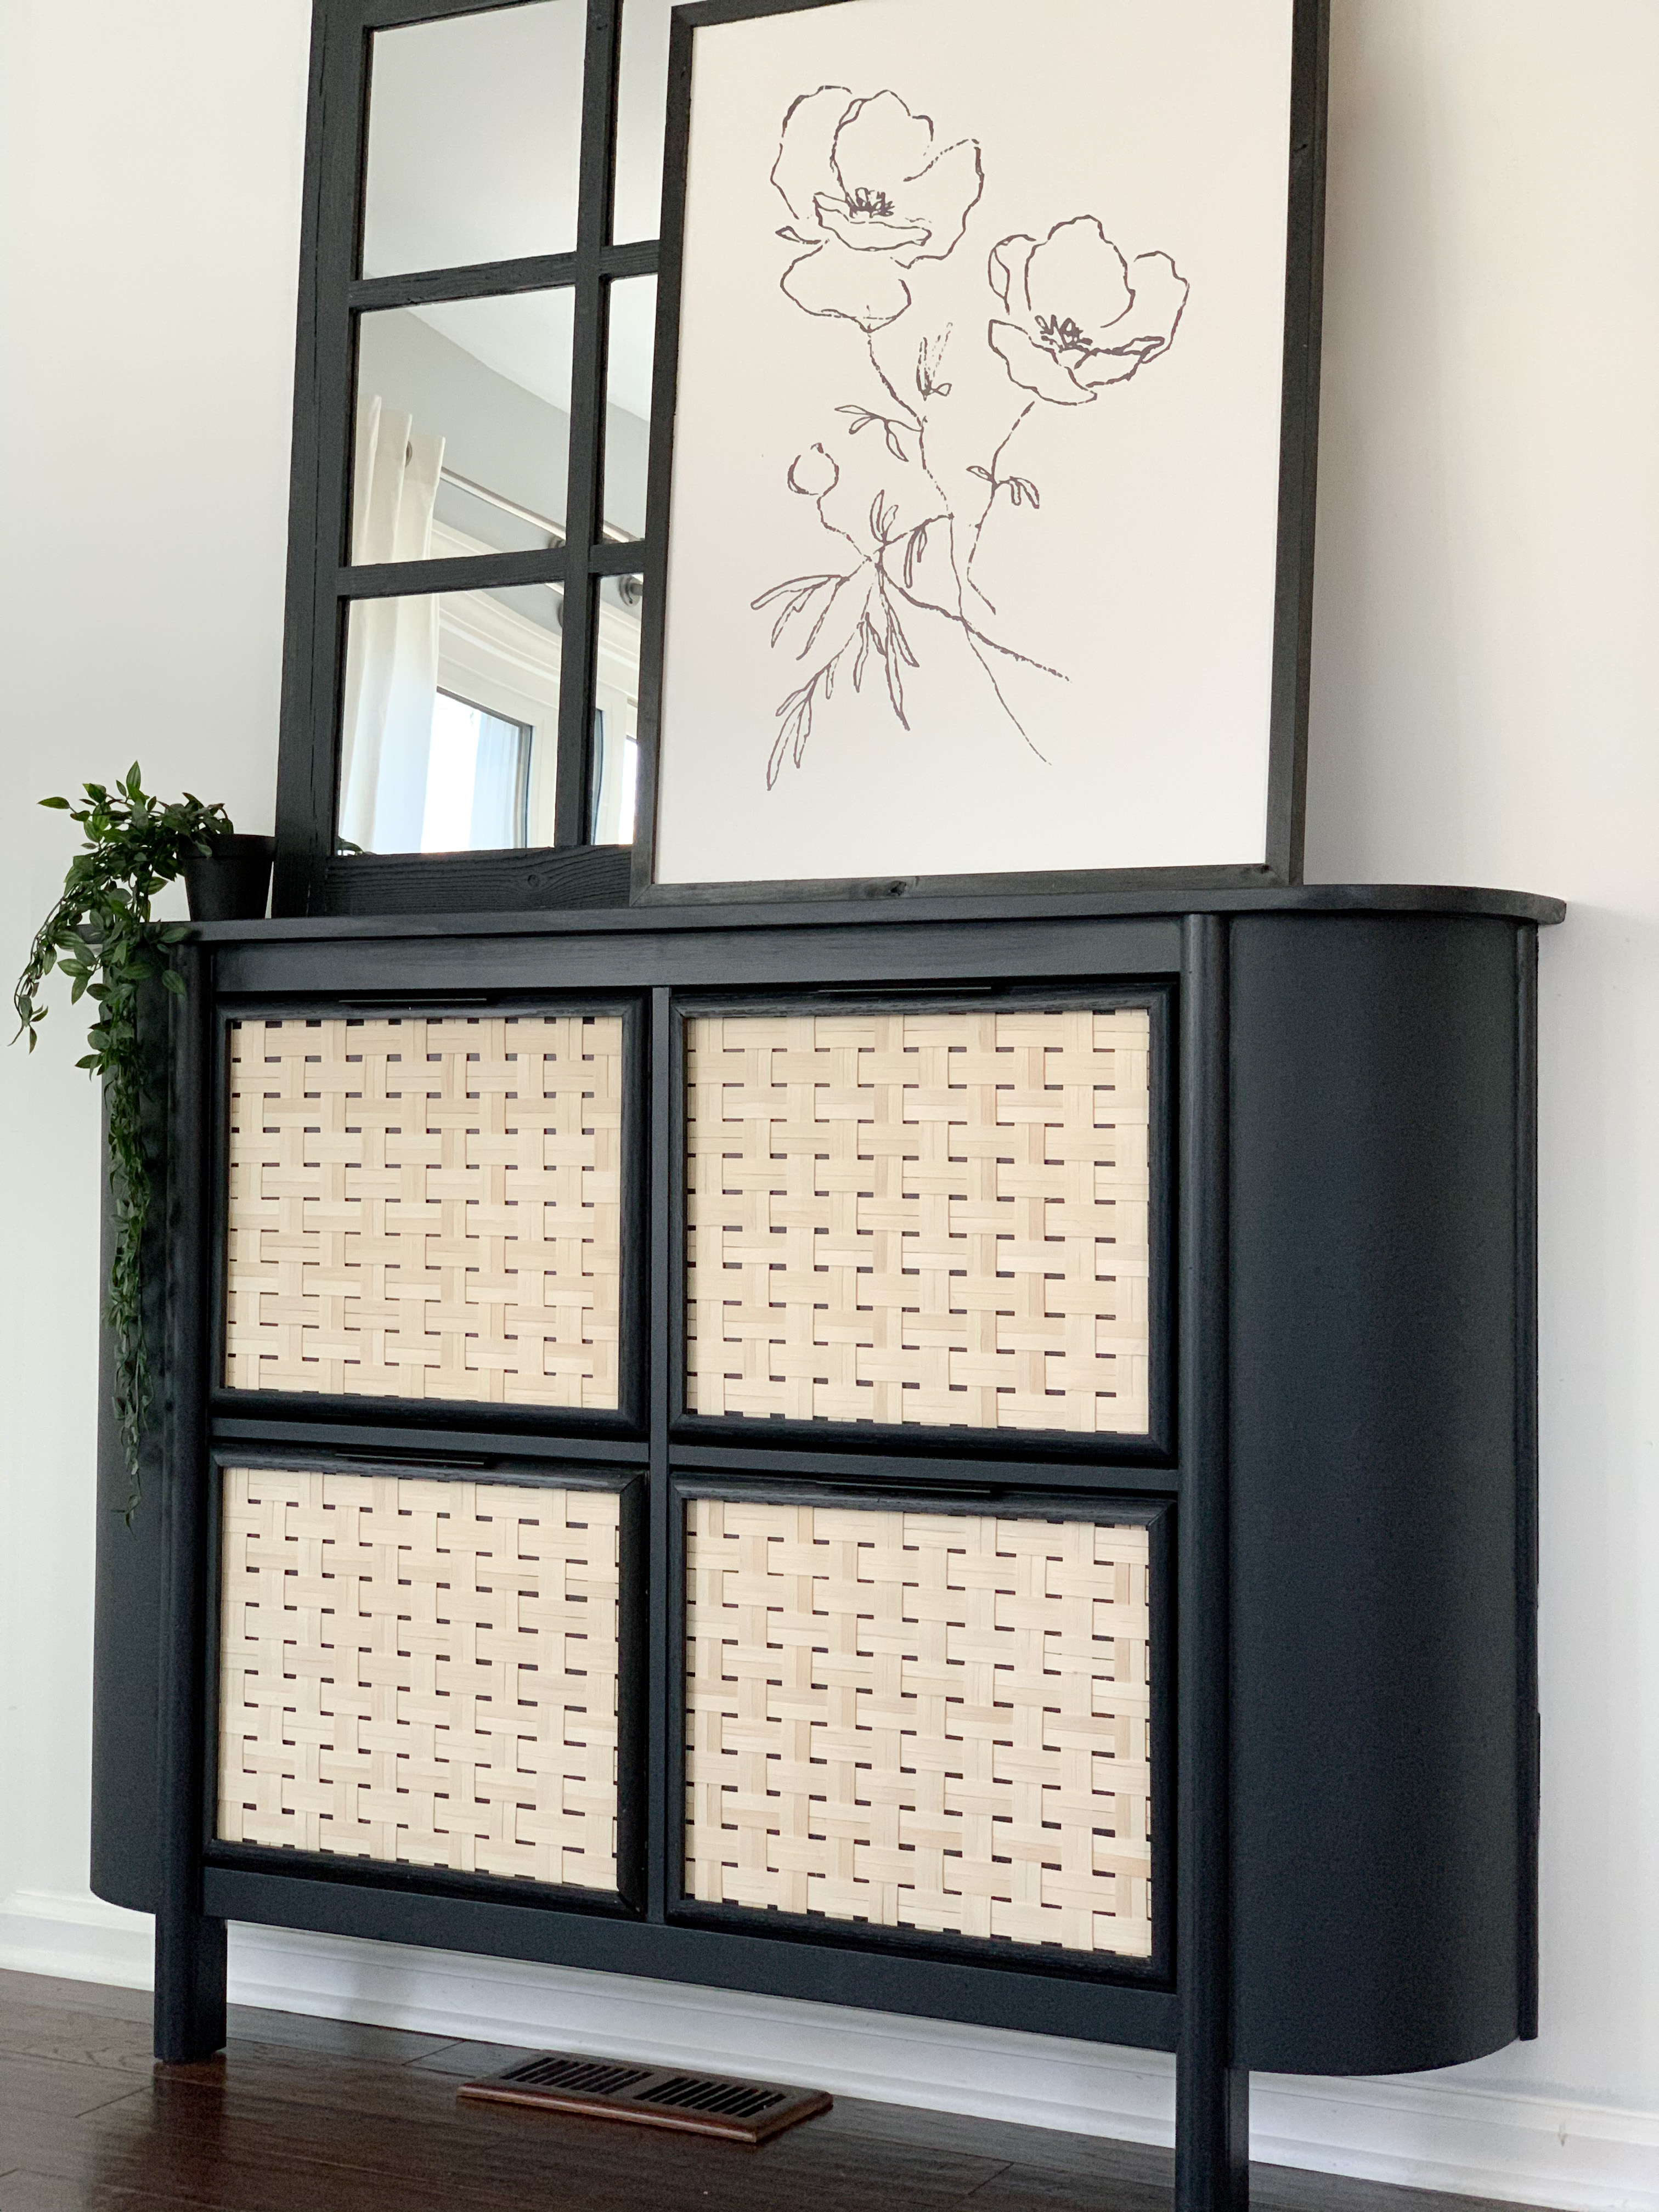
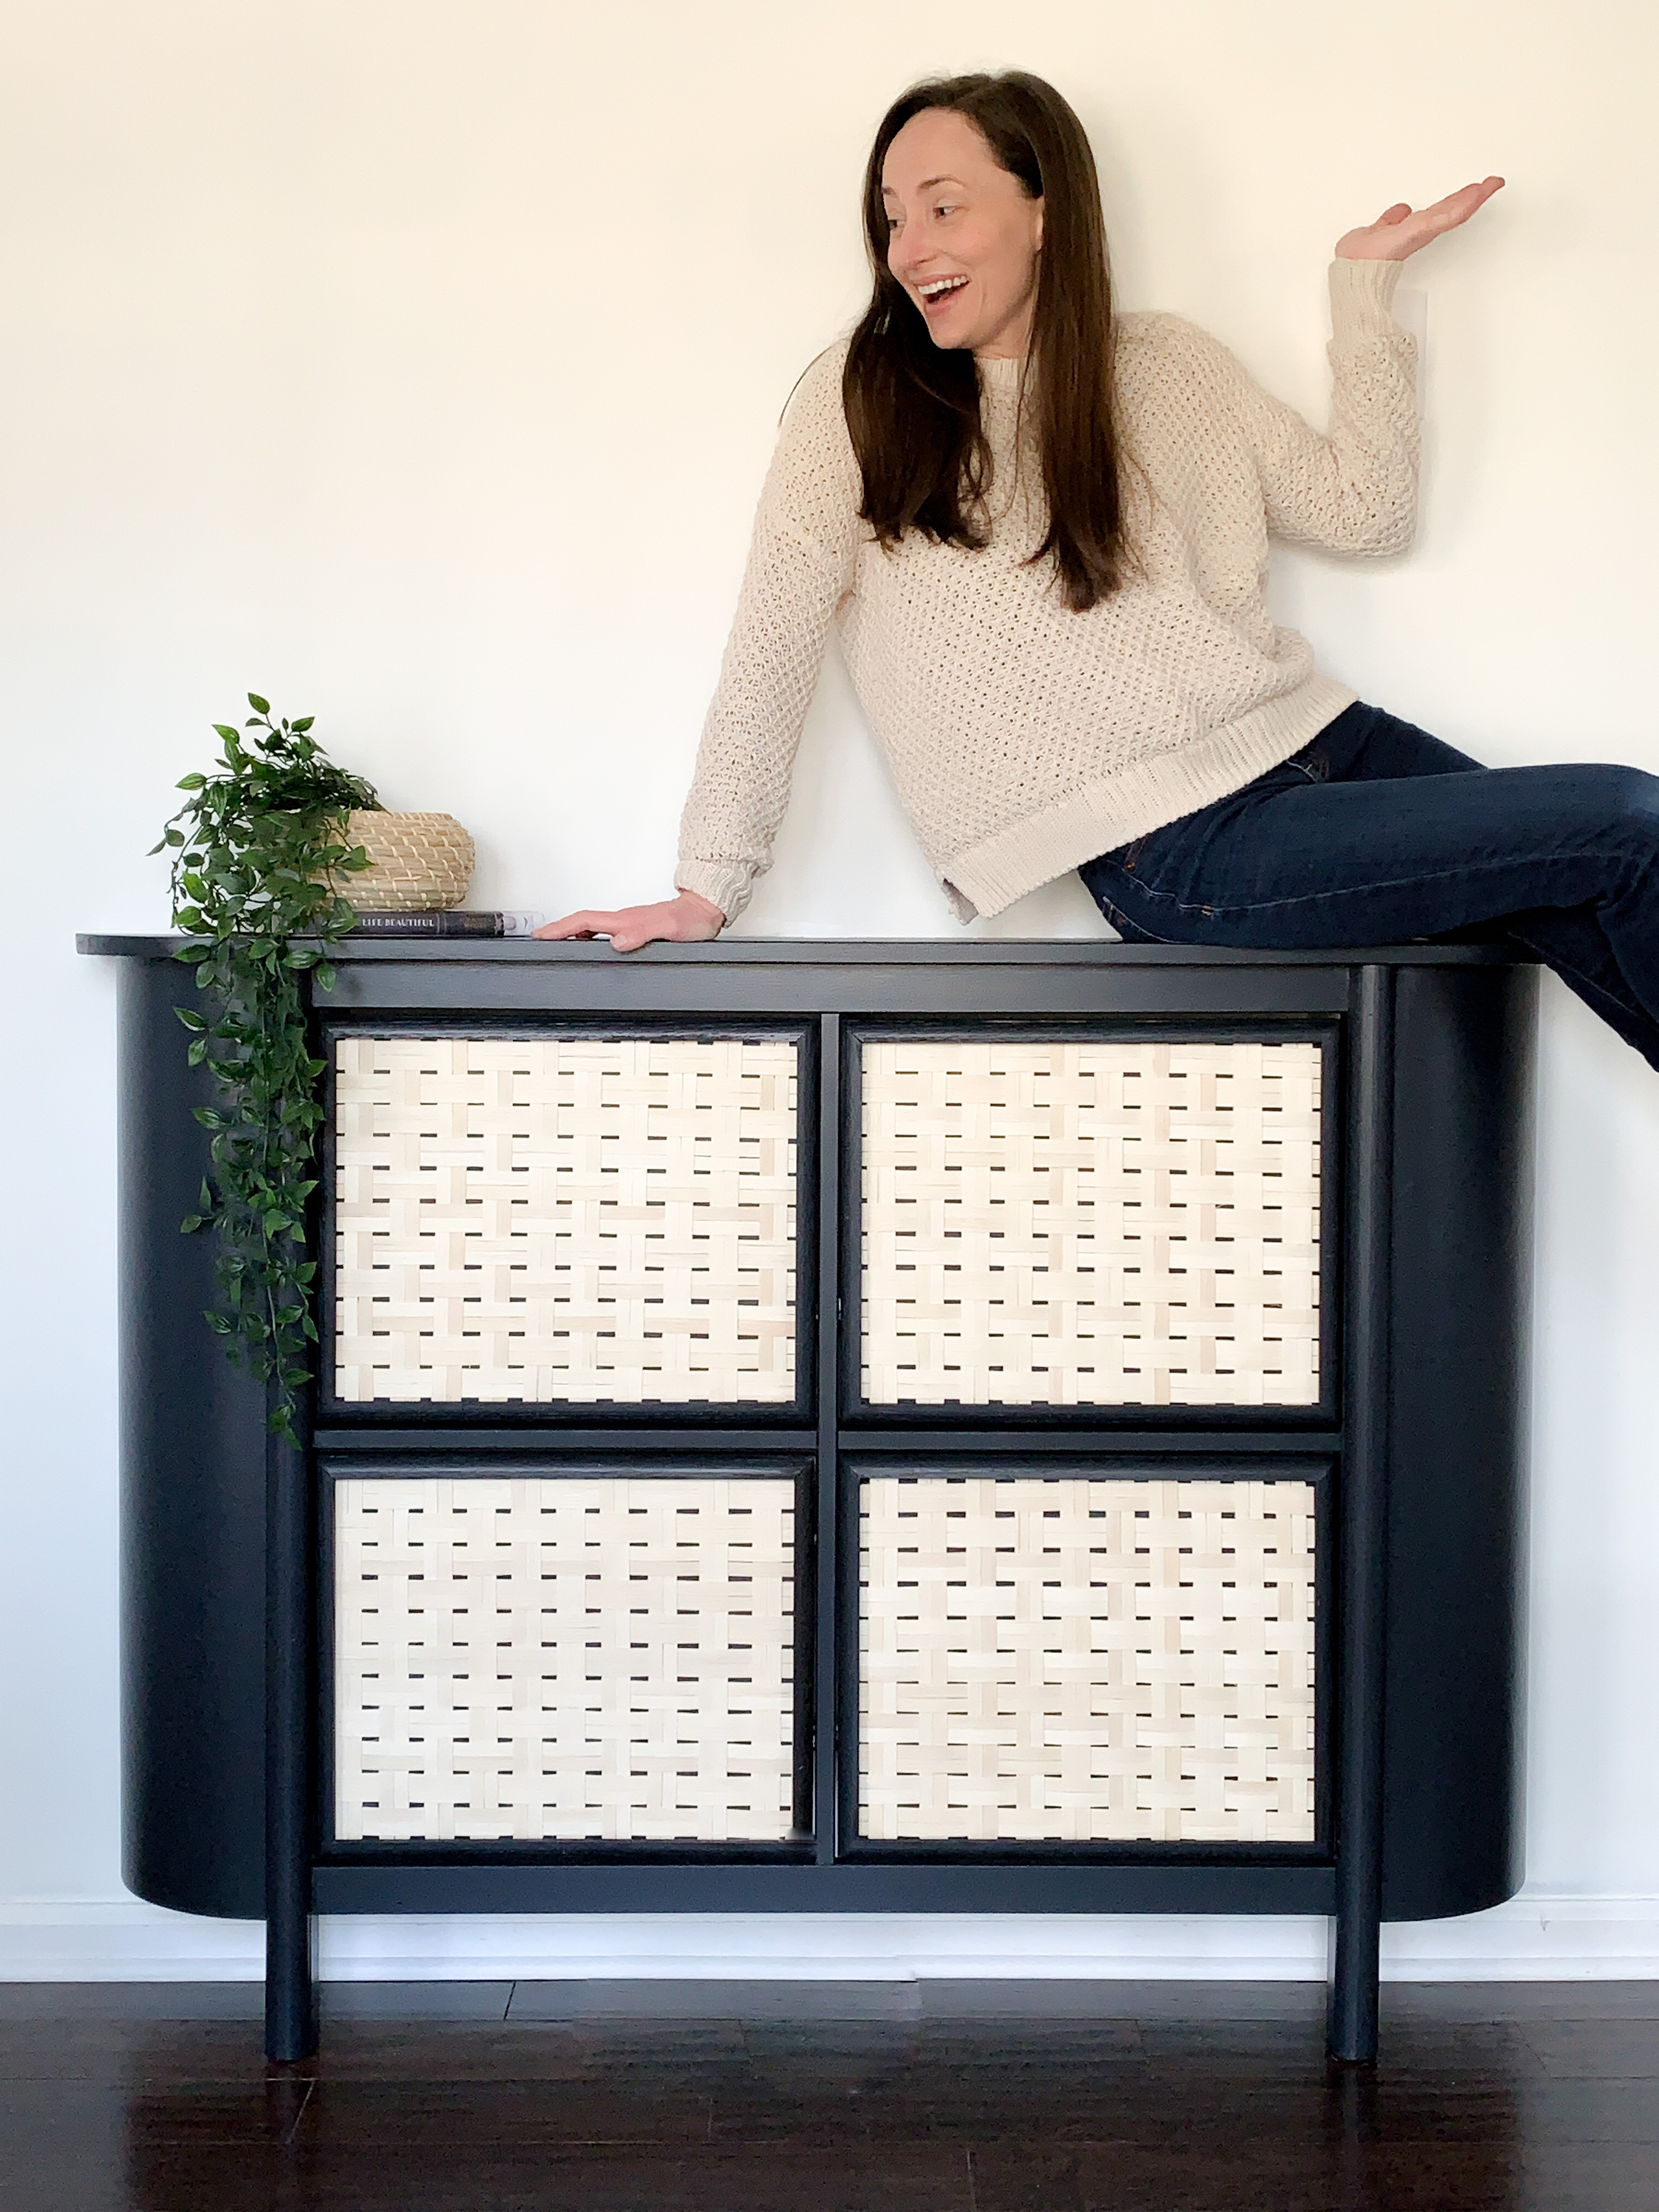
Plain white wall turned into a statement wall with a custom piece of furniture! The amount of trim and reed used to elevate this piece was a lot and not cheap. However, the whole piece (including the $99 for the cabinet itself) cost about $210. Still much cheaper than the inspiration pieces, and I love getting both trends in one!
Post may contain affiliate links. Disclosure linked here.
