I’ve wanted a bar cabinet for awhile, a place to store all our glasses and barware. These IKEA Malm nightstands and Billy bookcase made the perfect combo. I figured what better time to build one than right before all the holiday hosting!
(Links for all cocktail items)
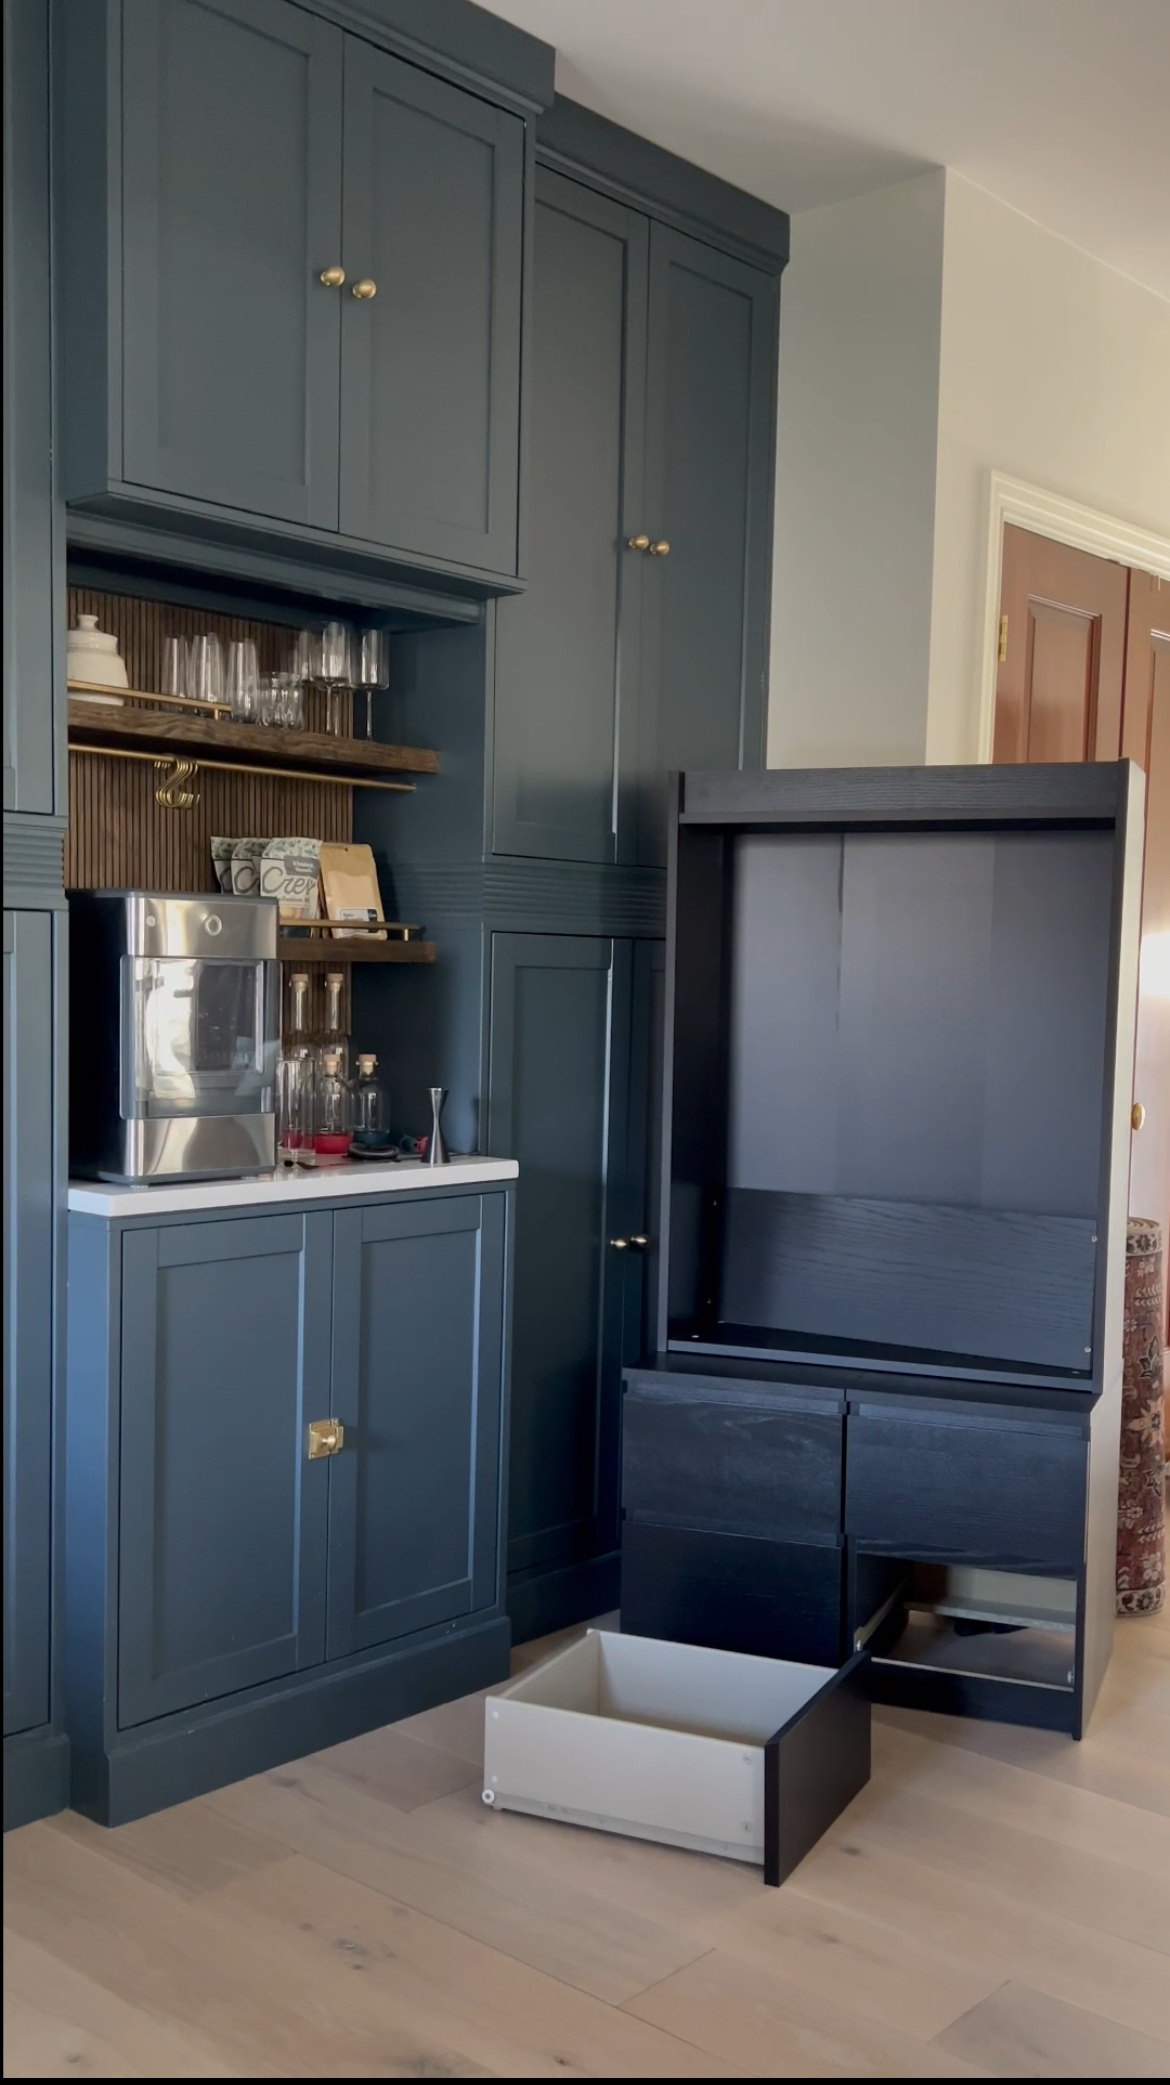
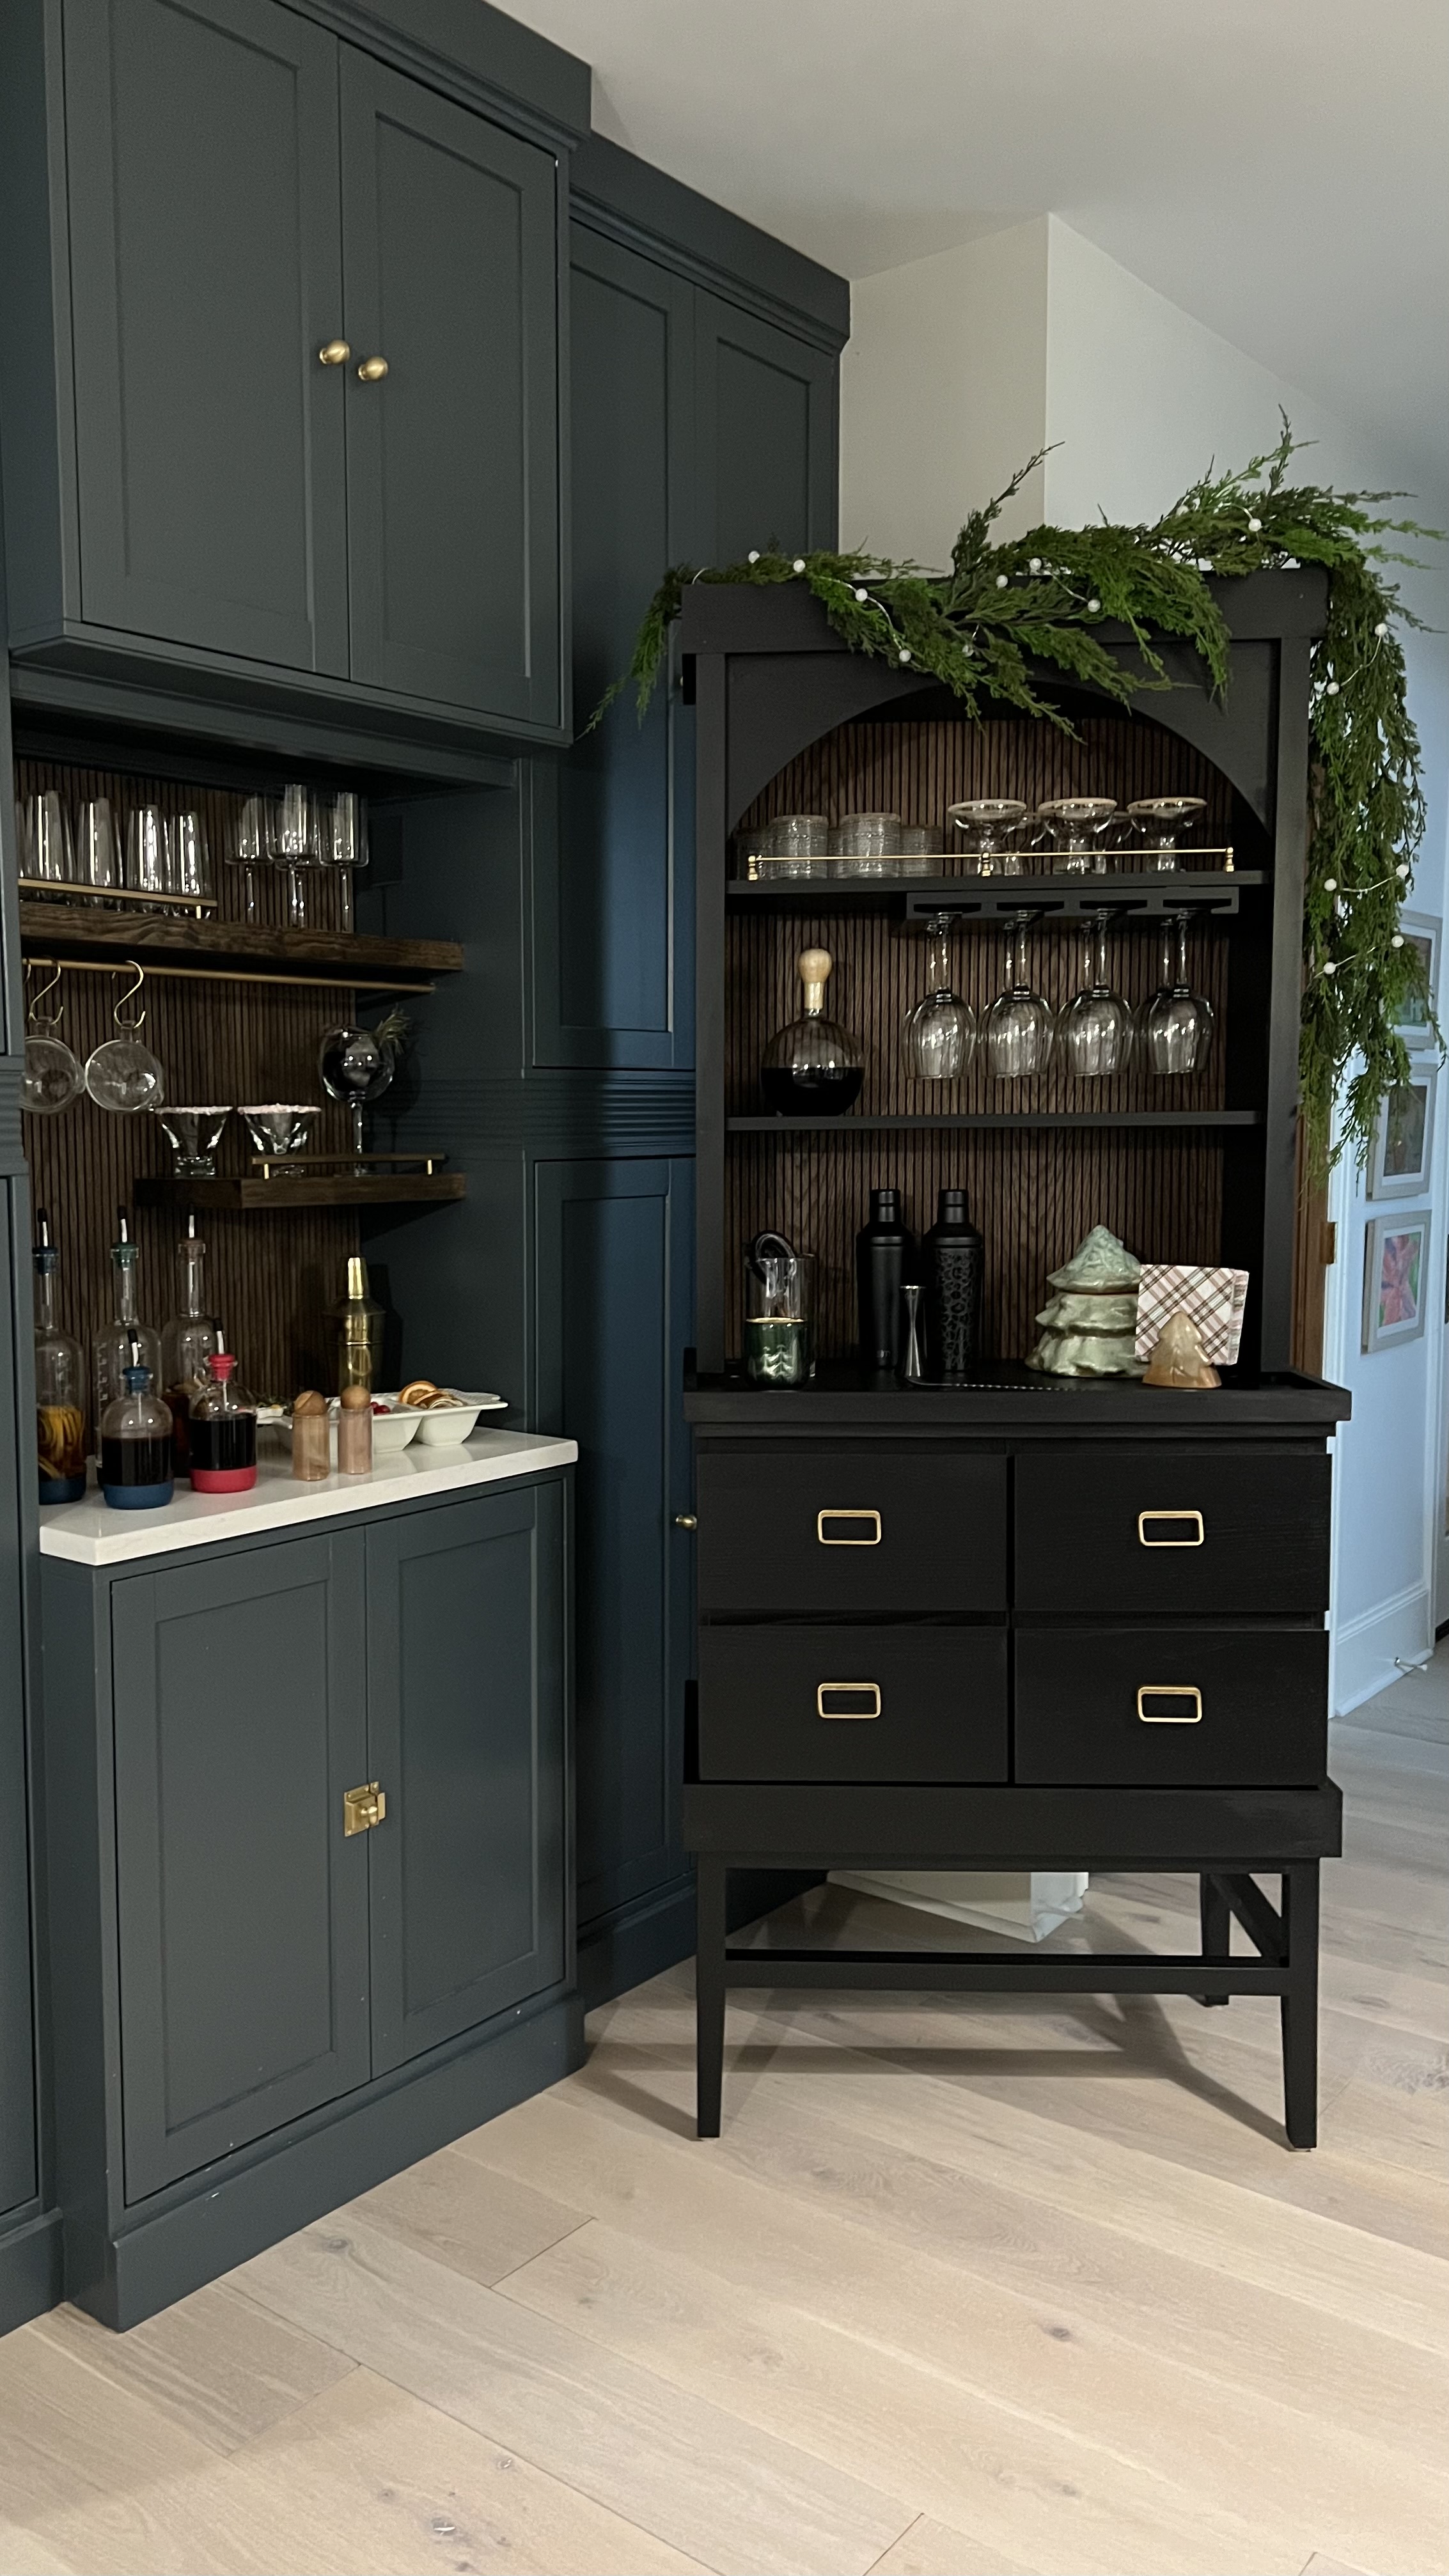
Step 1 – The IKEA Part
Since things are so busy this time of year, I kept the bar cabinet build simple. I’ve worked with IKEA Malm nightstands twice now…. with the IKEA hacked sofa table and a window seat hack. That made it a little easier to wrap my head around.
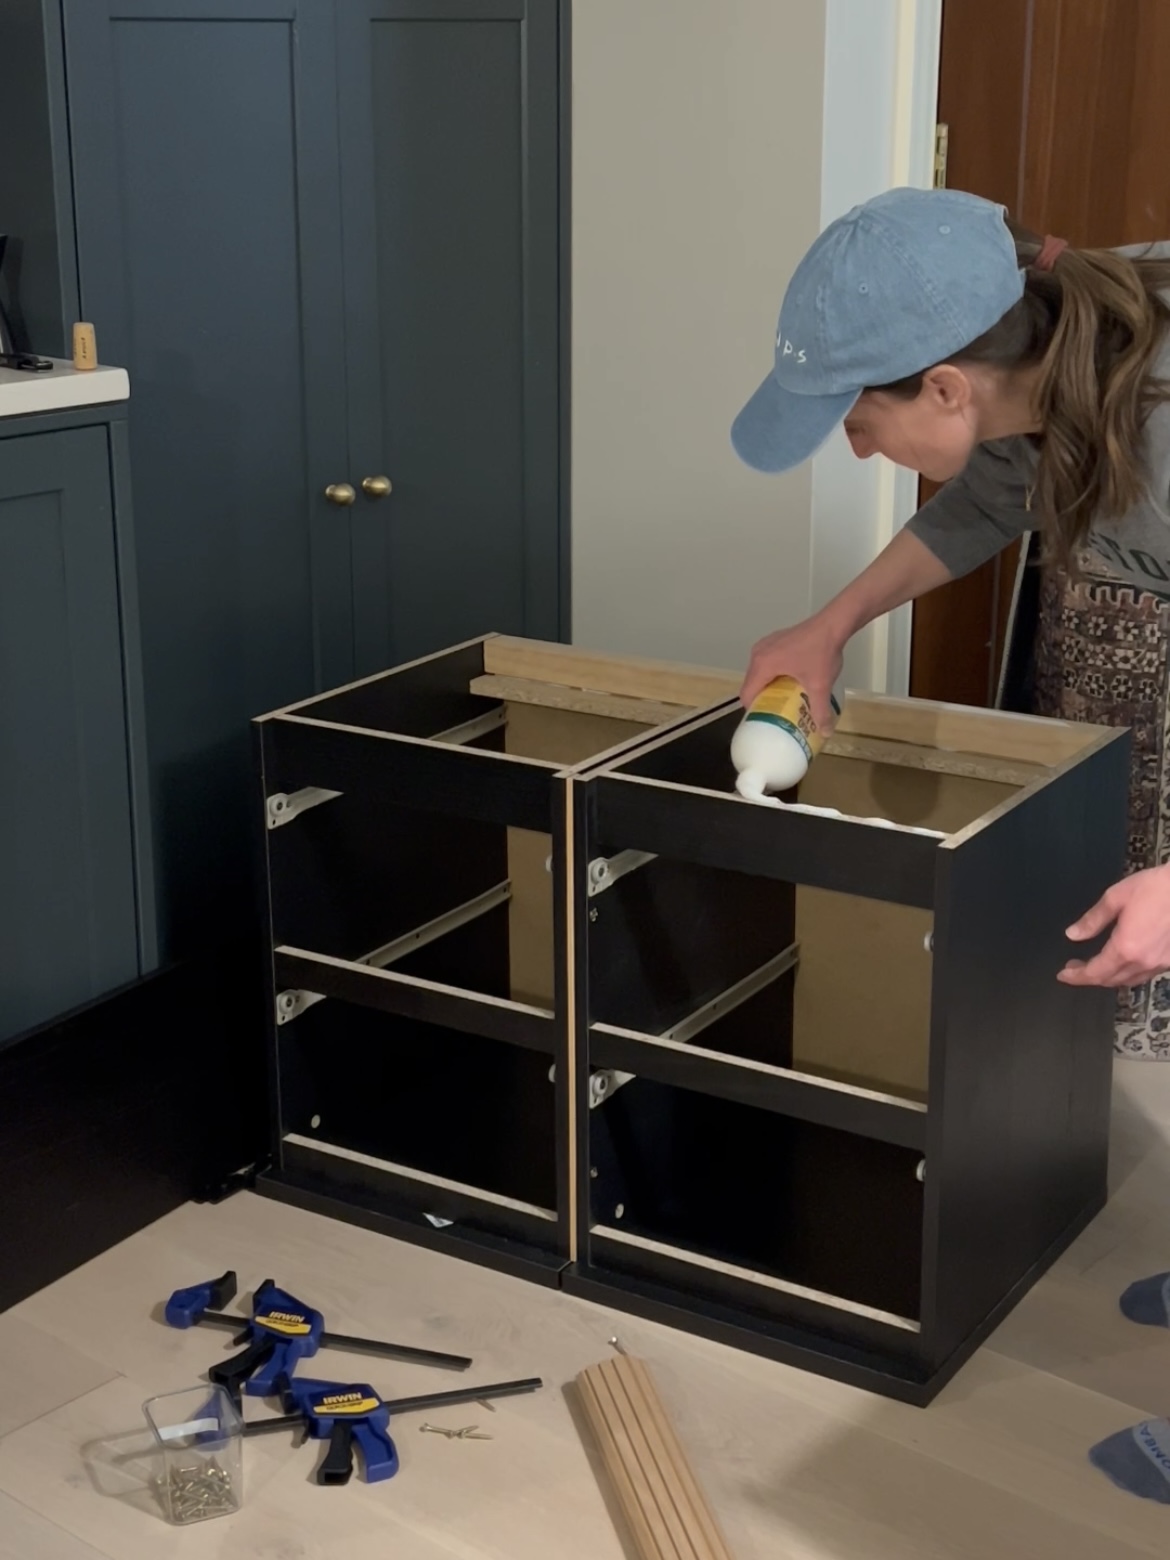
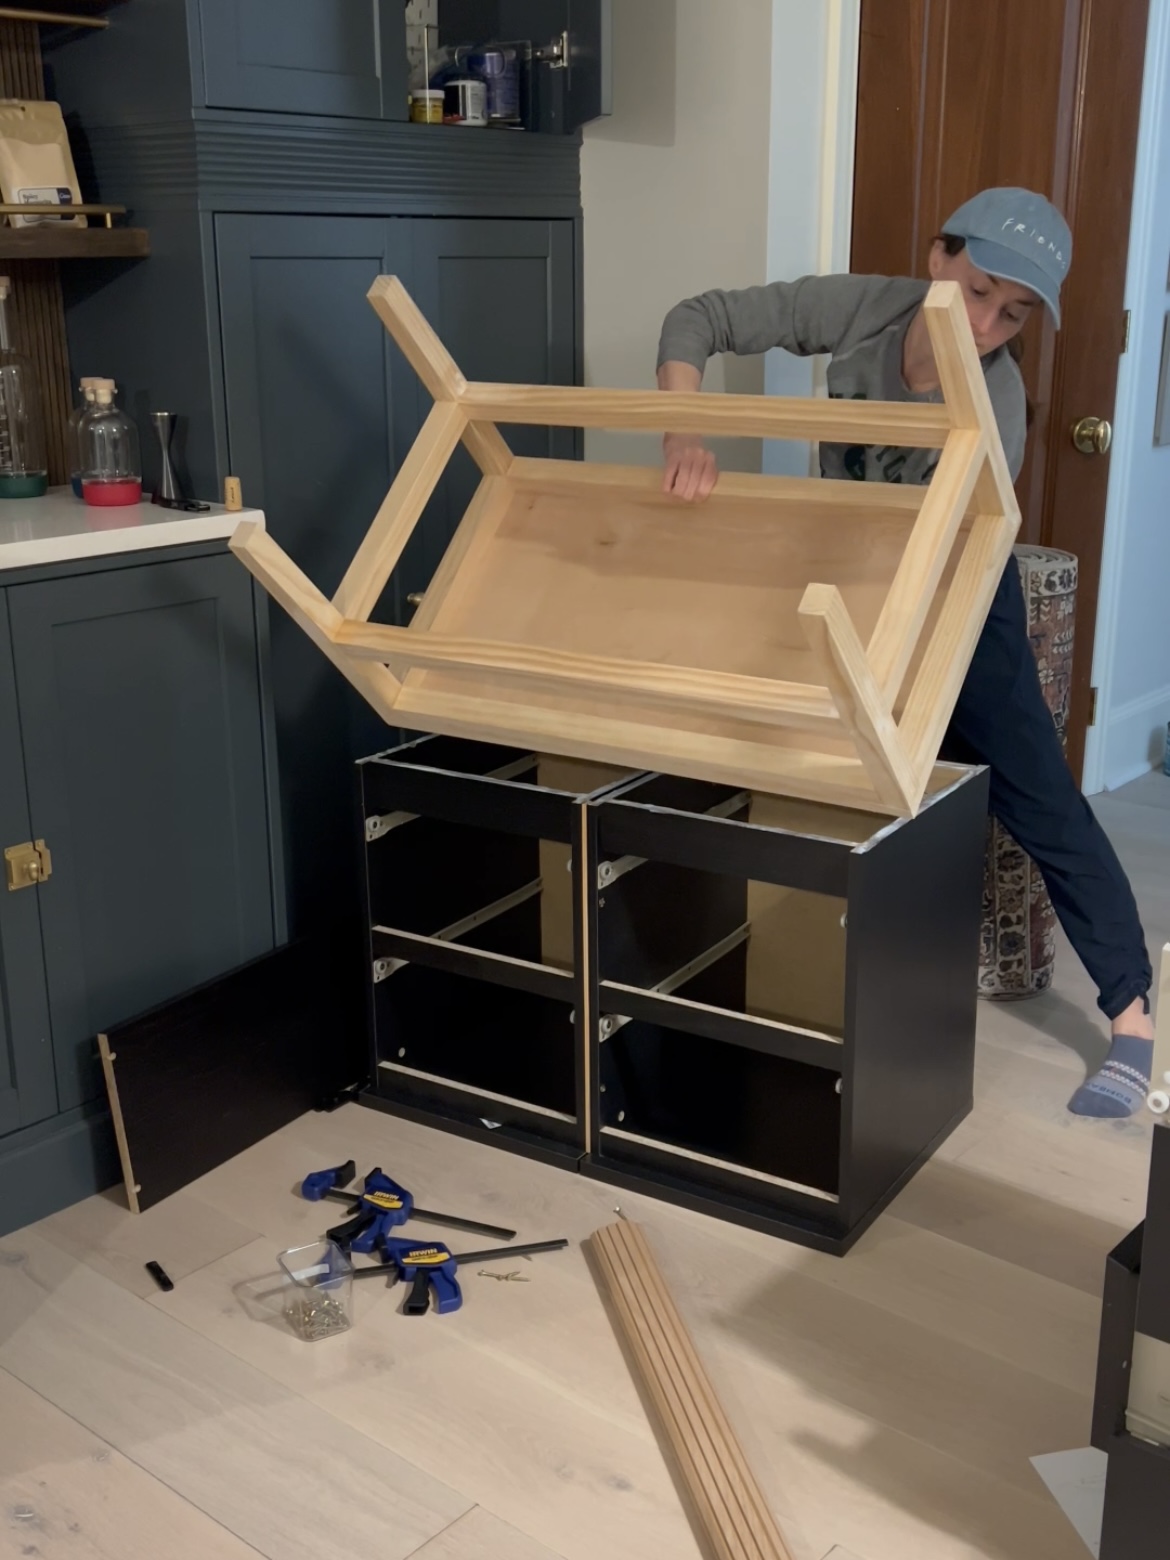
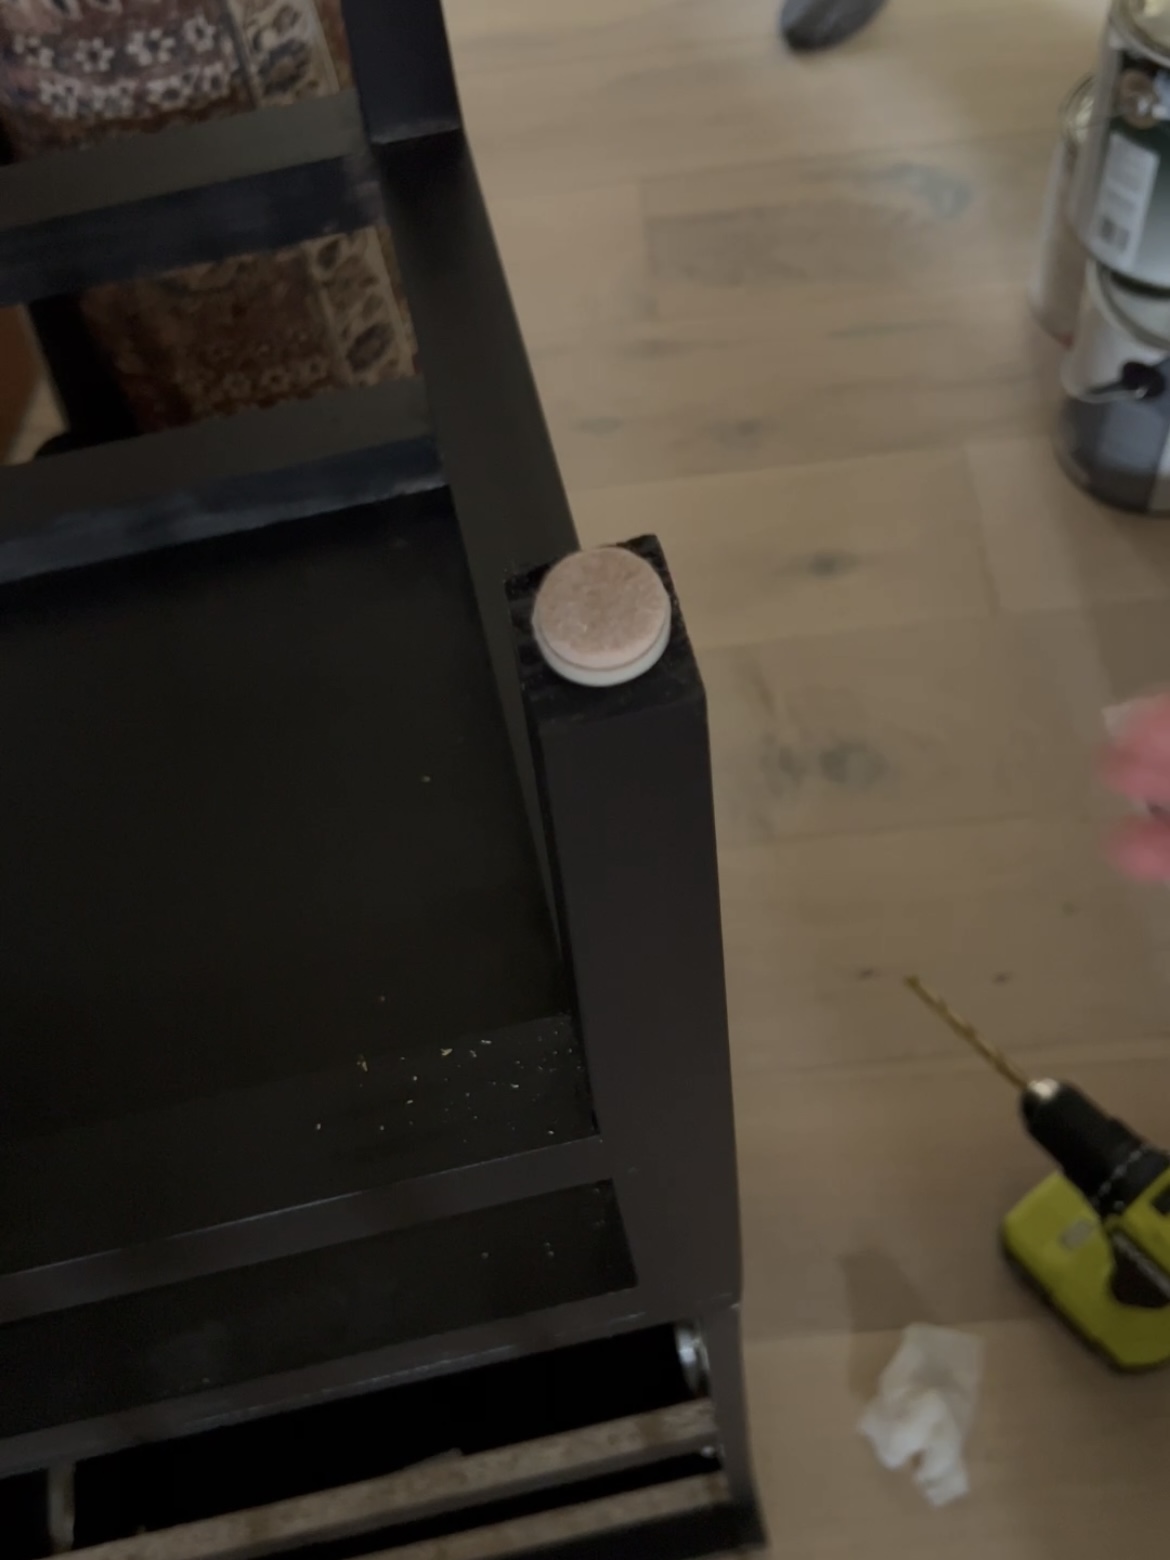
I wanted the “tabletop” of the nightstands to be counter height, so I build a platform with legs for the nightstands to sit on. I used 3/4″ plywood as the platform and 2×2 pine boards to form the legs. Make sure to use lots of glue for security… Wood glue when building the legs, and RooClear Melamine Glue to attach the platform to the nightstands.
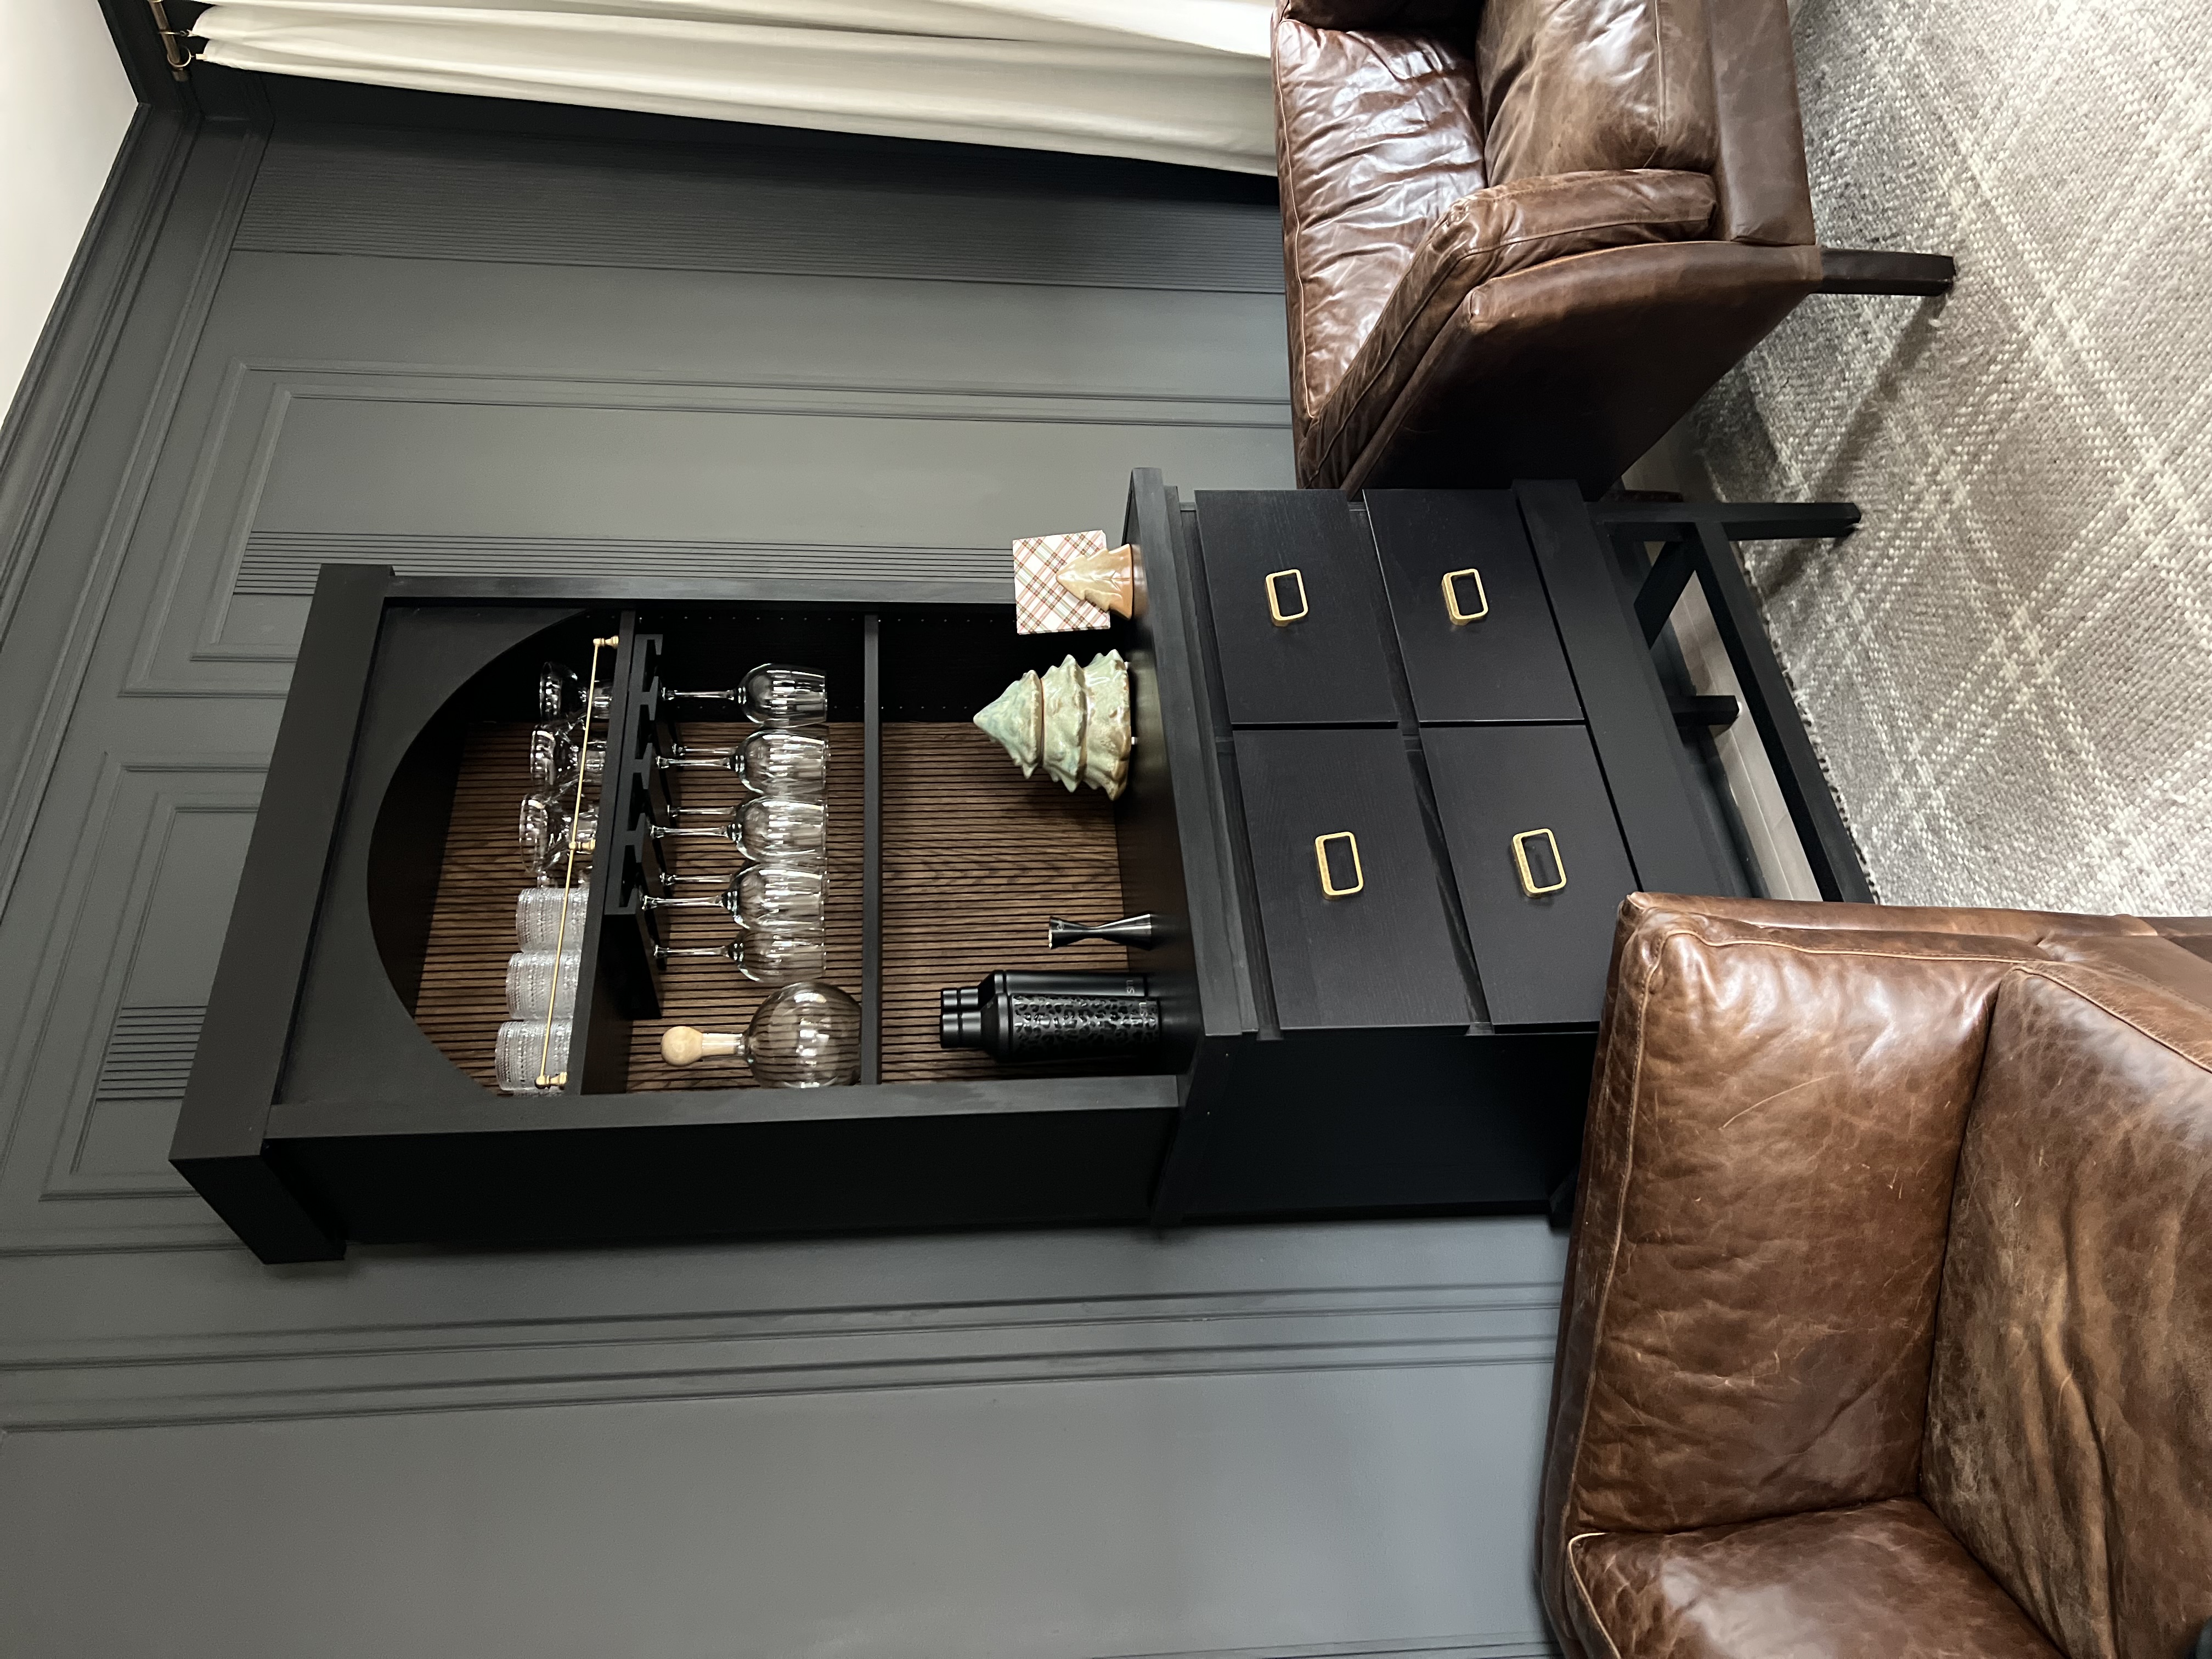
The IKEA Billy bookcase went right on top of the two nightstands. I flipped it upside down to give me a top that I could easily attach trim to, and a bottom that I could level out to a countertop.
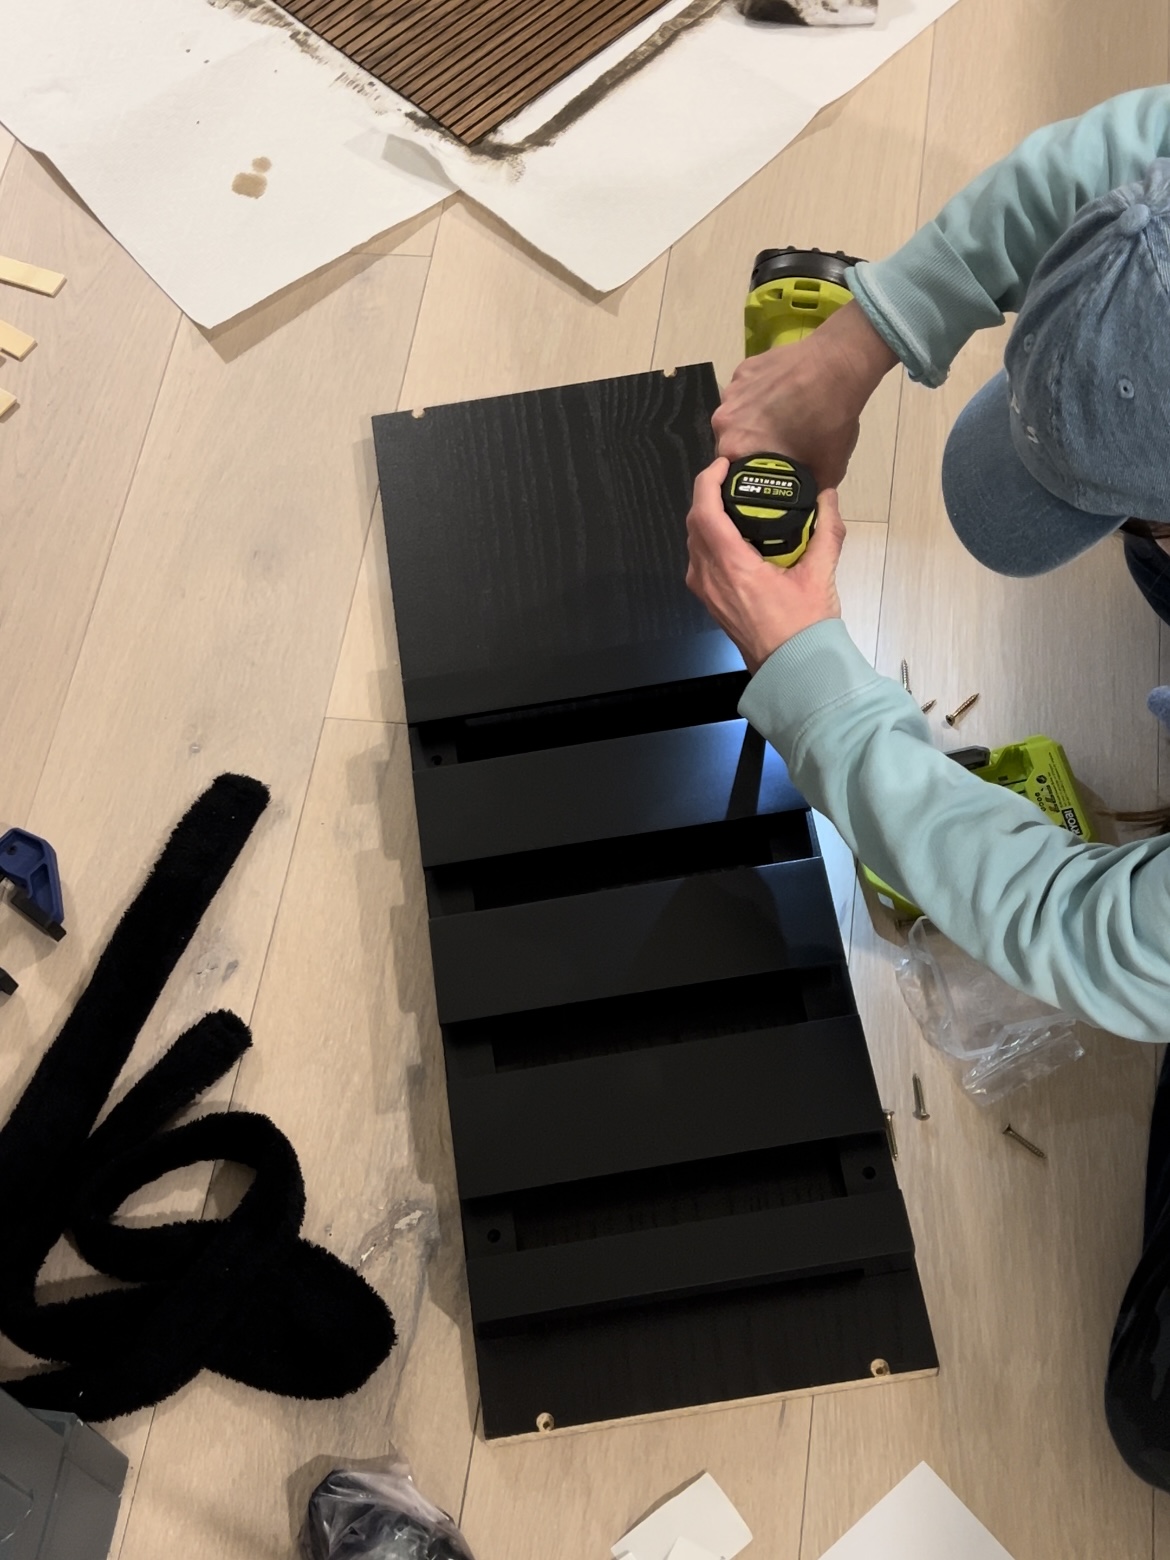
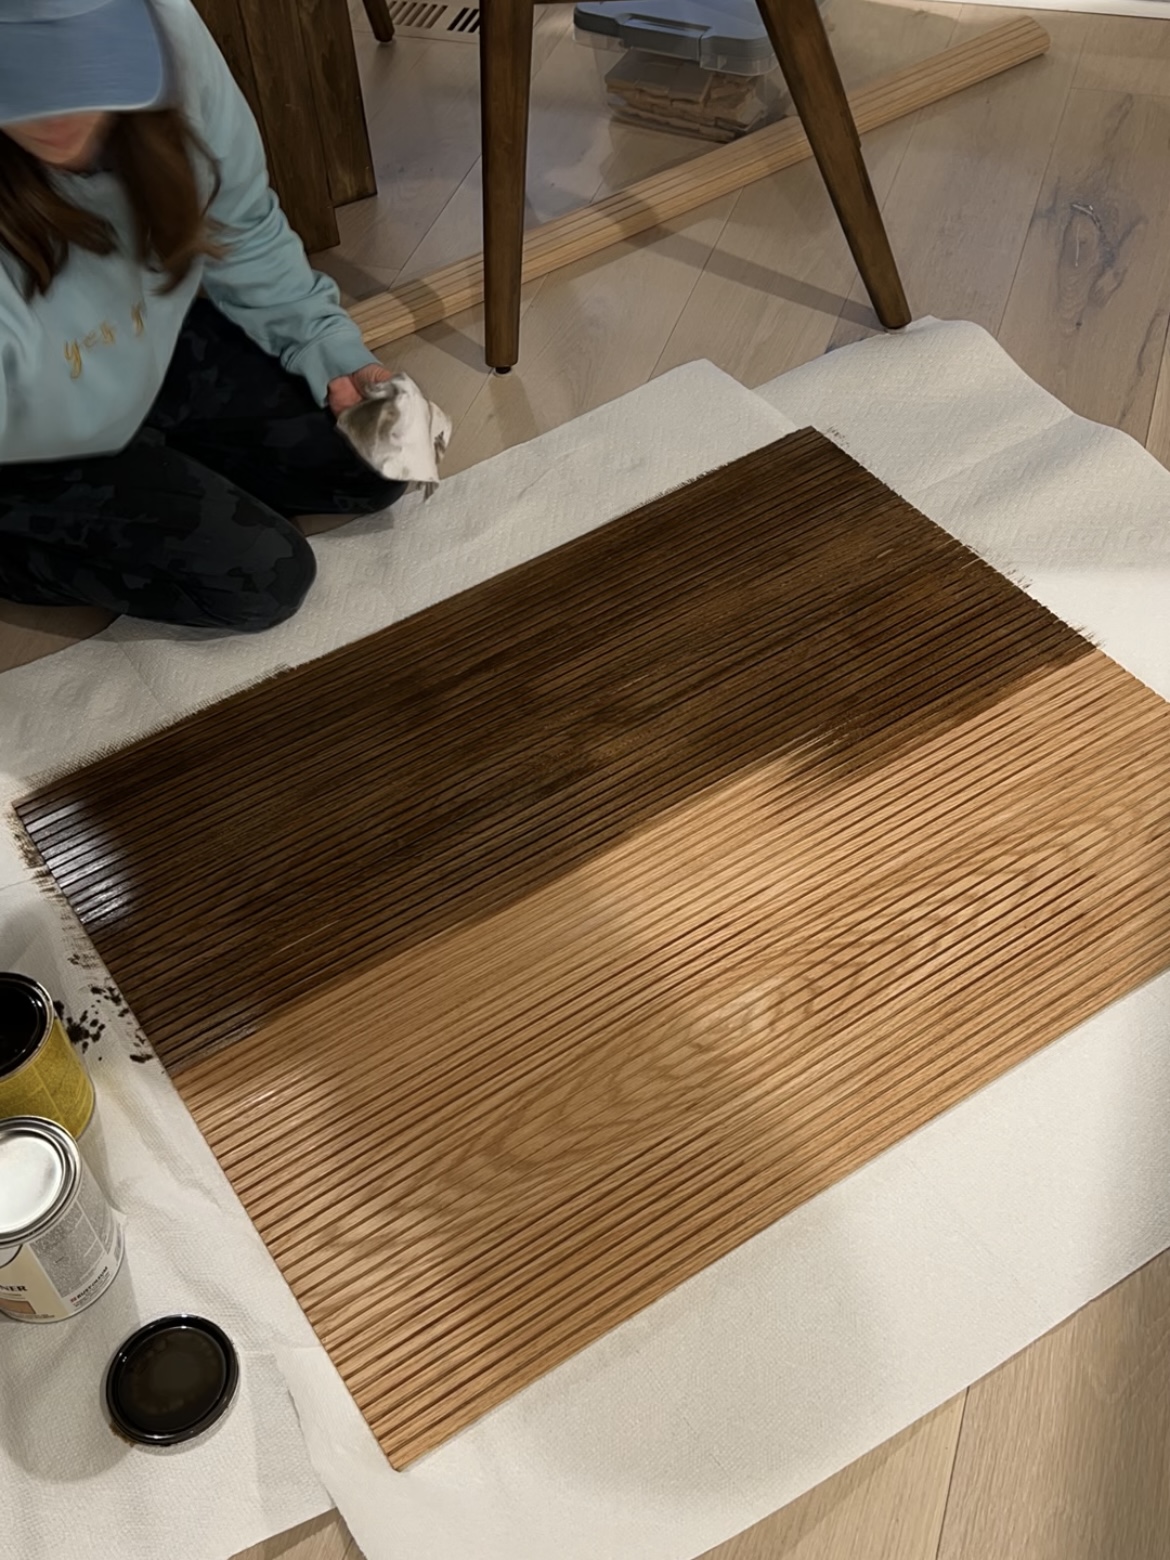
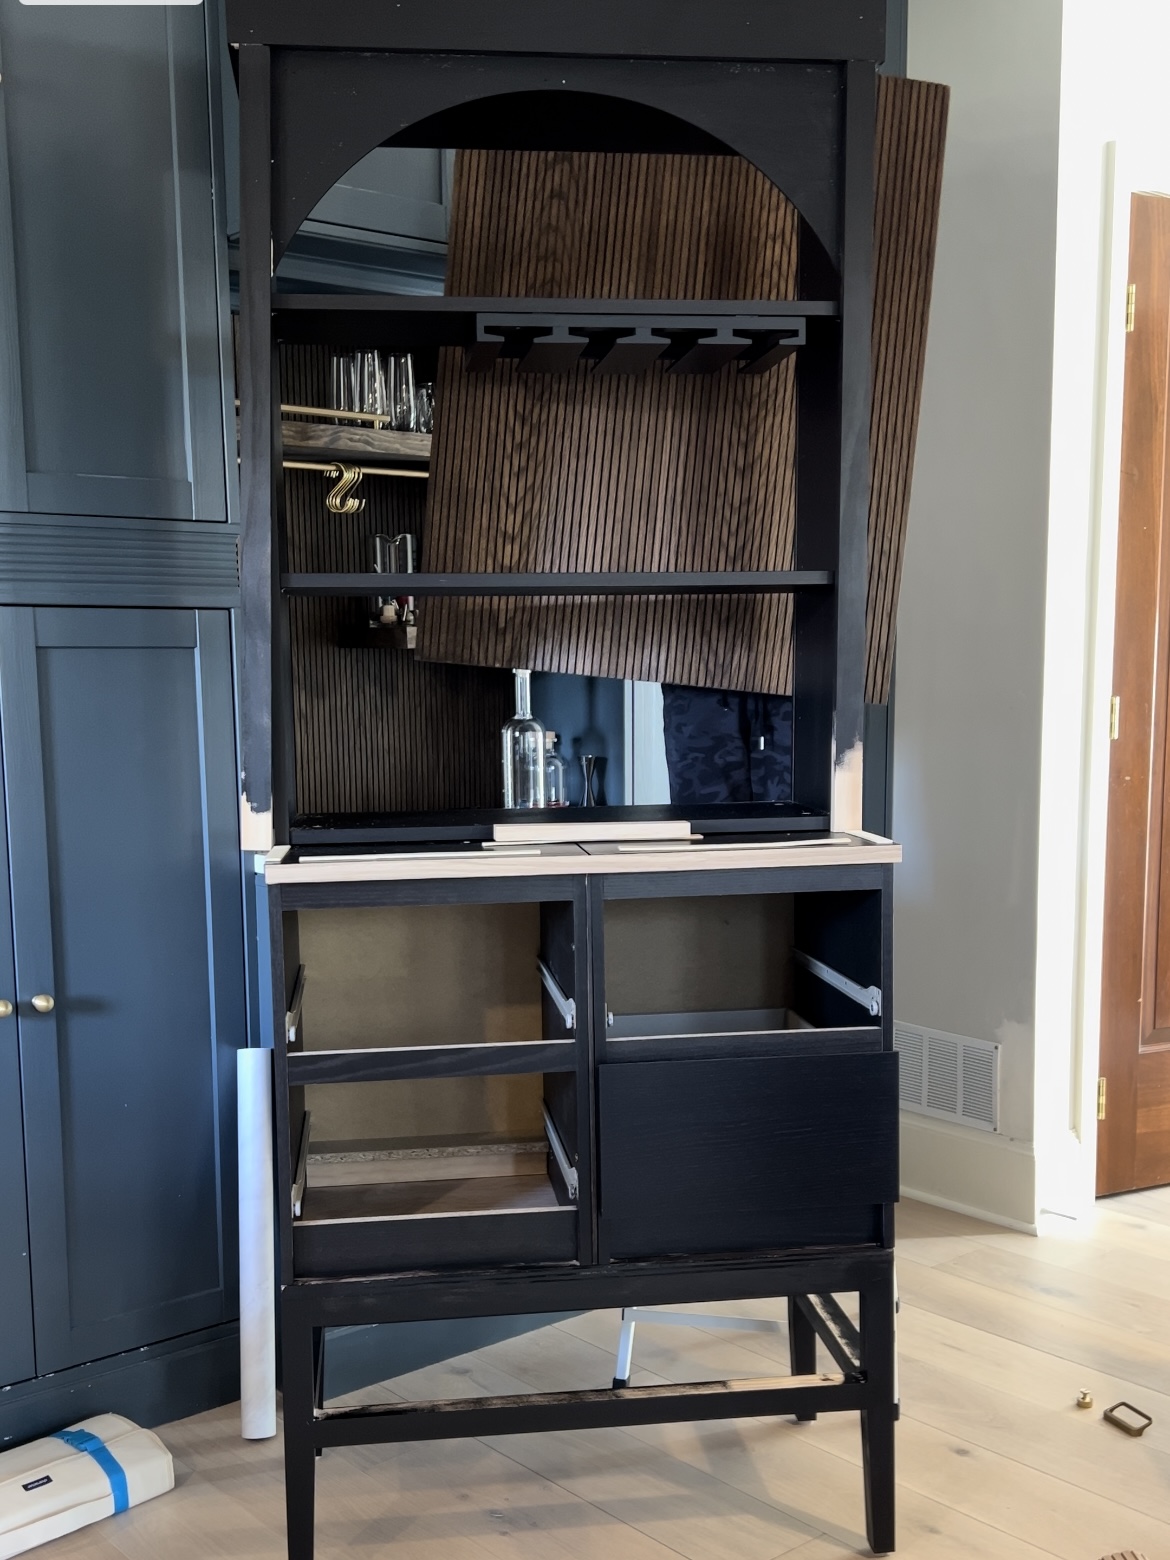
I found this wine glass rack on Amazon and attached it to the bottom of one of the shelves. The IKEA pieces were listed as brown/black, but they matched perfectly to the black. To tie into the coffee nook, I stained this pole wrap to match the dark walnut I used as the backsplash. PSA – It was such a pain replacing the flimsy backing with the pole wrap since the pole wrap was a tiny bit thicker. It wasn’t a perfect fit, but I finally got it in there!
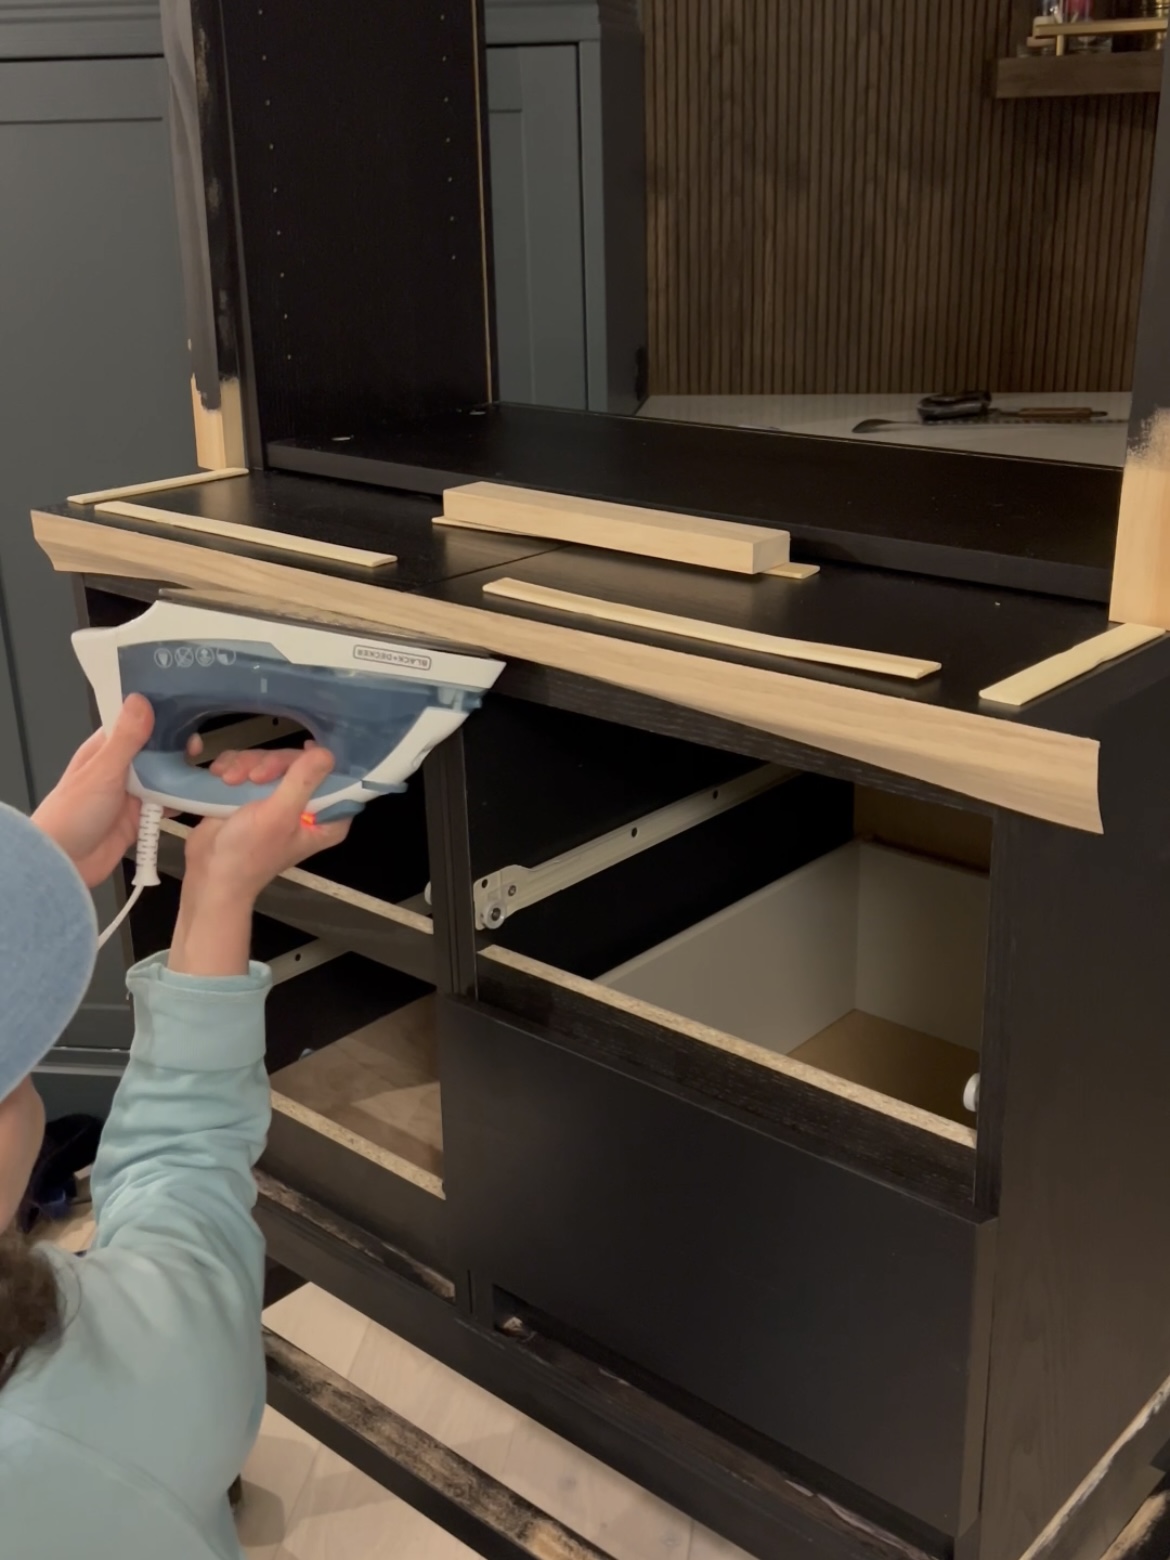
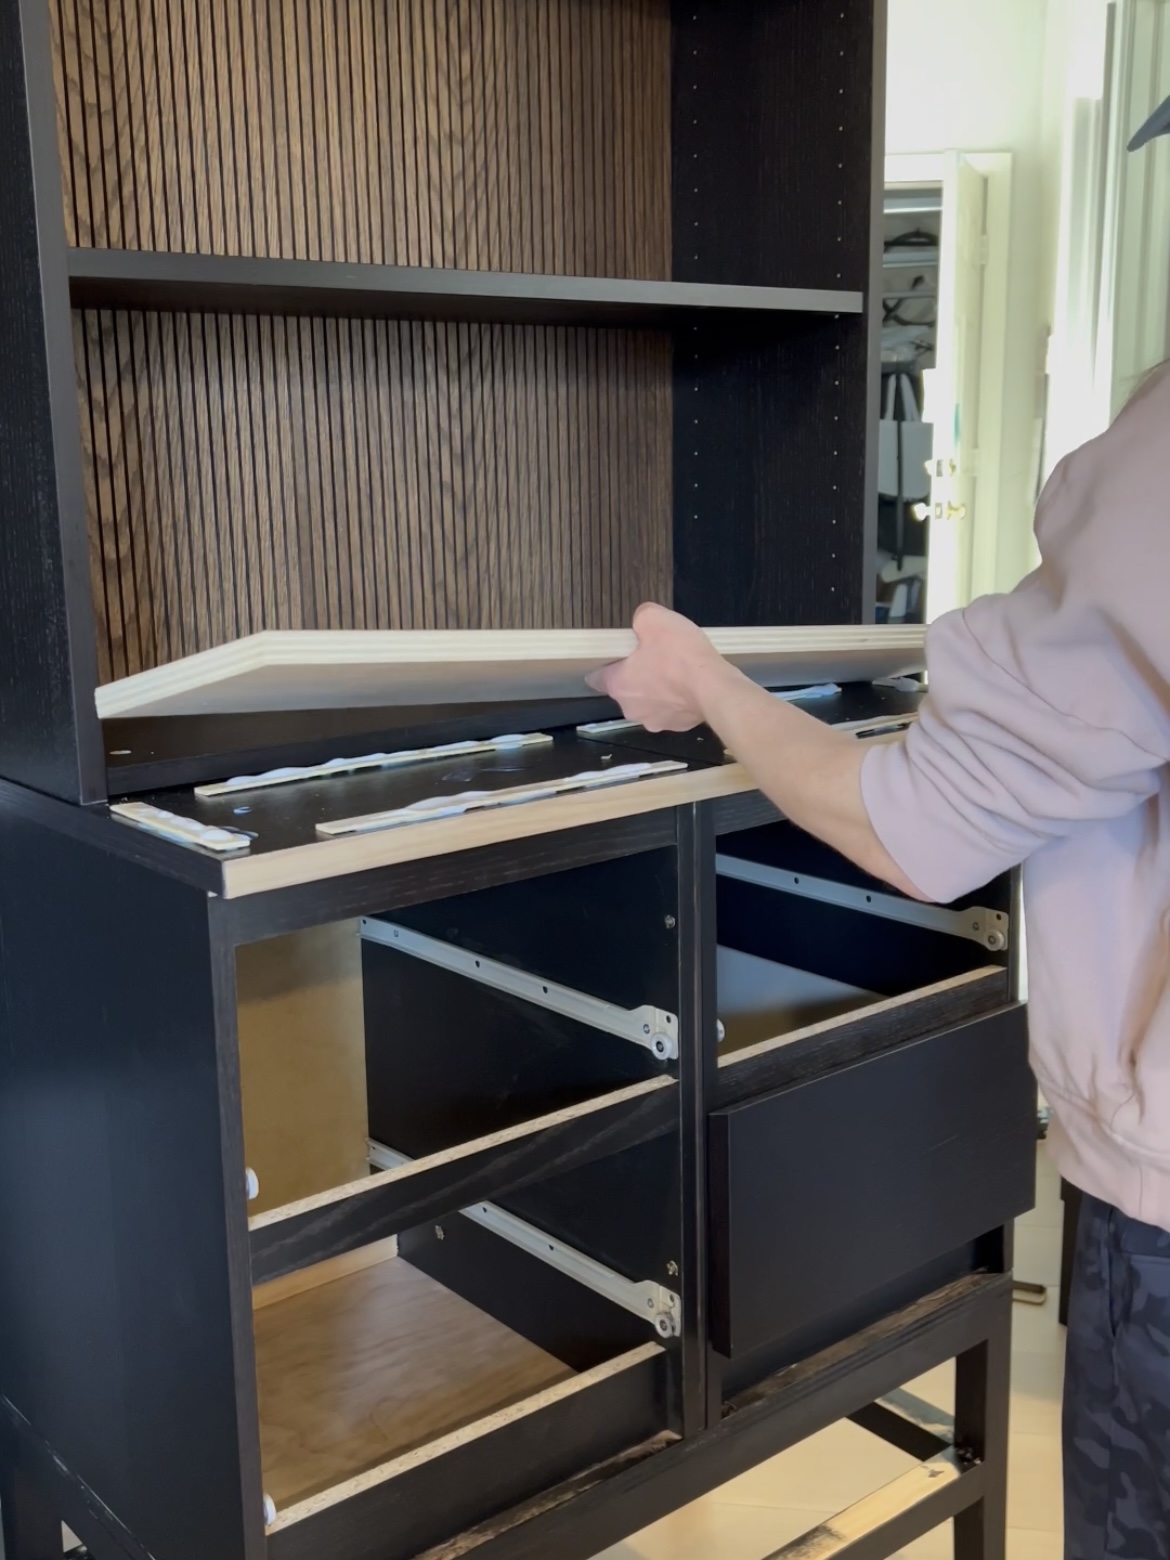
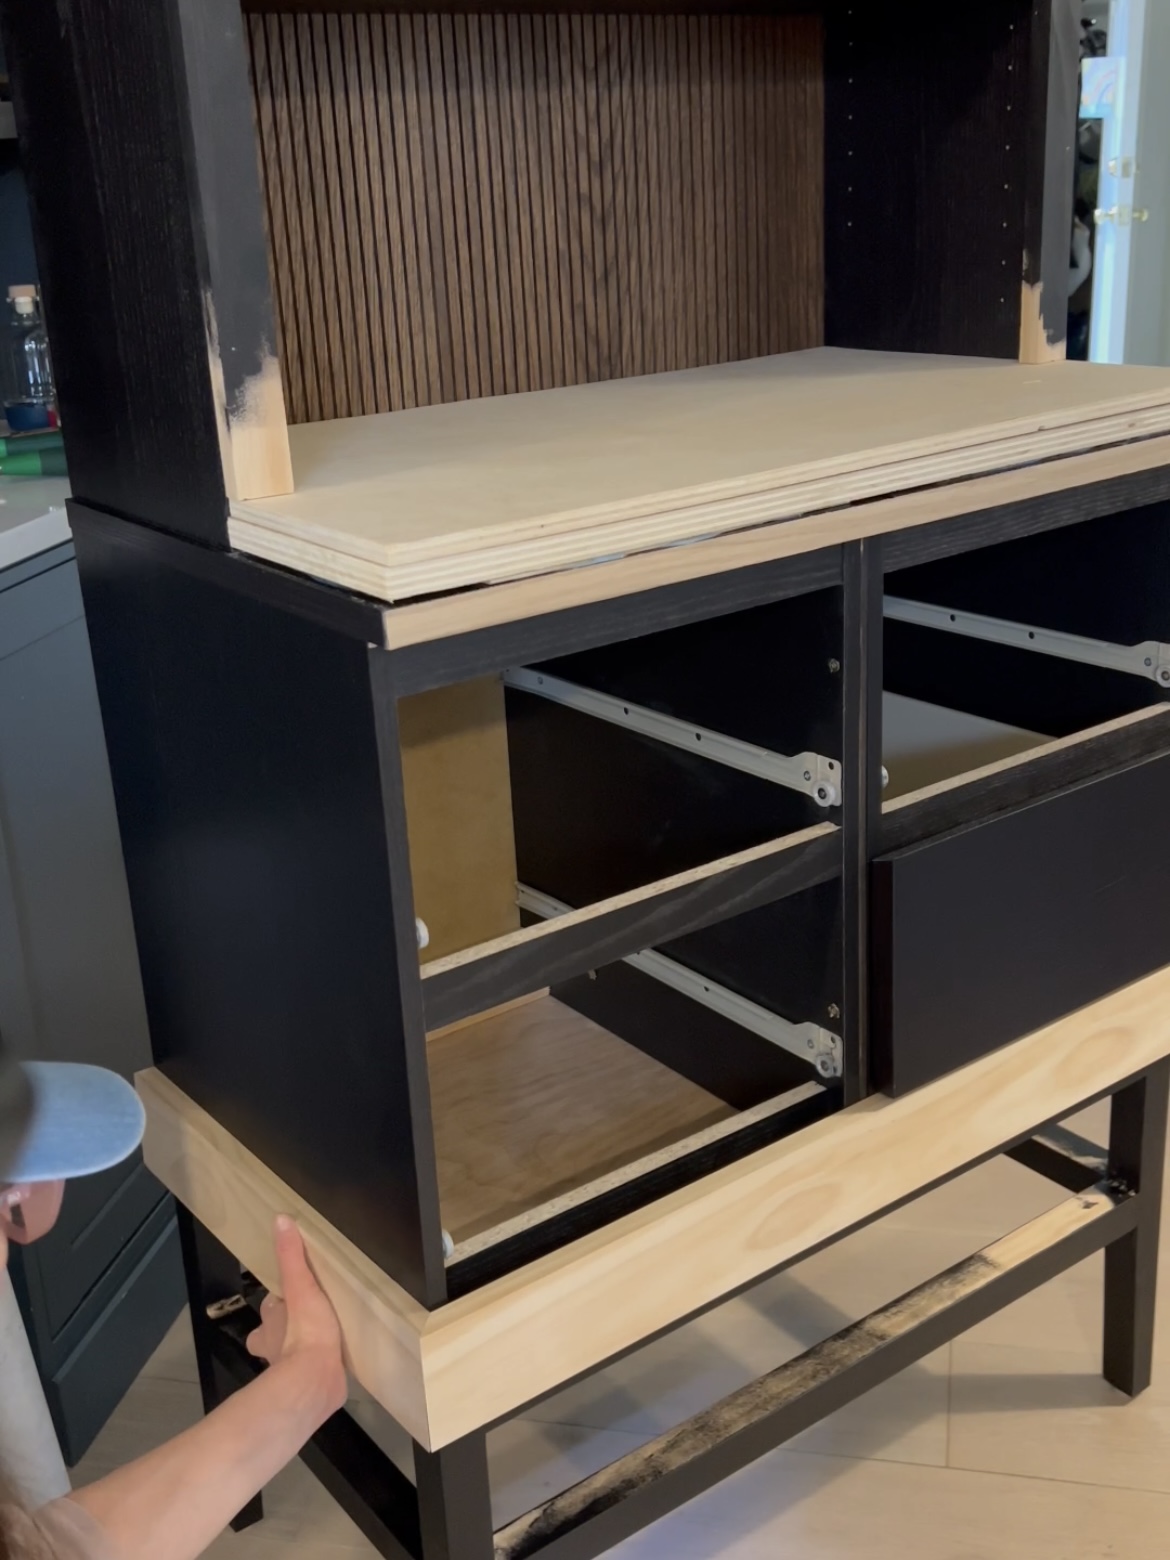
Iron-on-edge banding covered up the gap between the two nightstands. I wanted one continuous countertop, so I had to build up the top of the nightstands to match to the bottom of the bookshelf. I used paint sticks and plywood to do this. 1×4 pine boards are what made up the trim around the top and the bottom of the whole thing.
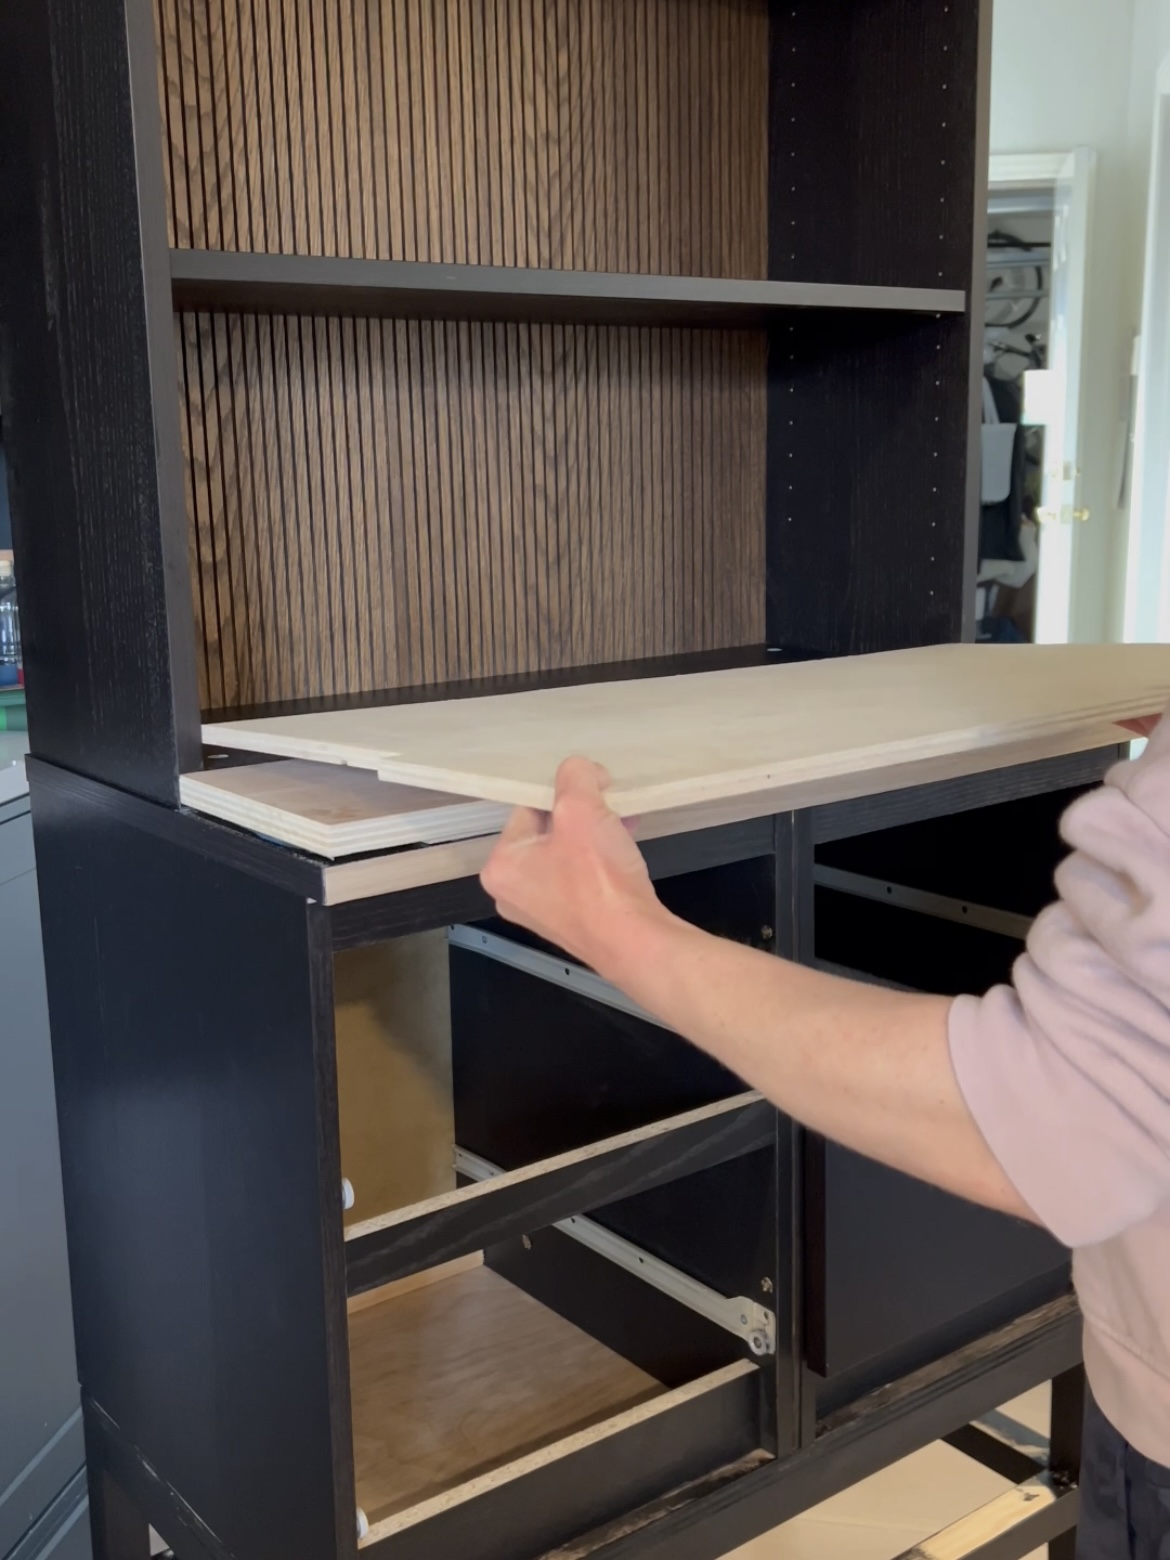
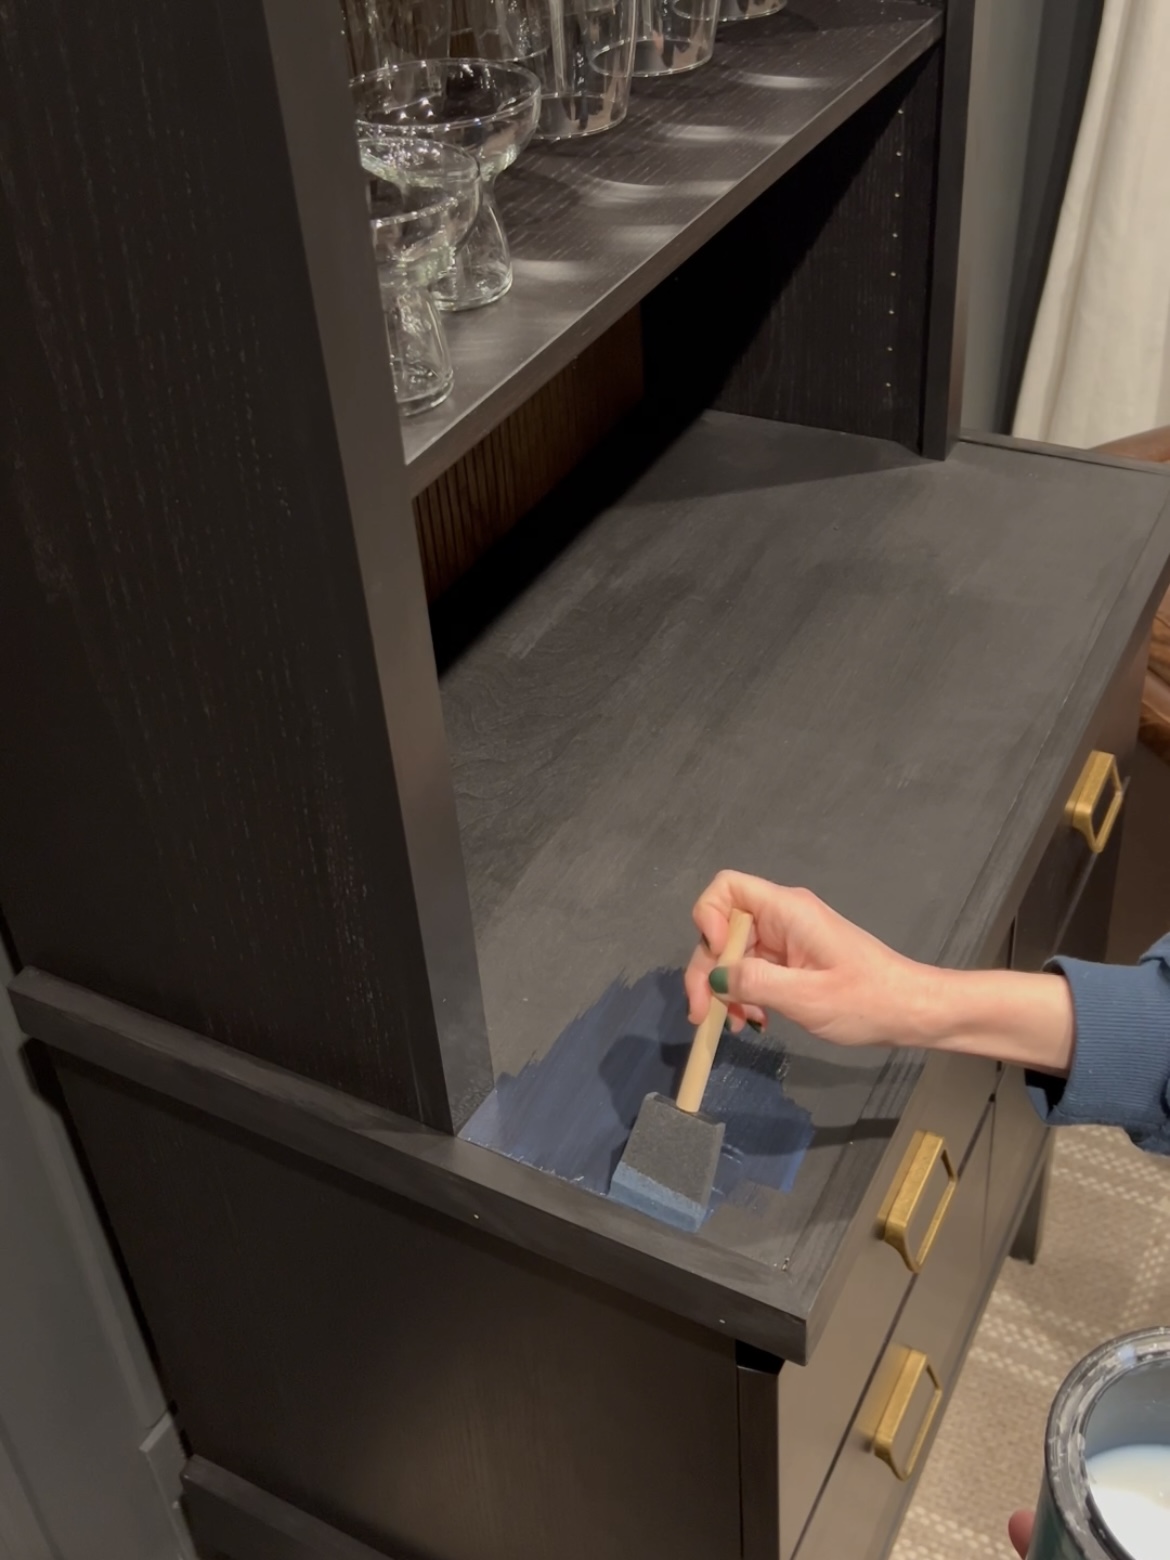
Then I used 1/2″ plywood to cut out the entire shape to cover the countertop. I didn’t attach this piece with glue or even nails. I want to be able to remove it (and the top bookshelf) if/when we need to move the cabinet to another spot. The countertop is sealed with a polycrylic, at least two layers.
The Cocktails
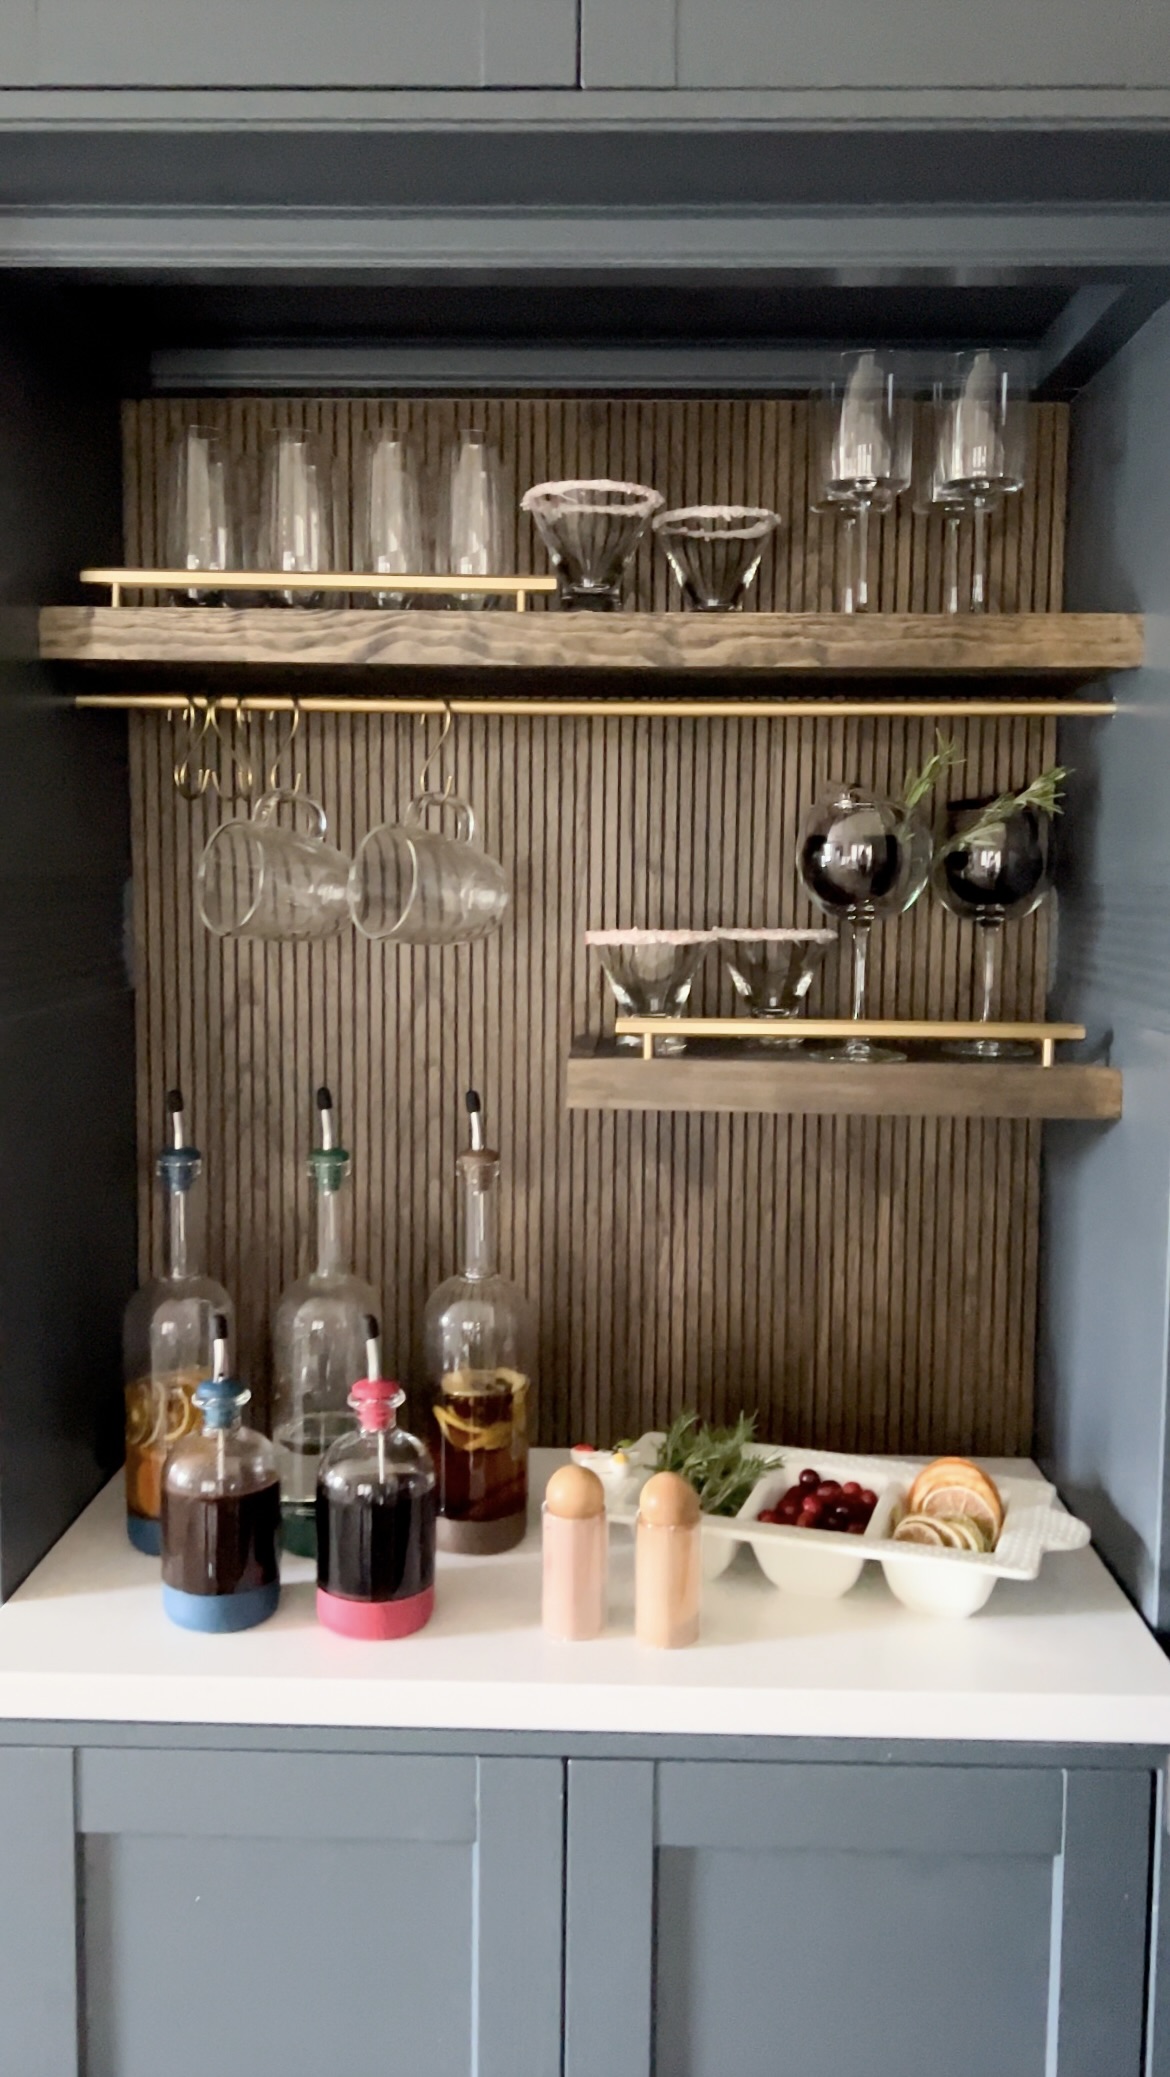
I usually offer a few different liquor options at a party. Tequila, Vodka, and Bourbon are my go-to’s. This time, I had some fun with the options by infusing the liquor first. It added another layer of flavor without extra work.
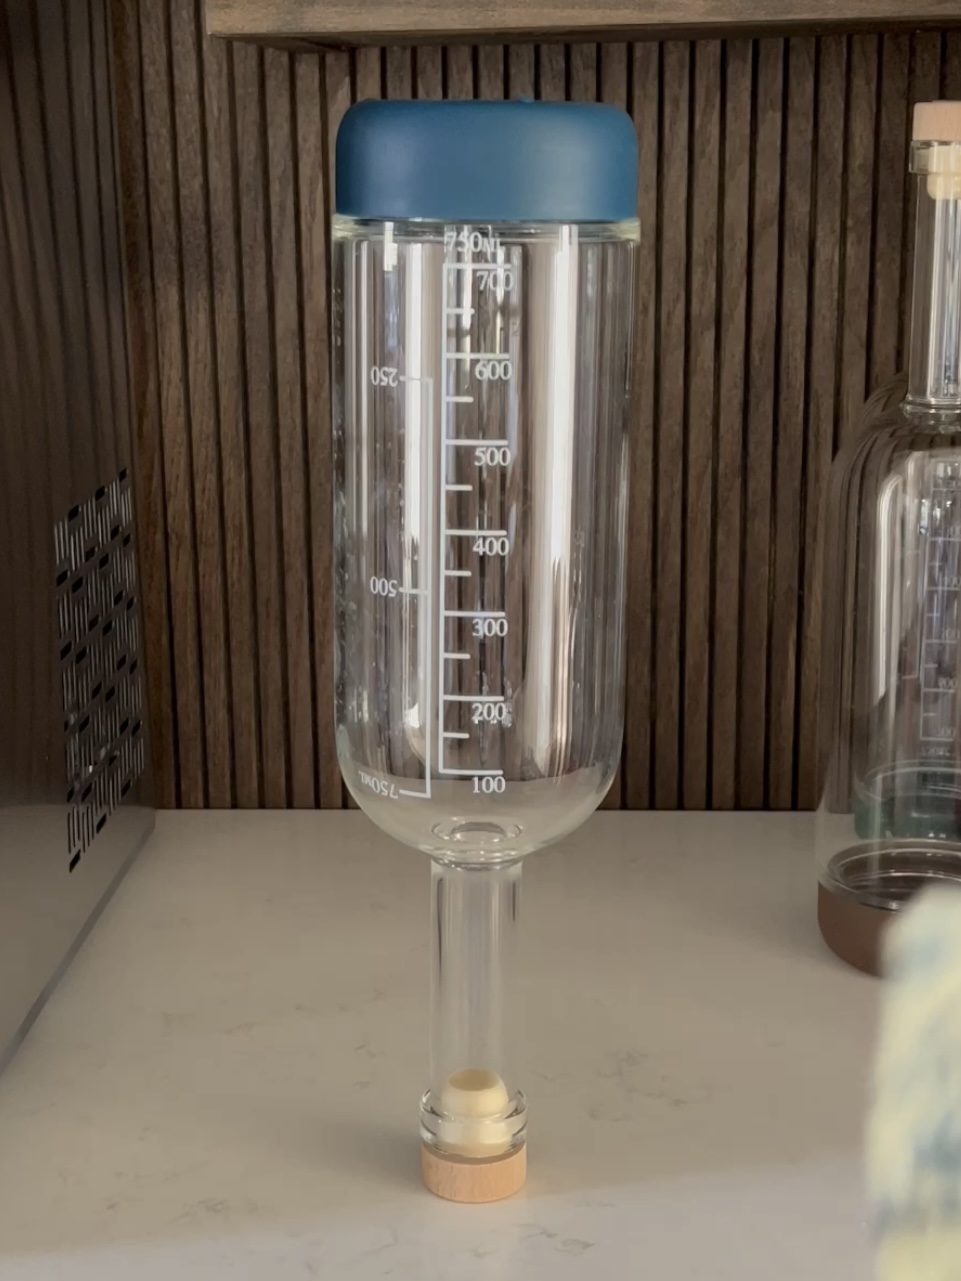
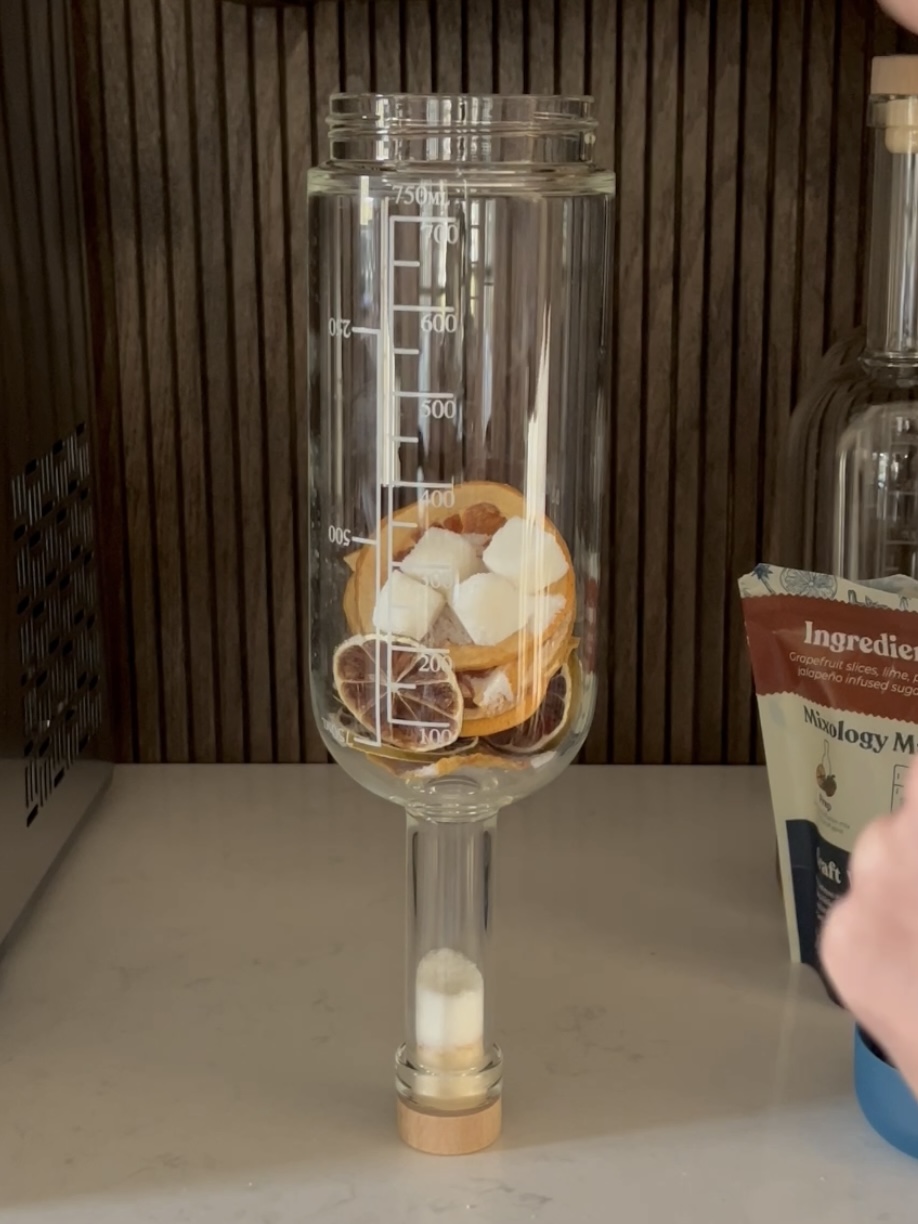
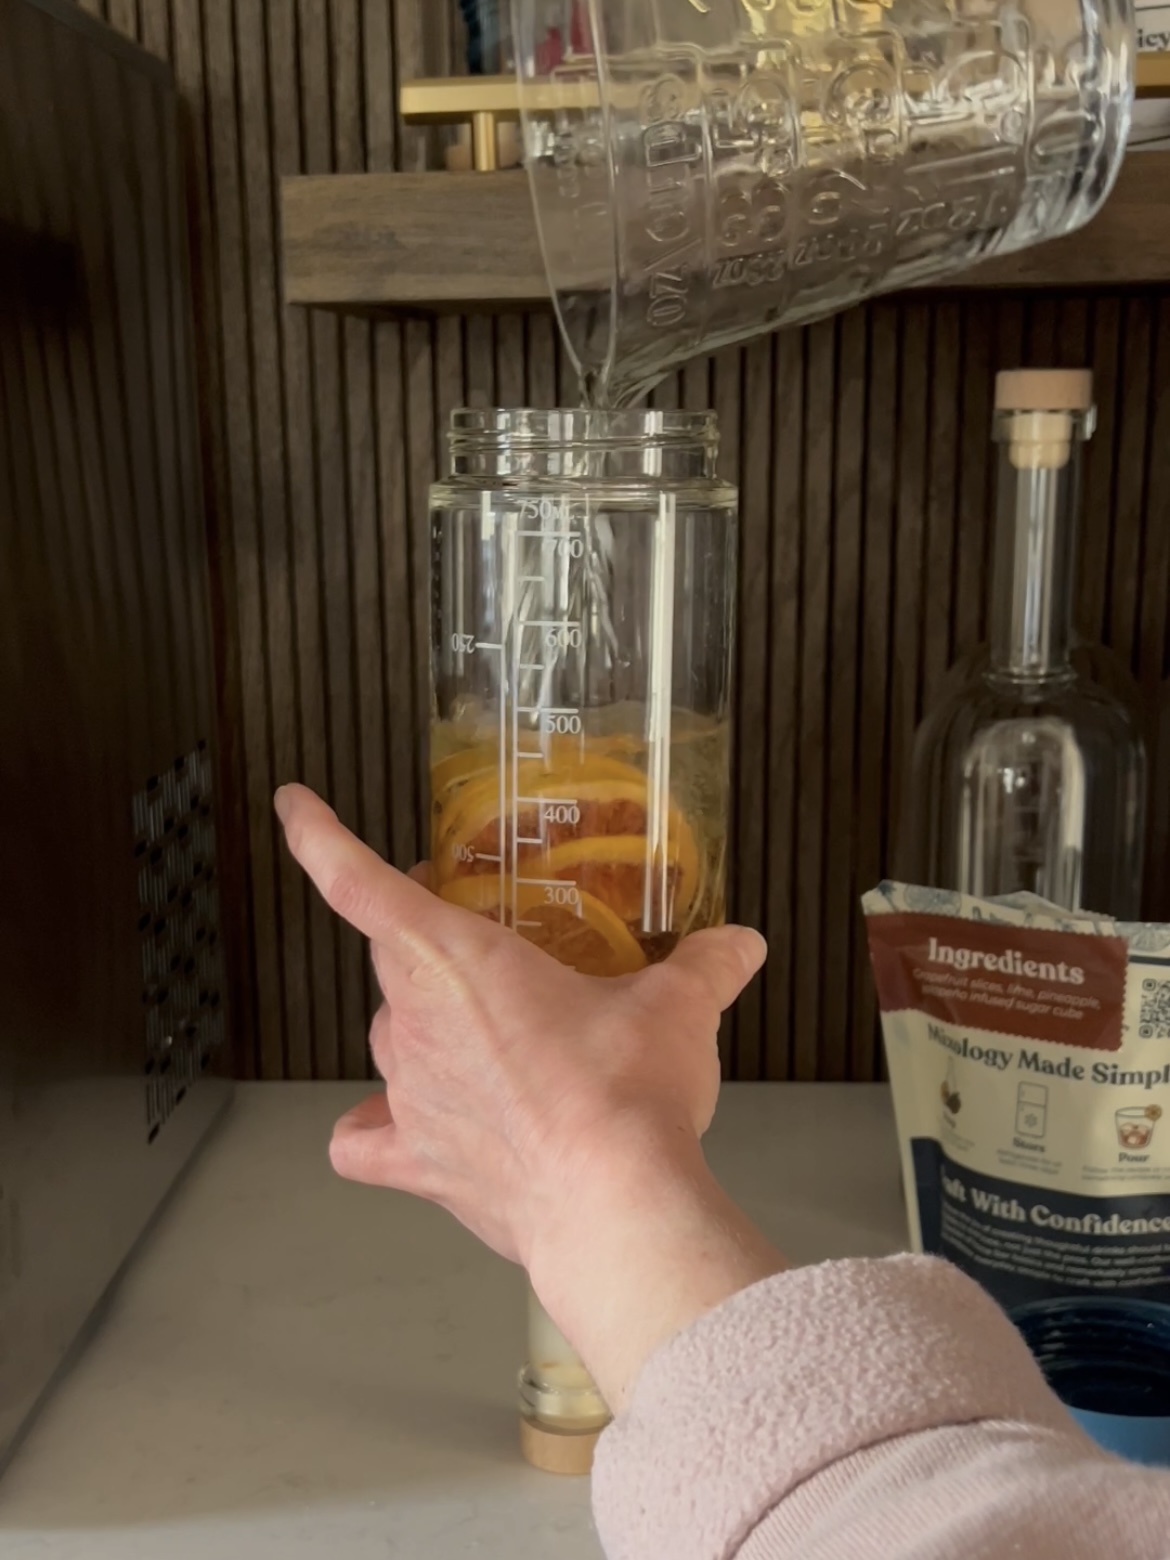
This was my first time using these bottles, and they were awesome. They’re from Crew Home, website linked here. The bottoms unscrew to give you a wider opening to work with. You can also get pour lids to help dispense the liquor. All you do is add the infusion packet, cover with the liquor, flip, and refrigerate for three days before using.
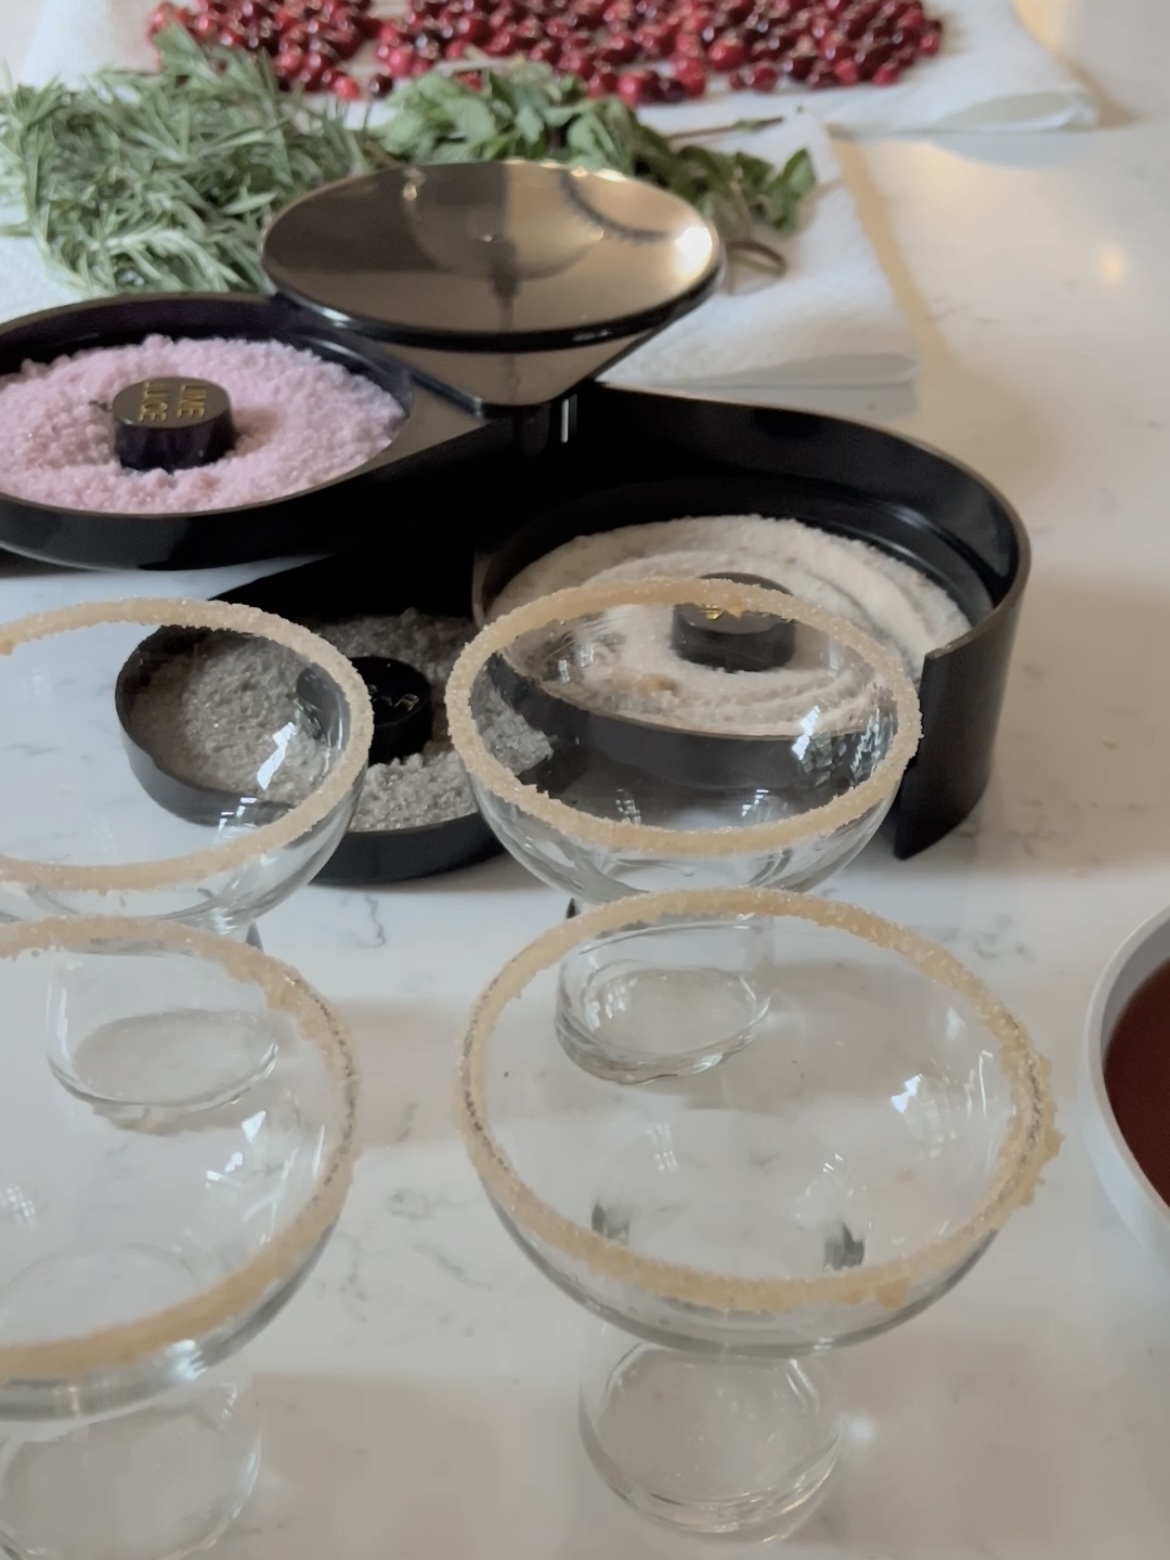
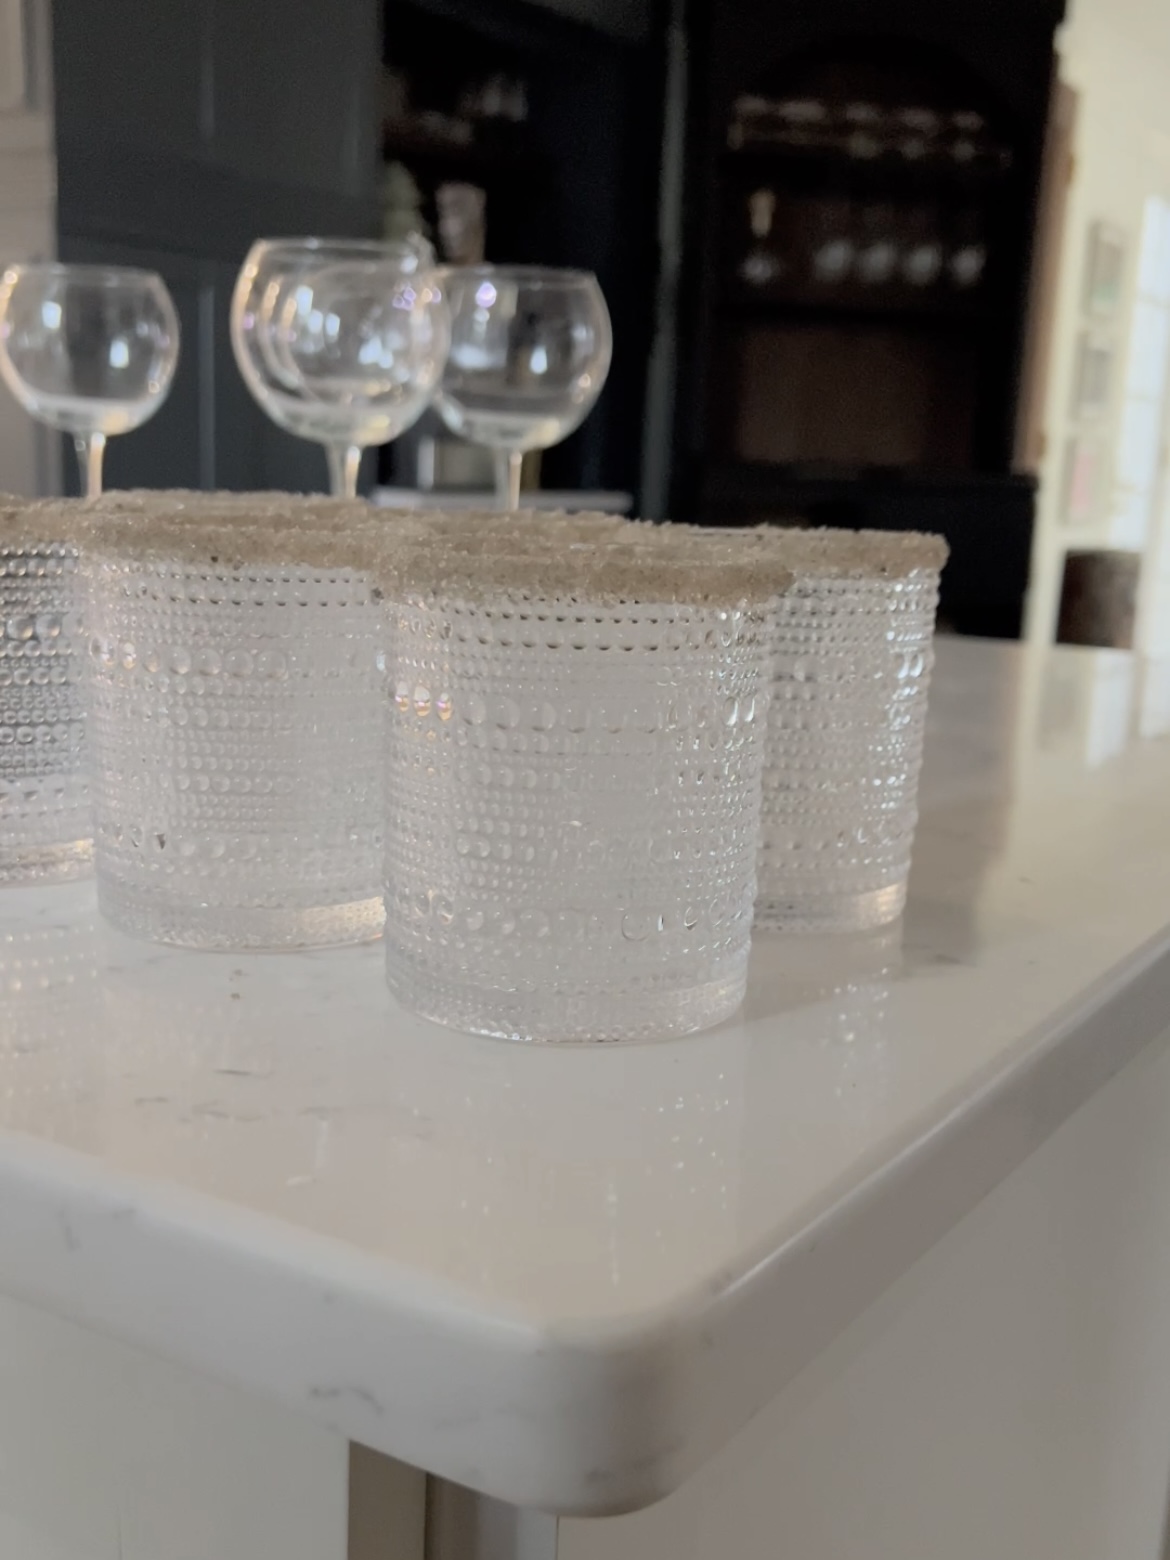
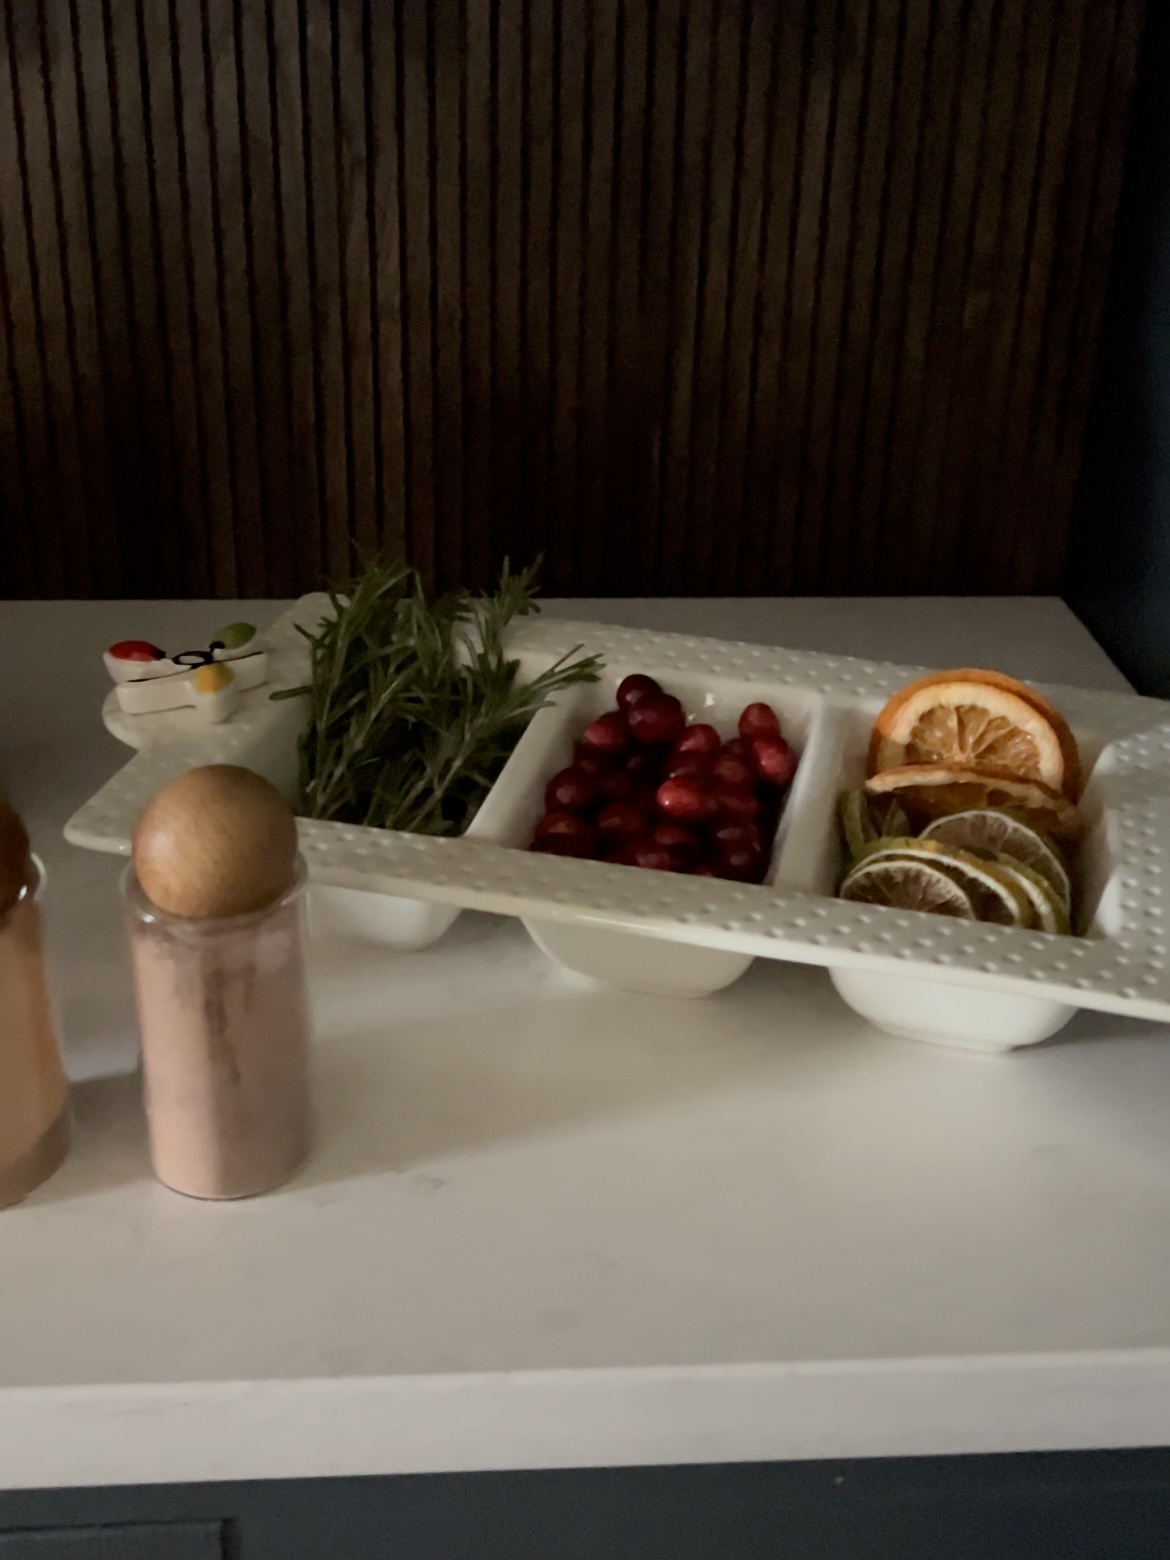
I had way too much fun dressing up the cocktails with rimming sugars and other garnishes. They really make such a big difference! These dehydrated lemons, oranges, rosemary, and cranberries were the perfect toppers.
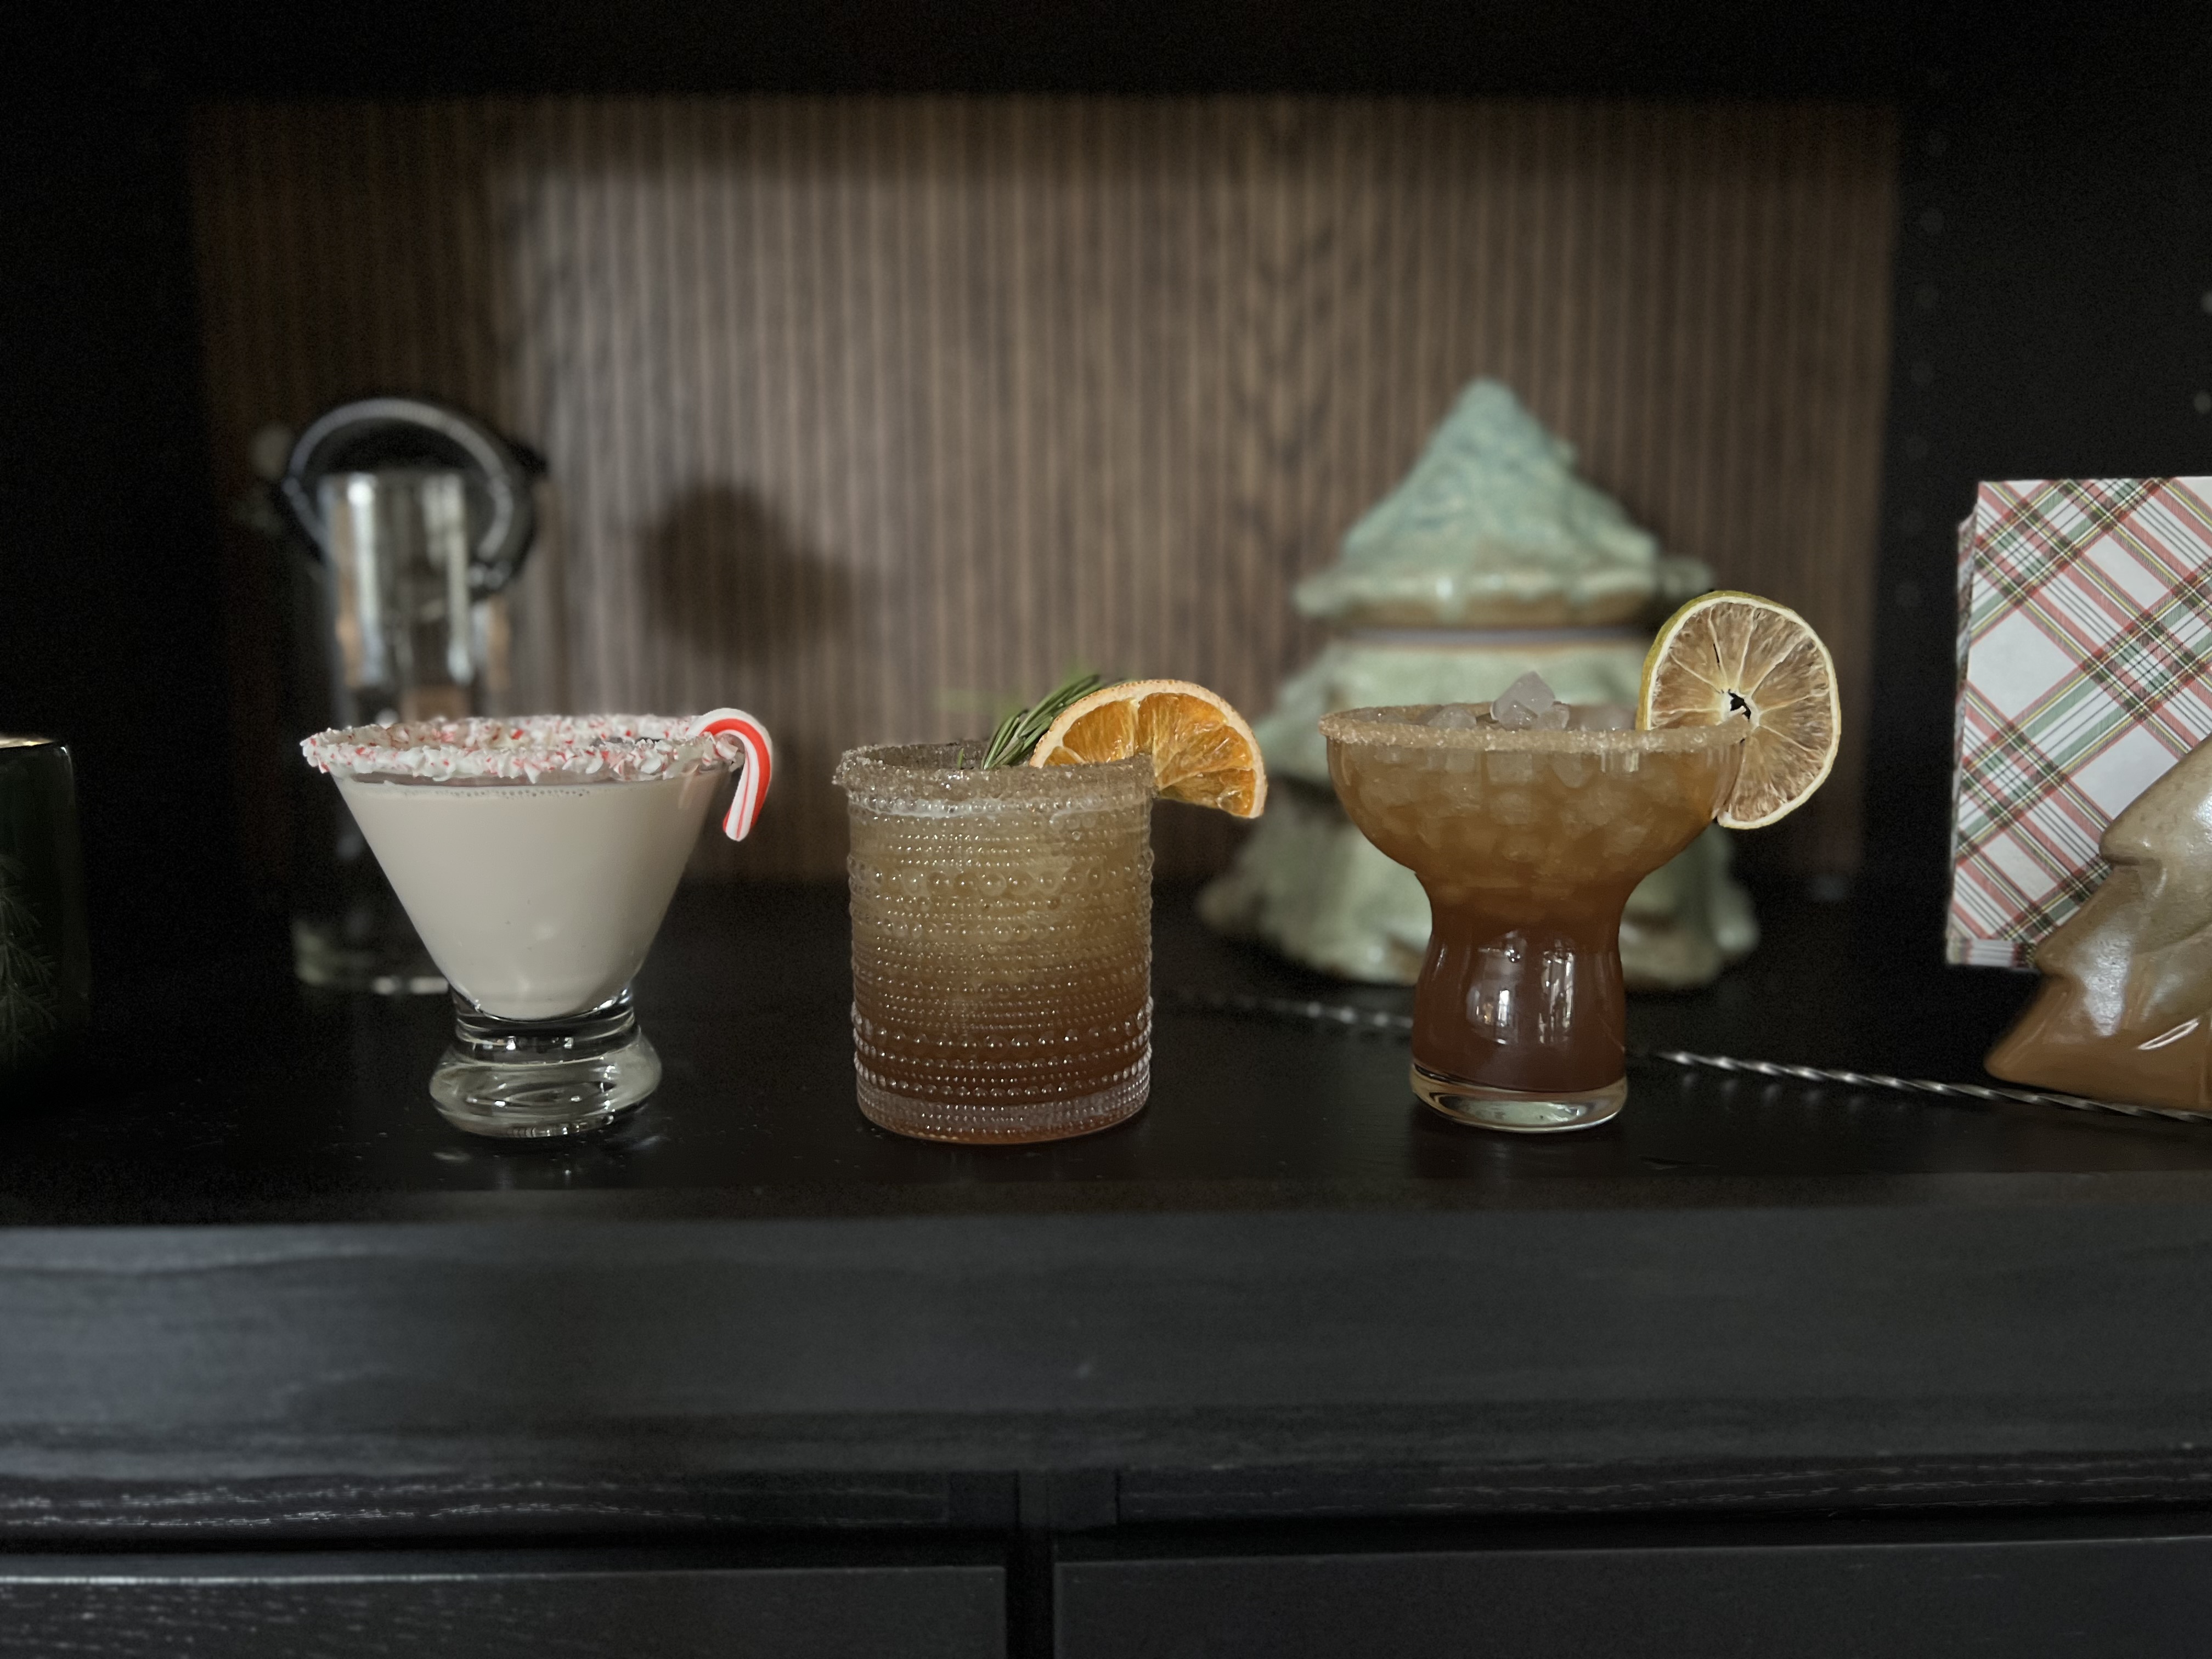
I followed the recipes that were included with the infusions and added a chocolate martini into the mix for a dessert-type option.
The Rest of the Party Setup
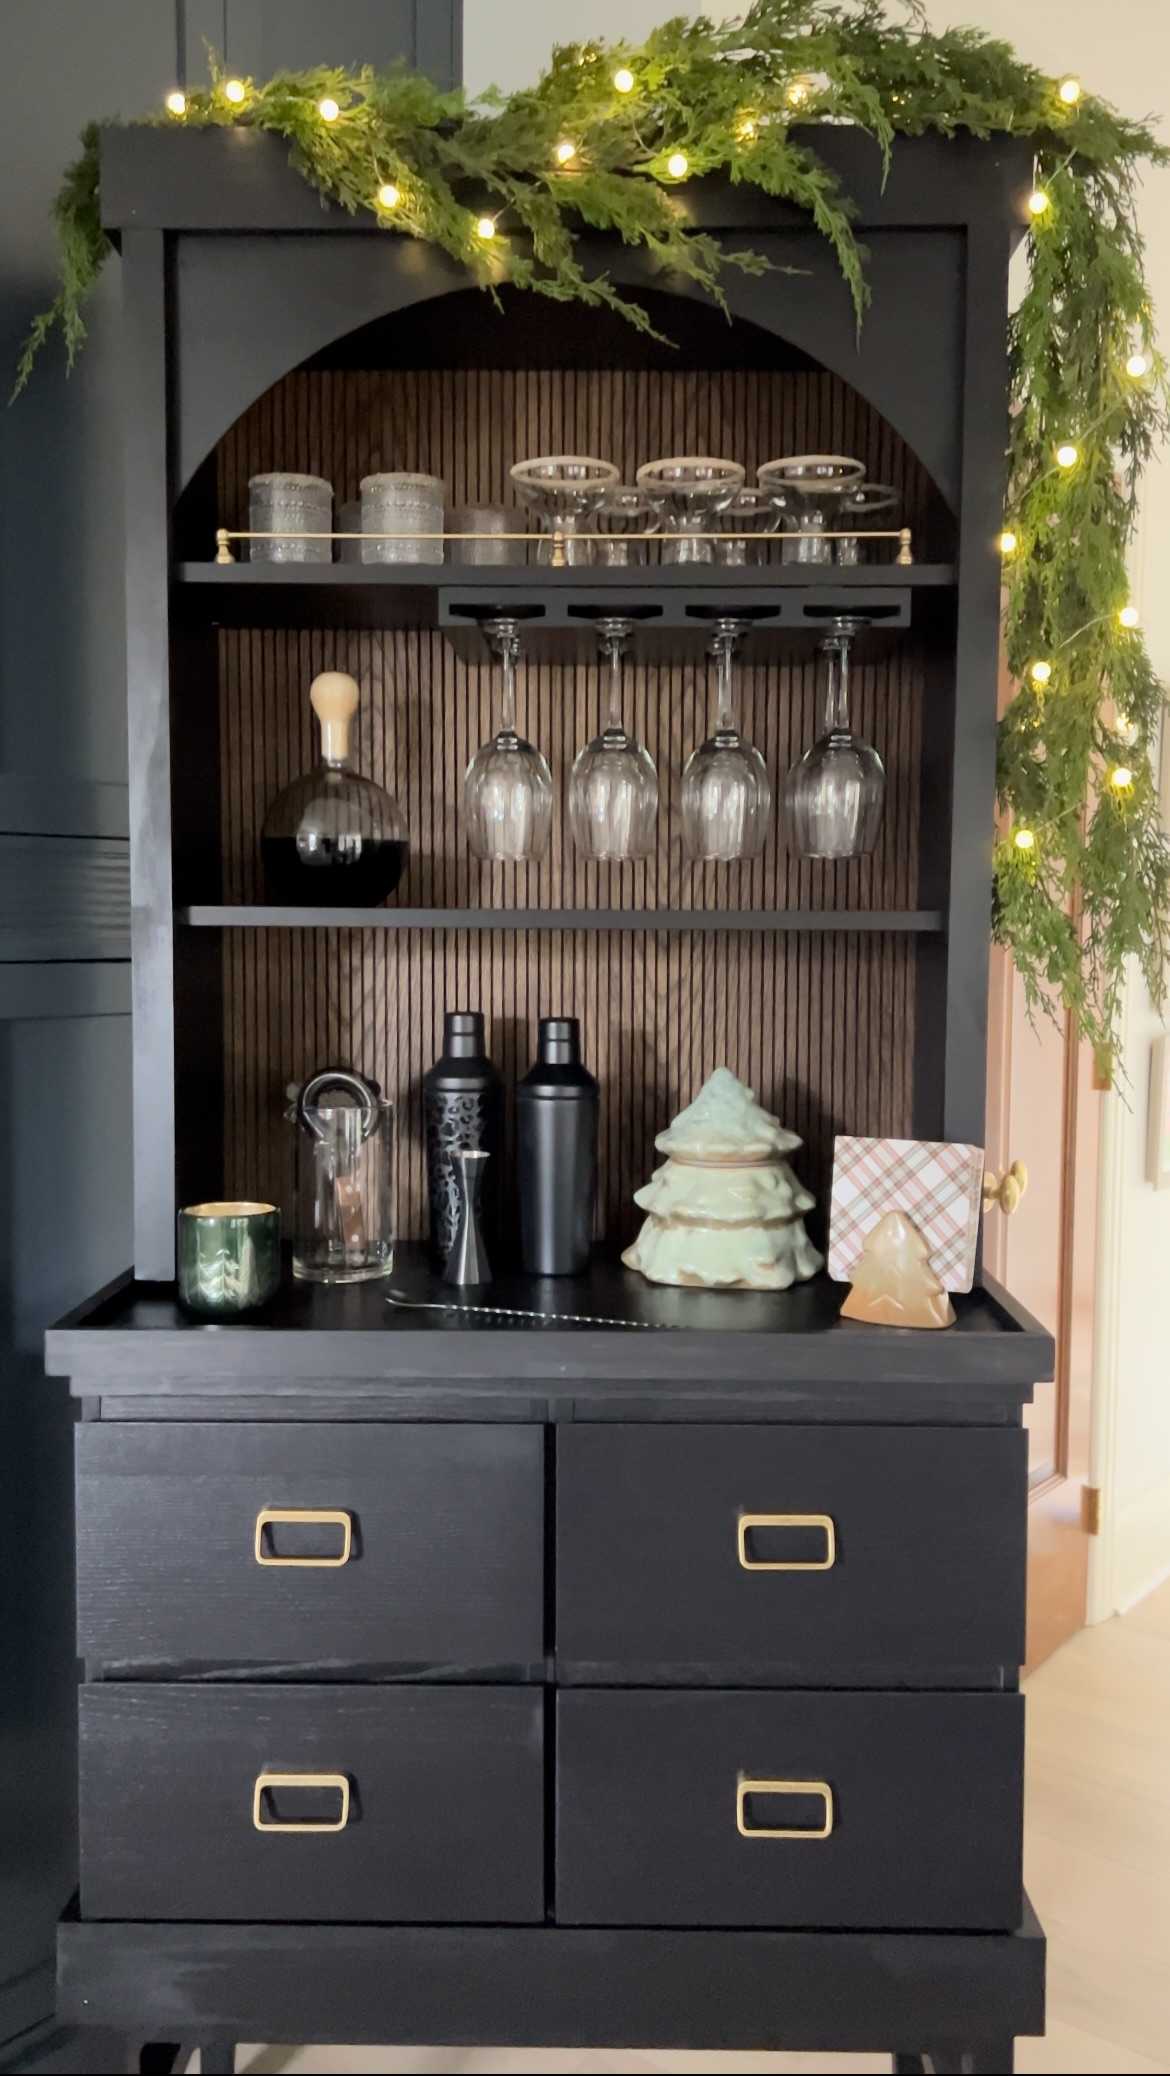
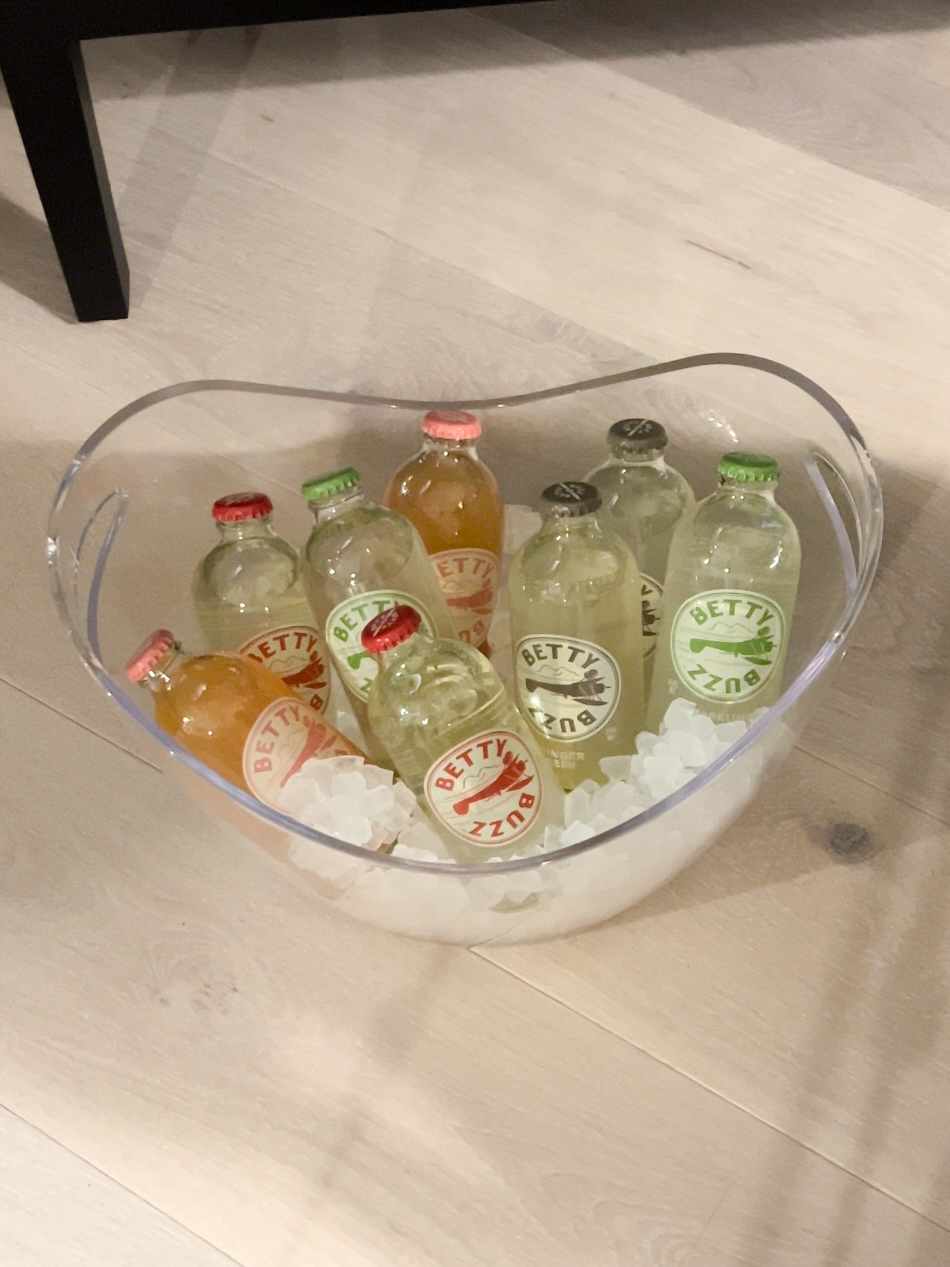
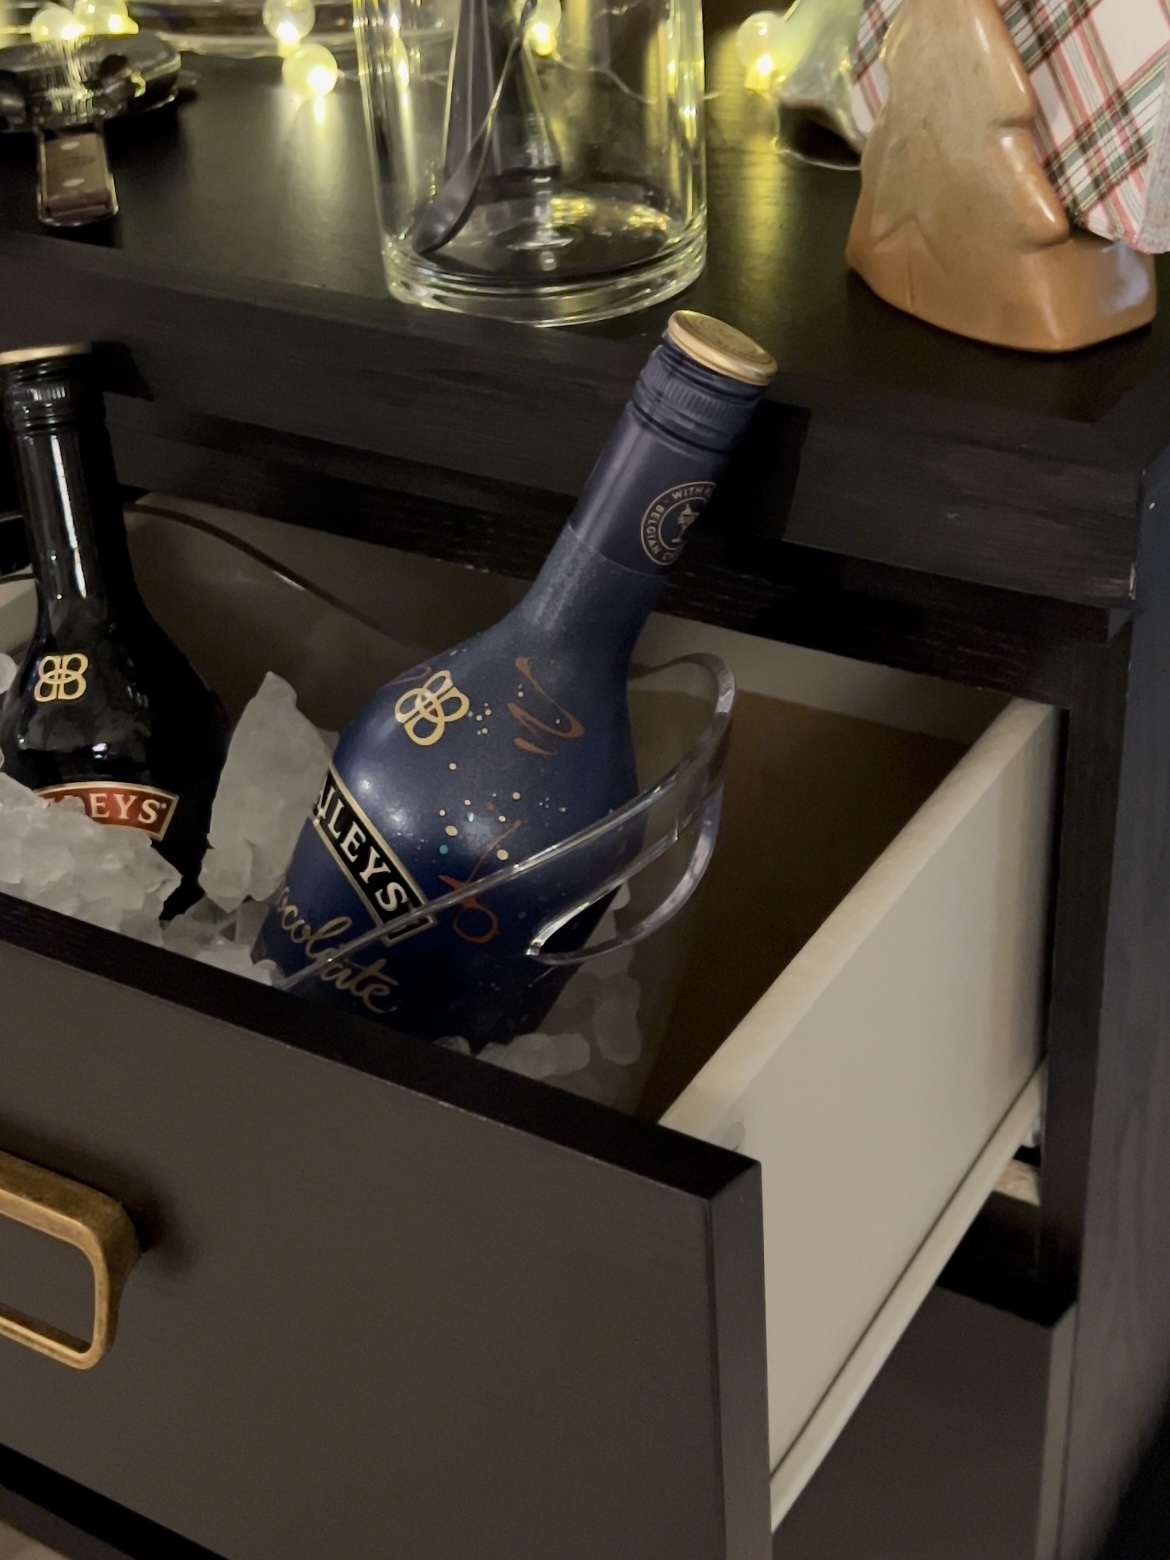
I love adding greenery and lights to make a space look festive. I also thought the rimmed glasses added a great layer of functional decor. A couple of ice buckets were filled with mixer options, including things that would make great mocktails. I love that the smaller ice bucket could fit inside one of the drawers since that left me with more counter space.
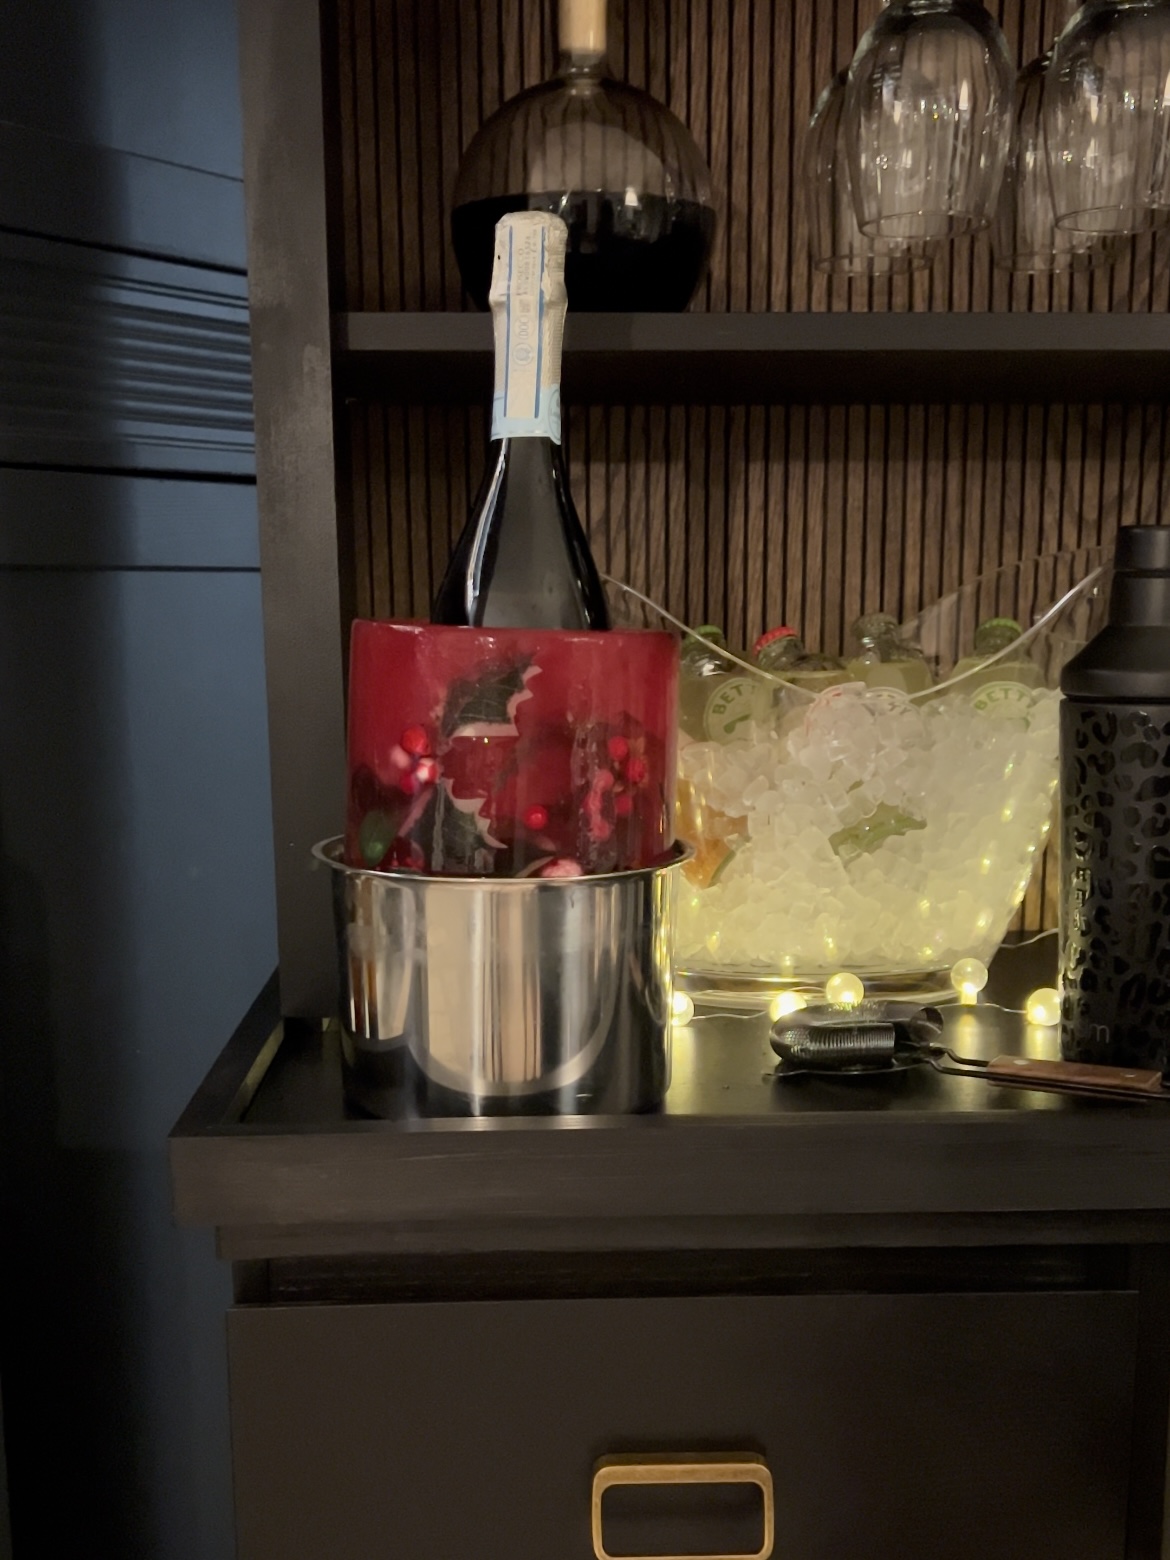
This ice mold wine chiller was such a fun addition. I used fake berries/plants to fill it… The red was not intentional. The hot water took away some of the color from the berries, but we kind of love the red look!
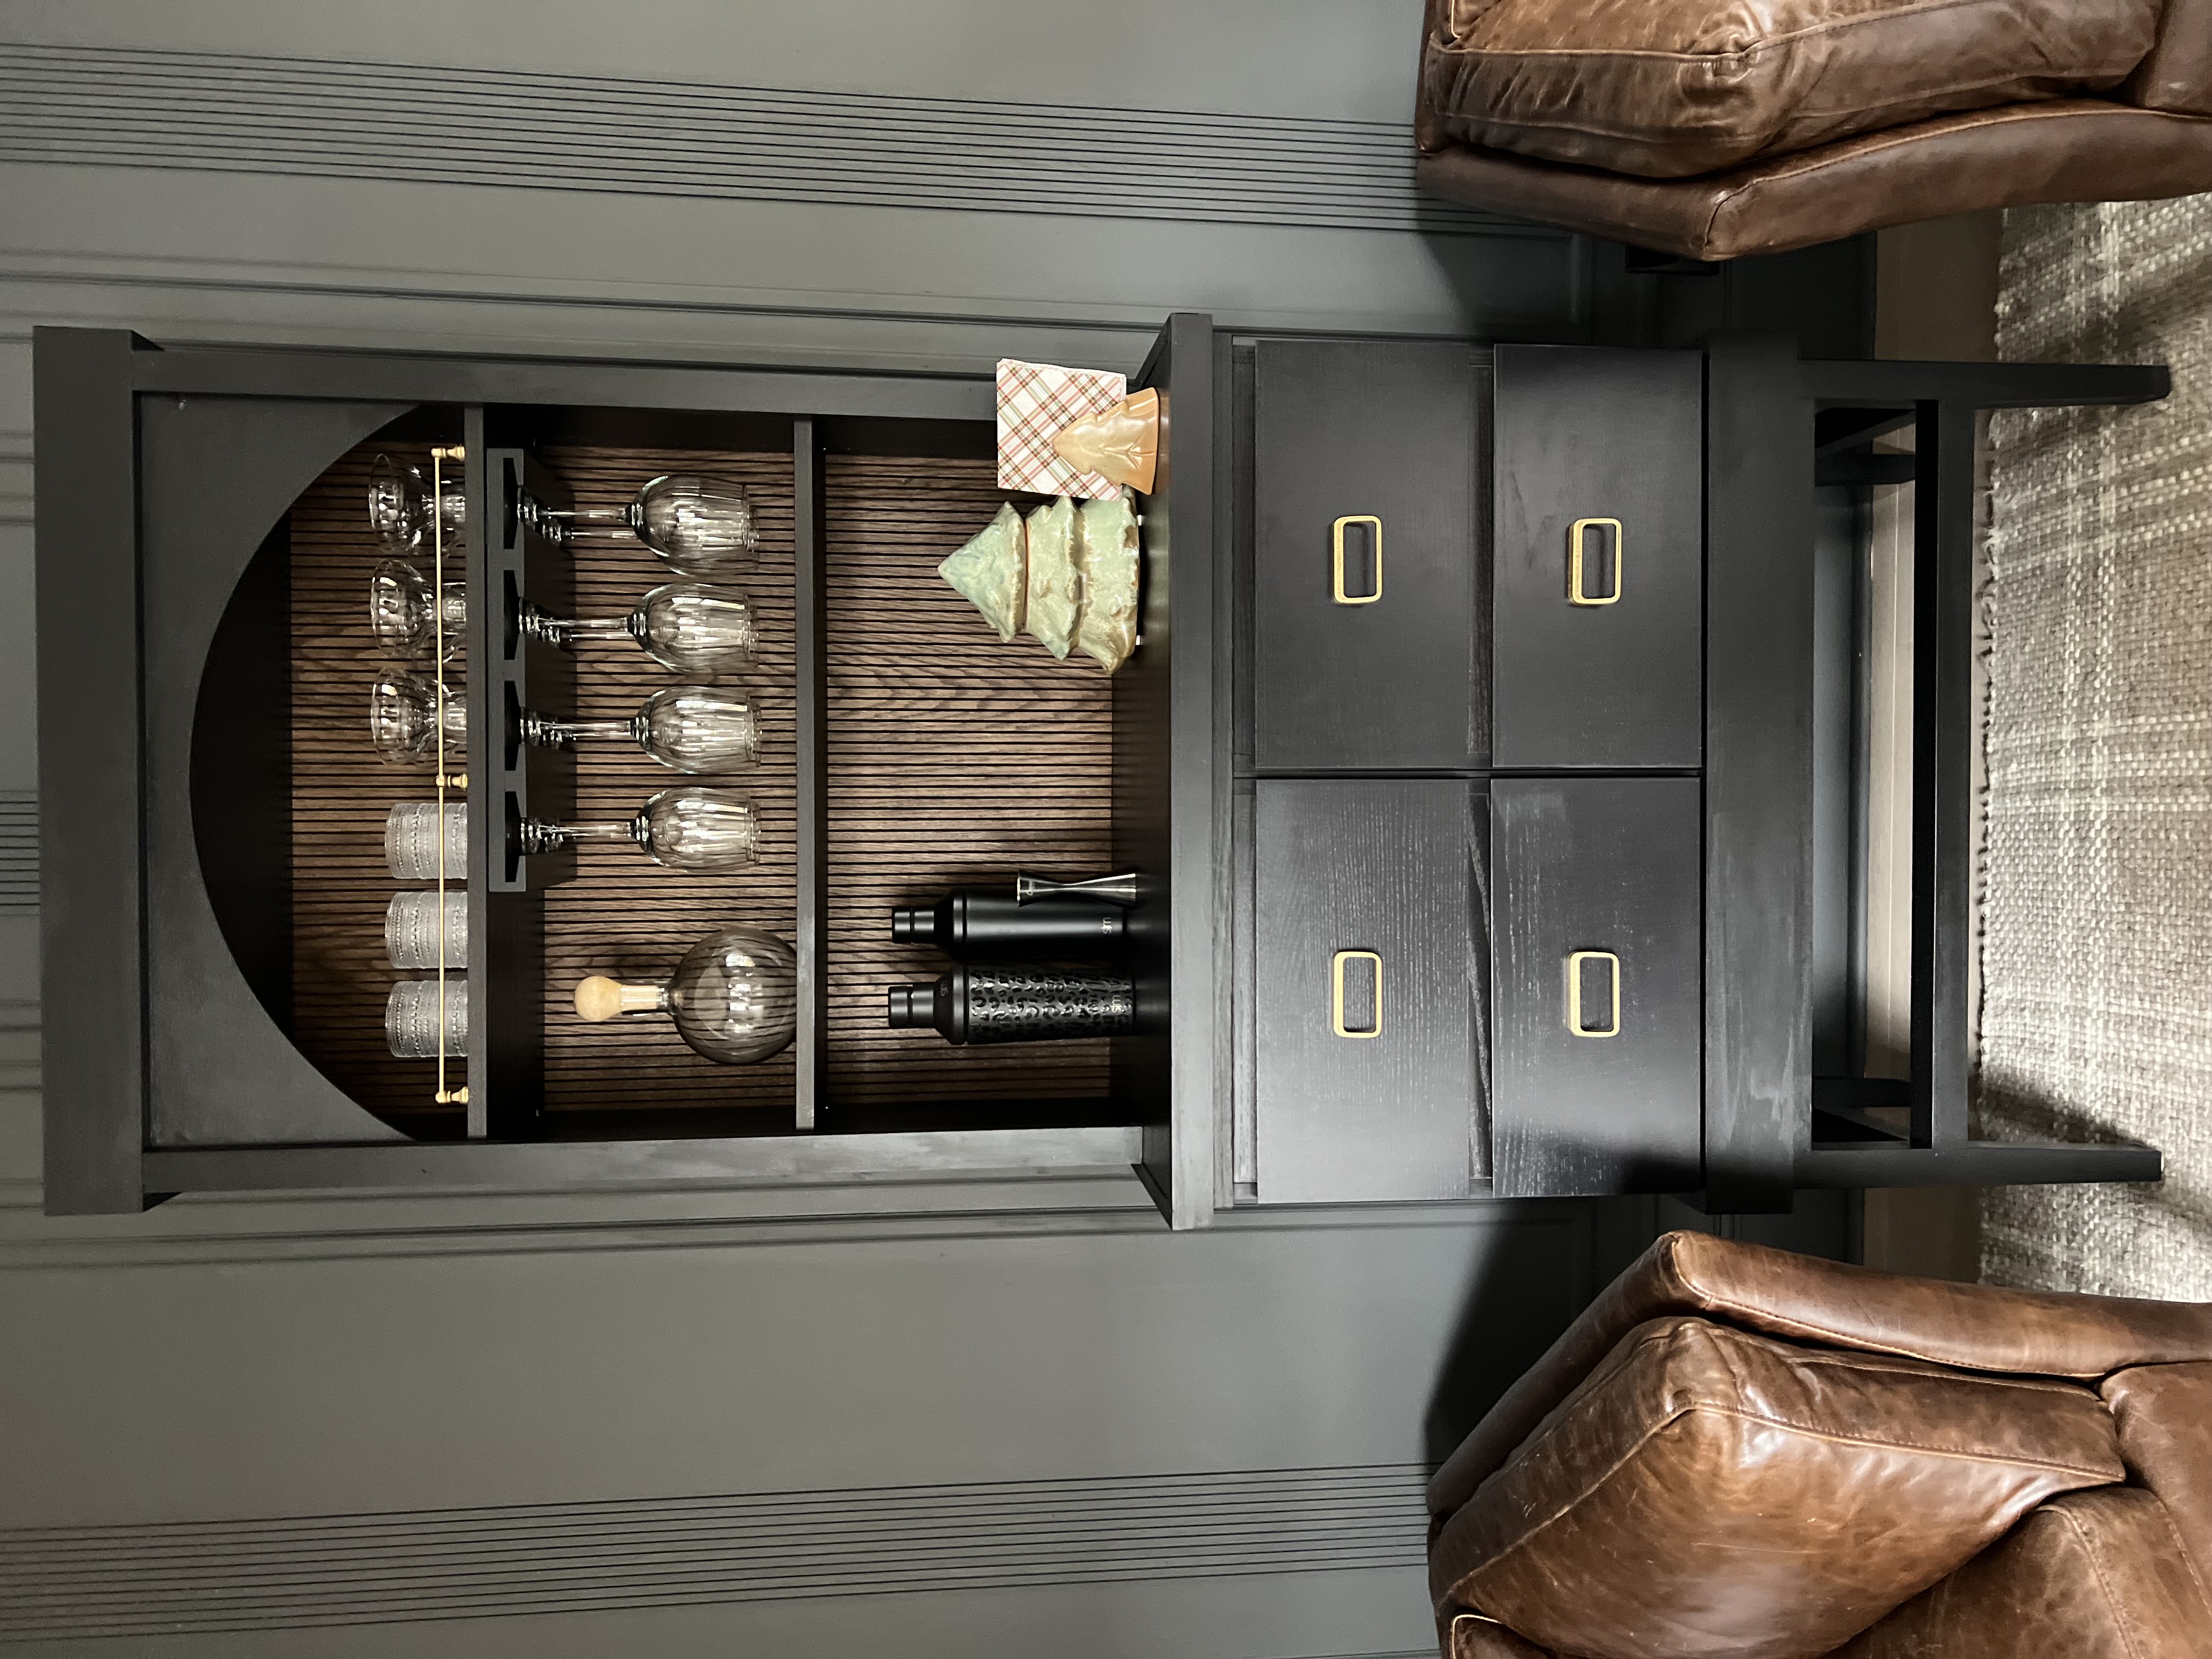
Now that the party setup has been taken down, the bar cabinet has moved to our office. TBD on what we end up doing to the surrounding space to make it look more cohesive, but we’re loving it in here so far!

.
**Post contains affiliate and Amazon affiliate links, disclosure linked here.
Always so inspired by you and your creations Annie! This is another gorgeous addition that you made look effortless Merry Christmas
You’re the best, Kim! Thank you!! Merry Christmas to you as well!!