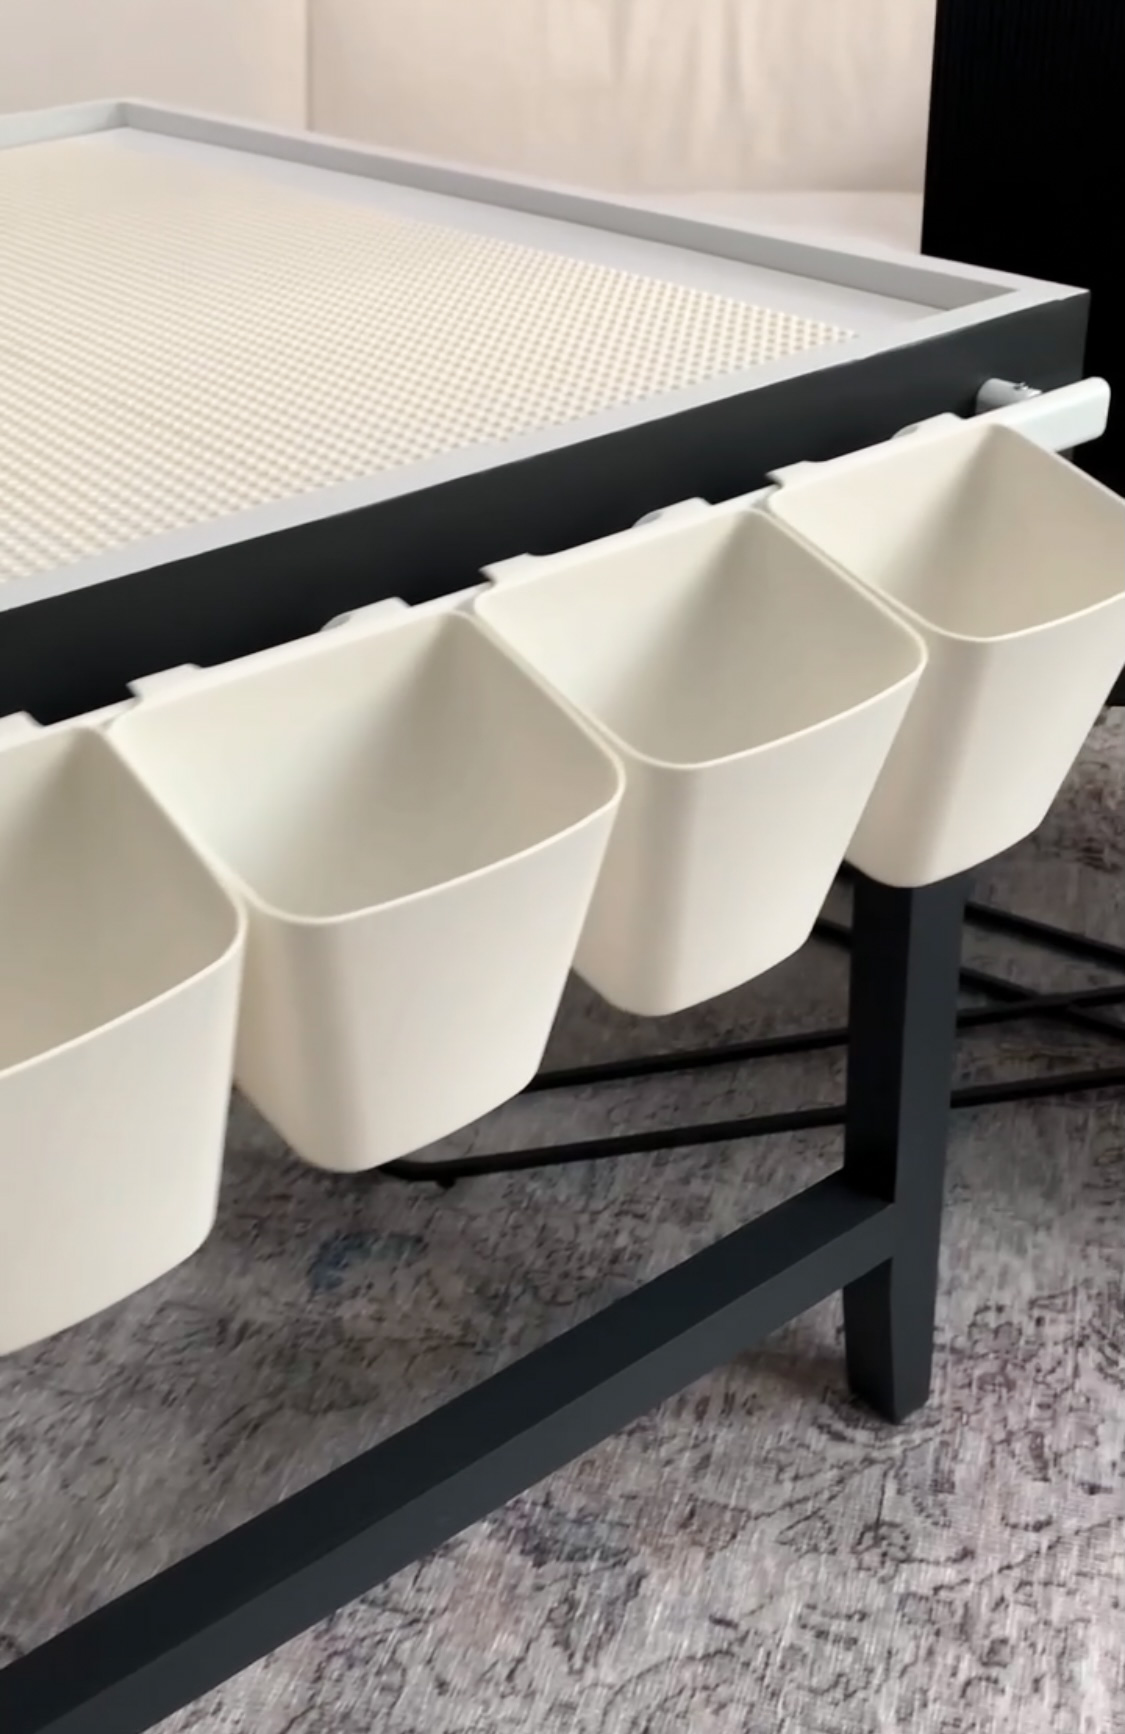
I knew I wanted to build a dollhouse for Kate for Christmas and couldn’t leave the boys out of the gifting fun. My oldest is obsessed with LEGO building kits, he would do them all day, everyday if he could. The problem with those is that they’re pretty much one and done. My middle also isn’t a fan of the directions filled with millions of steps. Enter a LEGO table…. free to build and create whatever they wanted.
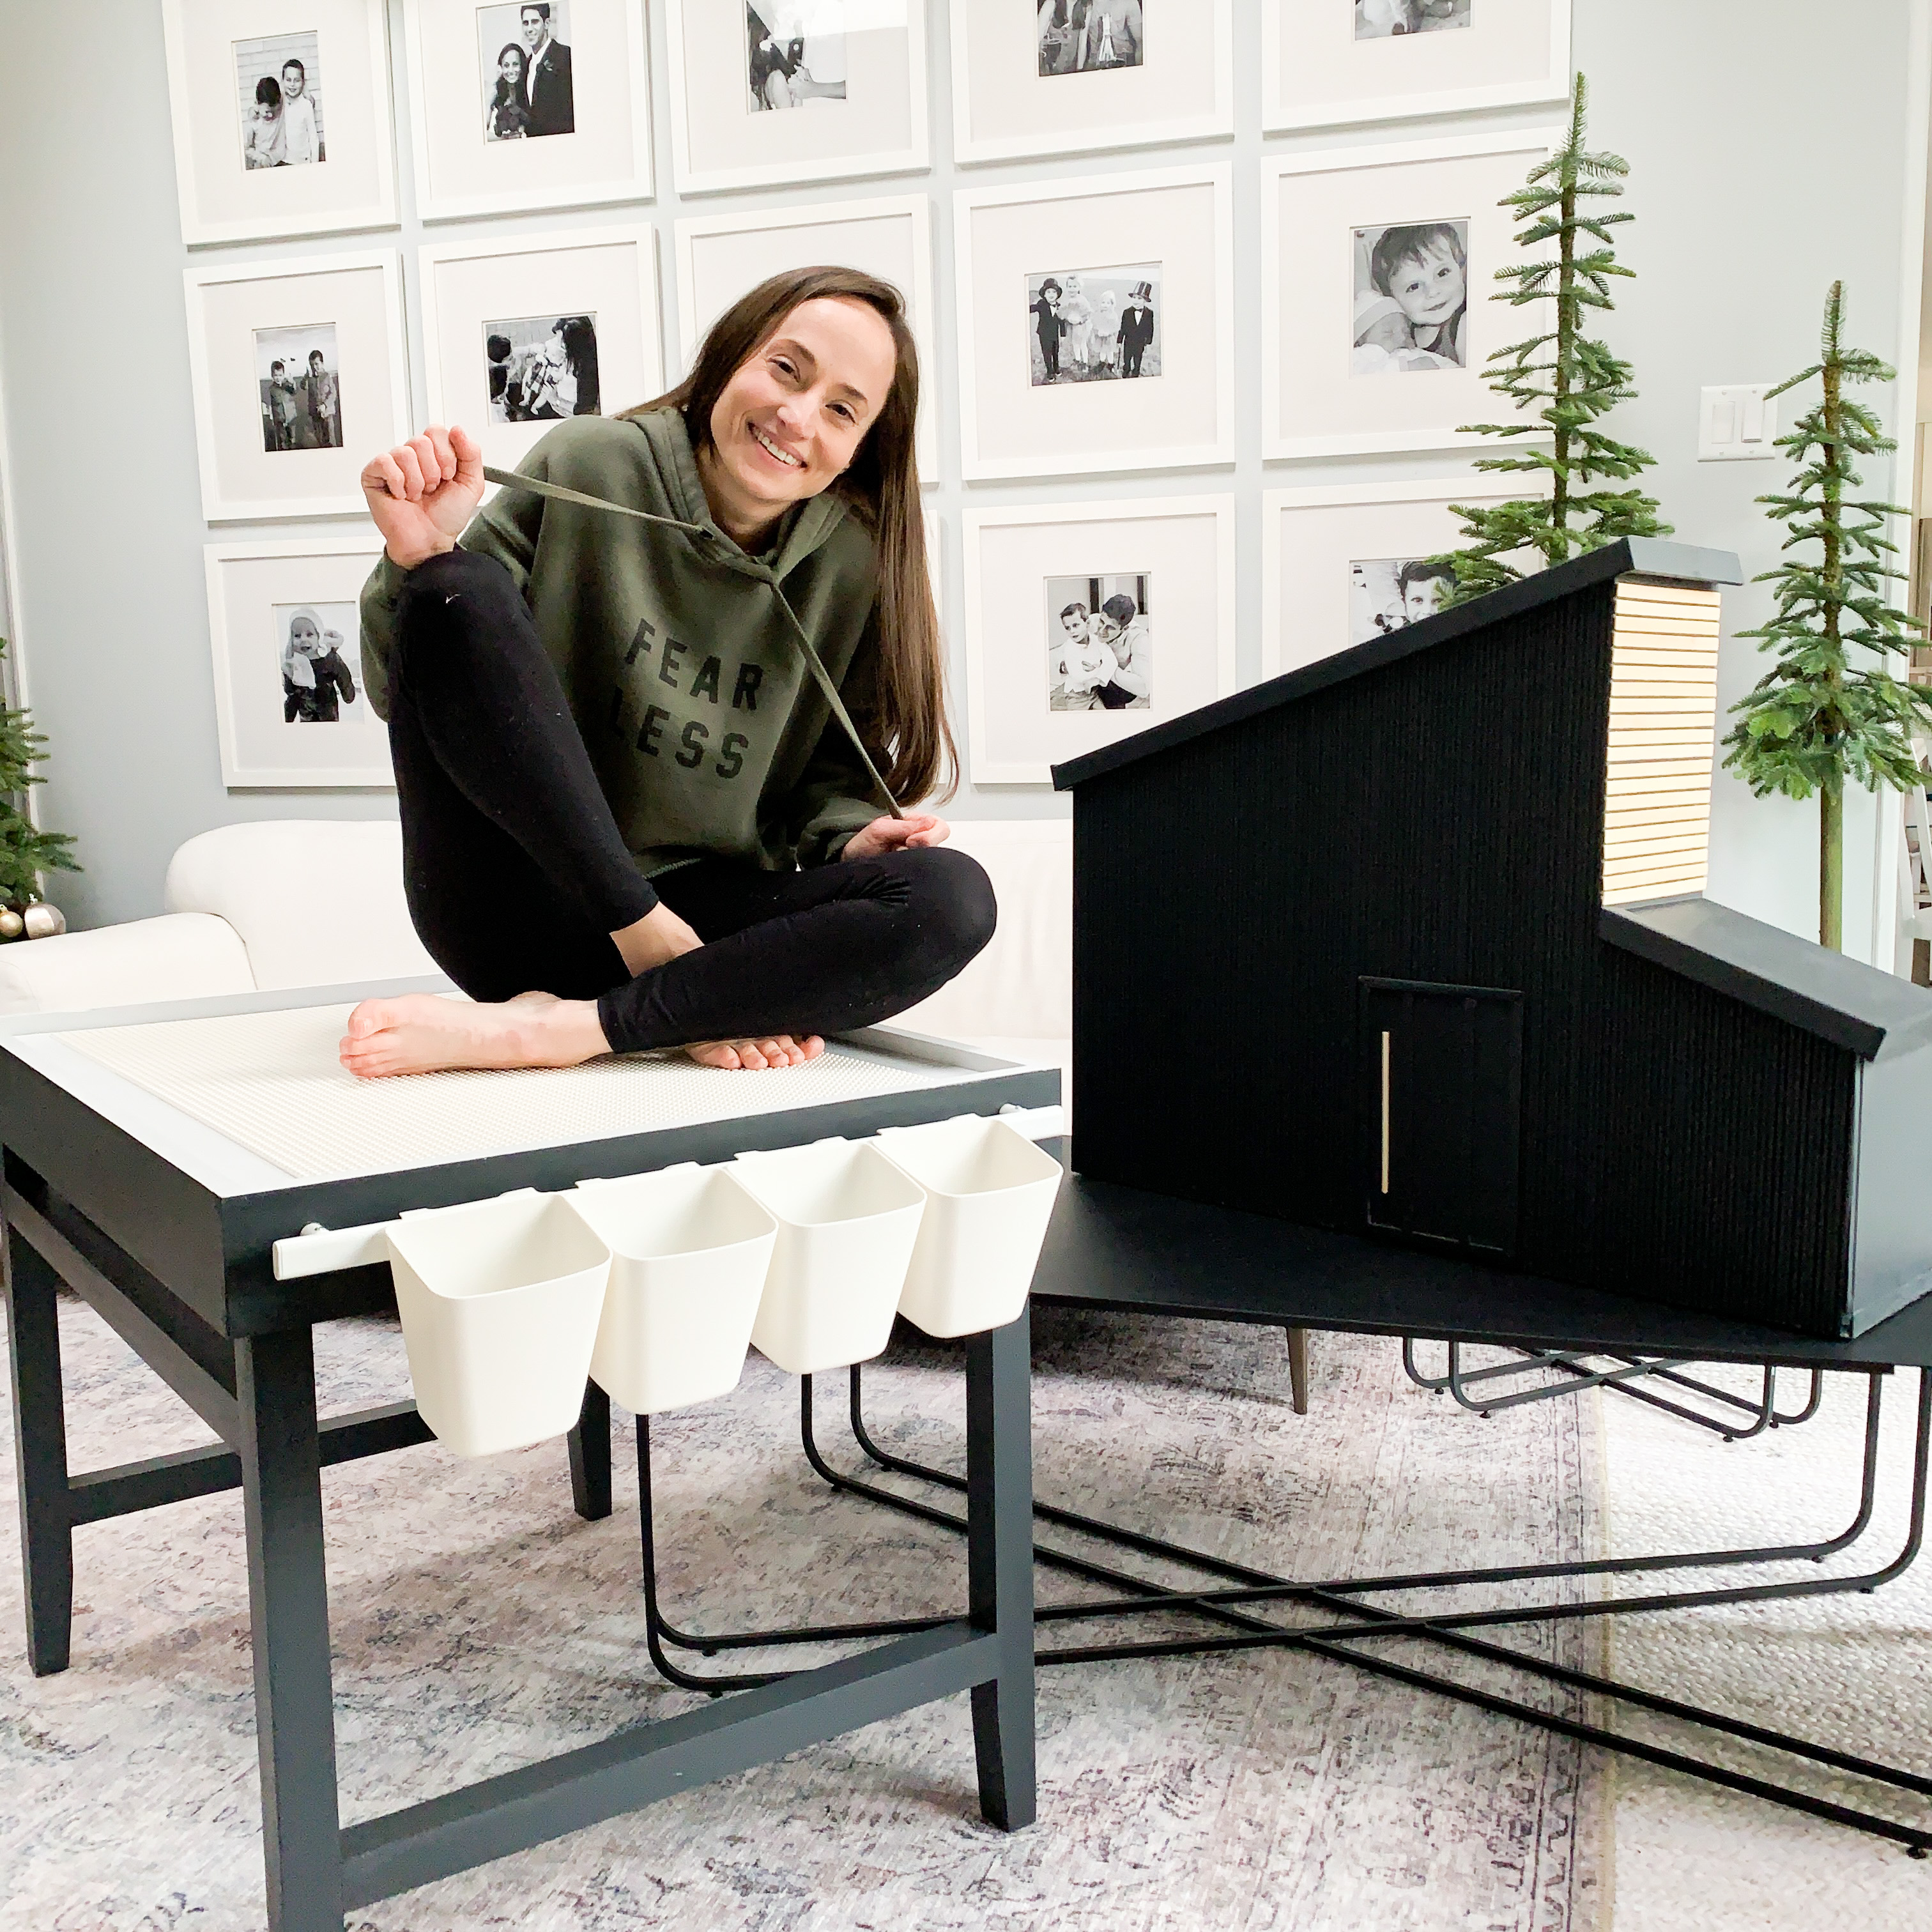
A friend of mine made a super cute LEGO table as an IKEA hack, but I couldn’t find all the parts in time. The plus side of having to build it from scratch is getting to customize it. I went with a slightly taller-than-normal design for a play table to give it some time to grow with them.
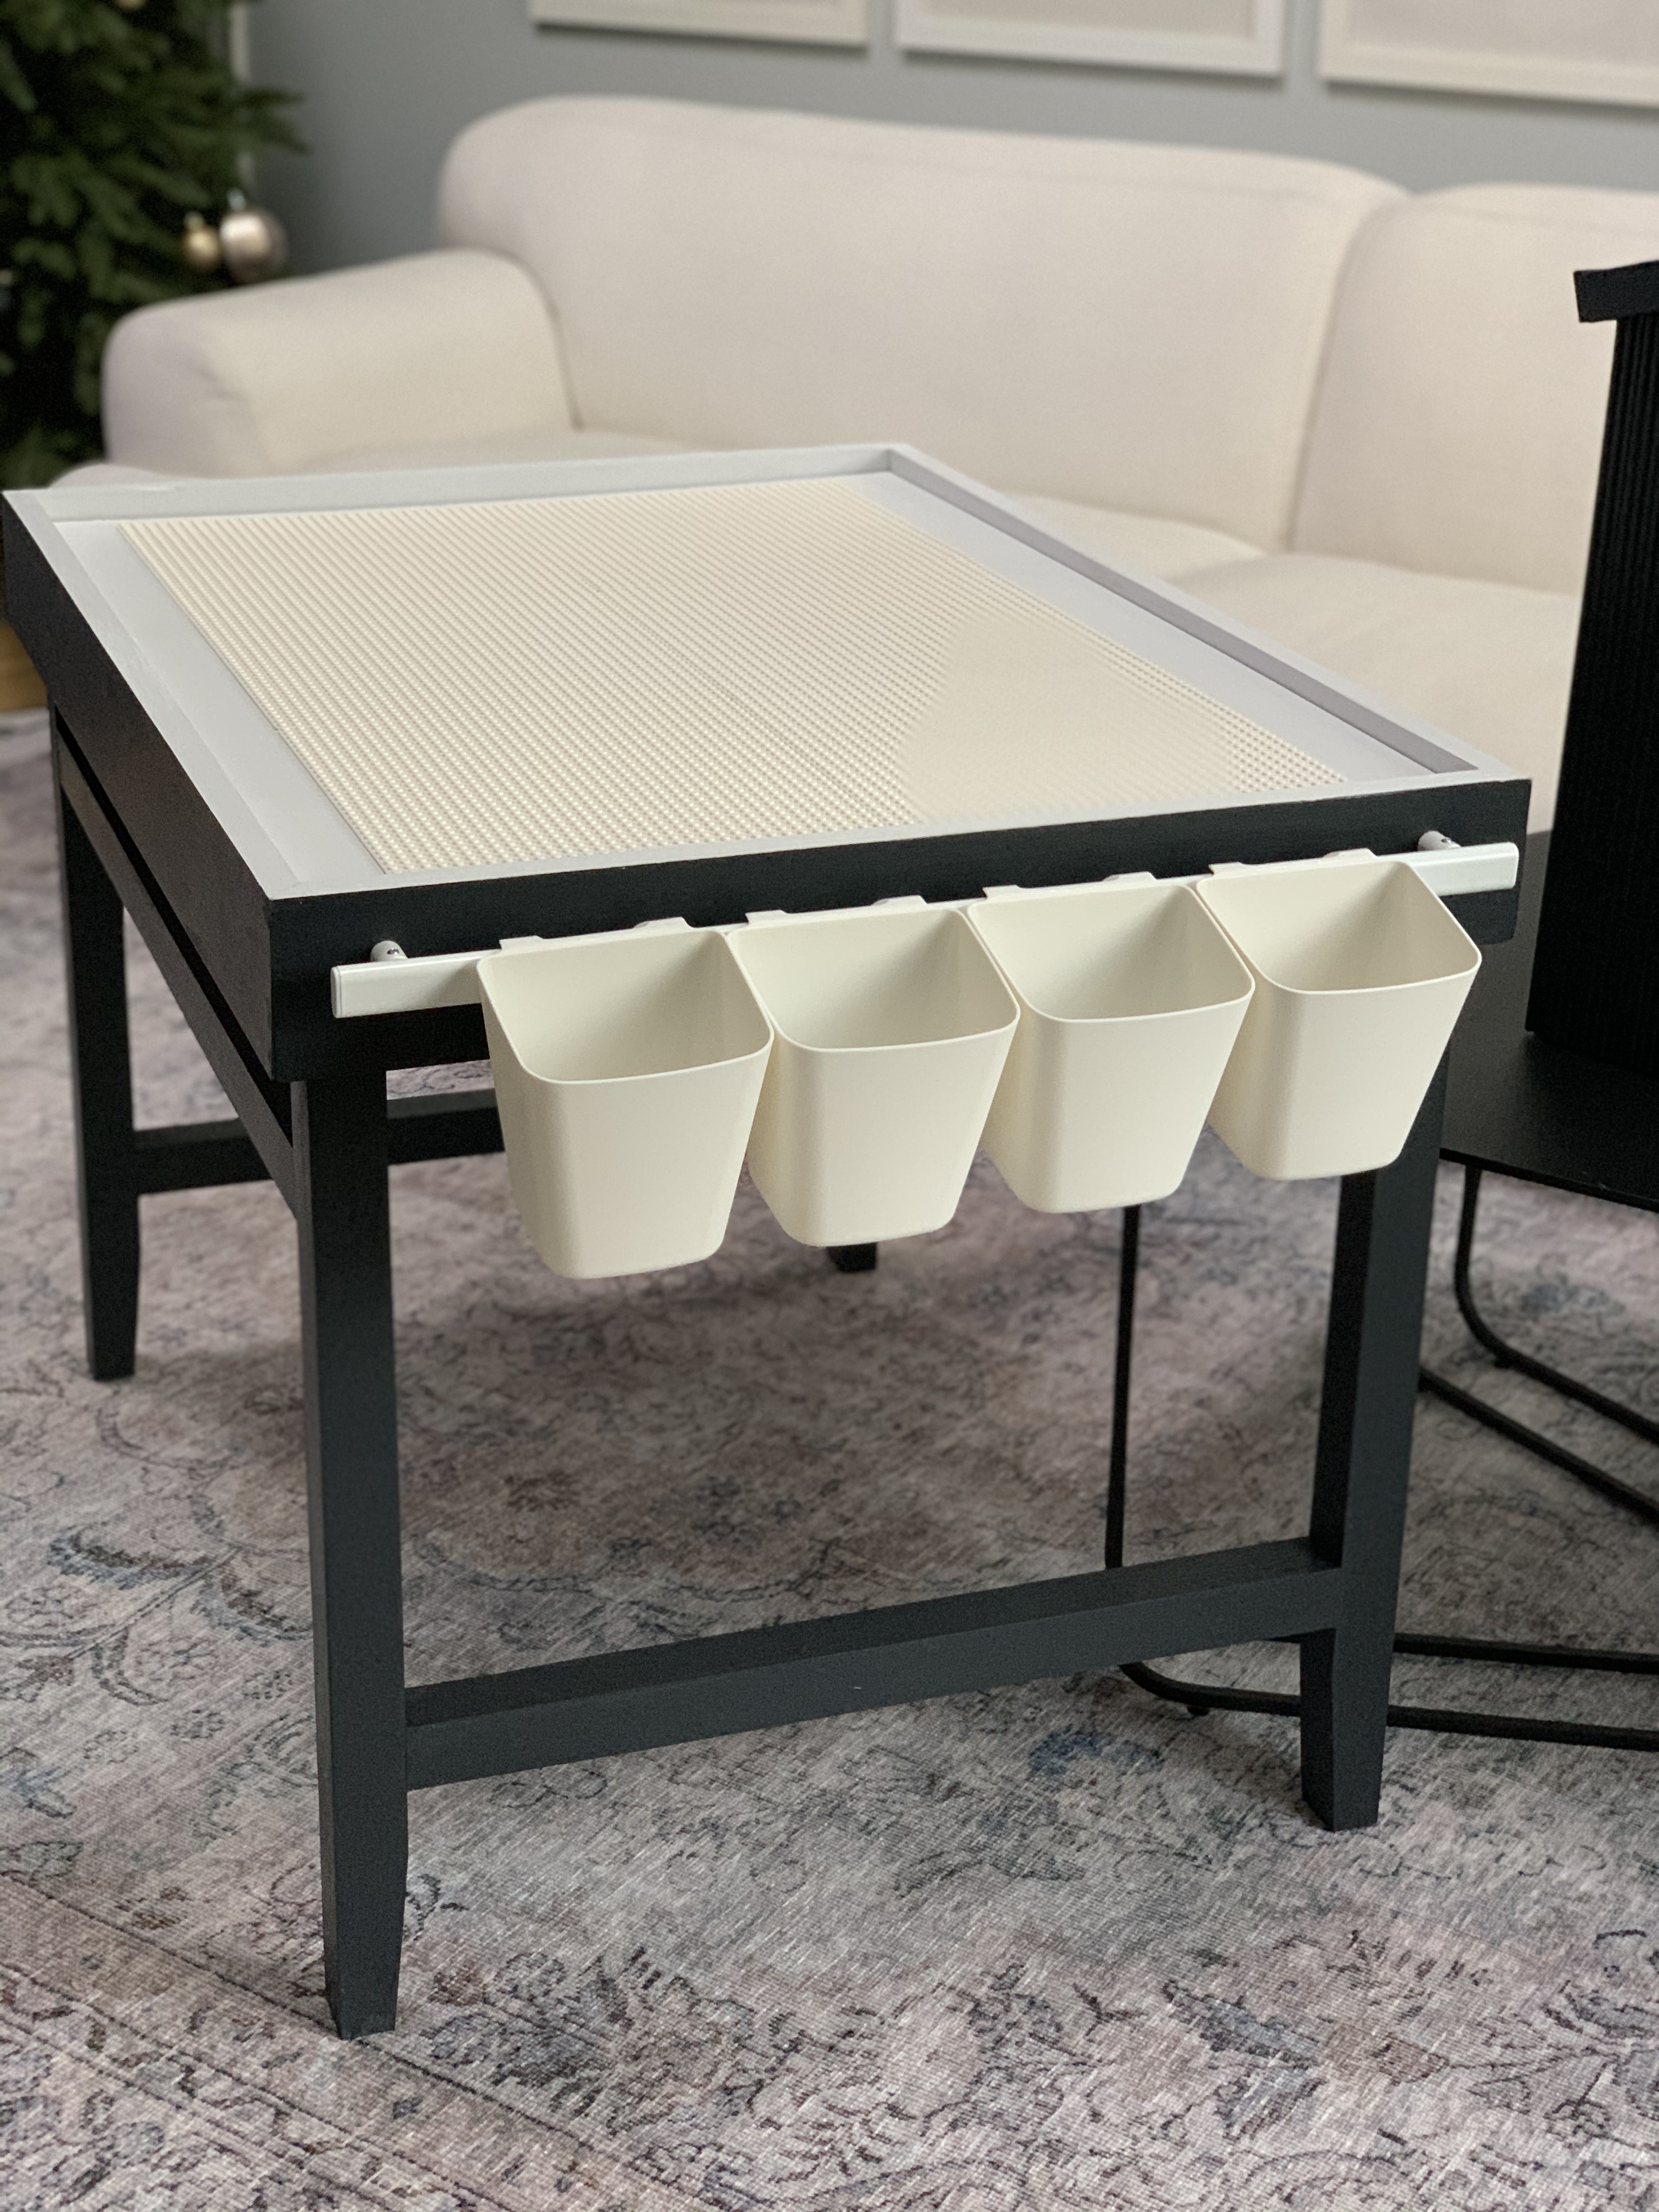
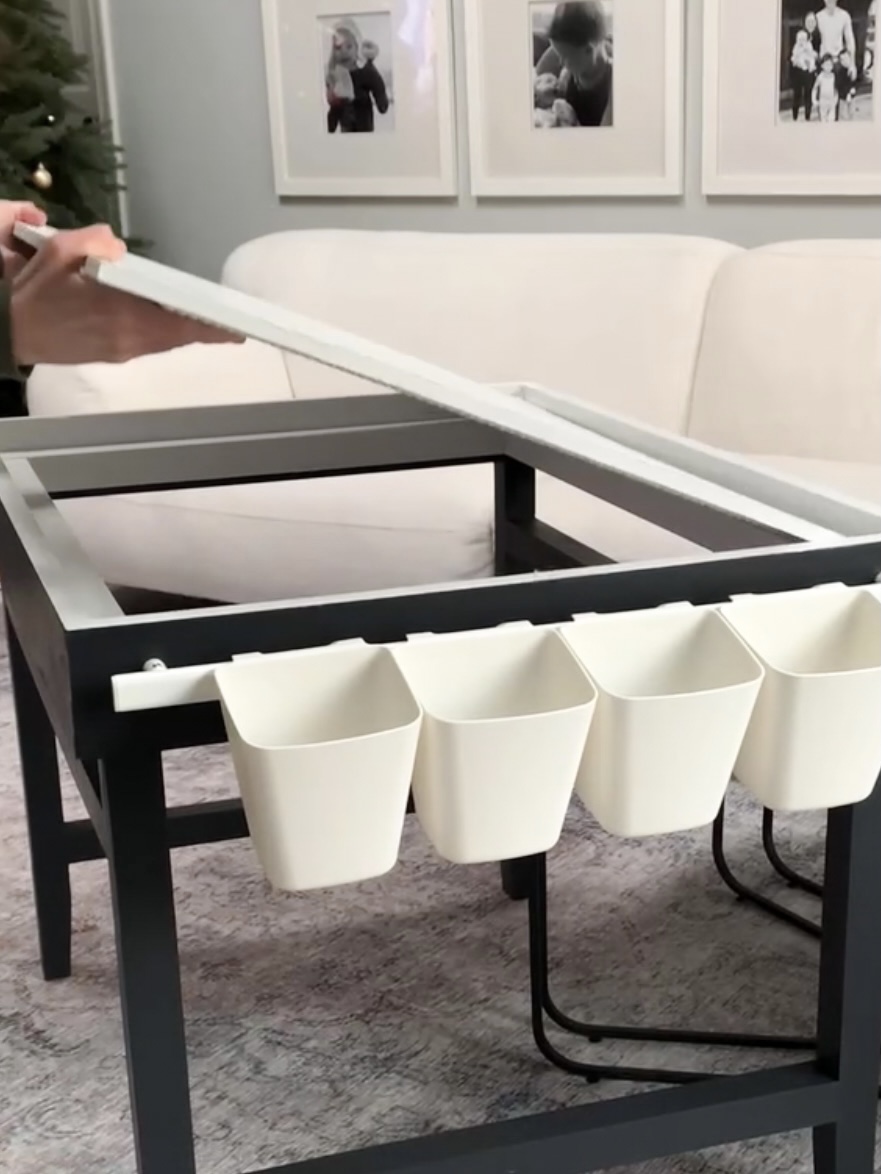
I left an edge around the LEGO tiles because I built the table to allow the tile side to be flipped over to a flat surface for drawing. I wanted the table top to lay flat on the edges of the frame. In hindsight, I think it still would’ve laid flat even with the tiles going edge to edge.
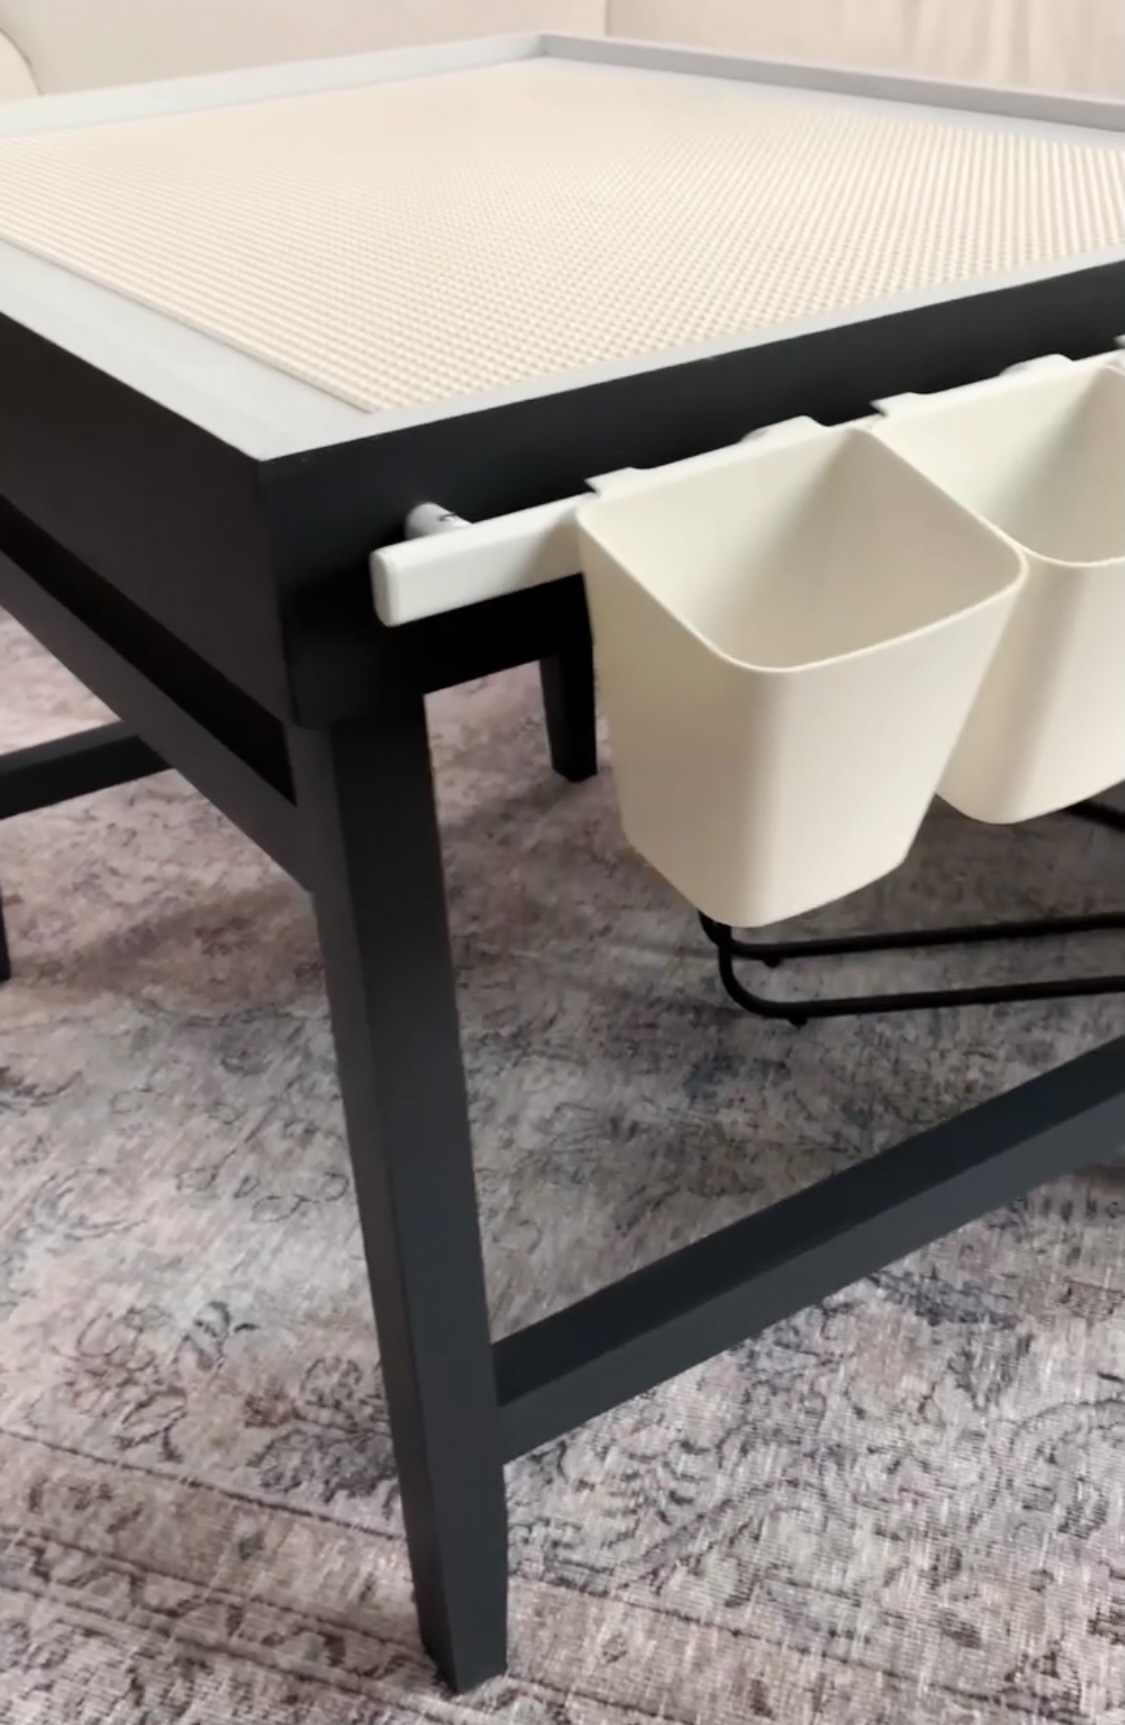
Materials Used
2×2 boards (I used pine) – approximately 26 feet (I purchased 4 8ft boards)
1×4 boards (I used pine again) – approximately 10 feet
Wood glue, Nail gun, 3 inch star-head screws, Screw driver, Sand paper, Paint
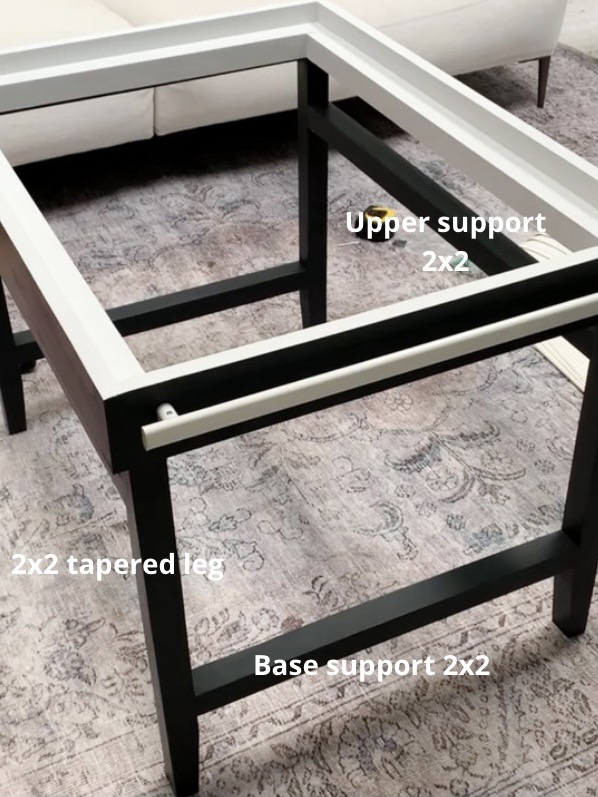
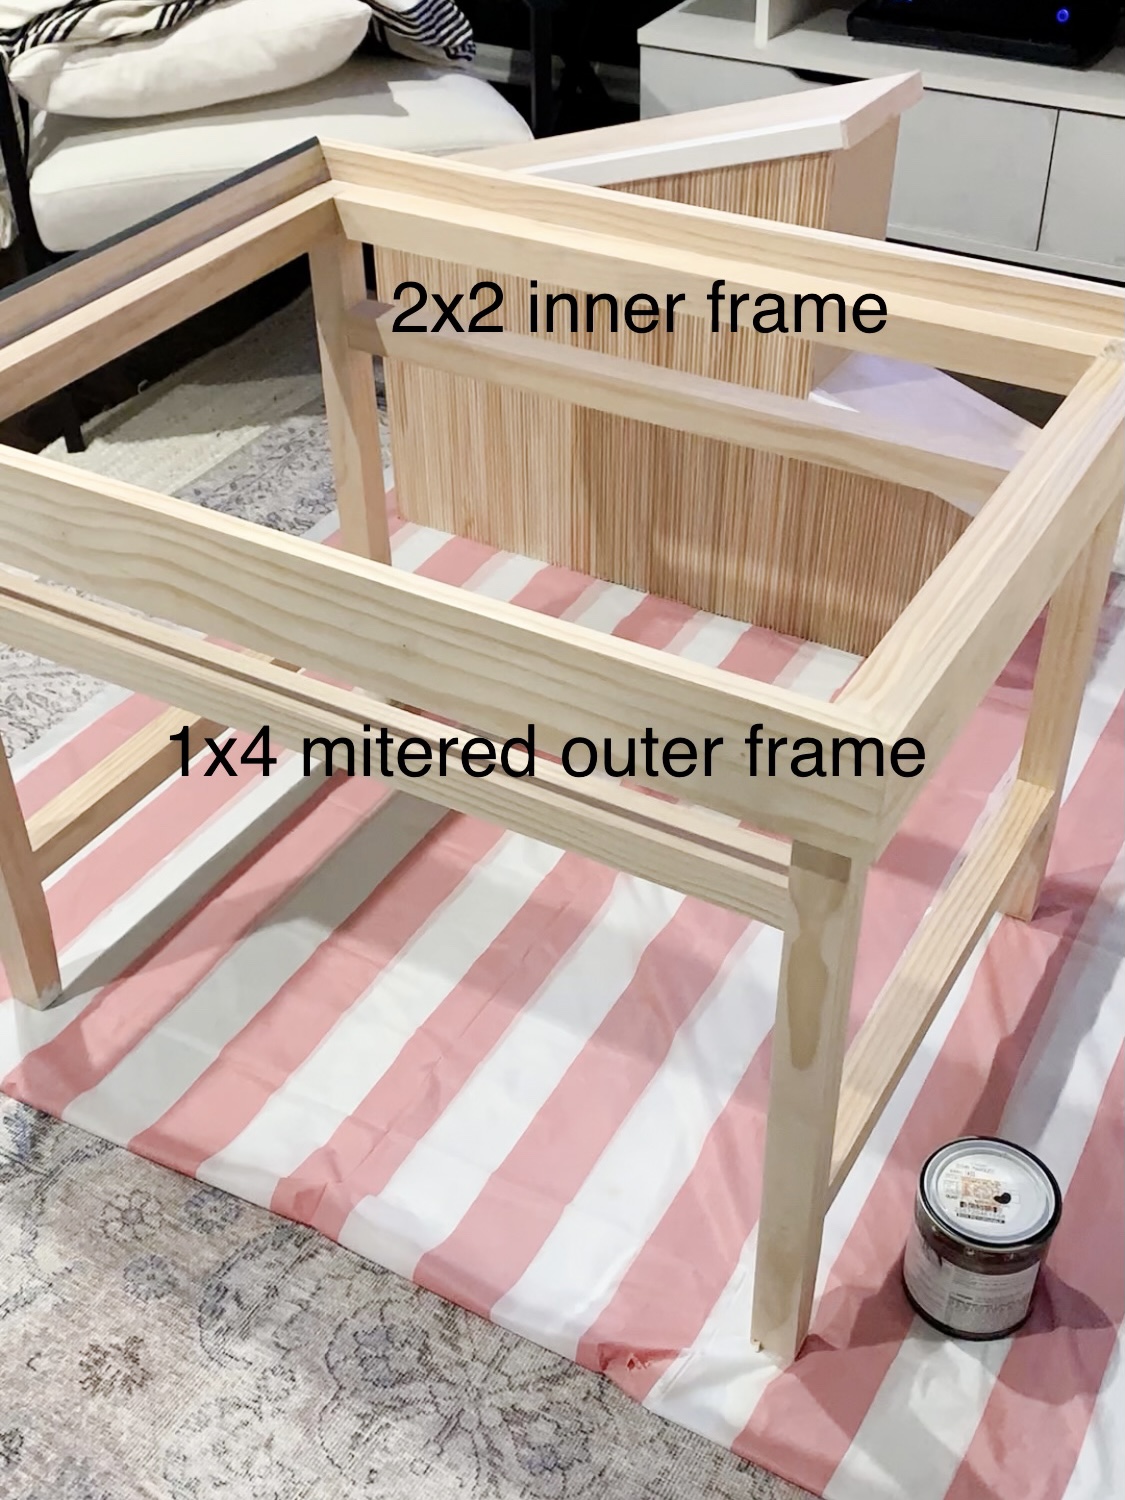
I cut the legs to 24 inches and tapered the bottom to about 4 degrees. I would go into more detail about the jig I used to do this taper, but I followed a friend’s tutorial and definitely am no pro. I’ve seen this look achieved with a jigsaw as well, which you can see in this linked blog post.
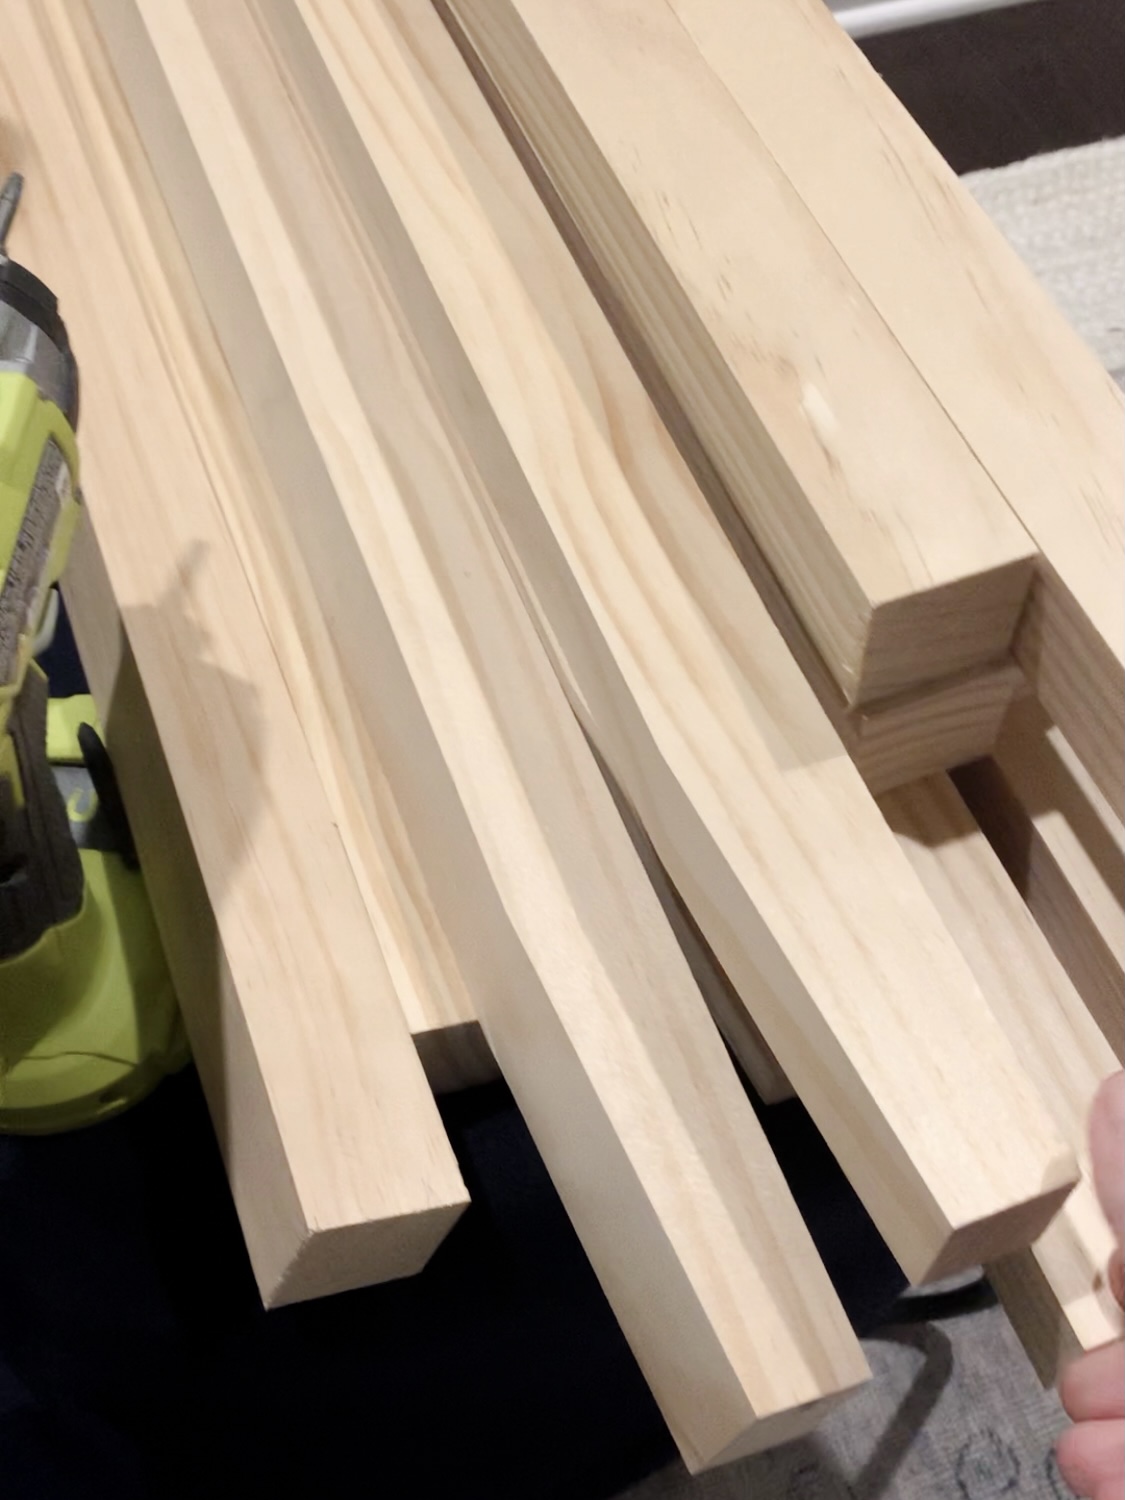
The Other Cuts
I based all the other cuts around the measurements for the top. Home Depot will cut down the sheets of plywood for you, so I didn’t even have to pull out my table saw. I had a piece cut down to 32″ long and 24″ wide. After cutting down the legs, I placed the leg on each corner of the sheet of plywood with about 1/8″ overhang and traced around the square. I then measured between each traced square to make my cuts.
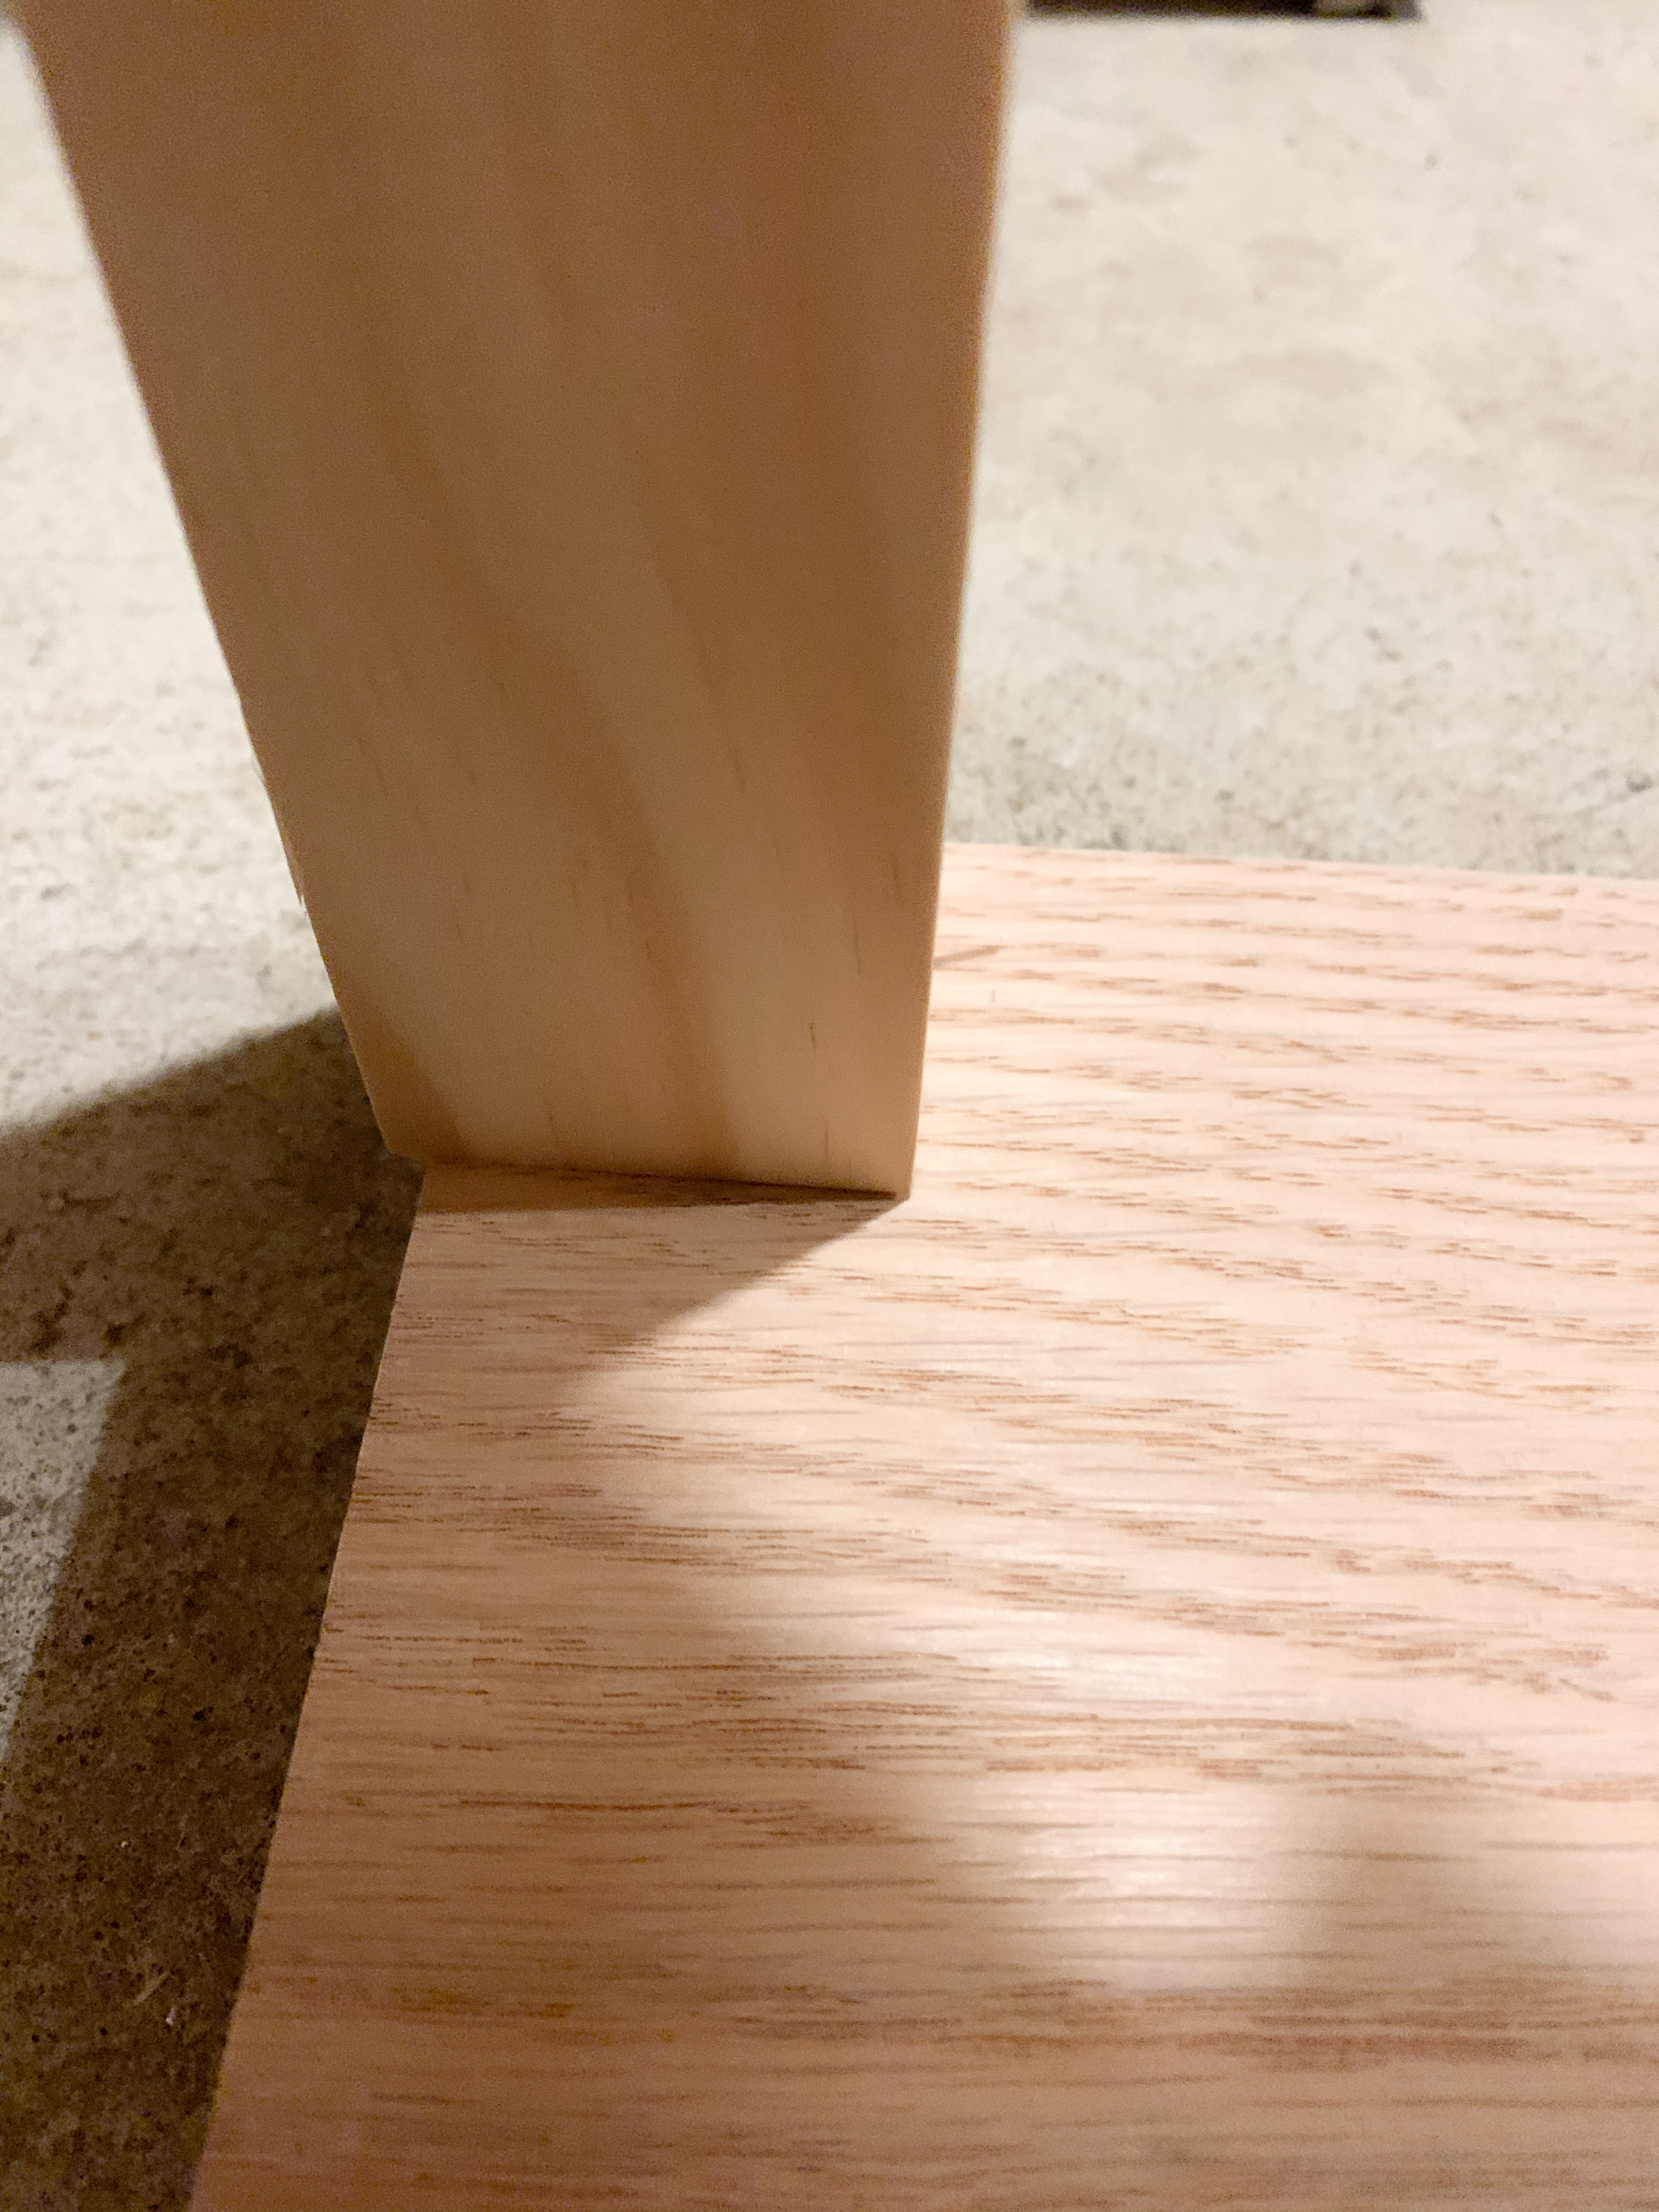
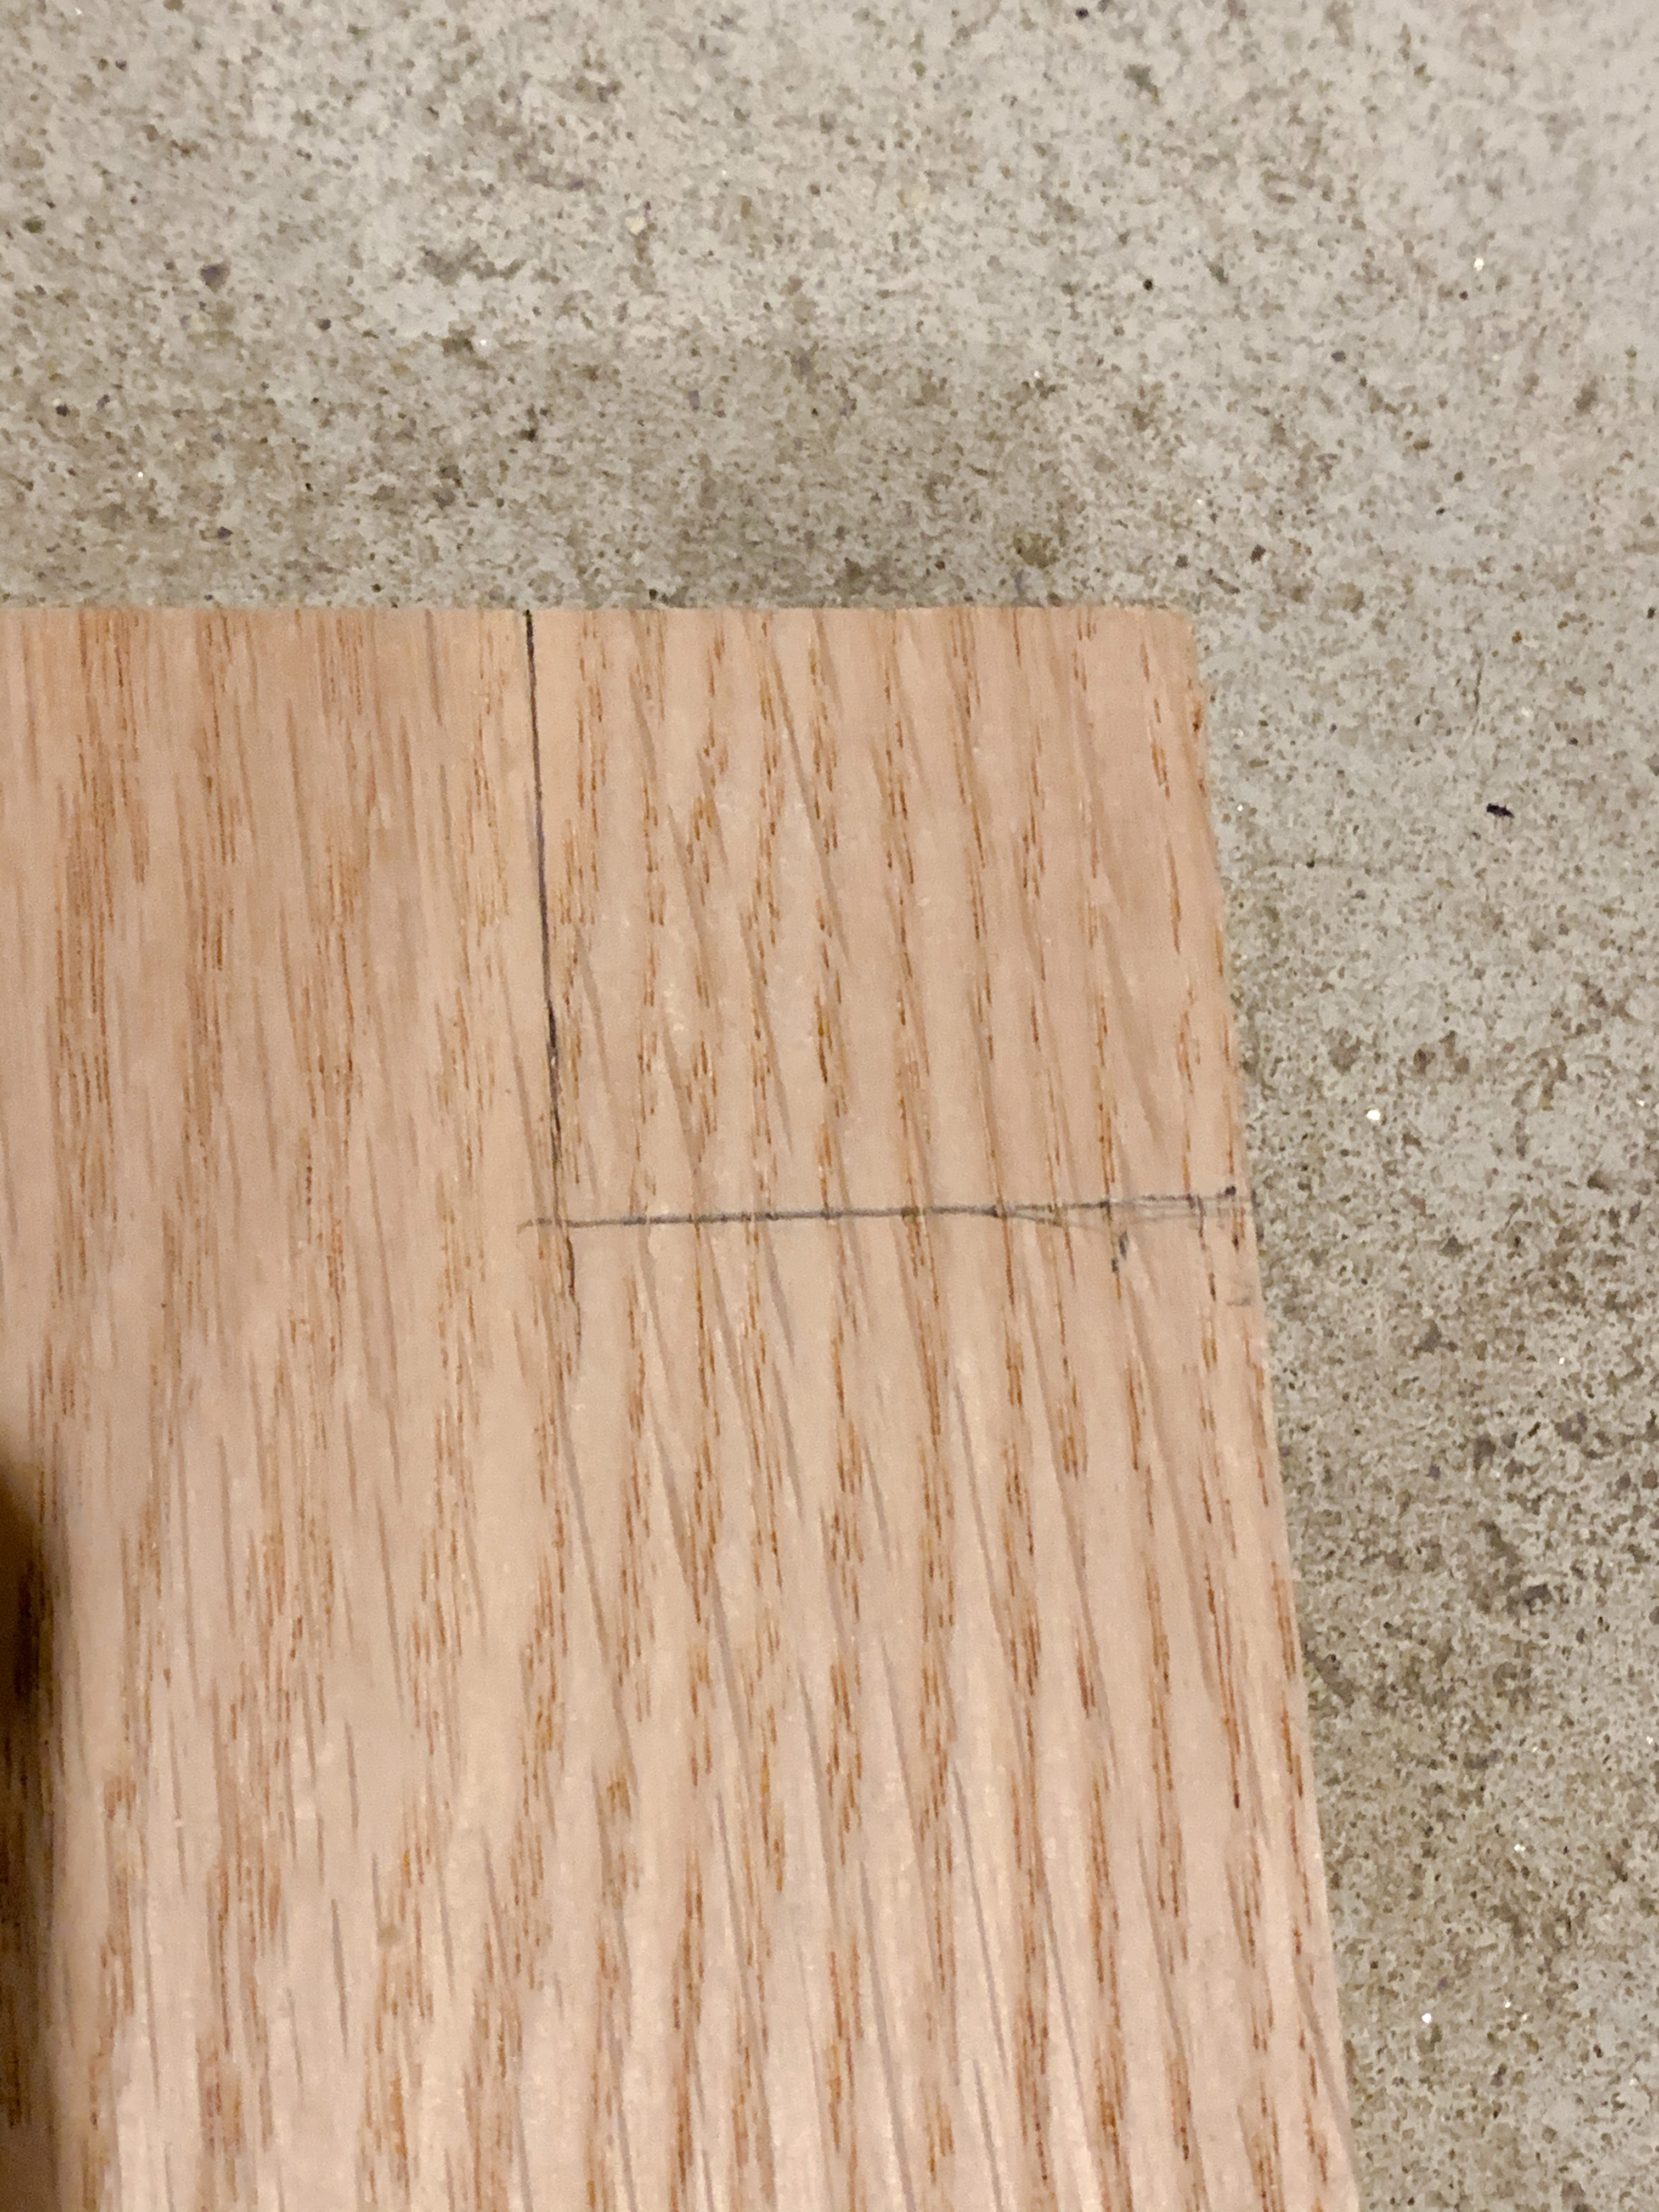
The reason I did it this way instead of just using math is because wood can warp. I wanted to be confident that the specific 24×32″ board I had would fit into the table. I cut four pieces for the shorter 24″ side, two for the top frame and two for the bottom supports. I cut four pieces for the longer 32″ side, two for the top frame and two for the bottom supports.
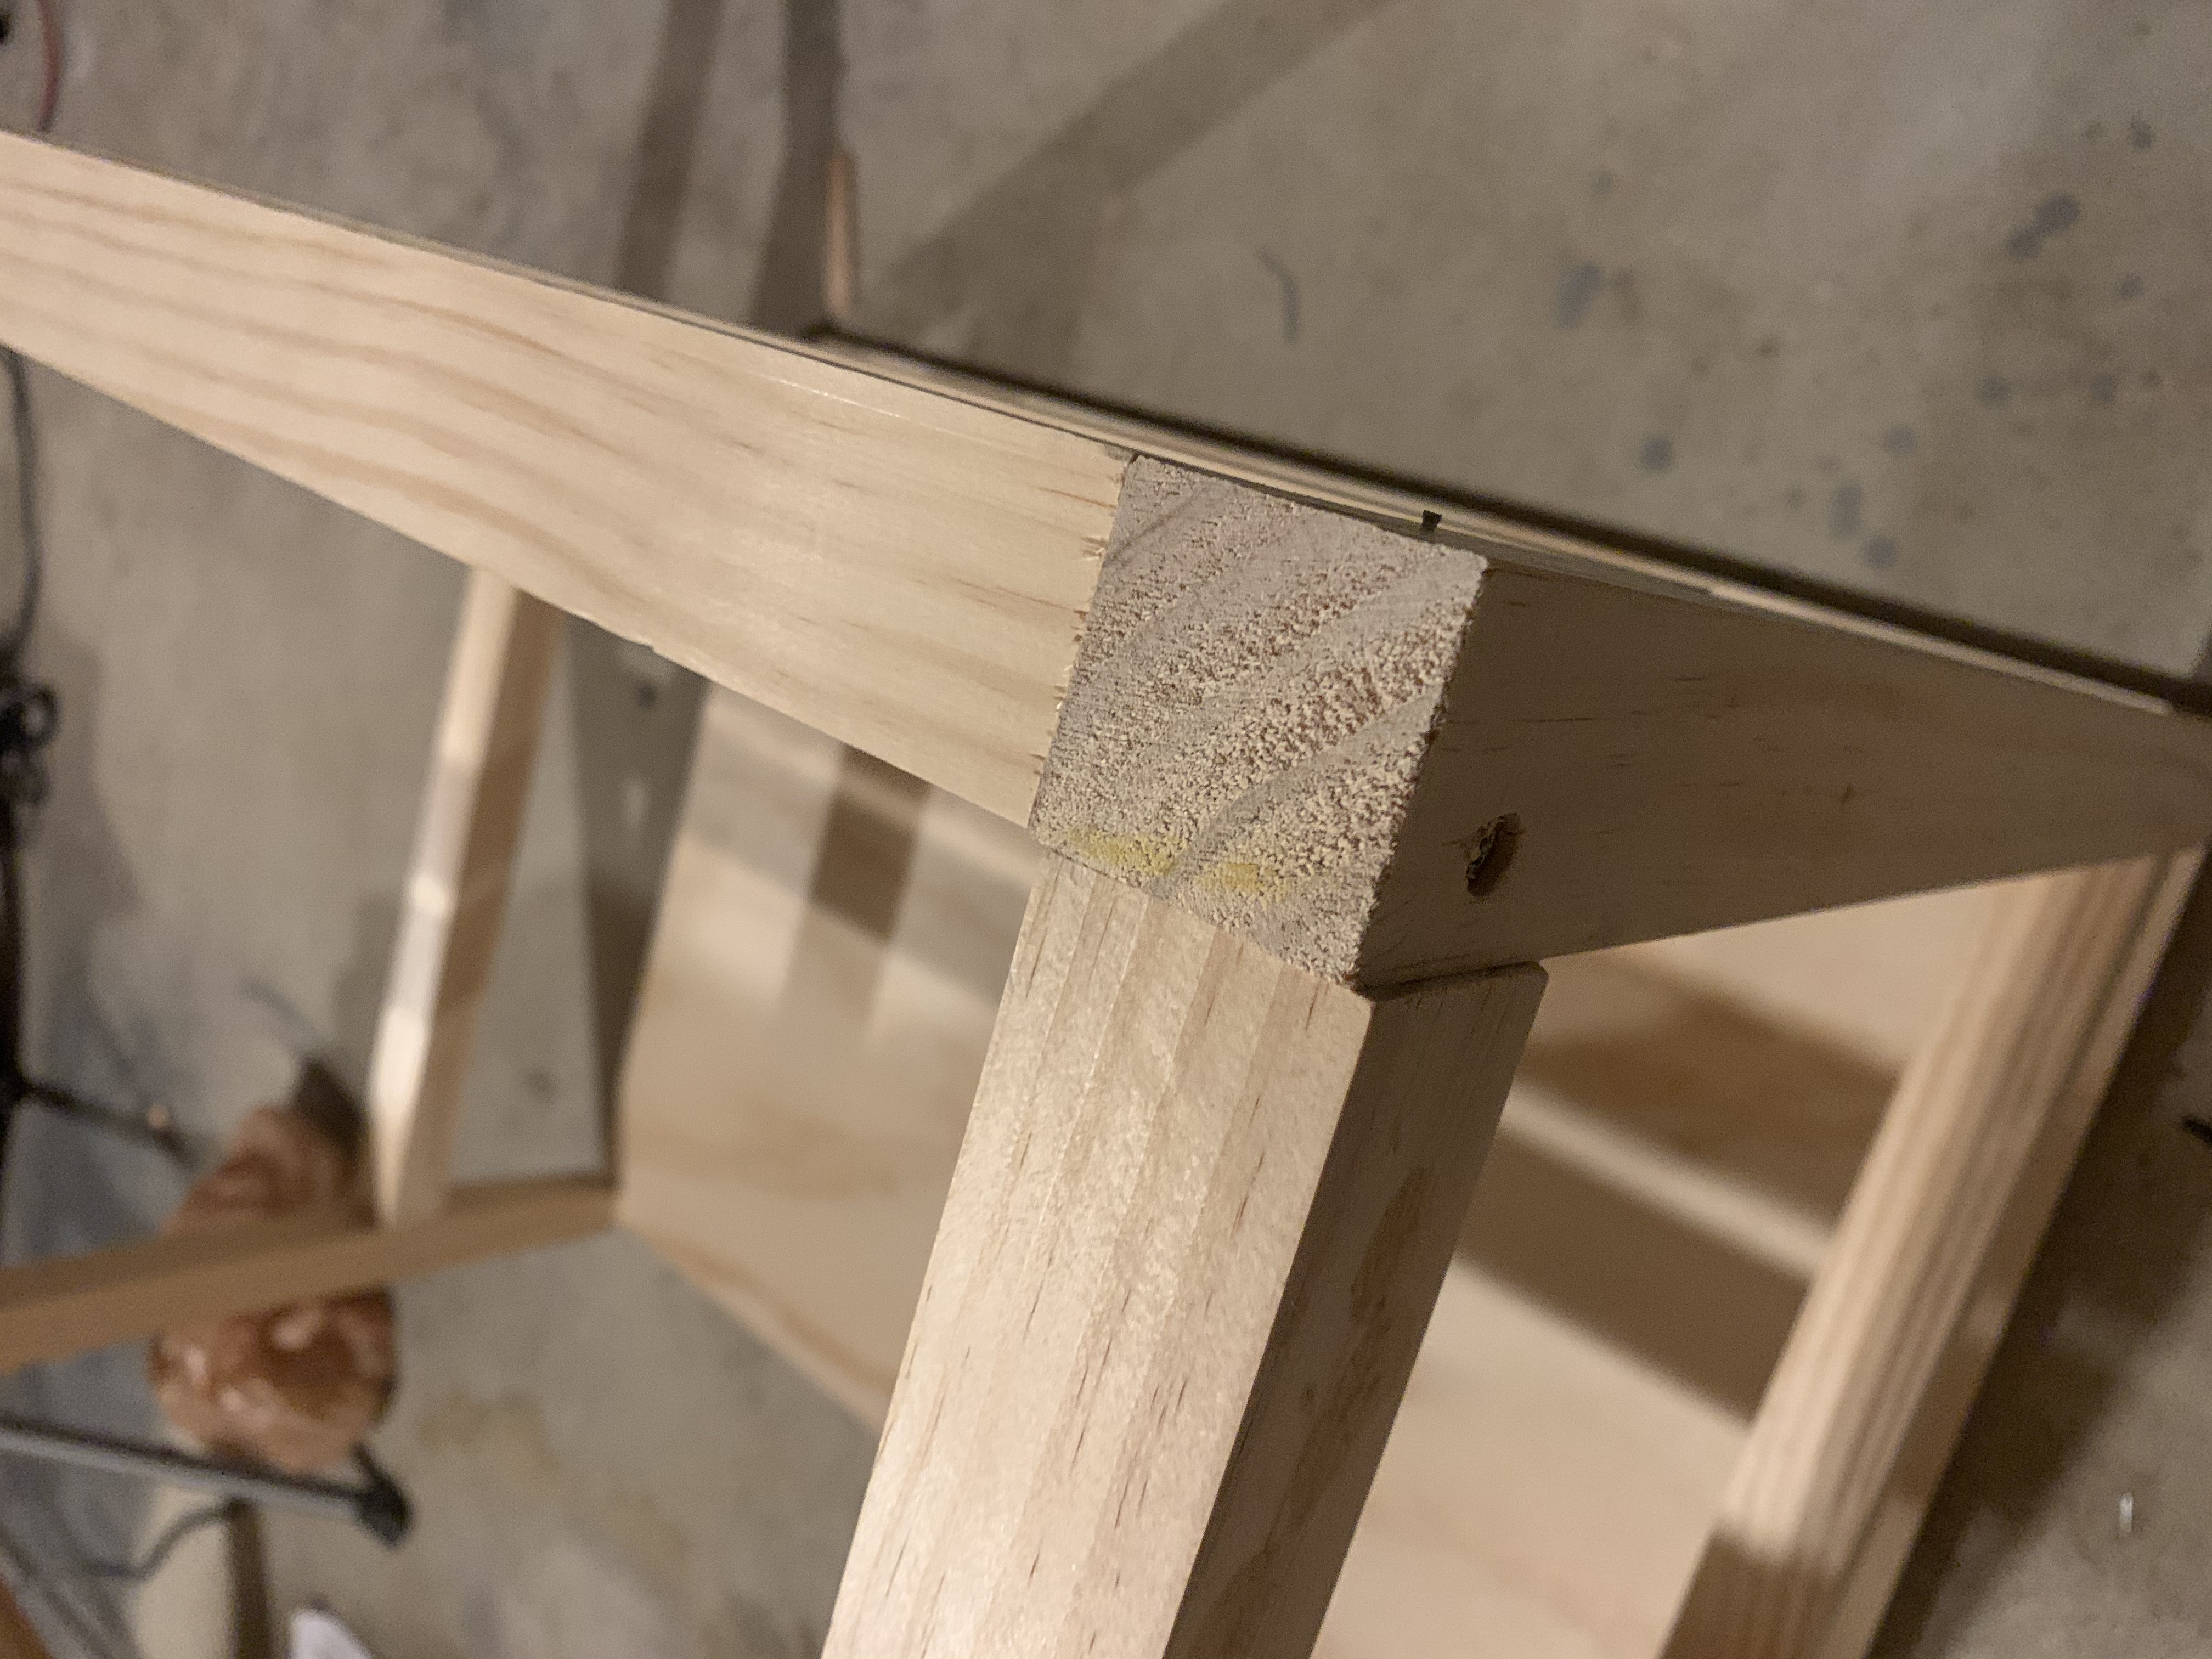
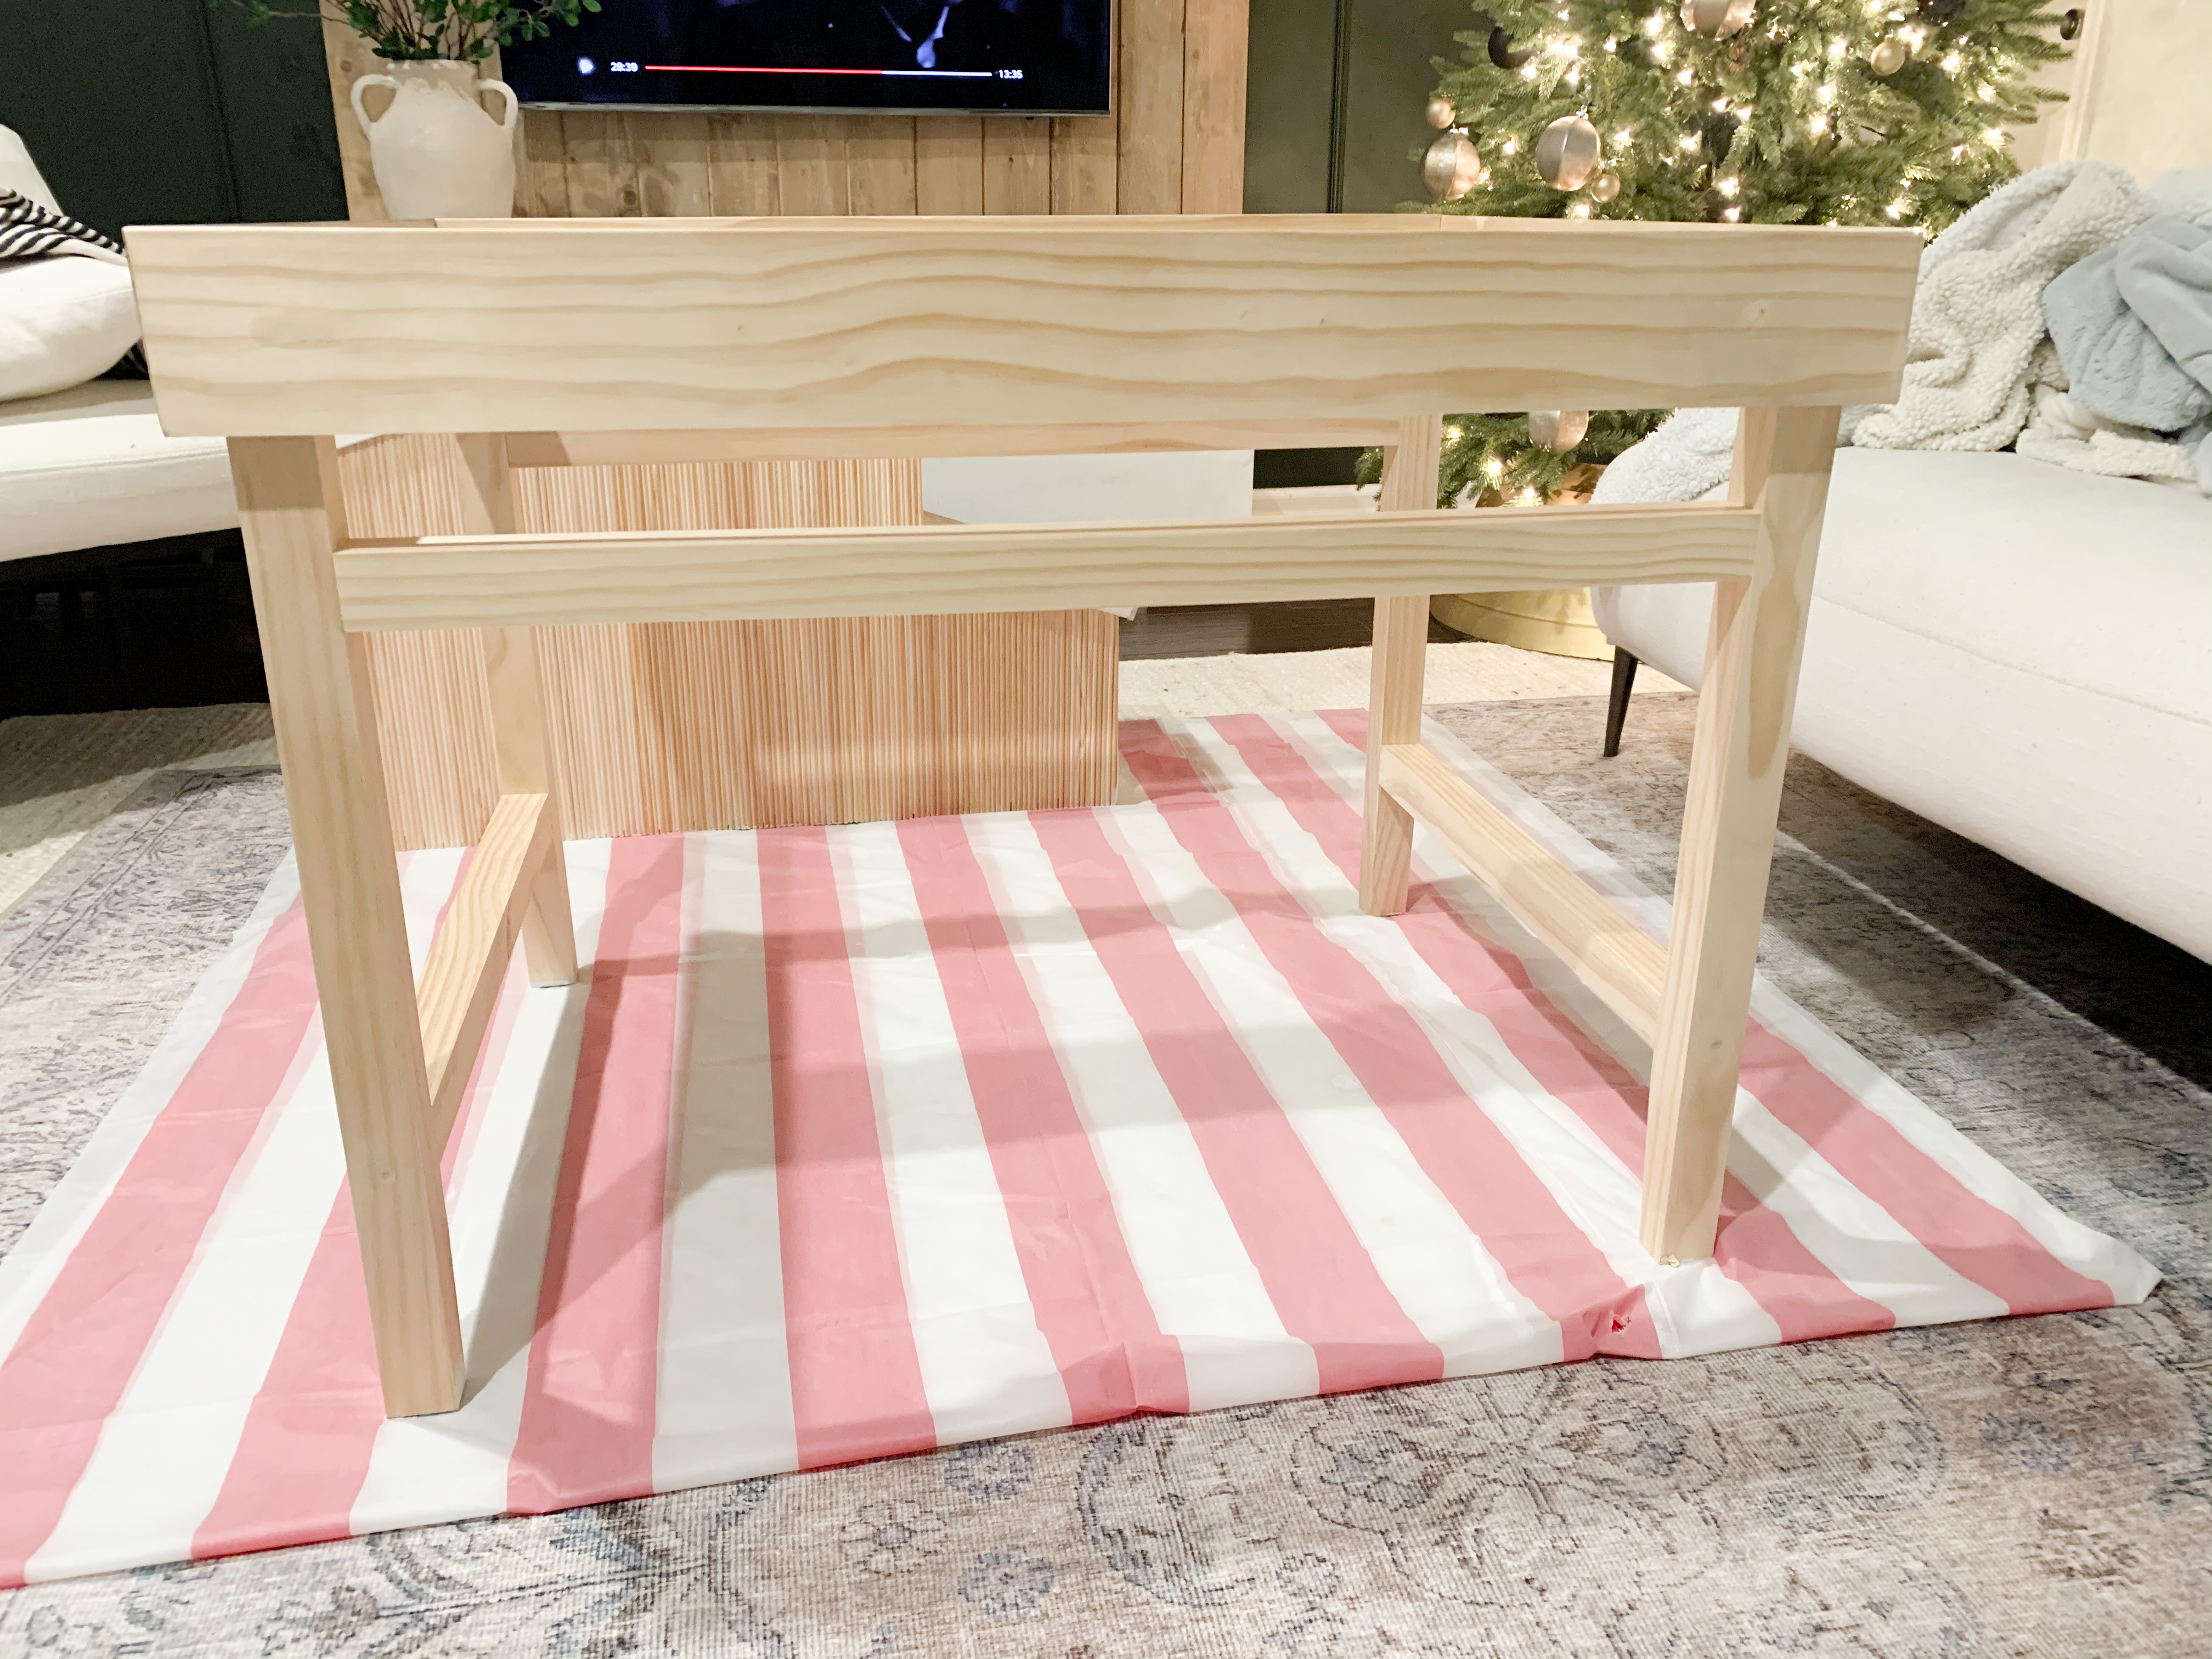
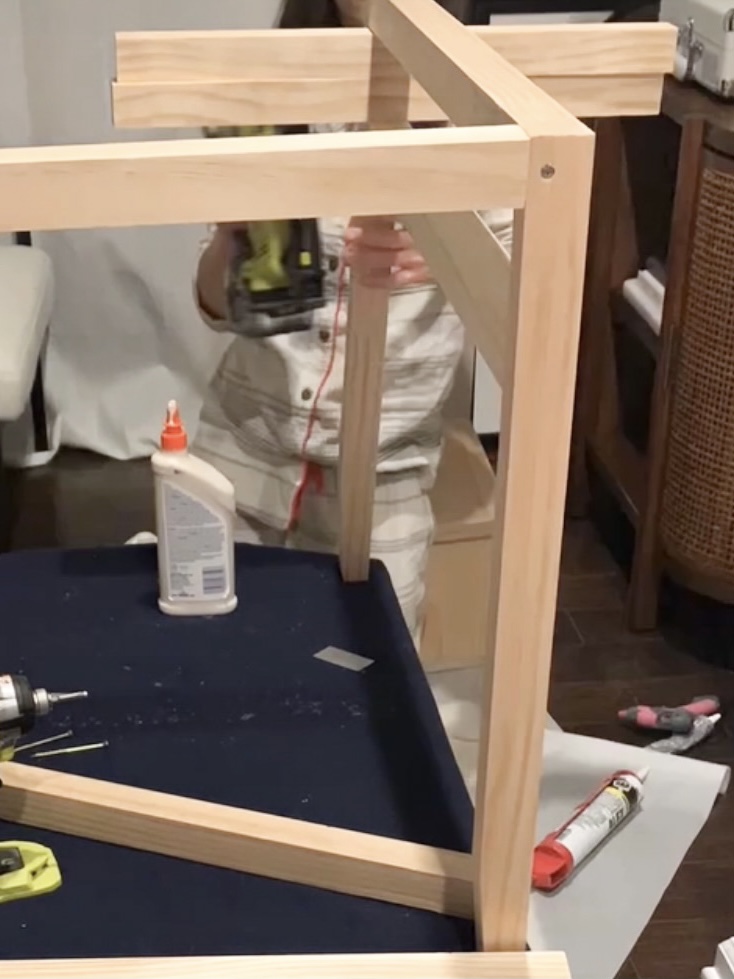
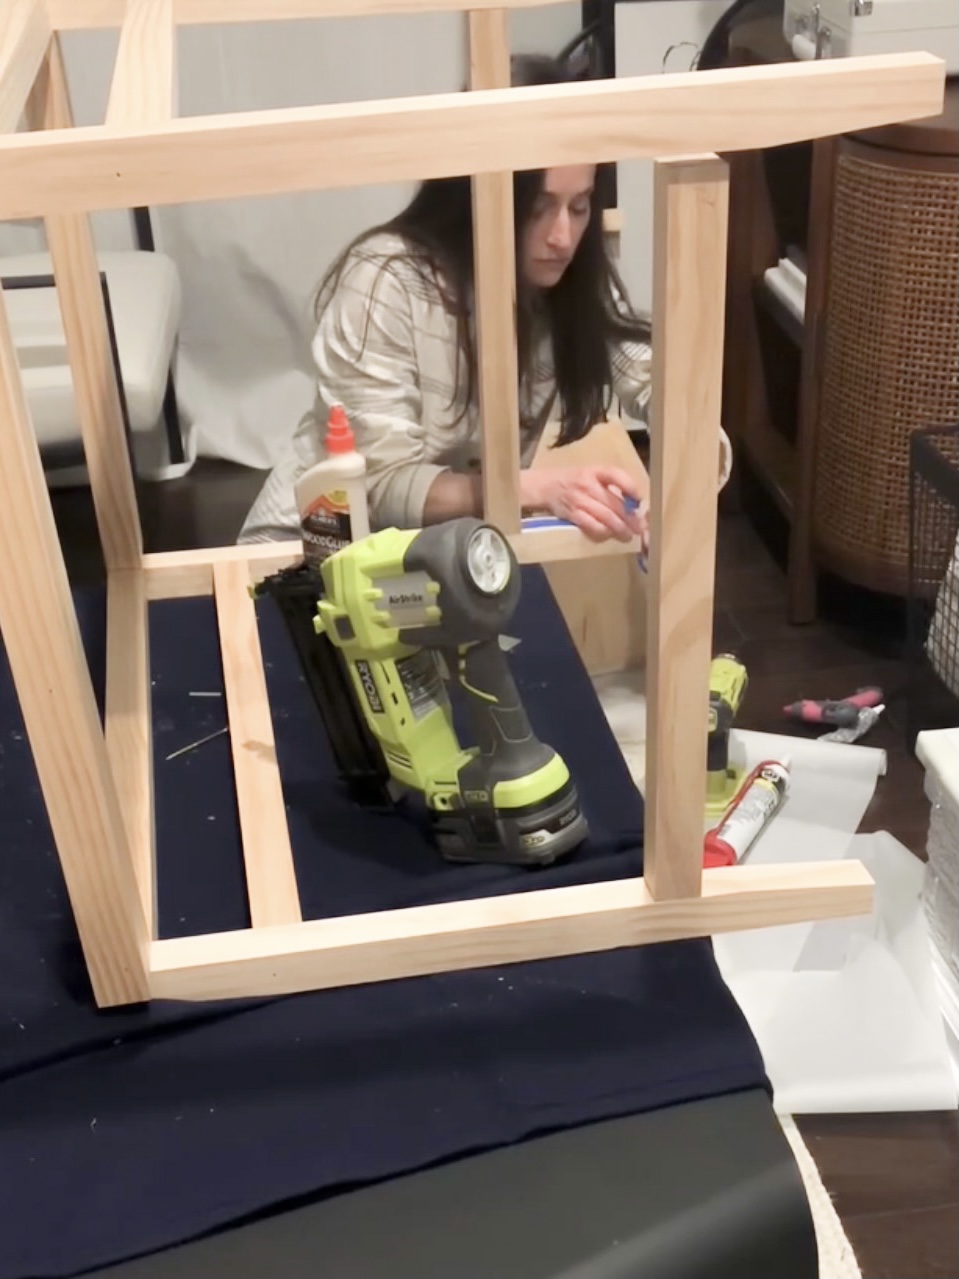
I used the 3 inch screws to attach all the 2×2 pieces. Be sure to stagger the screws, so they don’t hit the one coming from the other side, and don’t forget the wood glue! When I was assembling the frame, I realized I had forgotten my corner clamps. You can see in the above left picture, the corner could’ve been better. Clamps would’ve helped, but after the wood glue dried, I was able to sand those uneven edges down. Once sanded, I measured for the 1×4 outer frame. (Don’t forget, when measuring corner to corner of the inner frame, you’re getting the inside measurement of the 45 degree angles for the outer frame.)
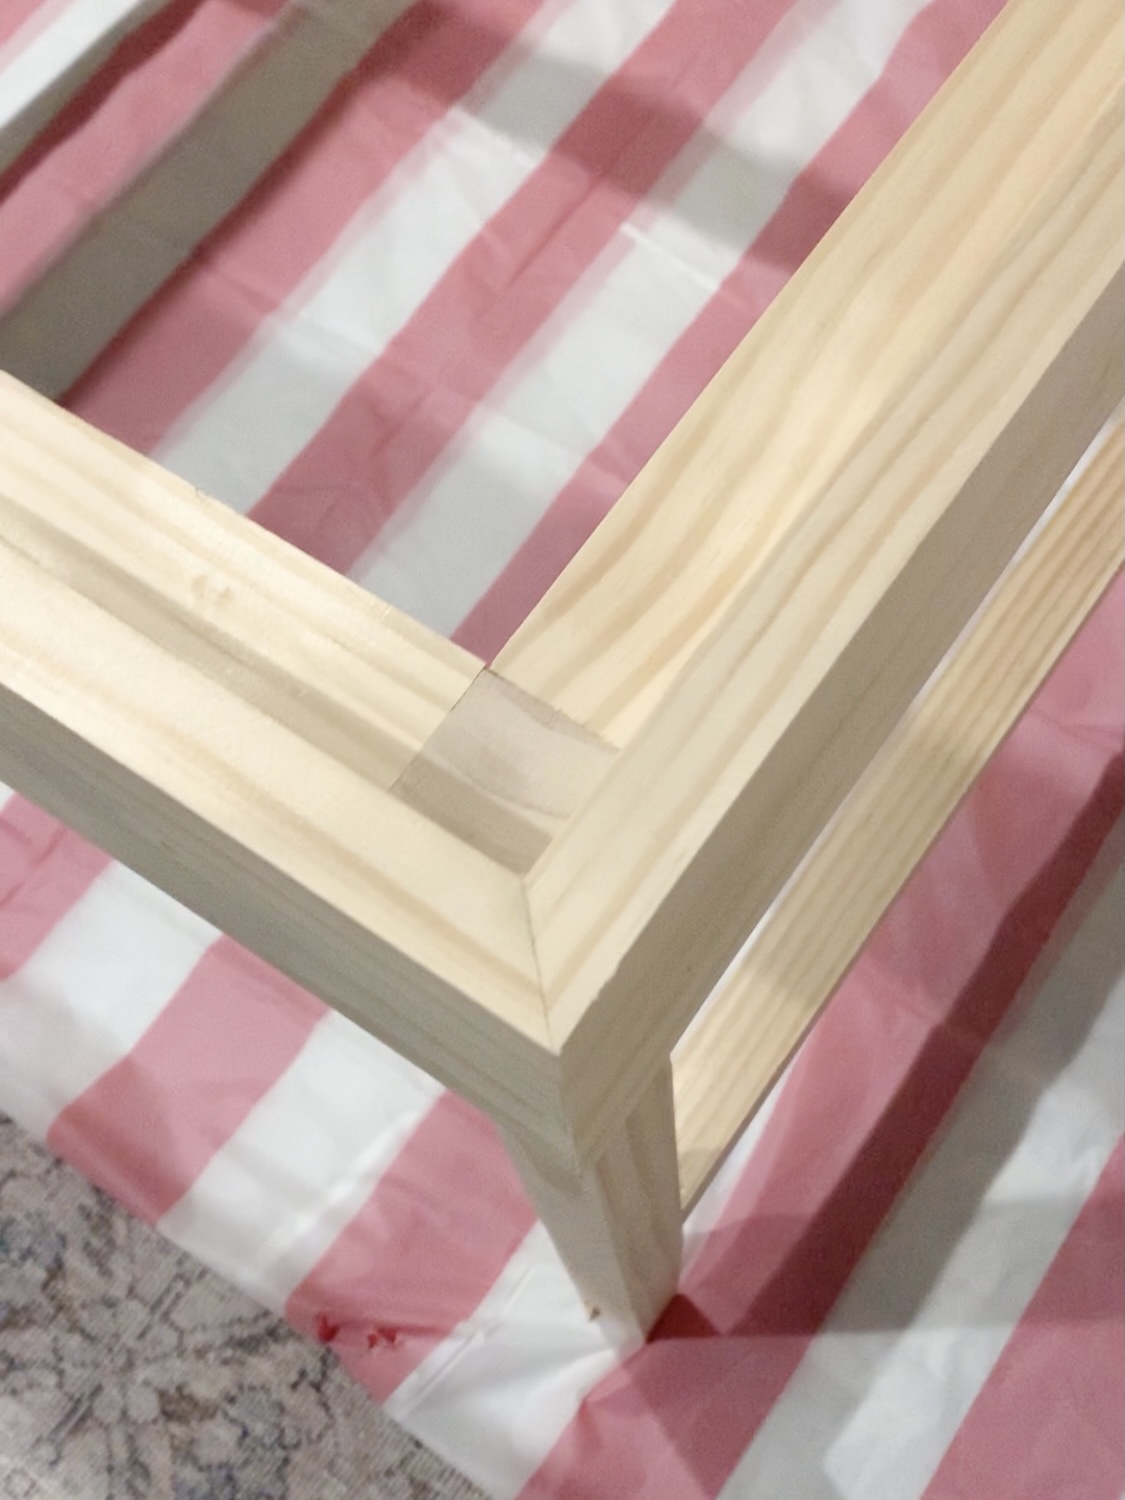
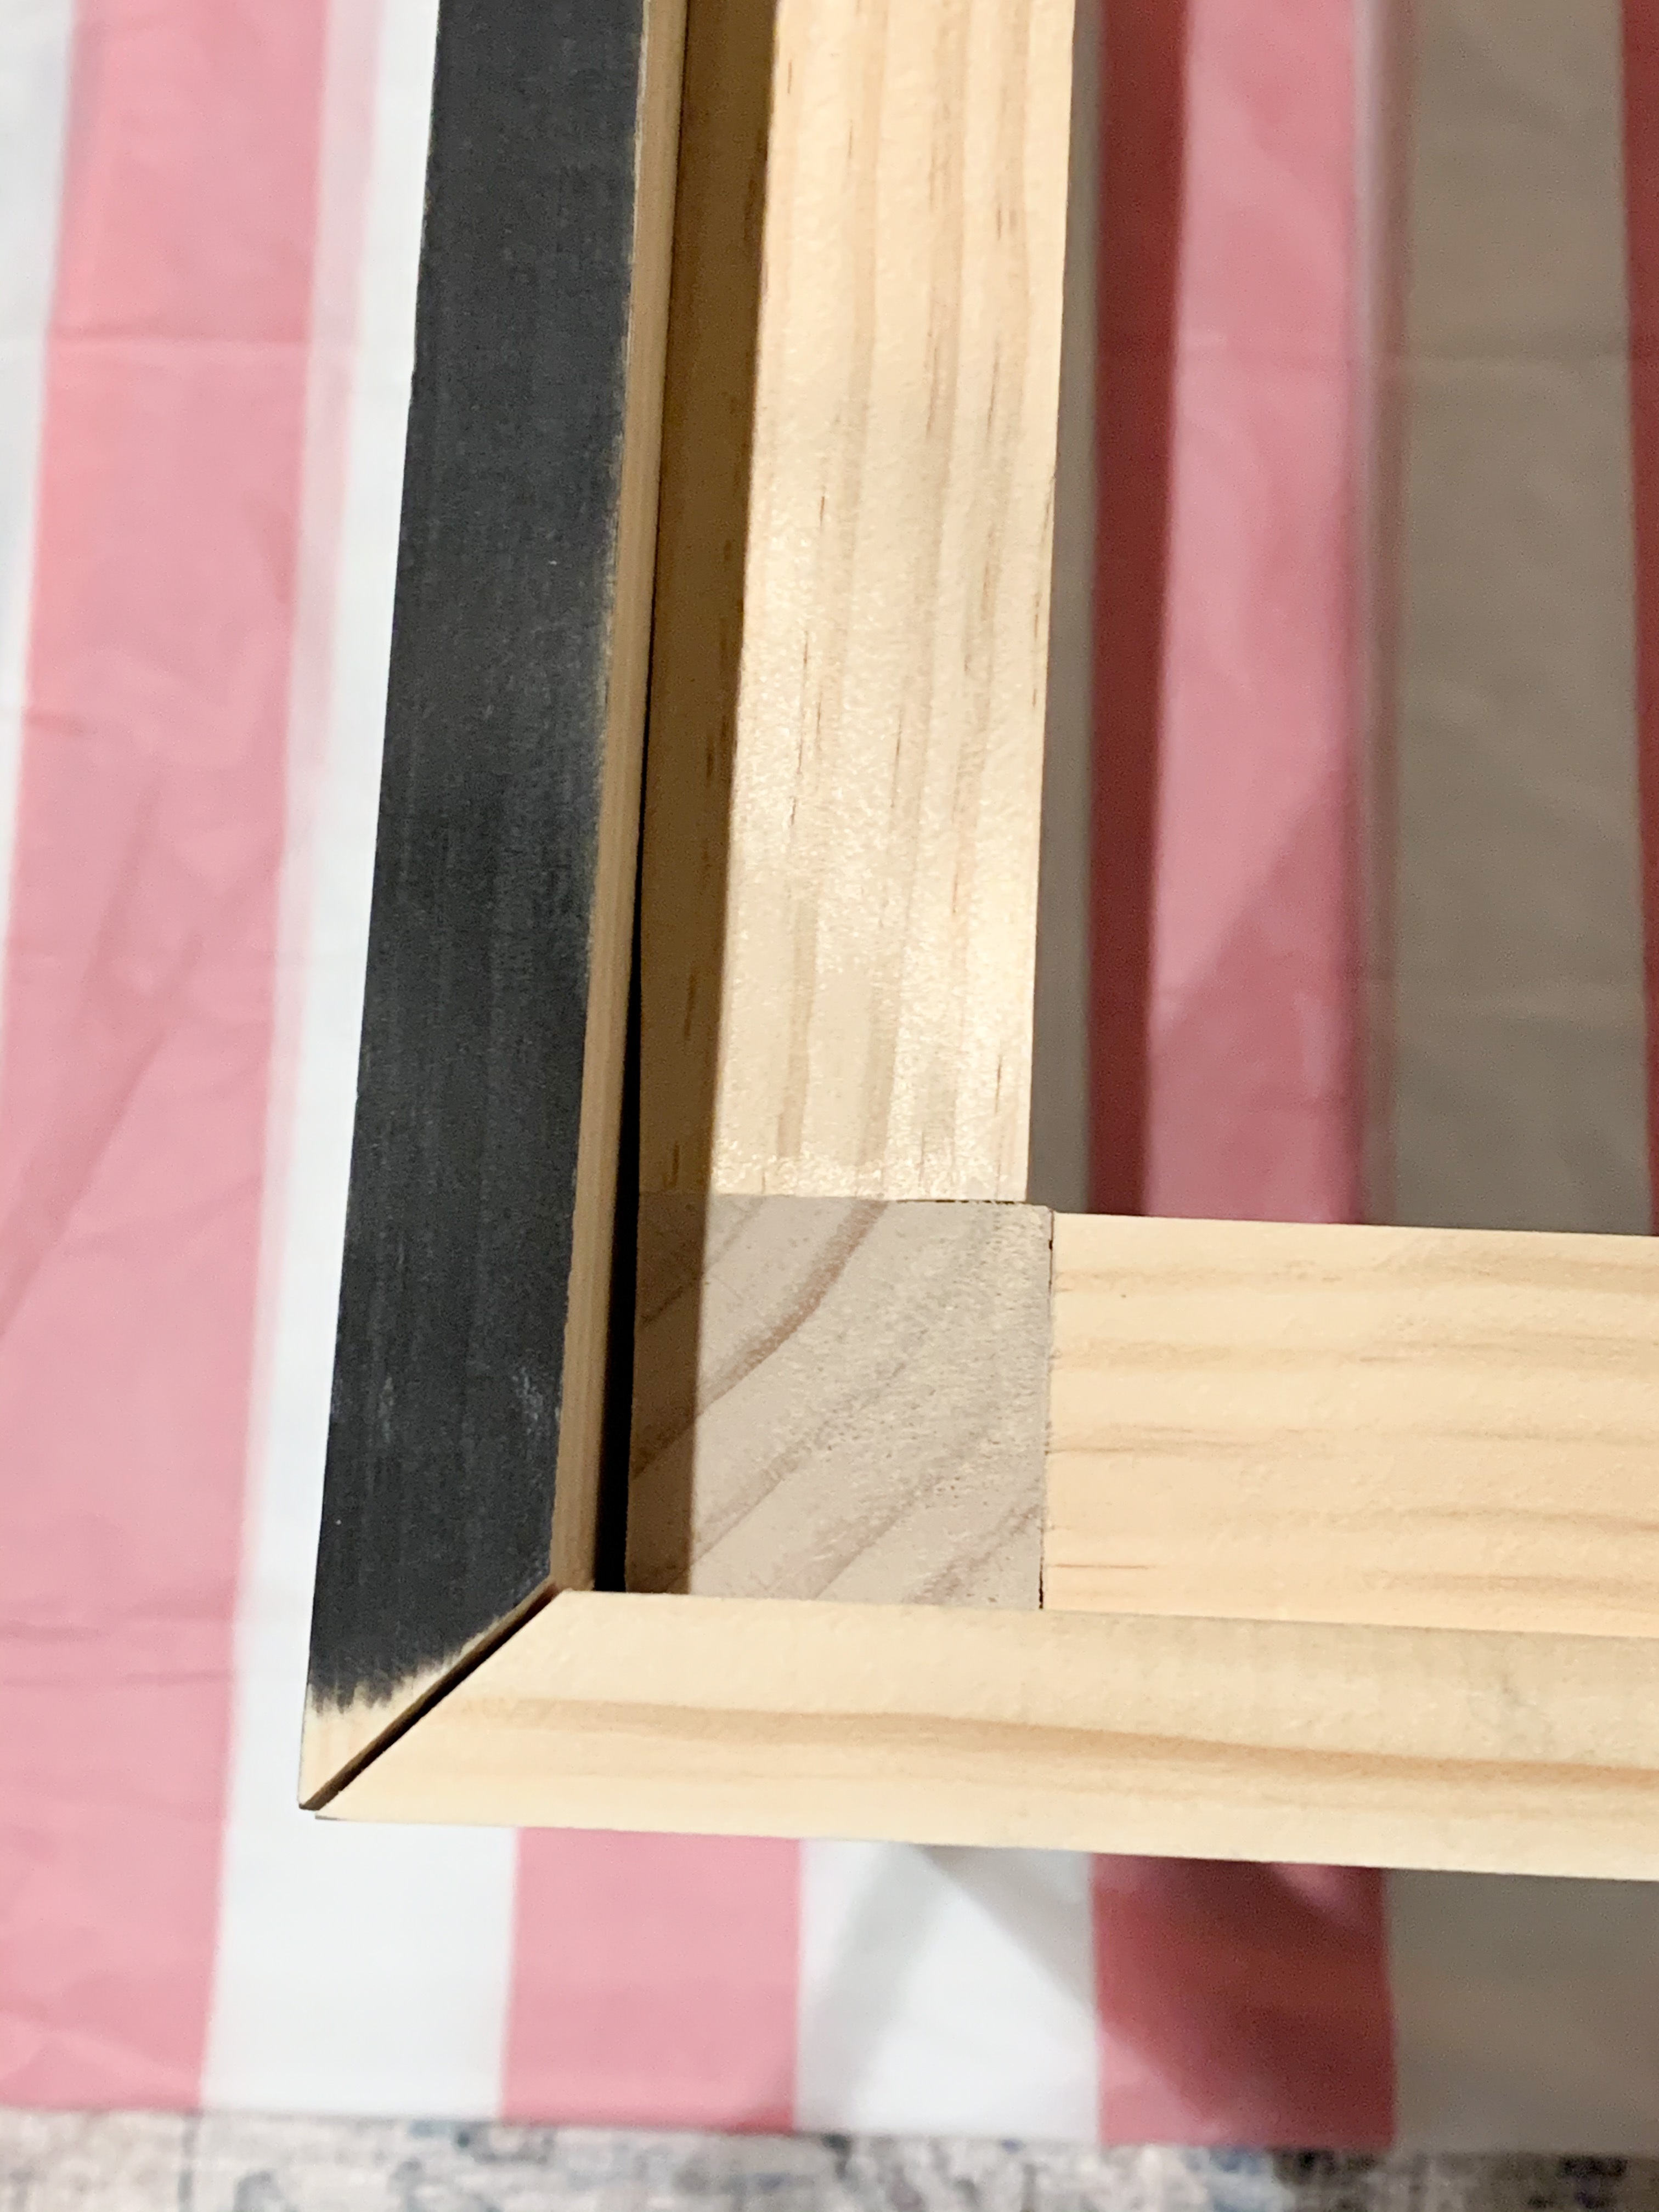
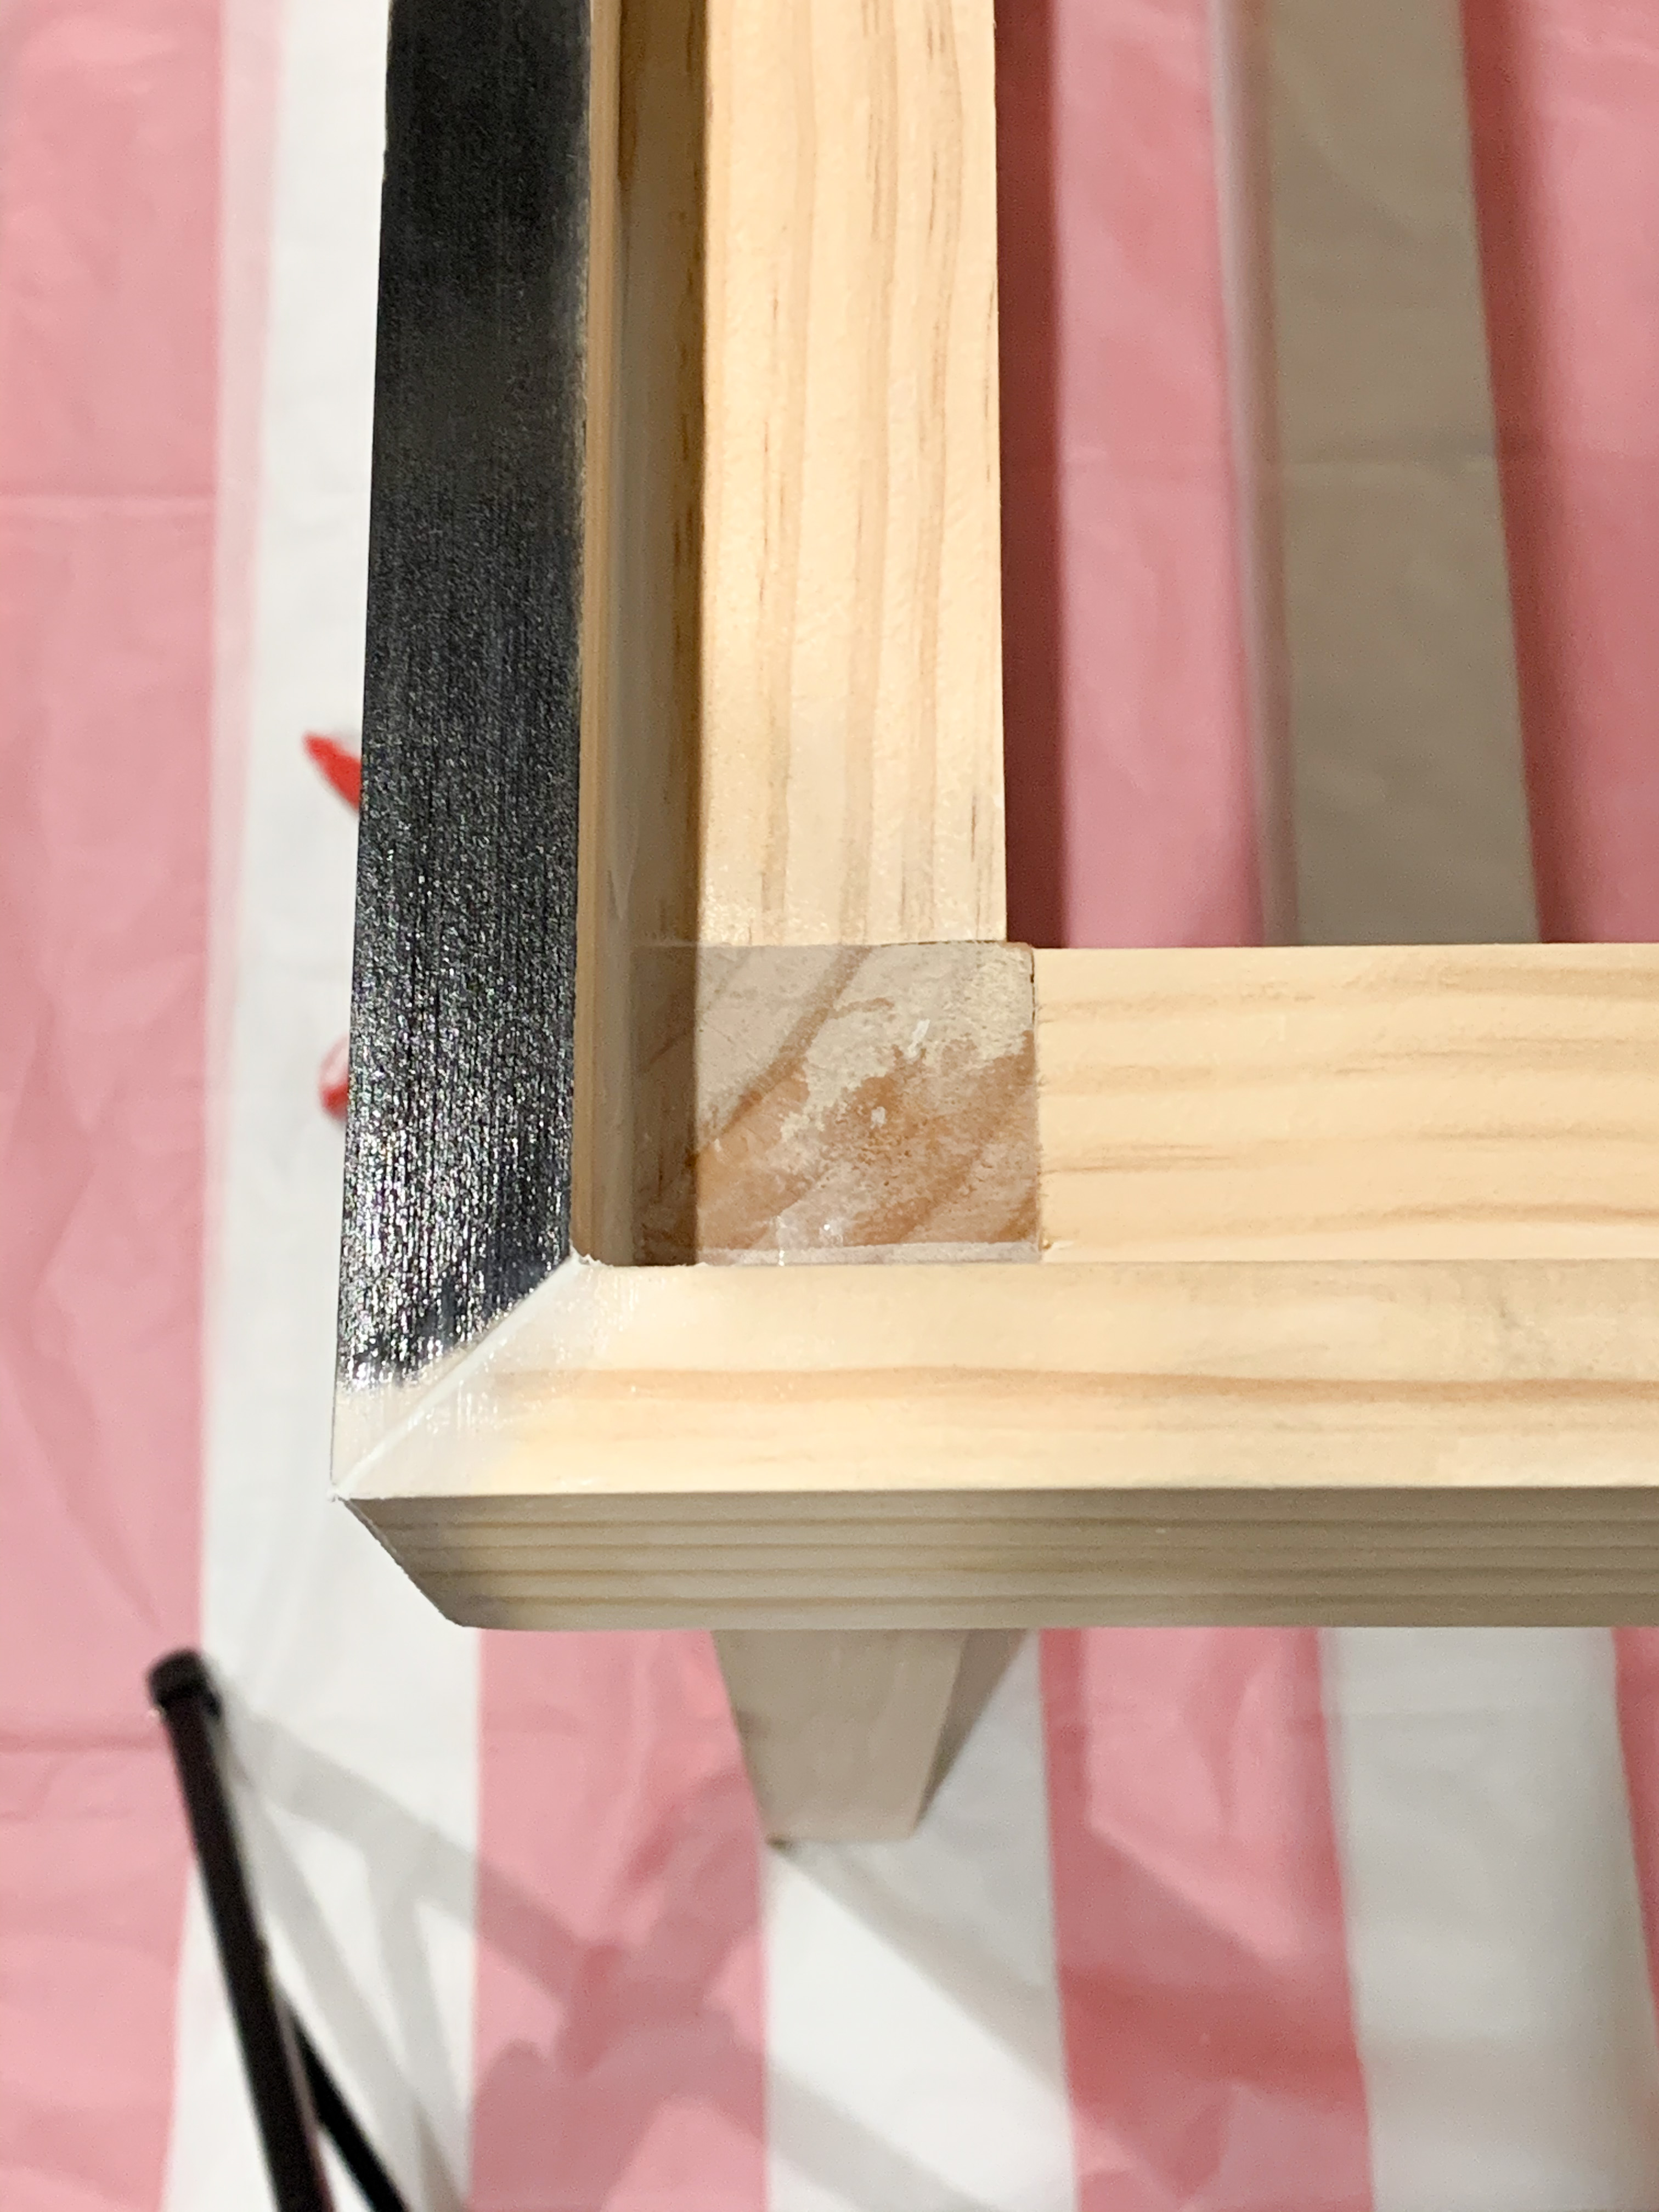
Three out of the four corners lined up perfectly, but the fourth was a little rough. Caulk works wonders in these situations. After caulk and paint, the imperfect corner was invisible!
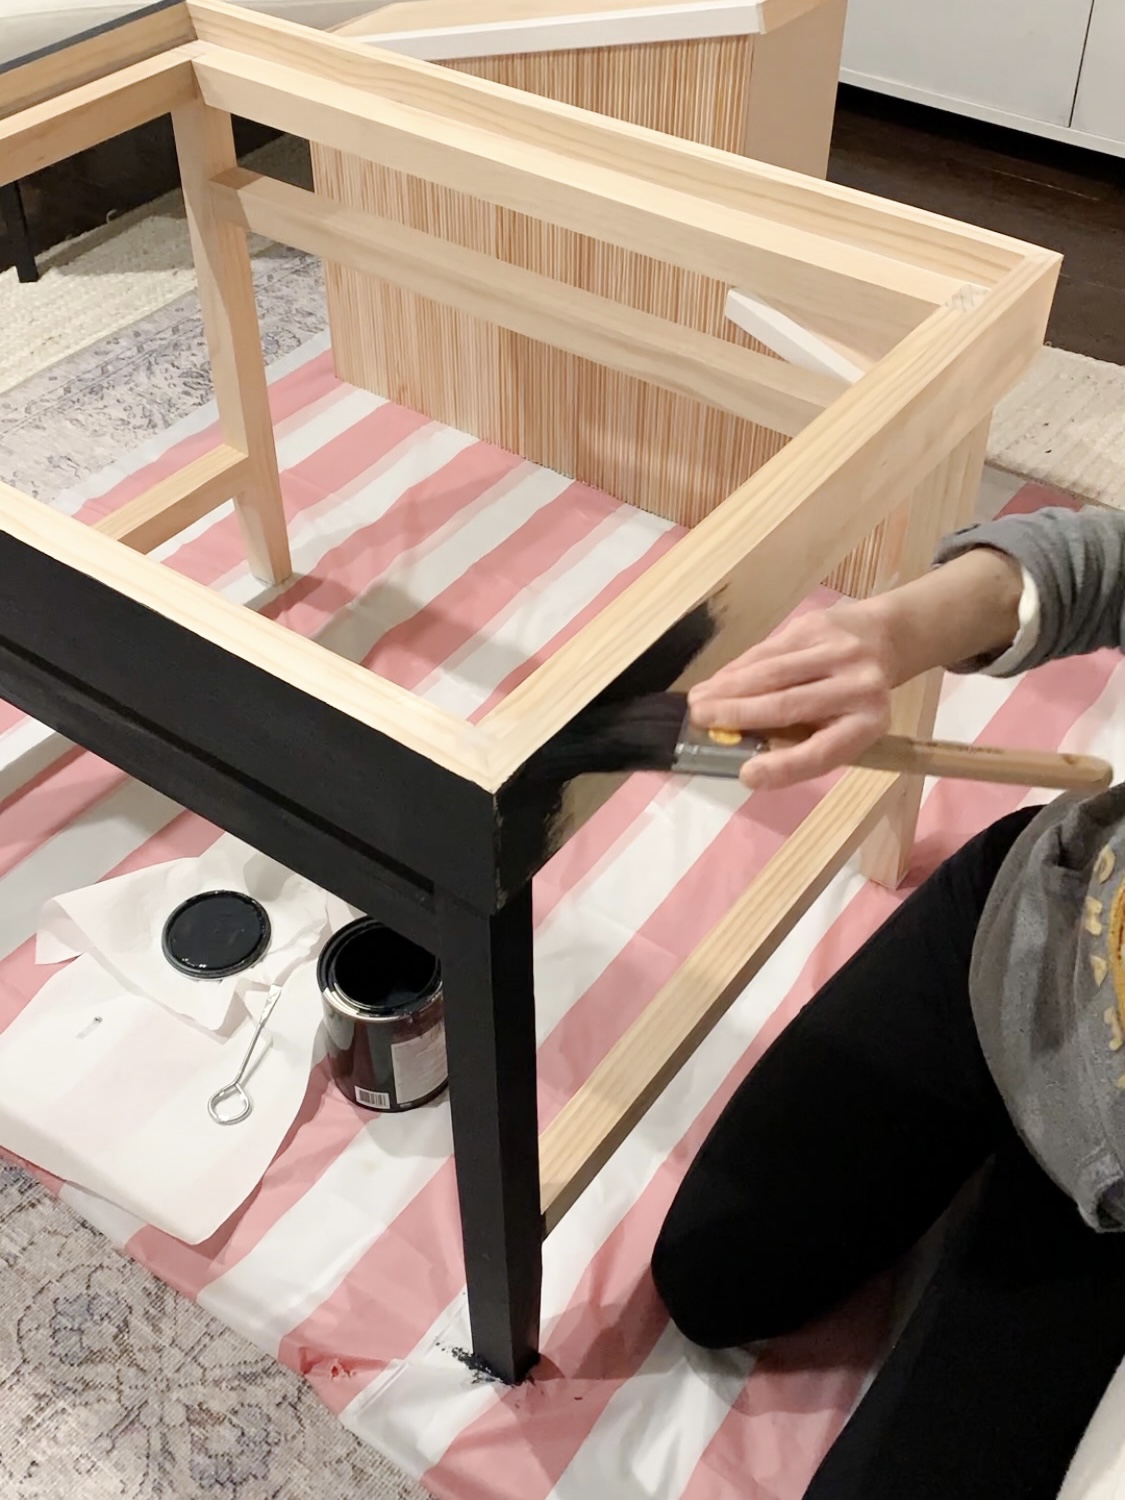
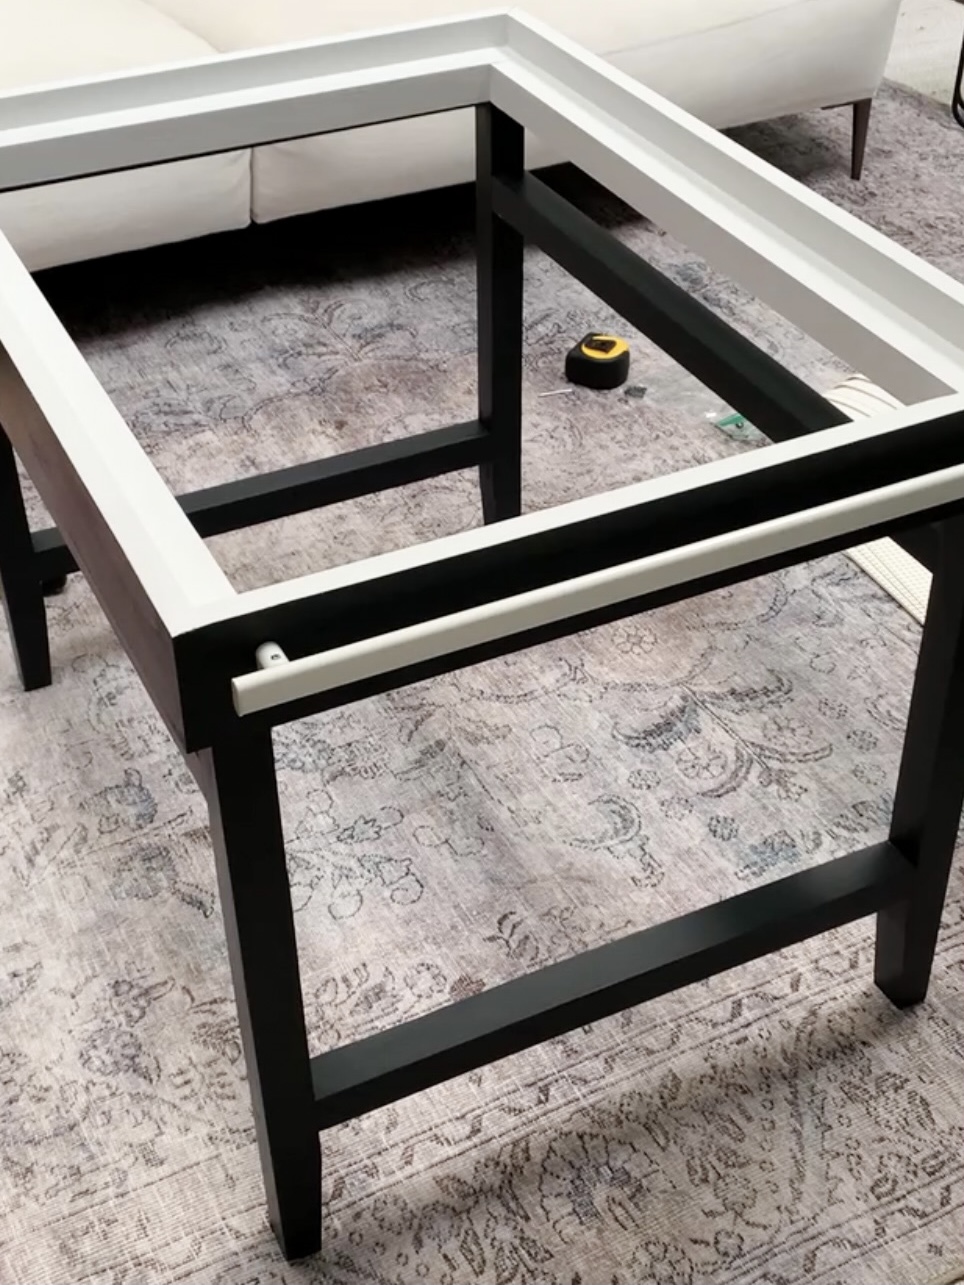
Finishing Touches
I used Behr Marquis Dark Secret in matte from Home Depot for the table color. I painted the inside of the top white with a chalk paint. I did this because the LEGO top was white, and I didn’t want to risk making marks on the black paint each time we flipped the top around.
I used gorilla glue to attach the LEGO baseplates to the plywood, but you can also use peel and stick tiles like this. Before gluing anything down, make sure you test out the spacing with an actual LEGO block. Spacing matters!
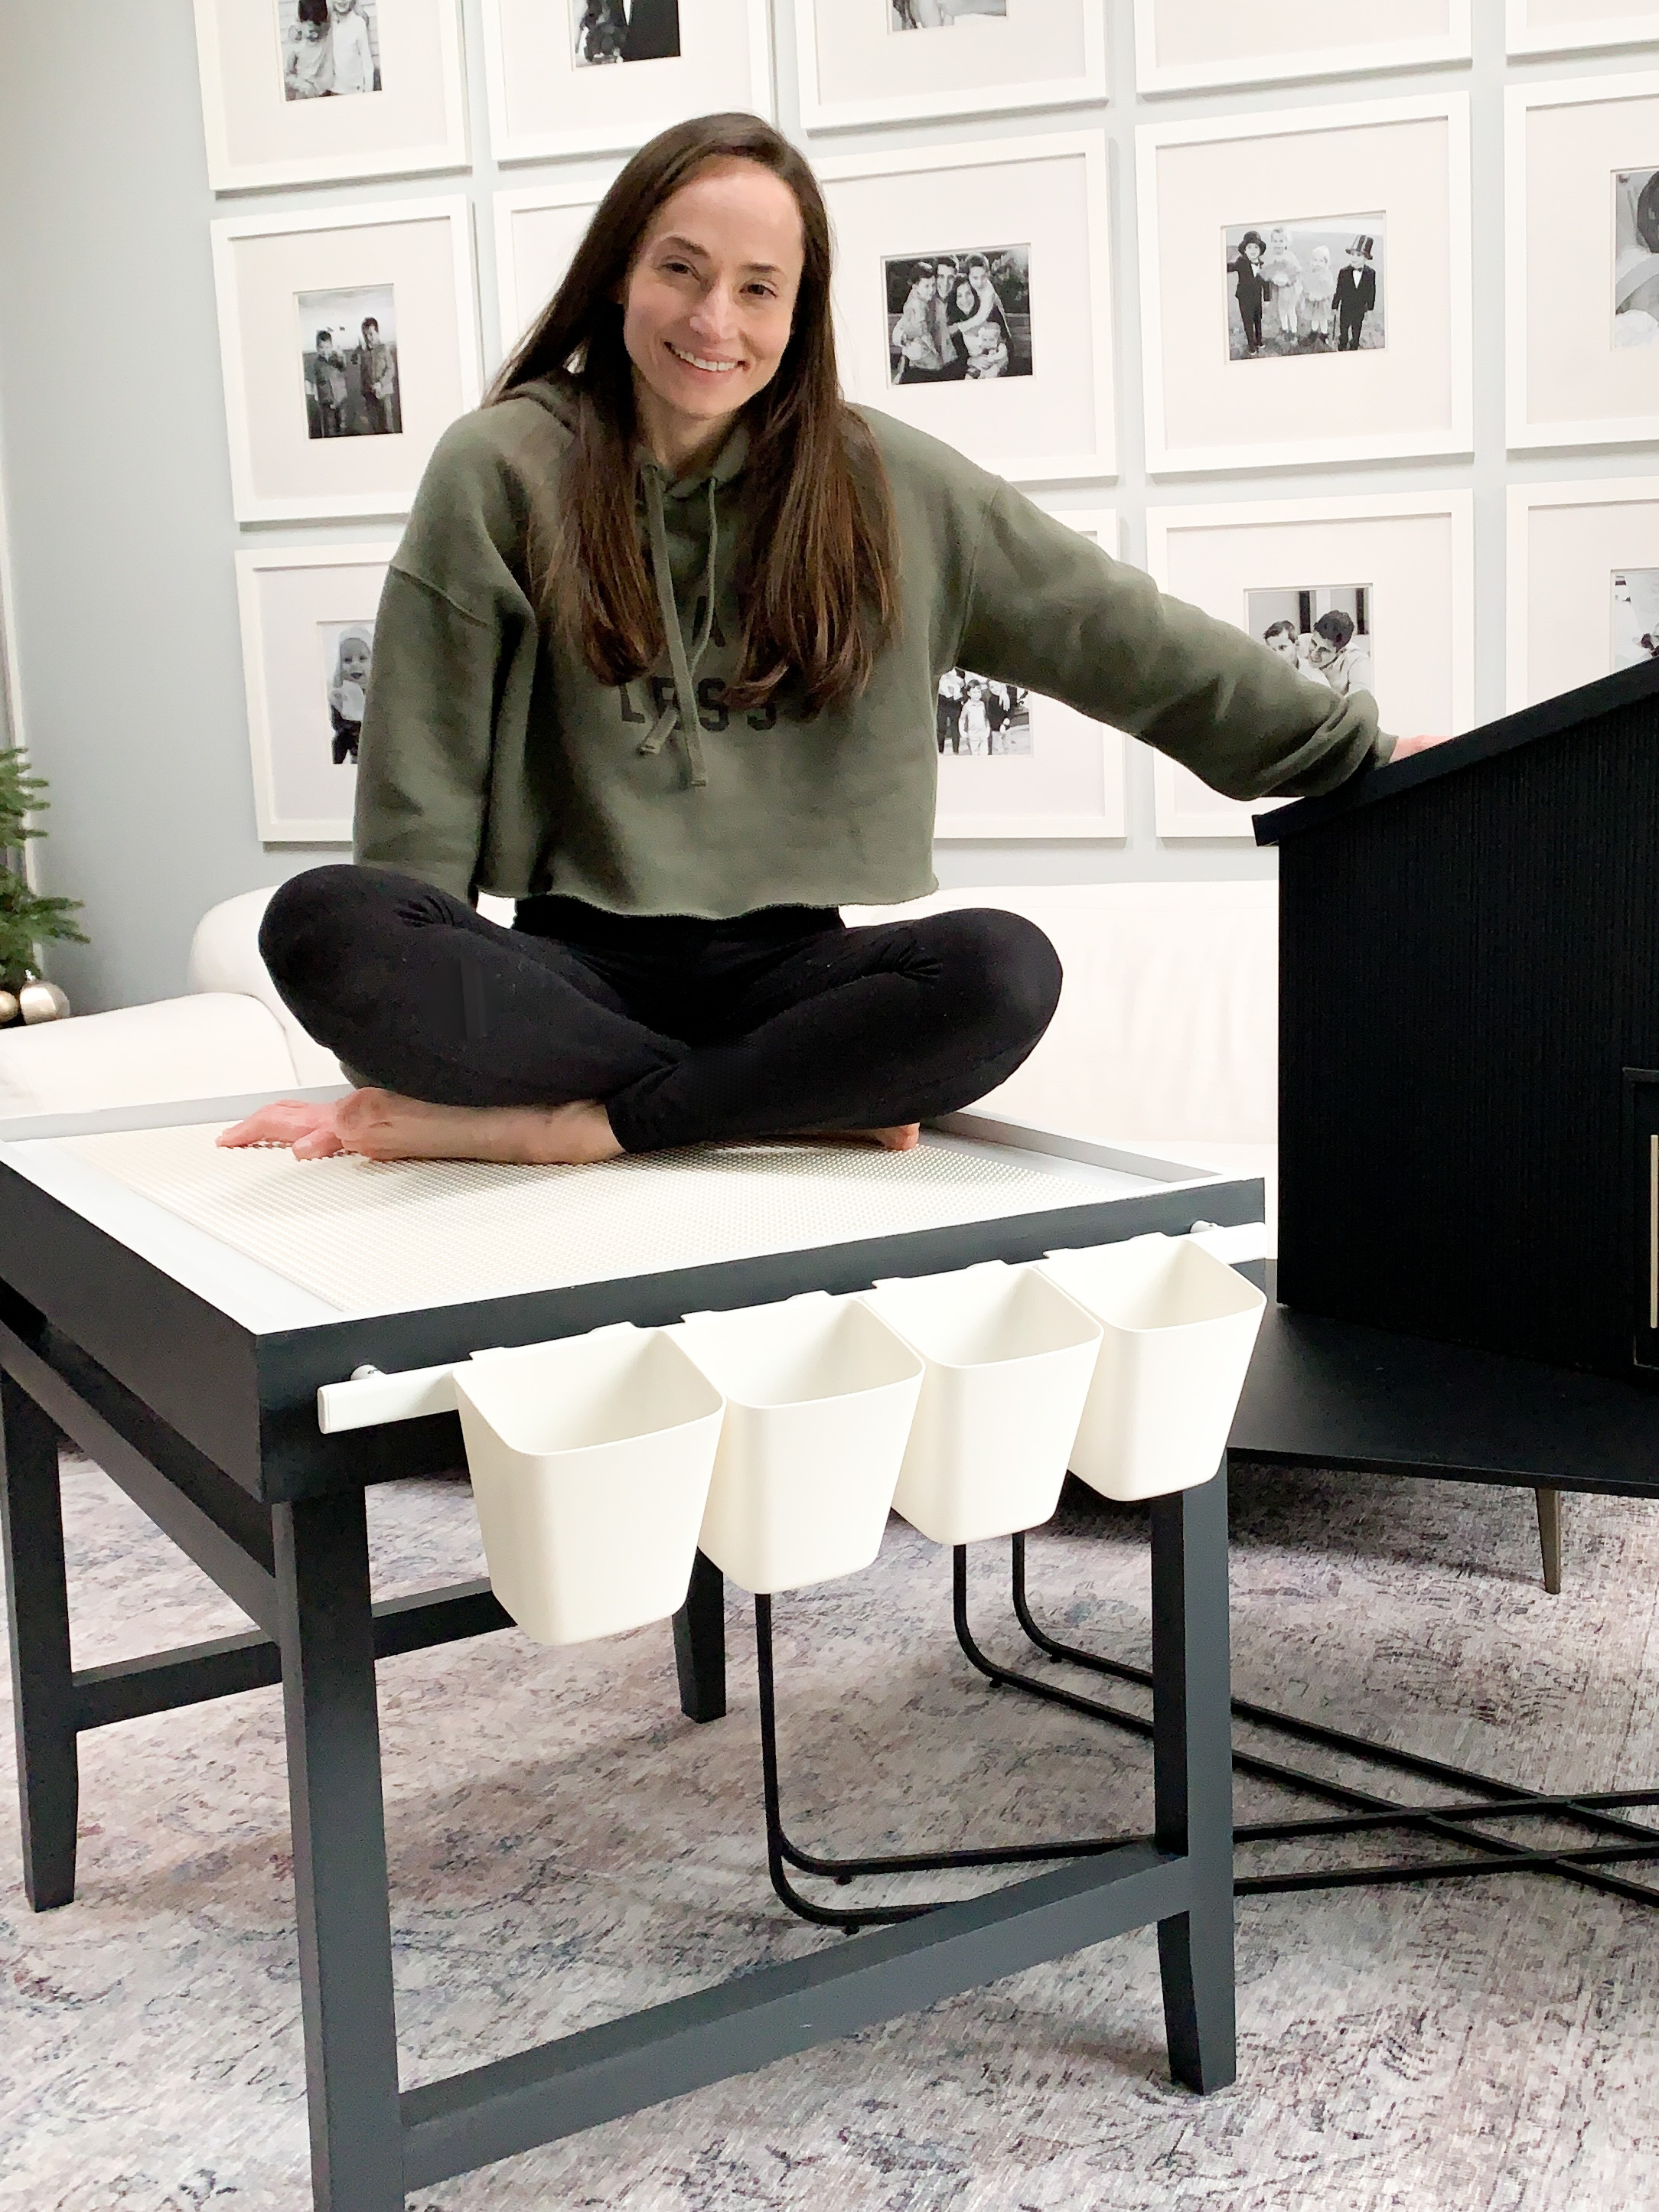
Christmas morning was exactly how I imagined it…. the boys immediately went to the LEGO table and started building. I don’t want to brag, but the LEGO table grabbed their attention even before Santa’s gifts. The best!!
May contain affiliate links. Please see disclosure here.
Pretty good post. I have really enjoyed browsing your blog posts. Whatever the case I’ll be subscribing to your feed and i also hope you write again soon! Thanks a lot, I’ll try to come back often. Merry Chrismas!
Thank you so much for such a nice comment! I appreciate it so much, and I hope you have an awesome night!