You probably did a double take when you saw “toothpick art” and just clicked to see if it was a mistake…. Nope, that’s actually what this blog post is about! If you had told me a month ago that I’d be writing a post about toothpicks and glue, I would’ve said you had me confused with a child activity blogger. I mean, how random?
As soon as we started planning out our master bedroom refresh, we realized we needed to do as much of it ourselves as we could. Since picture ledges are part of the plan, we needed to come up with a way to fill them! My favorite combination these days is white, black, and natural wood. I tried to think of an easy way to come up with those elements on my own, and the first thought I had when thinking of natural wood options was toothpicks and skewers!
.

.
The first few pieces we did, we were able to repurpose old art/signs we weren’t using. All I did was use white chalk paint to paint over the old stuff. Chalk paint adds a really cool worn look that adds a great layer of dimension. It also dries quickly which helps speed things up!
.
The Glue (Spoiler Alert – It’s Elmers)
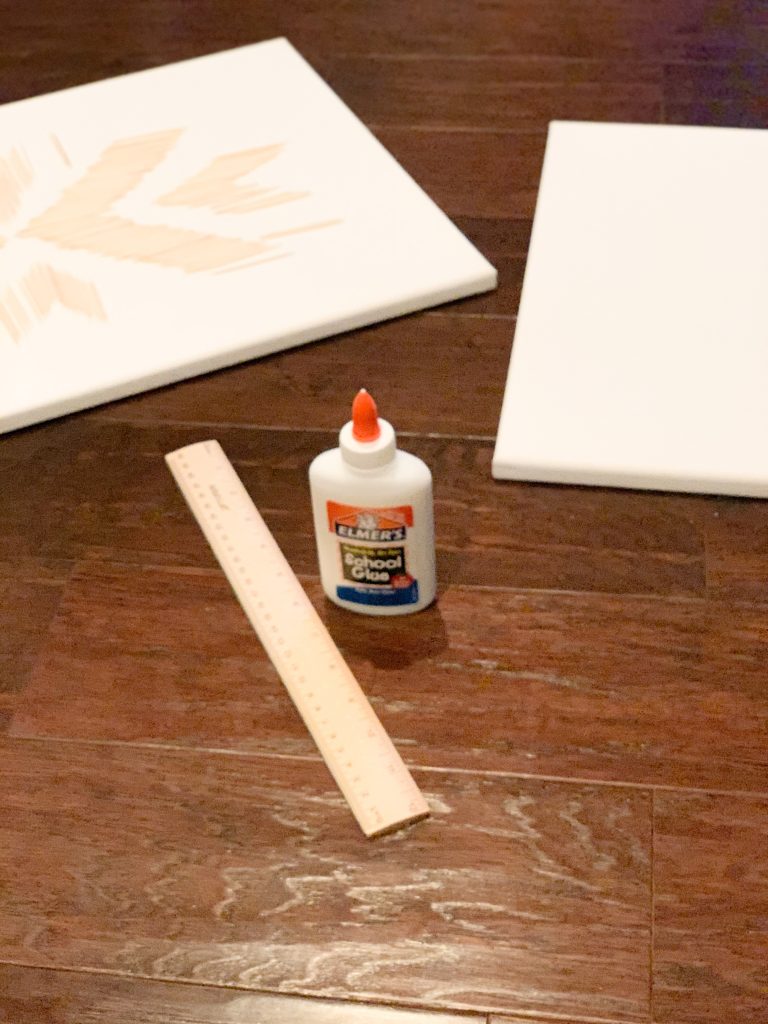
My goal with this post is to lay out the steps taken for one of these toothpick/skewer pieces, while also not insulting your intelligence. I know that most of this seems to be common sense, but you’d be surprised to hear that this actually took some trial and error. Mainly with the glue. I had every intention of using hot glue for these projects. I had a vision of using tiny dots and strips of hot glue and magically being able to place the sticks gently where desired.
The first piece I tried, I did a thin strip of hot glue down the center, and it almost instantly hardened. I tried to set the sticks down and move them around, and it wasn’t happening. Hot glue also preventing the sticks from lying flat. Fortunately, I was able to peel up the glue and salvage the frame. The only other glue I had on hand was Elmers, and it was meant to be!
.
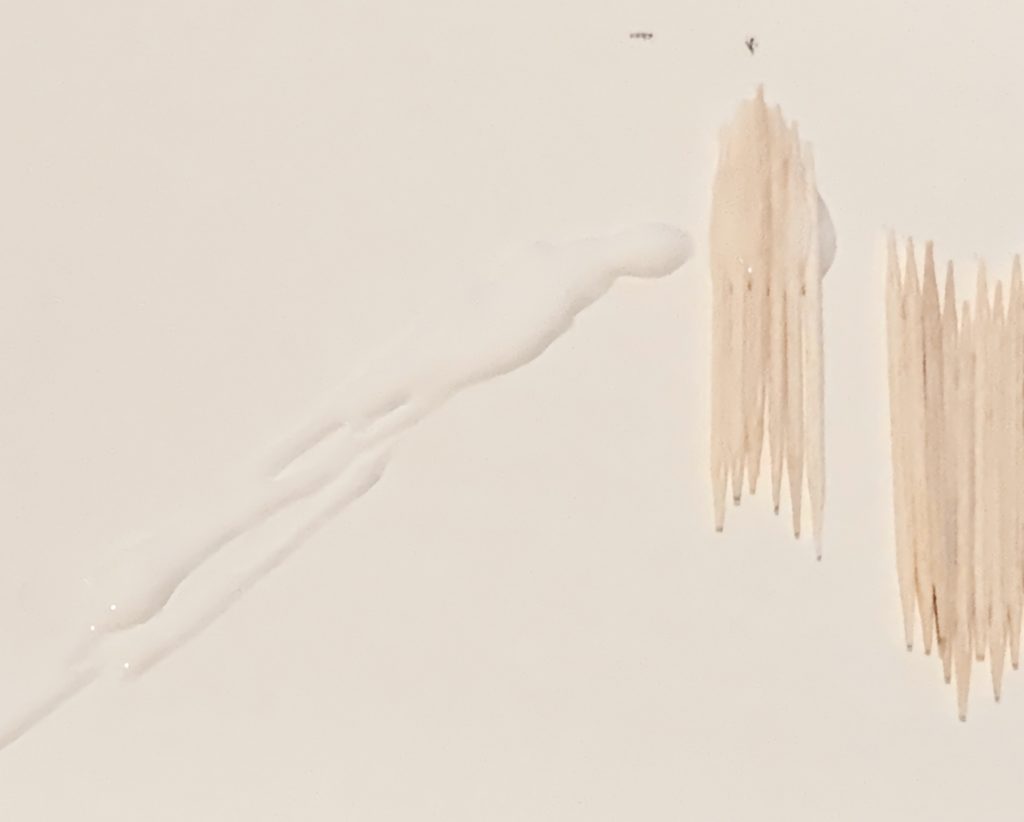
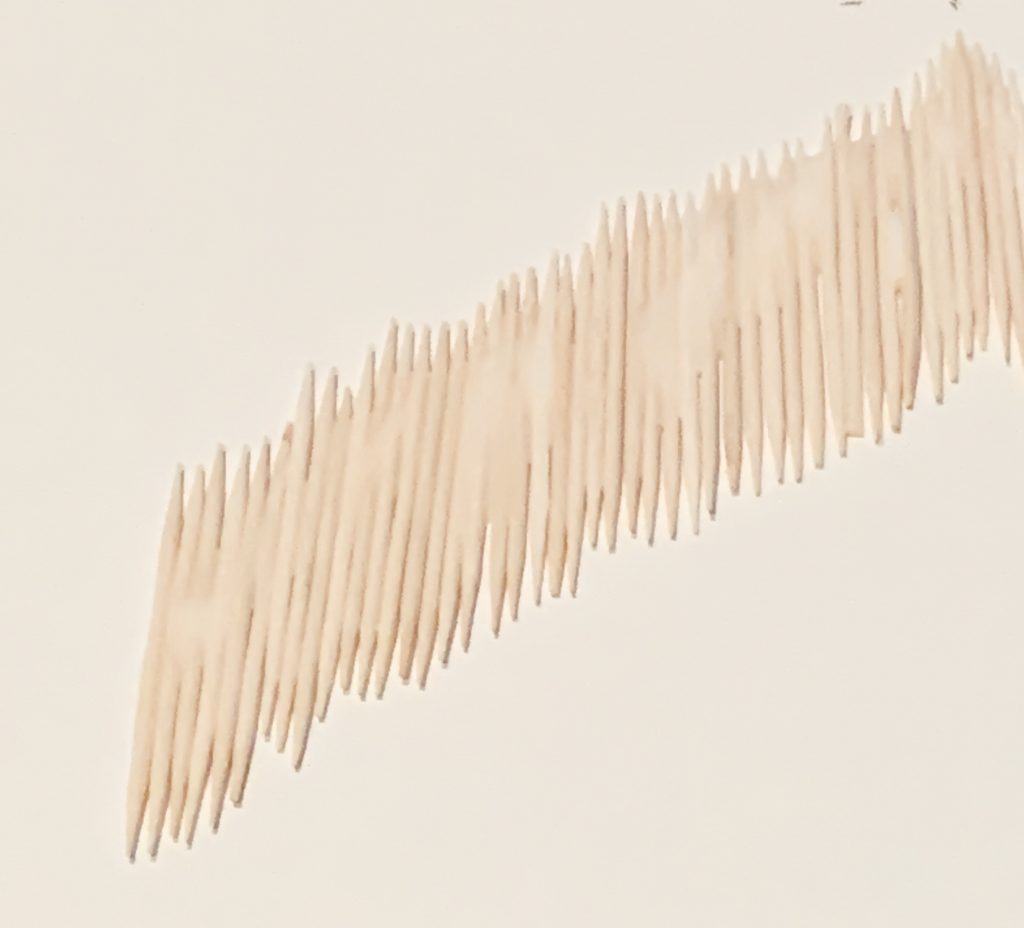
.
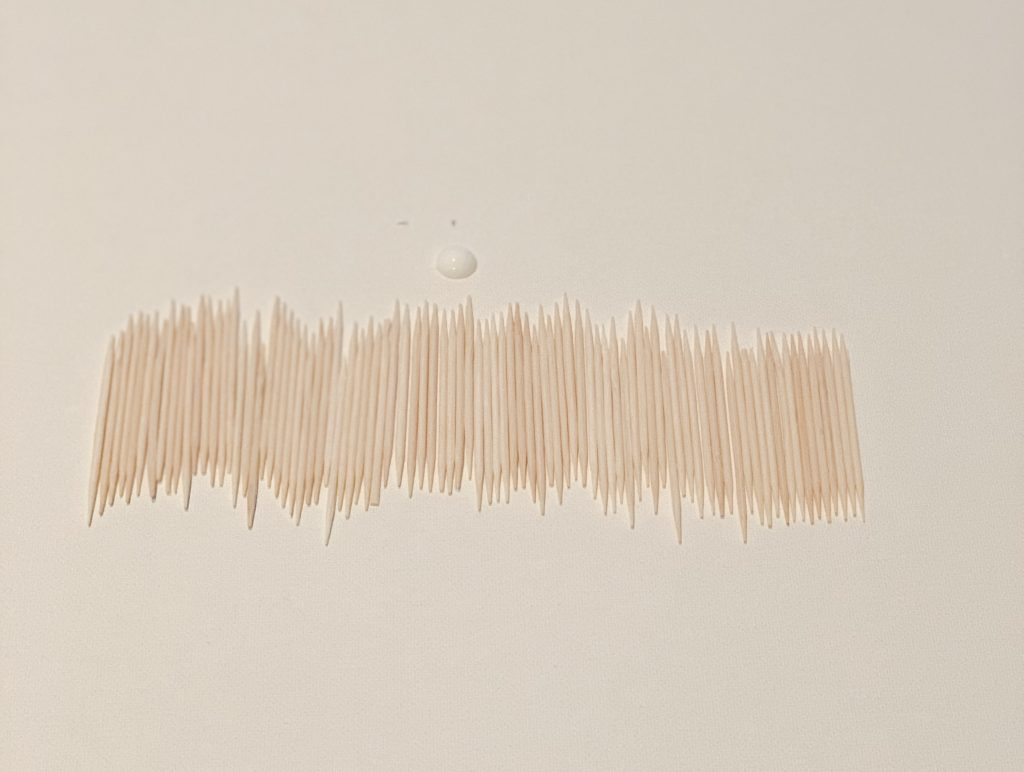
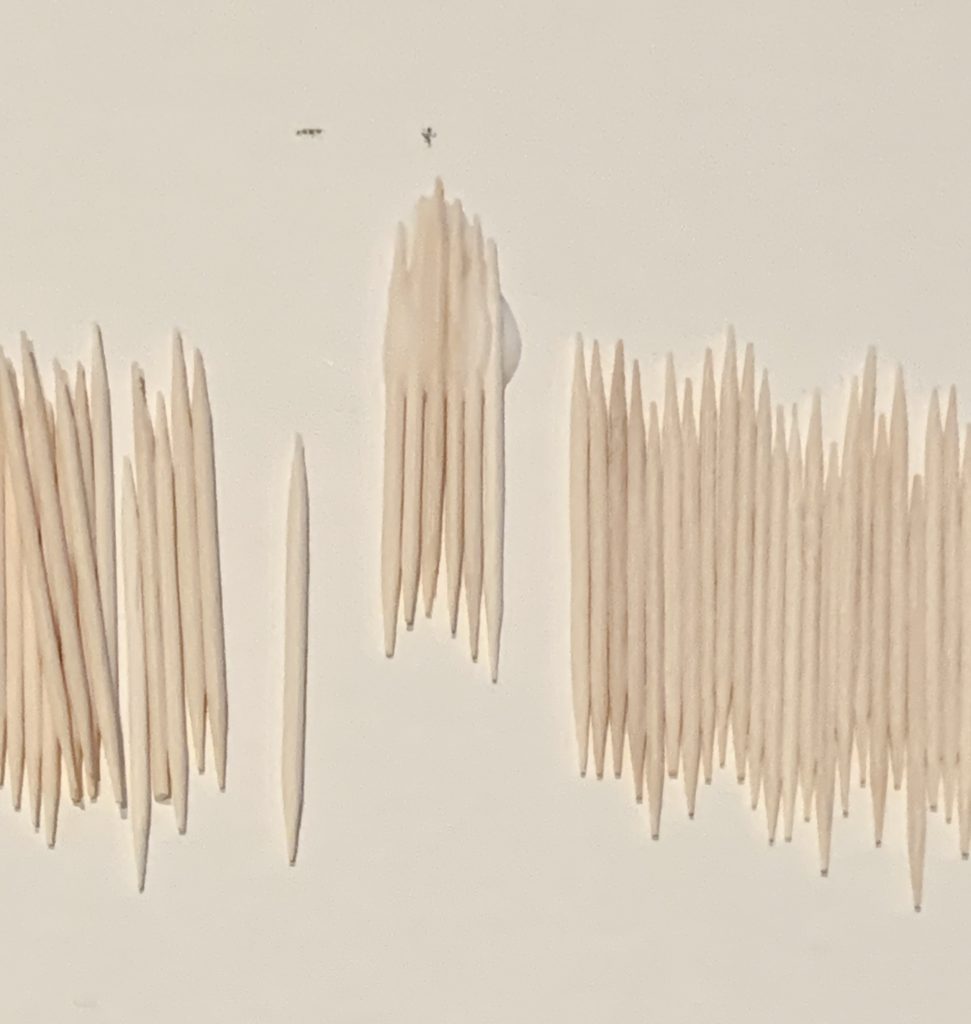
Once I figured out the glue, the method really goes downhill. I literally put the glue where I want the sticks to go, and then I zhuzh (accurate spelling). The more glue, the better. I had plenty of glue poking through and even going on top of the sticks…. None of that matters because it dries clear!
.


.
Measuring/Marking
As far as measuring goes, I didn’t do much. I traced a glass in the center of the pinwheel patterns, and that was my guide. TIP – Be sure to cover up the traced line with the sticks, if it’s only covered by the glue, it will show through since the glue dries clear.
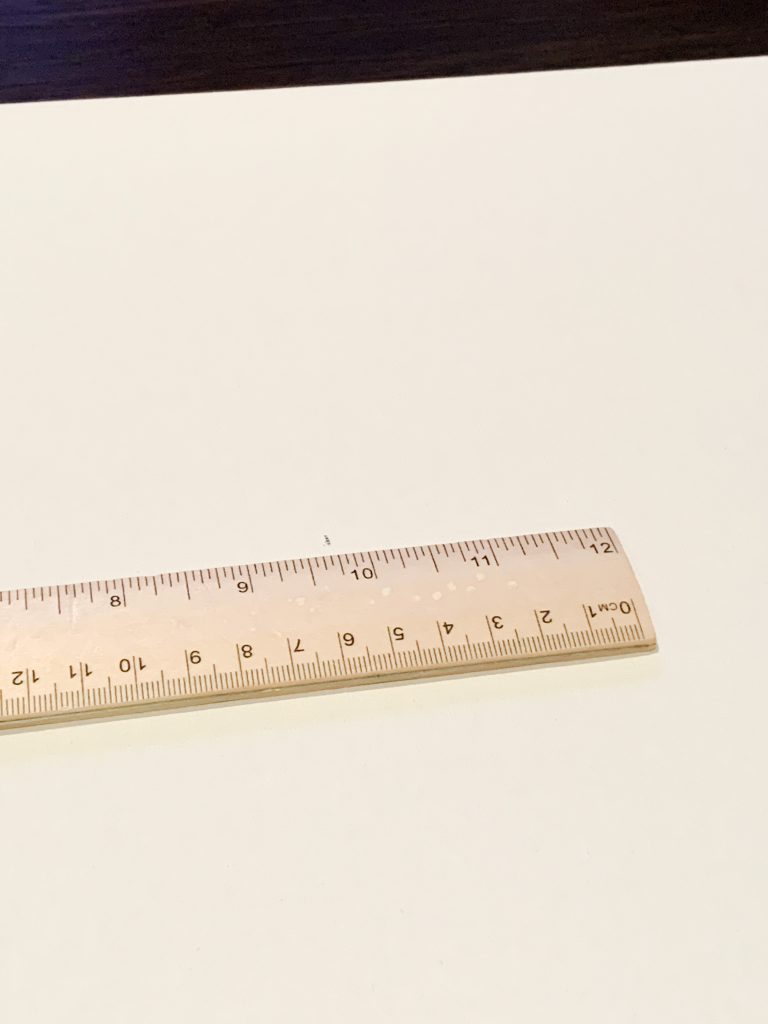
Other than that, I made sure to mark the center of the canvas, and I used my ruler up to make sure the ends of the designs lined up and were generally symmetrical. The beauty of toothpicks is you can add one here and there, as needed, to balance the sides. I mostly went off of looks and just adjusted until it looked good.
.

.
And that’s it! You just let it dry overnight, and you’re good to go! We are going to frame out these canvas ones eventually, to make it look like it cost more than it did (basically nothing), but I don’t necessarily think you need it. When we add the frames, we will stick with the white, black, natural wood combos to tie all the pieces together. I can’t wait to see them all up on those picture ledges!
.
I included pictures of all the designs so far…. The “Before and After” pics below are also fun to see!
.


You should start an Etsy shop with those! So pretty!
Thanks, Sara!! They were fun to do!!