Use this IKEA STALL Hack to Make a Fluted Shoe Cabinet. Using fluted trim makes a basic shoe cabinet look much more expensive!
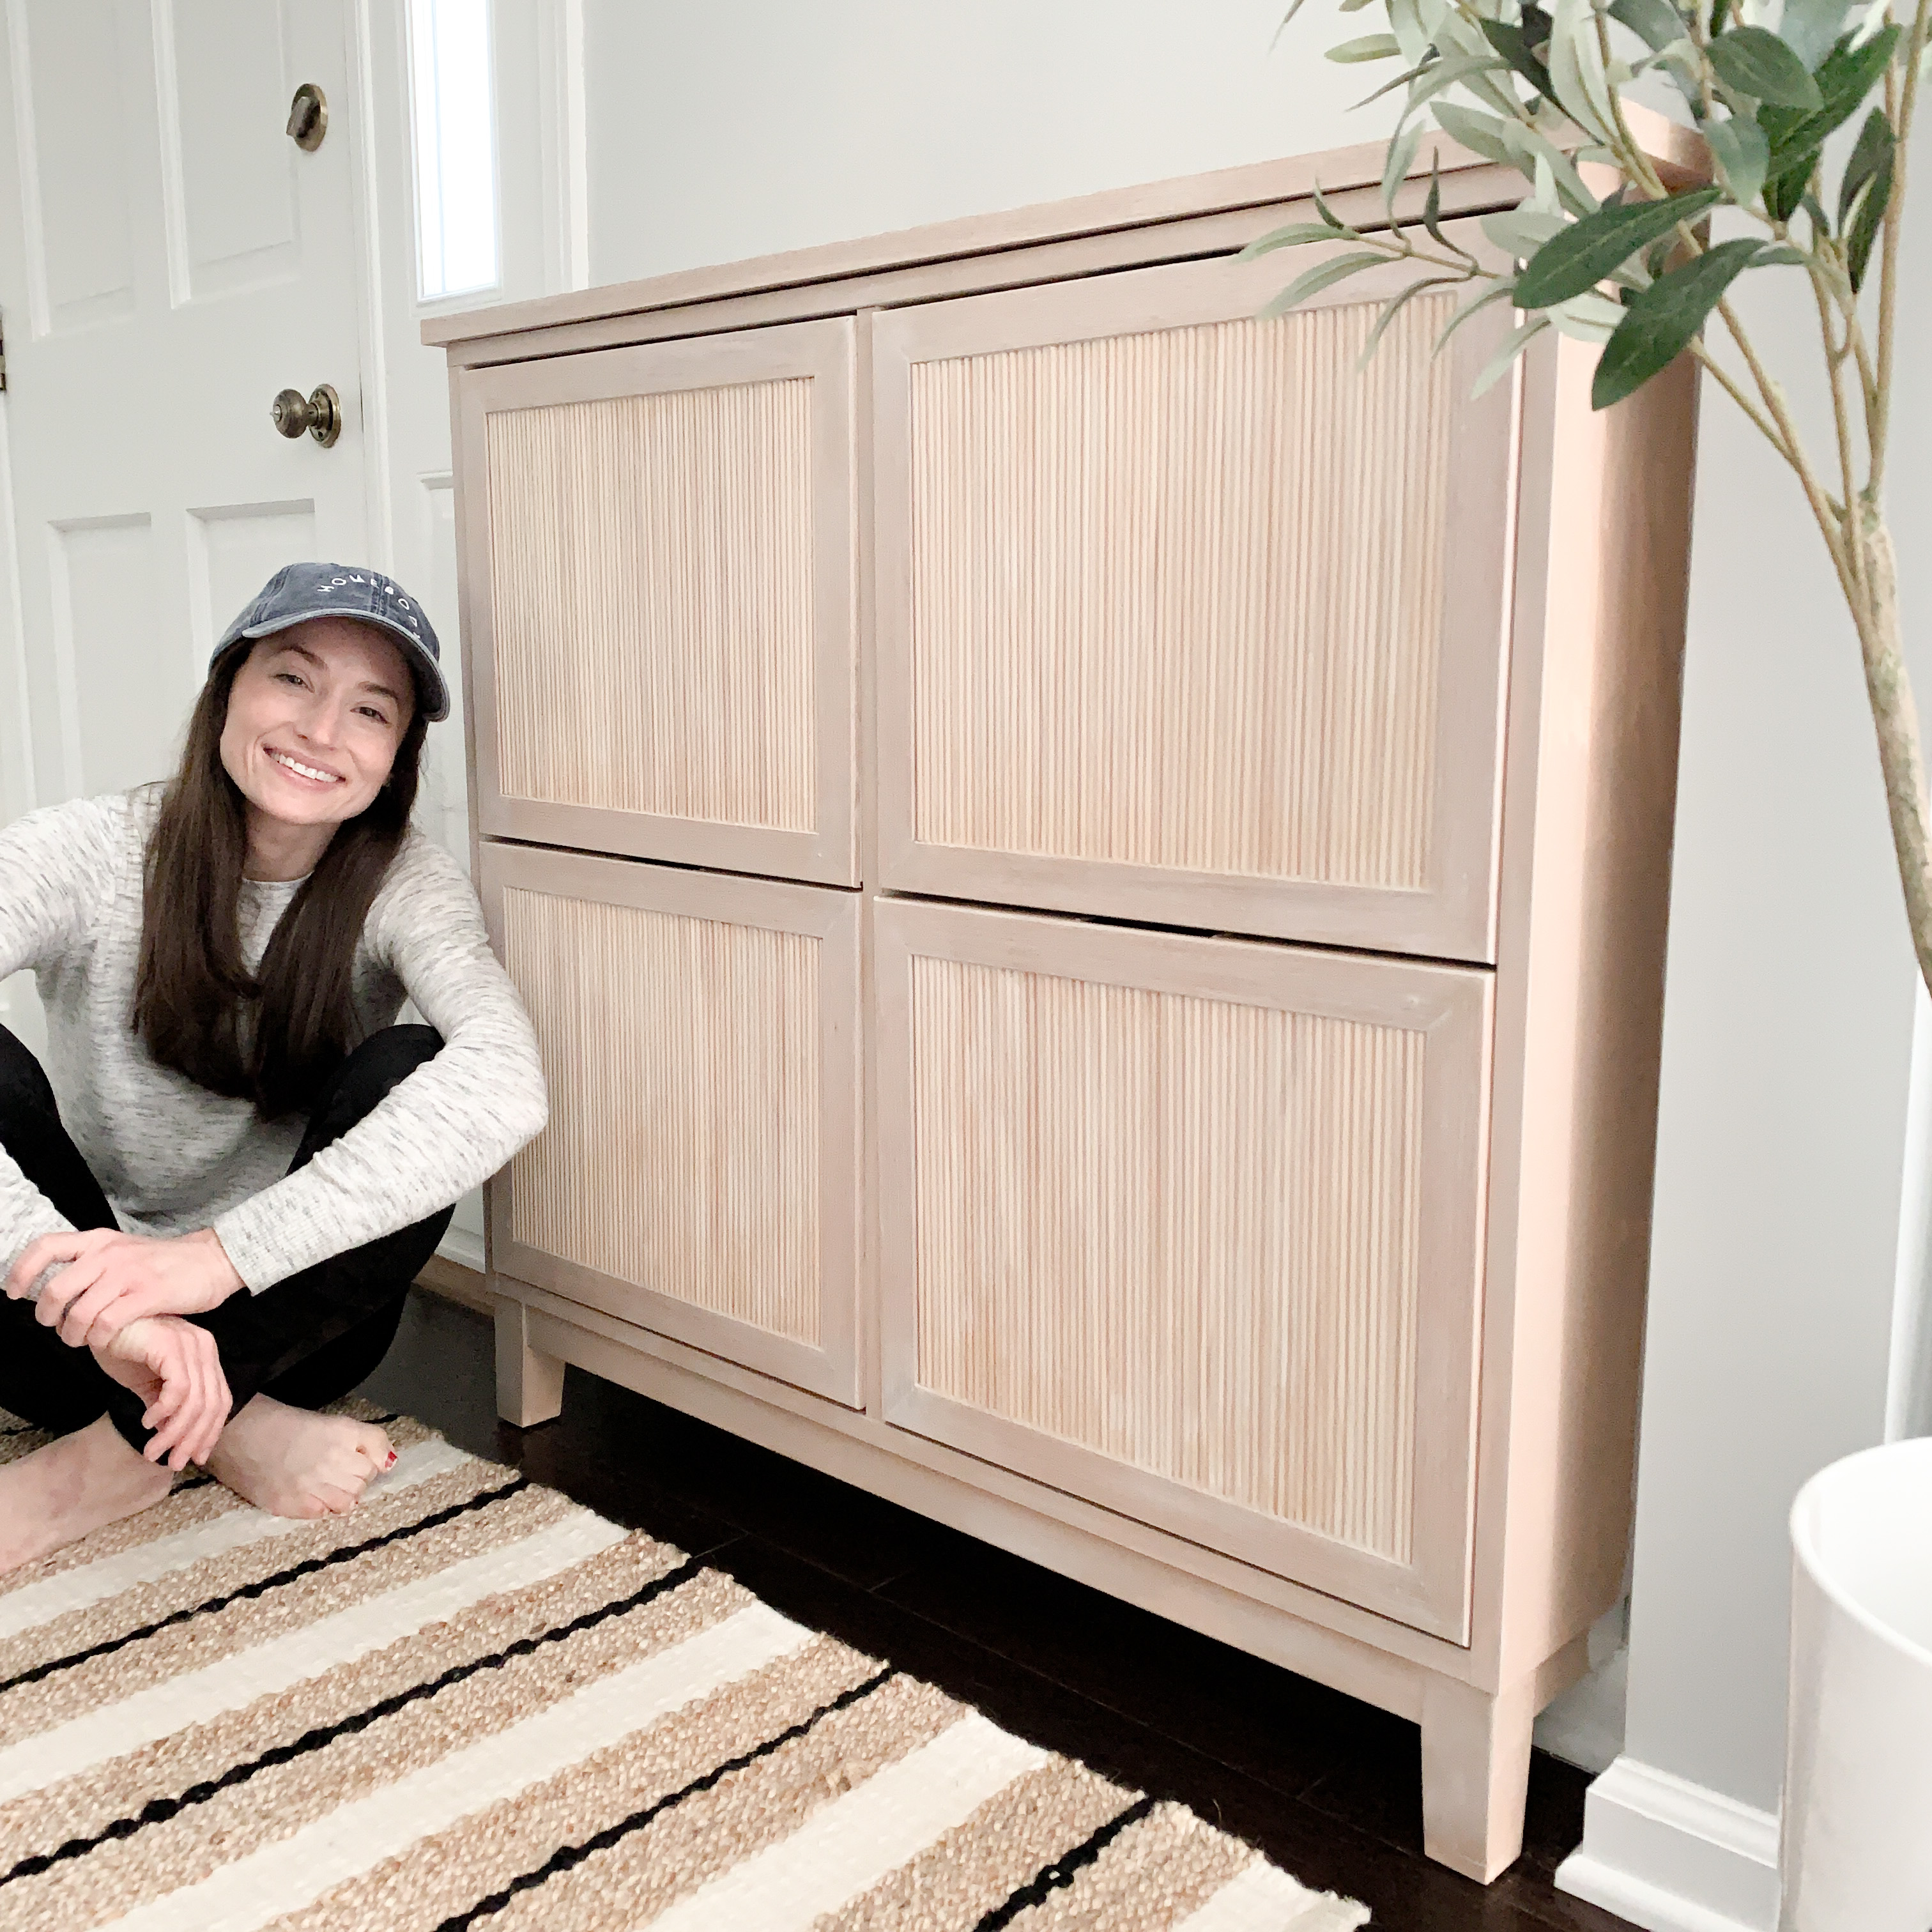
Fluted Love
Our entry is tiny. You walk in our front door and immediately run into the stairwell. I love using IKEA shoe cabinets because they are PERFECT for small spaces. They’re only about 6 inches deep, but they fit a decent amount of stuff!
We have three IKEA shoe cabinets in our home and they’re all packed full. They’ve been amazing to us for the past three years, but I’ve been wanting a visual change.
I’ve been so in love with the fluted trend recently, and dressing up this shoe cabinet seemed like the perfect place to give it a try.
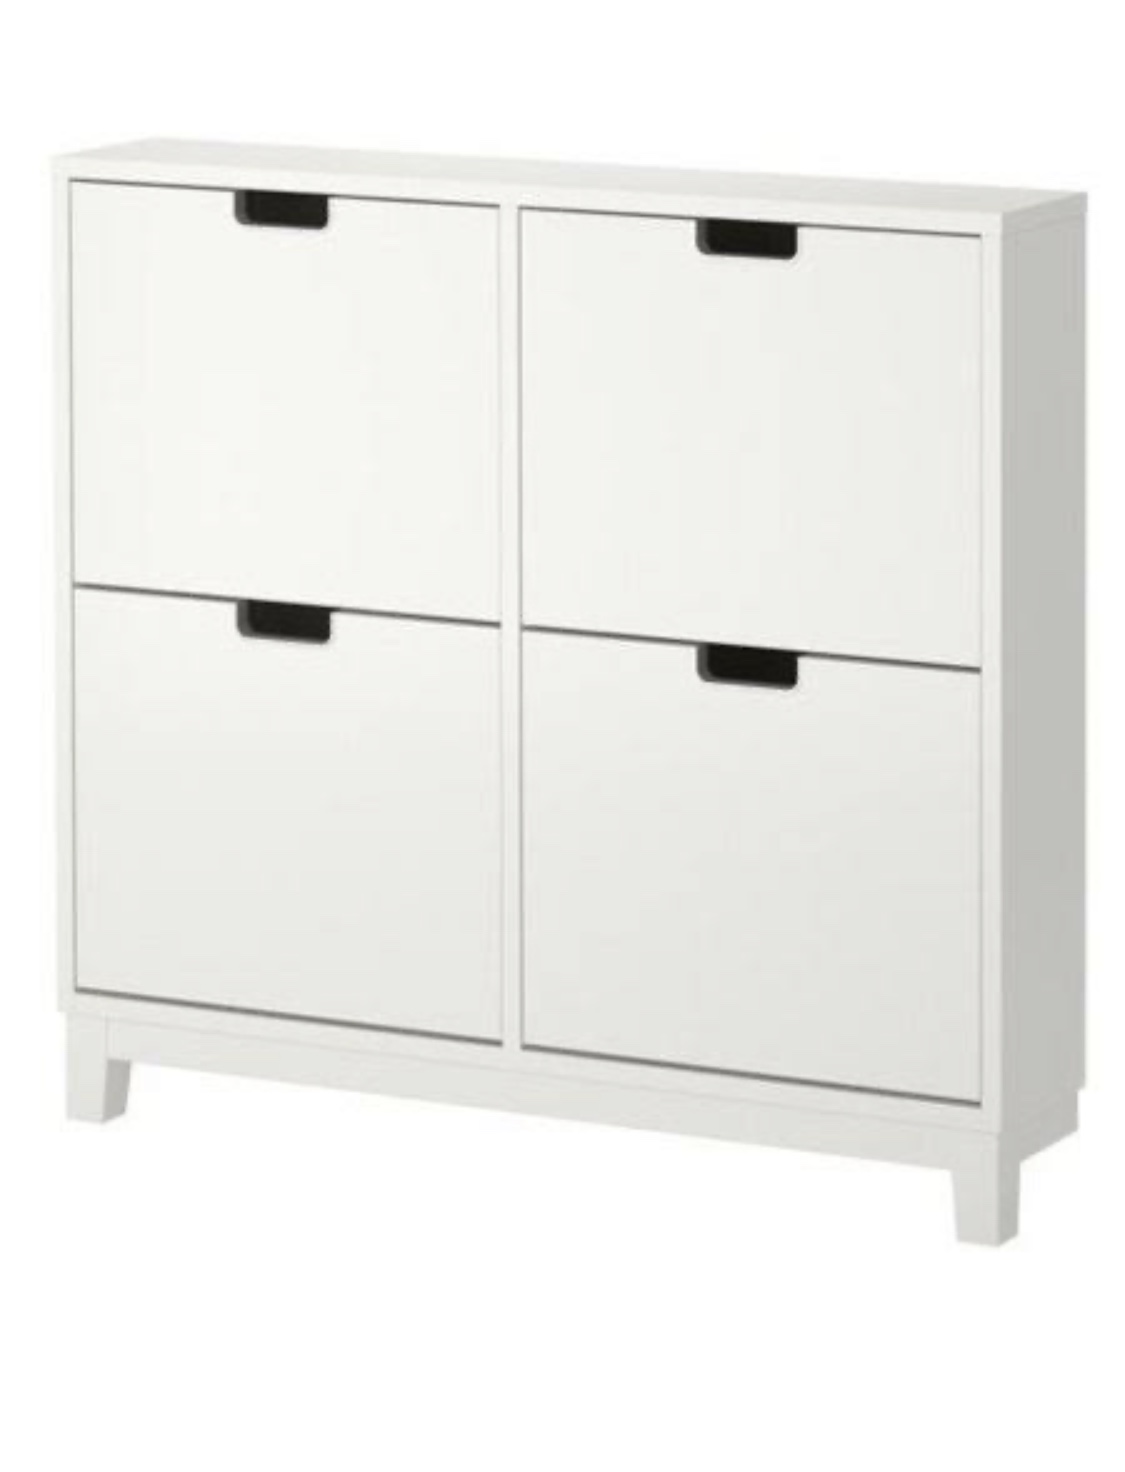
Here is what the original IKEA STALL cabinet looks like…
Ikea Stall Hack: Pick Your Trim
There are multiple ways to achieve the fluted look that’s all the rage right now. You can use wood dowels, half-round trim, or even half-round foam dowels.
I headed to Home Depot to see what I could find. I immediately fell in love with this pine screen moulding. This is where the cost added up quickly.
It took about 20 feet to cover one cabinet face. Calculating extra for waste, I needed about 96 feet of the fluted trim, so at $0.88 a foot, it was about $85 for the fluted trim alone.
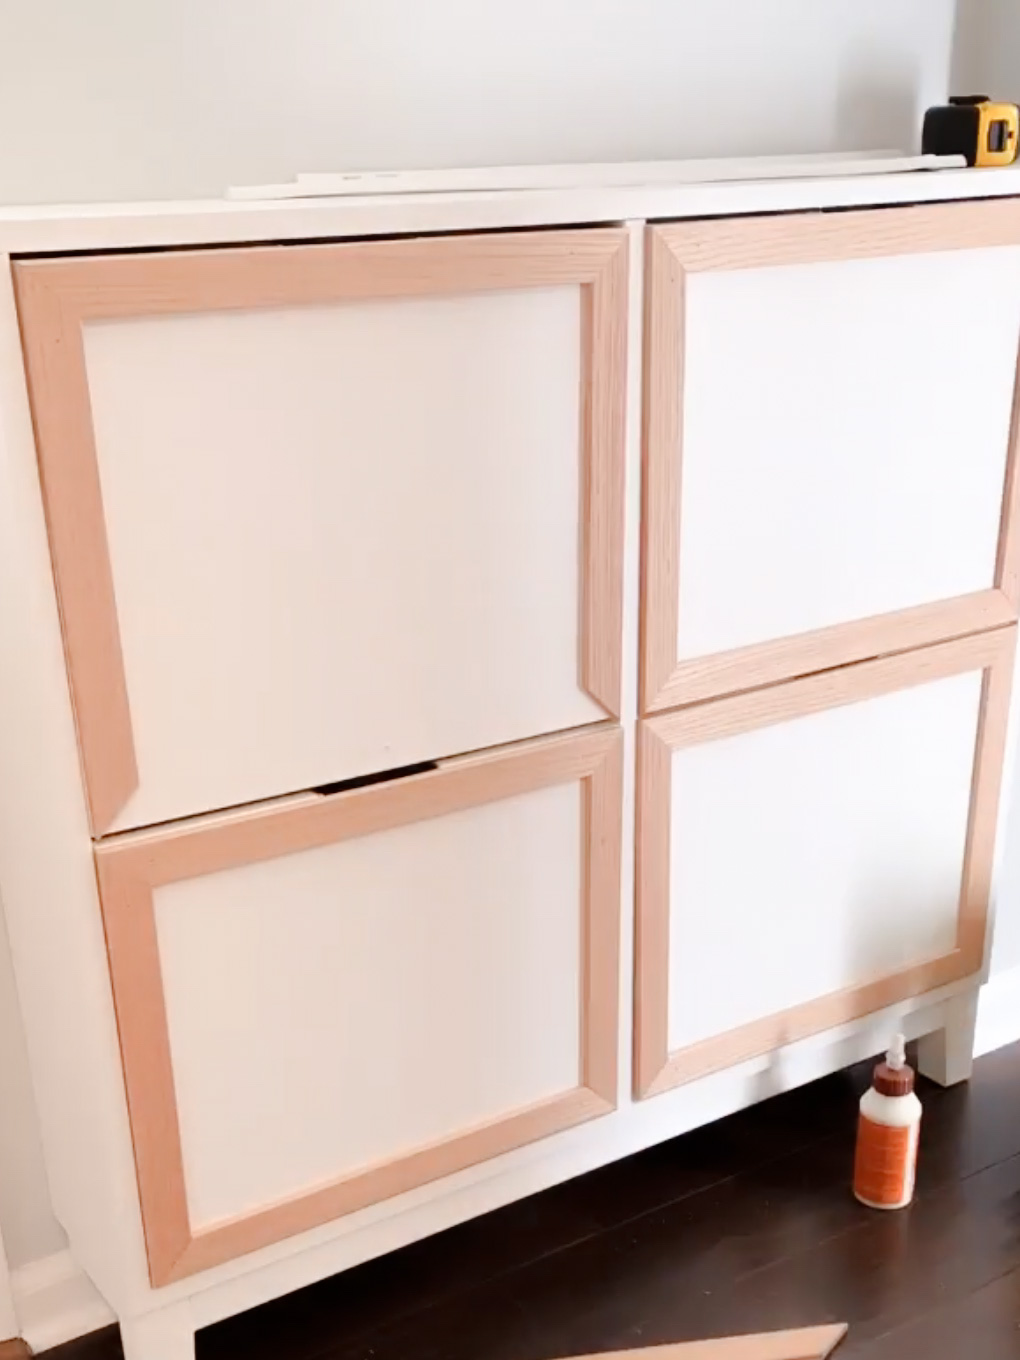
I knew I wanted to cover the holes for the handles, and I wanted to trim out each cabinet face. I liked the idea of using lattice, so I searched for a lattice thick enough to cover the hole. Although I would have used pine lattice to match the pine fluted trim, my store didn’t have a good selection. I ended up using this oak stop trim.
Ikea Stall Hack: Dry Fit
I framed out each cabinet face with the lattice trim first. The important part of this step is making sure the trim is as square/level as possible which is sometimes hard with uneven IKEA pieces.
Make sure there’s NO overhang. The cabinets won’t open and close the same if there is.
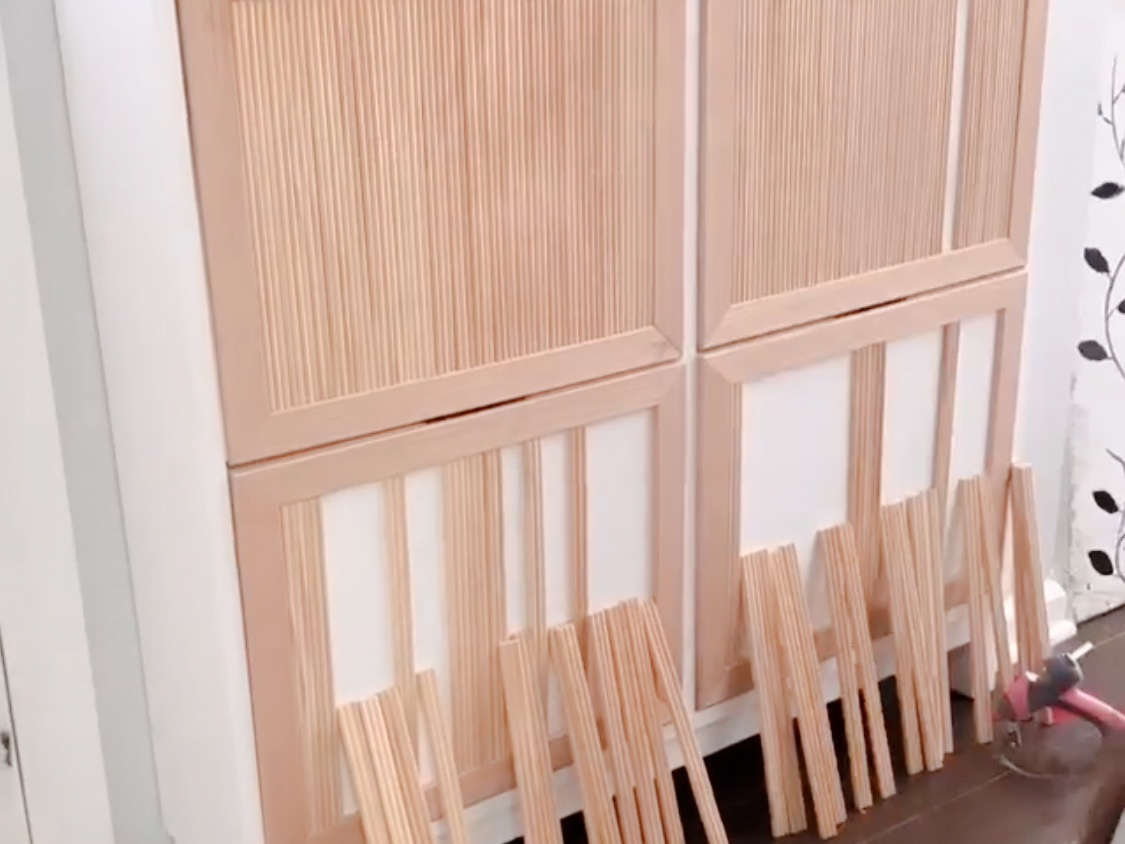
The cut trim didn’t fill the cabinet face perfectly when I packed it tightly. Since the fluted trim is so small and delicate, I didn’t want to rip it down to fit a smaller width. I cut all the pieces needed and laid them out to fit the space.
I was able to space them out even enough so the spaces weren’t very noticeable, and then later used wood filler to hide them completely. The dry fit was key, and I took one piece out at a time to attach.
Ikea Stall Hack: Attach the Trim
I’m going to explain how I attached all this, but for the record, I made this up as I went… there could definitely be a better way!
I used wood glue and the smallest nails I had to attach the oak trim around the edges.
Since the cabinet face is so thin, it obviously poked through to the inside. I hammered the nail flat and covered it with hot glue to prevent snagging.
I made this up as I went… going slowly with glue and clamps would definitely be a better way!
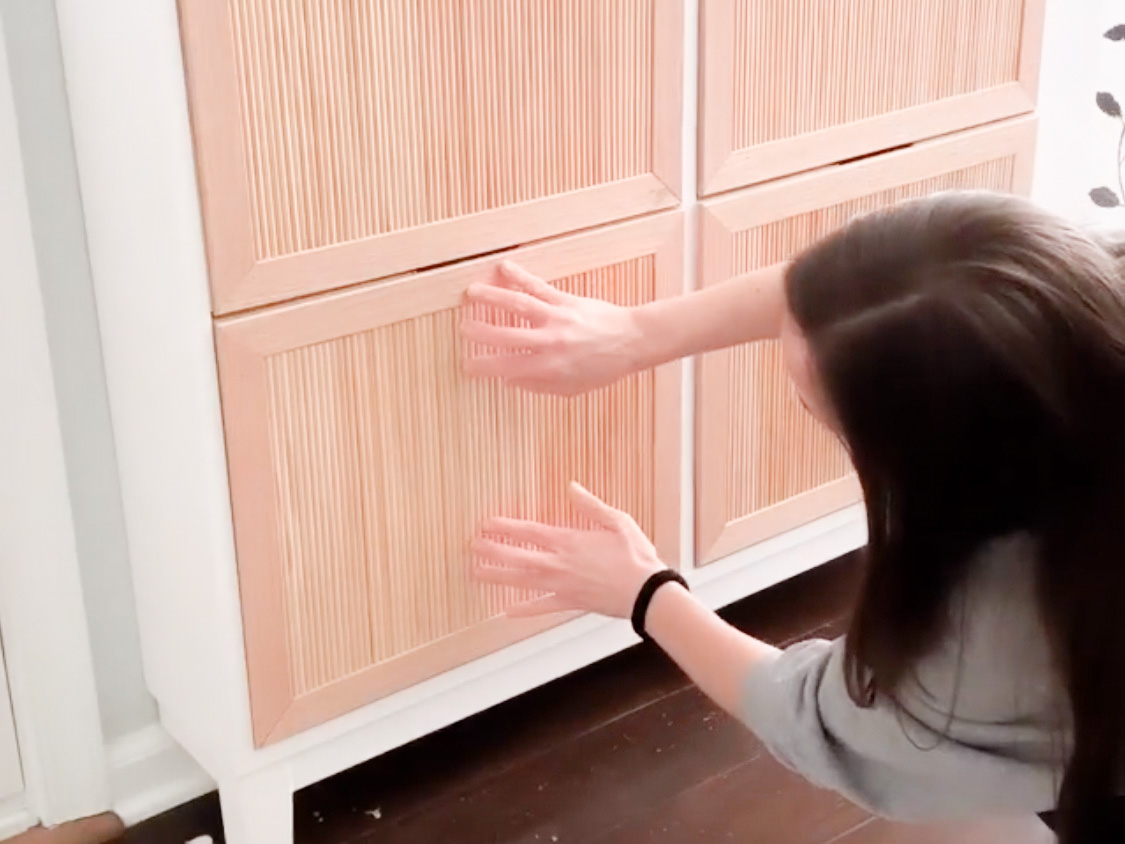
Honestly, I didn’t have the patience to clamp the teeny tiny fluted trim pieces, so I used hot glue there too.
I “squiggled” (the technical term) gorilla glue down the entire piece of trim, then I dabbed a bit of hot glue on both ends and one in the middle. The hot glue kept the trim piece onto the cabinet face while the gorilla glue dried.
Ikea Stall Hack: Fill Cracks
If you’re painting over this trim, you can use caulk to hide the seams and the edges. It would be faster that way. I wanted to keep it wood, so I filled all the seams with wood filler.
It took FOREVER and really hurt my hands, but it looks awesome!
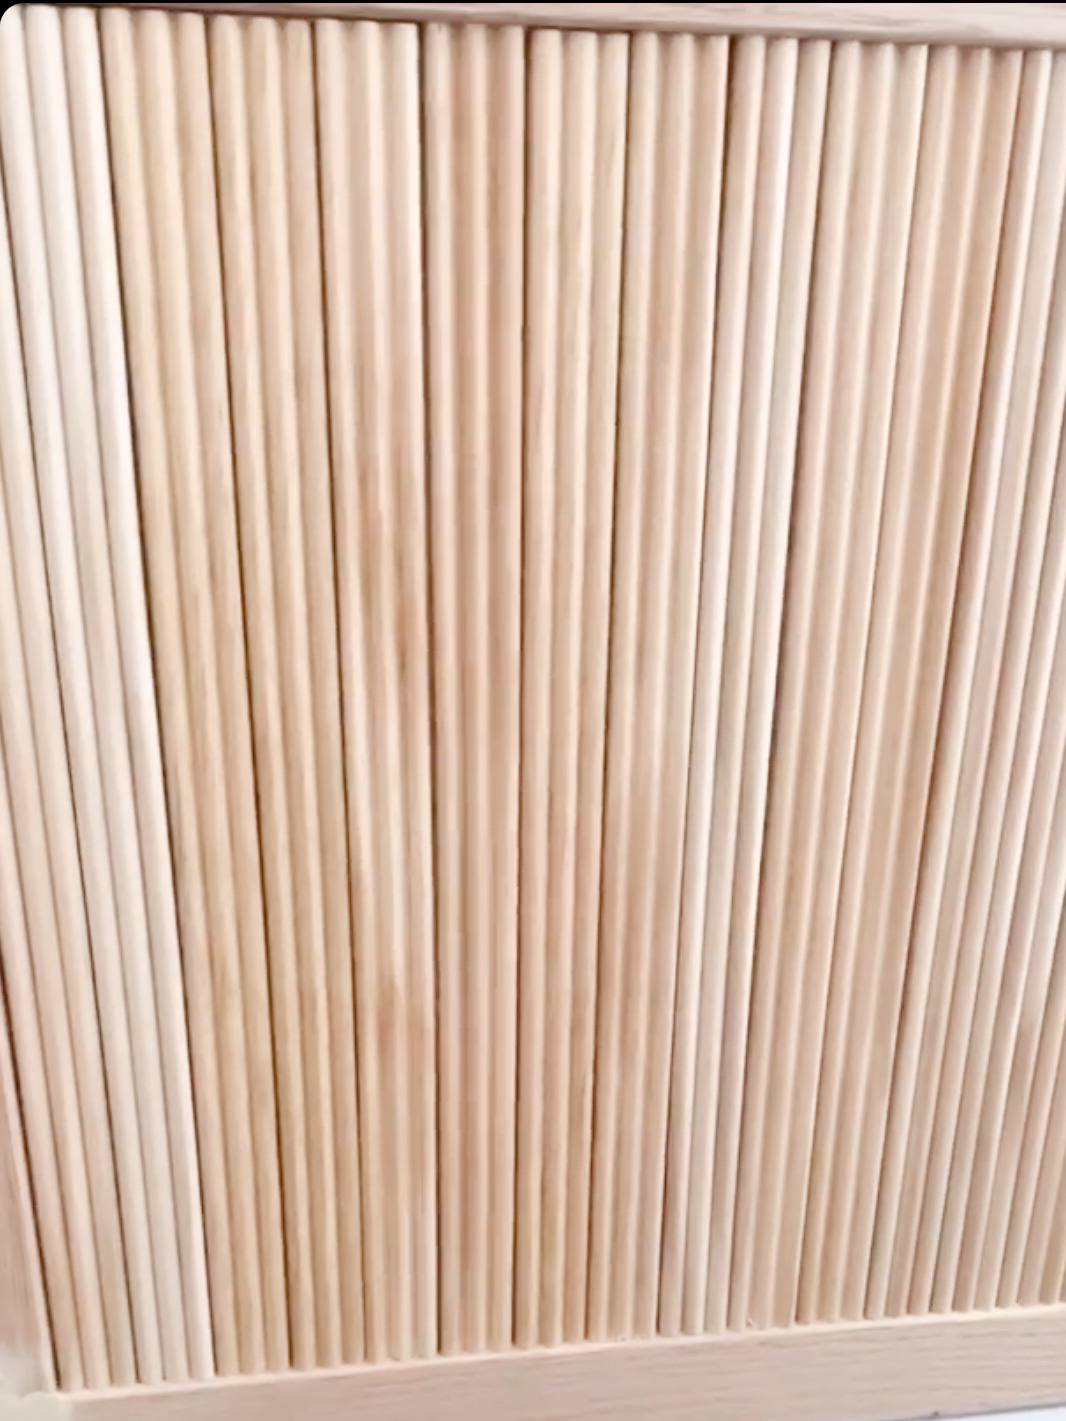
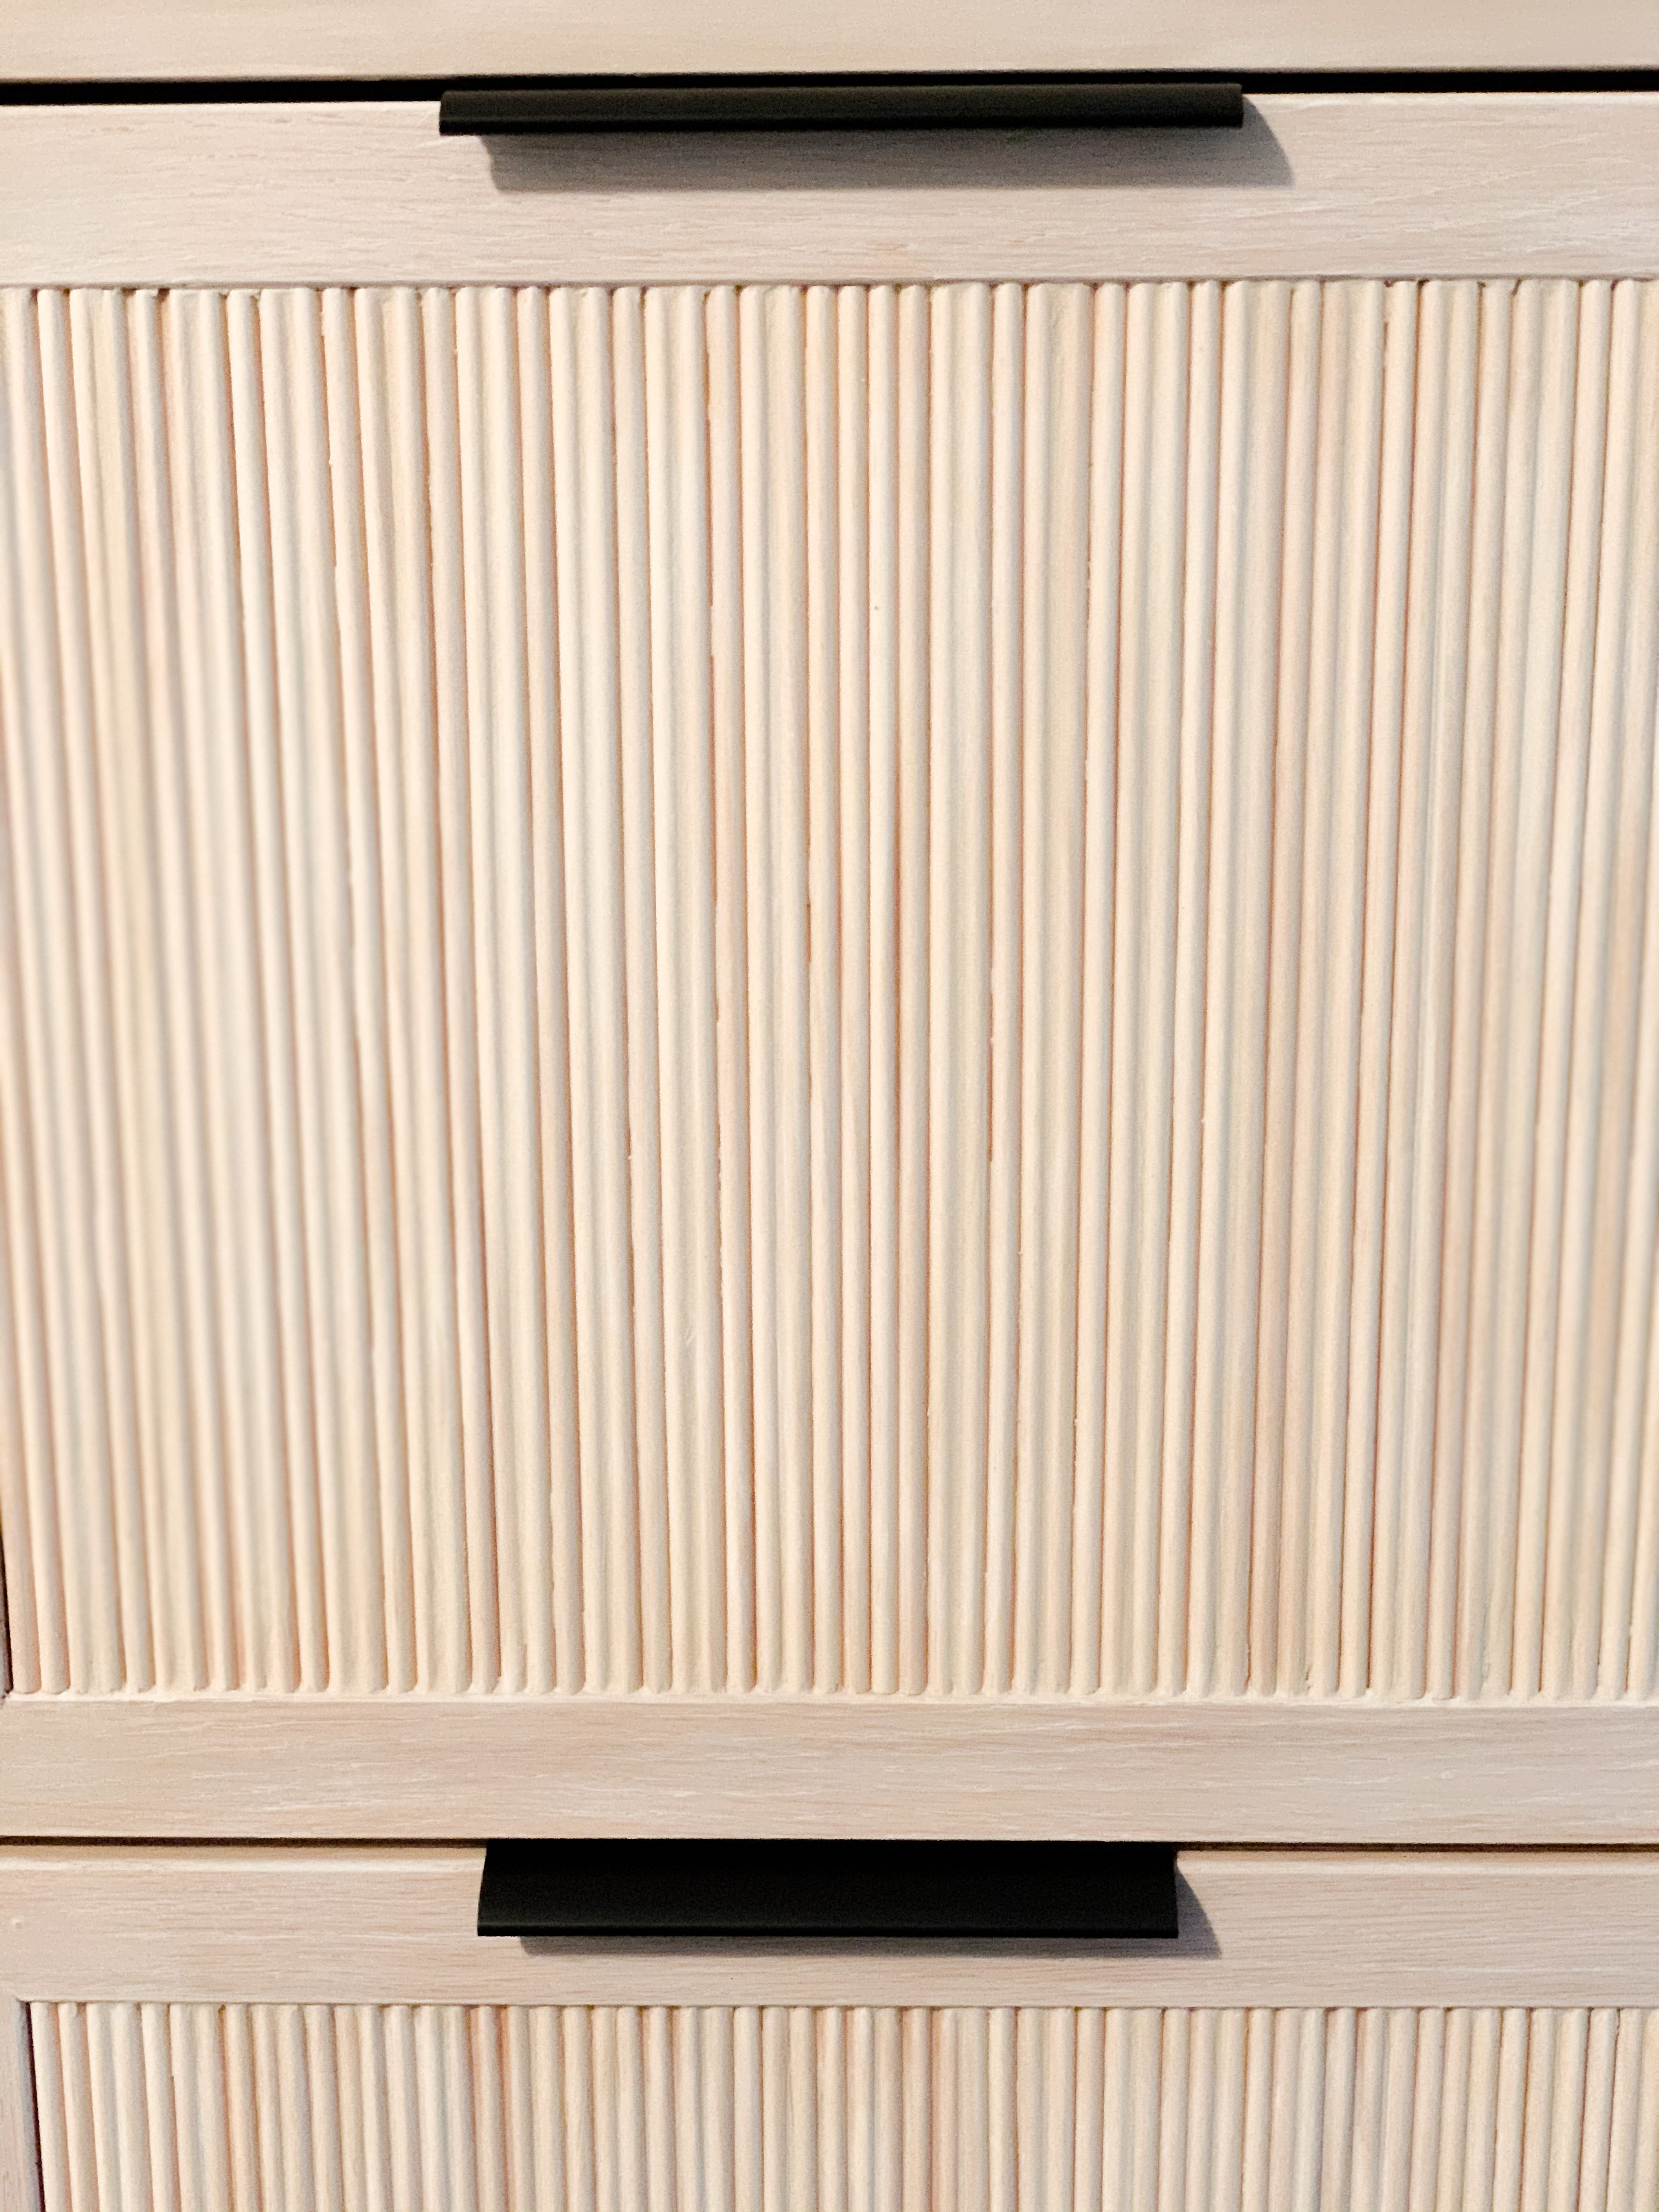
- Fill the entire space between trim pieces with plastic wood (wood filler)
- Take a wet wipe to wipe it all off, pushing the wood filler as deep into the seams as possible
- Take a toothpick to clean wood filler out of all the areas it’s not supposed to be in
- Once dry, clean it up with a sheet of sandpaper
Paint the White
I topped the cabinet off with an oak board, so the only parts of the original cabinet that were still visible were the lines between the cabinet faces, the bottom, and the sides.

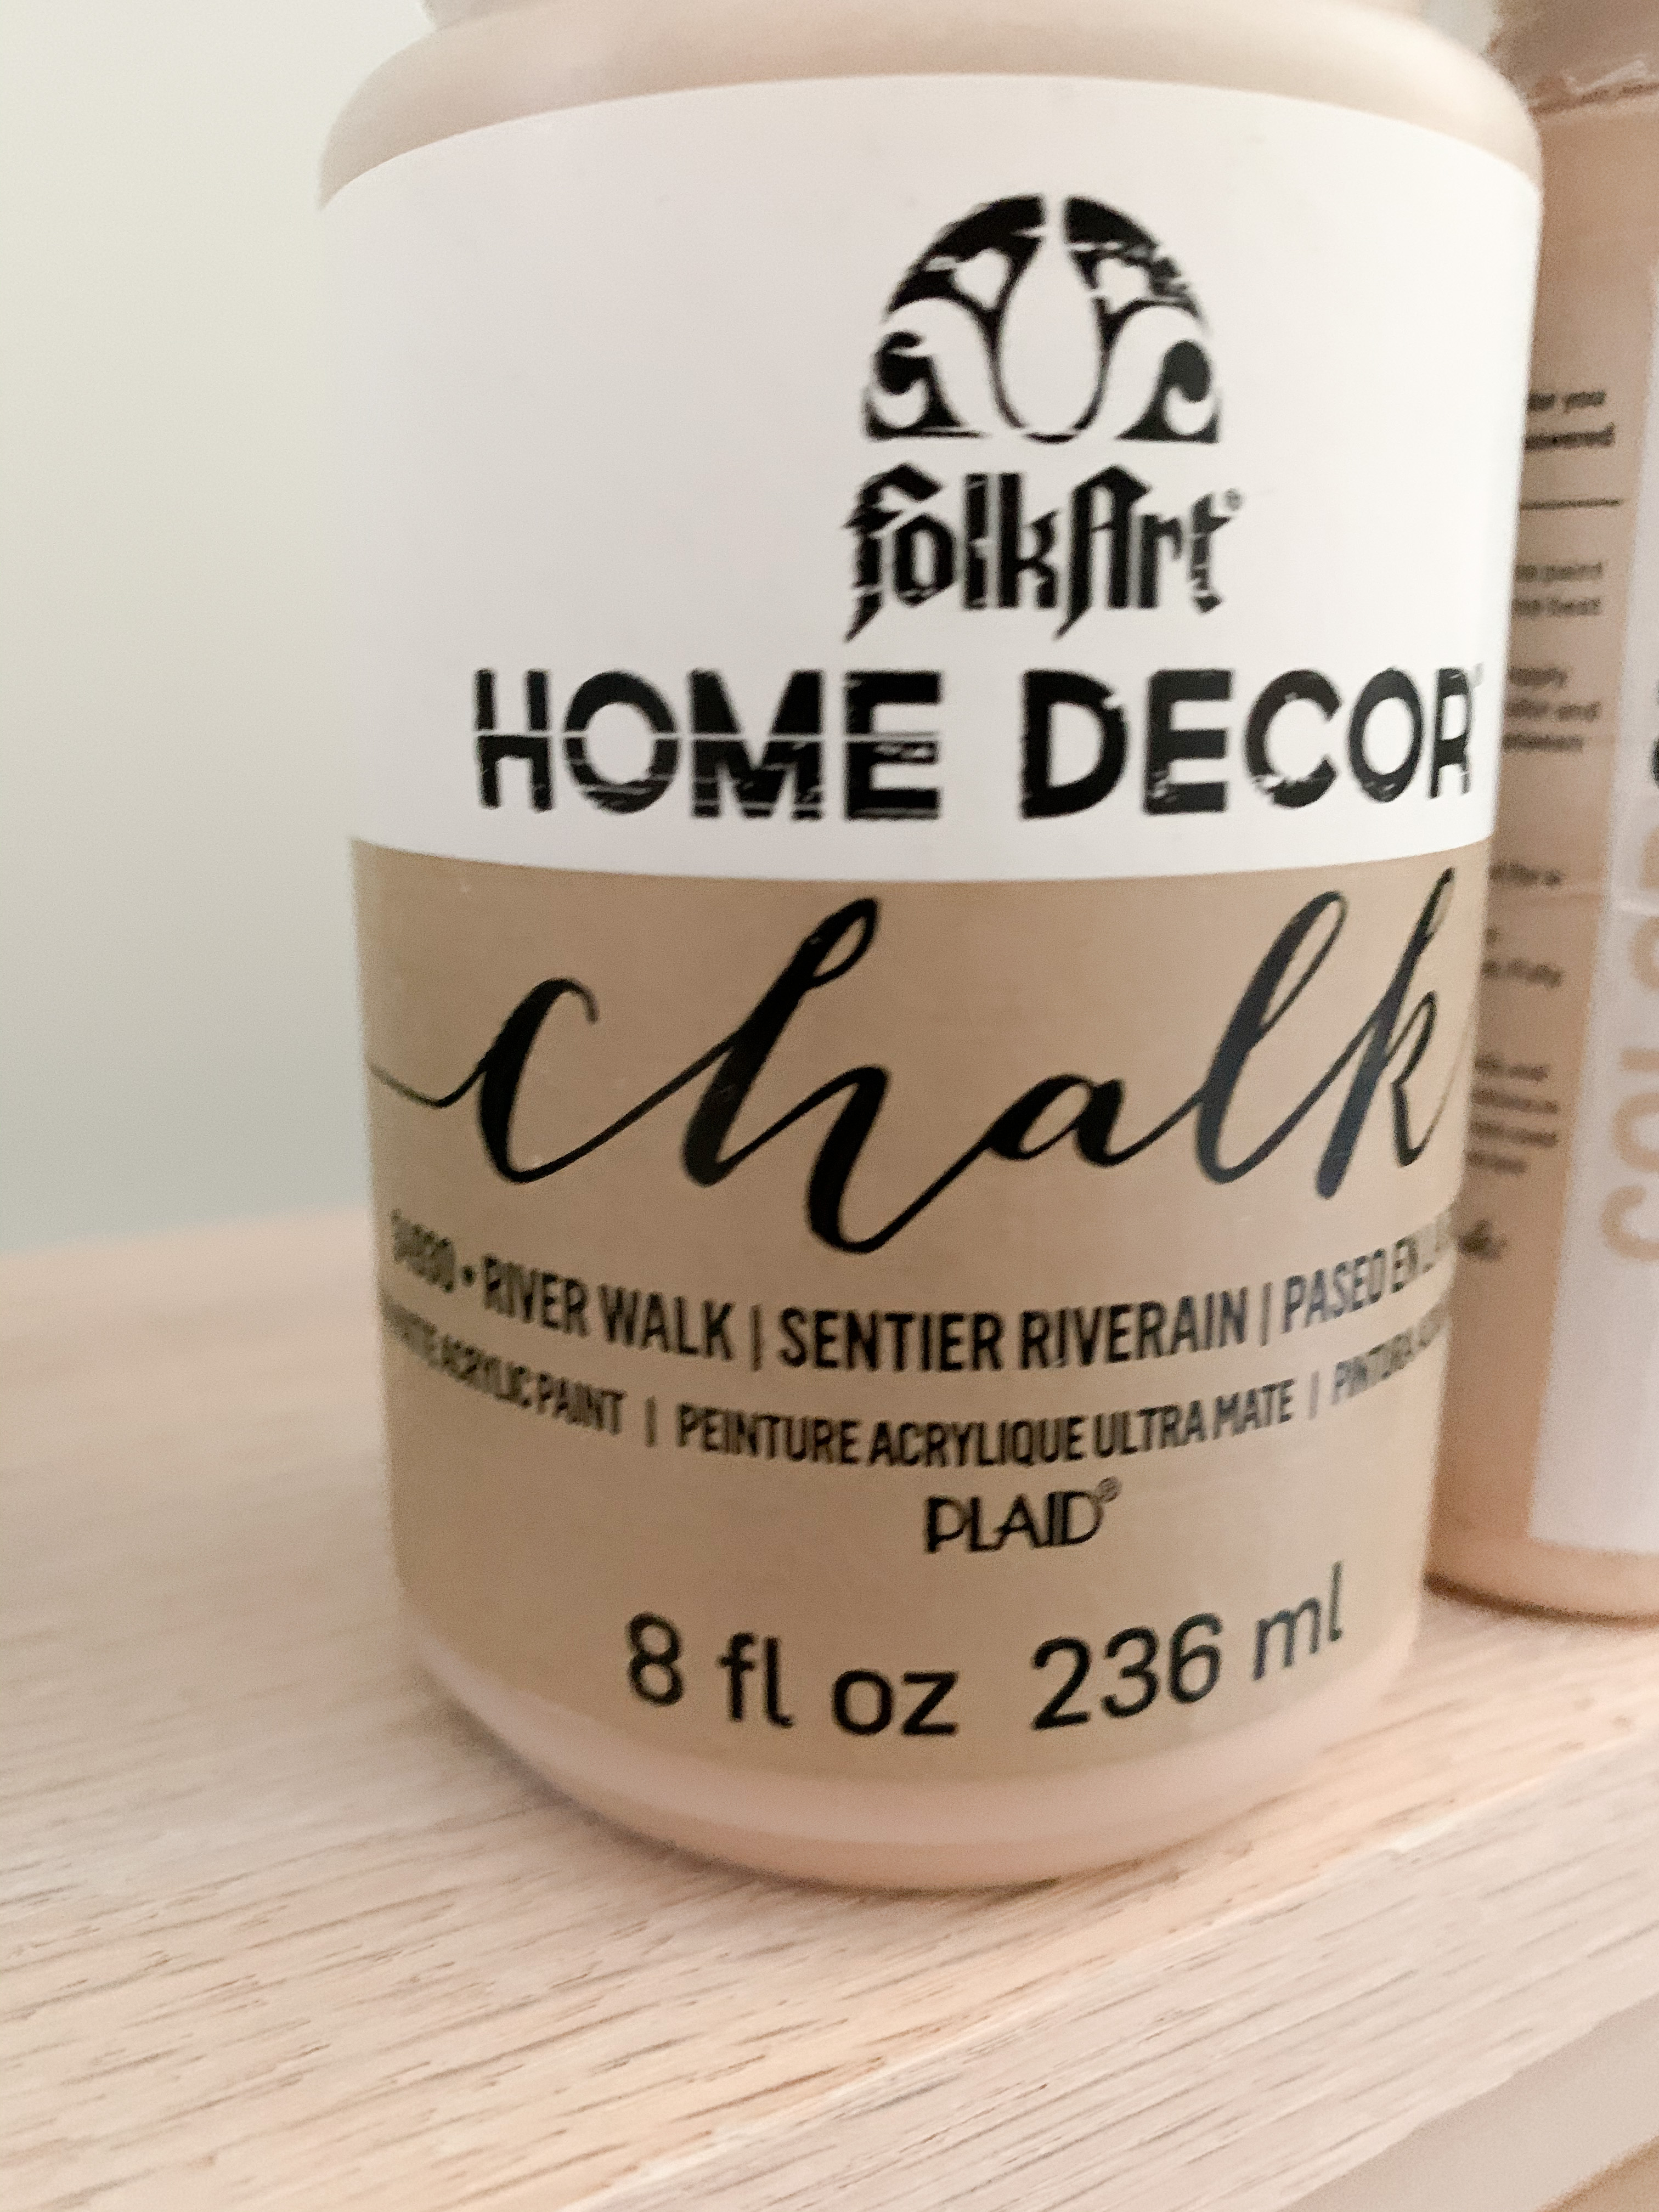
I took the wood I used for the top of the cabinet to Home Depot and held it up to the color shot options. The one pictured on the left was the one that seemed to have the most similar undertones, but after I painted it on, it wasn’t quite a perfect match.
I happened to have this chalk paint (pictured in the middle) on hand, so I painted that color on top.
Liming Wax
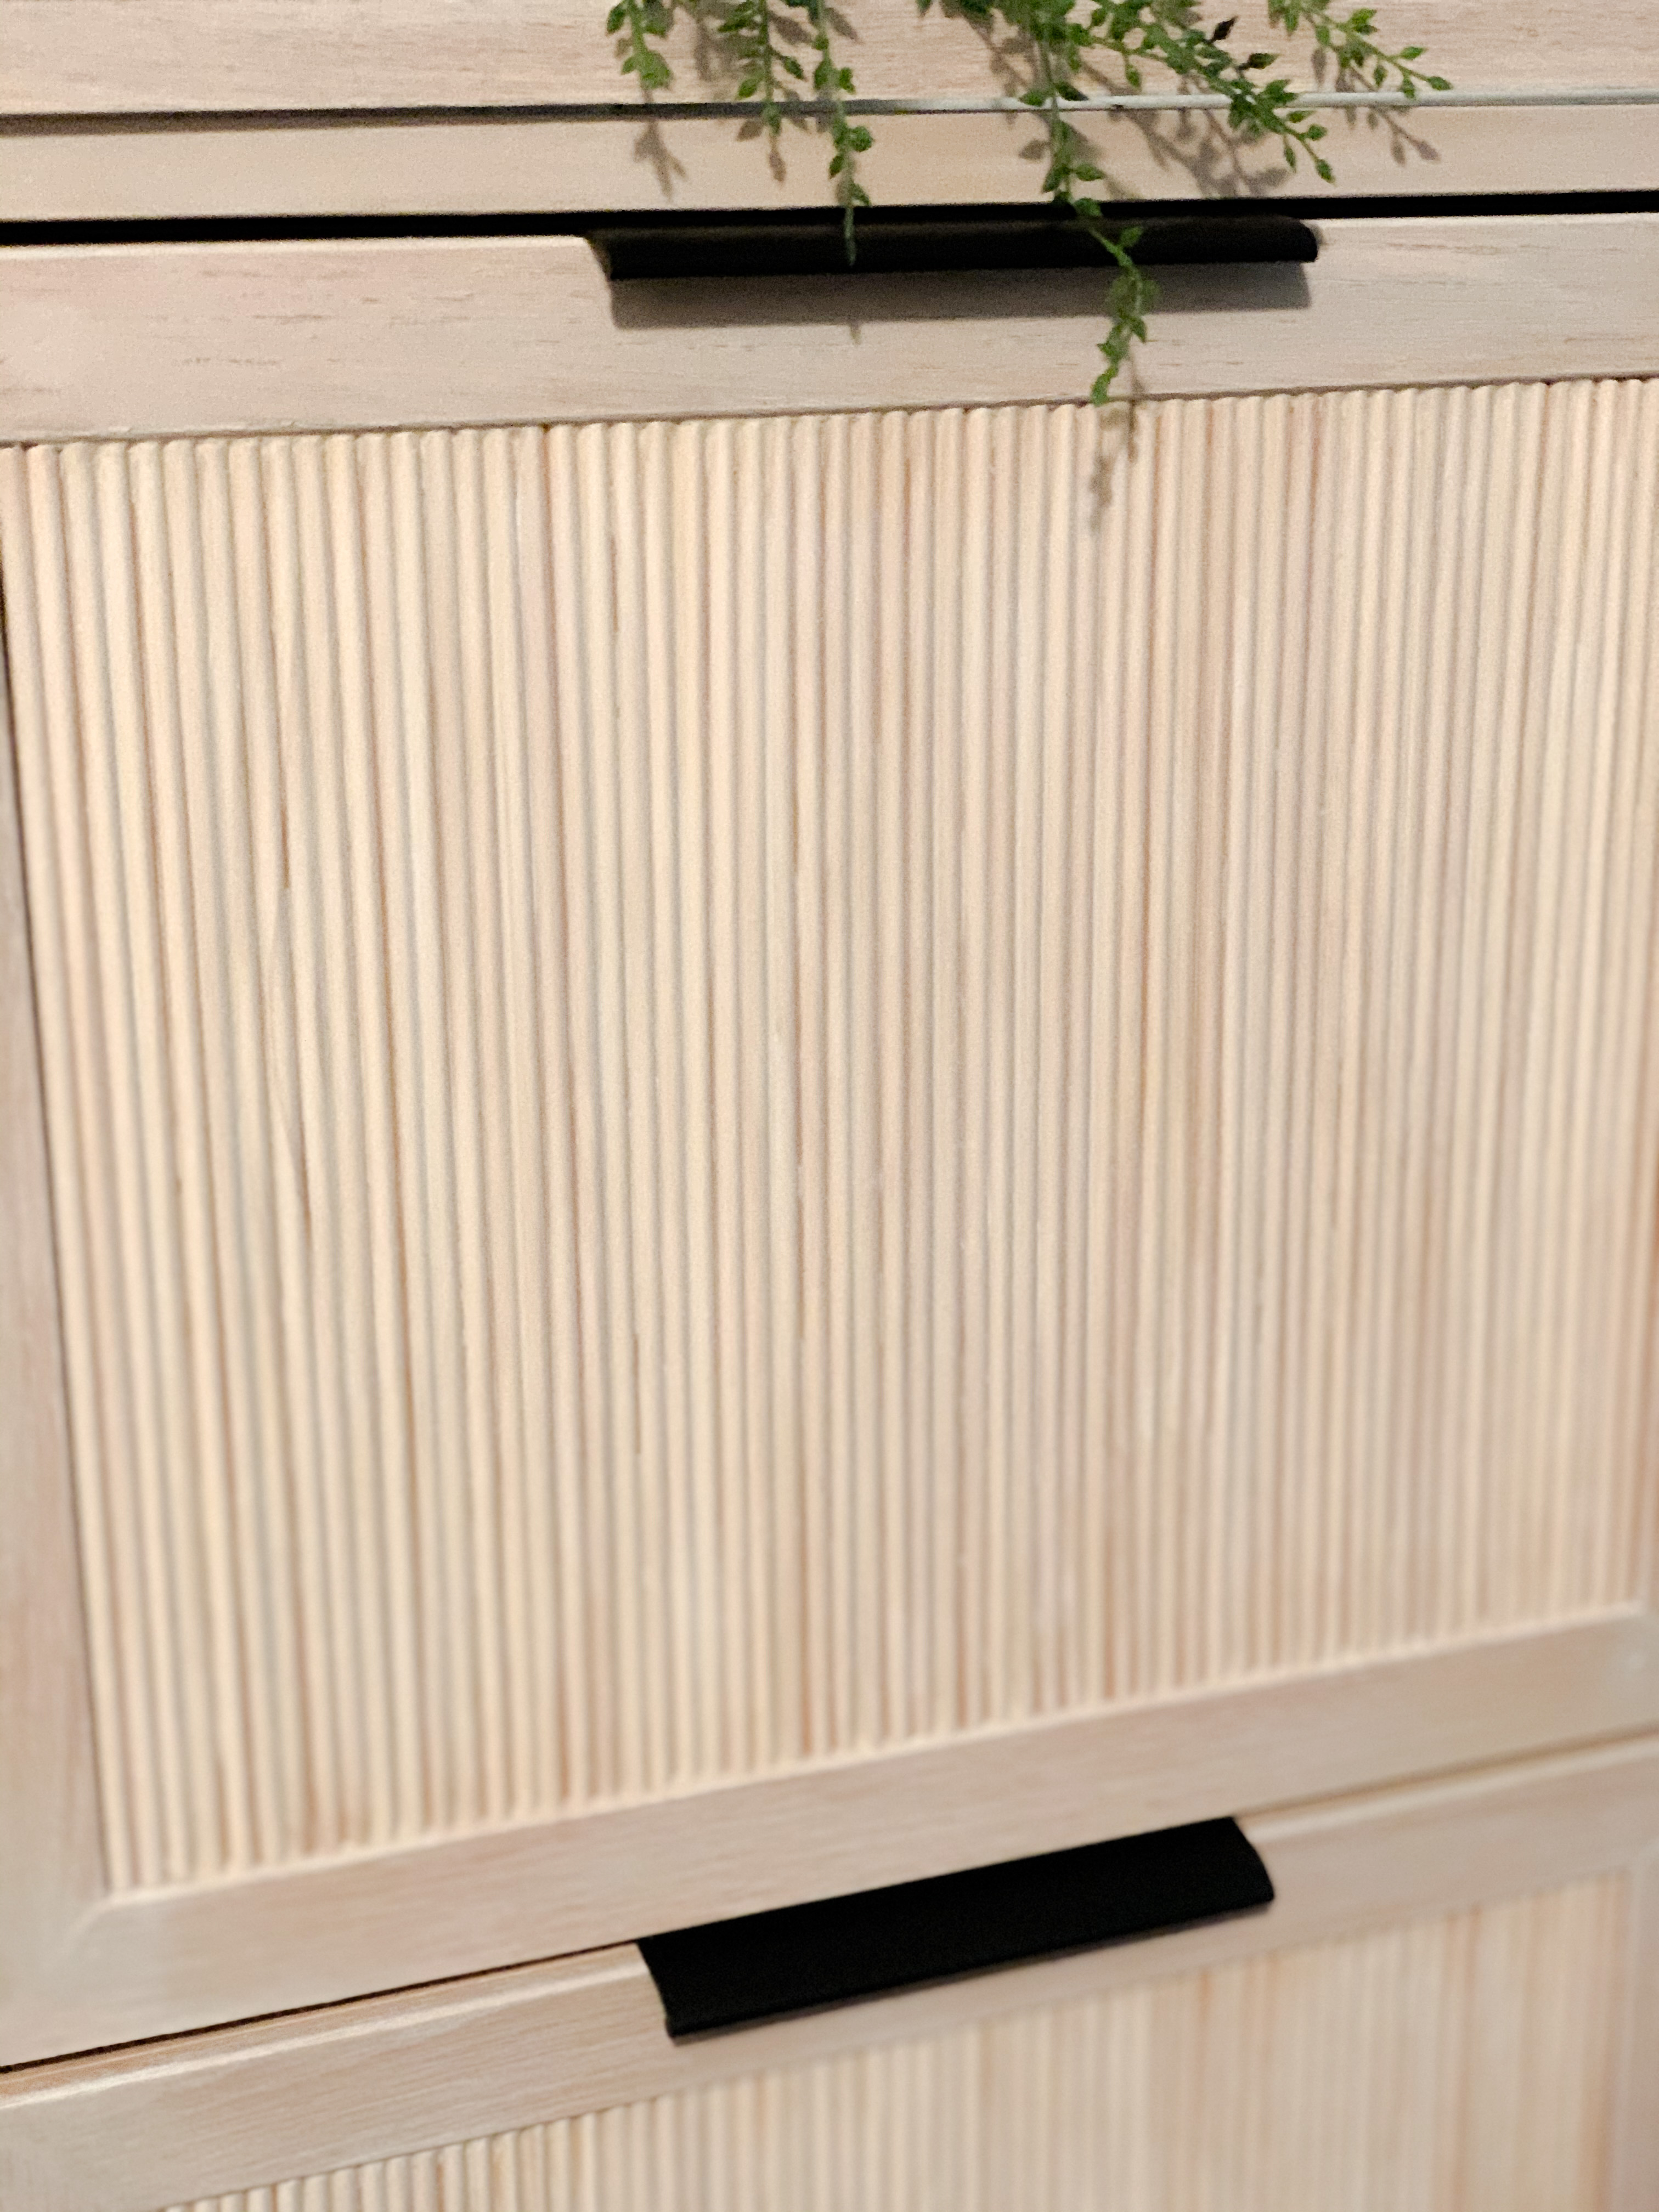
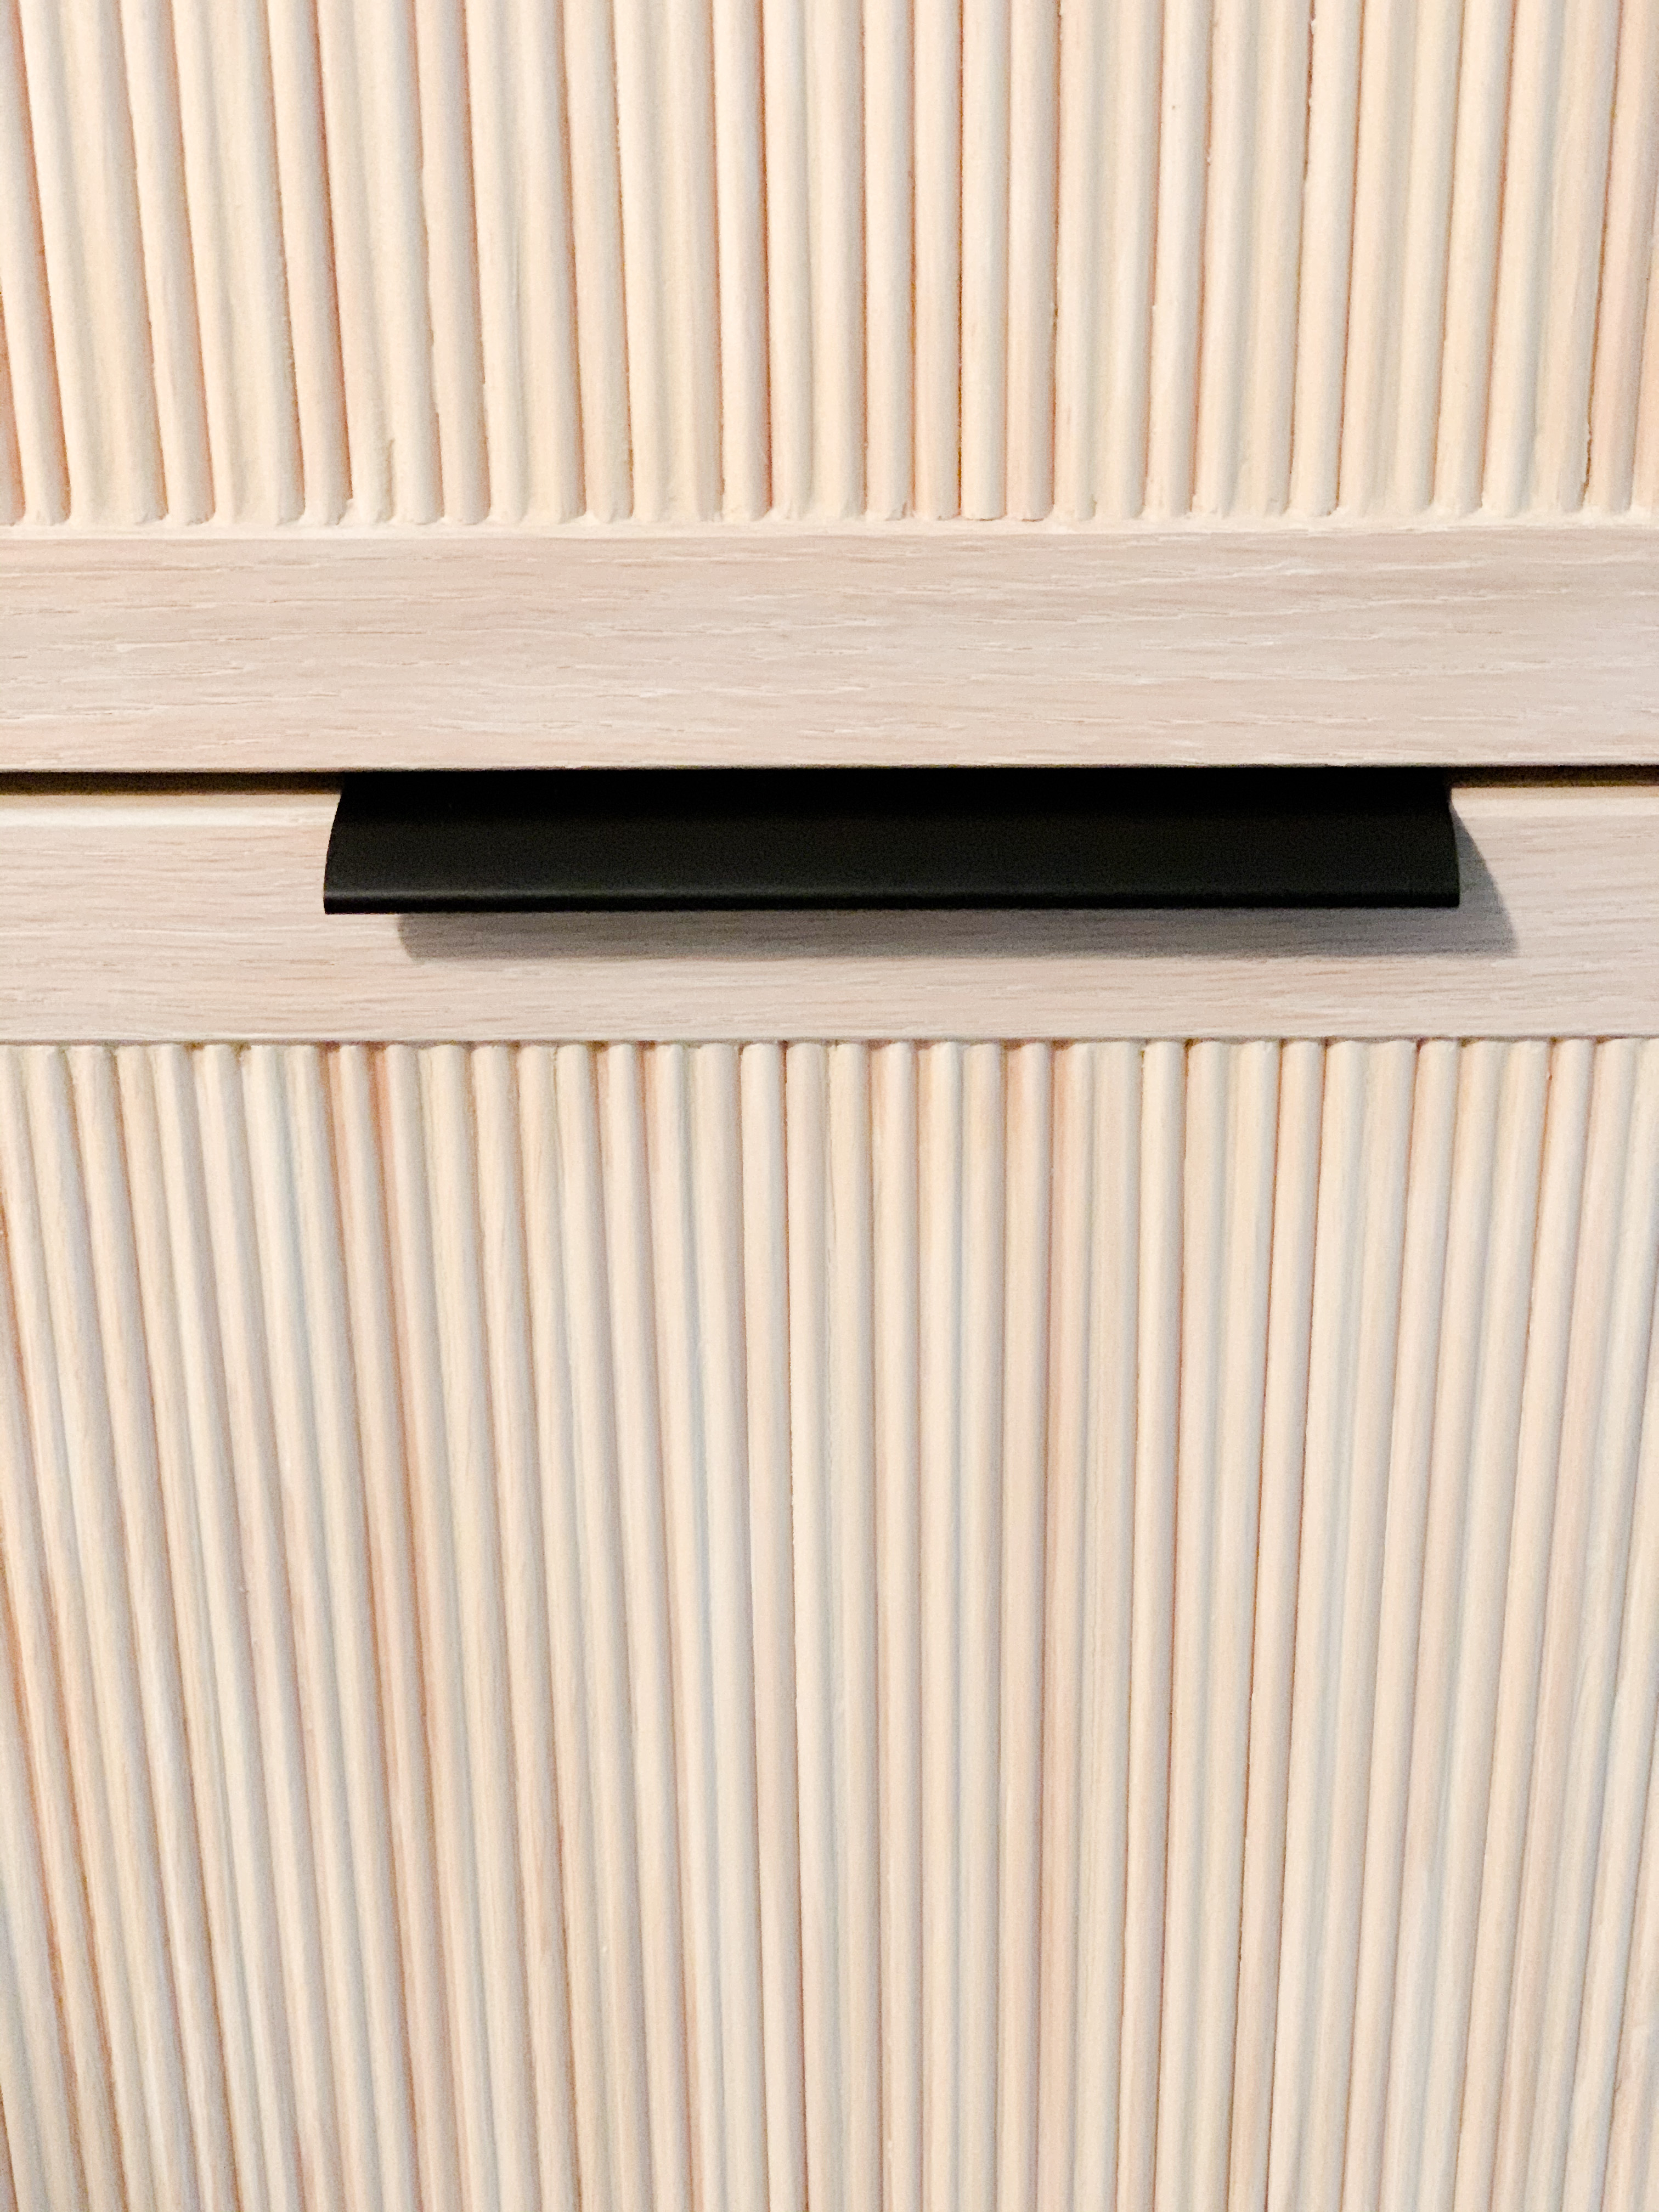
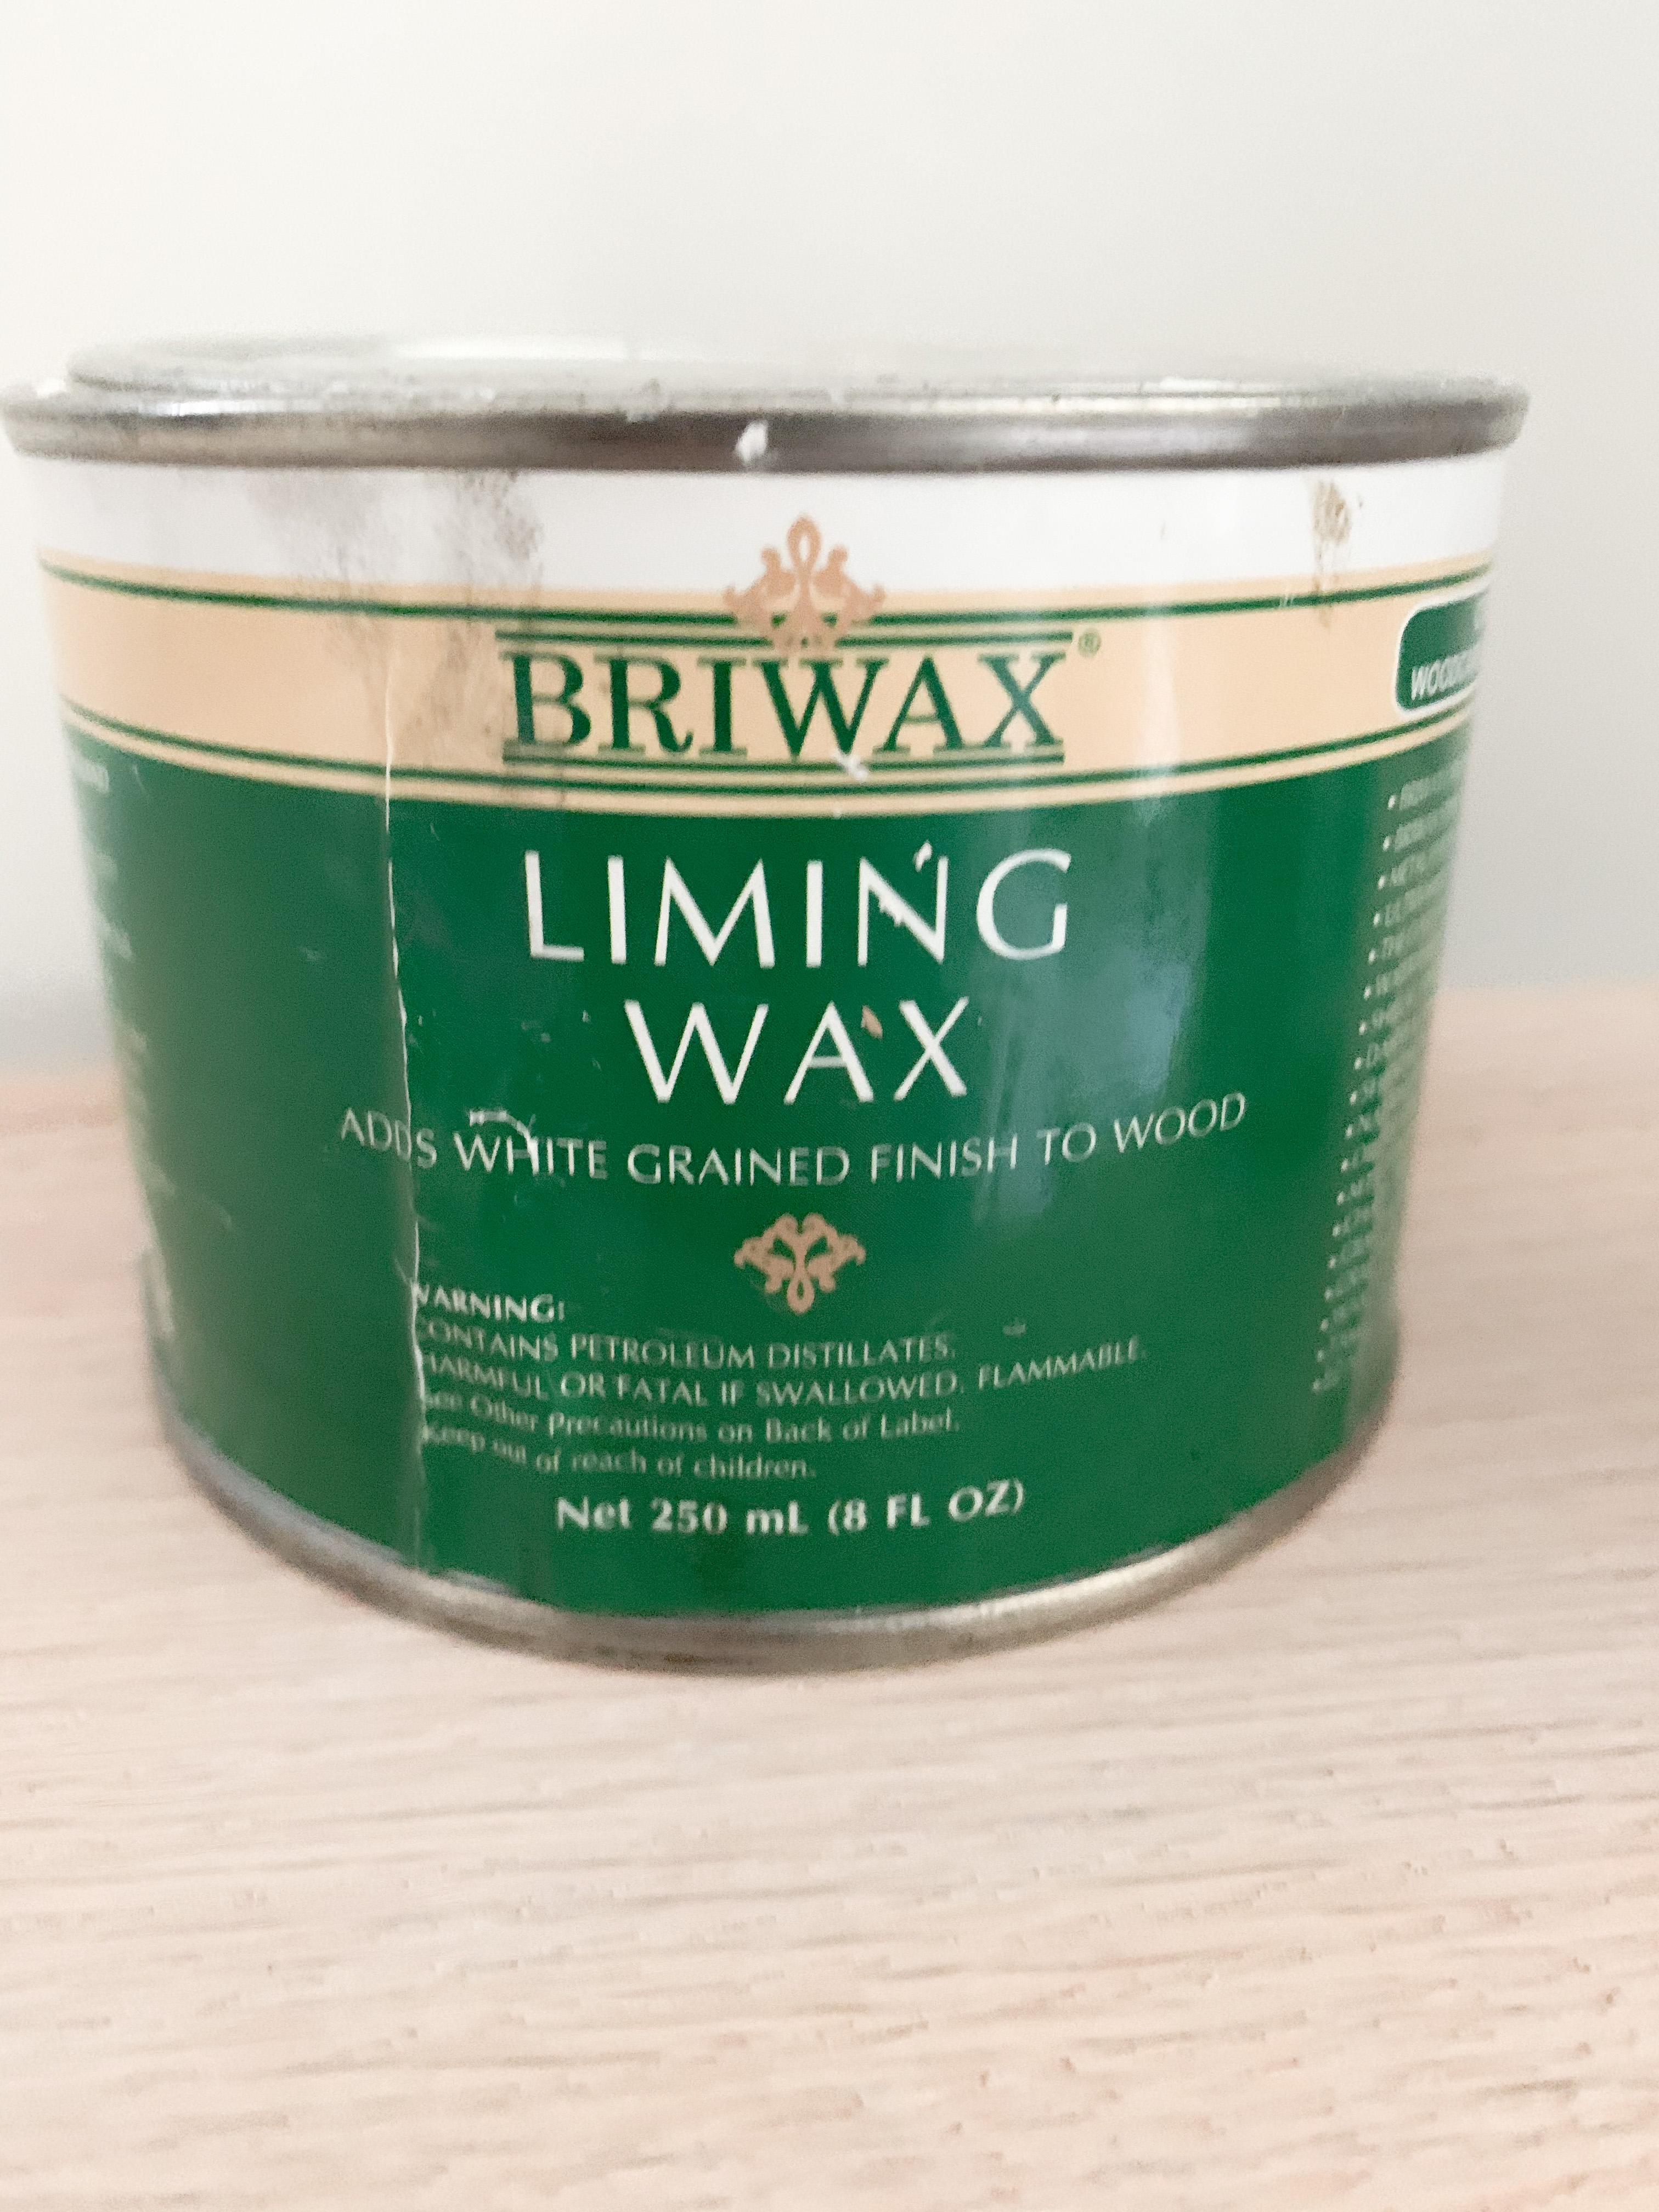
Then I finished the entire piece off with liming wax. I brushed it on with a wire brush (similar to this one) to give it a whitewashed look.
It disguised the fact that the edges weren’t real wood, and helped the whole thing blend well.
The End!
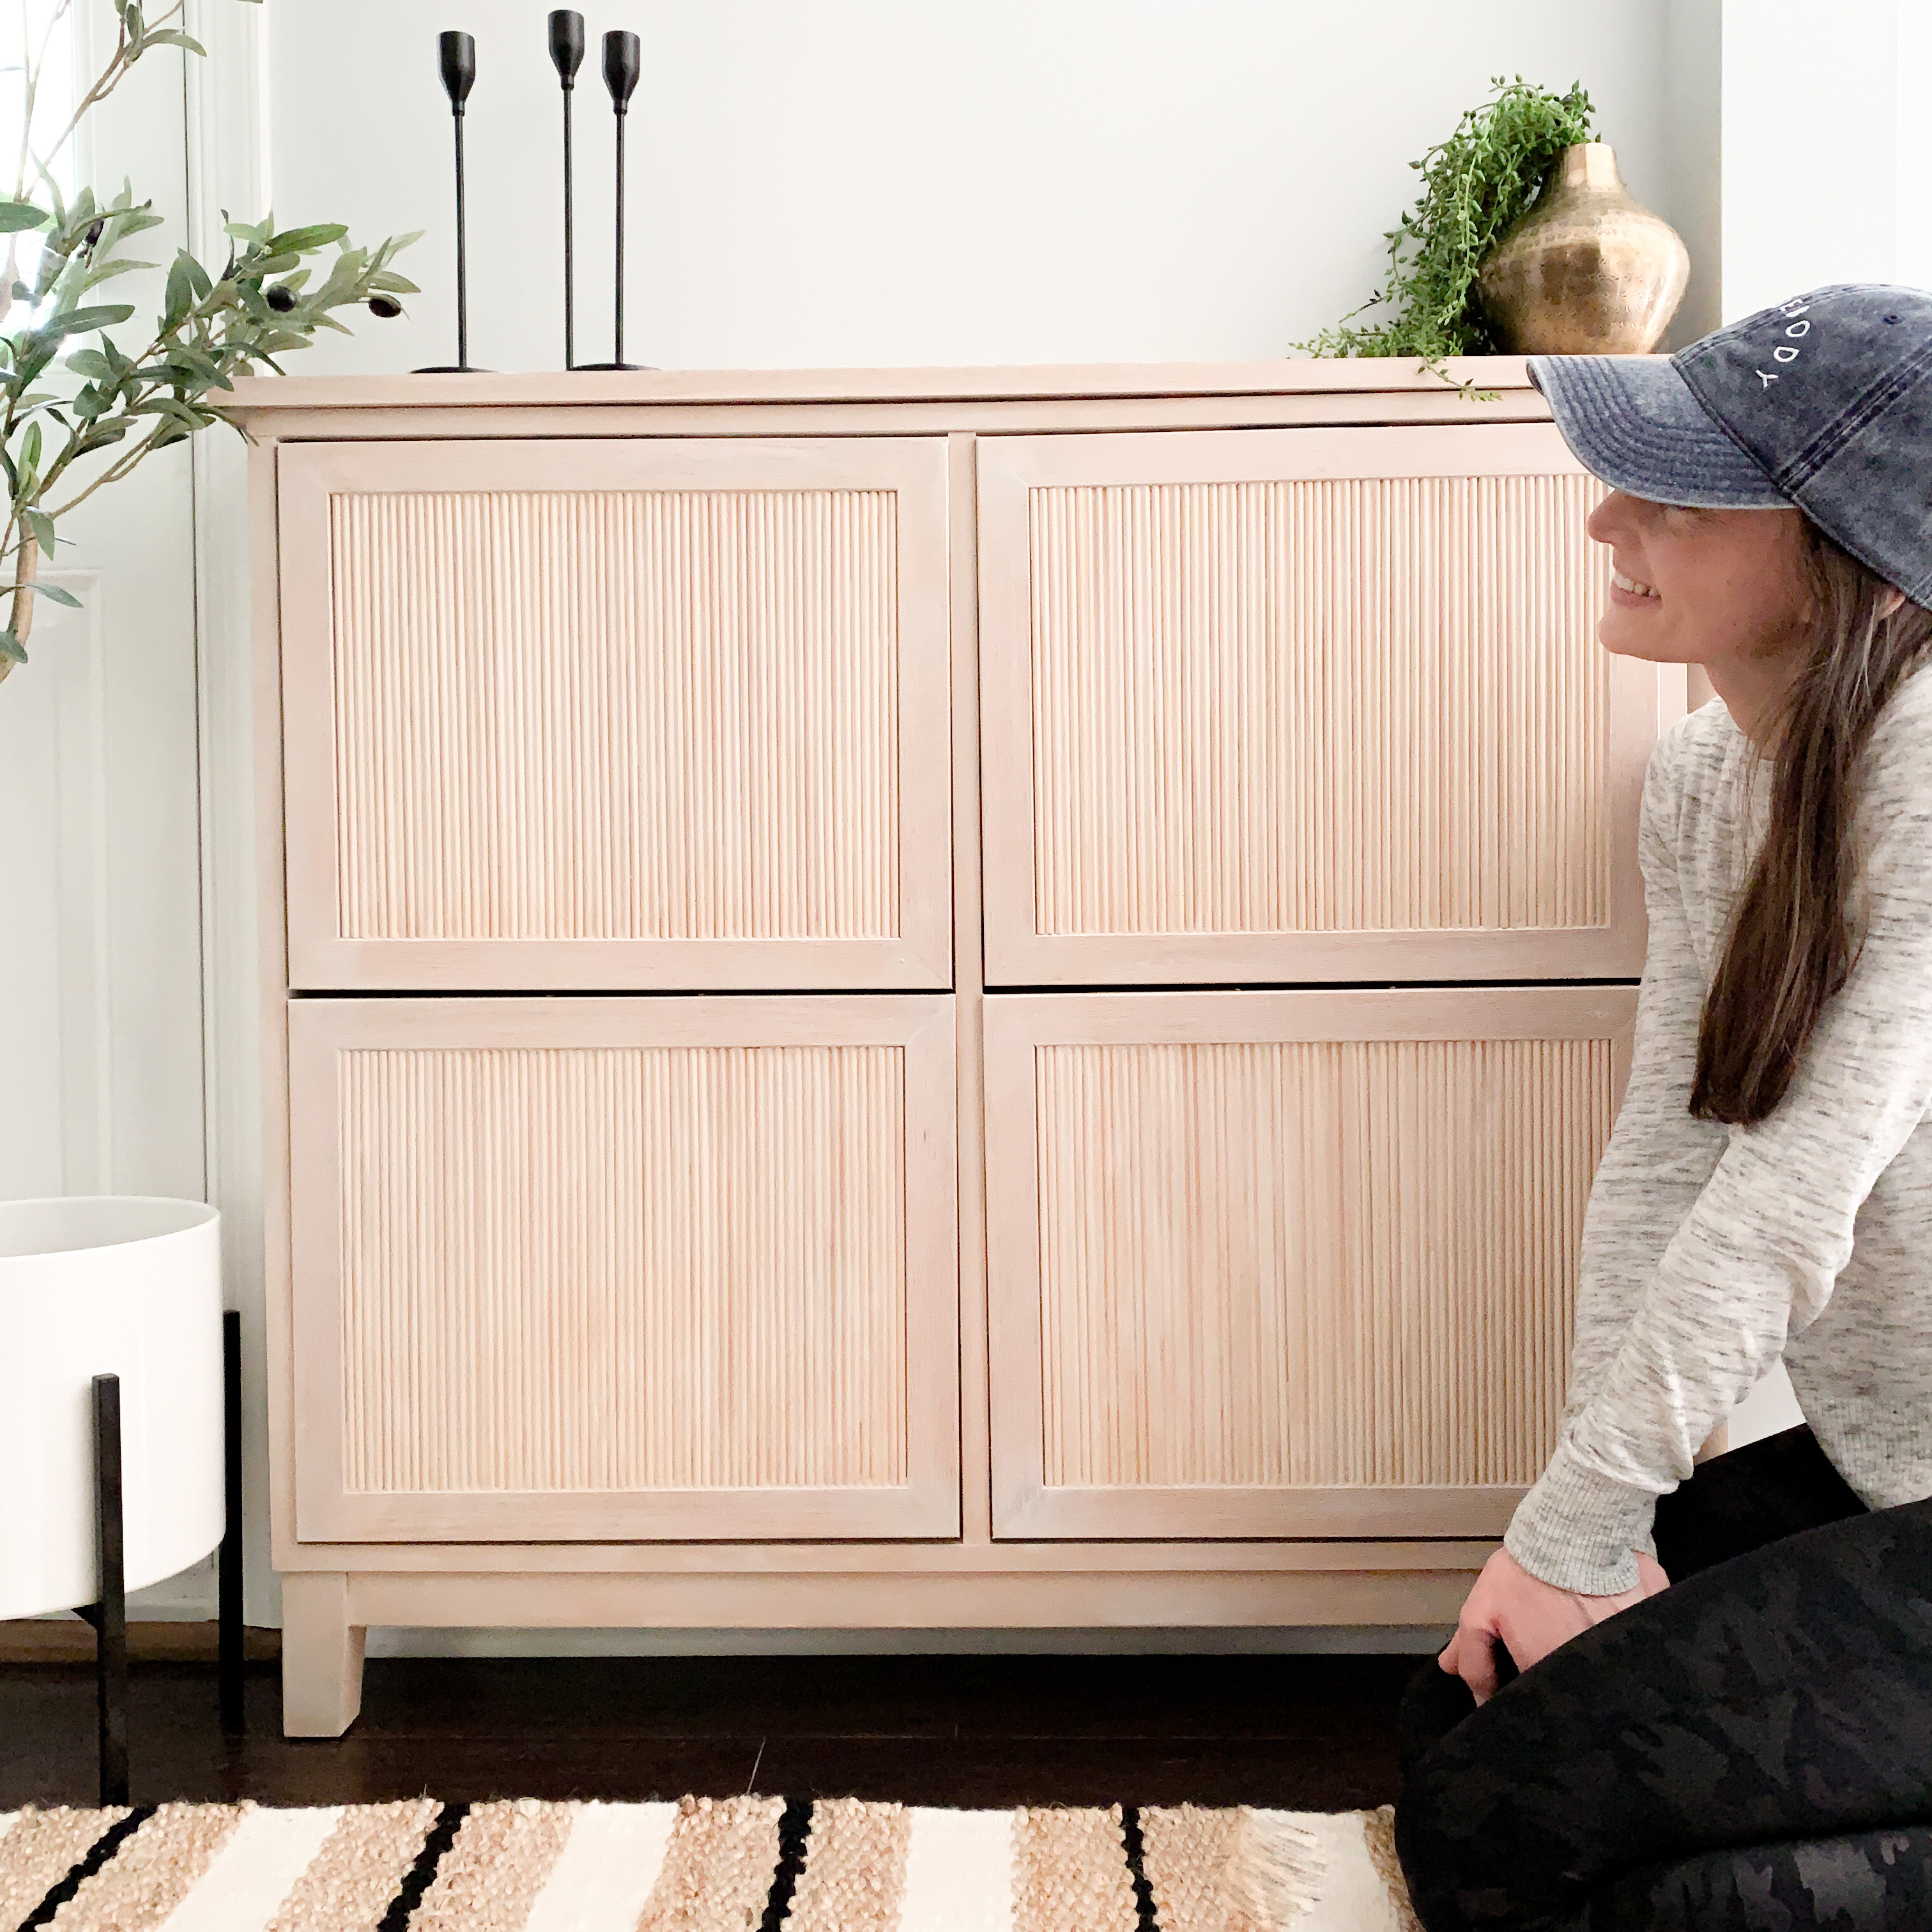
It’s not 100% perfect, just like most pieces of furniture, but WOW it makes a huge difference! I can’t wait to incorporate this trim in other spots!
Post may contain affiliate links. Please see the disclosure, linked here.

Annie, this is so beautiful and I’m going to try my best to attempt it!
Questions, did you have to cut the wood oak trim? If so how did you do it?
2nd question – did you attach handles to this after?
Thanks so much!
Hi Stefanie! I appreciate your comment so much! Thank you!! I did have to cut the oak trim and used a miter saw for all of the cuts. I cut the oak lattice at a 45 degree angle, and the fluted trim flat. The fluted trim is so thin, it should be pretty easy to cut in other ways. And I do have pulls that I found on Amazon and am going to attach… I just haven’t decided on color quite yet haha. I will try to update this post with that information soon!