I love the mudroom in this house, but I don’t love the cherry cabinets. So it’s time for a mudroom makeover, and I get to show you guys how to paint cabinets and end up with a really smooth professional finish!
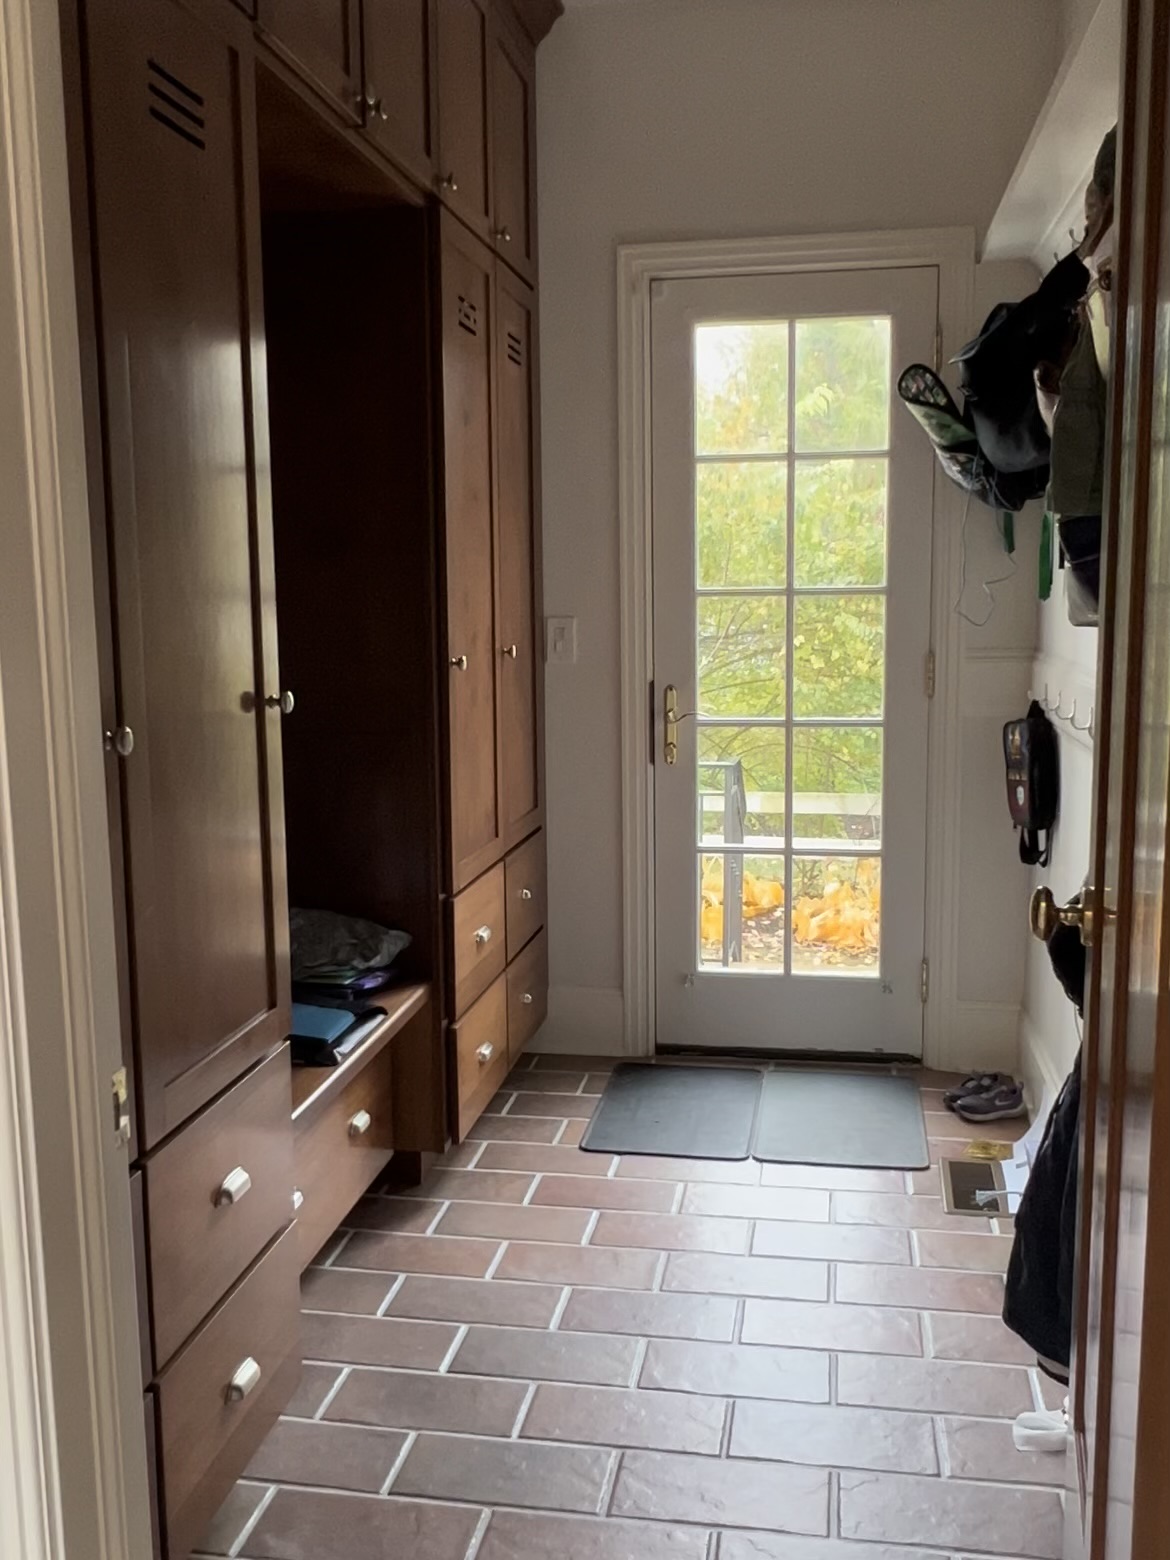
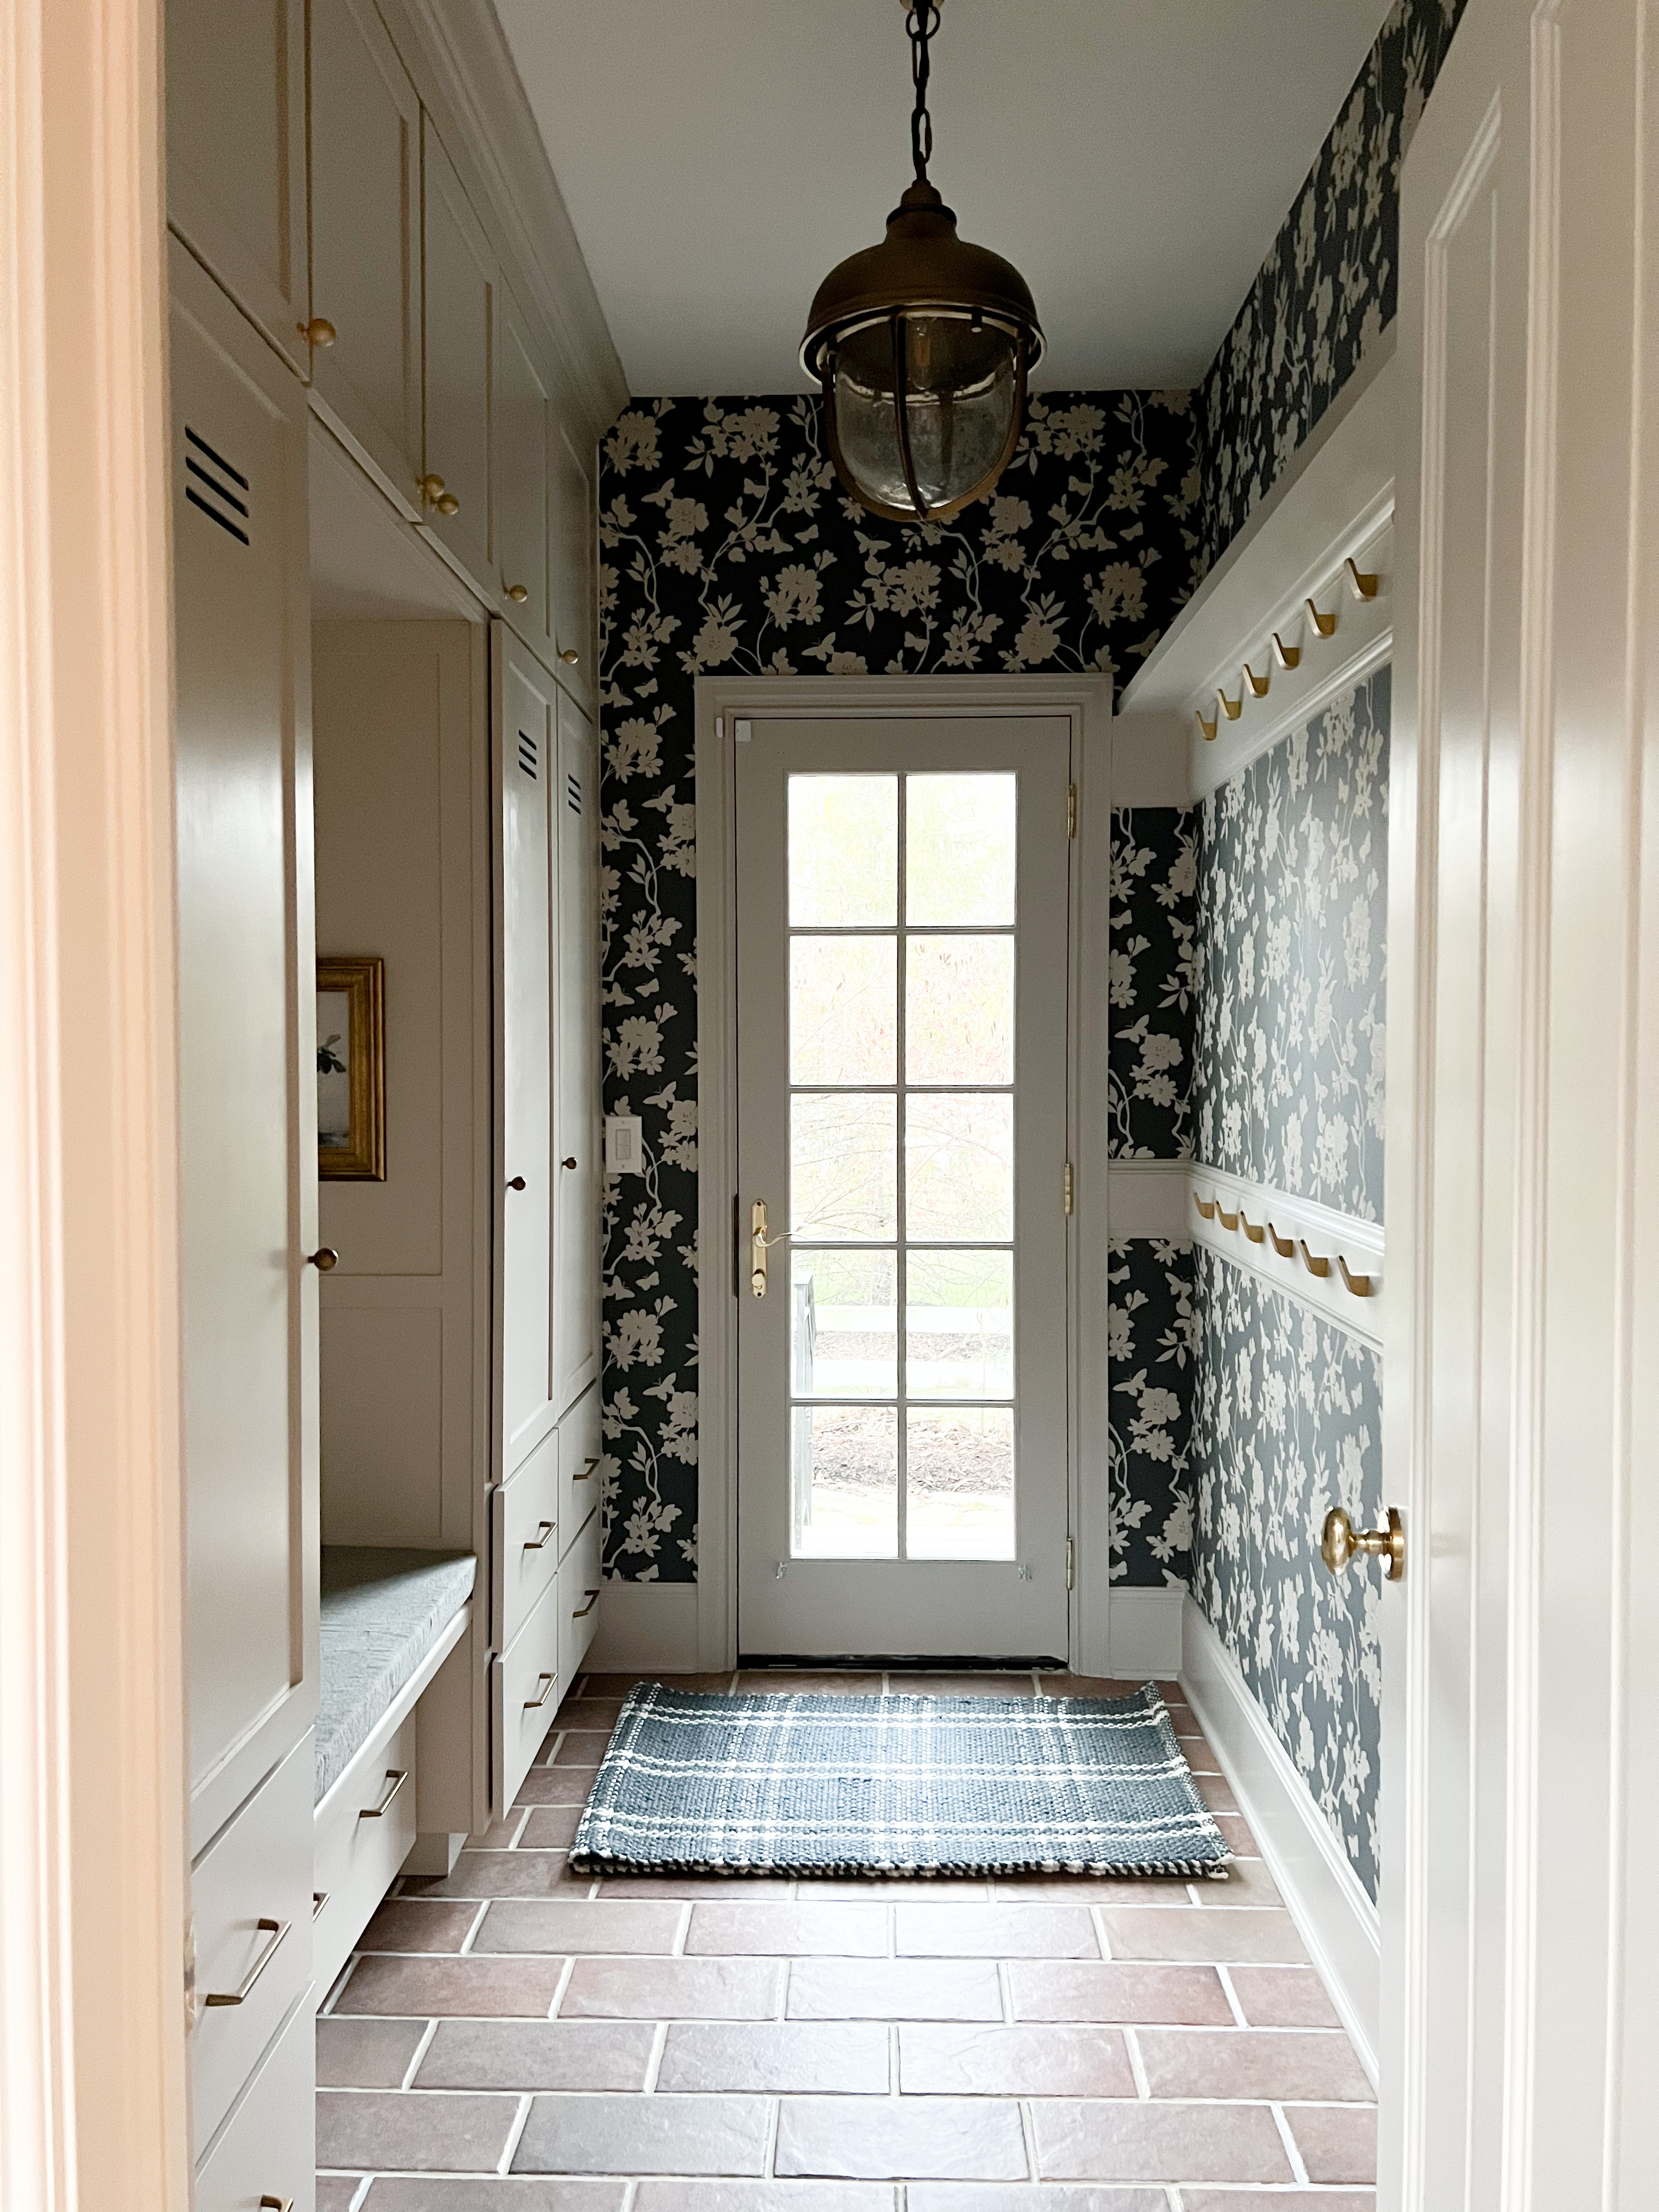
There were a handful of things that we instantly loved when we saw pictures of this house a year and a half ago.
This mudroom is one of them. Even with the cherry not being our style, this is our first official mudroom, and we LOVE that this house came with lockers and drawers already built.
Flooring
We installed new flooring right after we closed on the house. I’m not sure why we didn’t carry the white oak flooring into the mudroom, but I’d be willing to bet that it was an attempt to save money.
I didn’t have a ton of time to dedicate to this refresh, so I knew the tile had to stay. I hoped that knowing how to paint cabinets and install wallpaper would make a big enough difference to transform the mudroom makeover.
Painting the Cabinets
The storage in this space is awesome, so I knew I wanted to keep the lockers and drawers as-is. But the cherry had to go.

Painting cabinets is a highly debated topic. There are lots of tips and tricks out there, many of which are consistent with each other, but the results are mixed. Some have luck, and some complain of peeling and chipping.
To keep this project easy, I decided to go with a kit that has all the product decisions made for me.
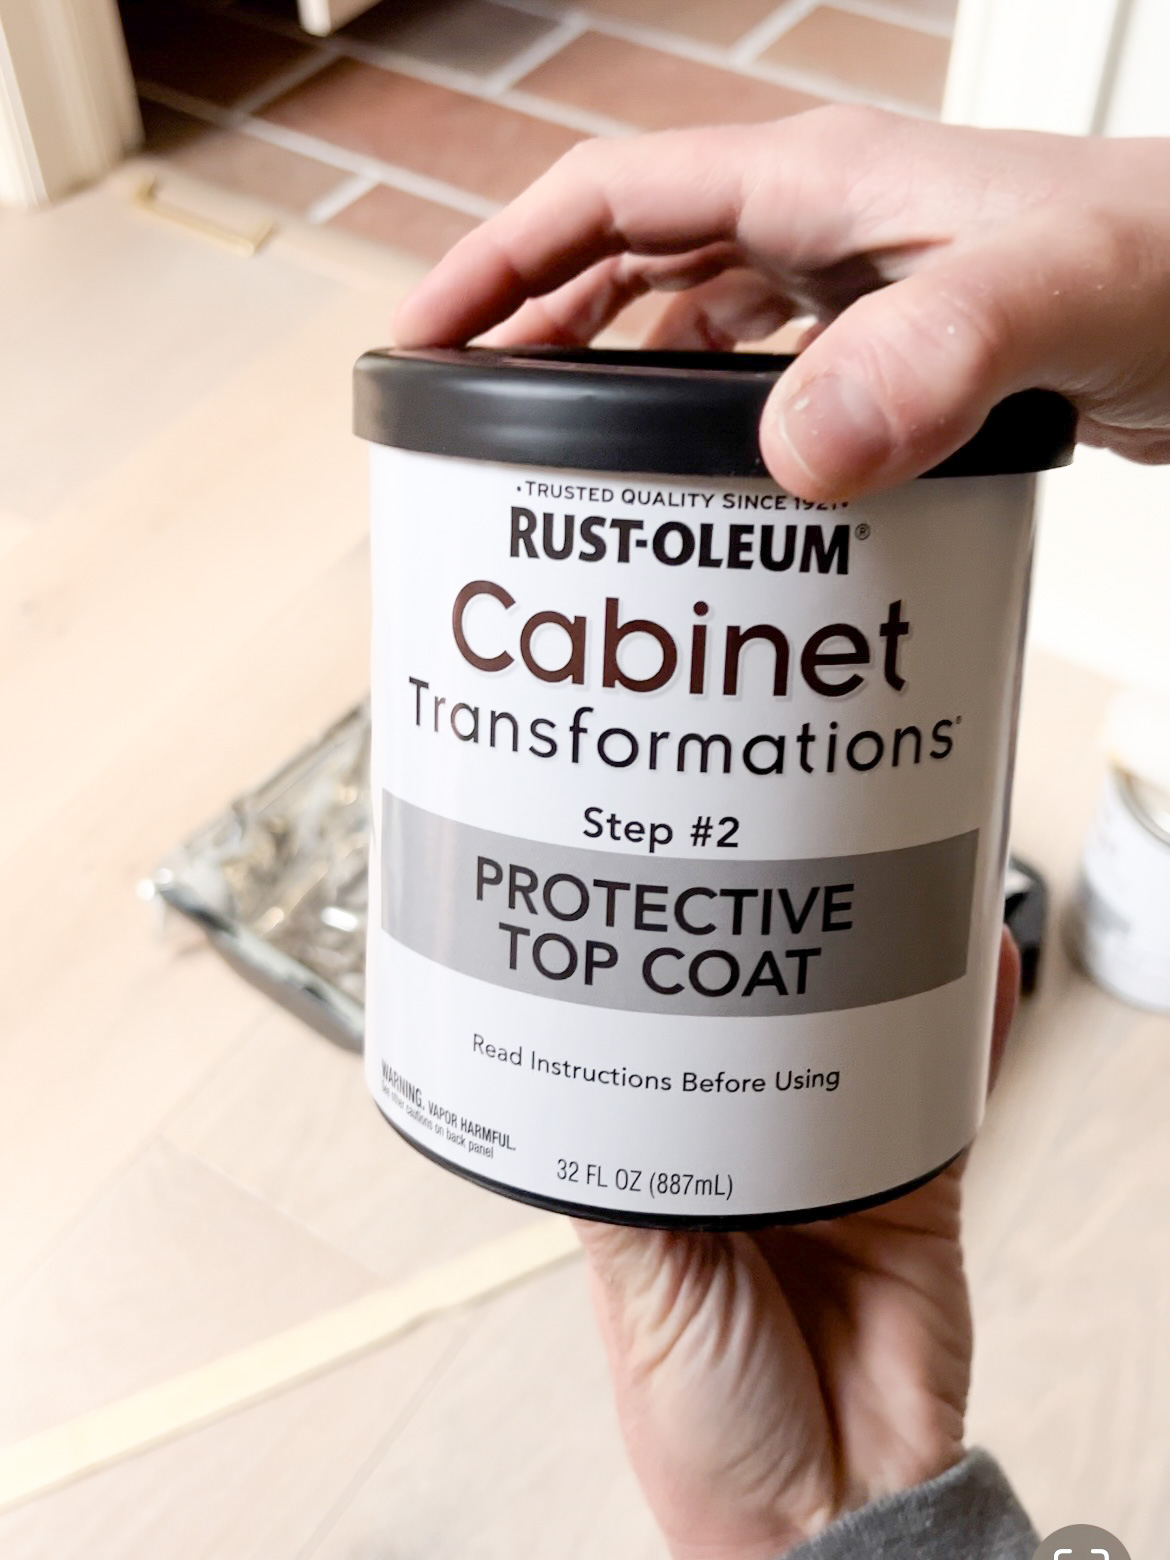
The Cabinet Transformation Kit
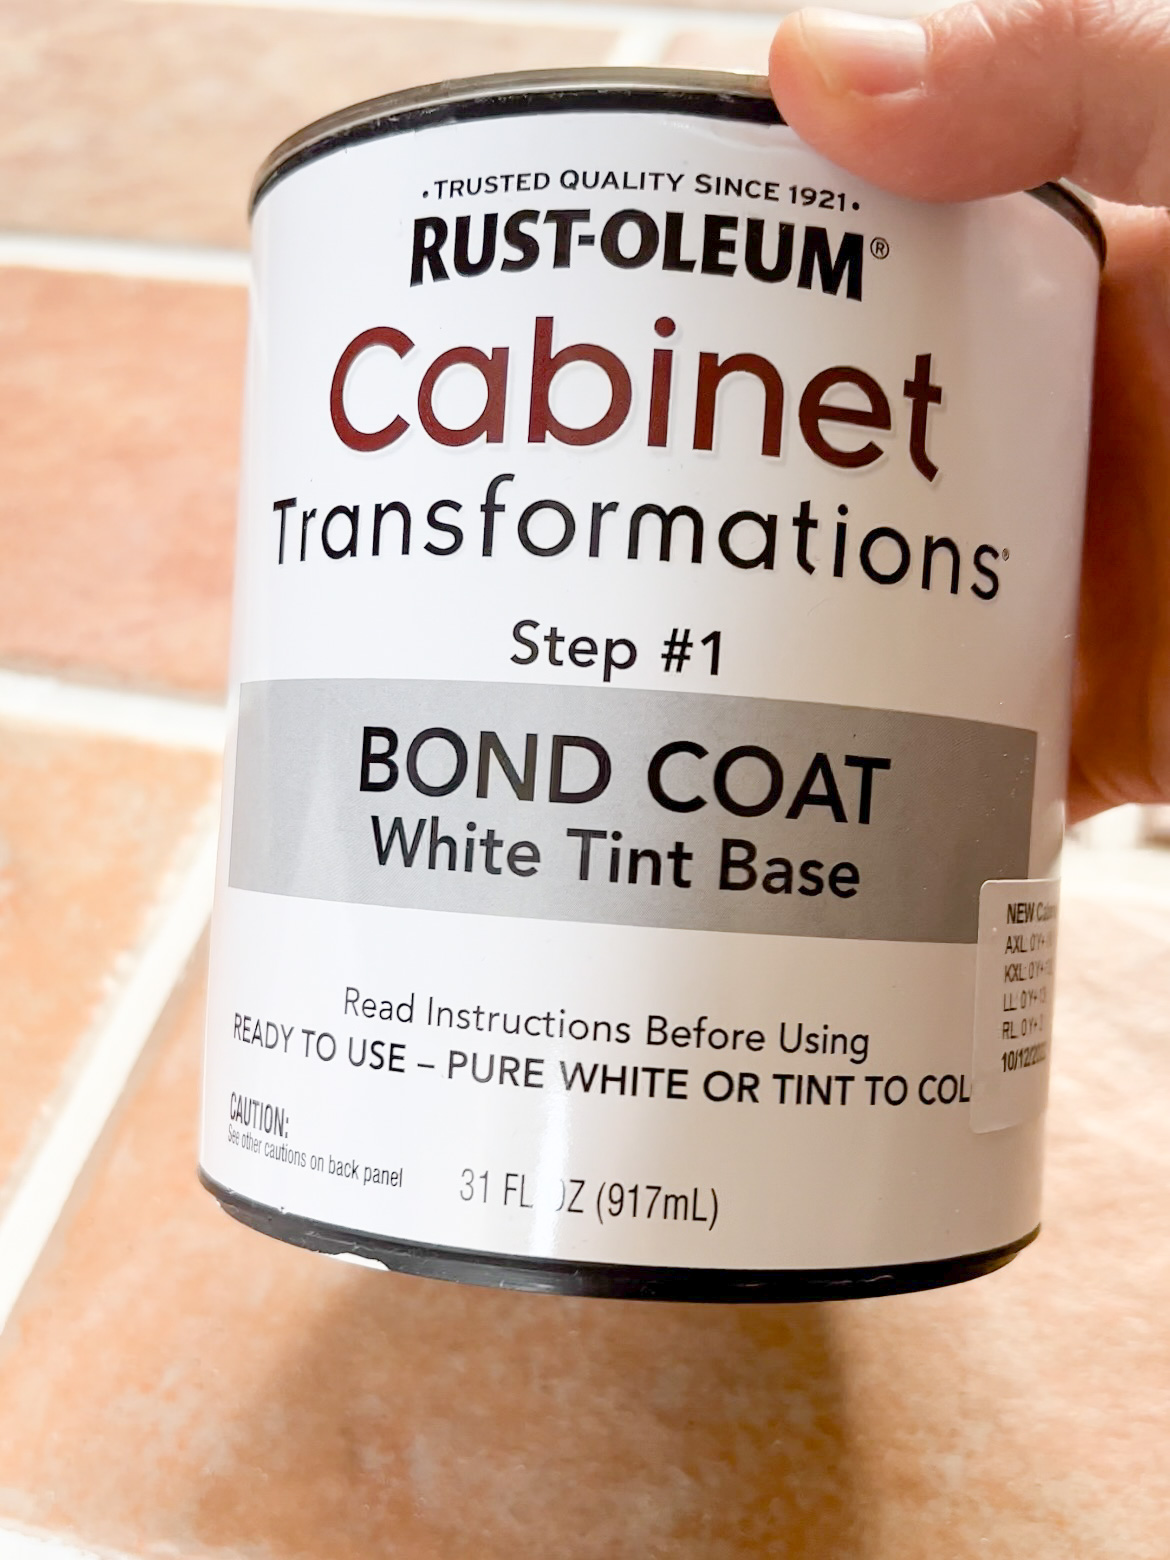
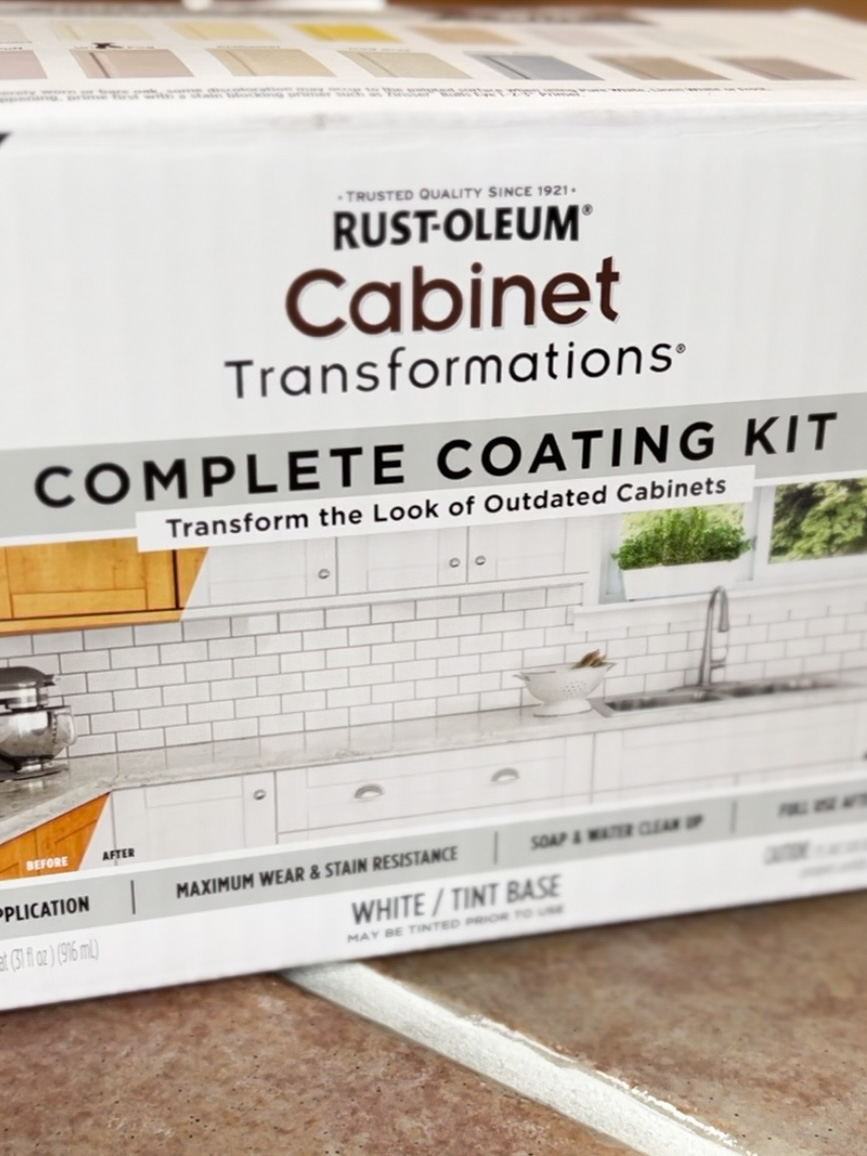
This Cabinet Transformations Kit from Rustoleum is the one I used. If you want a color, you need to find it in-store (Home Depot carries it) and have it tinted there.
There is a list of colors on the top of the box to choose from. I chose Smokey Beige and had the bond coat tinted to that color.
If you want a darker color, you’ll need the kit with a darker base.
How to Paint Cabinets: Prep
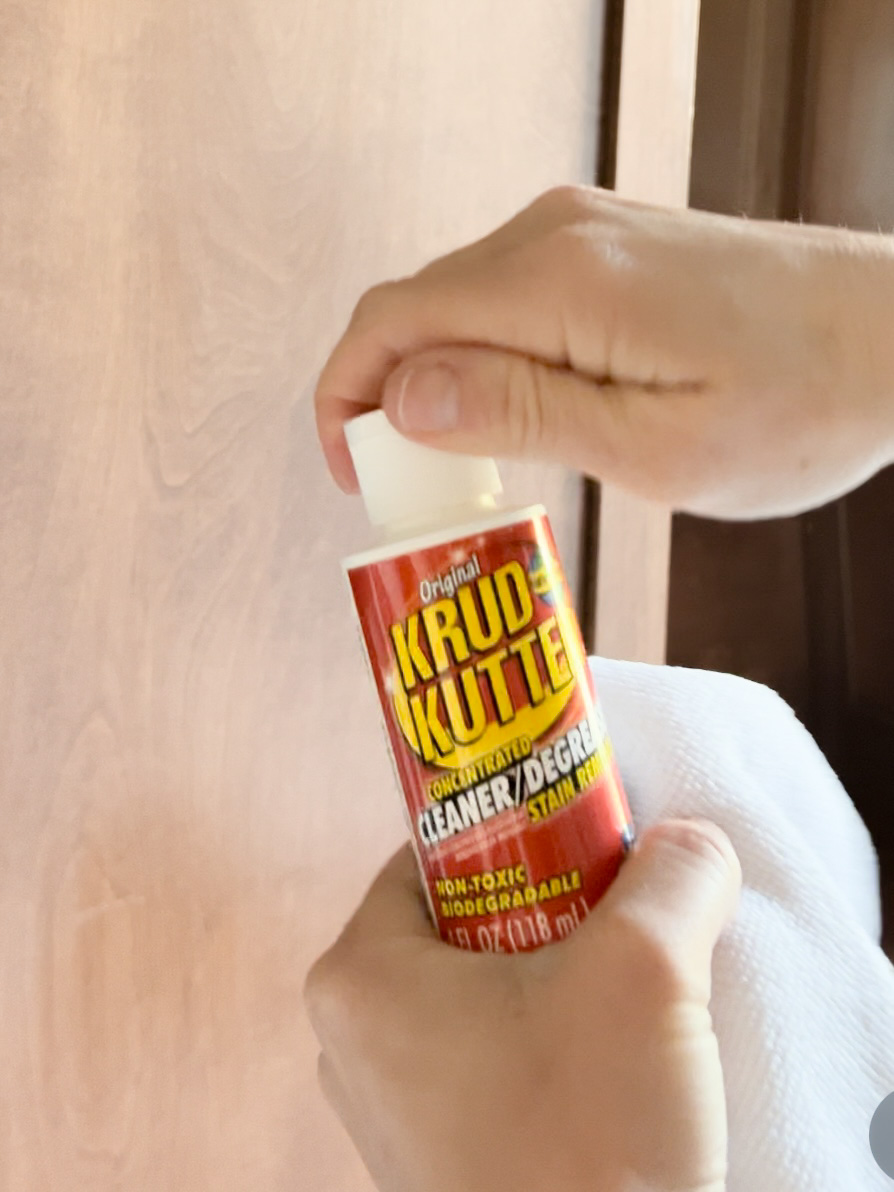
I followed the step-by-step instructions that came with the kit. A lot of people asked if I sanded the cabinets first. The kit says to use the Krud Kutter first.
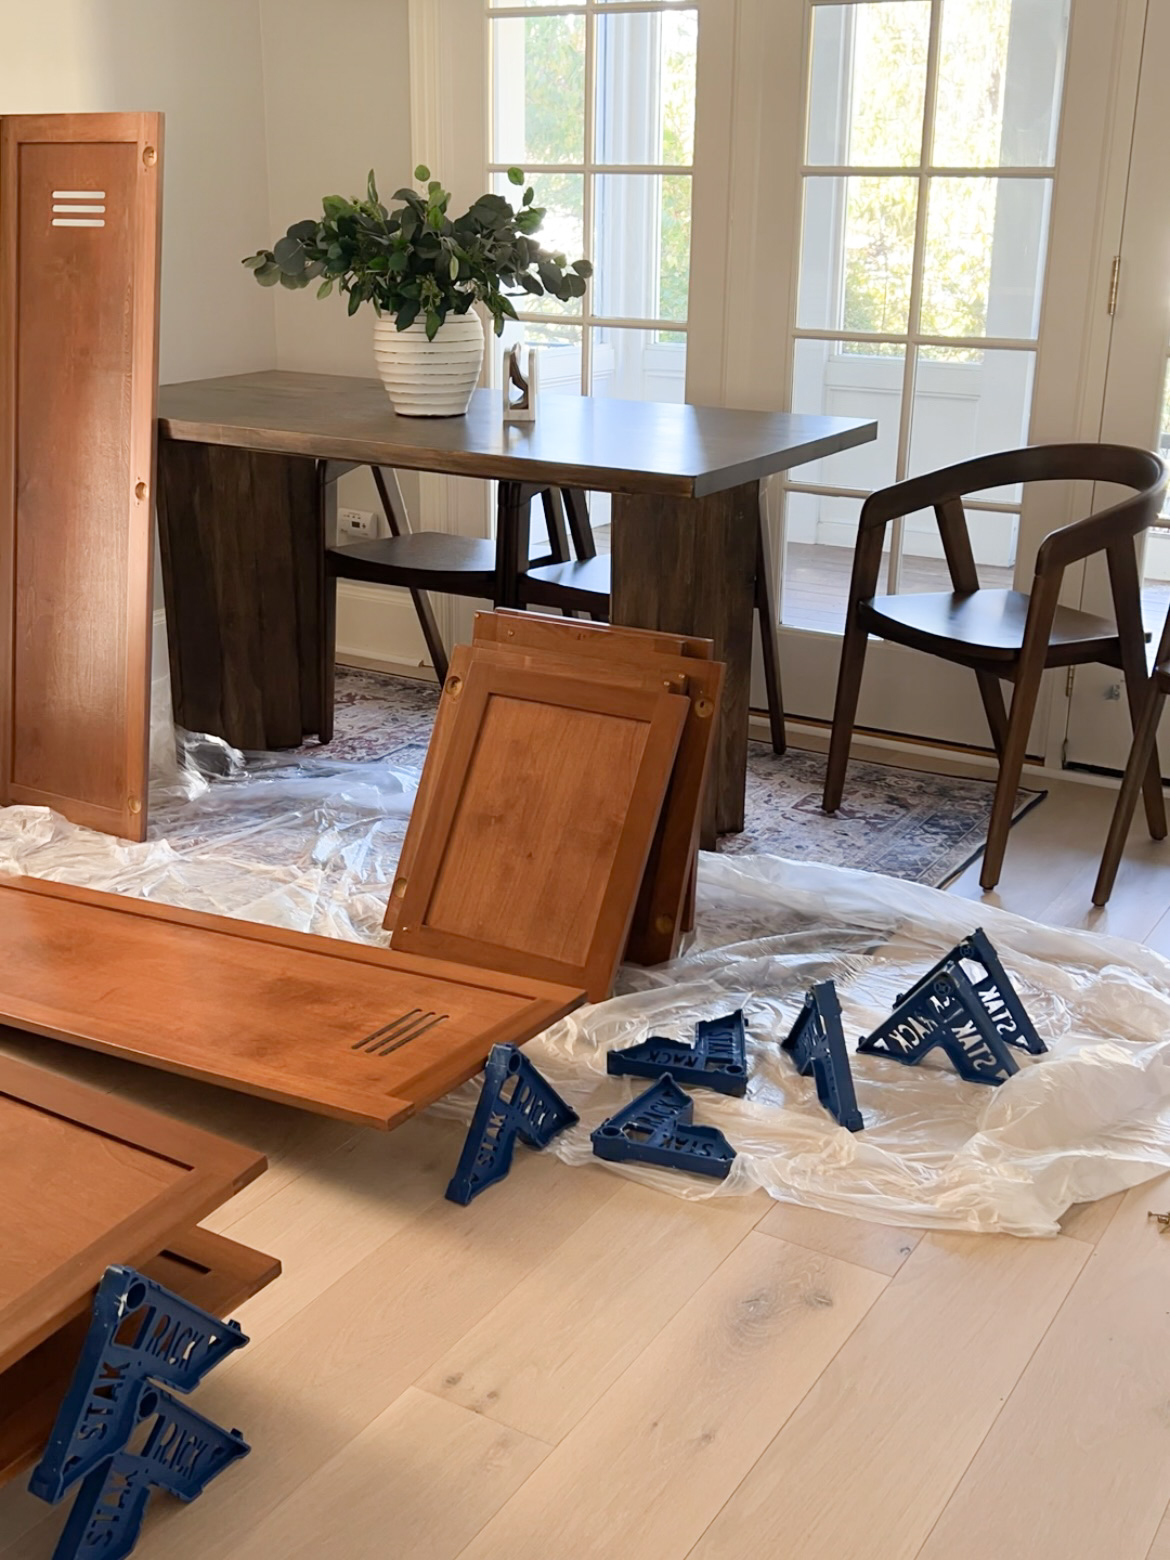
As much of a pain as it is to remove all the cabinet doors, it’s a necessary step. I removed them all and used these stack racks to prop them up for paint.
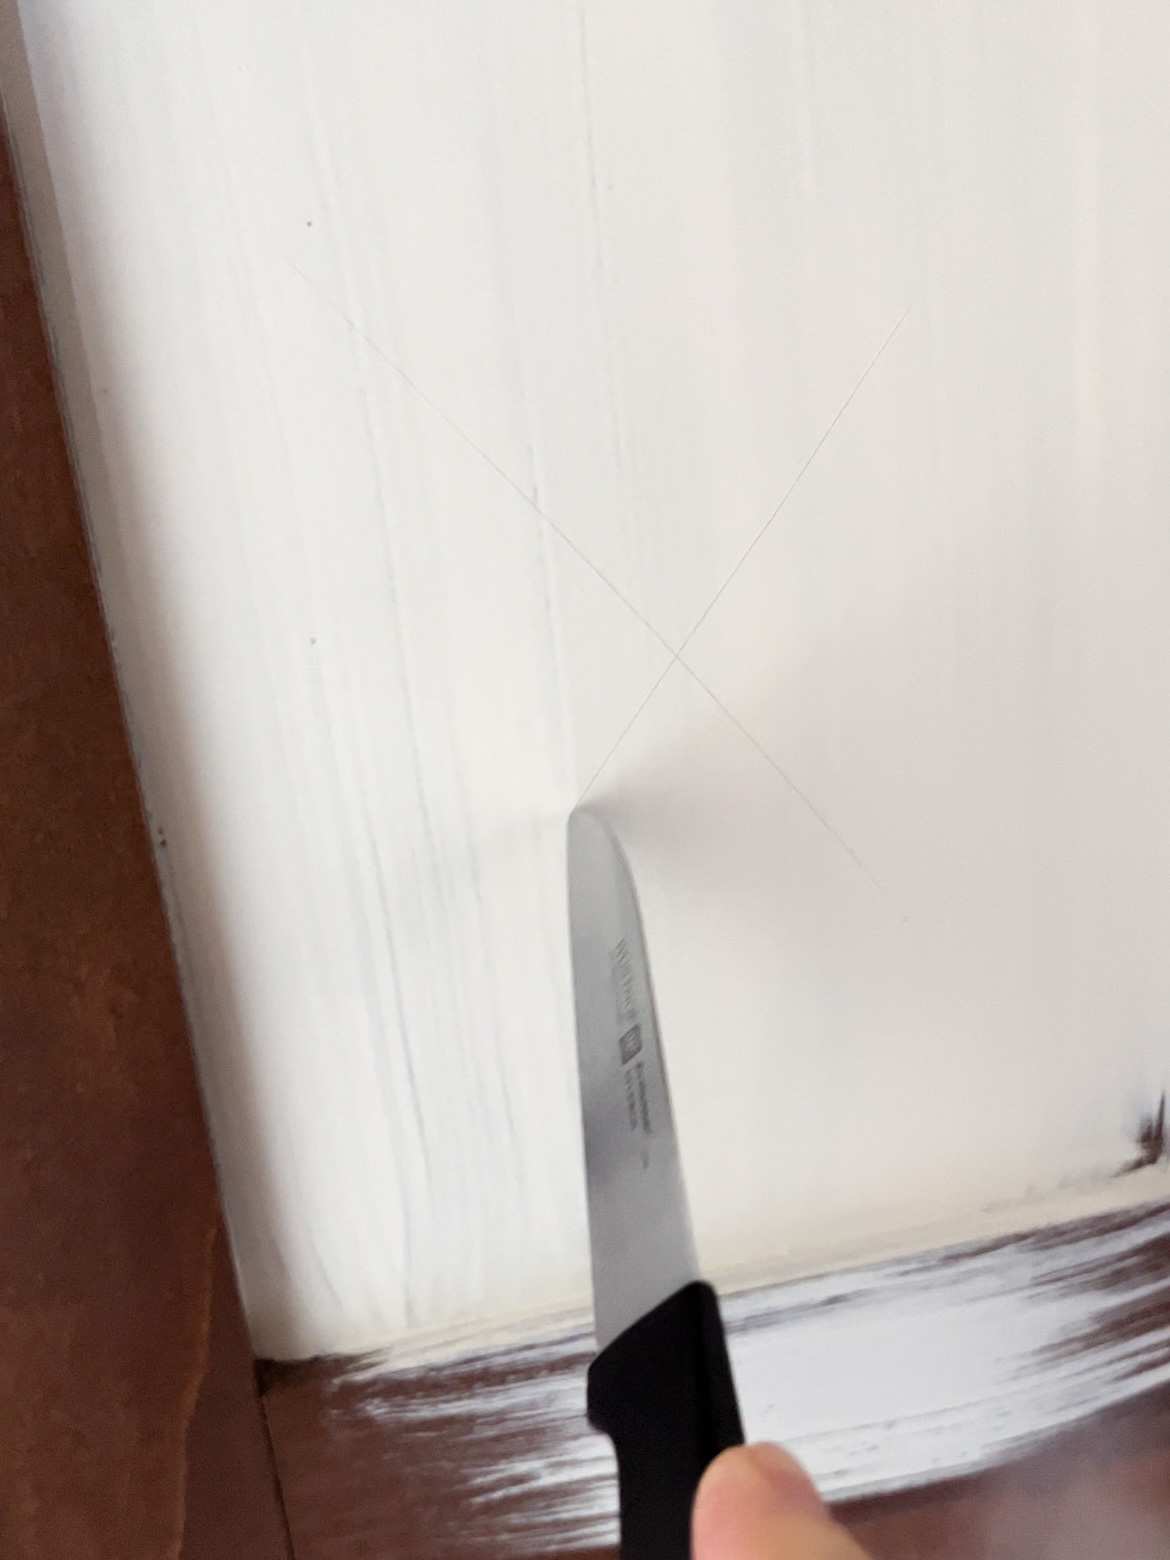
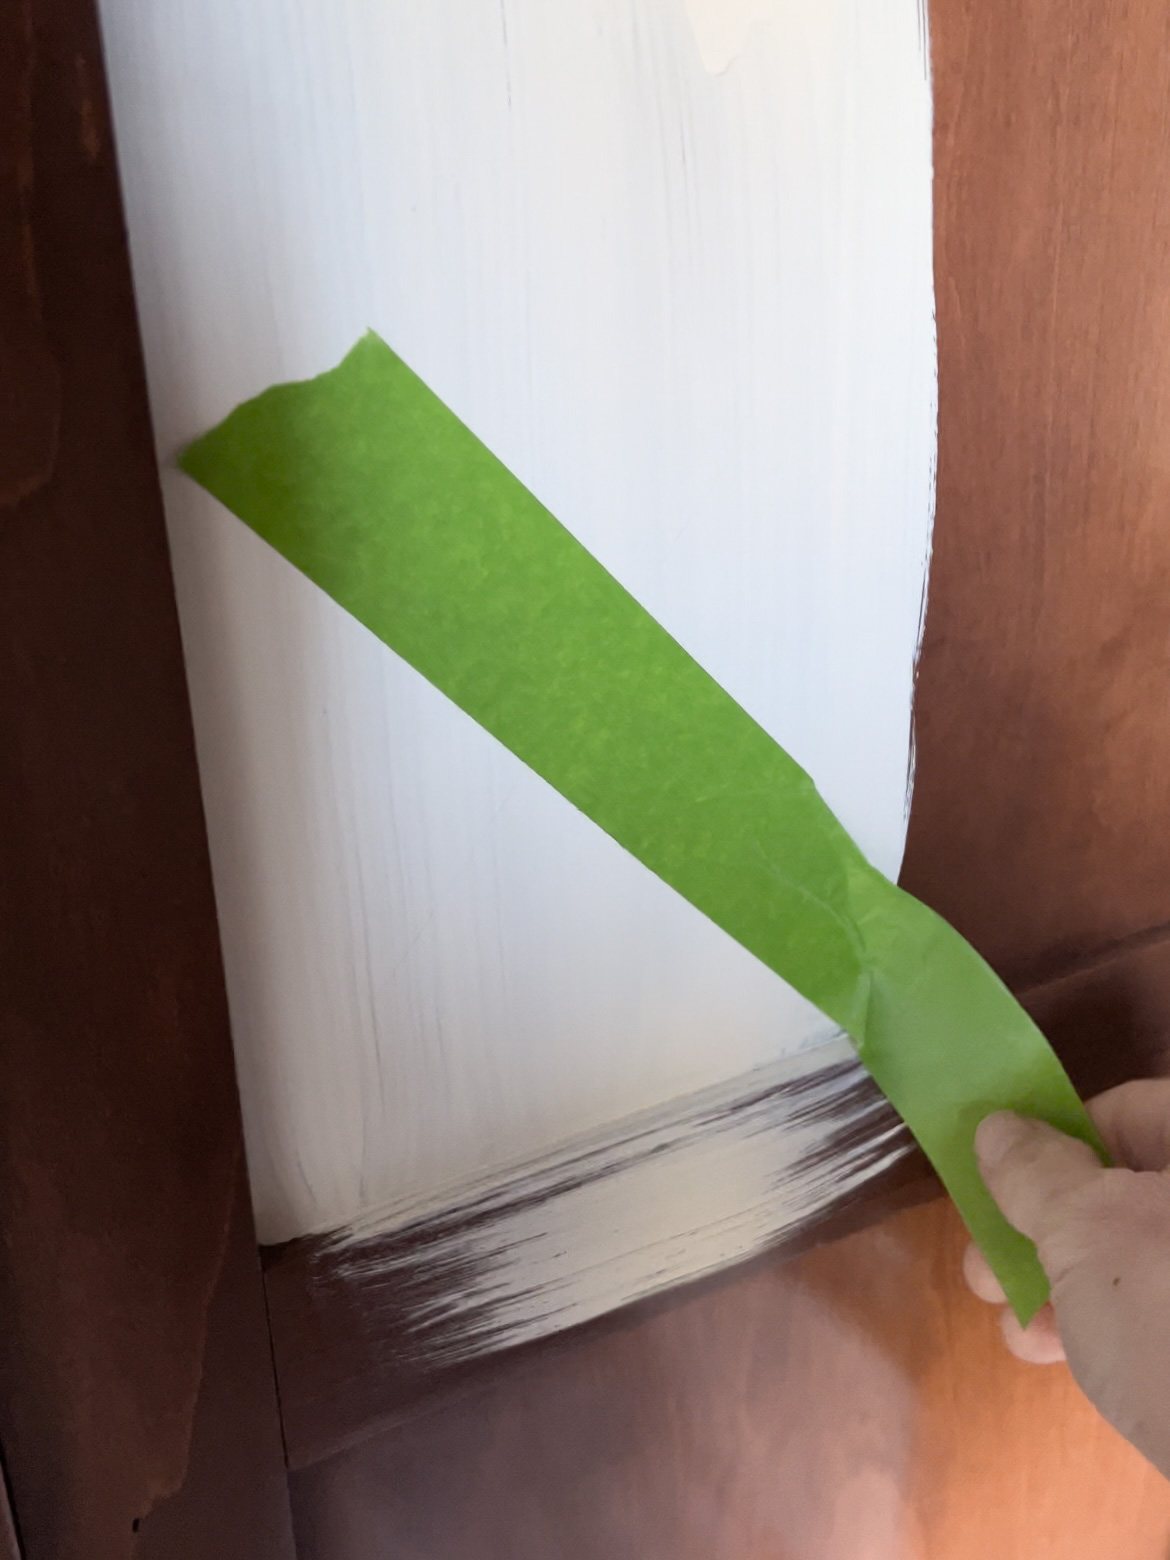
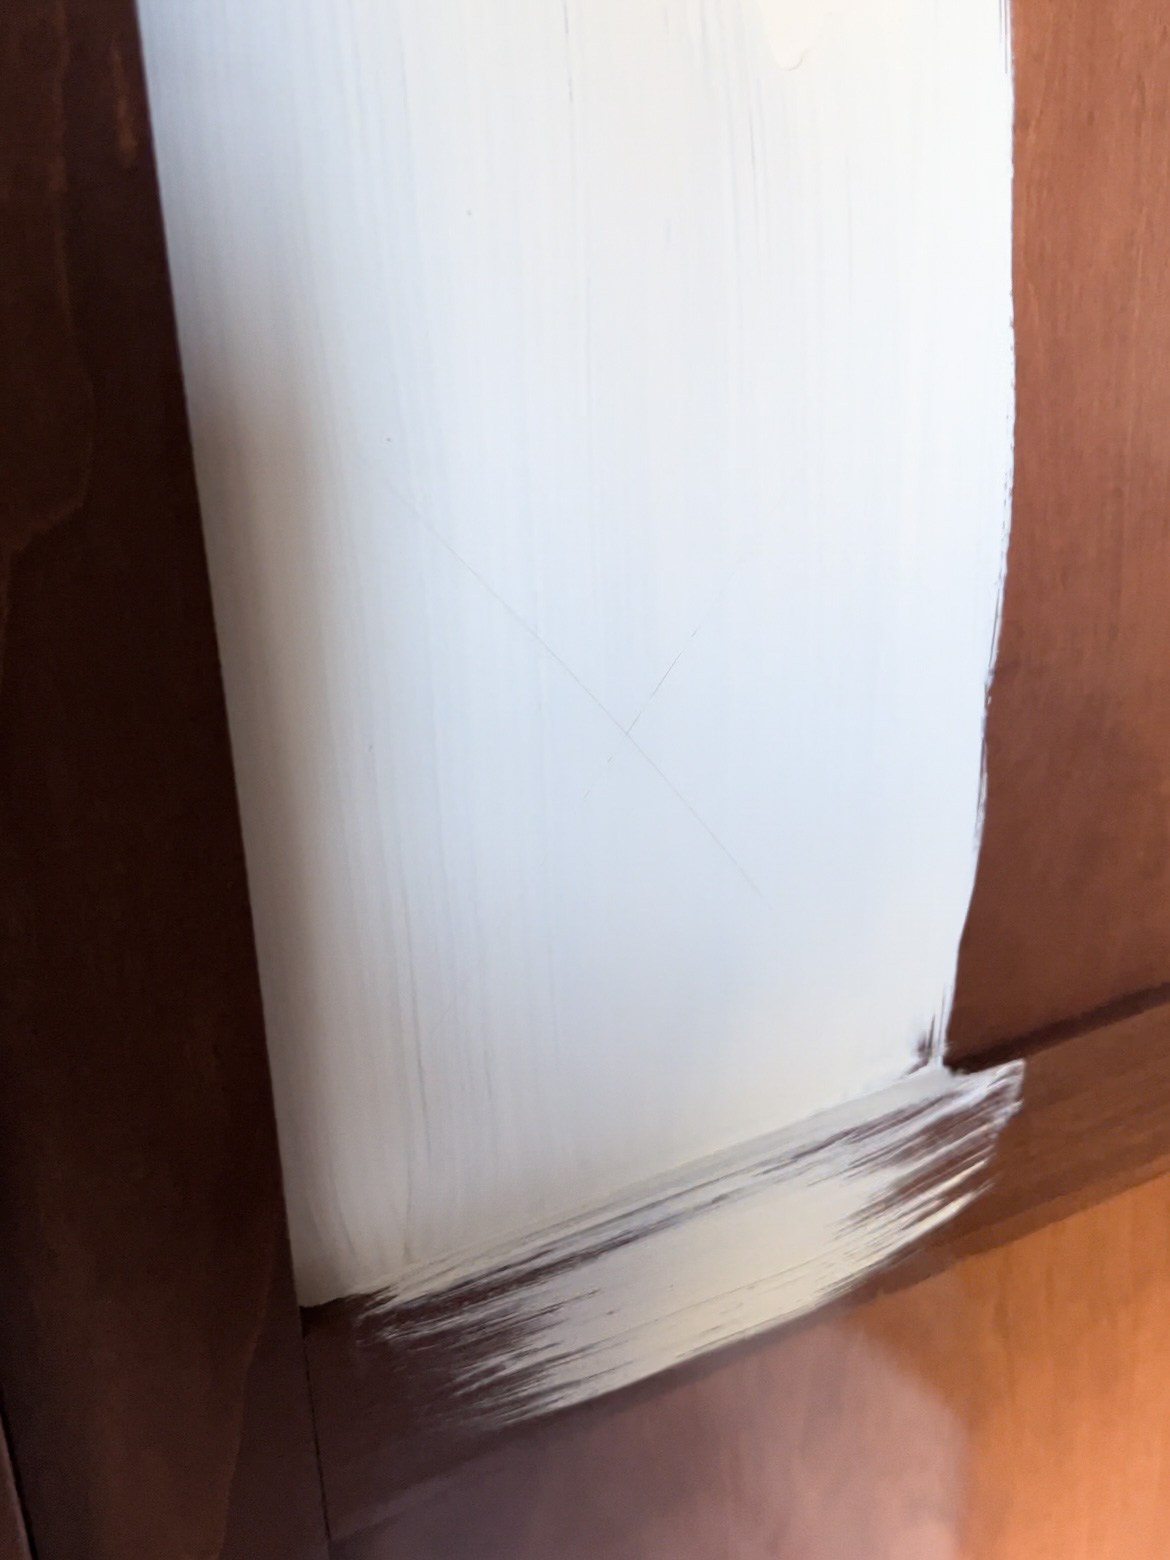
Once the Krud Kutter is wiped off, paint a small area to test. After it dries, cut an “x” into the paint. Put painter’s tape over that “x” rip it off. If no paint peels when it’s ripped off, you shouldn’t need to sand.
If the paint does peel or chip, there might be a wax layer on there that needs to be sanded. Fortunately for me, I could skip the sanding.
How to Paint Cabinets: The Process
Before painting, wrap the microfiber roller in tape. When you remove the tape, all the little fuzzies come off too, and won’t get stuck in the paint.
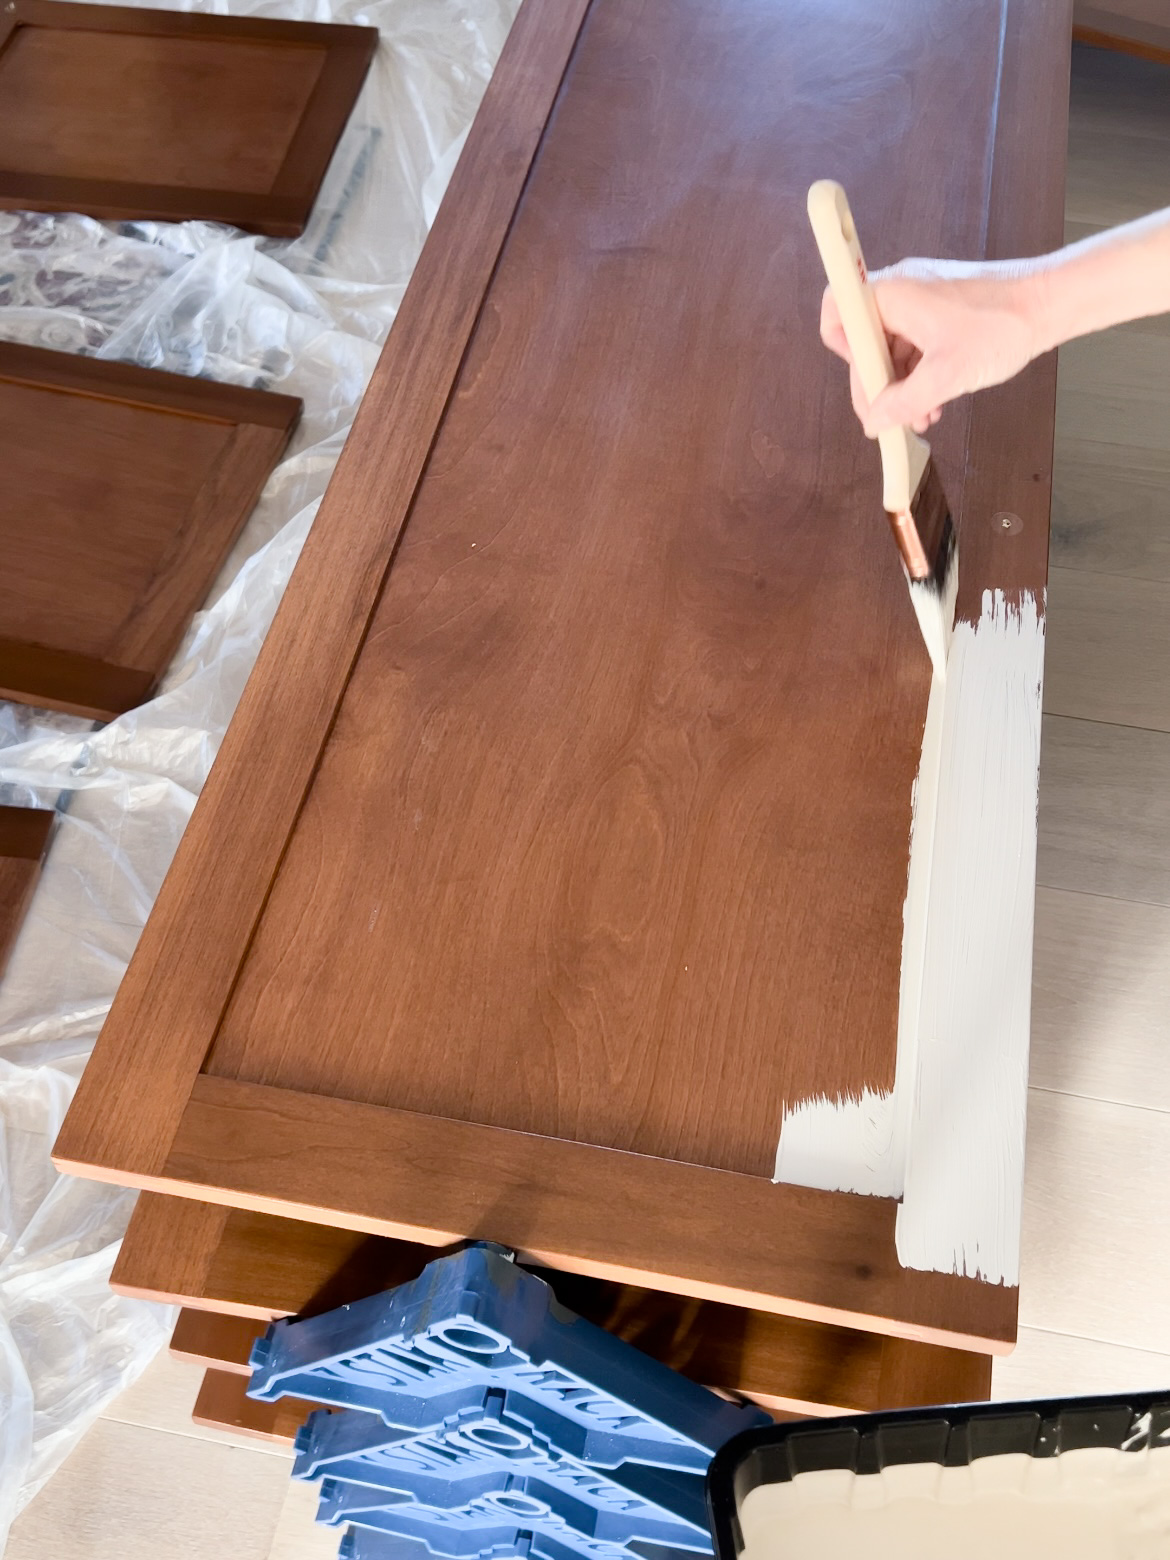
I used an angled brush wherever the surface wasn’t flat. Then, I used a microfiber roller to roll paint onto all the flat surfaces.
Key to a Smooth Finish
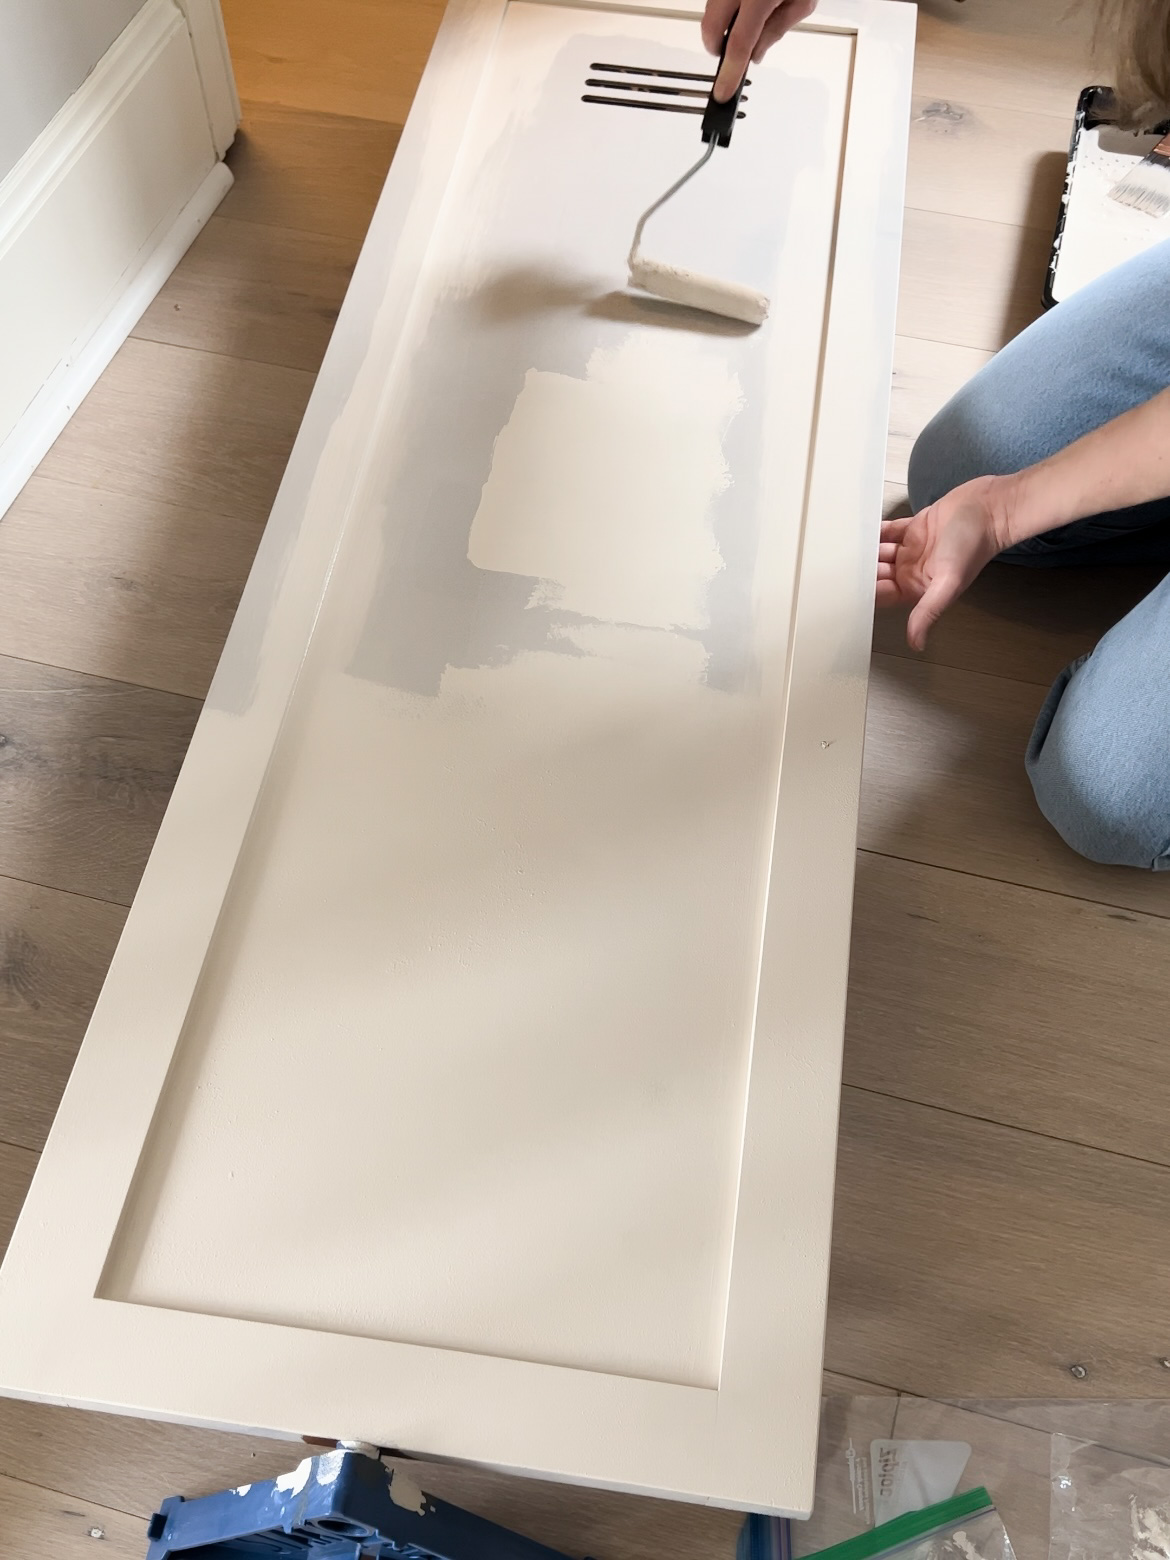
After applying the paint, I immediately went back over the whole door with a dry (no paint added) foam roller to eliminate brush strokes and smooth everything.
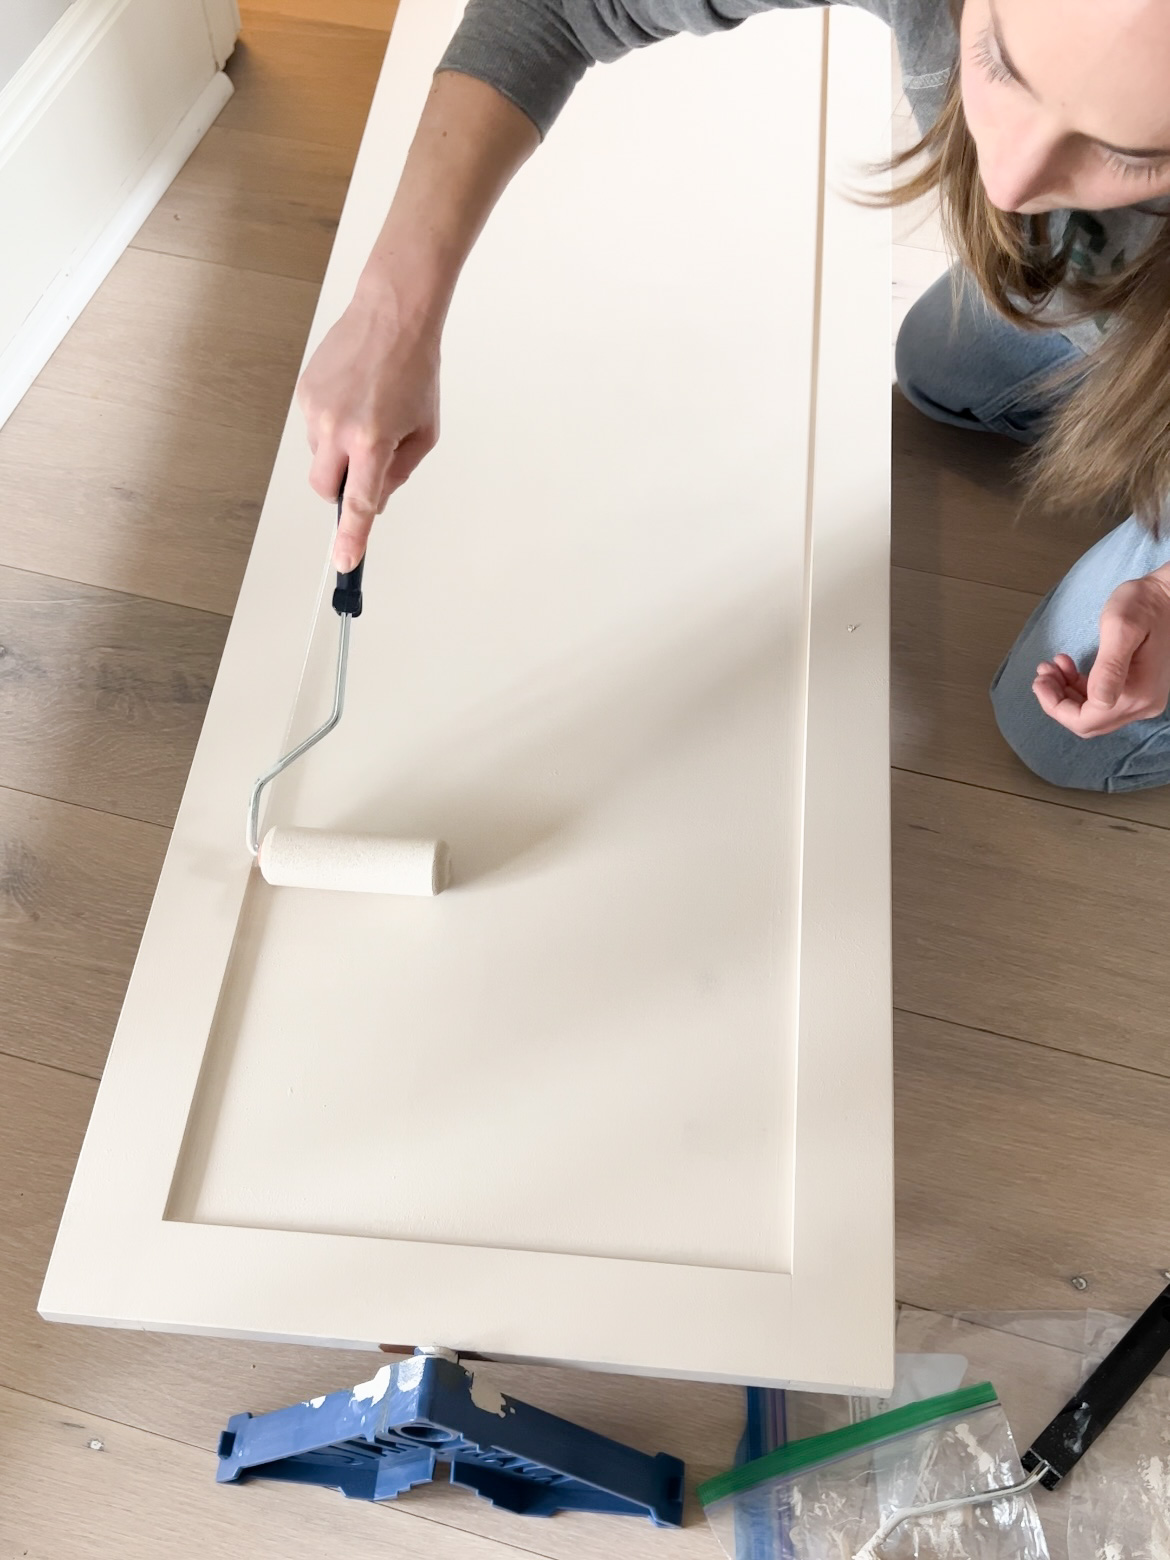
How to Paint Cabinets: Dry Times are not Suggestions!
Allow the paint to fully dry according to the directions on the can, then repeat for a second coat. The second coat makes all the difference!
After the second coat, I applied the clear top coat (included in the kit).
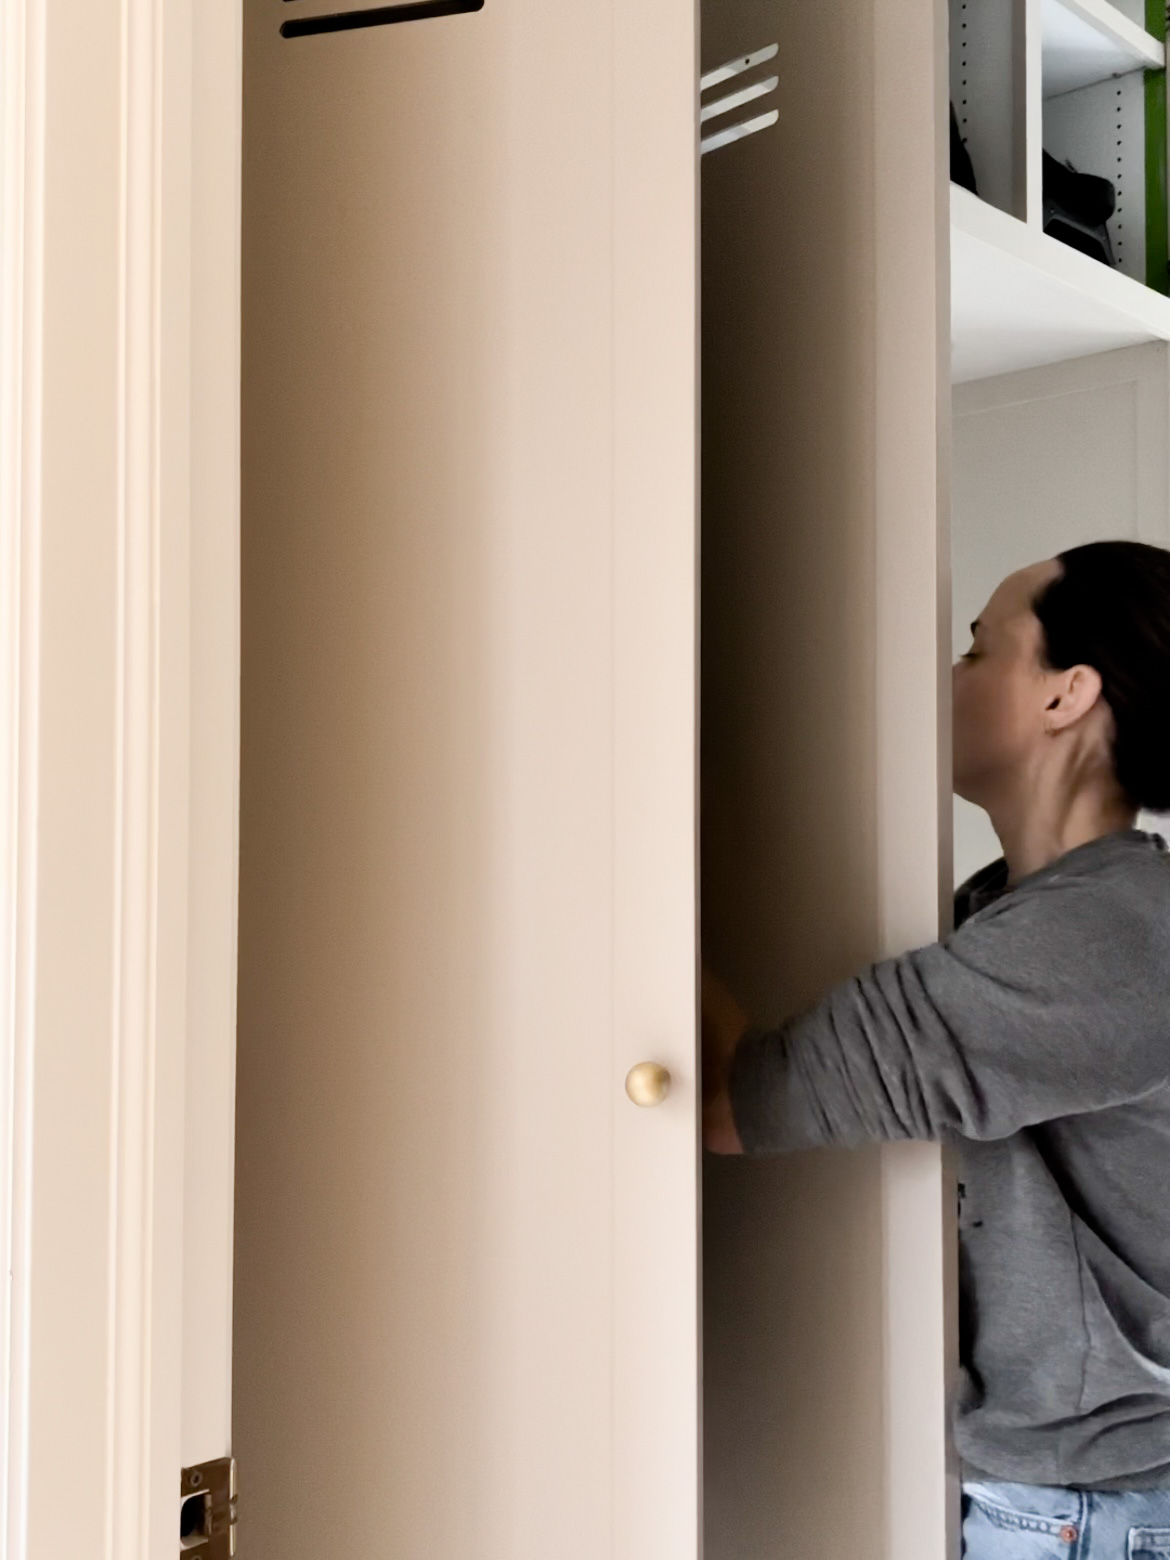
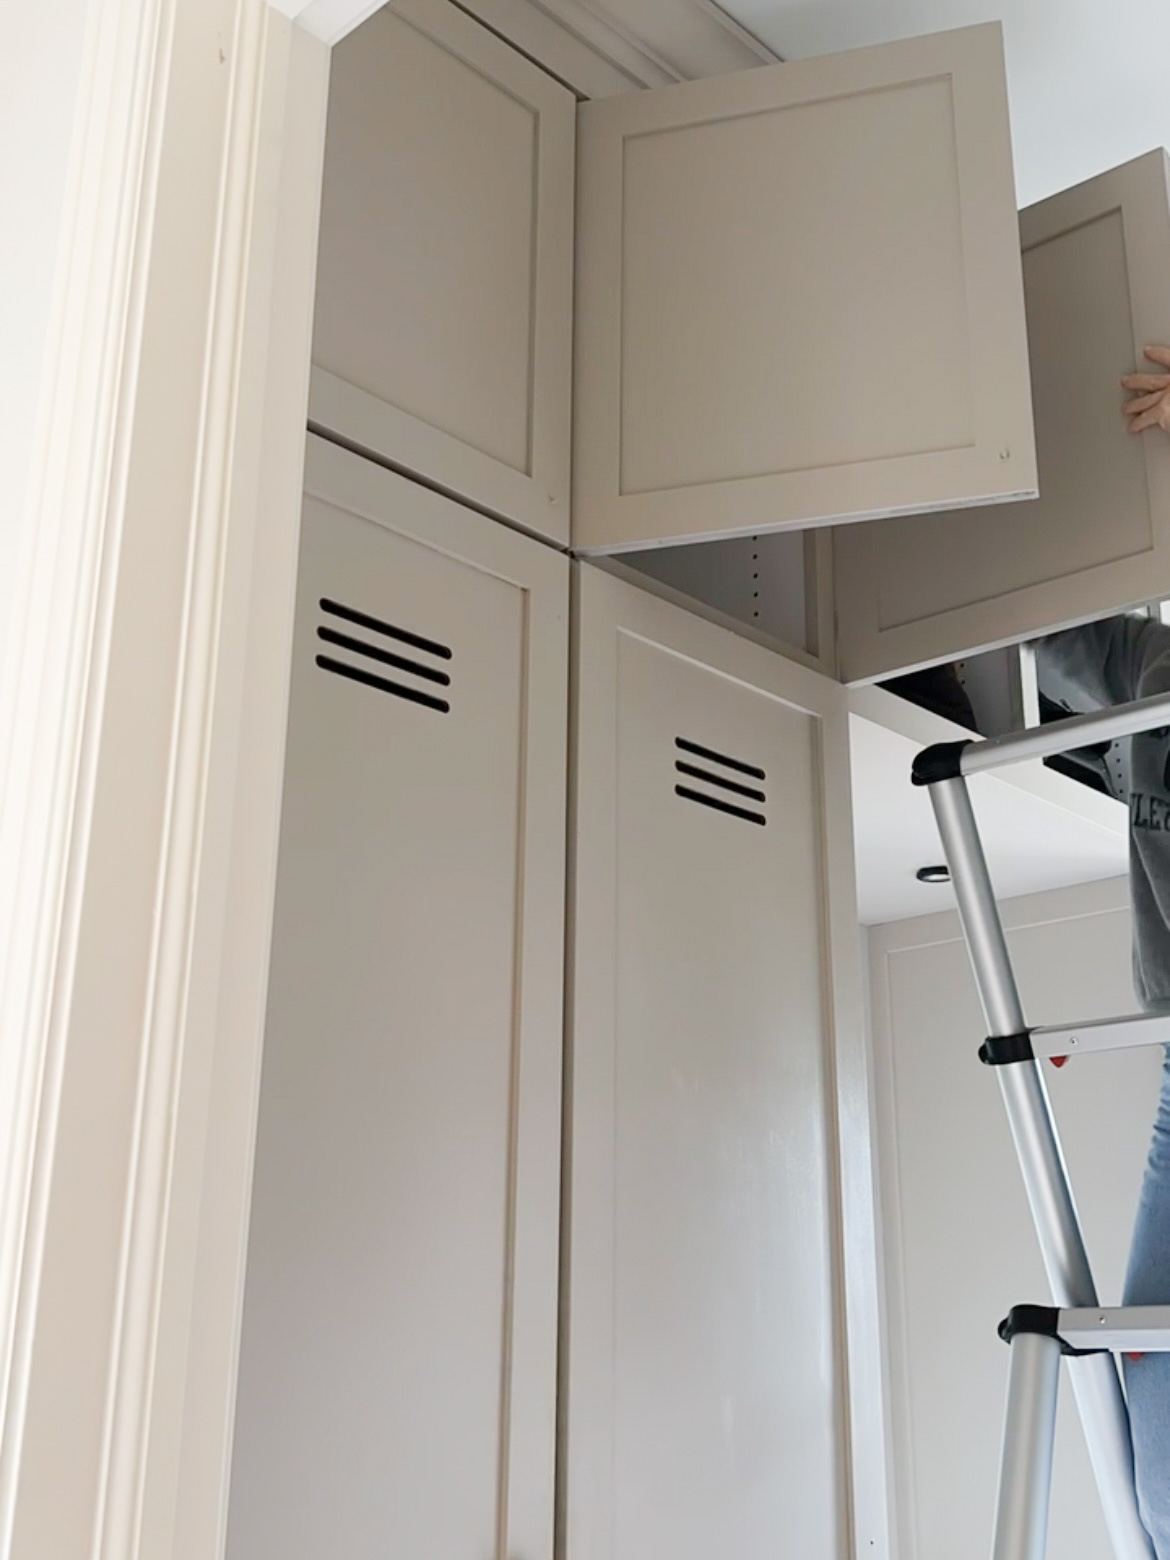
I followed the directions on the can for everything, including cure time. I put the cabinet doors back on after about 24 hours, but they weren’t fully cured until about 7 days.
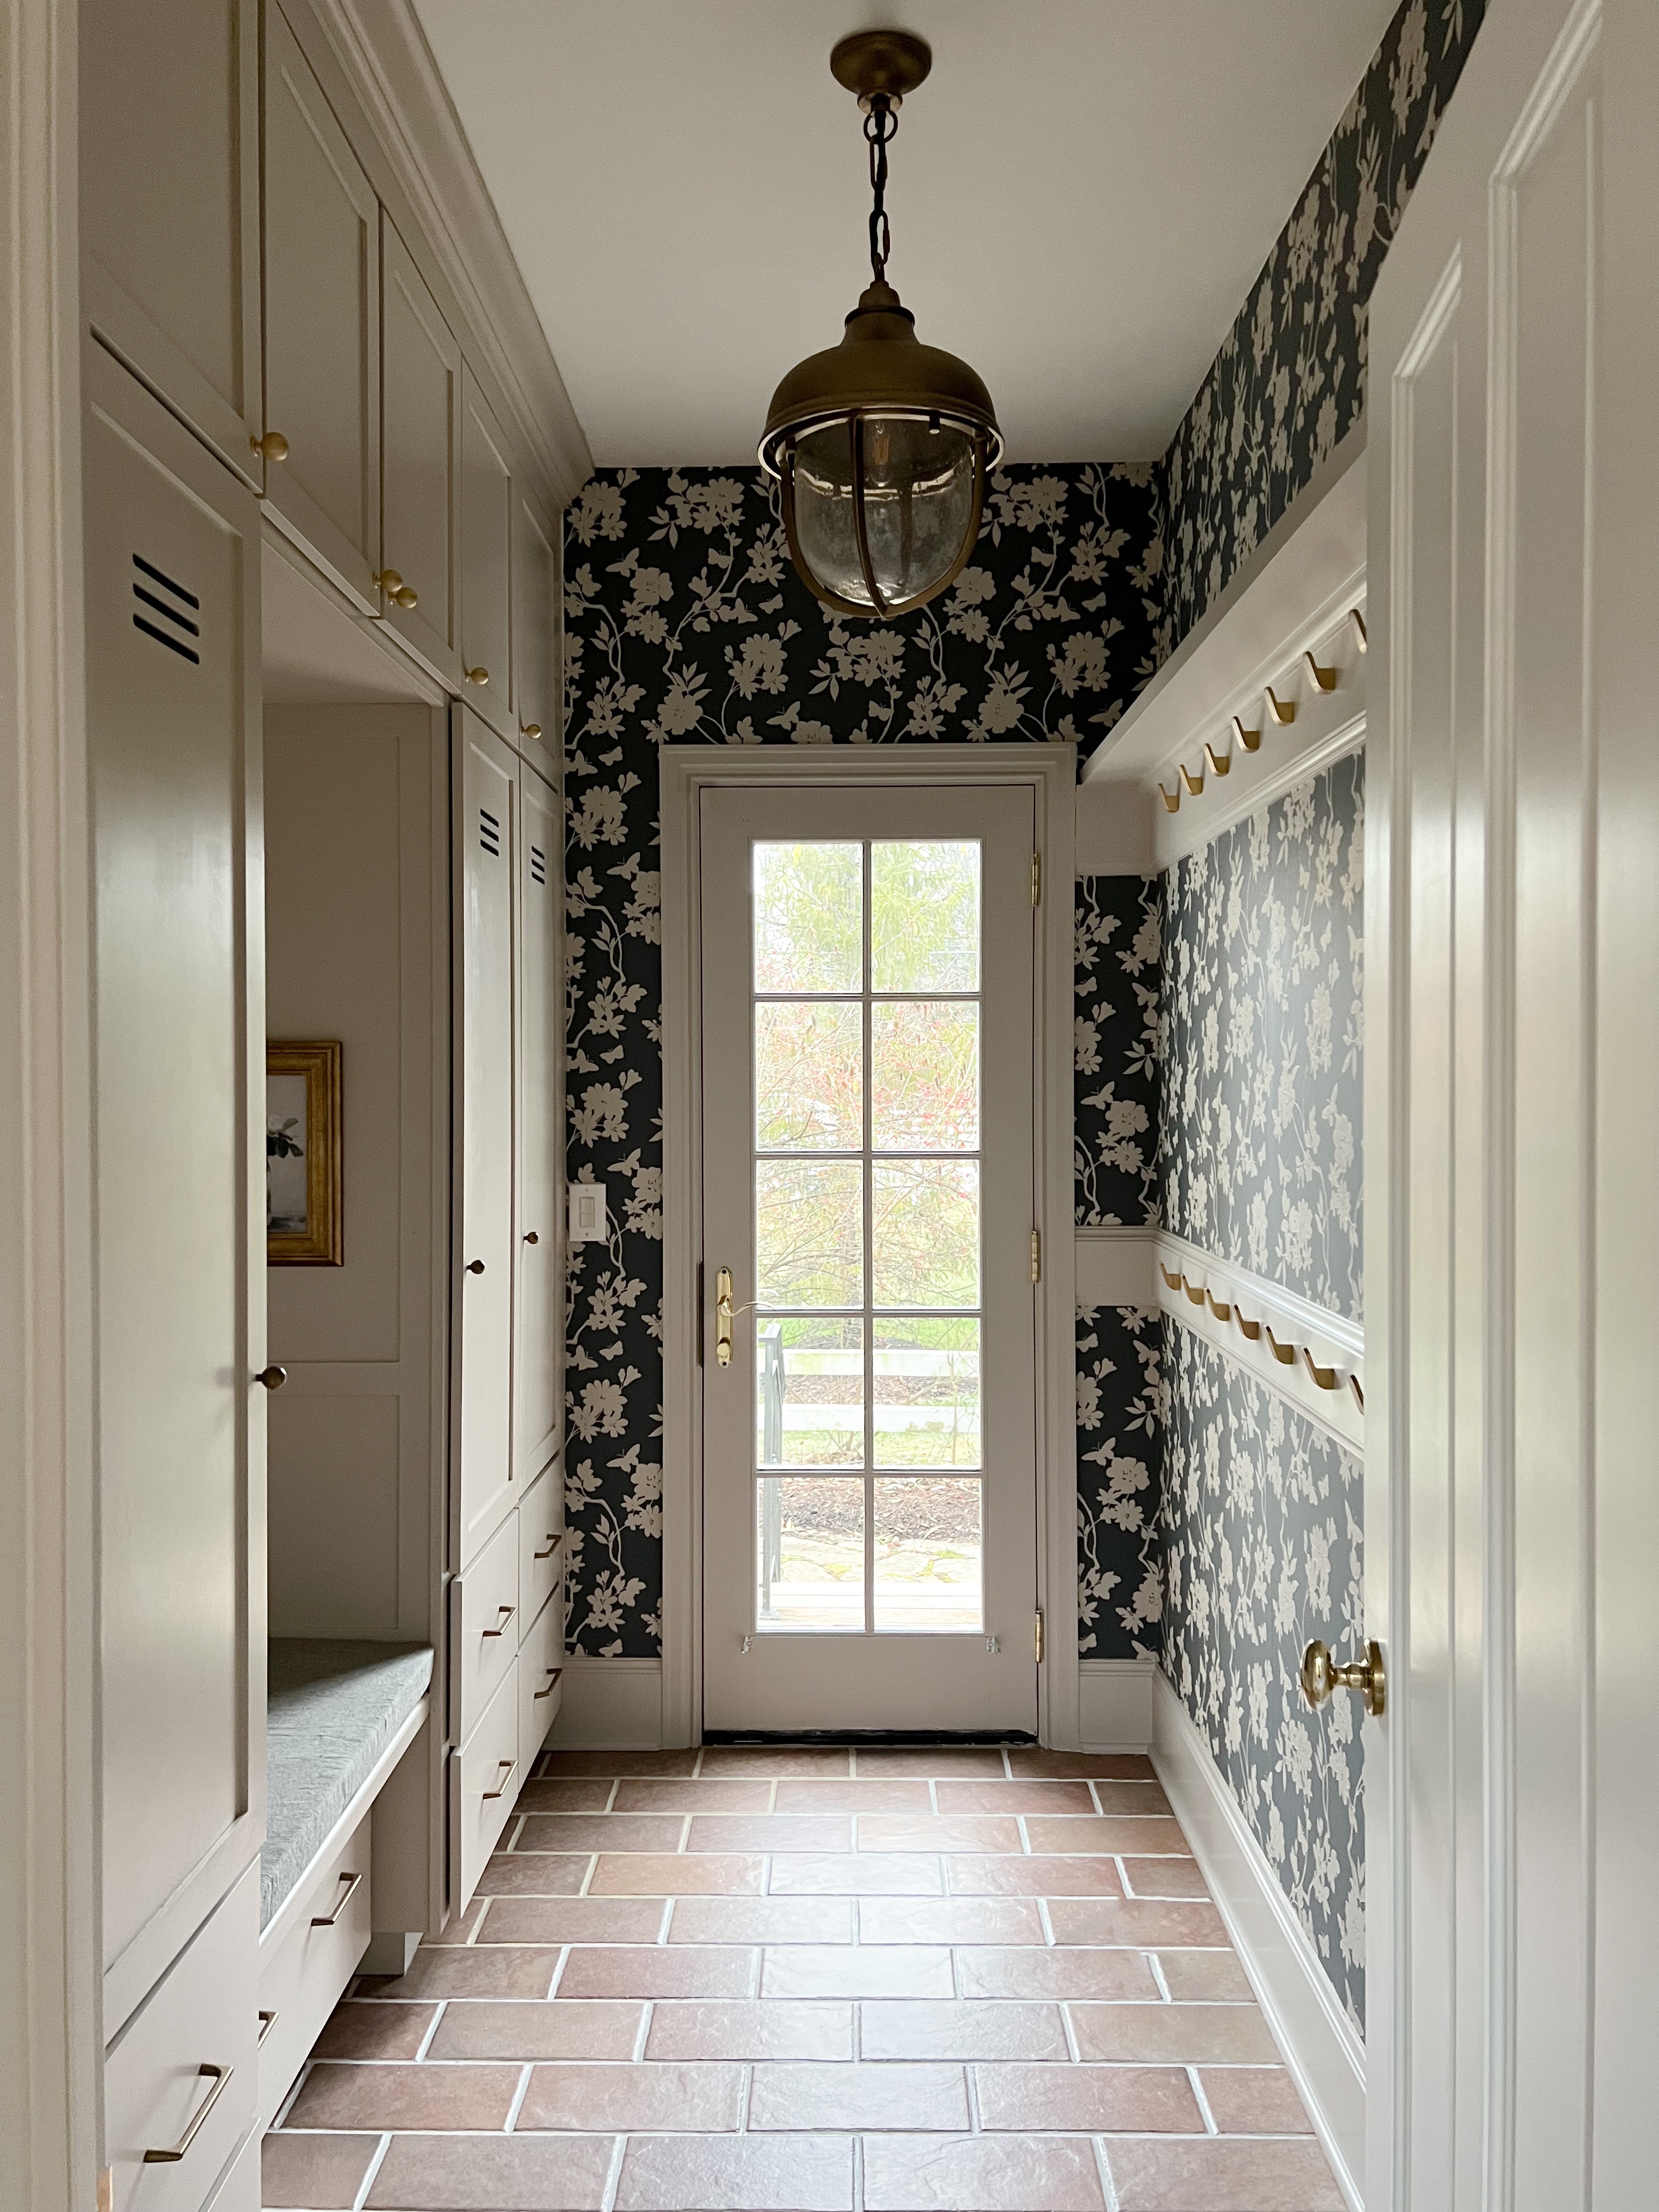
We’ve lived with the mudroom makeover with painted cabinets for a couple of months, and they’ve been holding up great!
Mudroom Makeover Part 2
Learn how to install wallpaper here!
More Painted Cabinets
IKEA Bar Cabinet Hack and a Holiday Cocktail Party
Coffee Nook built with IKEA Havsta Cabinets
IKEA Hemnes Hack – Curvy Shoe Cabinet
Post may contain affiliate links, please see the disclosure linked here.
One Reply to “How to Paint Cabinets – Mudroom Makeover Part 1”
Comments are closed.