It’s week two of the One Room Challenge, and we’ve been focusing on shiplap! First and foremost, I should clarify that by “stacked” shiplap, I simply mean symmetrical vs staggered. I didn’t realize I had made that phrase up until I tried making a hashtag with it on Instagram, and there were zero other tags to it. I started getting questions from people asking me to clarify, and that further solidified my suspicions. If anyone else knows what to call it when it’s not staggered, I’m all ears!
Stacked Shiplap – Three Reasons I Love You!
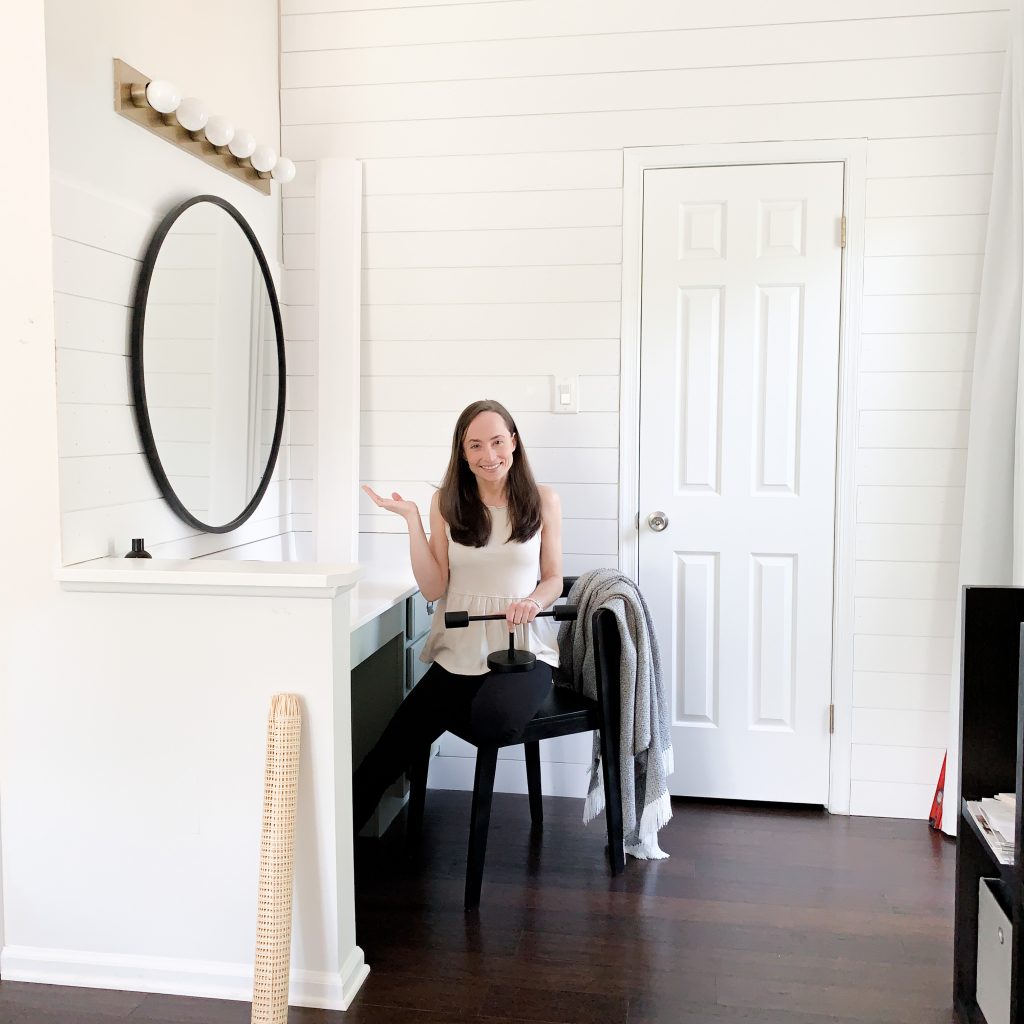
Regardless of what it’s called, we’re huge fans! This is the third room we’ve added it to now, and can’t seem to get enough. In our bedroom design, our goal is to make the cane headboard the focal point, but the shiplap will be a close second.
I never thought I’d say this, but I’m not a huge fan of the vaulted ceilings in our room… yet. They leave us with big empty walls and emphasize our small closet and bathroom doors. By adding shiplap, I’m now starting to like them! In addition to making us like our bedroom walls, here are three other reasons we continue to choose stacked shiplap around our home.
1. Modern Farmhouse Aesthetic
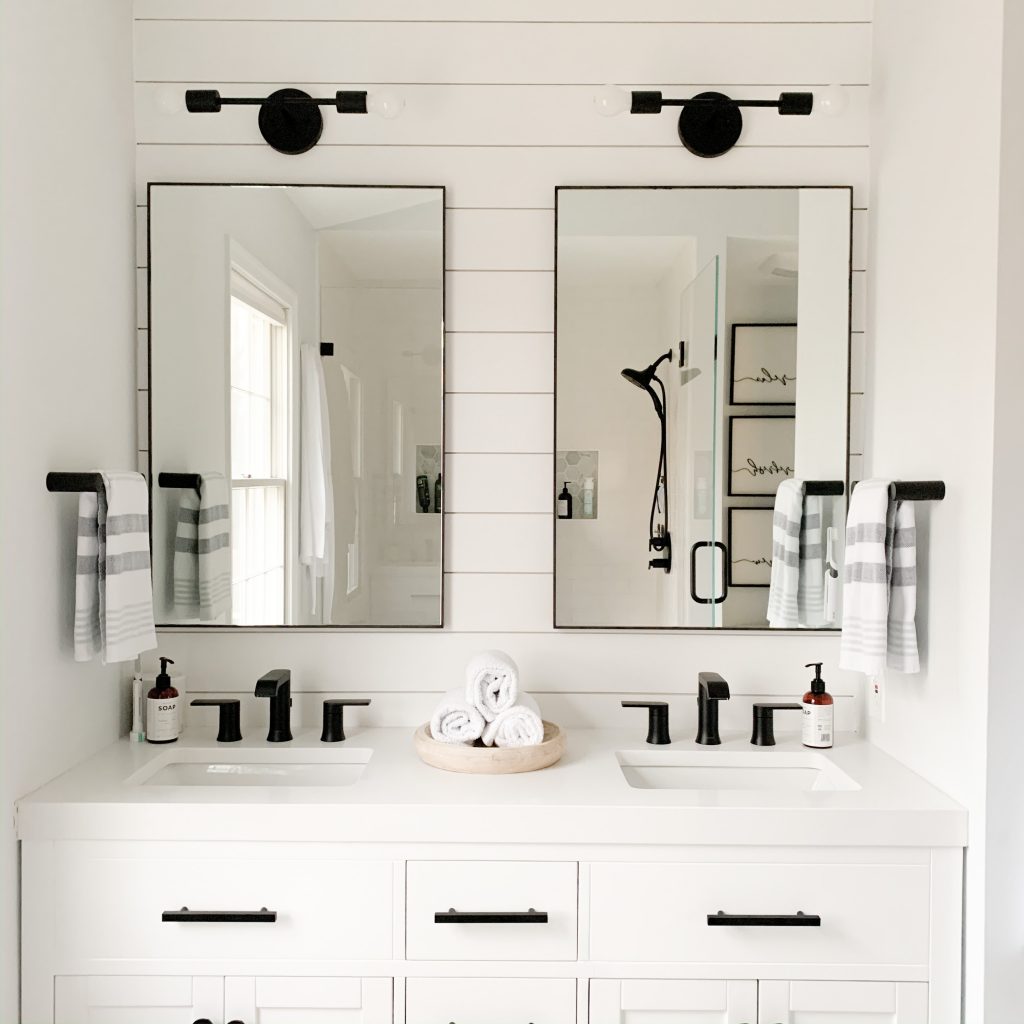
We have a variety of styles that we love and use around our home. I would say that currently, Modern Farmhouse is the dominating one. Shiplap is traditionally a very farmhouse element, but when it’s stacked and painted, it has a much more modern appearance.
One example of this is when we used stacked shiplap in our master bathroom to spice up the vaulted ceiling wall and play off the matte black fixtures.
2. Big Impact
I’m very minimalistic, in general, so I’m always a huge fan of things that make an impact without adding a lot of “stuff”. Shiplap makes a space feel more complete and finished, without any of the clutter.
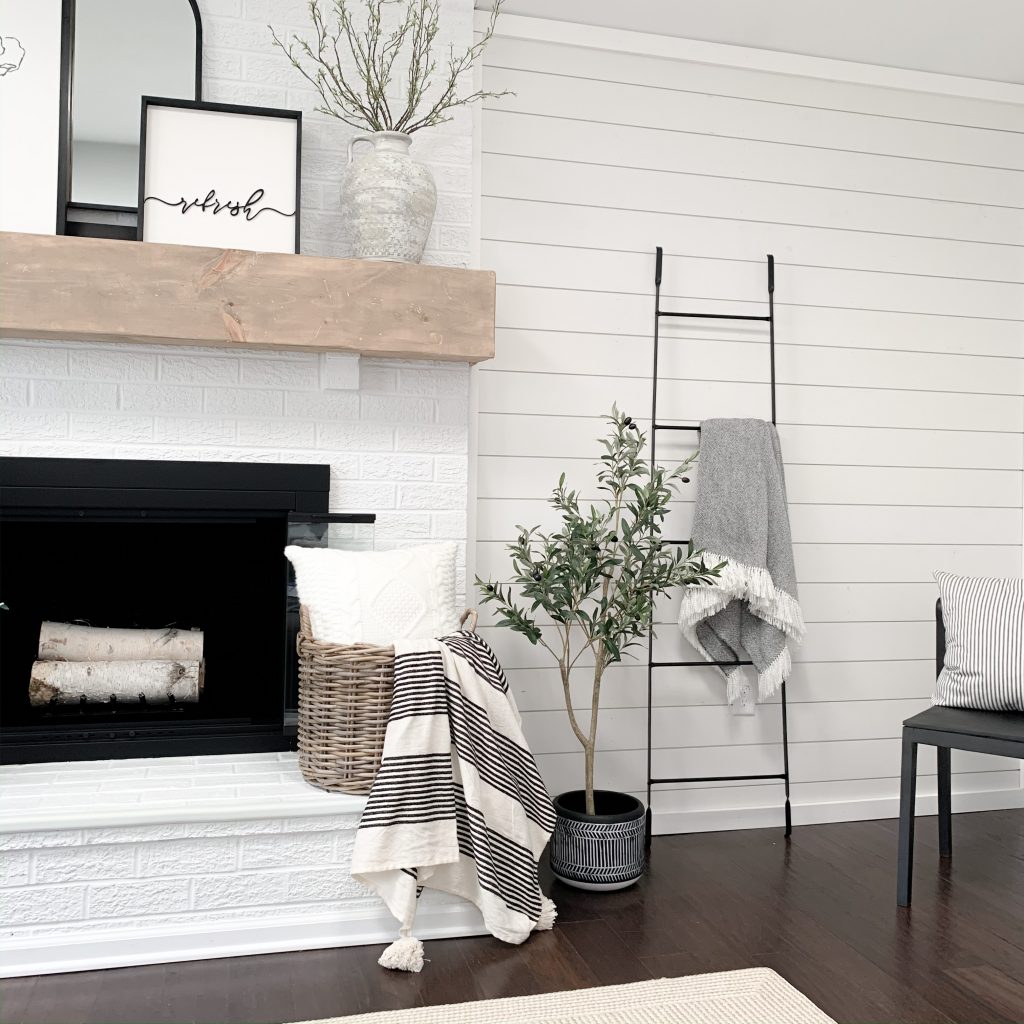
A few months ago, when we added stacked shiplap to the blank walls on either side of the fireplace, it drastically improved the space. Built-ins would’ve been the obvious choice when flanking the fireplace, but it felt too dominating in such a small space. The shiplap is the perfect accent, and it eliminates the need to add a ton of decor to these walls.
3. It’s Easy
One of the first DIY projects we tackled was the shiplap walls beside our fireplace. We put it off for a VERY long time because I thought it was going to be a nightmare. I stressed about it a lot leading up to it.
Imagine my surprise when Joe knocked out one of the sides in a day. And not even a whole day. With little kids, it’s usually naptime, bedtime hours, and whatever other time we can dig up.
Stacked Shiplap: Supplies Needed
This is everything required to do a shiplap wall. We didn’t even need the table saw because the boards fit so well and didn’t need to be cut lengthwise. There’s a more extensive list of my favorite tools here!
- Shiplap
- Miter Saw
- Table Saw
- Nail Gun
- Speed Square
- Level
- Measuring Tape
- Plastic Wood
- Caulk
- Paint
How to Install Stacked Shiplap
Mark your studs on the walls so you know where to nail, remove the base trim, and make sure to level the first board. Don’t follow the floors – they’re likely not level. After this, the rest of the boards will go up quickly!
The boards we used are self-spacing. This eliminates the need to add spacers, which removes some of the room for error. After you’ve installed the boards, all that’s left is finish work. It’s time to add trim, fill in nail holes, caulk, and paint!
Don’t skimp on your time for the finishing work – your shiplap will either look like a craft project or a professional upgrade depending on the finish. Take your time and be a pro!
The shiplap install in our bedroom was slightly more complicated as we were working around doors and corners. We had to purchase a 360° leveling laser, but we’ll definitely be using it for a lot of future projects!
This takes the guesswork out of lining up the boards across those areas. We’re so excited to finally add some character to these walls and finish up the “bookends” to our design!
Next Post: ORC Week 3 – Board and Batten with a Slanted Ceiling!

May contain affiliate links – find disclosure here
