I’m so excited to take part in the Spring 2020 One Room Challenge event this spring! We have officially been in our home for three years now, and our bedroom has barely been touched. The room that we retire to for rest and relaxation at the end of a long day is a MESS. That can’t be good for our zen, right?? For anyone new to the One Room Challenge (like I was), it’s an event where a ton of people band together to support one another and get excited about transforming a space in their home over a 6 week period! (This spring, it’s 8 weeks due to delays obviously related to covid). We are using this event as an excuse to FINALLY tackle our bedroom.
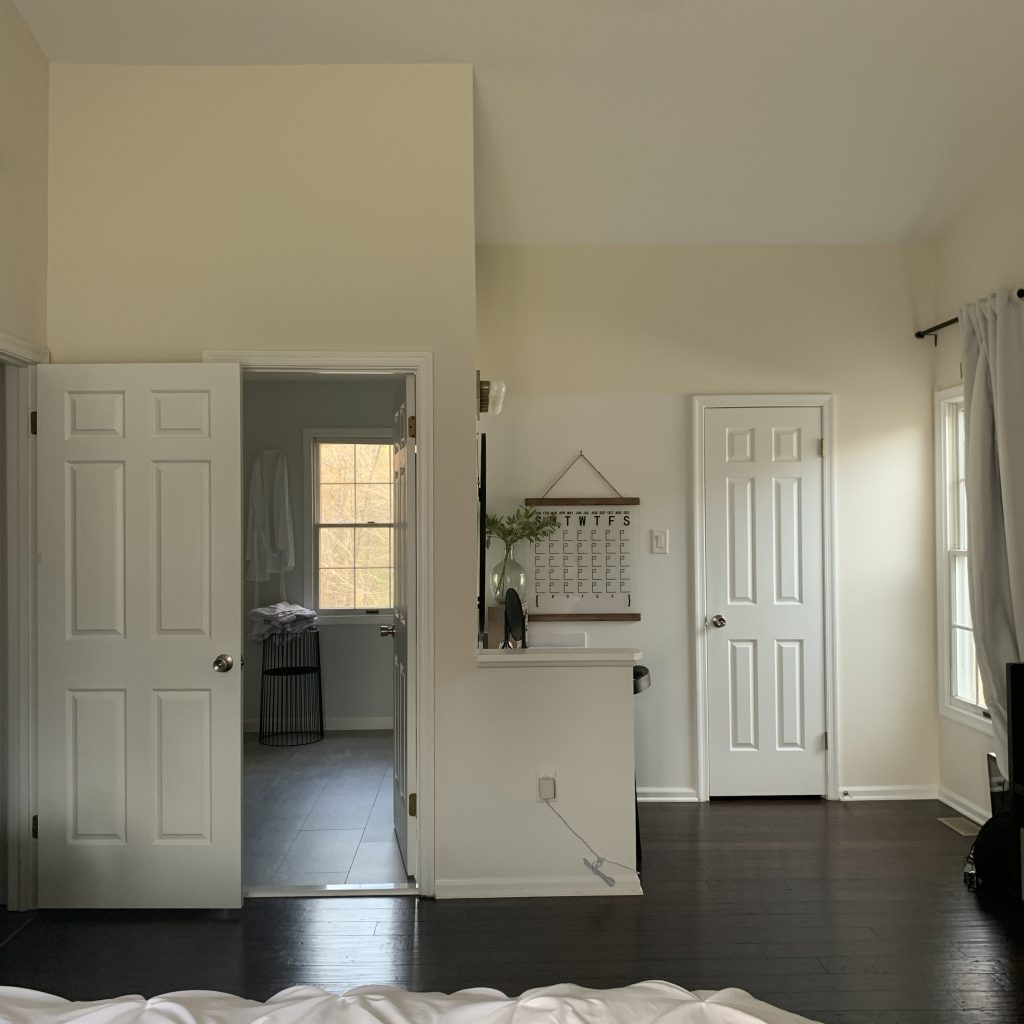
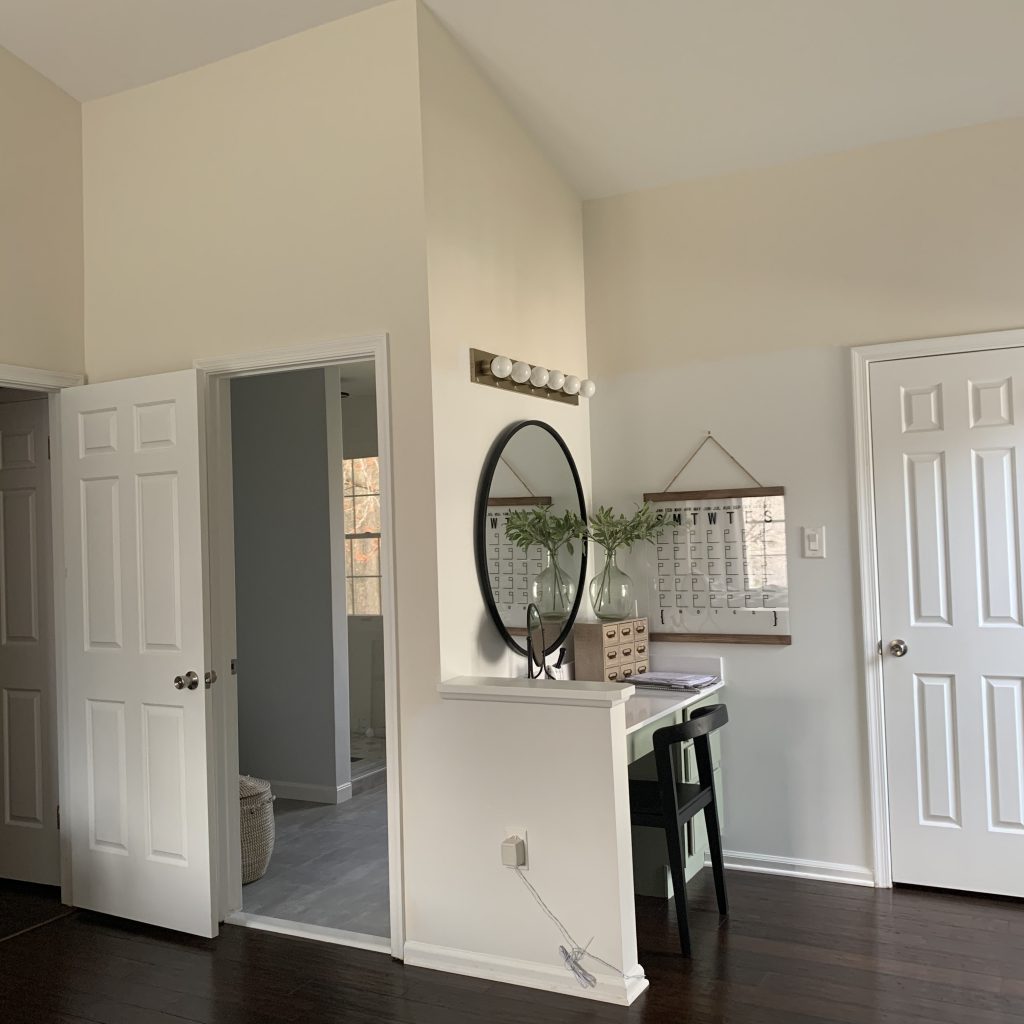
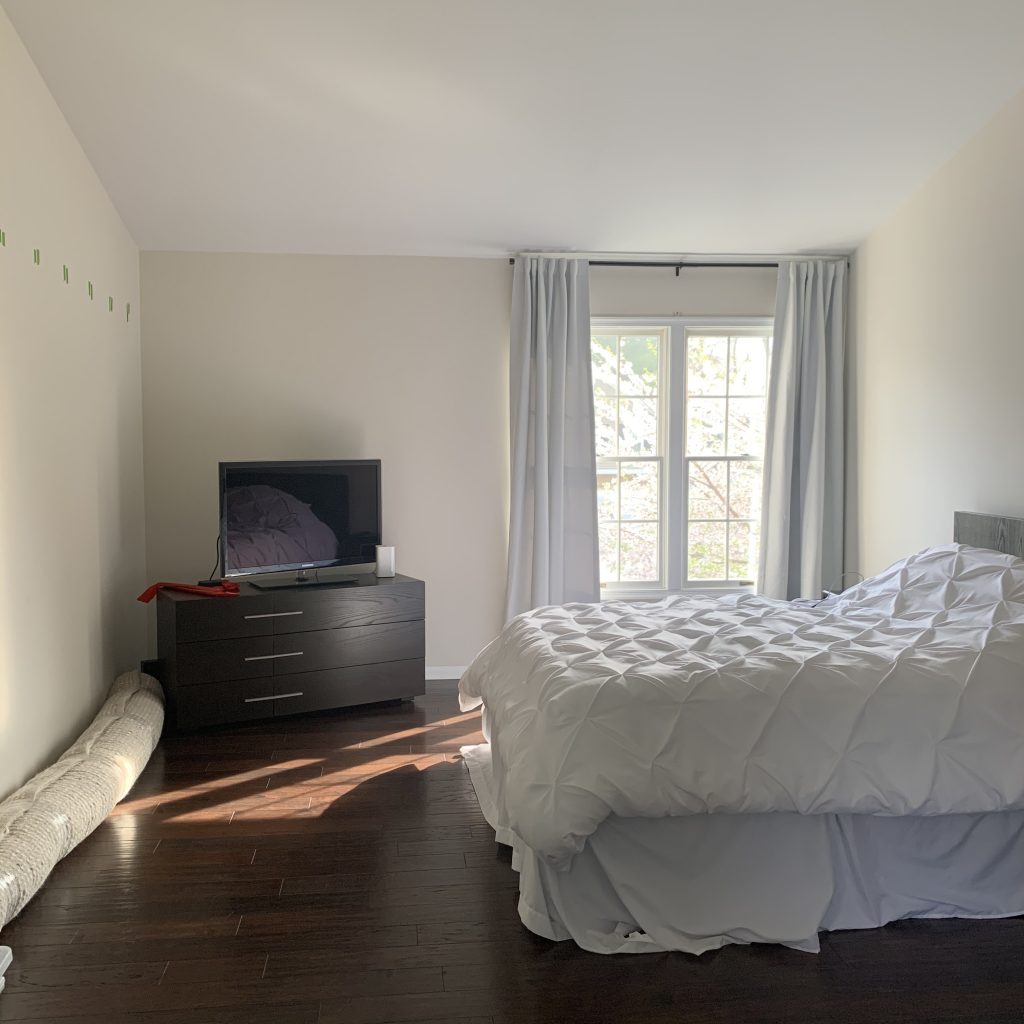
There is nothing on the walls because we still haven’t painted over the original color we don’t like. We have old, bulky furniture from our old home still in it. That, in itself, isn’t terrible, but because of the loads of baby proofing products stuck on it over the years, the peeled paint and sticky residue is offensive. The dark and modern furniture fit well in our old bedroom, but it doesn’t fit in our current home… We’re ready for an update!
.

.
When it comes to styles, ours is a mix. We love the farmhouse look with a modern twist. The minimalistic vibes and a little bit vintage and industrial. The Scandinavian style, and warmth and personality. Our goal with this bedroom is to add in elements from all the styles we love, while also achieving a cohesive look that ties with the other parts of our home… I’m sure it won’t be easy! The above photo has a lot of the vibes we’re going for in this space. The woods, whites, greenery, shiplap, etc. Those are the things I’ll need you to keep in the back of your mind when looking at the lovely “before” photos coming up…
.
The Main Wall
The wall you see when you first walk in will be where we put the bed. The plan is to do a board and batten pattern all along the wall and then build a big cane headboard to go directly behind the bed portion. I have never done caning before, but I’m obsessed with the look and excited to learn!
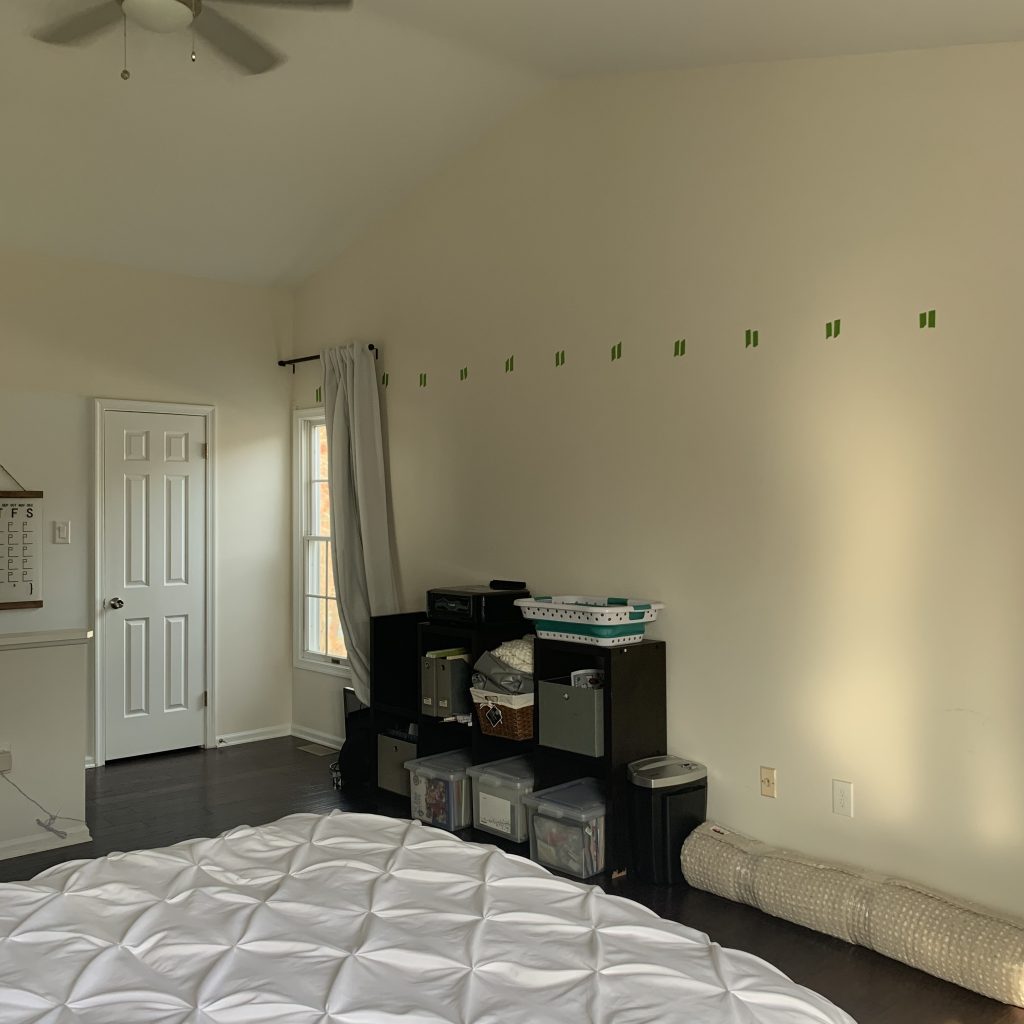
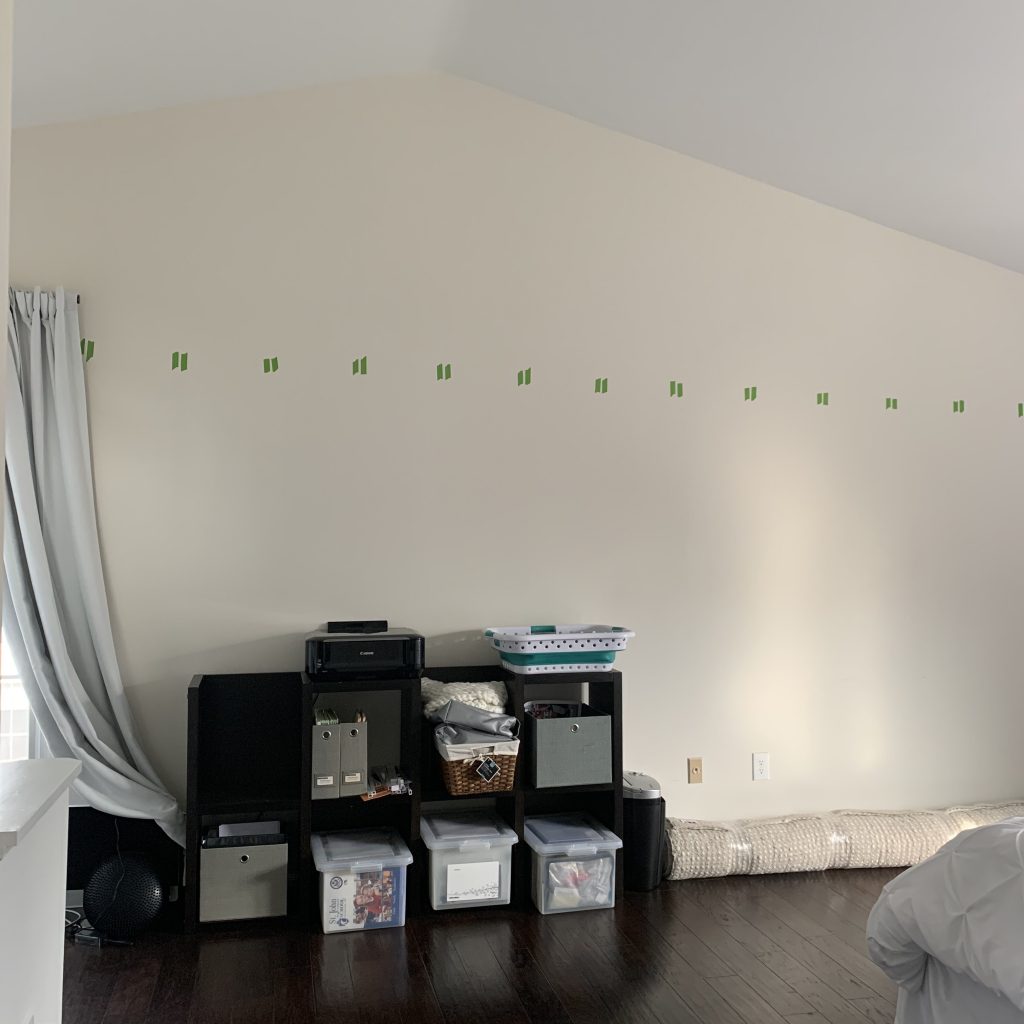
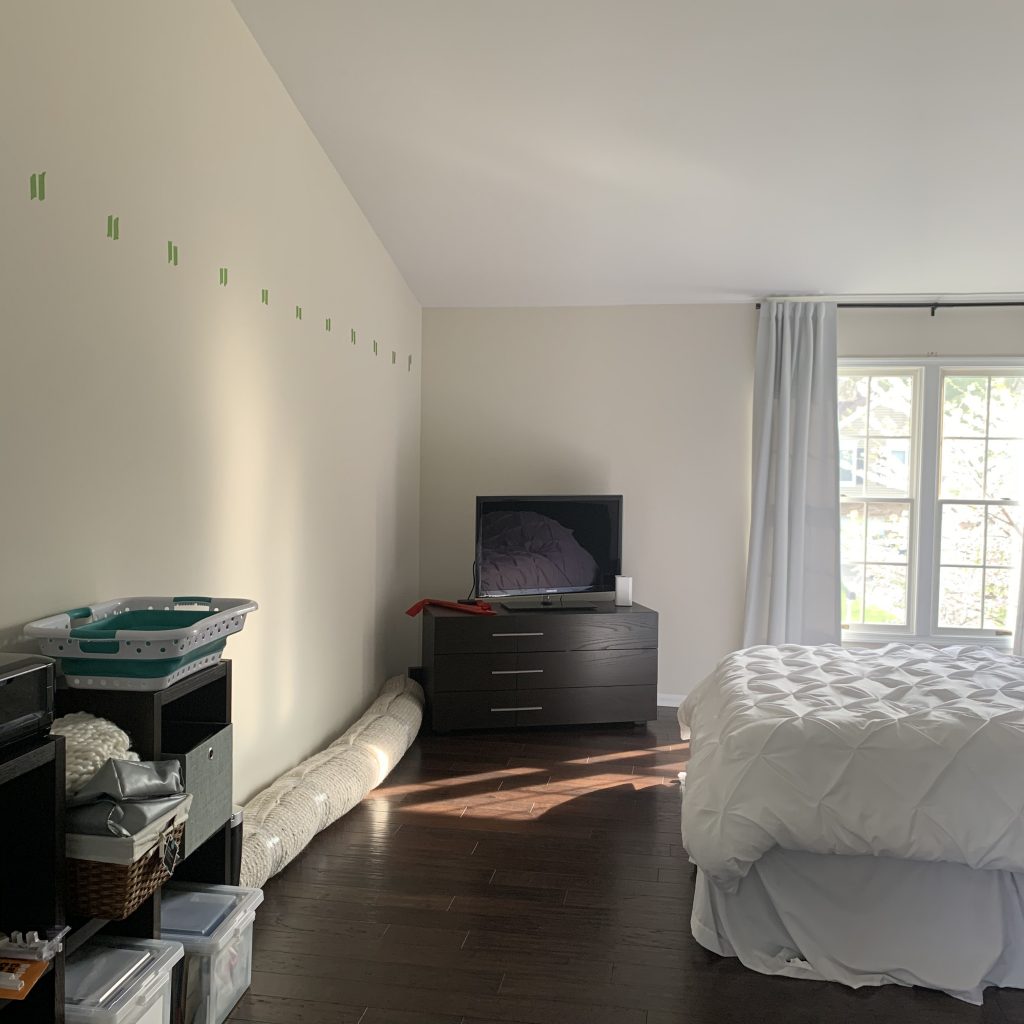
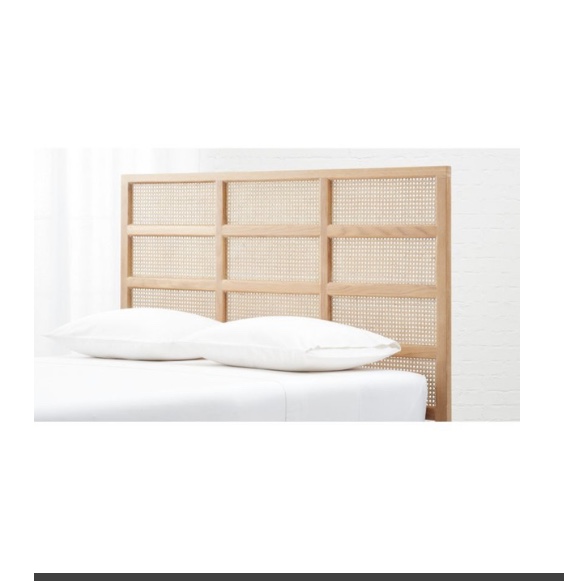
This is the original cane headboard I fell in love with and started us down the cane path (it’s beautiful and from CB2 and not available anymore, so sad!!). The awkward pitch in the ceiling makes things a little more complicated for such a symmetry-loving person (cough, me), but the plan is to carry the cane headboard up… maybe even to the ceiling!
.
Shiplap Wall “Bookends”
The master bath renovation from last year includes a stacked shiplap wall behind the vanity. It’s the perfect combination of farmhouse shiplap and modern lines. The plan is to carry that look into the bedroom as well by stacking shiplap on the two shorter walls.
.
.
Shiplap around the window shouldn’t be a problem, but working around the vanity and bathroom/closet doors should be fun…. Especially all those corners!
.
The Picture Ledge Wall
Last, but not least, the wall next to the door will be for our dressers. I think we may have the tiniest master closet known to man… especially since the rest of the room is a decent size. So we are in desperate need of clothing storage. We have ordered a couple dressers and plan to style them on this wall. I have a couple things I’m excited to do to spice up the dressers themselves, but the part I’m MOST excited about?? Finally getting some picture ledges up on the walls in our house!
.

.
It’s a sad wall now, but if I can bring the vision to life, it’ll be a beauty!! Well, in about a month. In the meantime, you get a sneak peek of what I’ll be styling the shelves with from my DIY Toothpick/Skewer “Art” post…. insert laugh/cry or wink emoji… I’m lost without those!
Over the next few weeks…
All we’ve really been able to do is order a bunch of stuff and start getting a few boards of shiplap on the wall. That leaves a TON left. Here’s a quick list…
- Finish shiplap walls
- Board and batten up
- Paint
- DIY Cane Headboard
- Paint/Stain the dressers
- Build picture ledges
- Paint bedframe
- Finish some DIY stuff for the walls
- Decorate!
Joe will obviously be helping me with all the woodworking, but my number one goal for this project is to become comfortable with all the power tools. I want to learn to do more myself, and do less waiting around for Joe to be available to help haha.
Let’s get this party started!

This looks like a fun project. Can’t wait to see how you make the headboard. Good luck
I appreciate that so much, Jackie! Thank you!! I’m so excited to see your room makeover!!