Don’t buy a new vase when you can do an easy vase makeover! Here are four ways to affordably refresh your vases to make them look brand new (or old!).
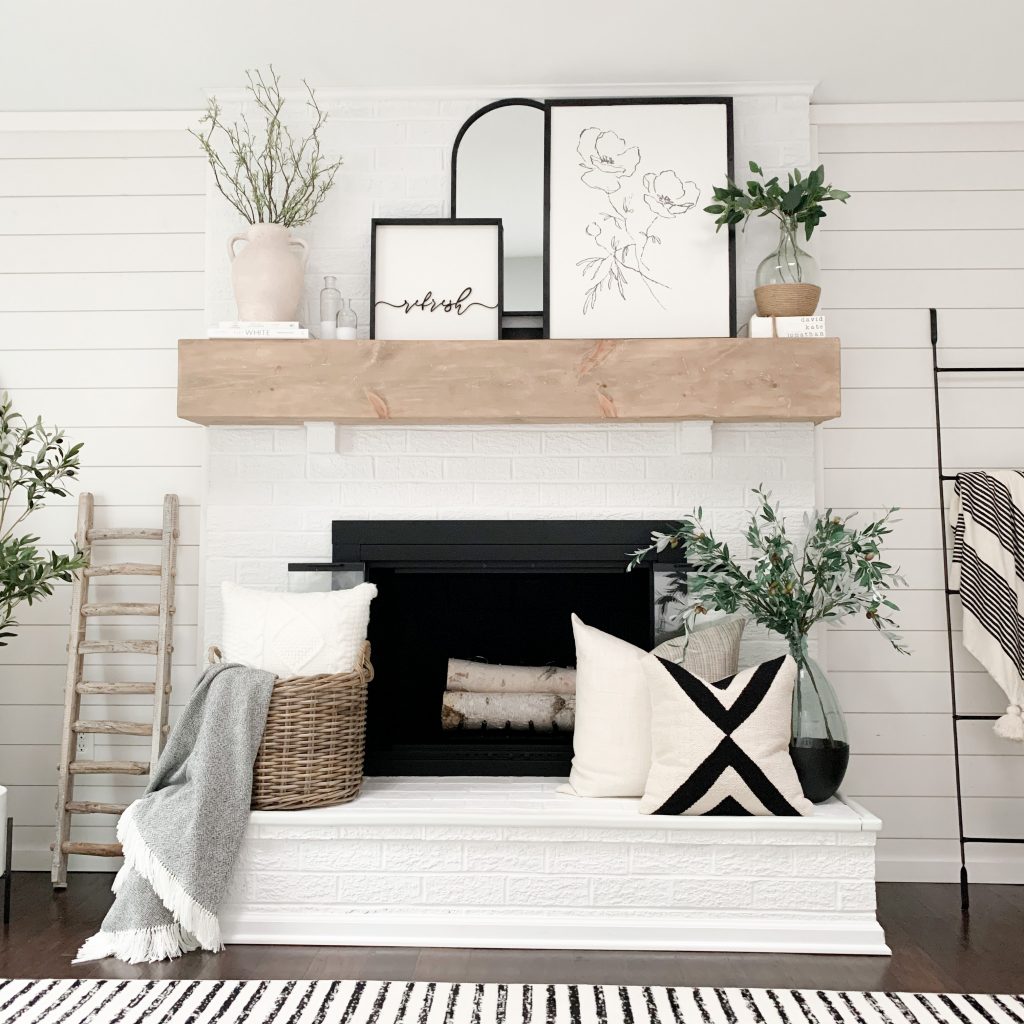
Shop Your Home First!
I know a lot of us are missing the ability to shop right now to change up our home decor, so we’re left to “shop our homes”. Honestly, even if stores were open, I’m not looking to spend more money on vases right now. We have so many, and even if I found some for free, I’d have to pass. We have no room to store this stuff!
Recently, I took a few vases that weren’t getting much use and gave them a little facelift. They feel fresh and new and honestly fit into their spaces even better. Here’s how I did it!
Vase Makeover #1: Paint “Dip” It!
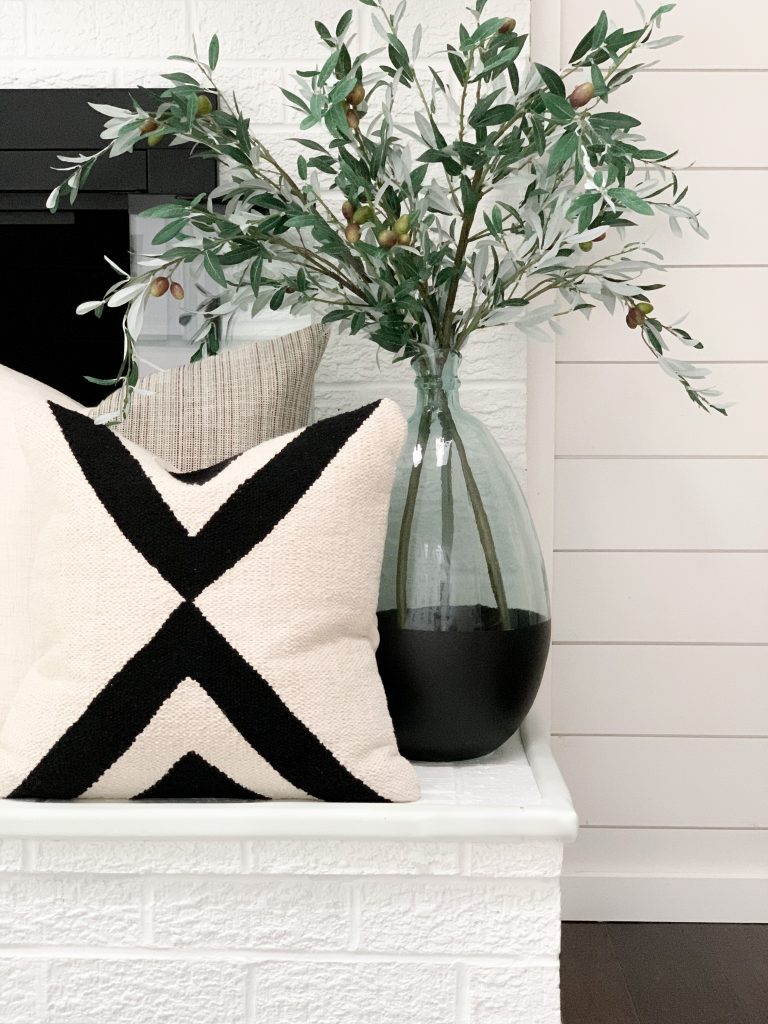
Obviously you could paint the entire vase, which would give it a new look, but I’m currently loving the color-block dipped look. Pottery Barn had some vases with a similar look, but this spray paint is way cheaper.
I taped a line around the area where I wanted the color to end, then I wrapped the rest in cling wrap and taped that down also. Two coats of matte black spray paint later, and voila!
I love the modern element that this vase now adds to a space, AND it hides my secret of always using faux stems! Haha!
.
Vase Makeover #2: Texture It!
I’m also loving the plaster and paper mâché look right now. When you prefer a neutral decor palette, you have to rely heavily on texture to add interest. I love materials like plaster, paper mâché, cement, etc, because they add texture and also bring natural elements to a space.
The “before” of the vase wasn’t bad, but it was kind of boring…
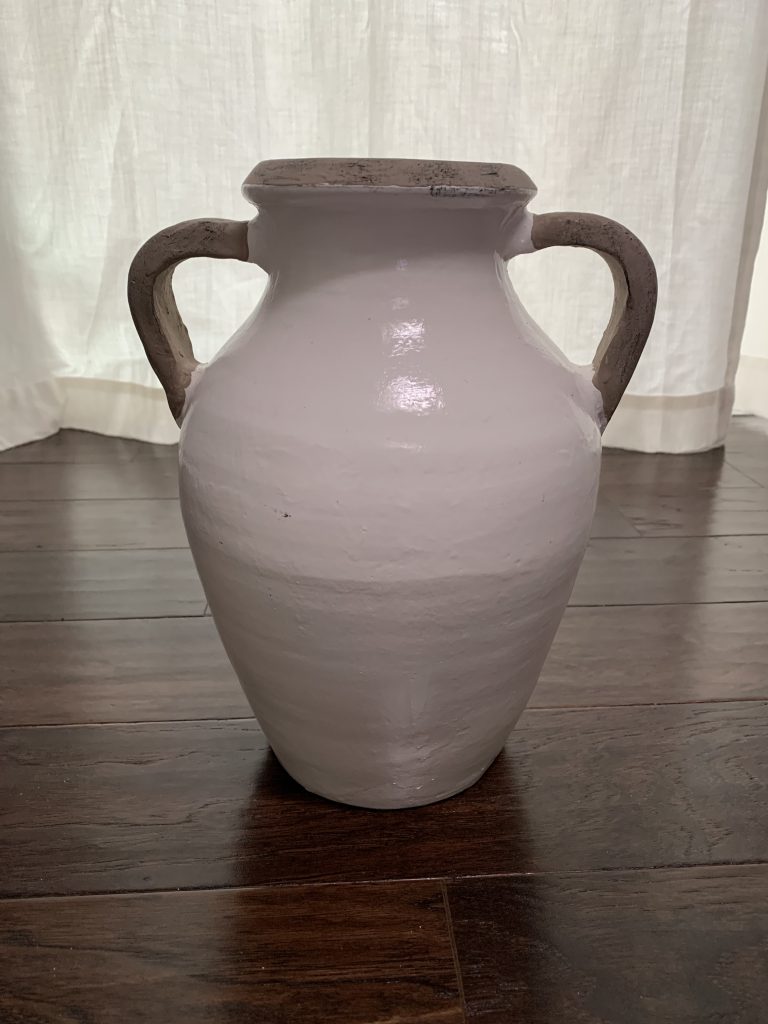
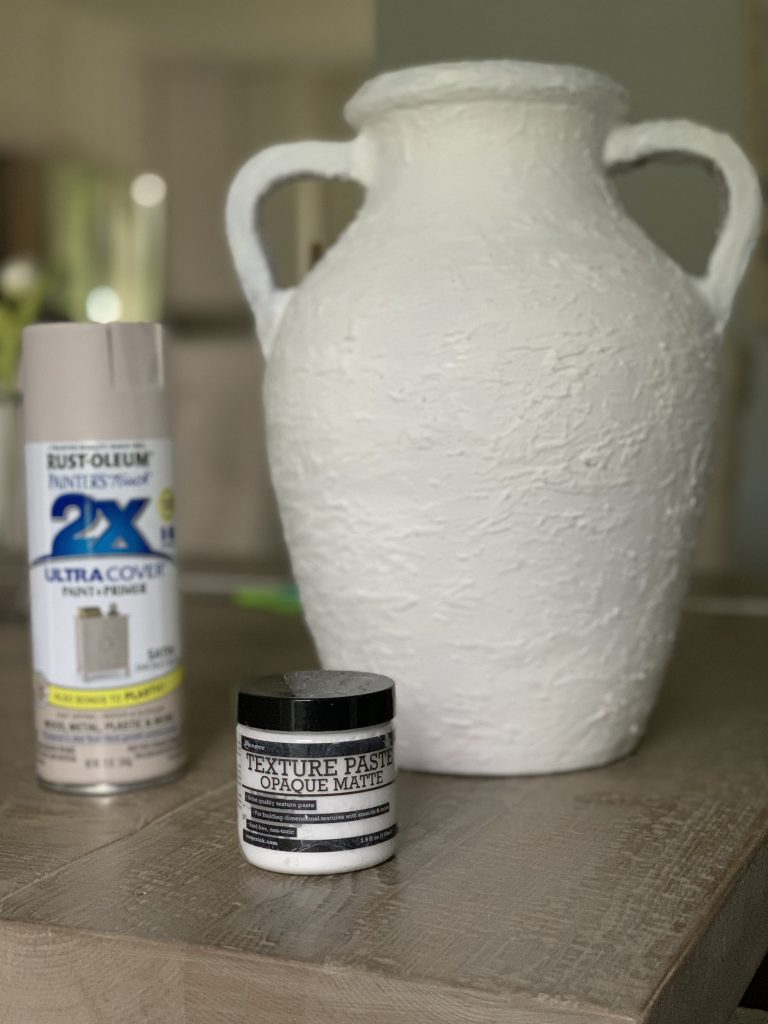
I used this matte white spray paint to even out the “before” vase with one quick spray. It is a paint and primer combo, so you need this to help your texture stick.
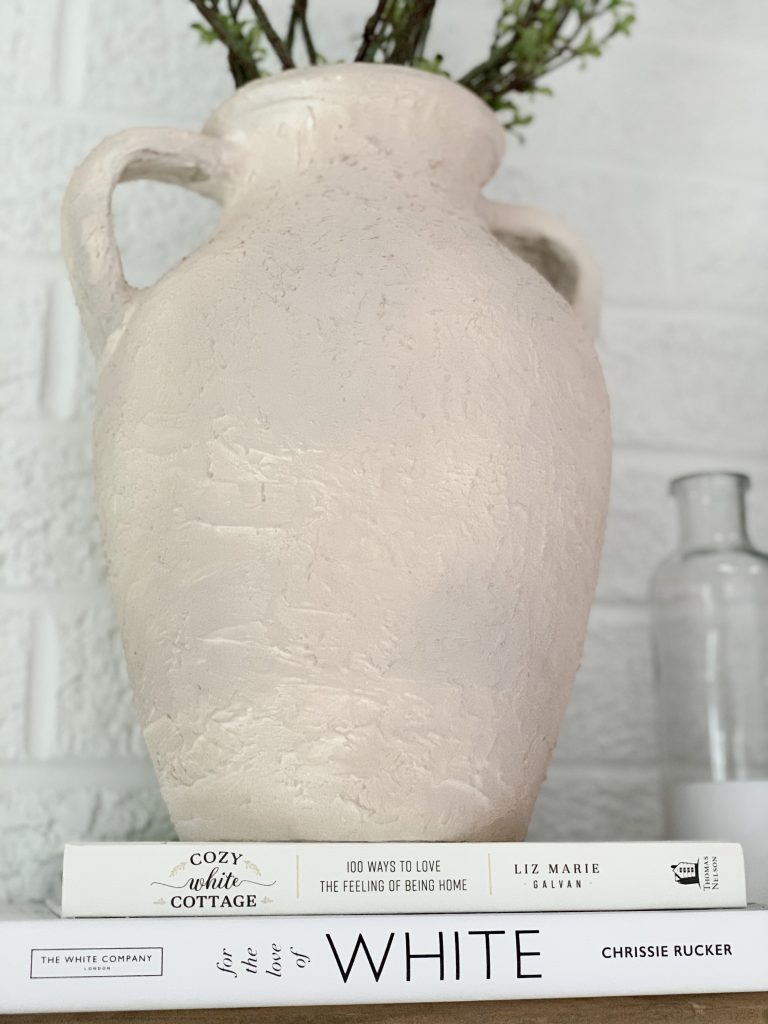
Then I added texture paste once the spray paint dried. A paintbrush let me brush the paste on relatively thickly. I did a lot of “dabbing” to get rid of the brush strokes and give it more texture, then brushed over it very gently, one more time, to flatten the peaks. I didn’t want to worry about the paste chipping off once dried.
The last step was a quick/thin layer of smokey beige spray paint.
.
Vase Makeover #3: Wrap It!
I had another glass vase with faux stems that I wrapped with some leftover rope/twine.
I figured that wrapping the base of the glass would achieve the same result as the dipping – it would hide the fact that there was no water in the vase and the stems were fake.
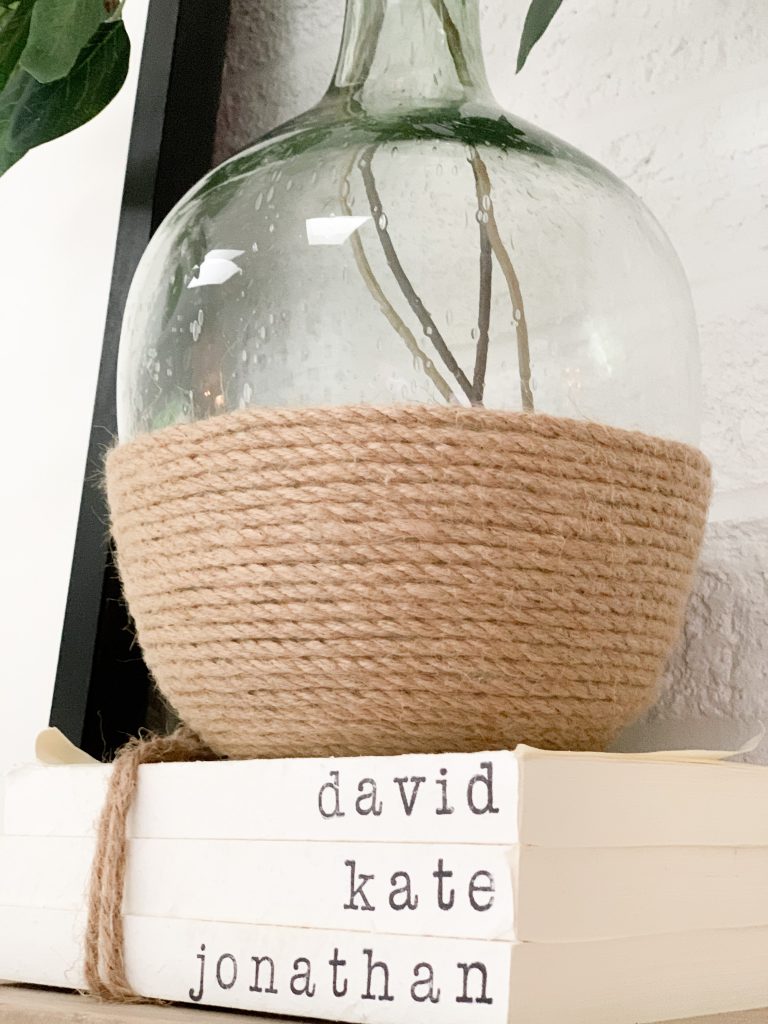
Not only that, but wrapping the glass in the rope gave it a look that reminded me of an Italian jug of wine… Not really sure why I’m envisioning that? The rope that I used was from my junk drawer, but this rope looks to be very similar.
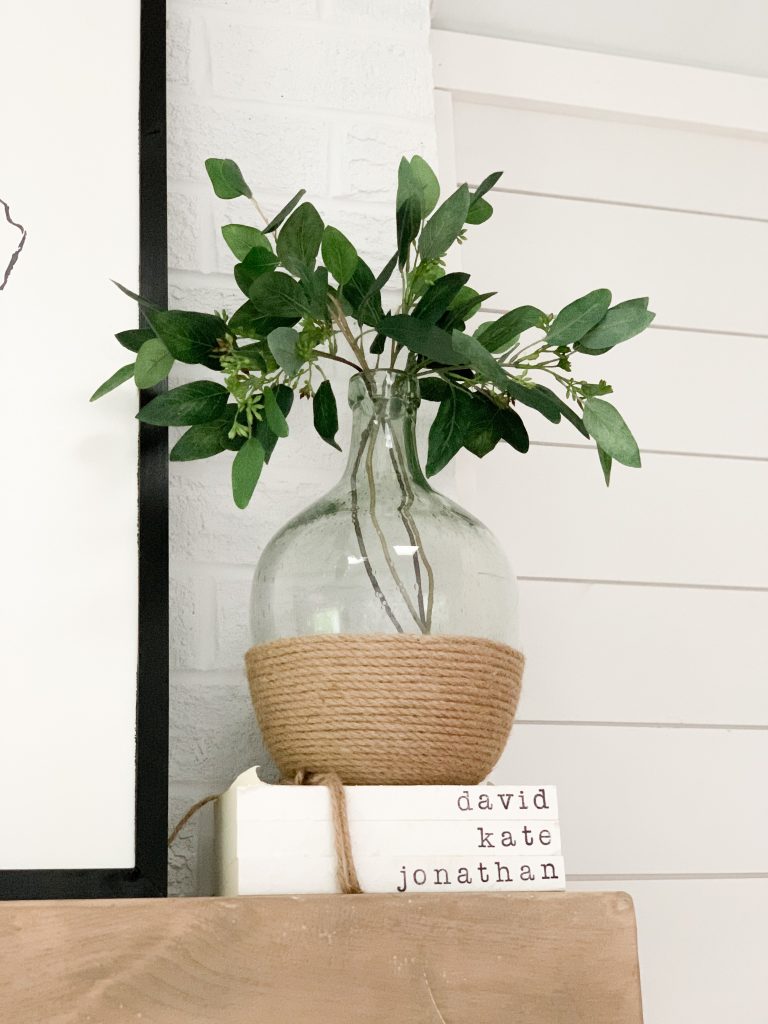
All this project required was the twine/jute rope, a hot glue gun, and about 45 minutes! It would be cool to wrap the entire thing also, but I liked the glass poking out. And more importantly, I didn’t have enough rope! Haha.
.
Vase Makeover #4: Sprinkle It!
The way I’ve used this technique obviously isn’t one to use for everyday decor. It sure is great for a birthday party, though! Such a cool way to make a plain vase look festive, and all it takes is Mod Podge and sprinkles or beads. I’m planning on doing this for Johnny’s upcoming birthday.
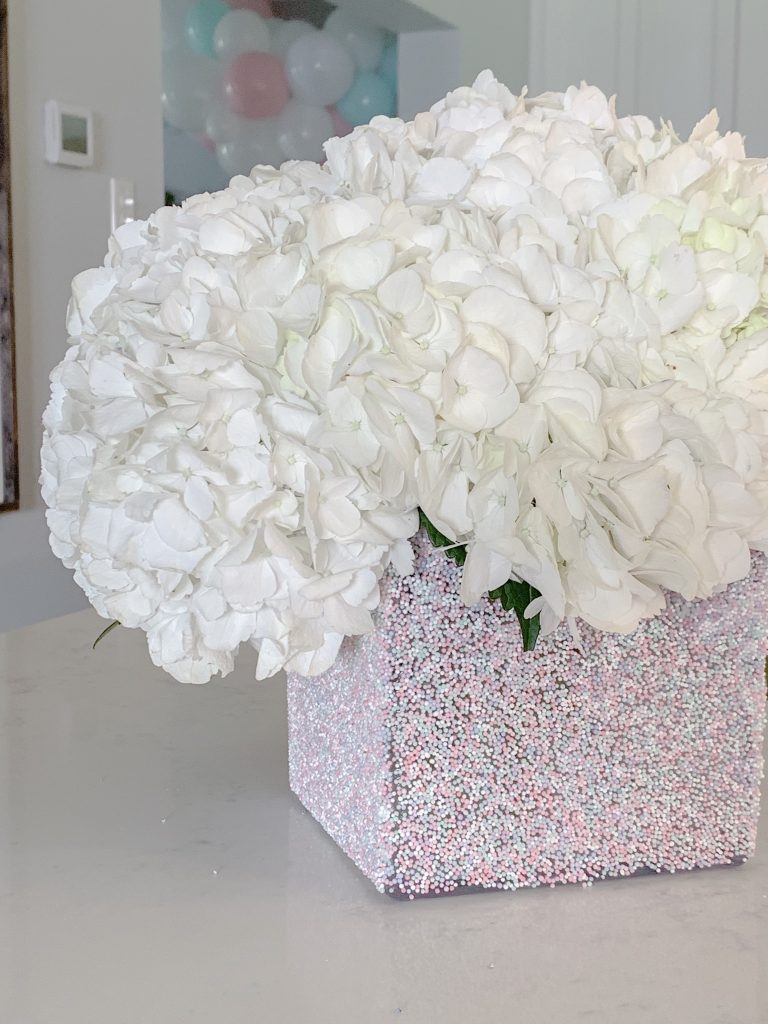
Just paint on the Mod Podge, pour the sprinkles on top, and let it dry. I’m going to try a setting spray next time around – I’d suggest you do that. Another big tip is to do it outside – it’s messy!
Refresh Complete!
And that’s it! A few fun and easy ways to update your decor with very little money, and they can all be adjusted based on what you have!
.
This post may contain affiliate links. Disclosure linked here.
