Hi I’m Annie, and I’m intimated by open shelving. I can’t remember a time when I wasn’t. I’m a minimalist to the core, almost to a fault, and I had the impression that open shelves meant clutter and mess. Just recently, as in the past few months, I have started to see the light. Open shelving is BEAUTIFUL and is a way for you to show your personality through decorating. I wish we had come to this realization when renovating our kitchen, but it’s not too late for the rest of our house.
Especially when it comes to decorating, I am one of the most indecisive people. I love so many different styles. When trying to visualize what I want to do with a space, there’s literally a slideshow that plays in my head of all the amazing inspiration I’ve recently seen. It sounds like that should be a good thing, as opposed to not knowing what to do with a space (which believe me, also happens). The problem is, with so many ideas coming at me, nothing seems obviously “right”, and I end up wasting WAY too many hours going back and forth.
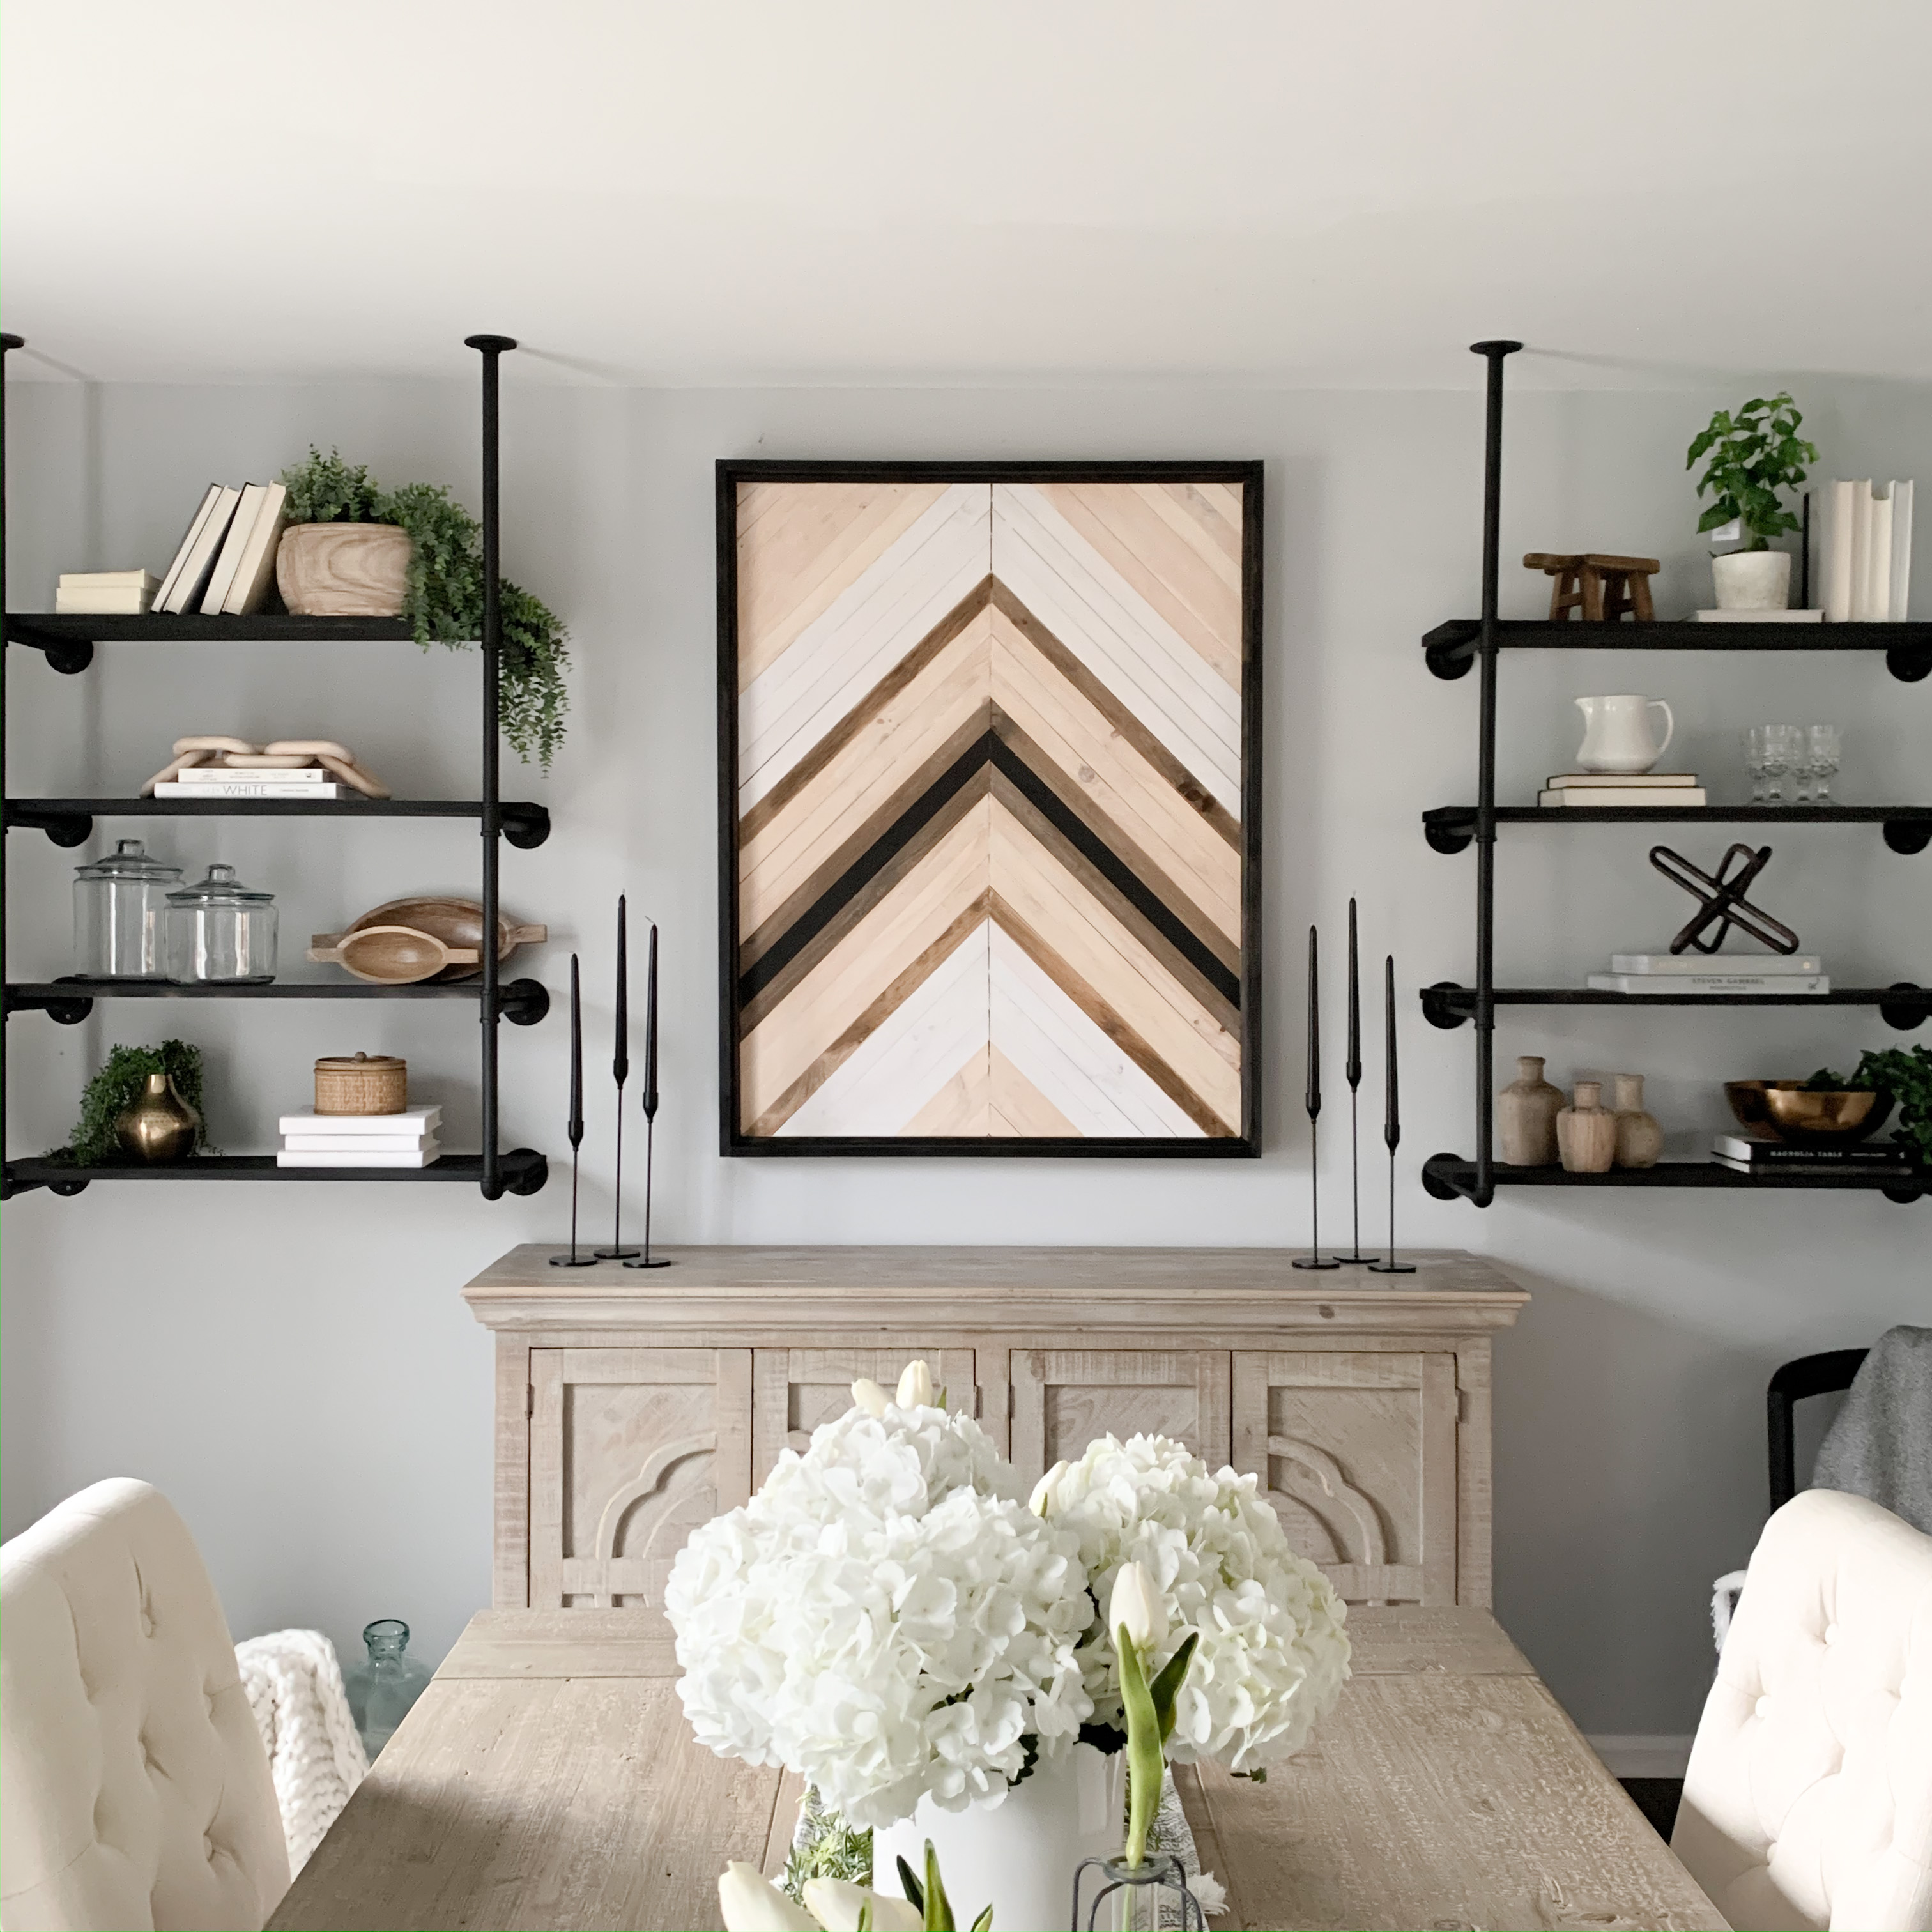
Once the lightbulb finally goes off and a decision is made, we usually are sent back to the drawing board after we realize that we decided on one of the most expensive options out there. These shelves were no different. We fell in love with the custom iron brackets that hung from the ceiling and took up the majority of the wall.
It would have cost between $500-$1000 just for the iron brackets alone. That kind of spending wasn’t in the cards for us at the moment, so we went back to doing research. We found these industrial pipe brackets on Amazon (linked here) for a small fraction of the price… Between the pipe brackets, wood, and paint, we probably spent about $200 total on these shelves.
The Pipe Brackets
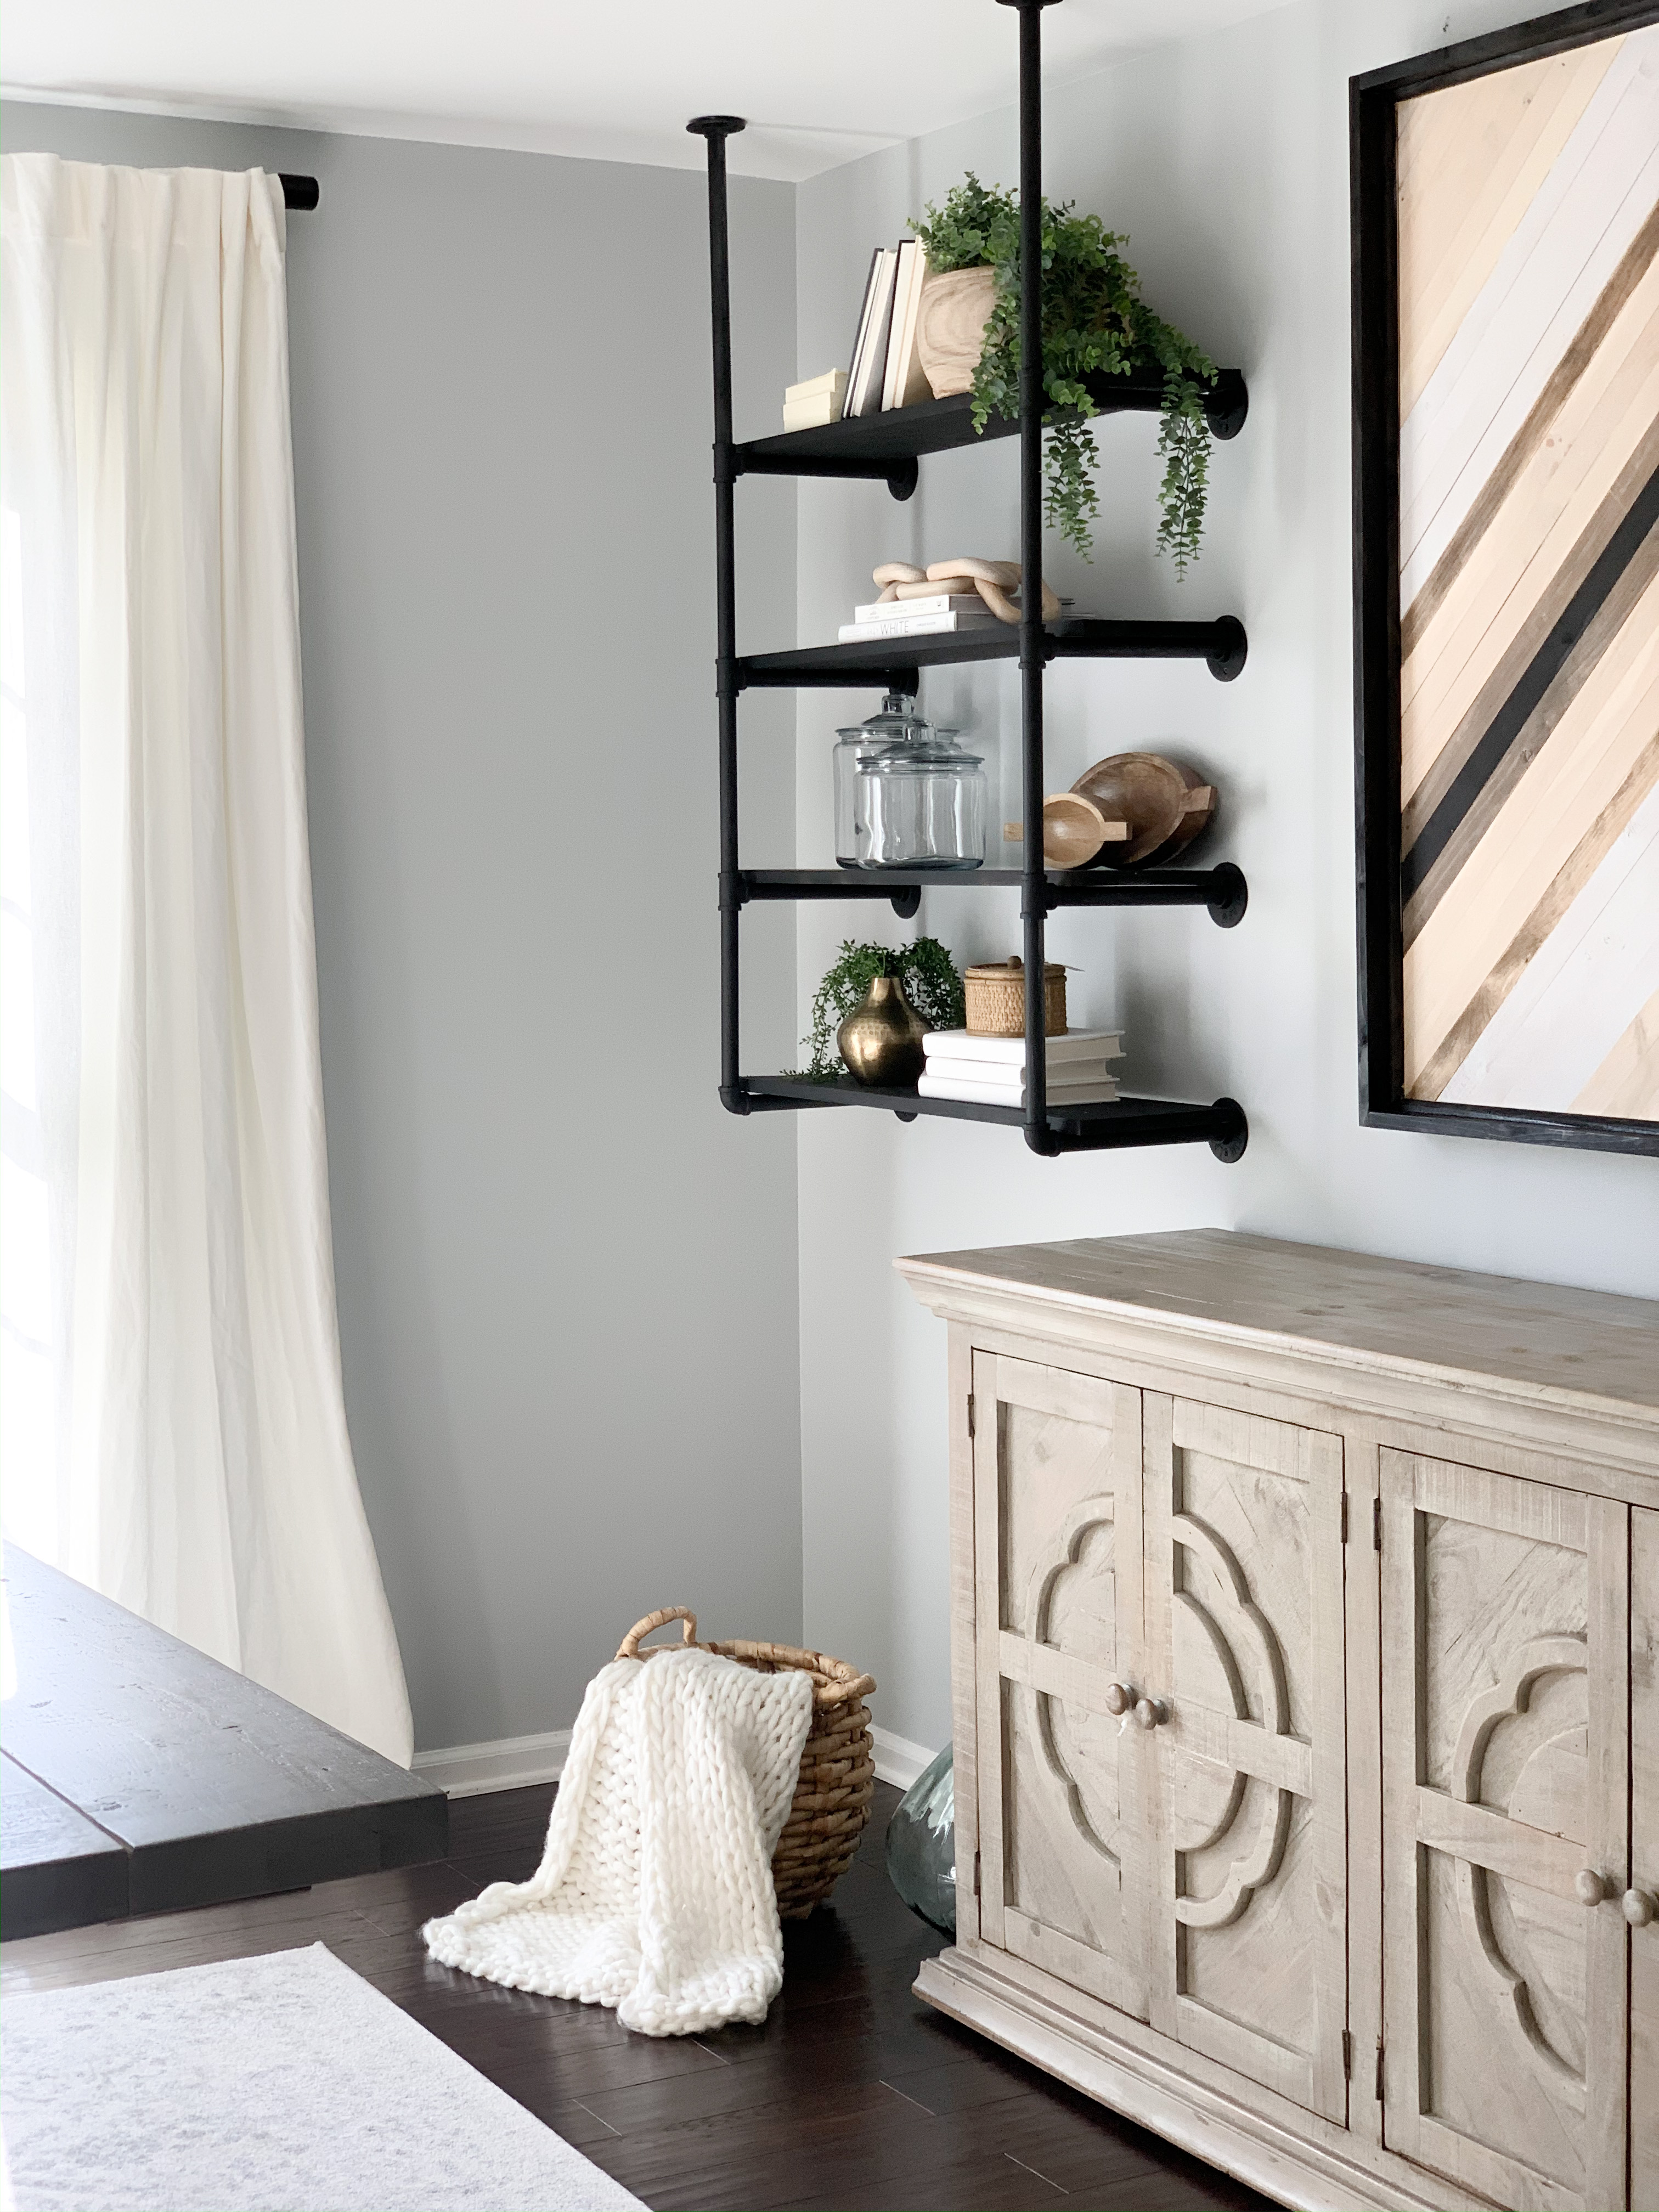
We learned pretty quickly that going with the industrial pipes would be more cost effective, but it still took awhile to narrow it down to the specific ones. We chose these brackets on Amazon because they were at about the lowest price we had seen ($60 for a set of two), and the reviews were great!

When they arrived, the pieces were more of a charcoal/silver color…. they were supposed to look like pipes, so that makes sense…. But I ended up spray painting them black (linked here) to give them a slightly more modern vibe. All the individual pieces screwed together easily, and they allowed for some variation if you wanted to change up height in any way. The next step was finding the studs in the wall, and those studs dictated where the brackets had to go. We chose to leave a bigger space between the two sets with the hope that we’d find something cool to put on the wall in between. Then Joe just measured and marked, and the brackets were up!
All Wood Is Not Created Equal
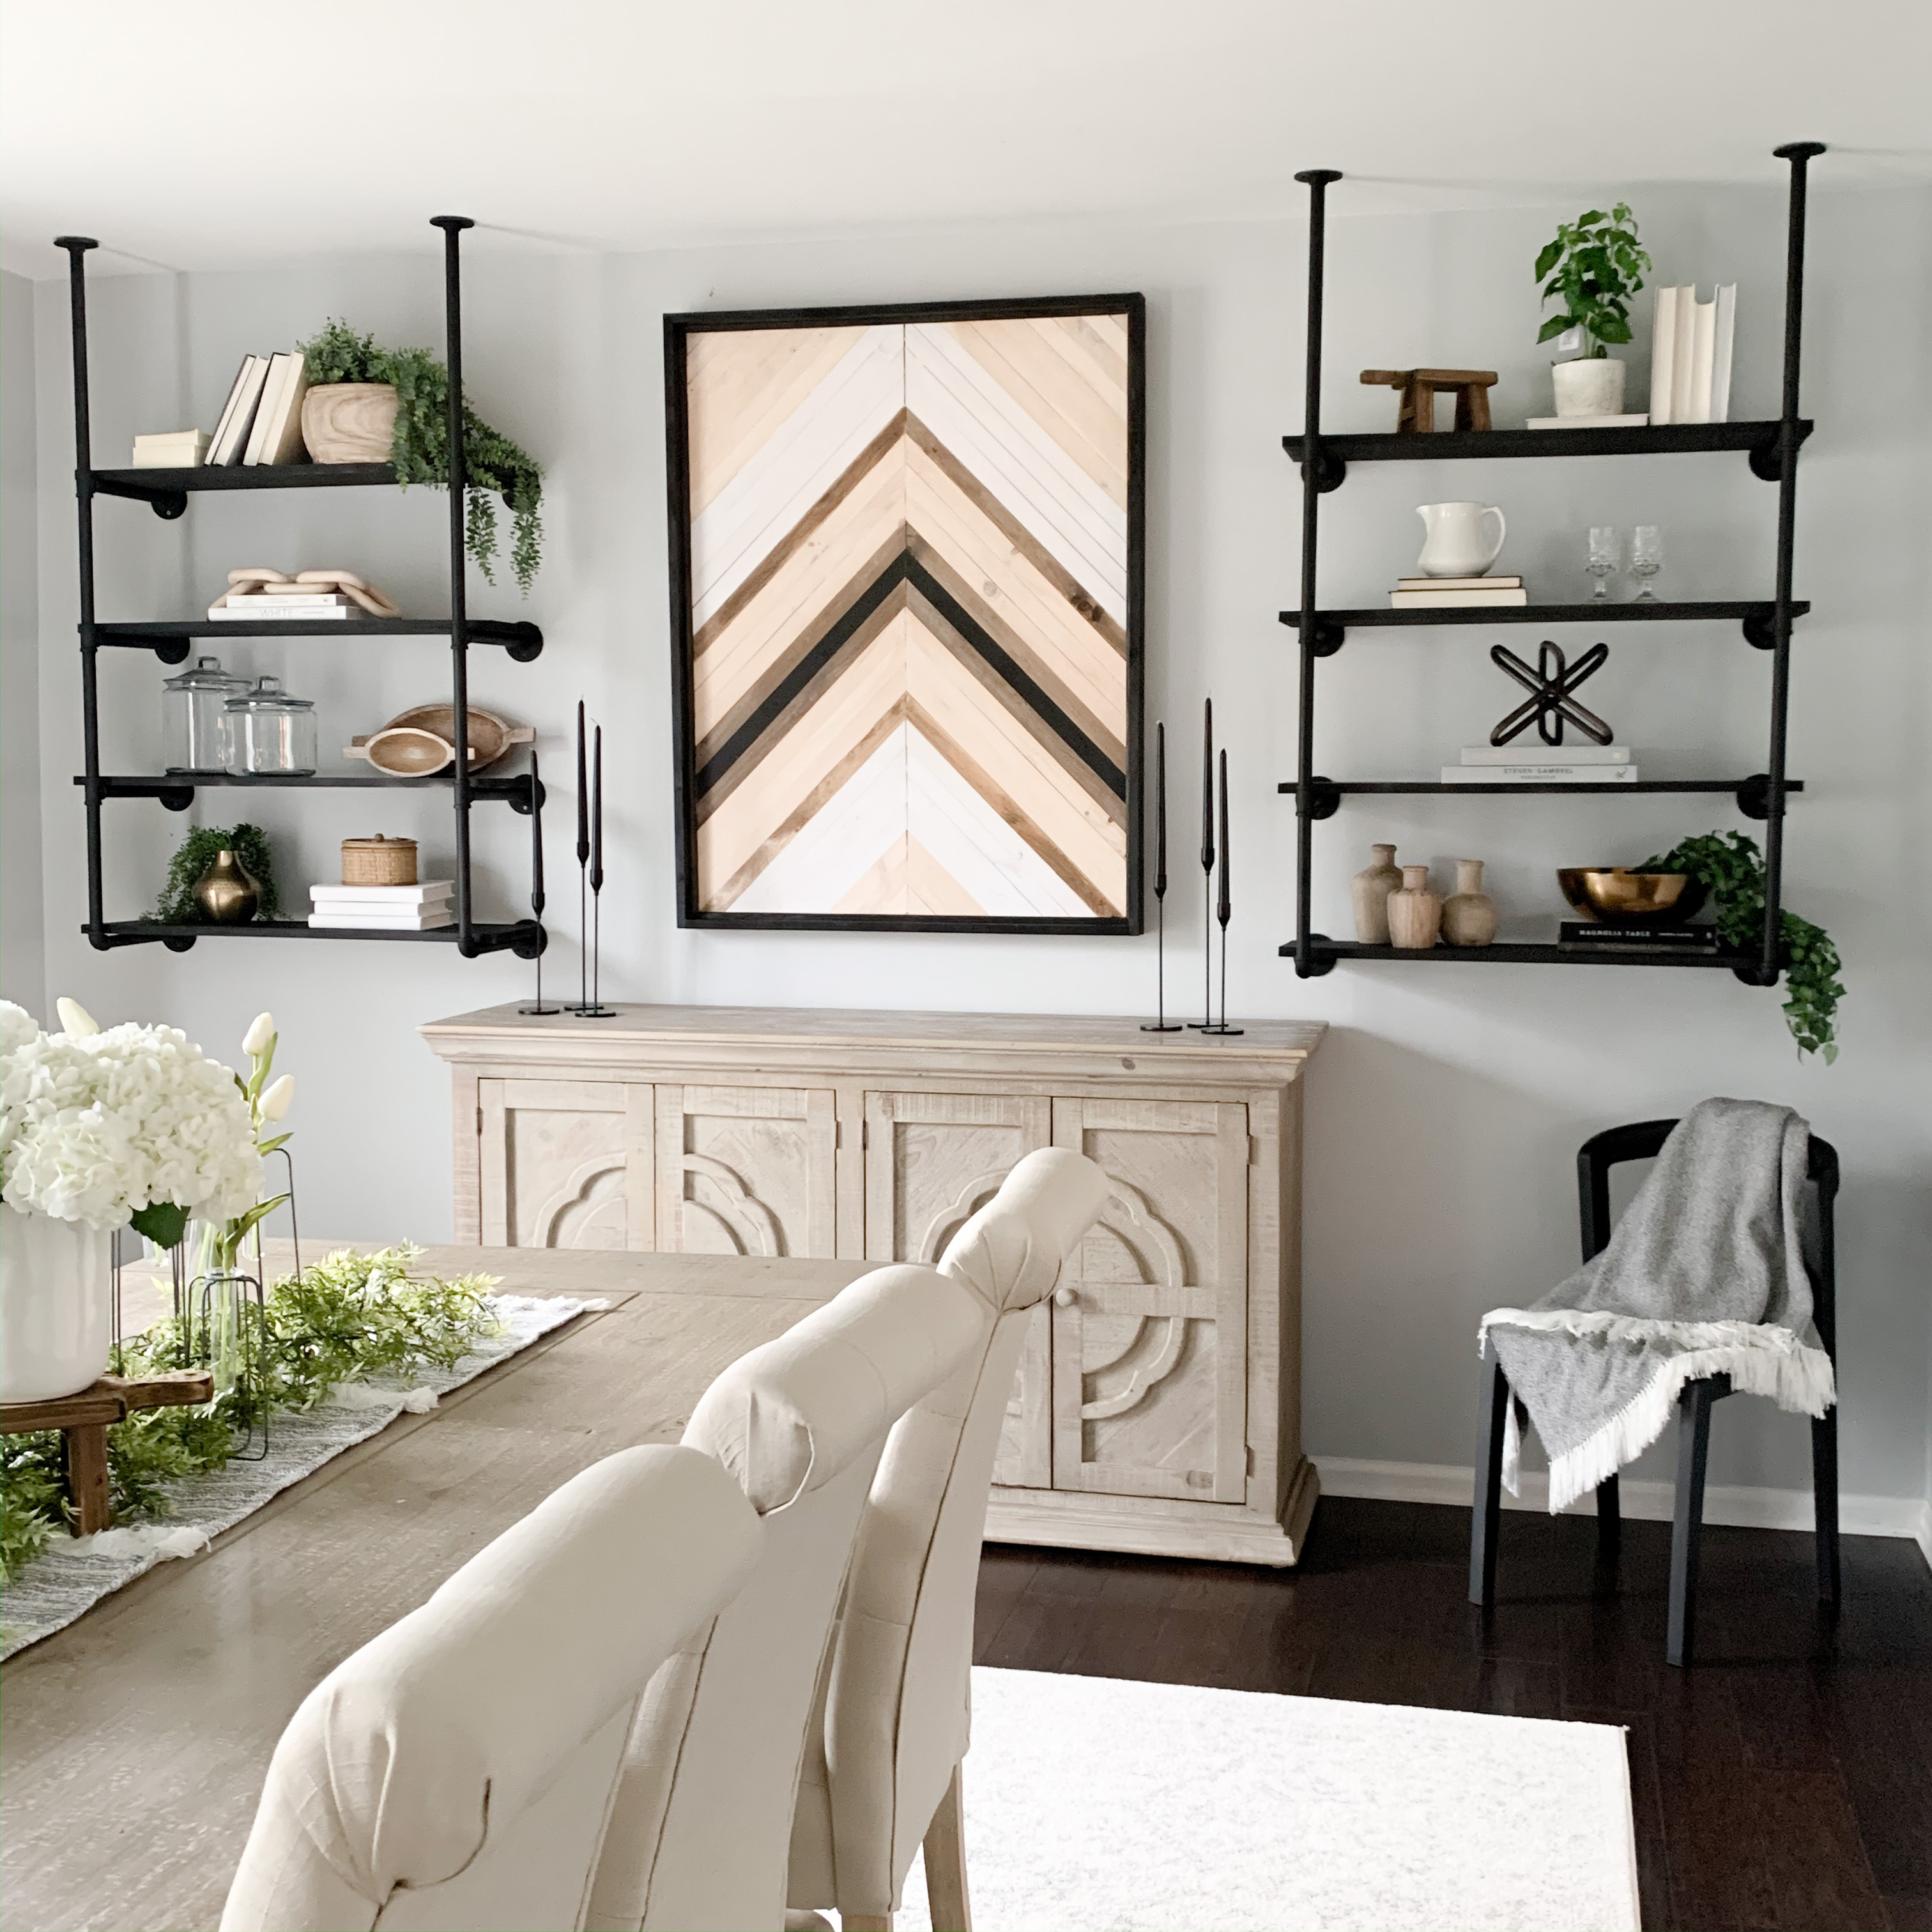
The next step was figuring out what we wanted the wood shelves to look like. We couldn’t decide between light, medium, or dark. As I was debating what to do, a woman reached out and suggested doing another set…. Genius!! I knew I wanted one set to be black and another to be the natural wood. Why stop there?? We decided to add in a stained option as well that would somewhat match our buffet. I absolutely love the idea of having the ability to swap them out to refresh the space throughout the year. This was possible since the wood pieces just lay right on top of the brackets, not screwed in.
Super easy, or so I thought…. I haven’t gotten a chance to play around with these different options because it’s taken years to sand, stain, and paint these things haha. Also, I had no idea that there would be issues with the wood and stain themselves. I thought the hard part was deciding on the size and stain color. Apparently your plans can still go south beyond that.
Joe got all of our wood from Home Depot, and it was kind of amazing to see the different “colors” of the natural woods. Different pieces of wood absorbed the stain differently. Different cans of the same stain can look totally different. Apparently the temperature can even have an impact. Bottom line, be aware of these factors and be prepared to adjust if needed. I was also glad to be using Lime Wax on the stained shelf because it helped to hide some of these imperfections.
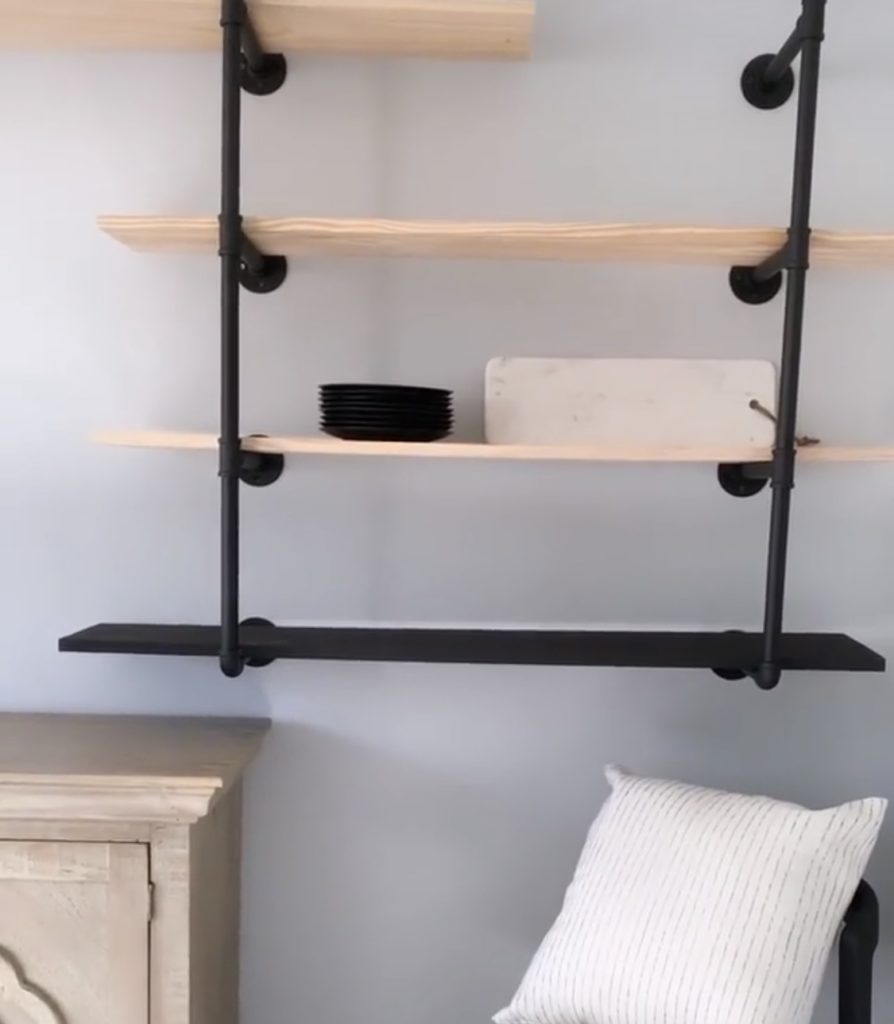
For the set of black shelves, we used a 1×10 piece of wood, and we cut it to hang over about 1″ on each side of the brackets. (The above photo is before we cut it down) I used the same black spray paint that I used to spray the pipes. I went through multiple cans, so it would’ve been much smarter to just paint…. I got lazy.
For the stained set of shelves, we used the dark walnut stain from Home Depot, and I applied lime wax with a brush overtop to give it that worn/white-washed look. I love that look so much! The cost of the wax seems high, but I can tell you, that can is going to last me SO long. It’s kind of incredible. I then sealed them with a clear matte.
For the natural set, I really loved the slightly thicker look. We originally went with the 2×10 boards, but they were flaring SO red. Even lime wax couldn’t fix it. The 2×8 boards at Home Depot were a GORGEOUS bleached wood look, so we decided to go for the shelves that were slightly thinner. We used a sander to sand down any rough parts, and that was it! I didn’t even seal them.
When all shelves are completed, I will be doing a blog post with more detail on each “set” of shelves and how I’m styling them, so keep an eye out for that as well!!
The Chevron Wall Art
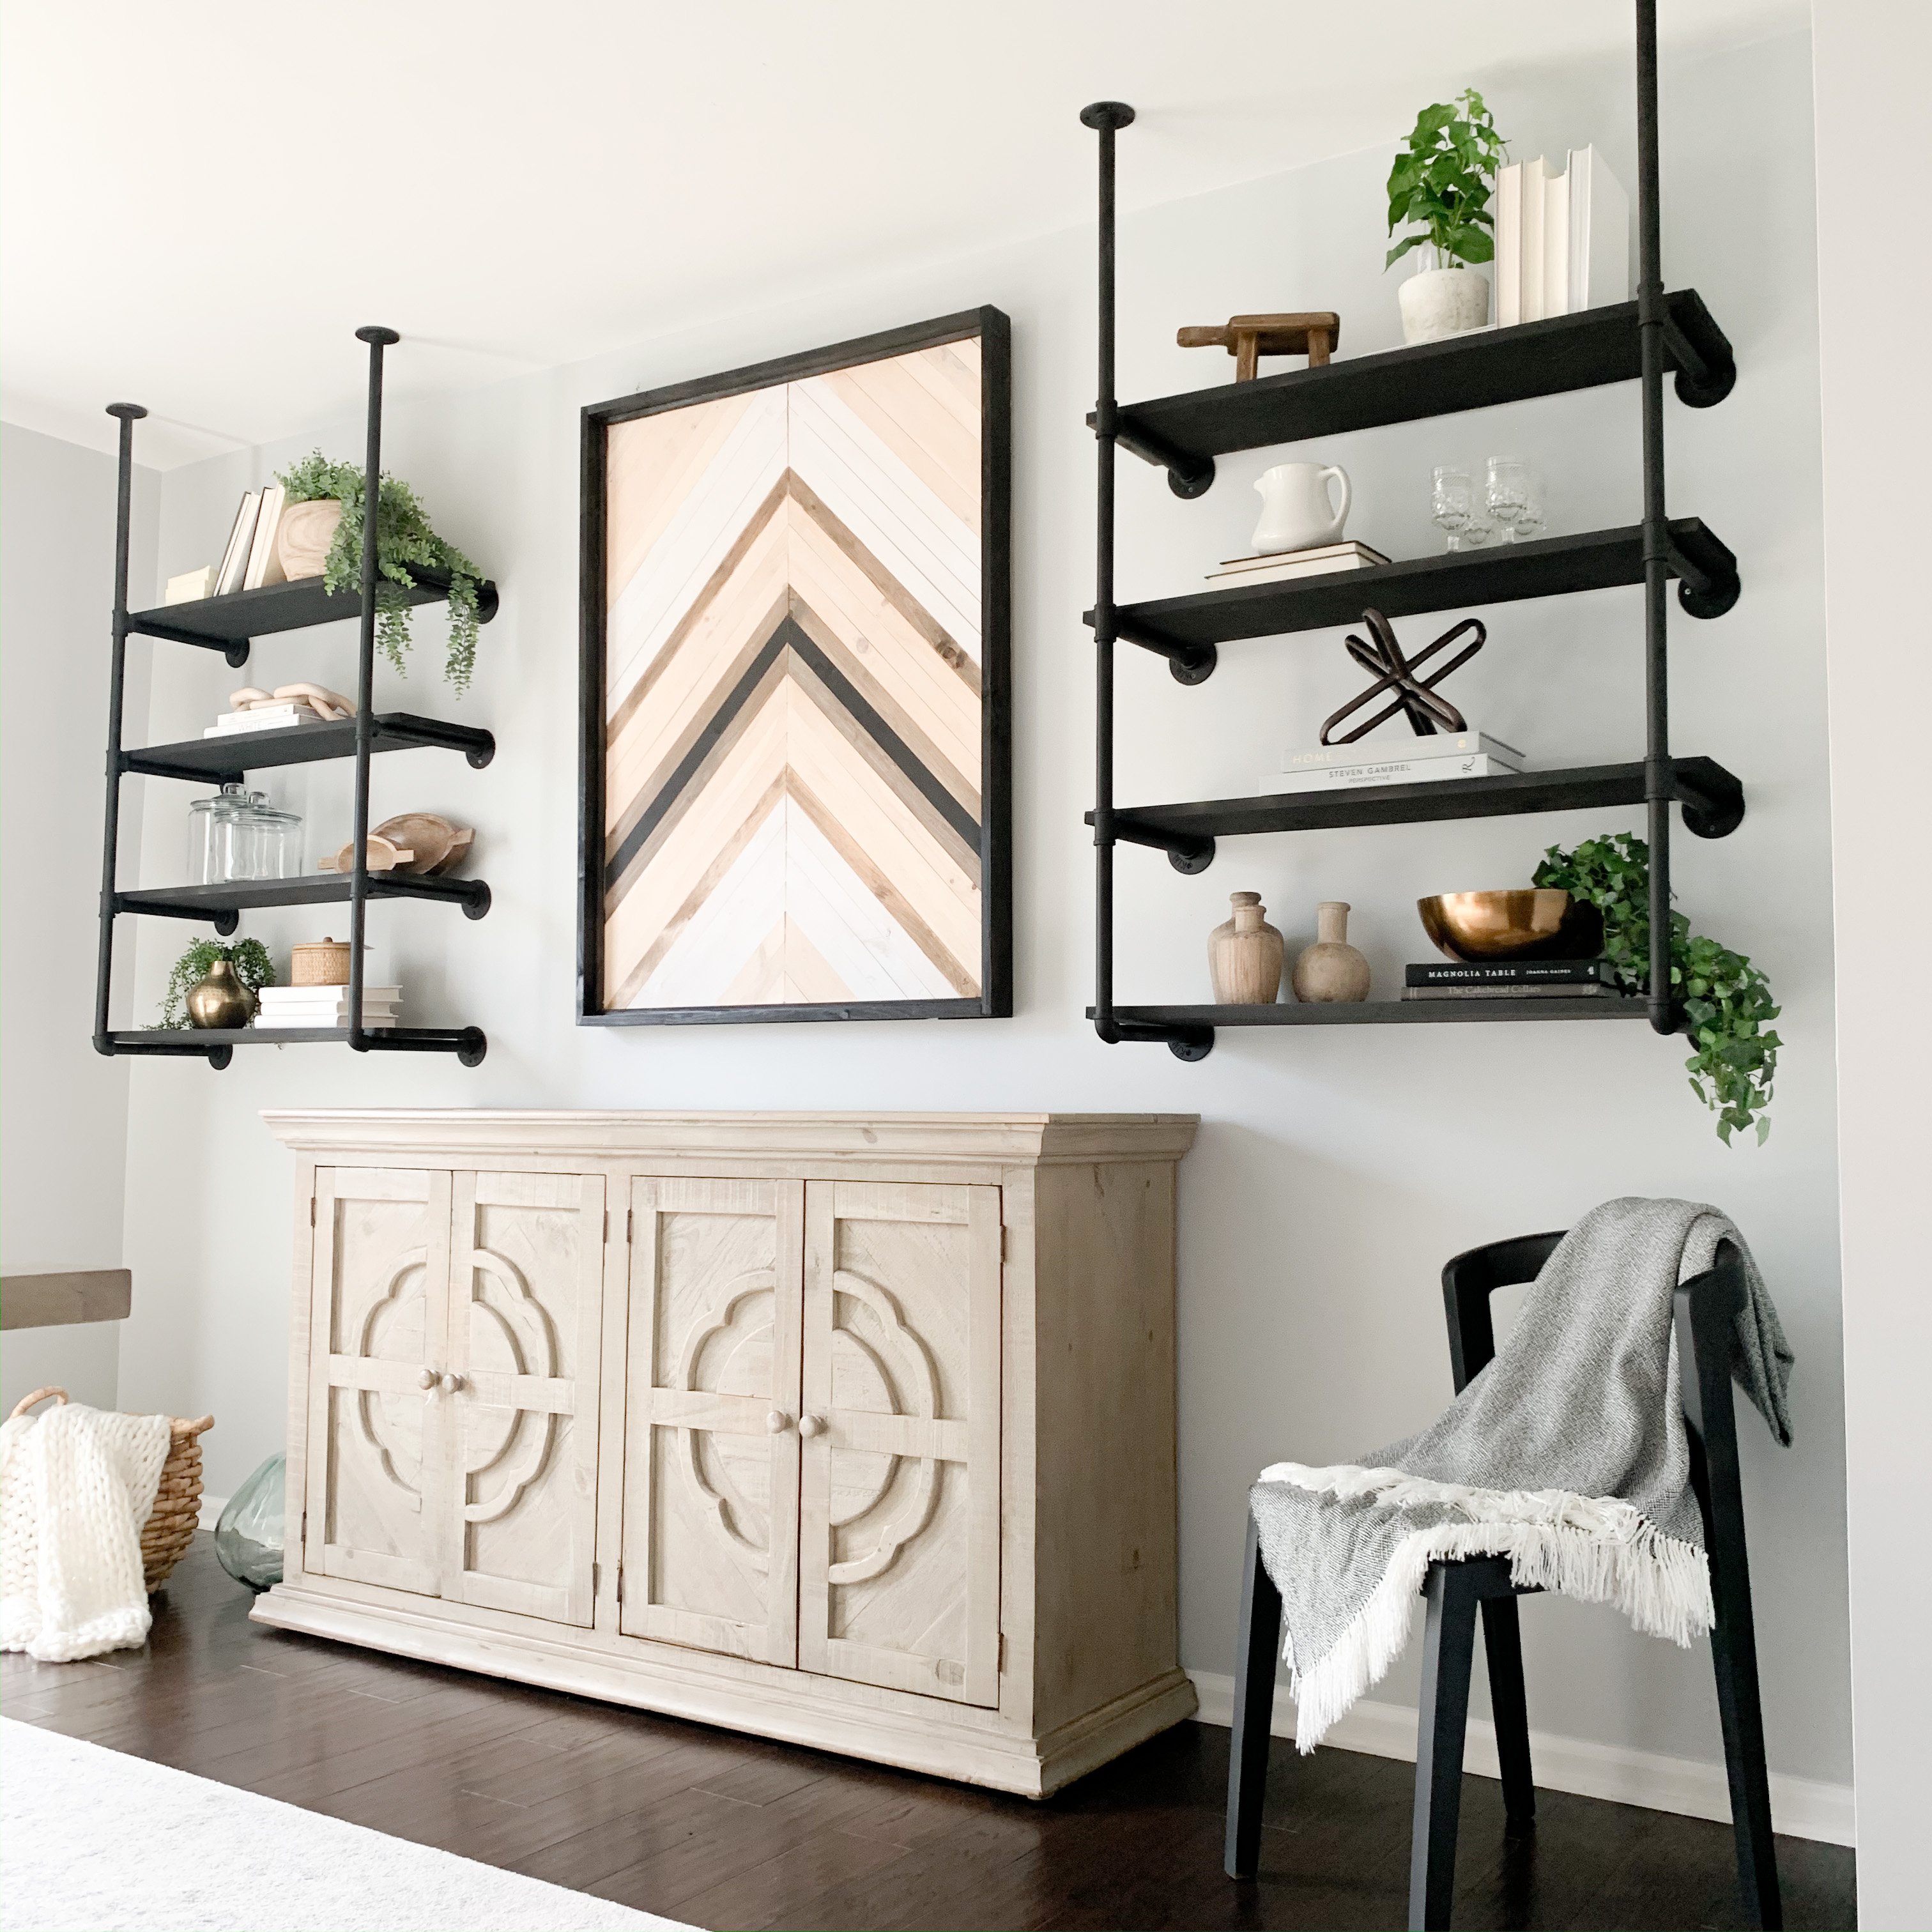
Joe threw this sign together pretty quickly and while I wasn’t home. I asked him for the info, and this is what I got… He used 1/4″ Plywood for the backing (glued all the cut pieces but nailed the frame pieces). For the chevron pattern, he did 45 degree angle cuts of 1×2 pine common board. The frame is 1×3 common board, turned on its “skinny” side. He finished the inside edges with 1/4″ round trim pieces, once we had all the painted and stained pieces done, to give it a clean look.
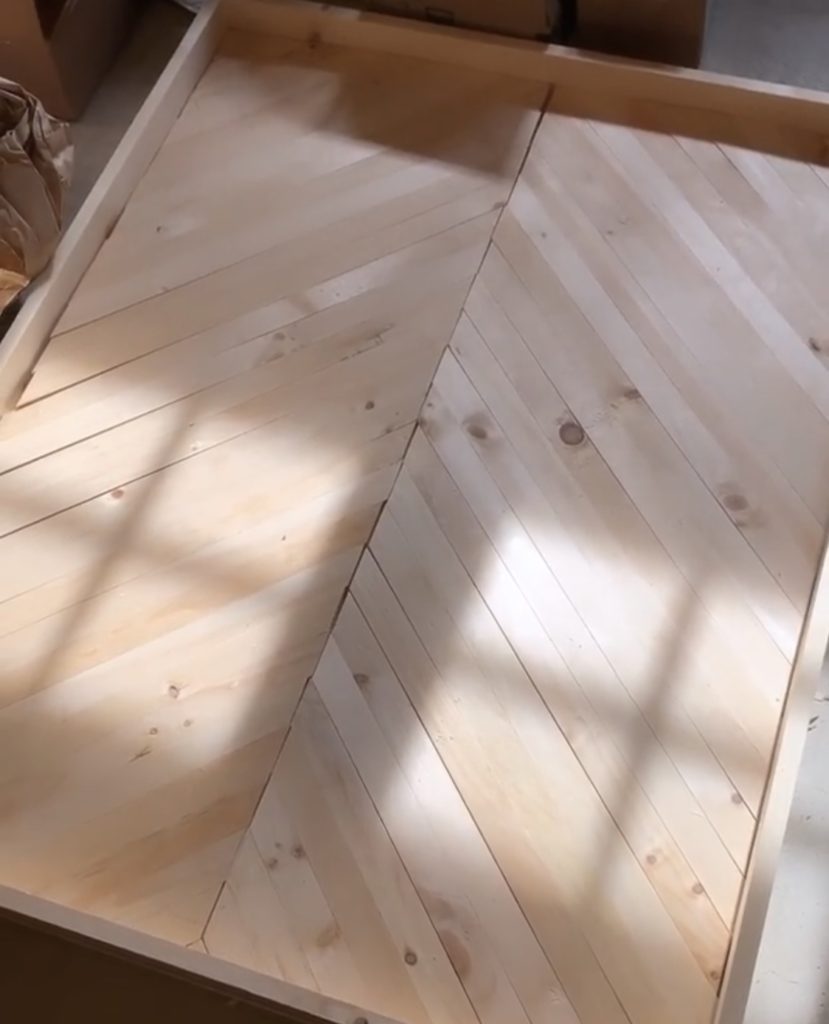
The stain/paint pattern ended up taking the most time because it was hard to come up with a pattern we were happy with. Even after we were “done” with the painting/staining, we ended up going back and staining a couple more slats. The point of this piece is to tie into the shelves, no matter which set is chosen. Once the piece was moved into our dining room, we realized we weren’t in love with the natural wood color. A coat of lime wax provided a quick fix!
And that’s it! We’re excited to swap out the different set of shelves, and per usual, now we have our eye on a million different things we want to do below the shelves. “If you give a mouse a cookie”…
