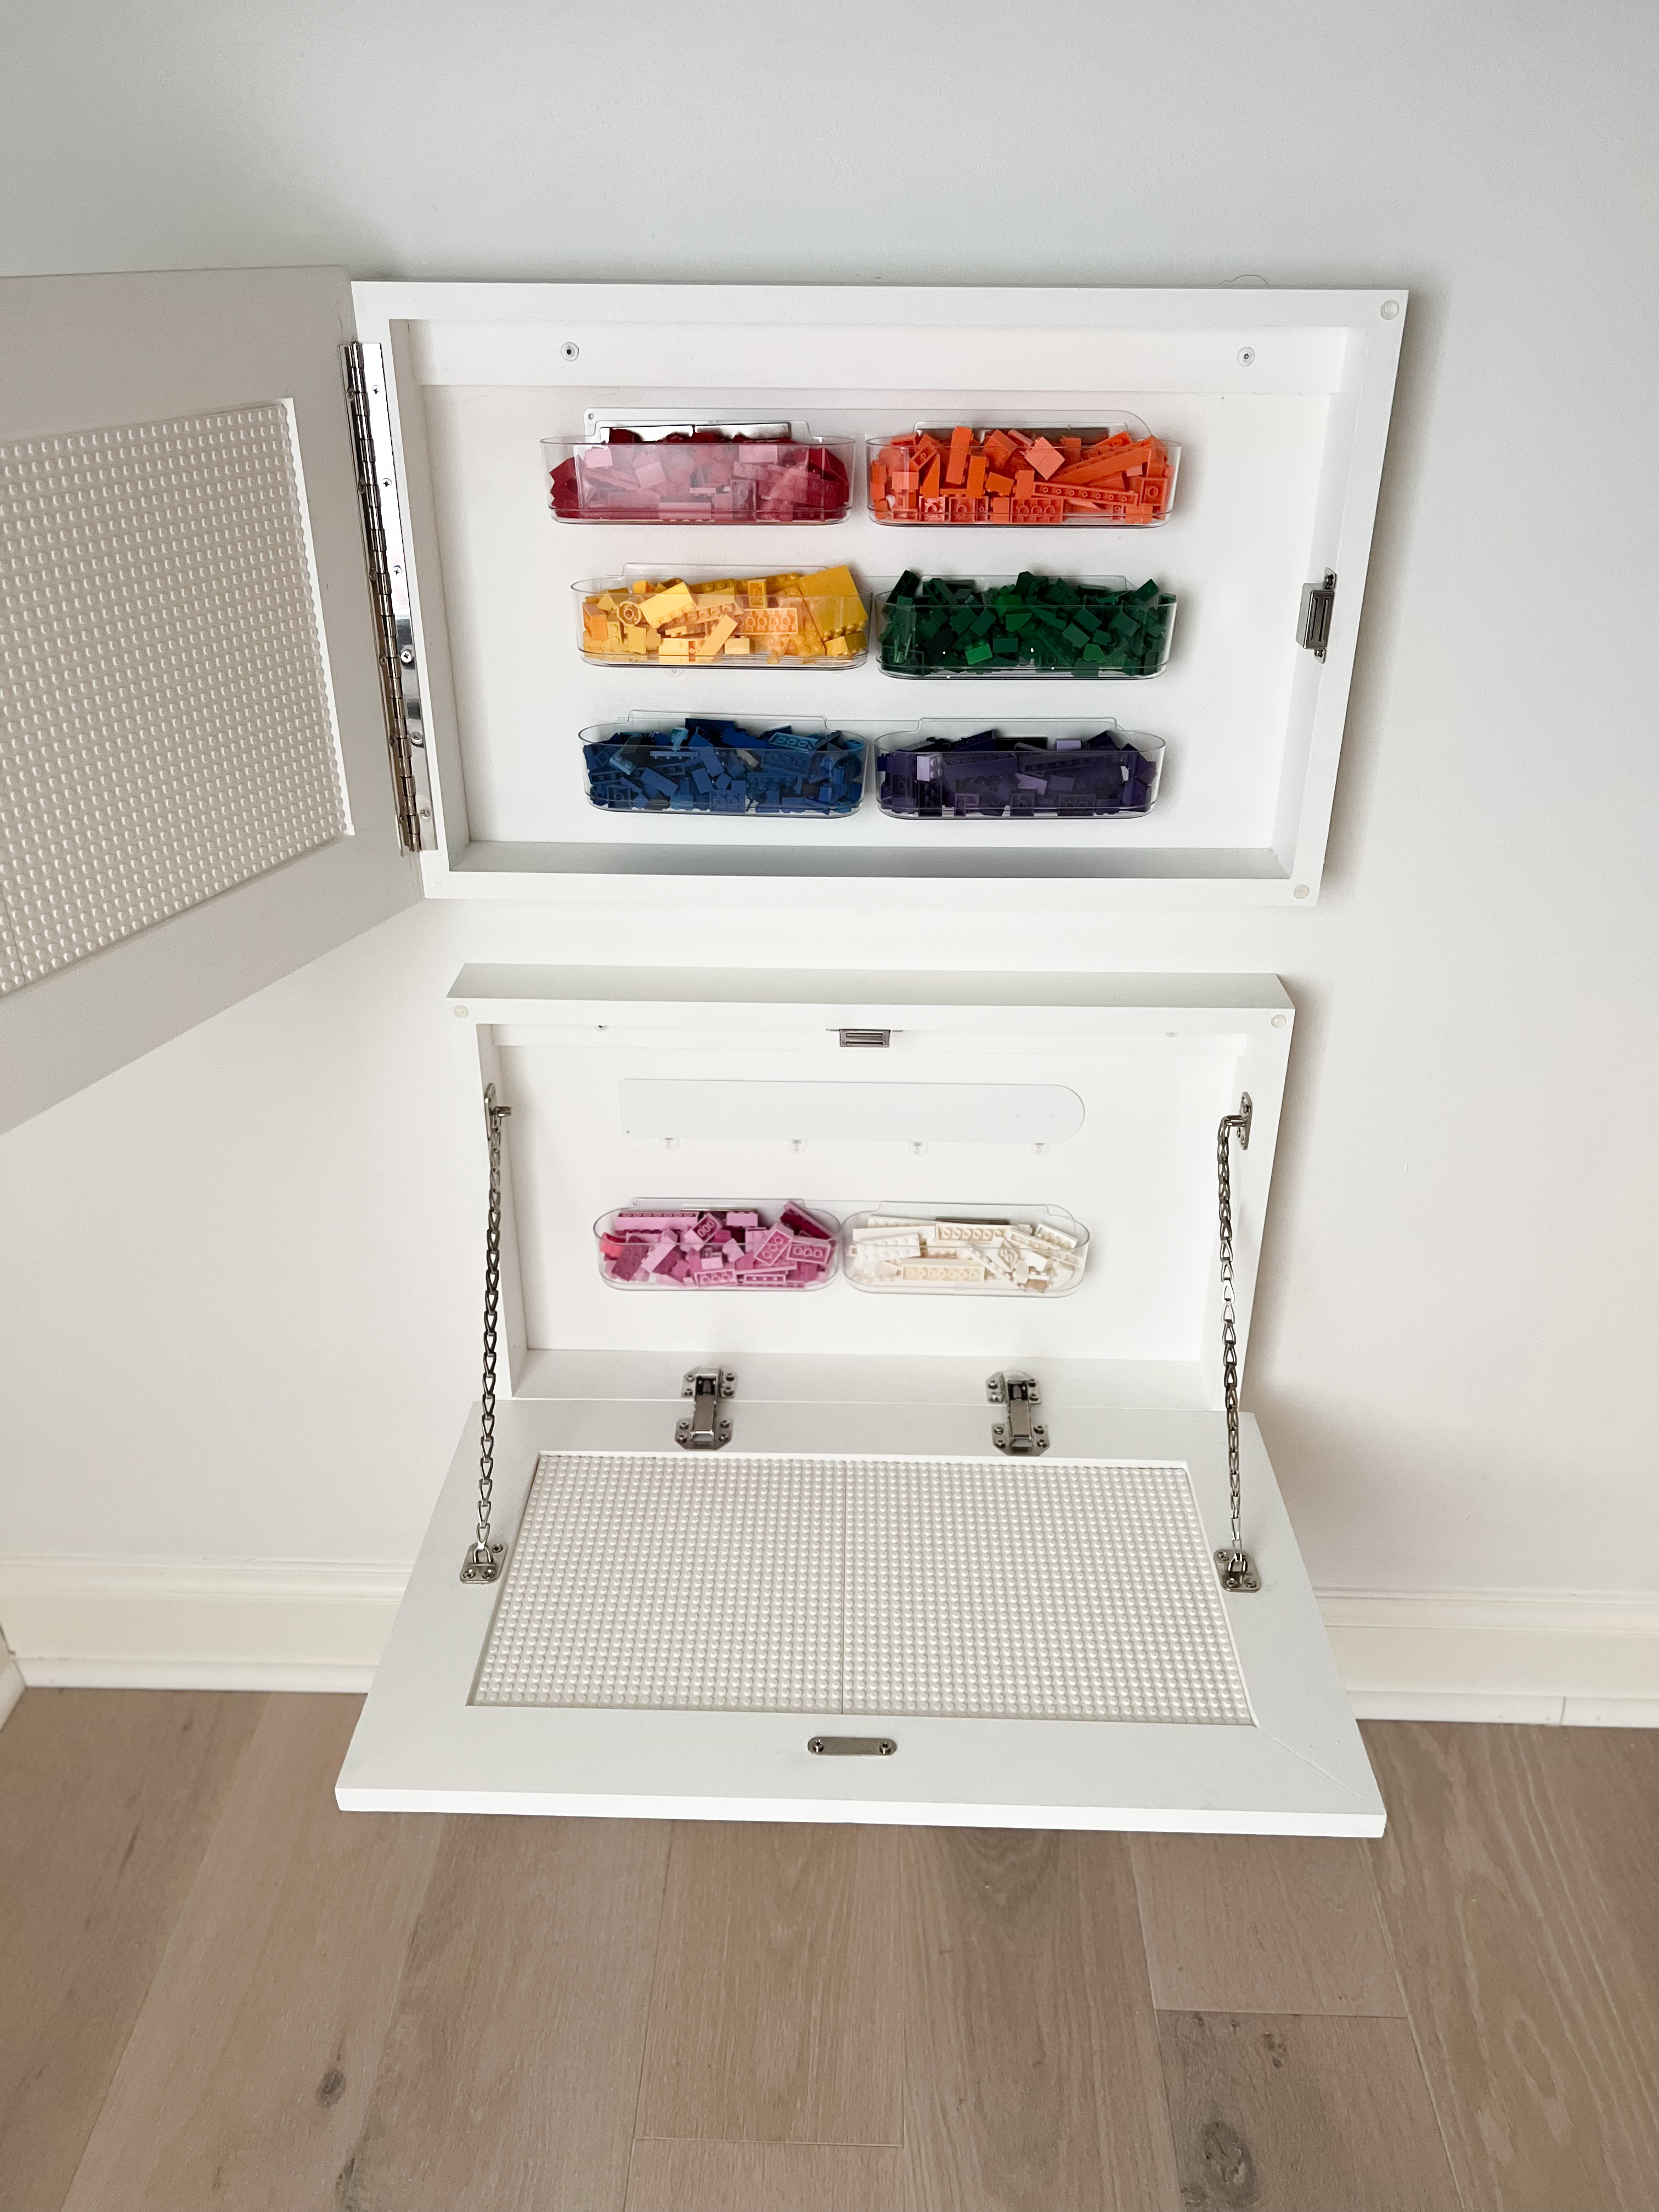
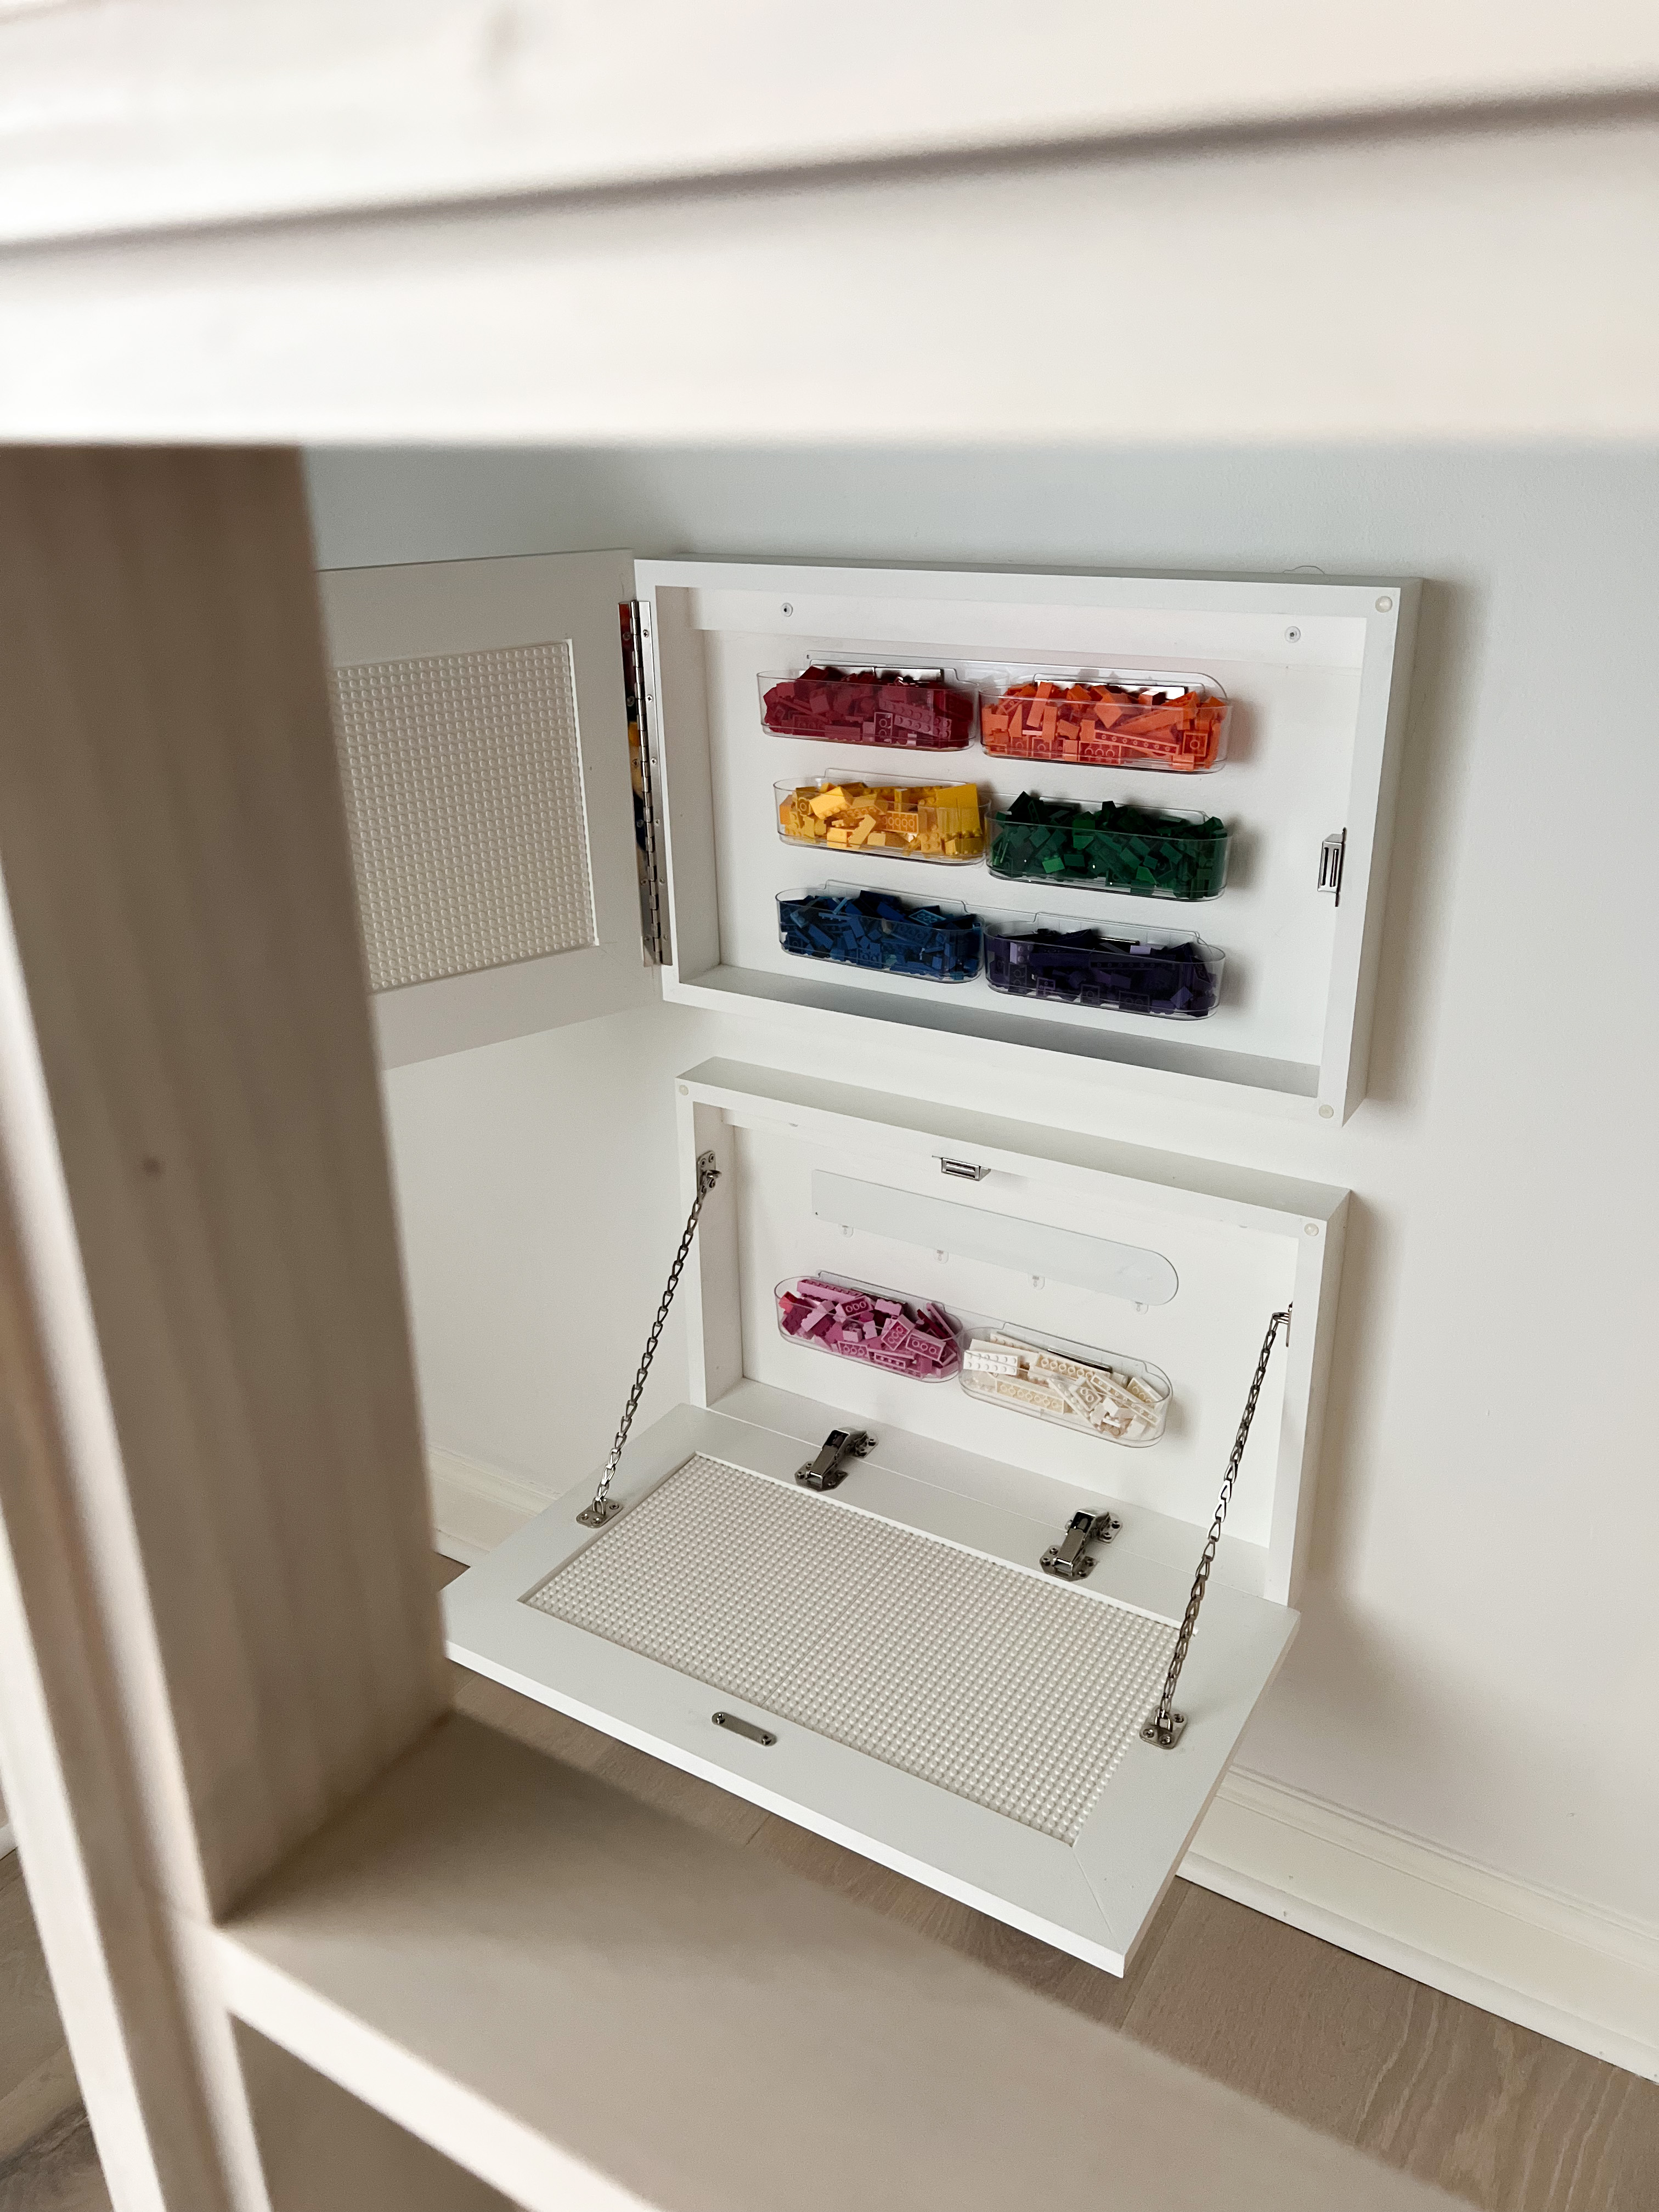
Sadly, my kids don’t play with random LEGOs as much as they used to, but they do often enough to incorporate a little LEGO table in their bunk room, so I built them some Lego cabinets.

Below is a YouTube video of how I completed these Lego cabinets. Step-by-step details and all supplies are linked below!
My goal is to make these cabinets look like frames hung on the wall – nothing related to toys.
They’ll be located underneath the loft area of the bunk beds, where the plan is to put a little TV for a gaming nook. (I know – I said I’d never put a TV in my kids’ rooms, I don’t even recognize myself anymore)
Building the Hidden LEGO Cabinets: The Doors


First, I built the front piece that will act as the cabinet door. I used my router, router table, and a 1/4″ bit to router a groove in 1×3 boards for the outside. Then I used 1/4″ plywood to fit in that groove.

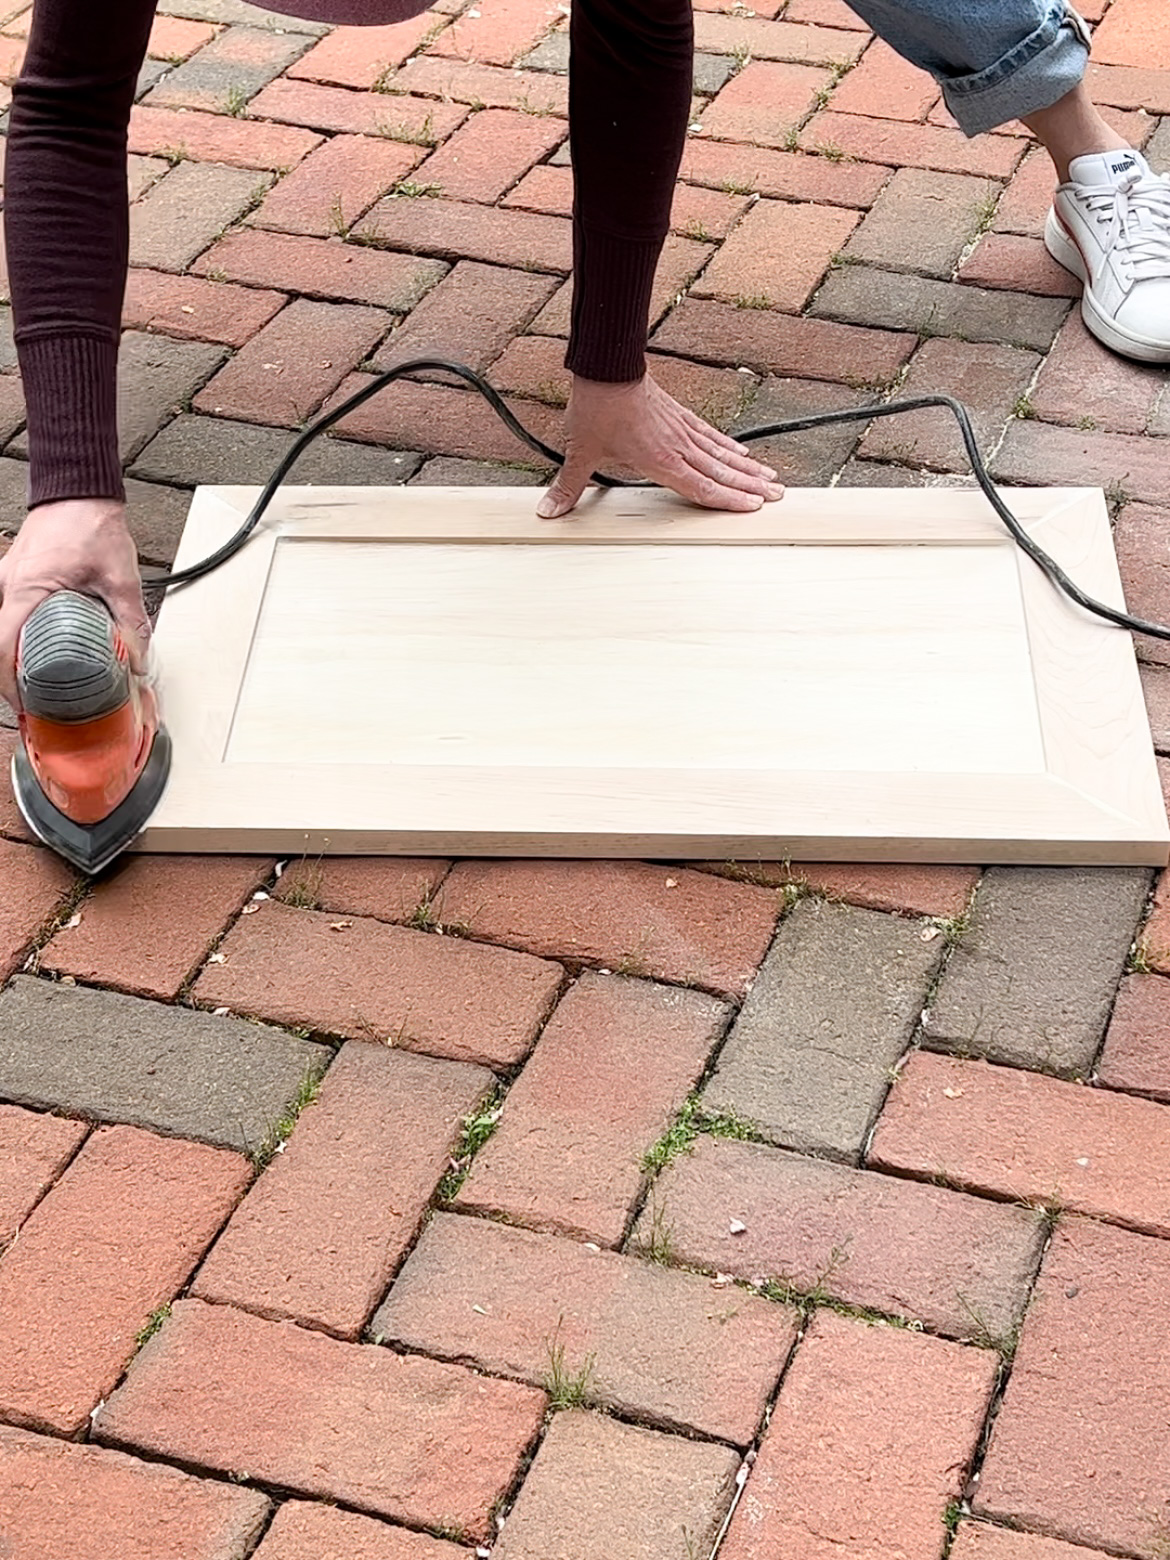
Mitered corners, caulk, wood filler, and some good sanding gave it a super smooth finish.
The Frame
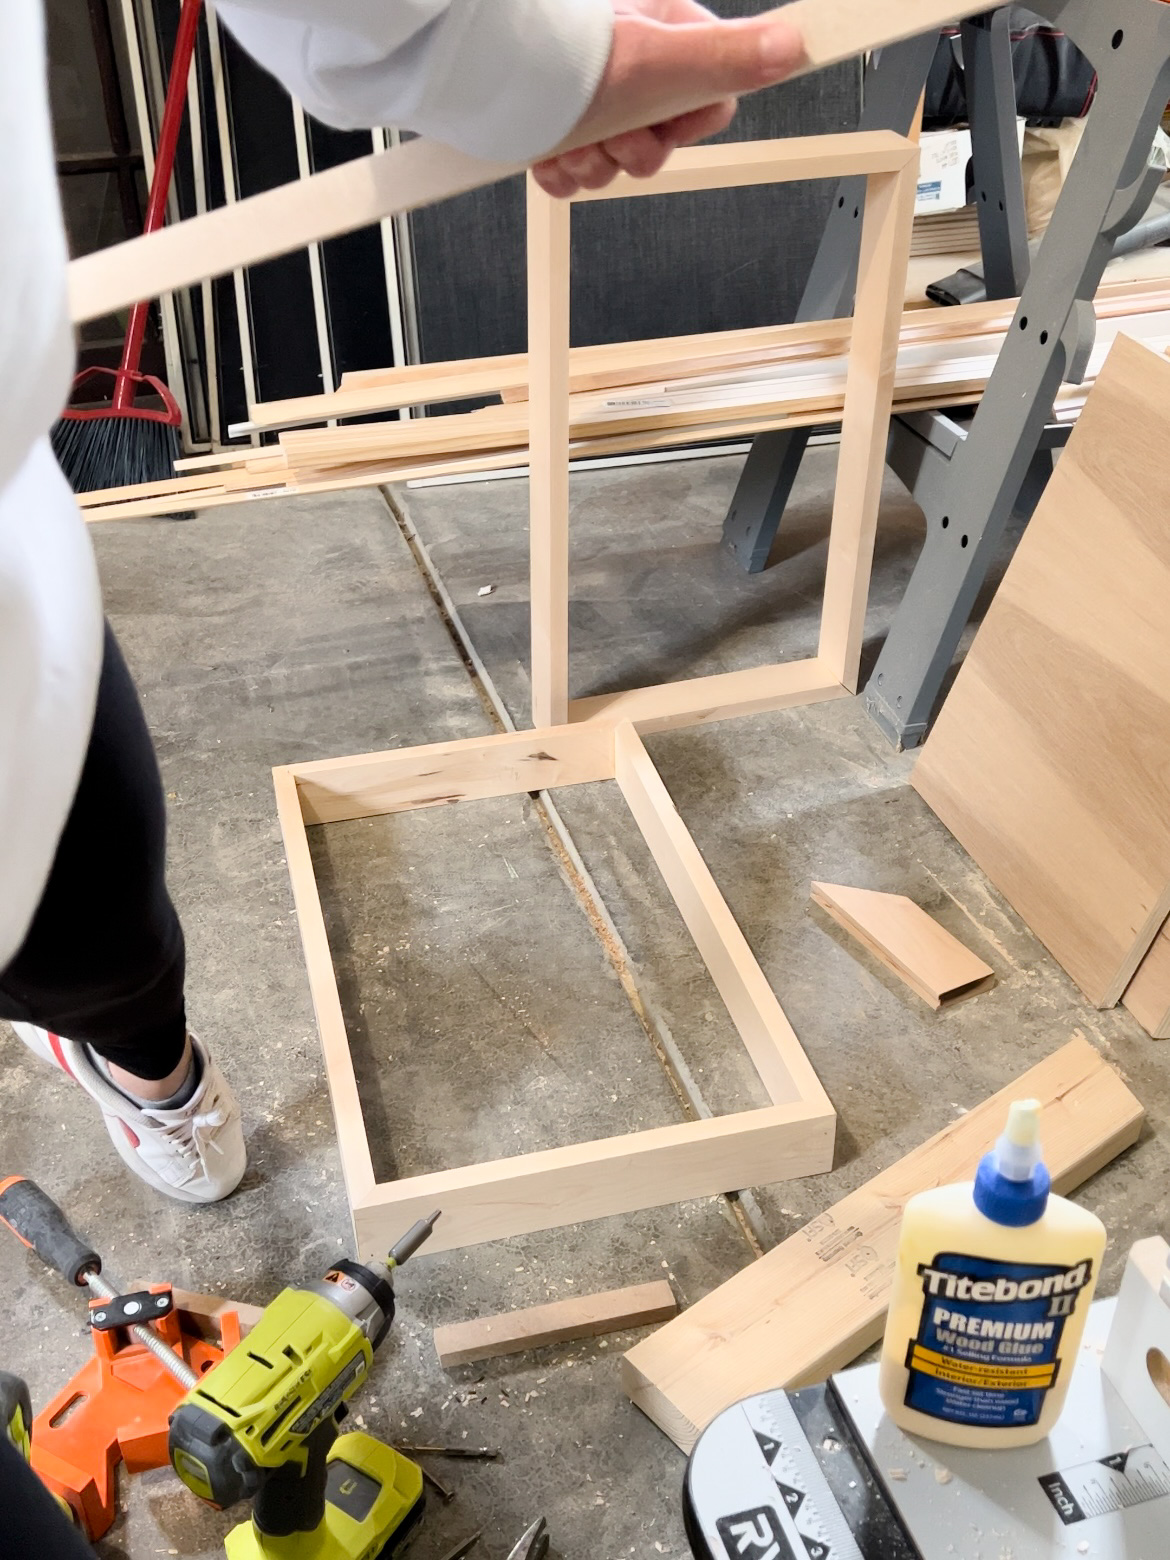
To keep the table looking like a picture frame, I needed to keep it as close to the wall as possible. I used 1×3 boards to create my cabinet “frame”, and added a 1×2 across the top of each frame.
Using glue, I made sure the 1×2 was secured well since this is the board I’m using to screw the frame into the studs in the wall.


Paint
I painted the door and frame “Simply White”, by Benjamin Moore. This is the same color as the walls in the room, which will help the LEGO cabinet look like it’s taking up less space.

Hardware
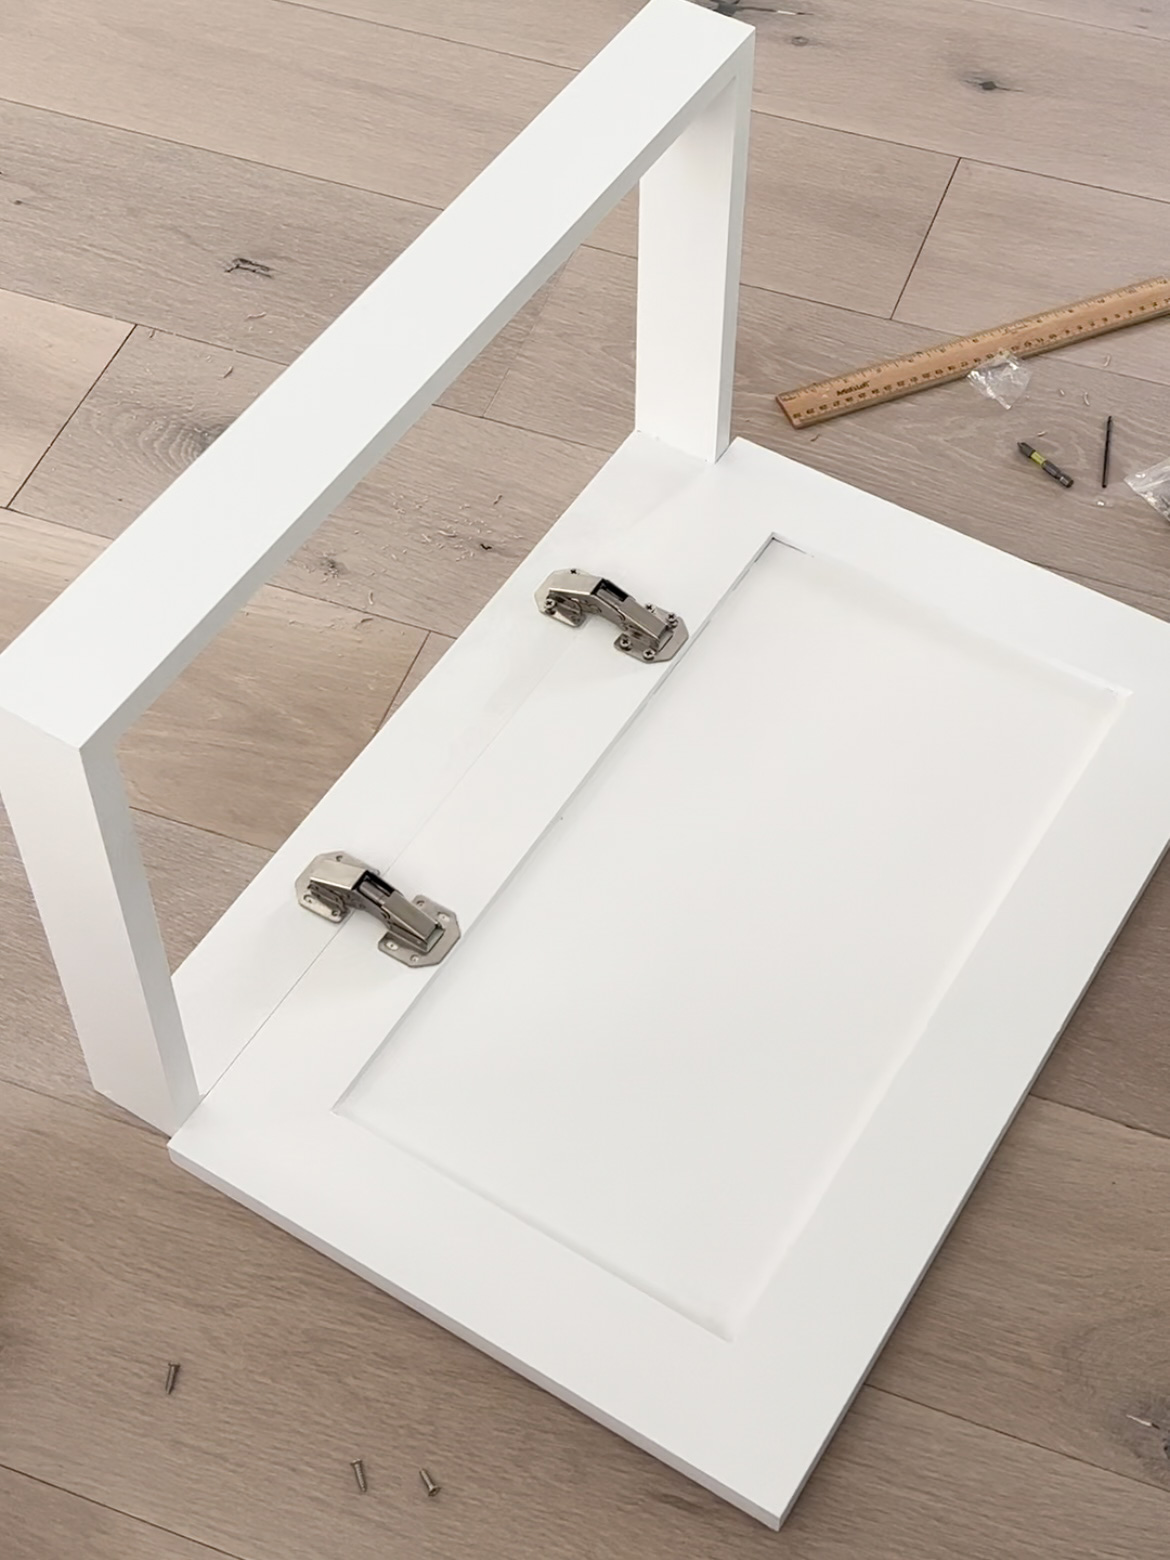
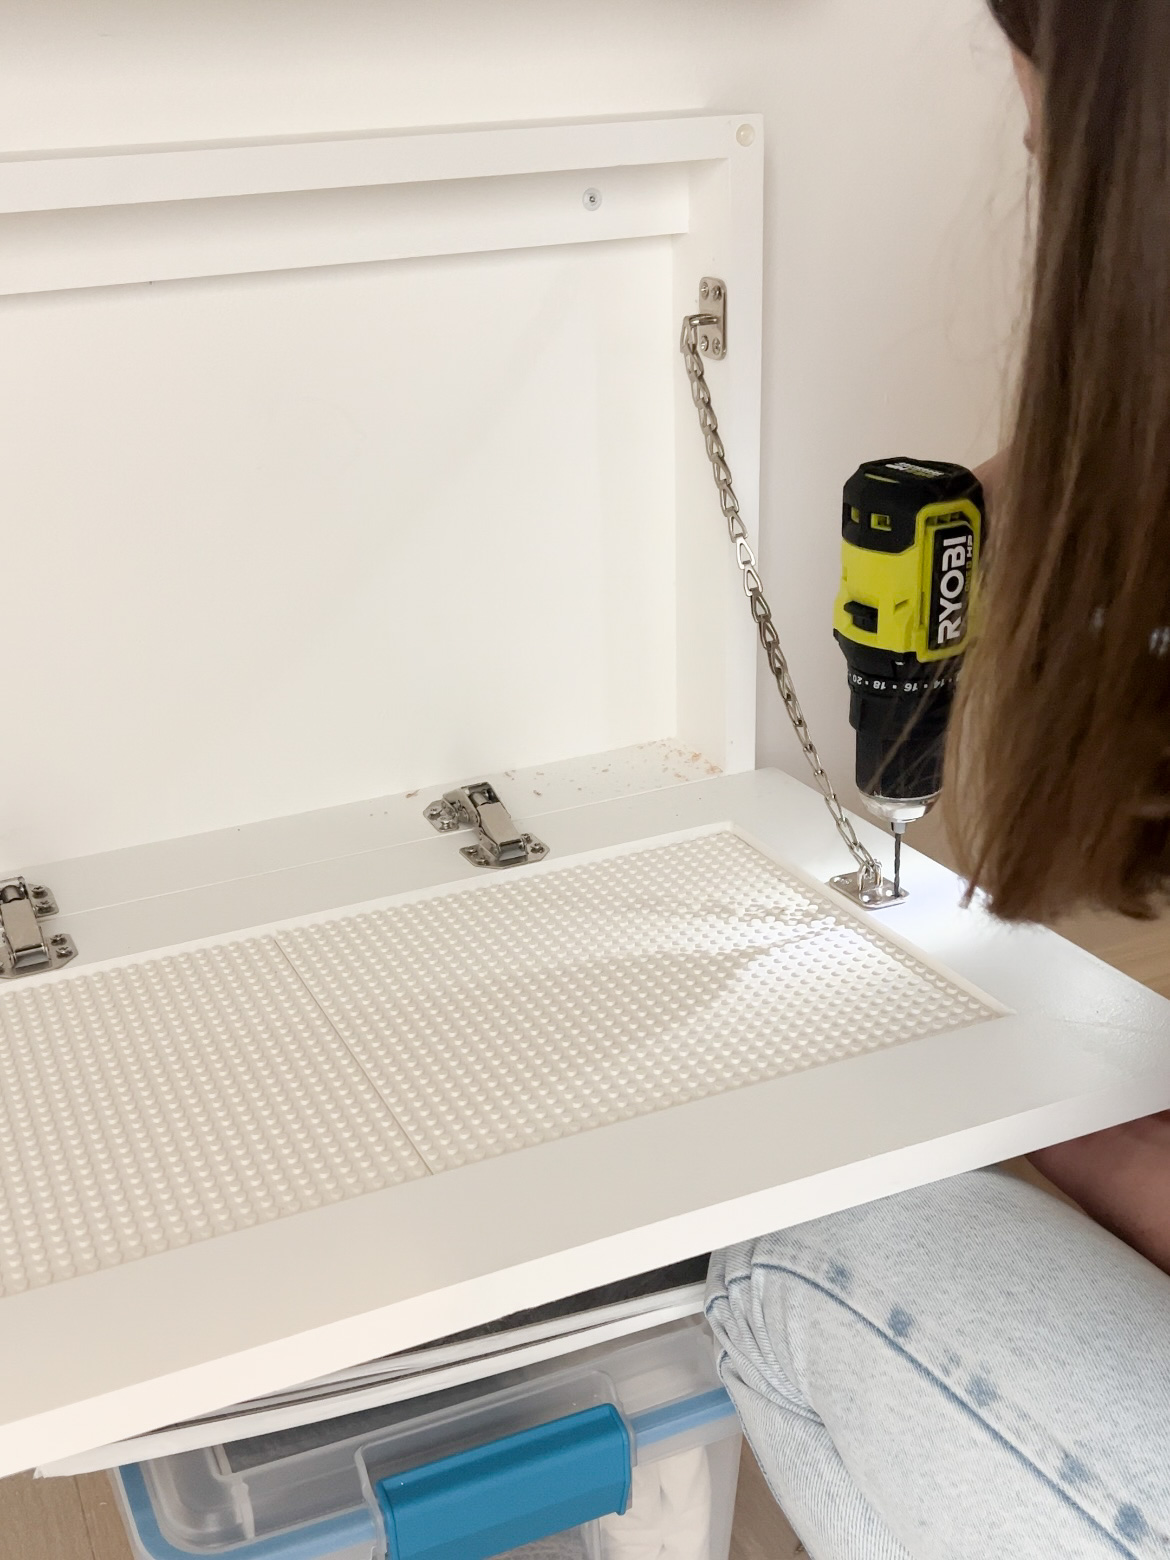
The hardware for this gave me the biggest headache. I found hinges that worked well, and I landed on using a chain to keep the table weight off of those hinges. I wanted to find something a little less visible, but everything I tried prior was a bust.
Note: Installing the hinges before mounting the cabinets on the wall was a huge help!
The LEGO Stuff
I used LEGO base plates to turn the inside of the cabinet door into a mini LEGO table. The original plan was to make the door twice this size, but with kids leaning on it, I didn’t think I’d be able to find a chain strong enough!
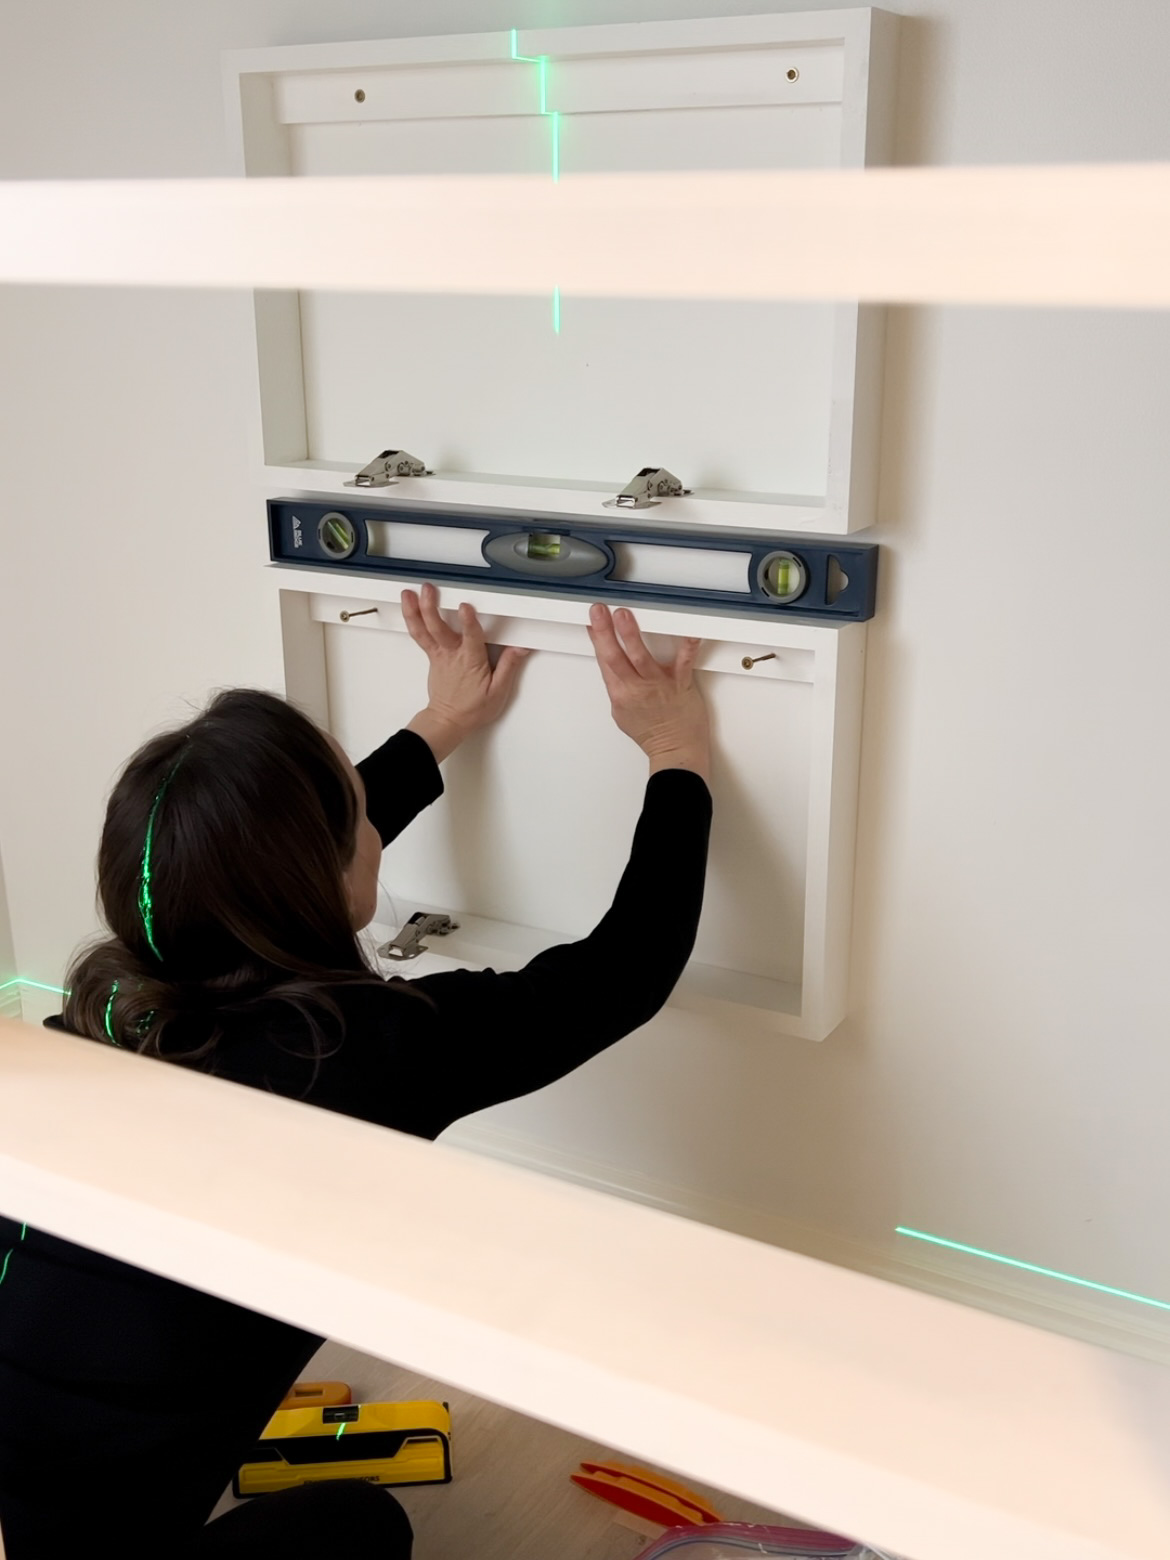
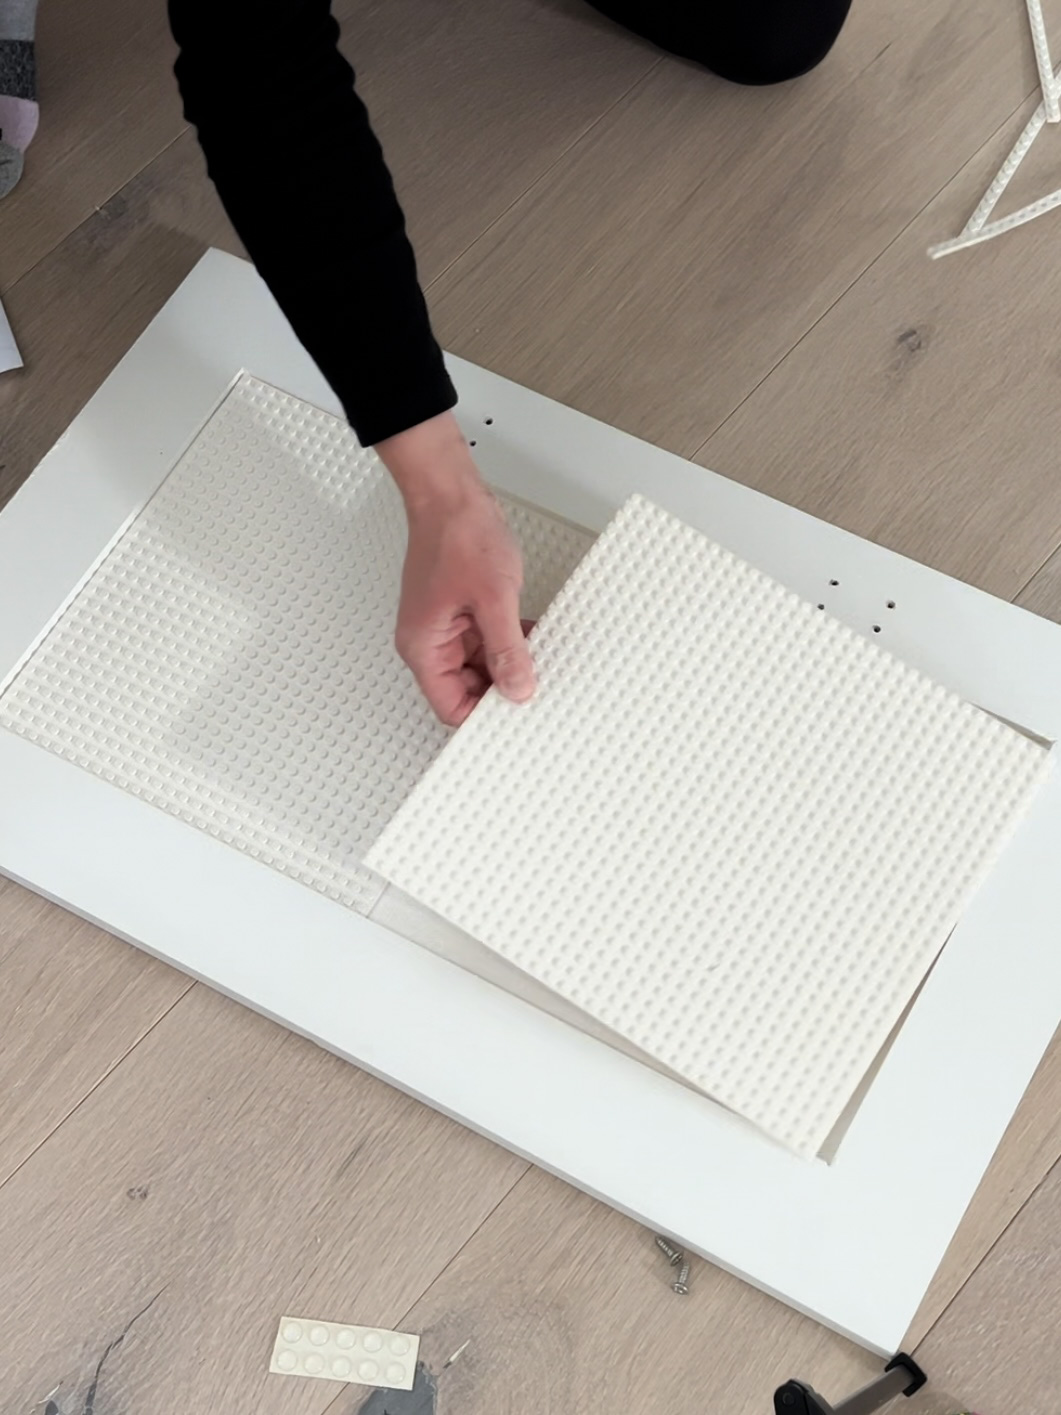
The 1×3 boards I used in the frame gave me about 2.5″ to work with for the actual LEGO storage. I ended up finding little command hook containers that fit inside. They come with adhesive, but it rips off paint and drywall…. don’t ask me how I know that.


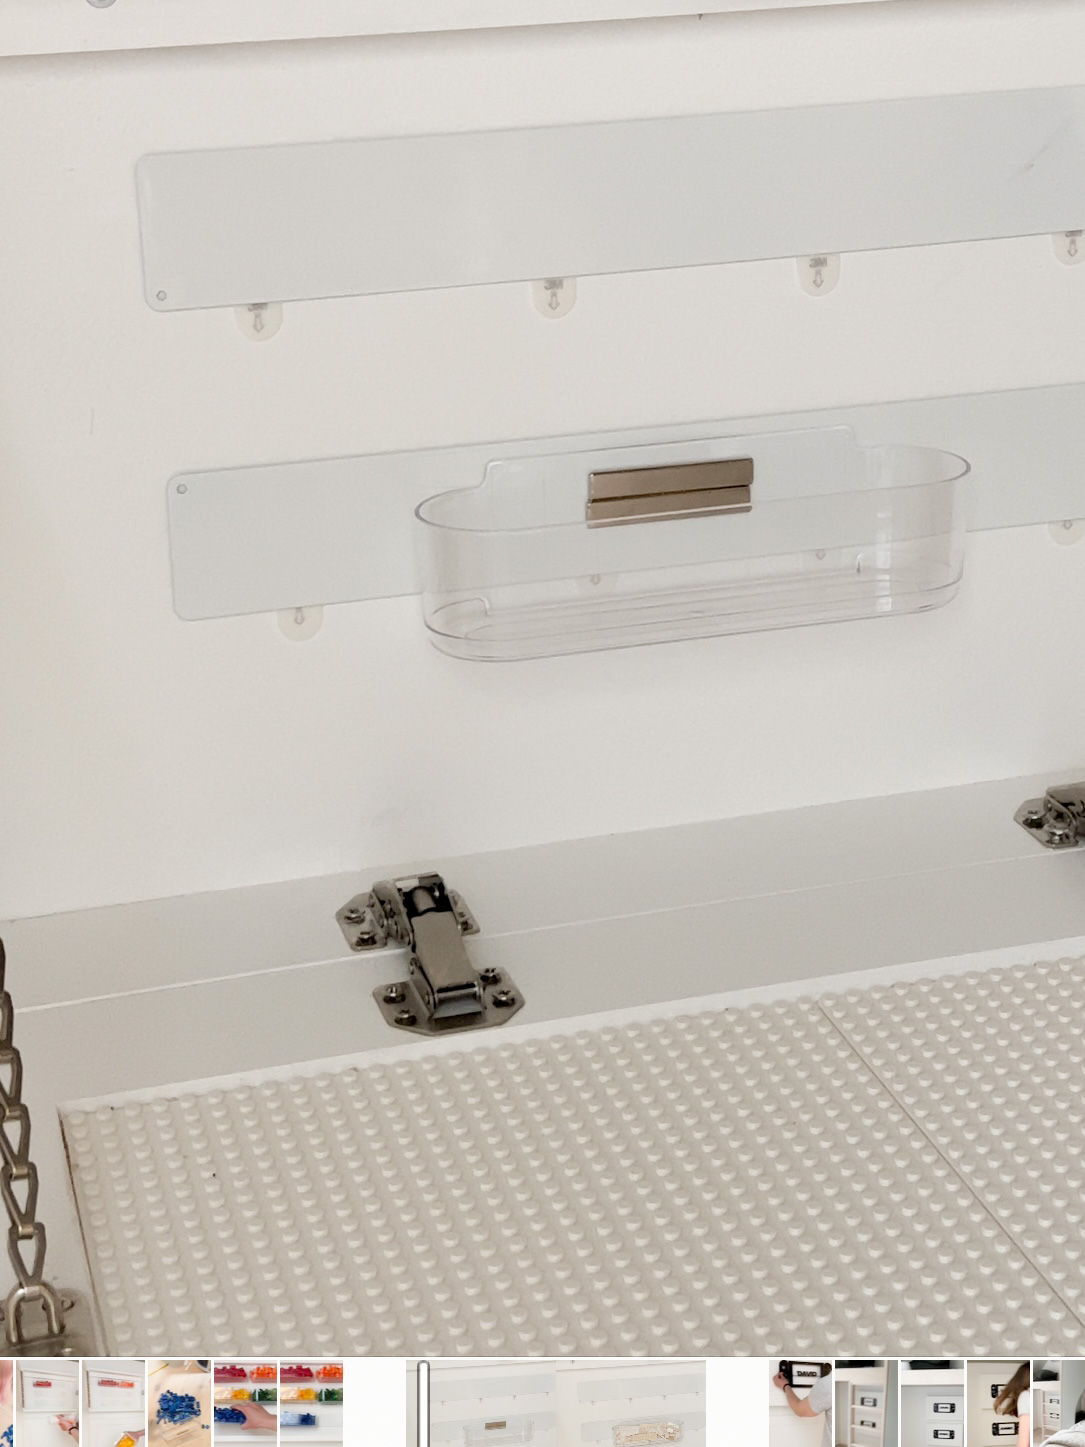
Instead of using the adhesive strips, I attached magnetic strips to the wall with the damage-free command strips. I then added magnets to the inside of the little containers, attaching them with Krazy glue. It took at least two magnets for each one to make them strong enough to bond through the plastic.
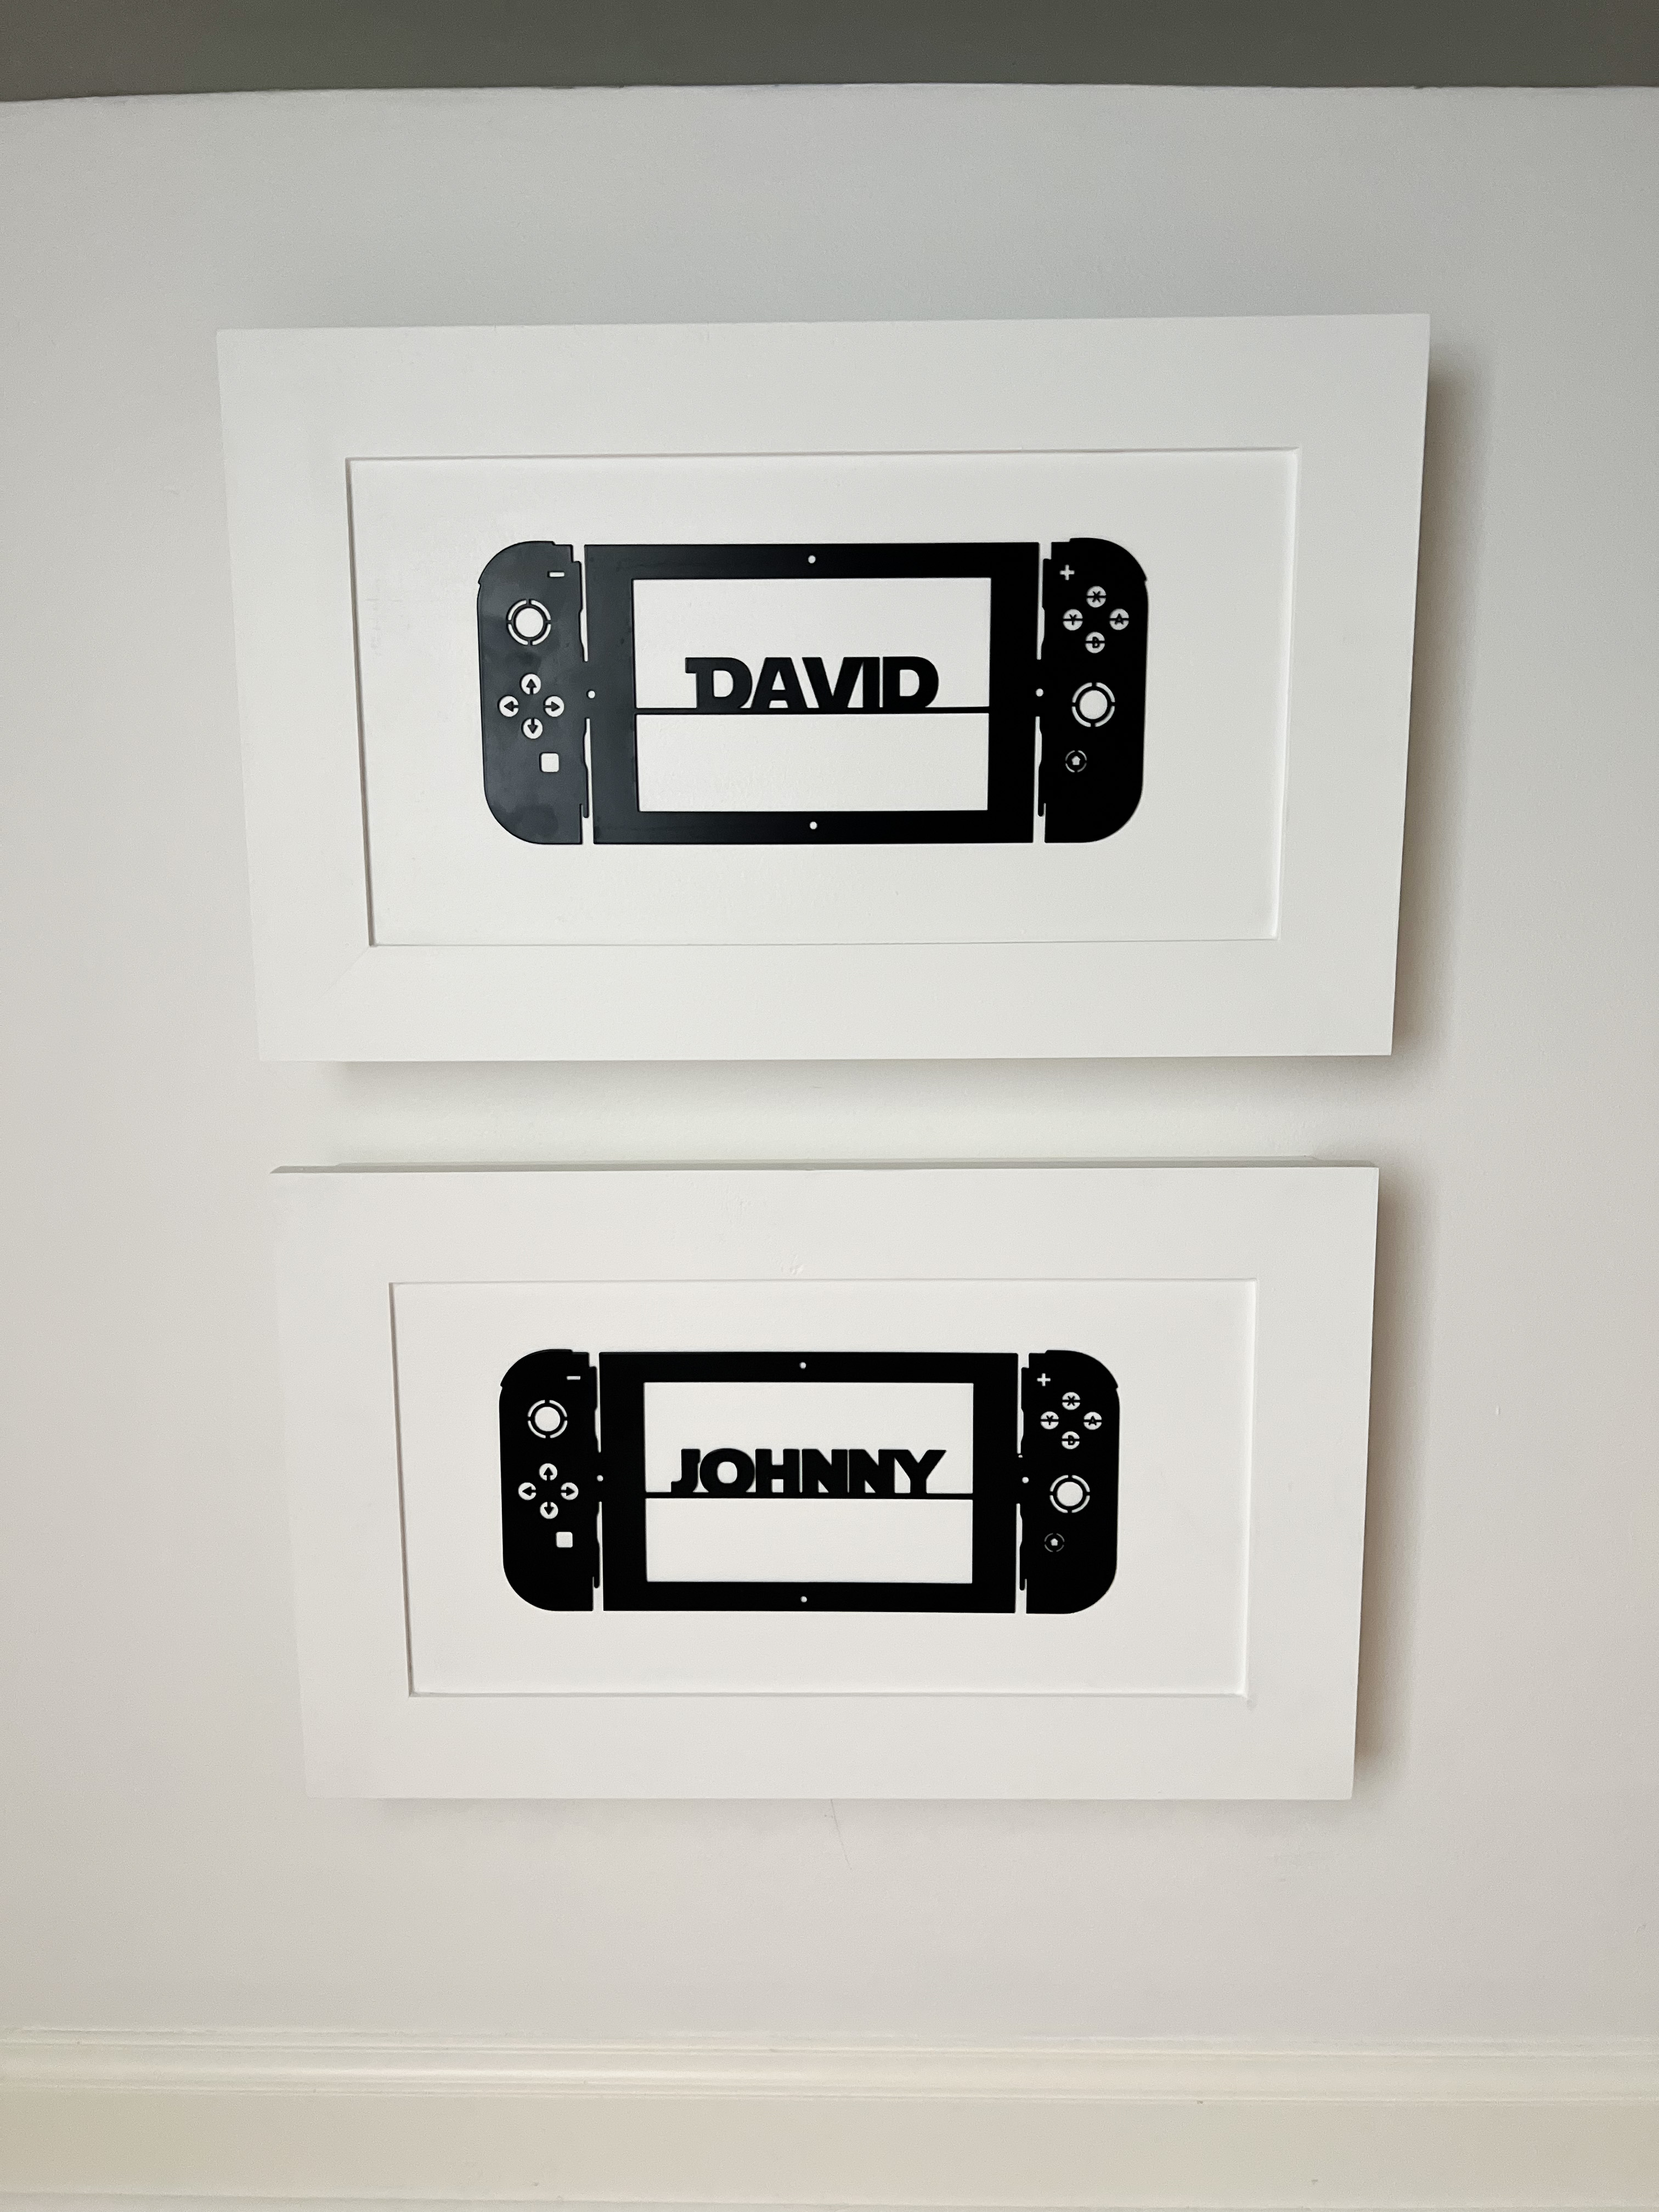
I found the cutest personalized signs to put on each cabinet, although they share them based on who wants to build vertically or horizontally.
Closures
The last thing I did was attach these magnetic cabinet latches to keep the cabinets closed when not in use. I love how functional and hidden they are!
Hidden LEGO Cabinet Supplies:
Chains
Hinges
Command Hook Containers
Cabinet Latch
Magnetic Strips
Bar Magnets
Want a Larger Lego Table?
More Family Favorites (for parents!)
Family Calendar using the Skylight App
Tips for Road Tripping with Kids
Family Organization Binder
Post may contain affiliate links, disclosure linked here.
