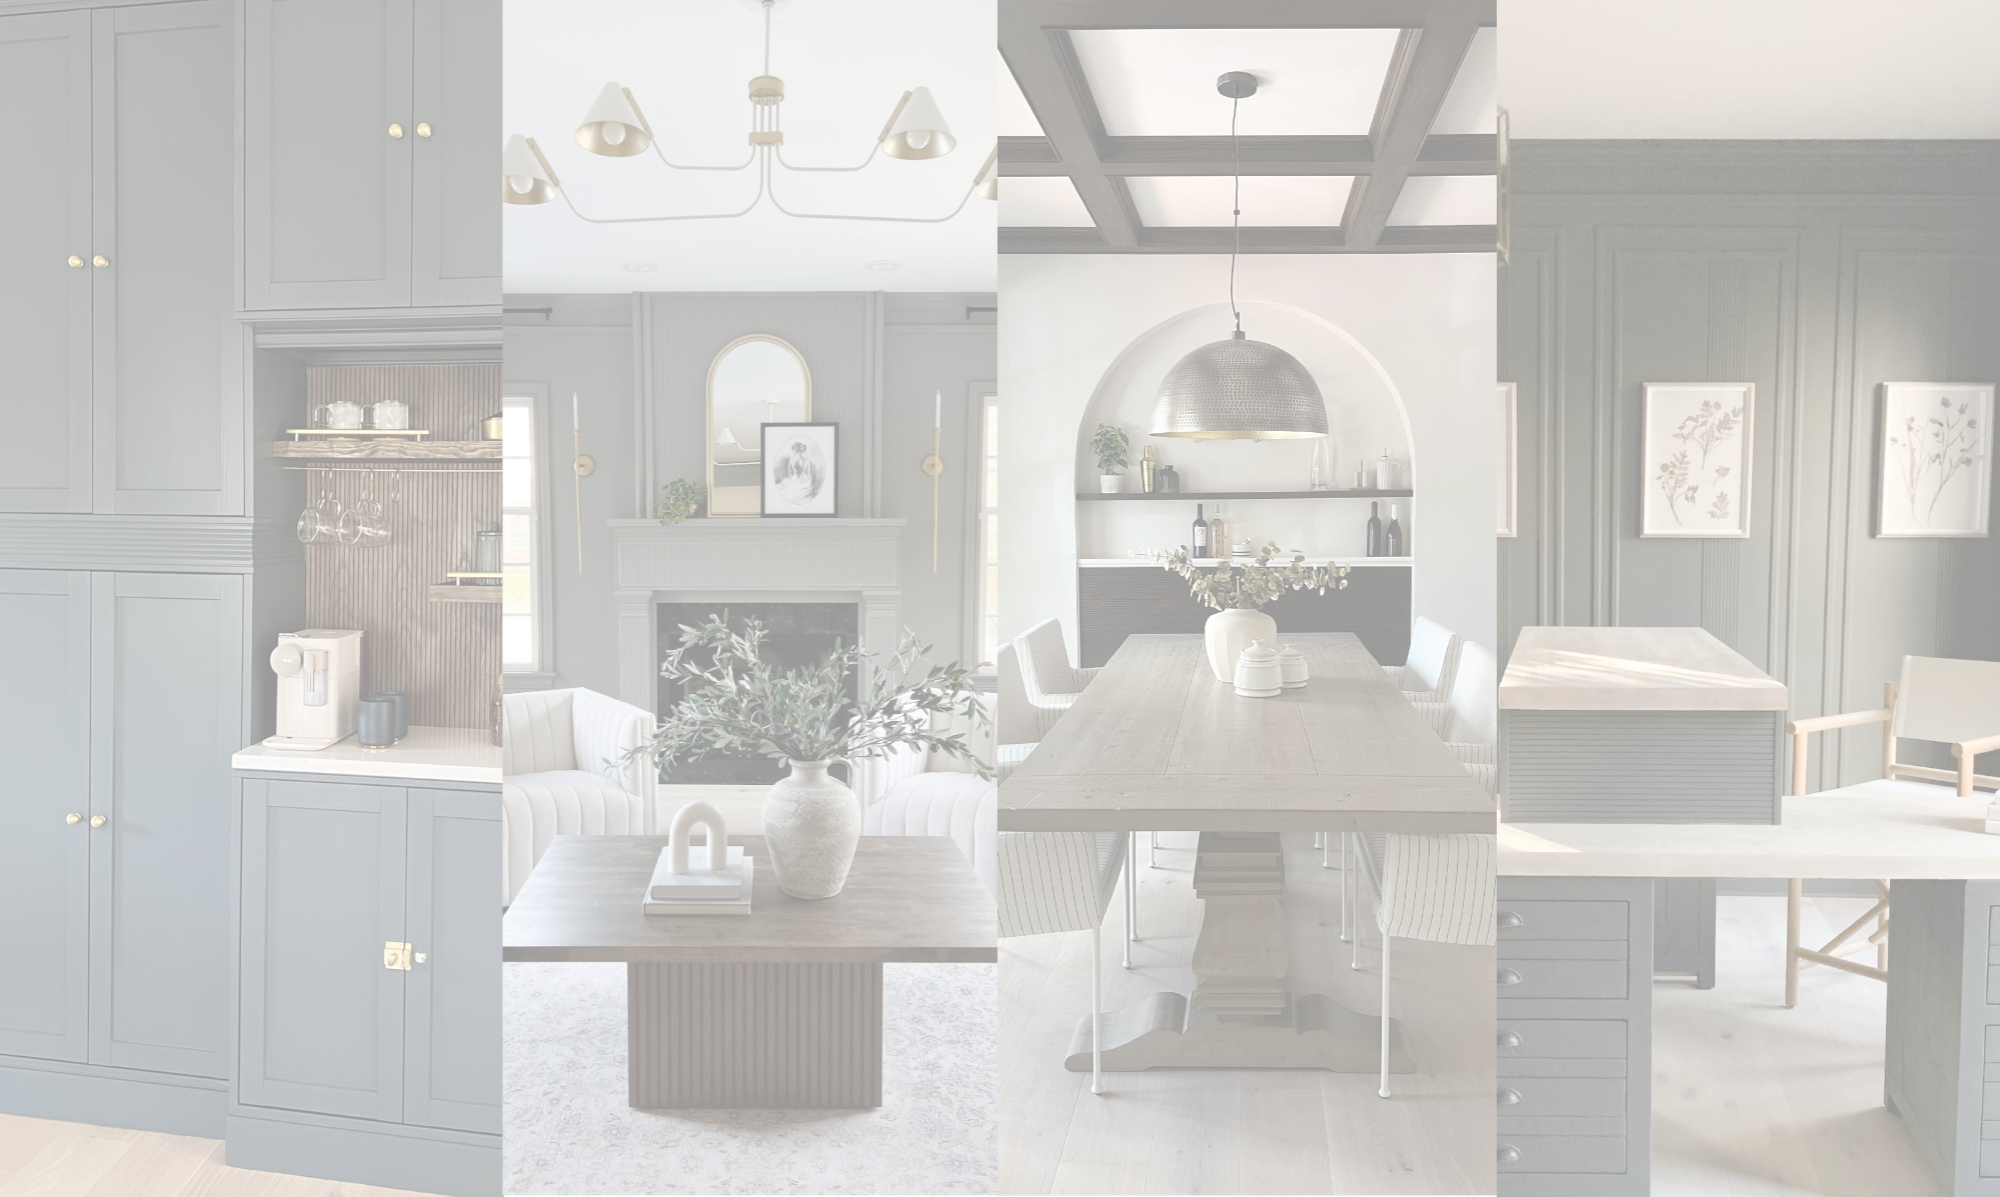
I know you probably thought you saw the last of the cane from me after our DIY cane headboard. What do you do when you accidentally buy almost double the amount of cane fabric that you need?? Find another similar-sized spot to use up the rest!
We have been dreaming of a sliding door in our home since we moved in three years ago. I LOVE sliding doors. They add a TON of character to a space, without a huge cost or commitment. In most cases, they achieve the same effect as an accent wall. The reason we took so long to take the leap is two-fold. The first issue is that we have very few options where one could go. Most of the obvious doorways seemed to be flanked by walls much too small. The second issue is that we couldn’t decide on the right style. The options out there are legit never-ending.
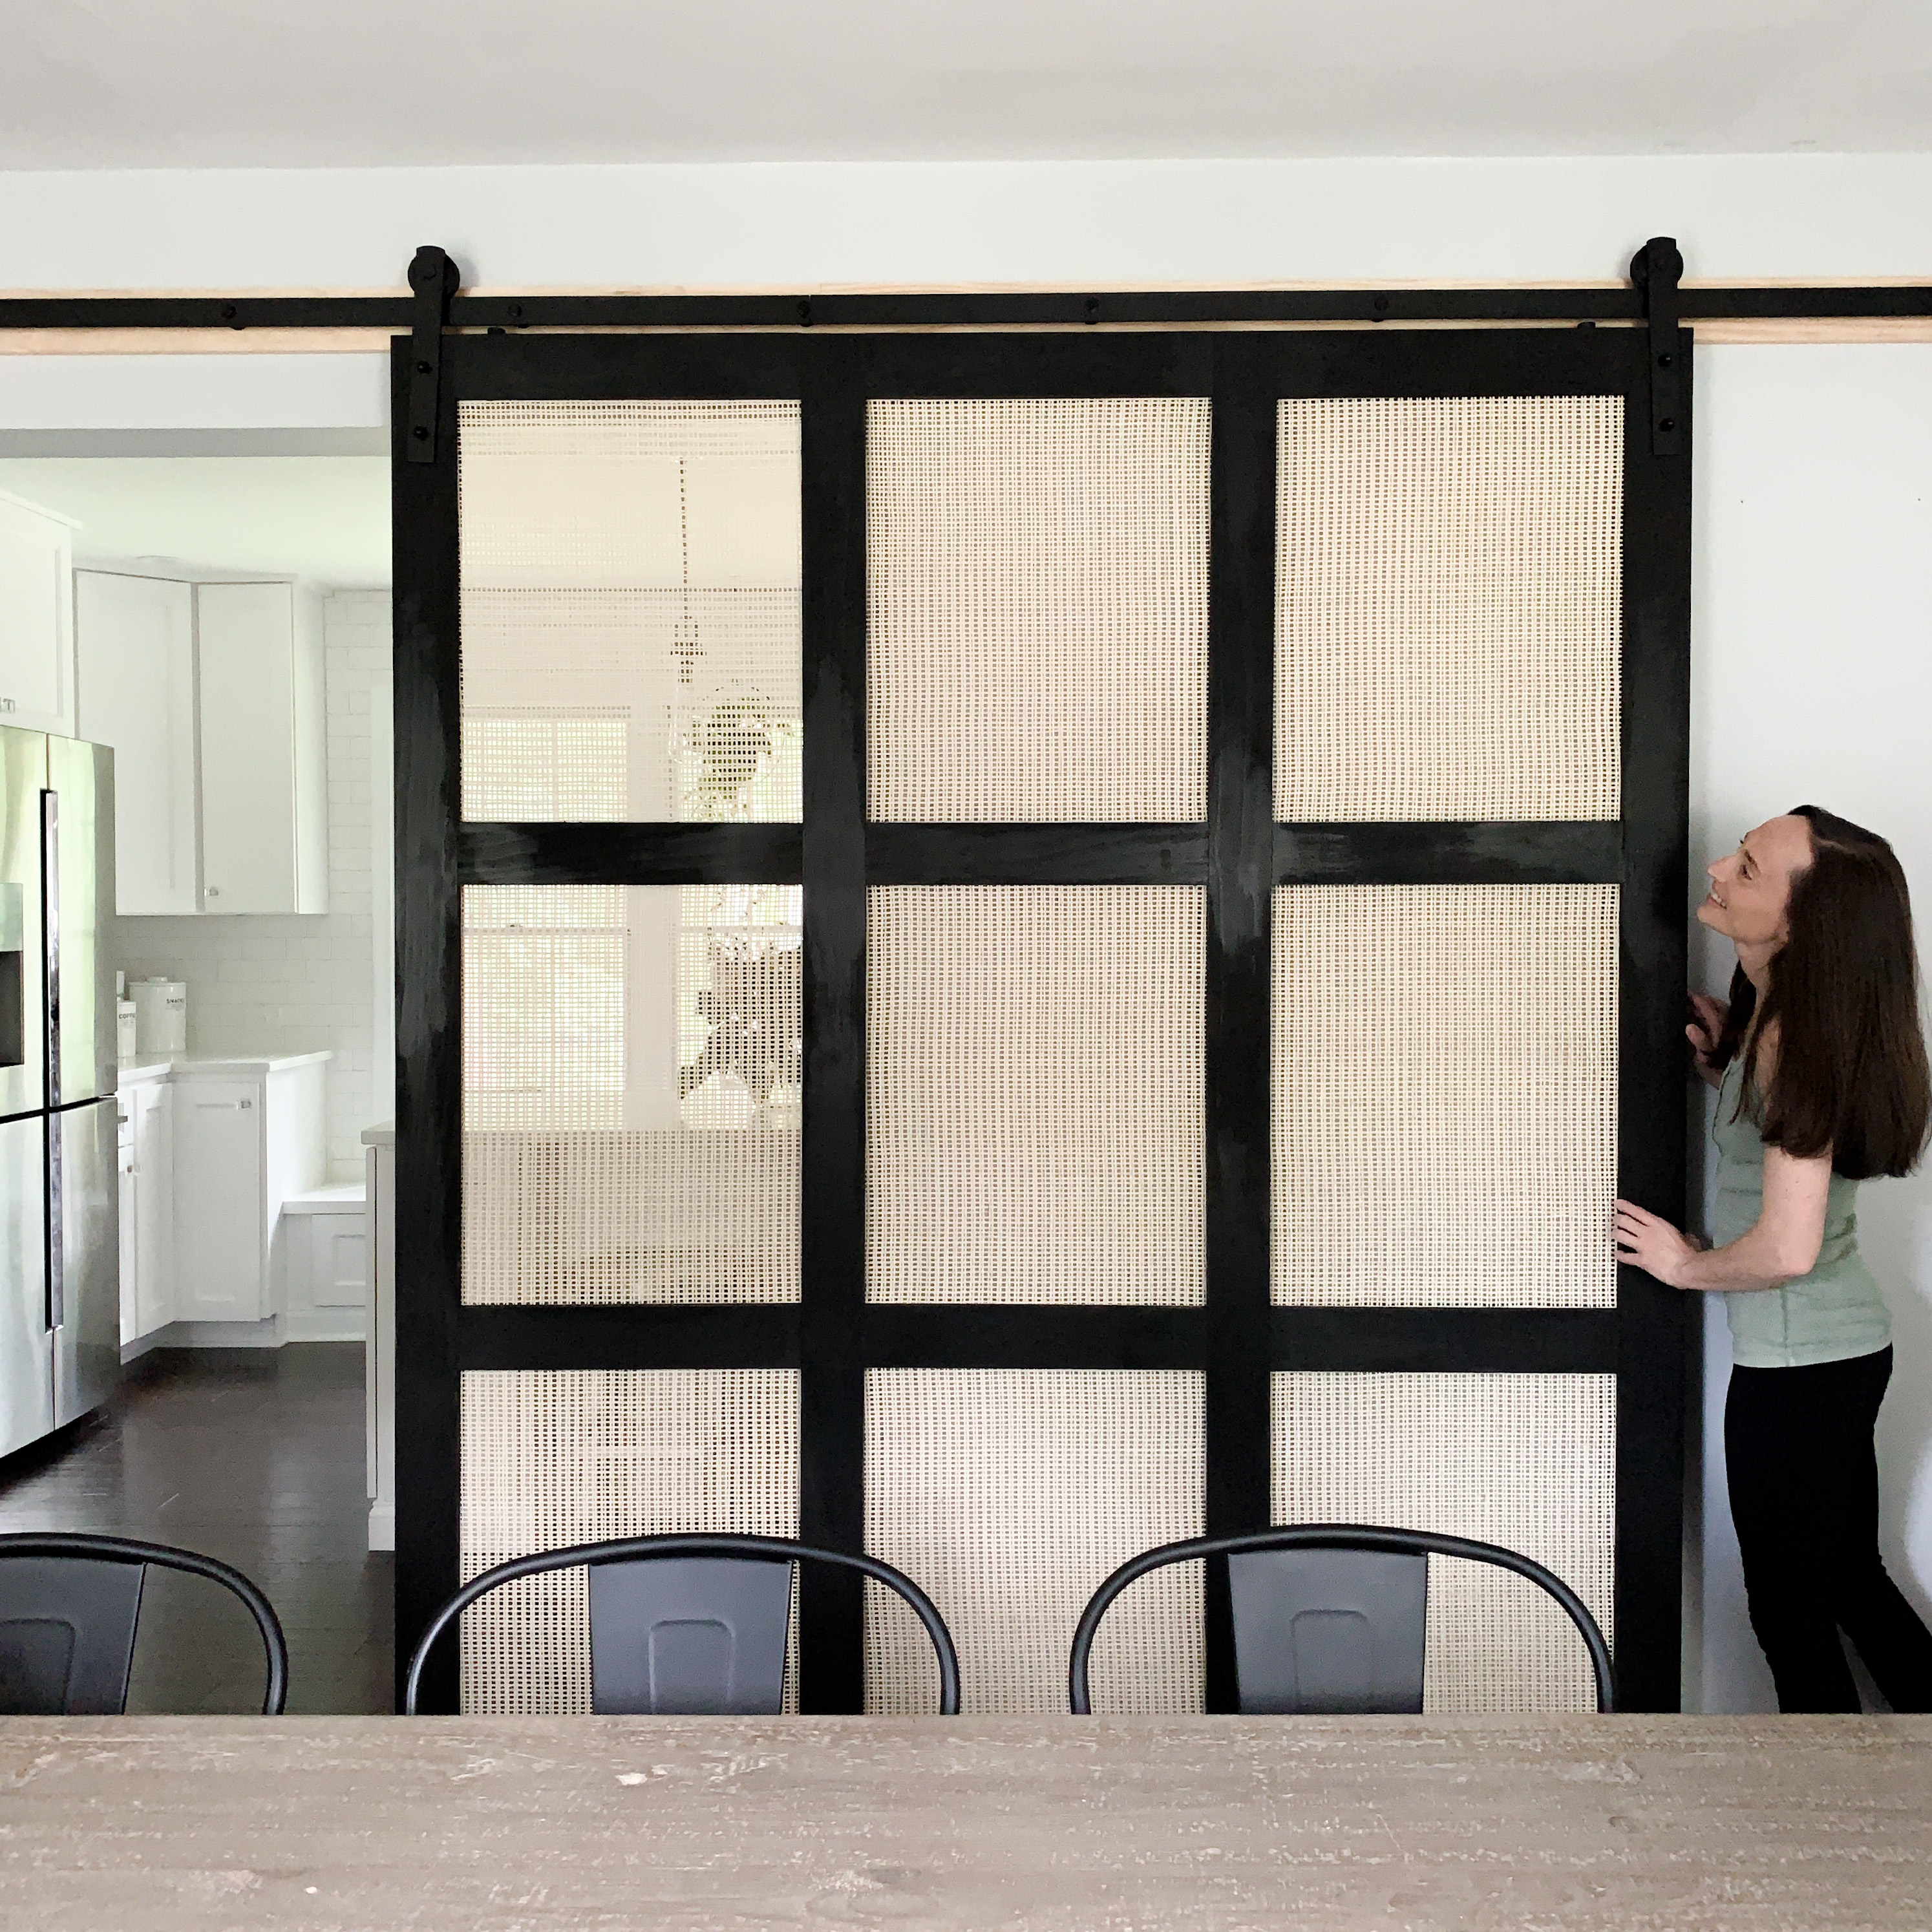
The moment I started working on our cane headboard, I couldn’t get the idea out of my head that we should try doing it for our sliding door. The goal being to carry the cane element to another part of the house to make the overall feel of our home more cohesive. The other huge plus? Dressing up a boring wall we hate with a cool looking feature. This wall was supposed to be taken down. We were promised by our contractor when we bought the house, but that promise went unfulfilled. Ever since then, we’ve been trying to find a way to make it more tolerable.
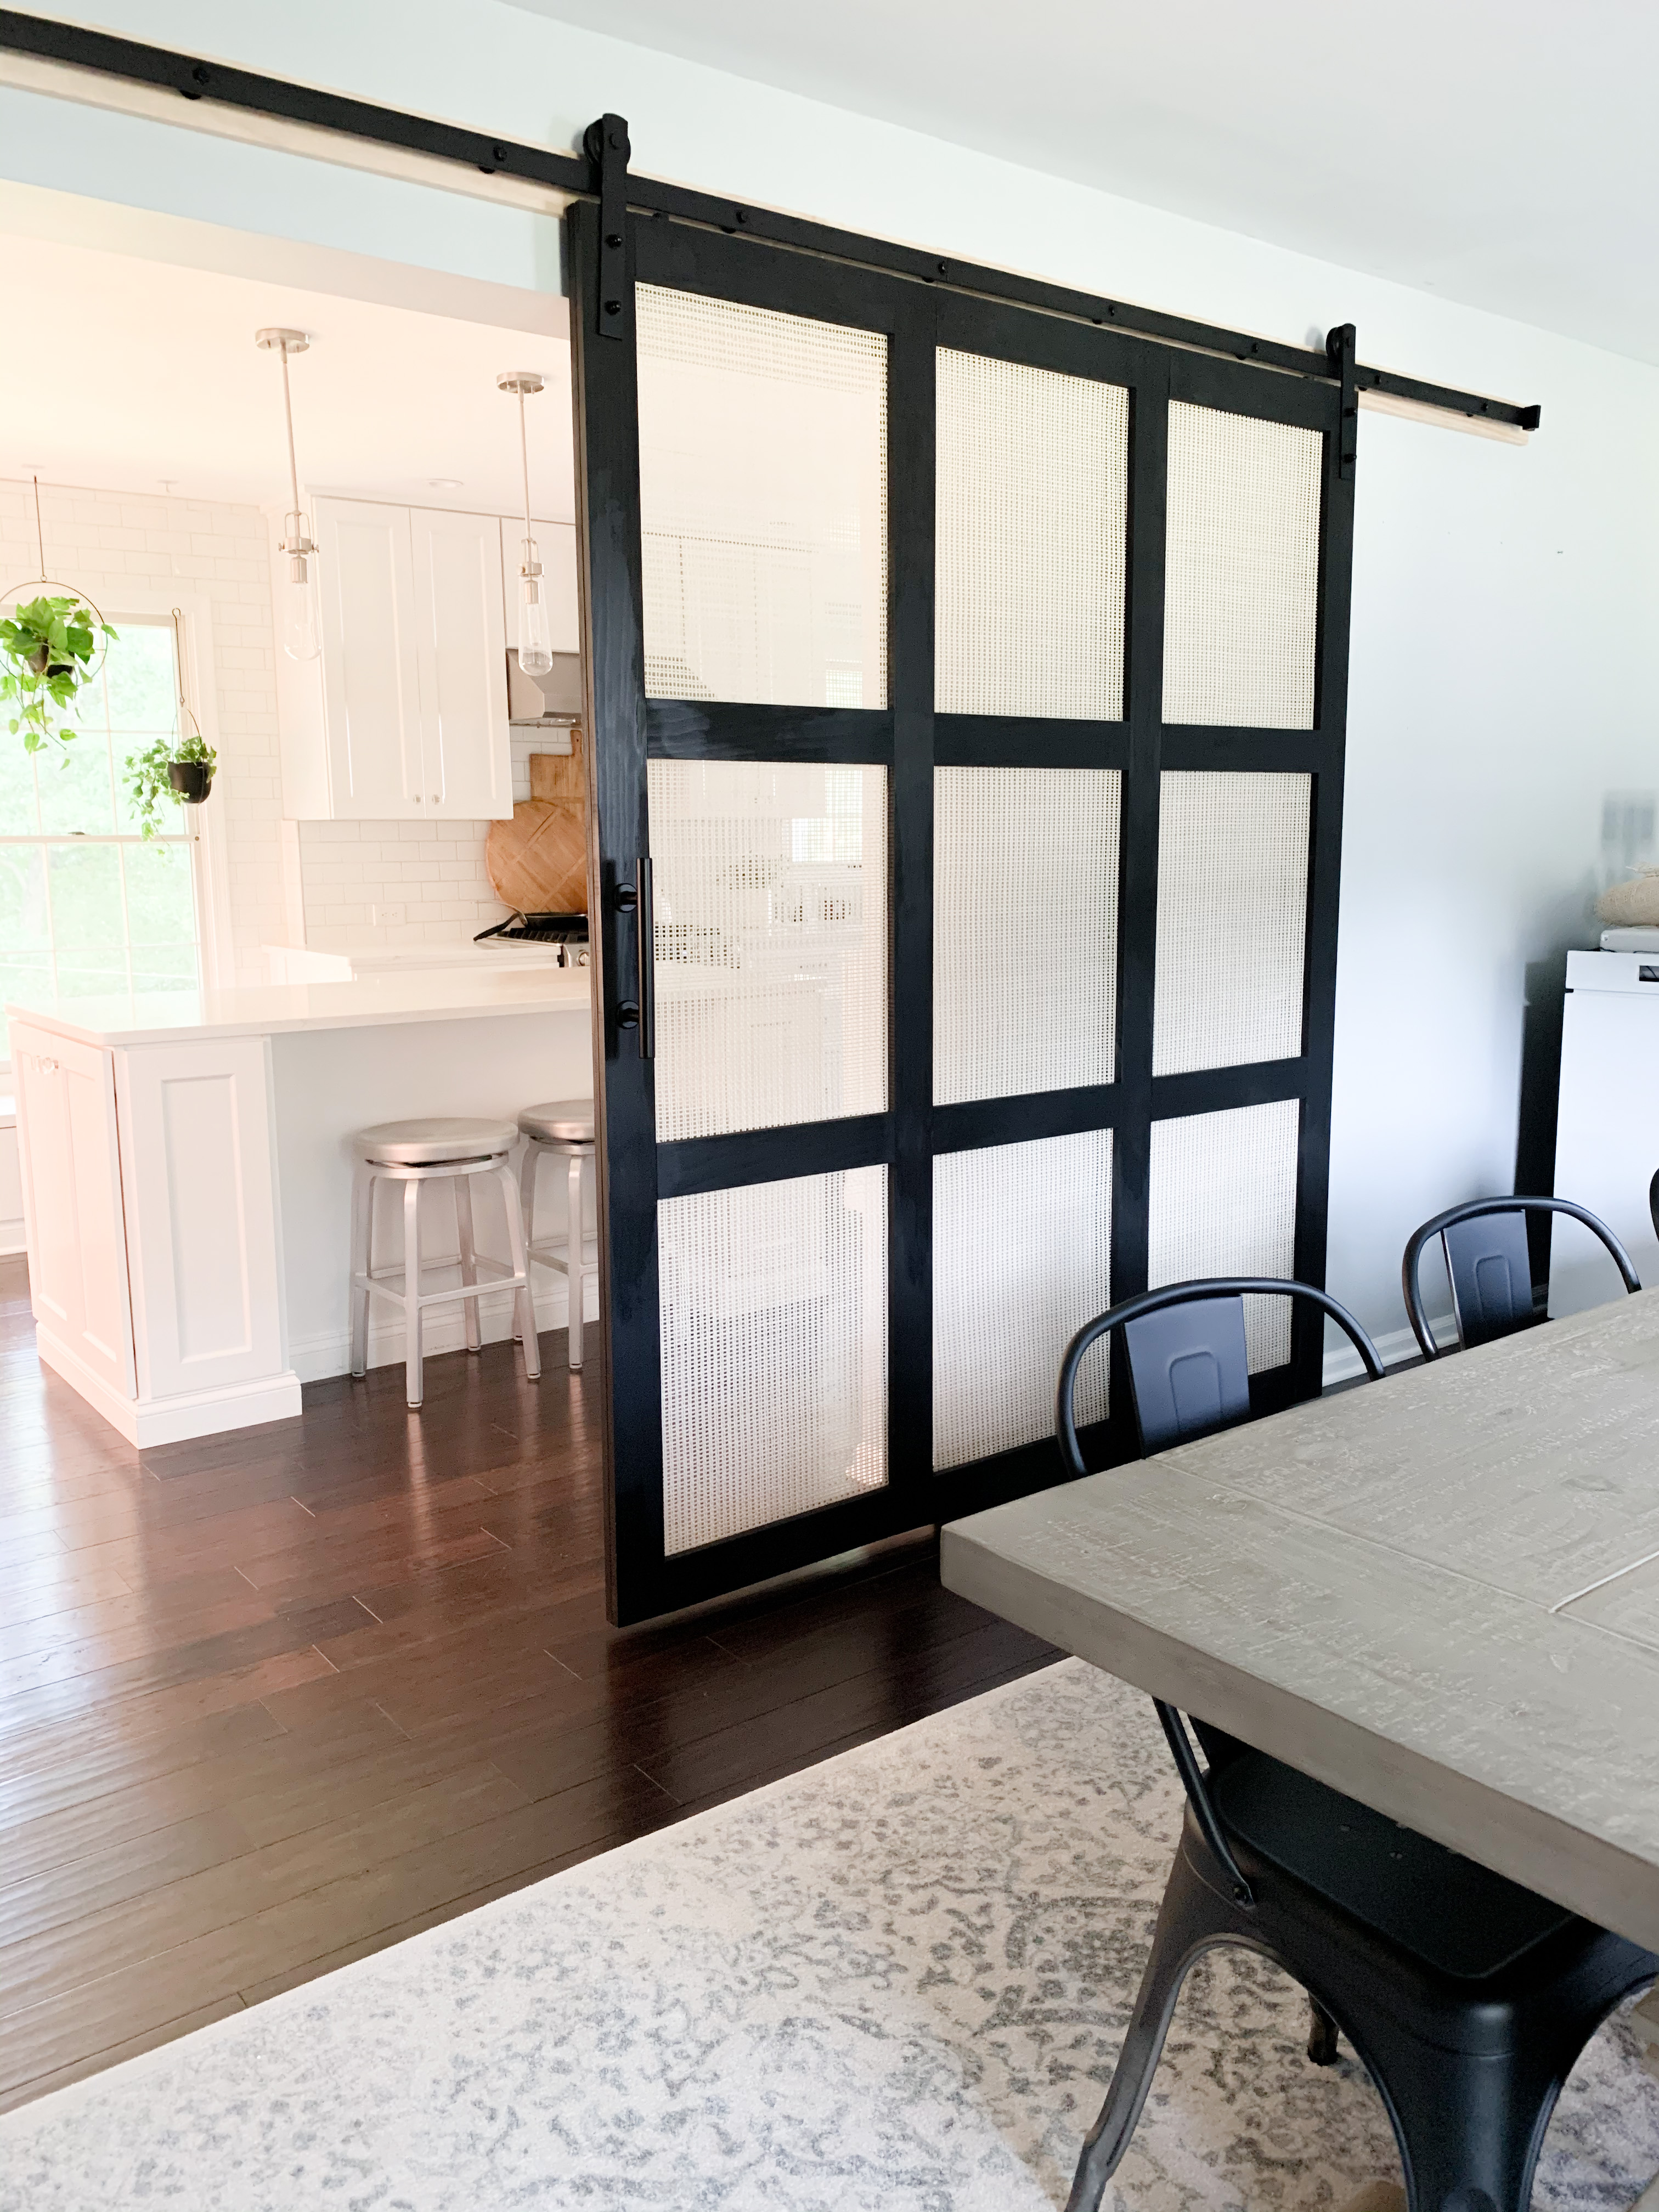
Door Design/Construction
I did a terrible job taking photos of the process because I was kind of winging it. I’m planning on building a second door and will be better at documenting the woodworking portion. The face of this frame is made of four vertical 1×4 boards connected with the smaller, horizontal boards using pocket holes. Once that frame was constructed, I turned it over to attach the cane fabric to the back. I attached the cane the same way I did for our headboard. You can find better photos and step by step instructions for attaching the cane in my ORC Week 6 DIY Cane Headboard blog post.
After the cane was attached, I made all the same 1×4 wood board cuts to attach to the back. I attached them with wood glue and a nail gun, so they “sandwiched’ the cane in between. It was very important to make sure all wood pieces were as exact as possible. I compared each new cut to the last and trimmed or recut as needed. The variances were small enough, I was able to use wood filler and paint to remedy it.
Finishing Touches
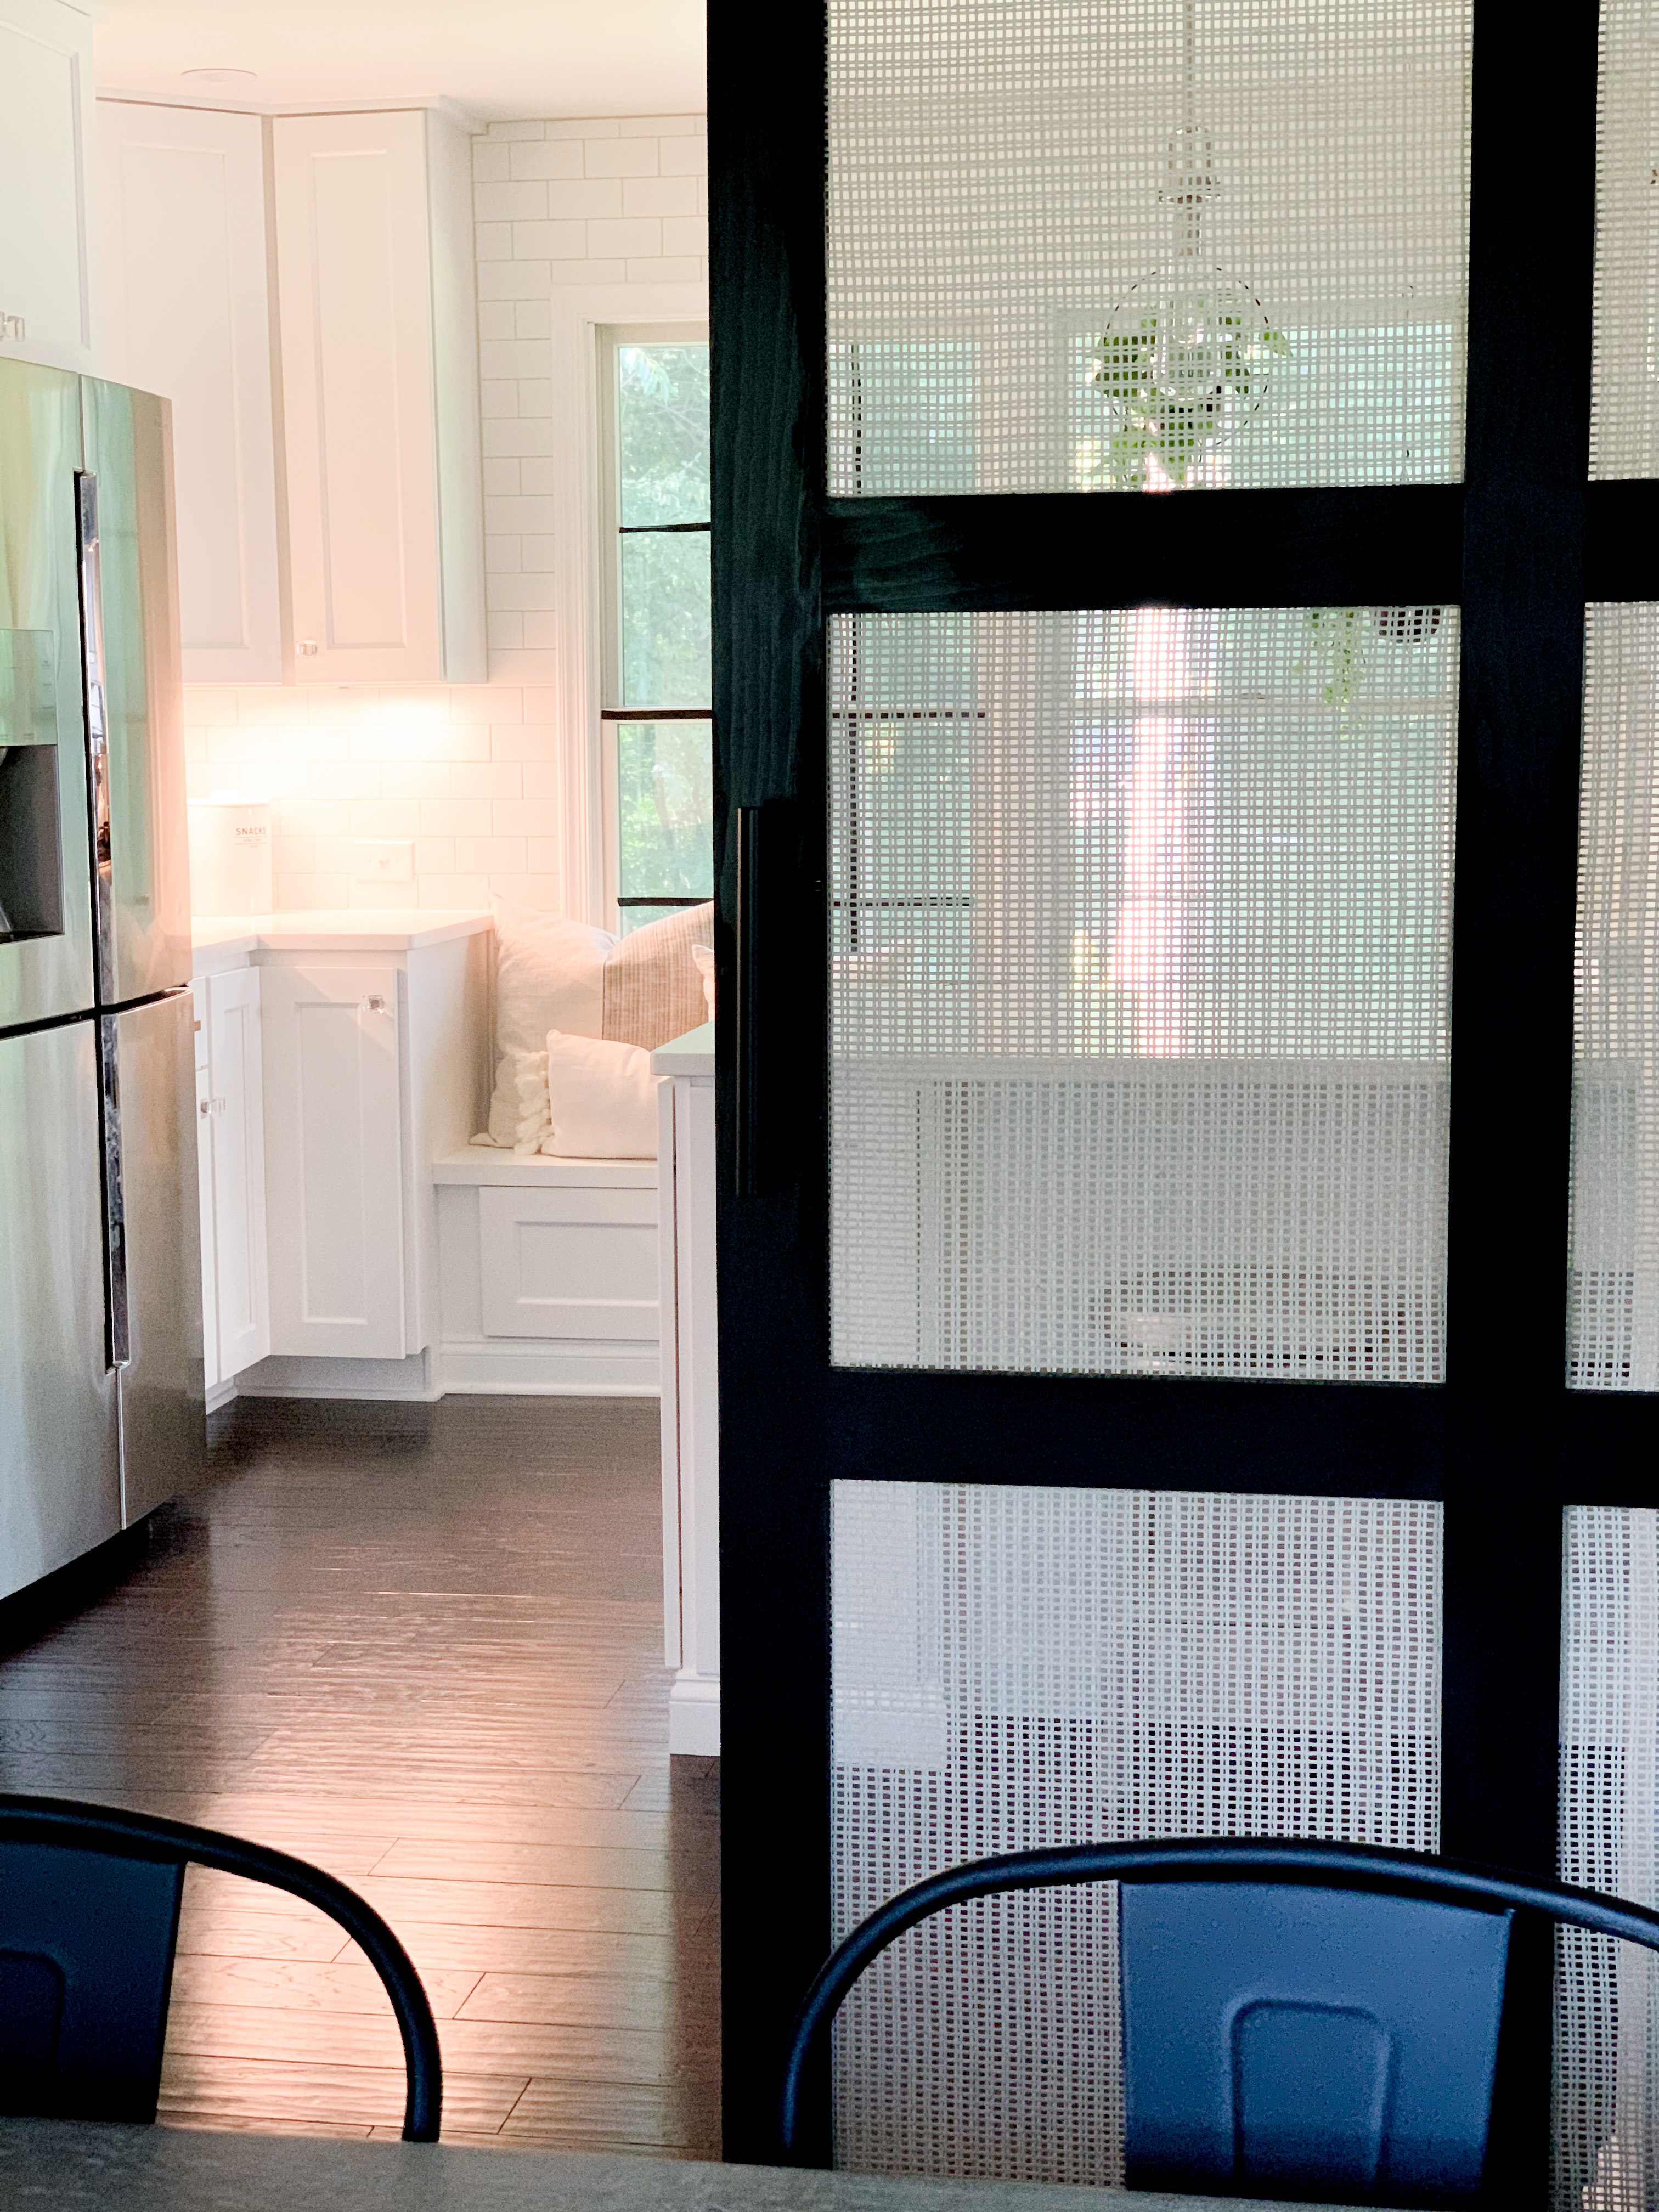
Since I decided on a black frame, I did a quick spray paint over the boards before I started connecting them. Once the cane is attached, it’s impossible to get the wood painted thoroughly without getting black paint on the cane. After constructing the frame, there were plenty of touch-ups needed, but at least I was able to avoid directly next to the cane. I found the hanging hardware on Amazon and am so in love with the 6 foot wide door look. We ended up using a 1×4 board on the wall behind the hardware to make the bracket pop and for more security. The handle and floor guide are also from Amazon and easy to install…. Would’ve been even easier if we had put the handle on while the door was lying on the ground haha.
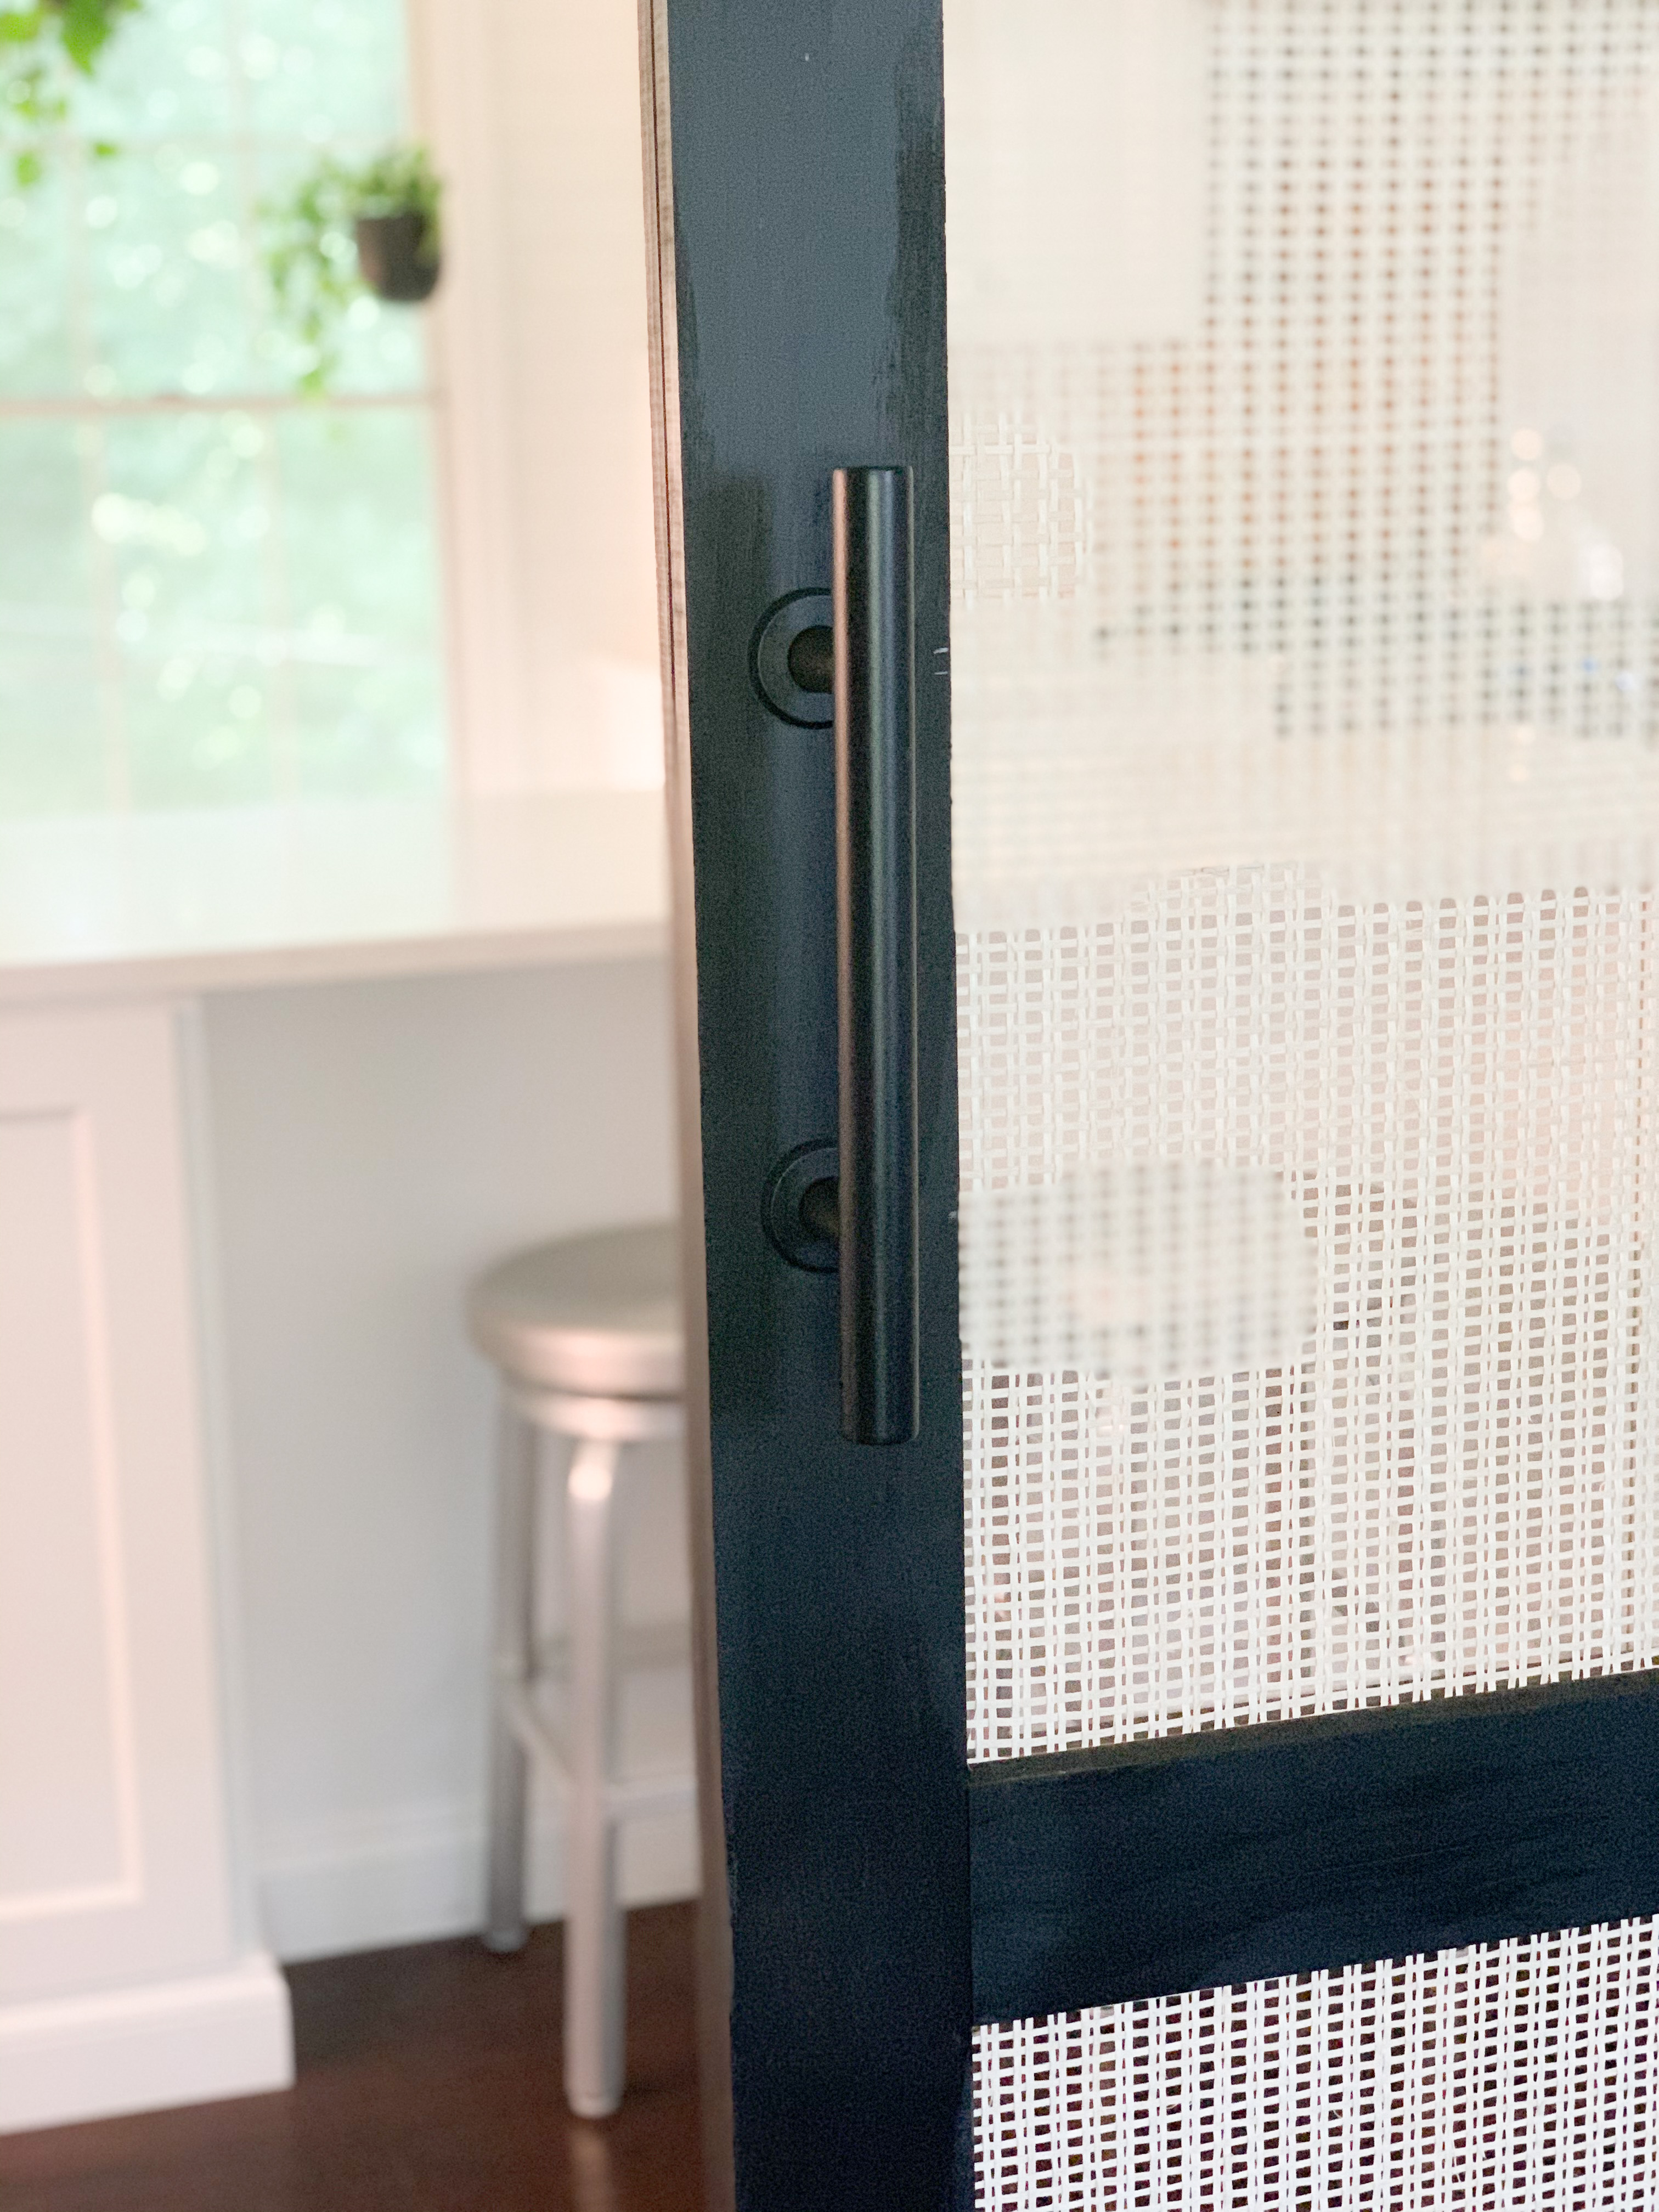
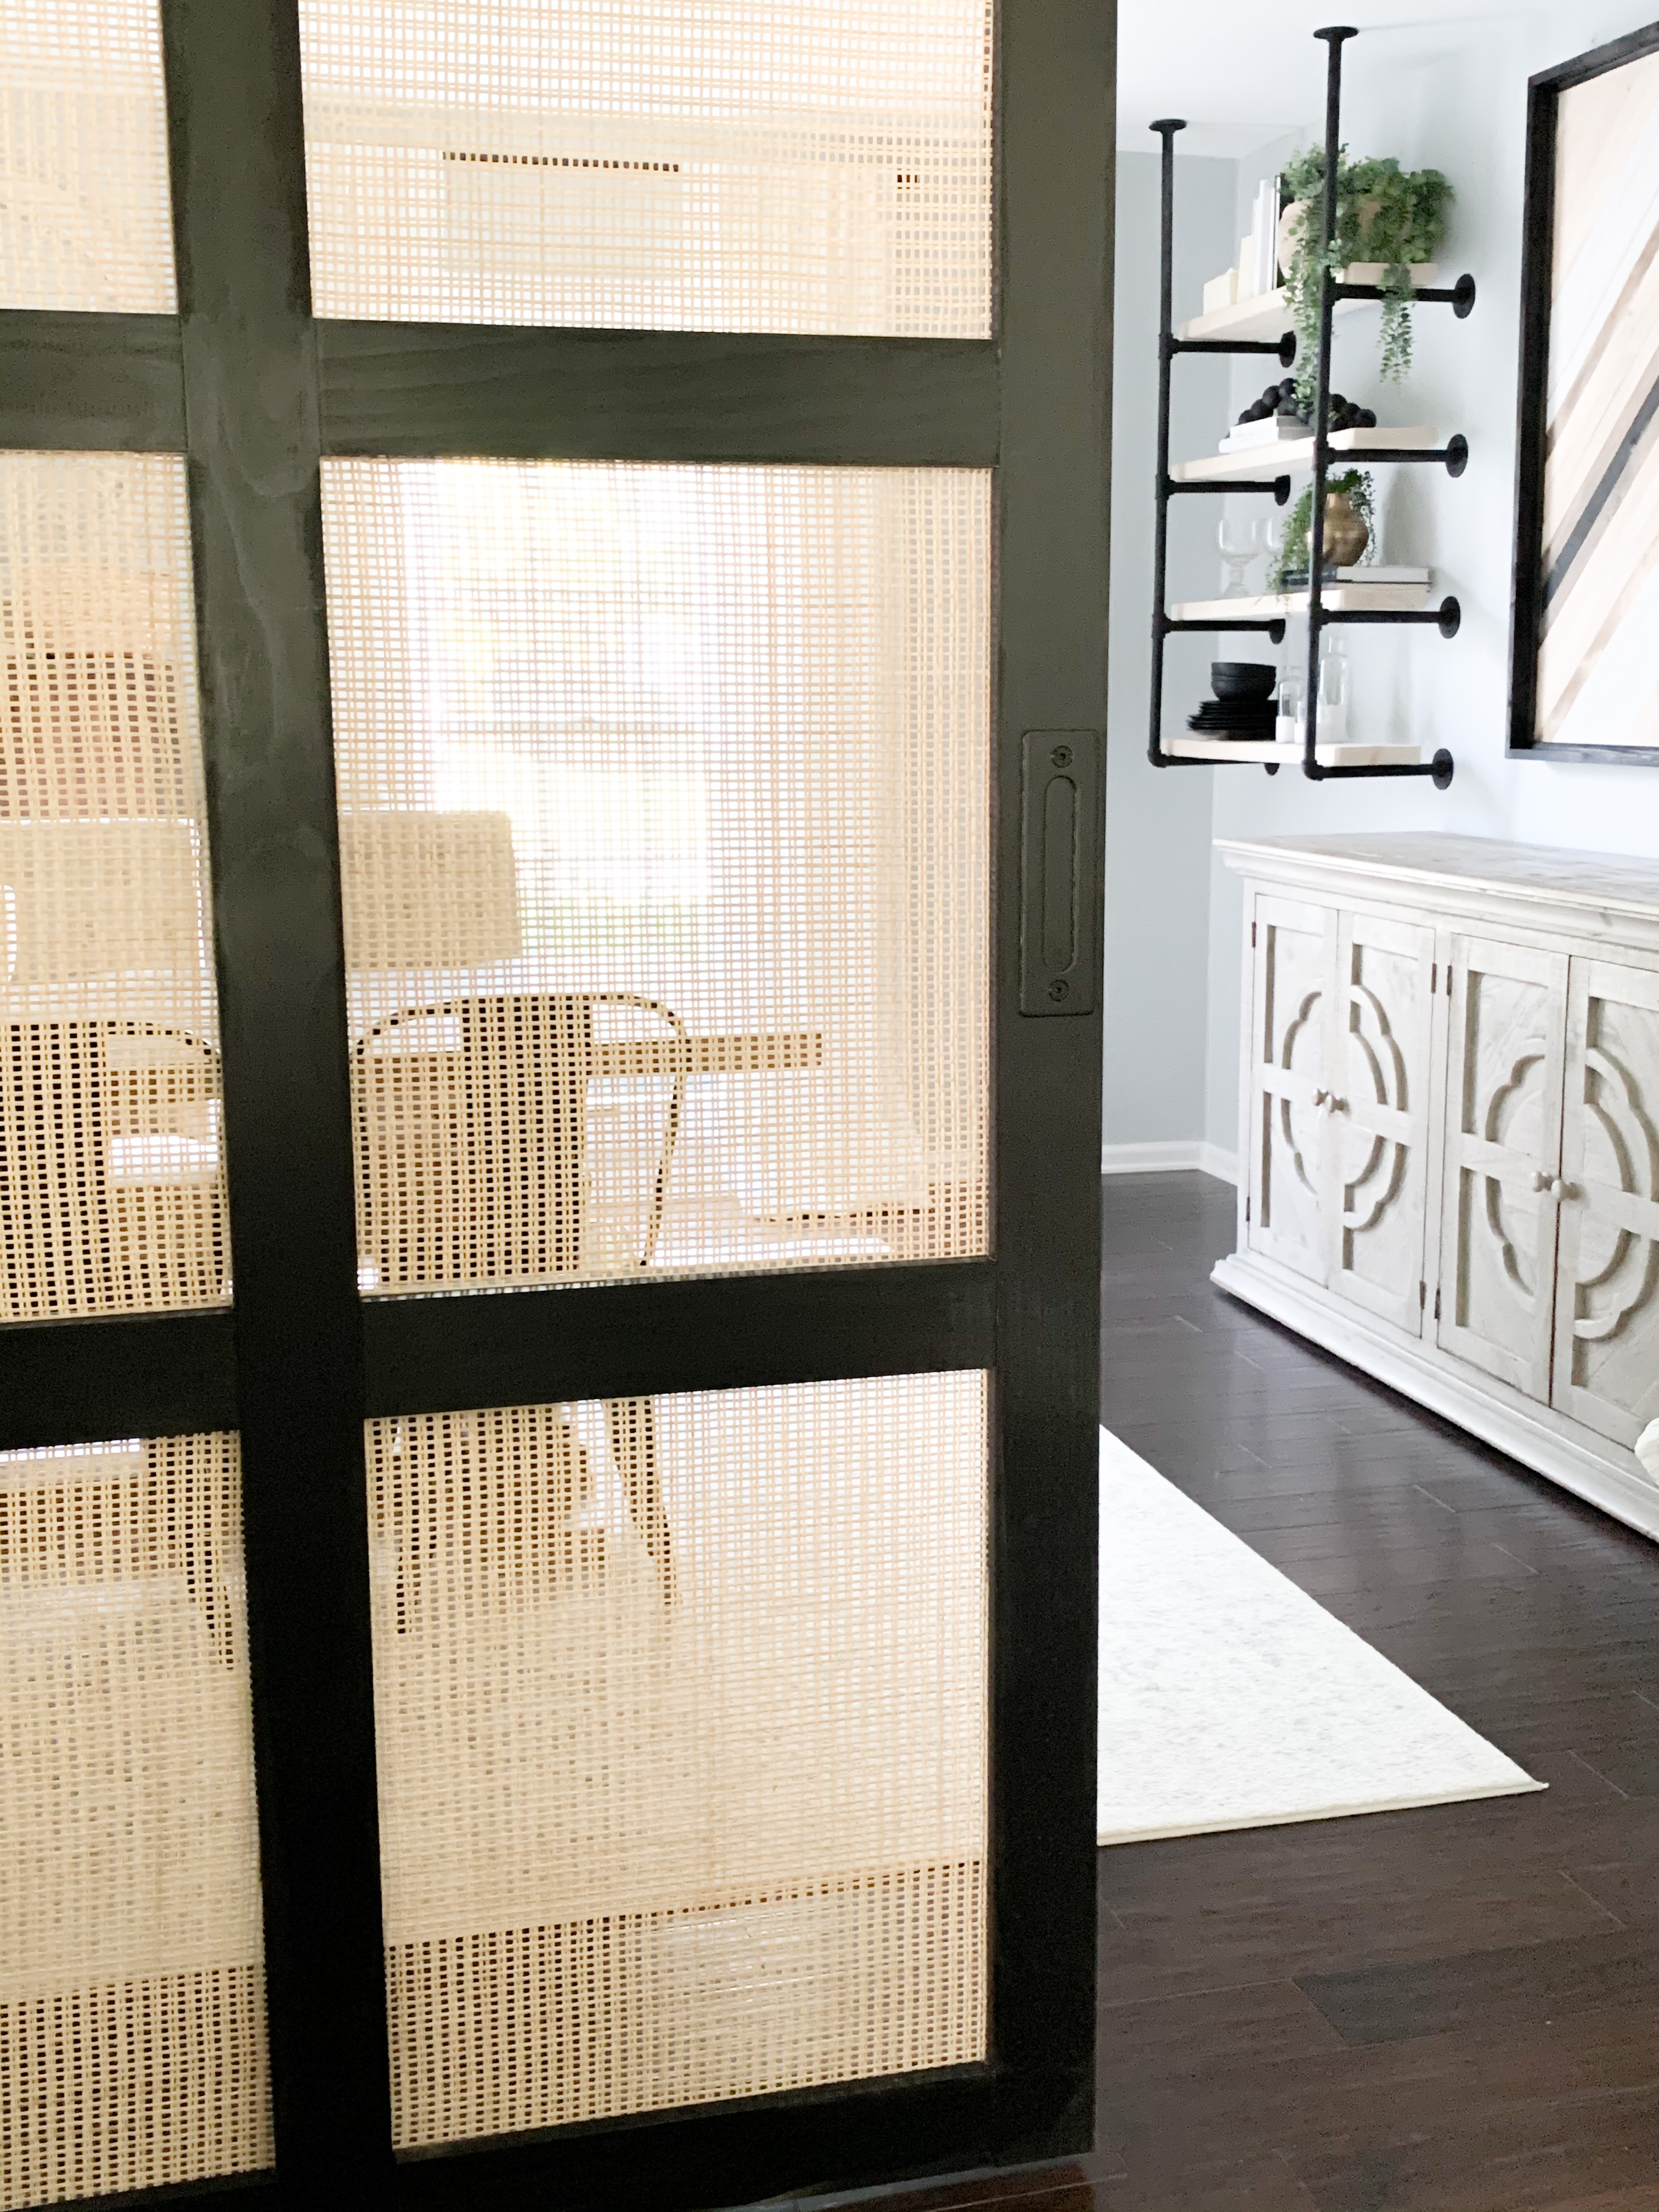
This door has changed my entire outlook on this space. It obviously acts more like a screen, as opposed to a door, but it works because it isn’t a space where actual privacy is needed. It is everything I wished it would be, and more!
May contain affiliate links. Please see disclosure linked here.
