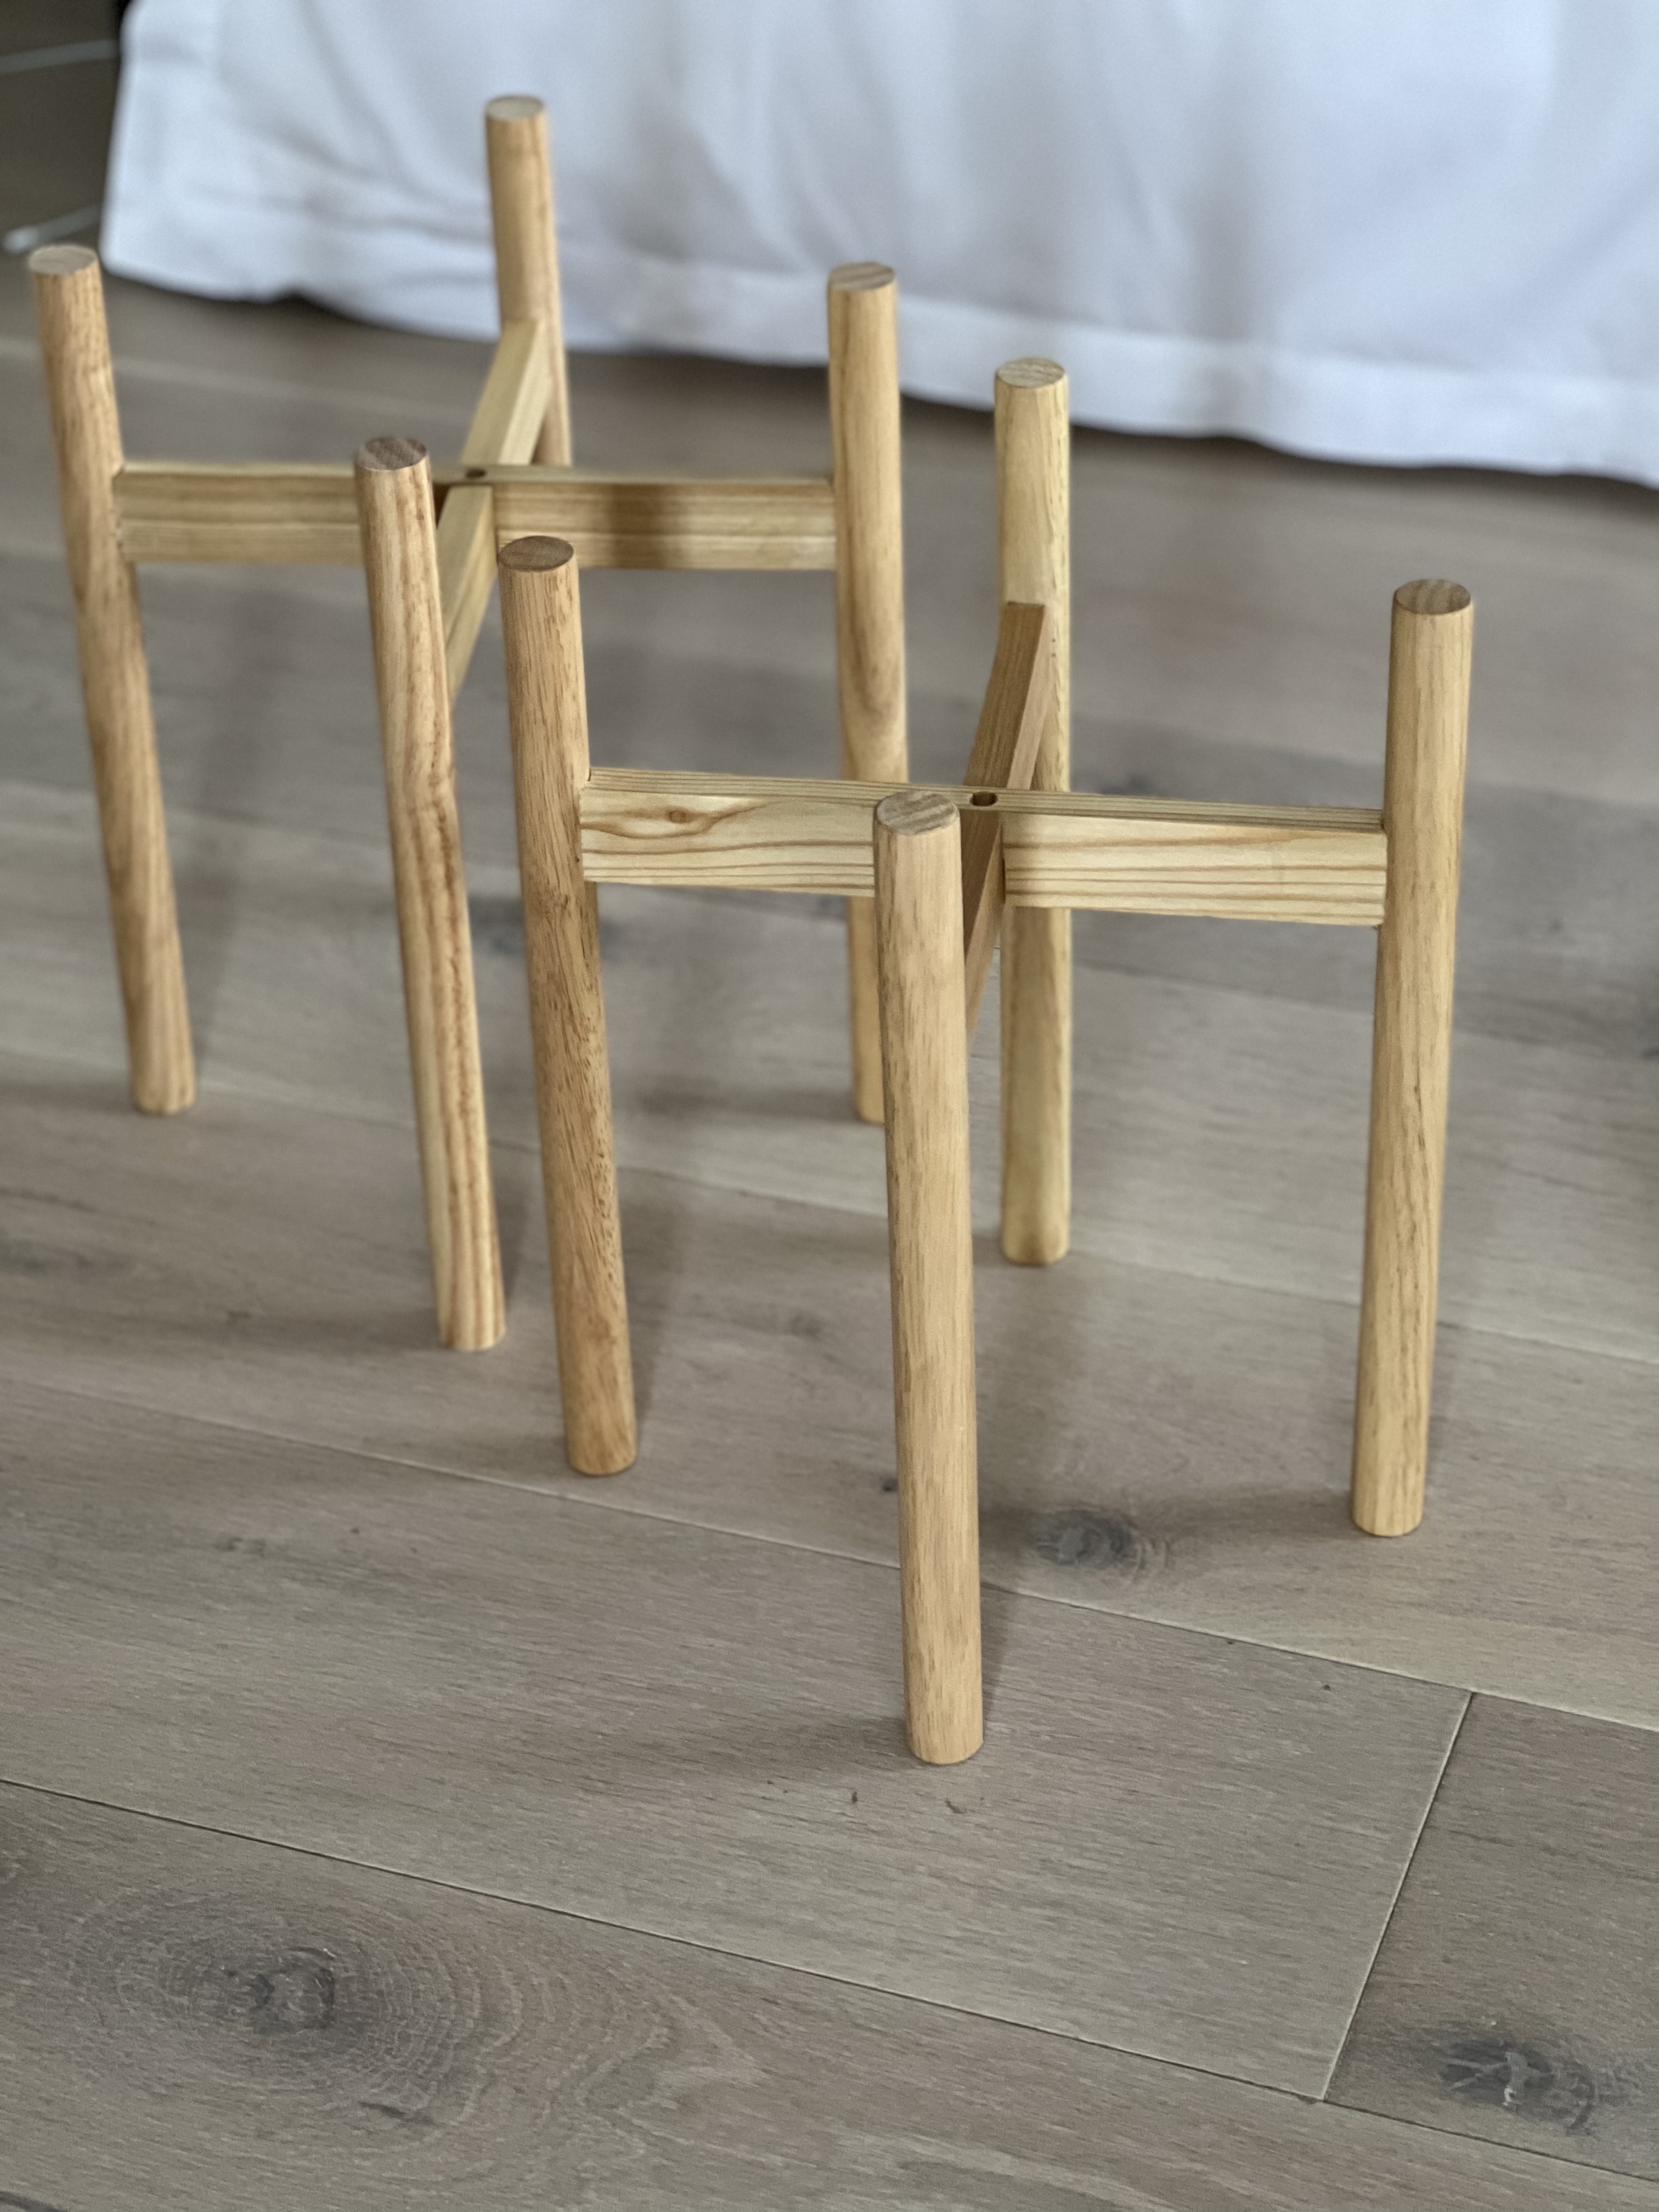
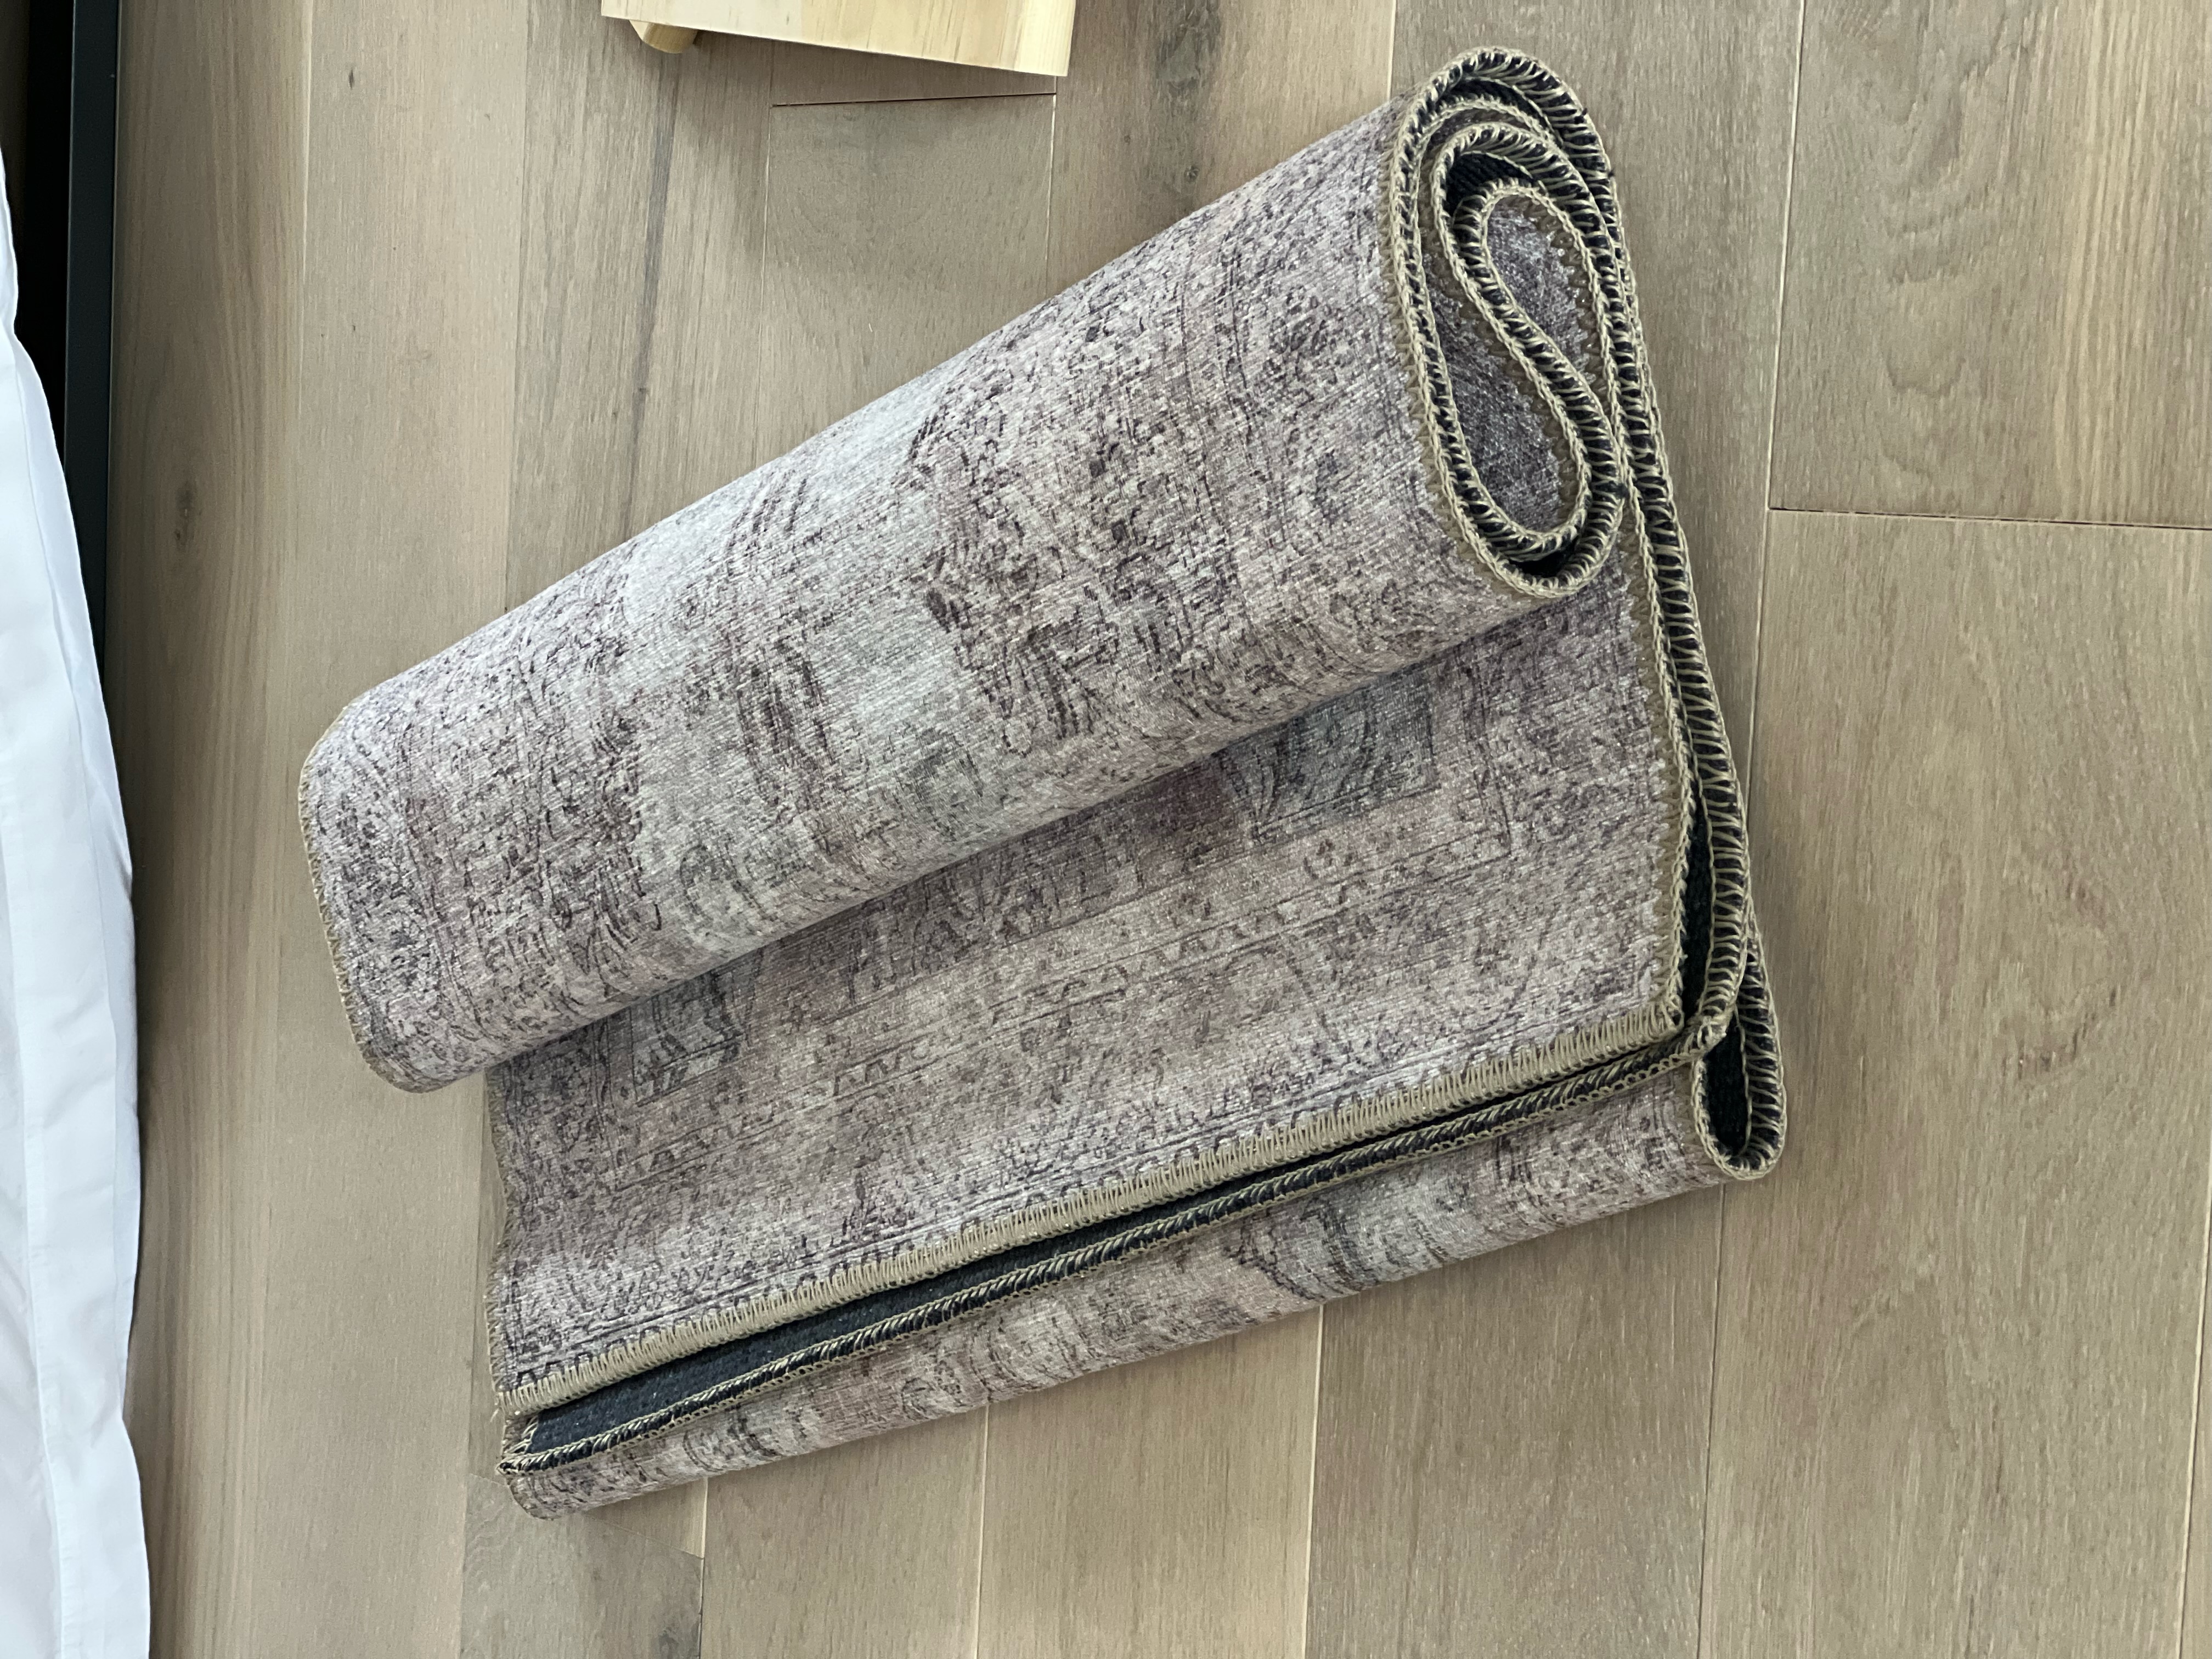
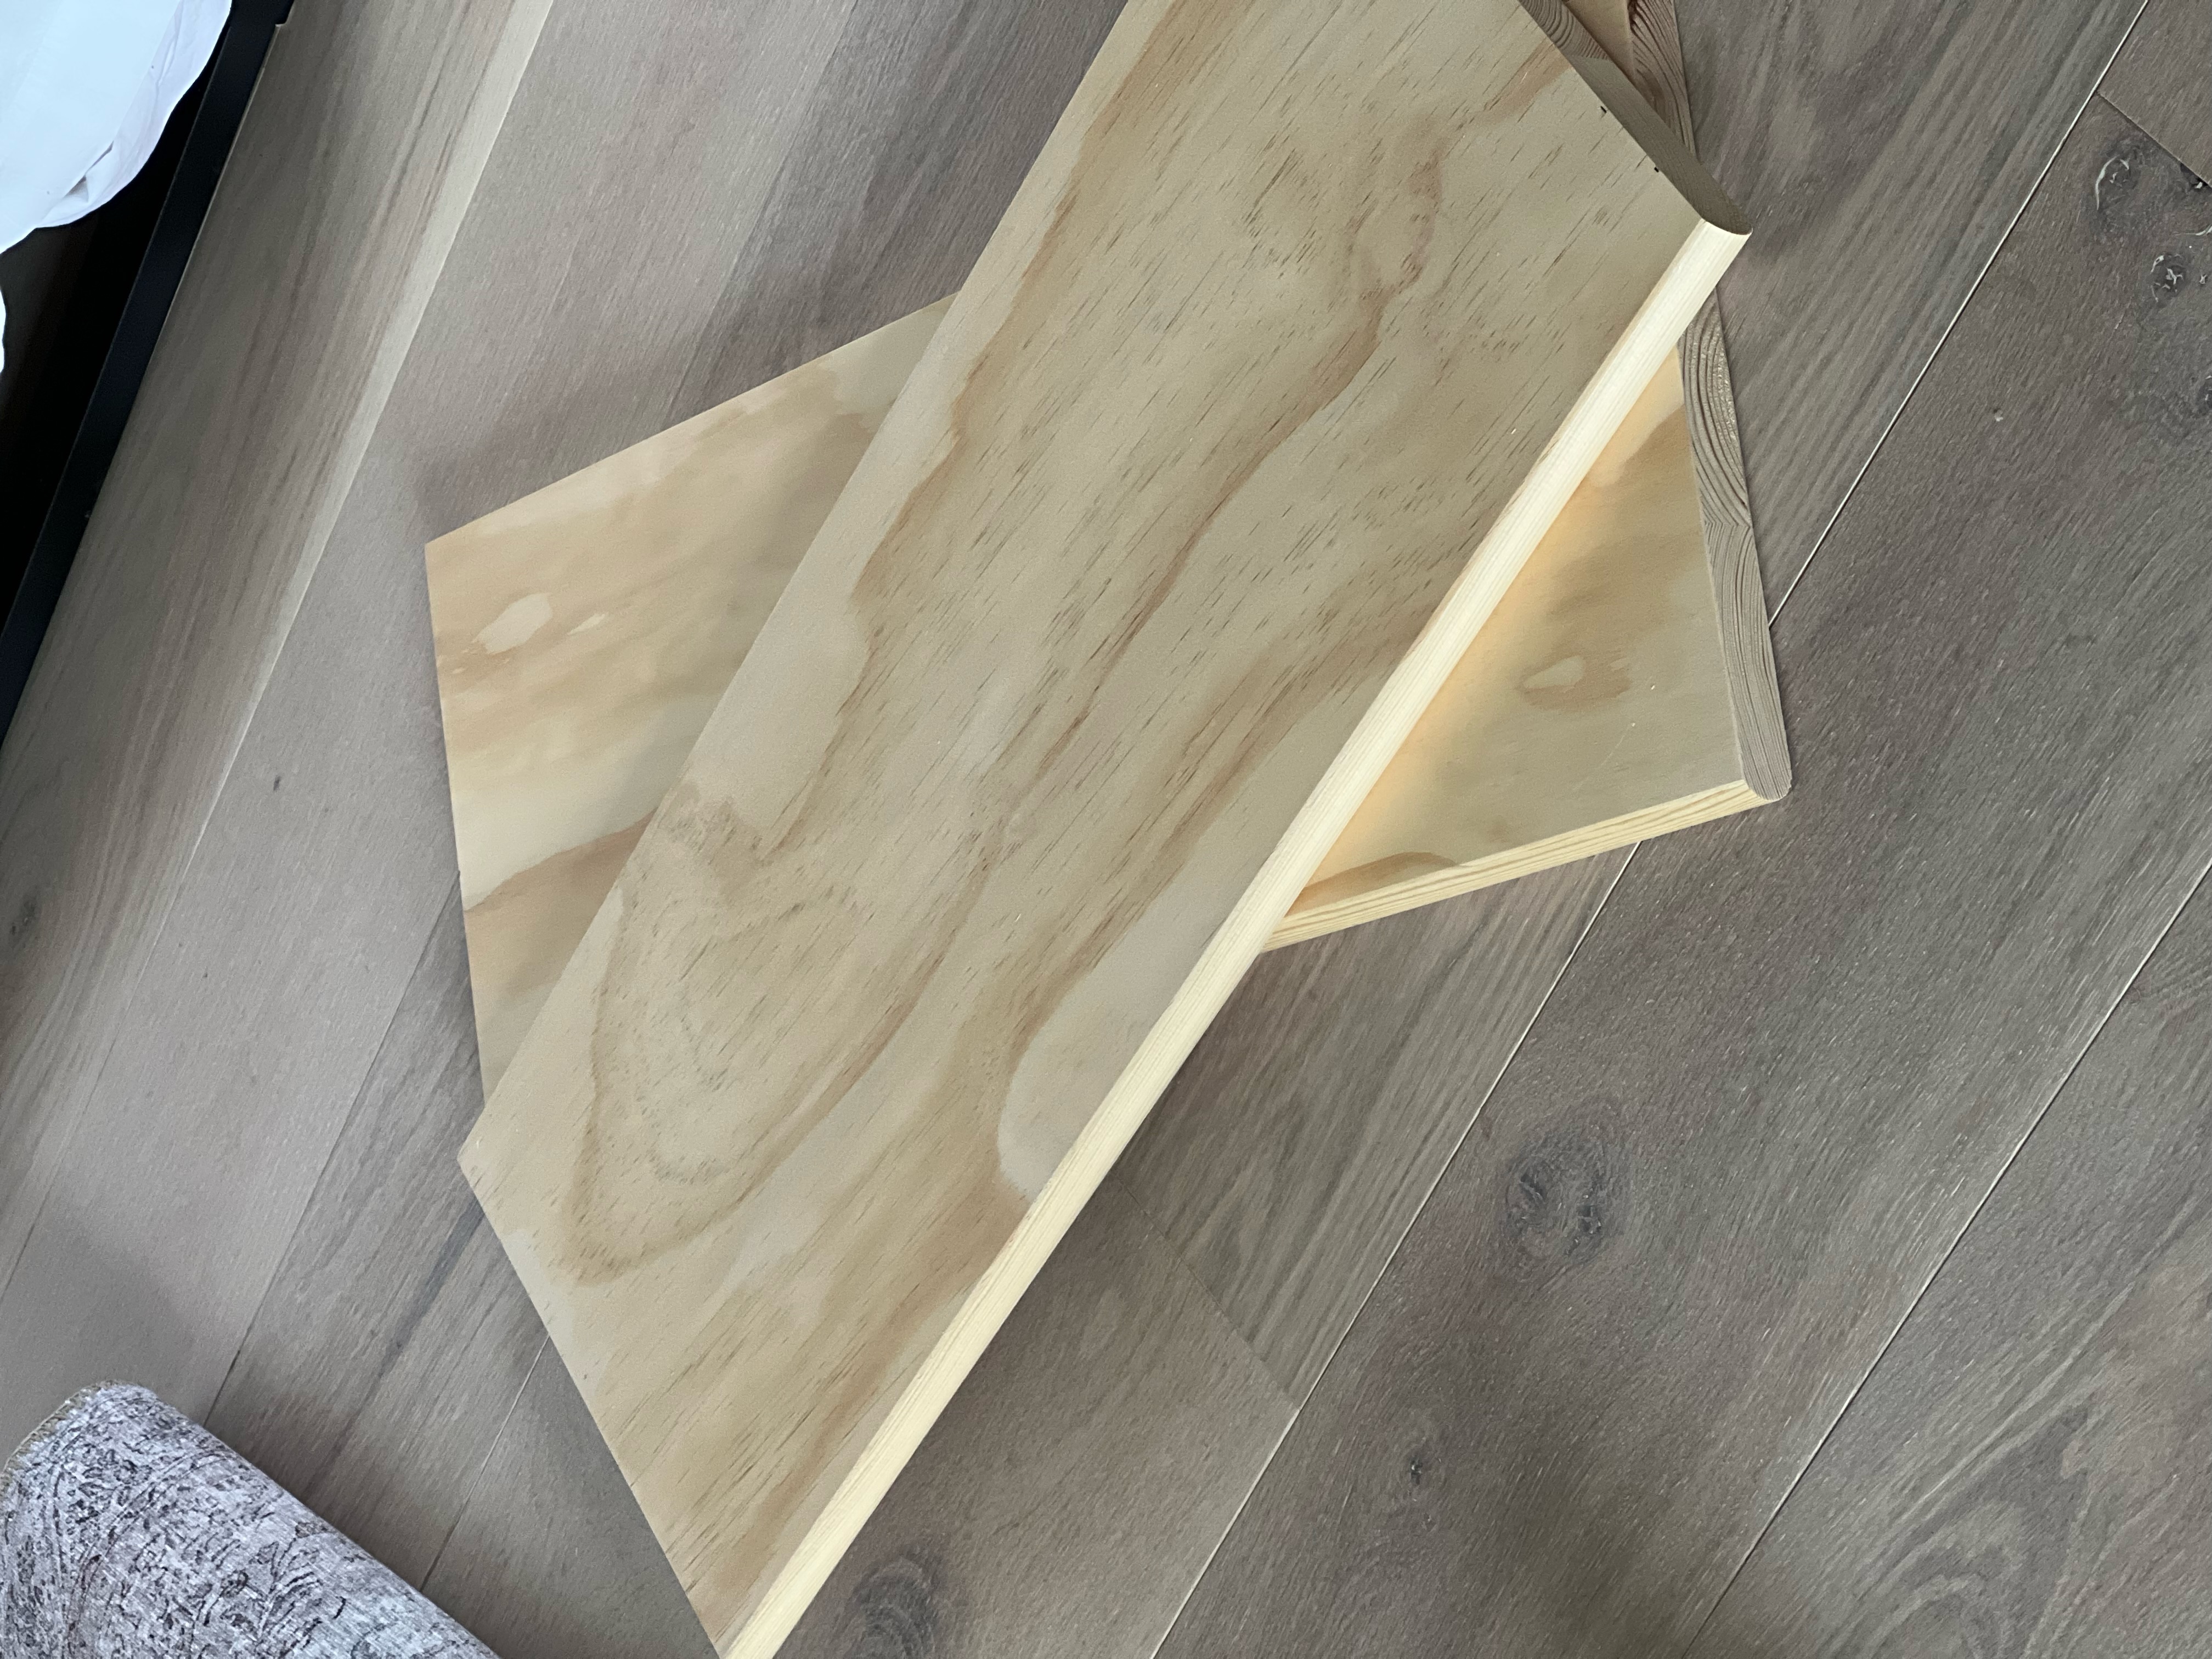
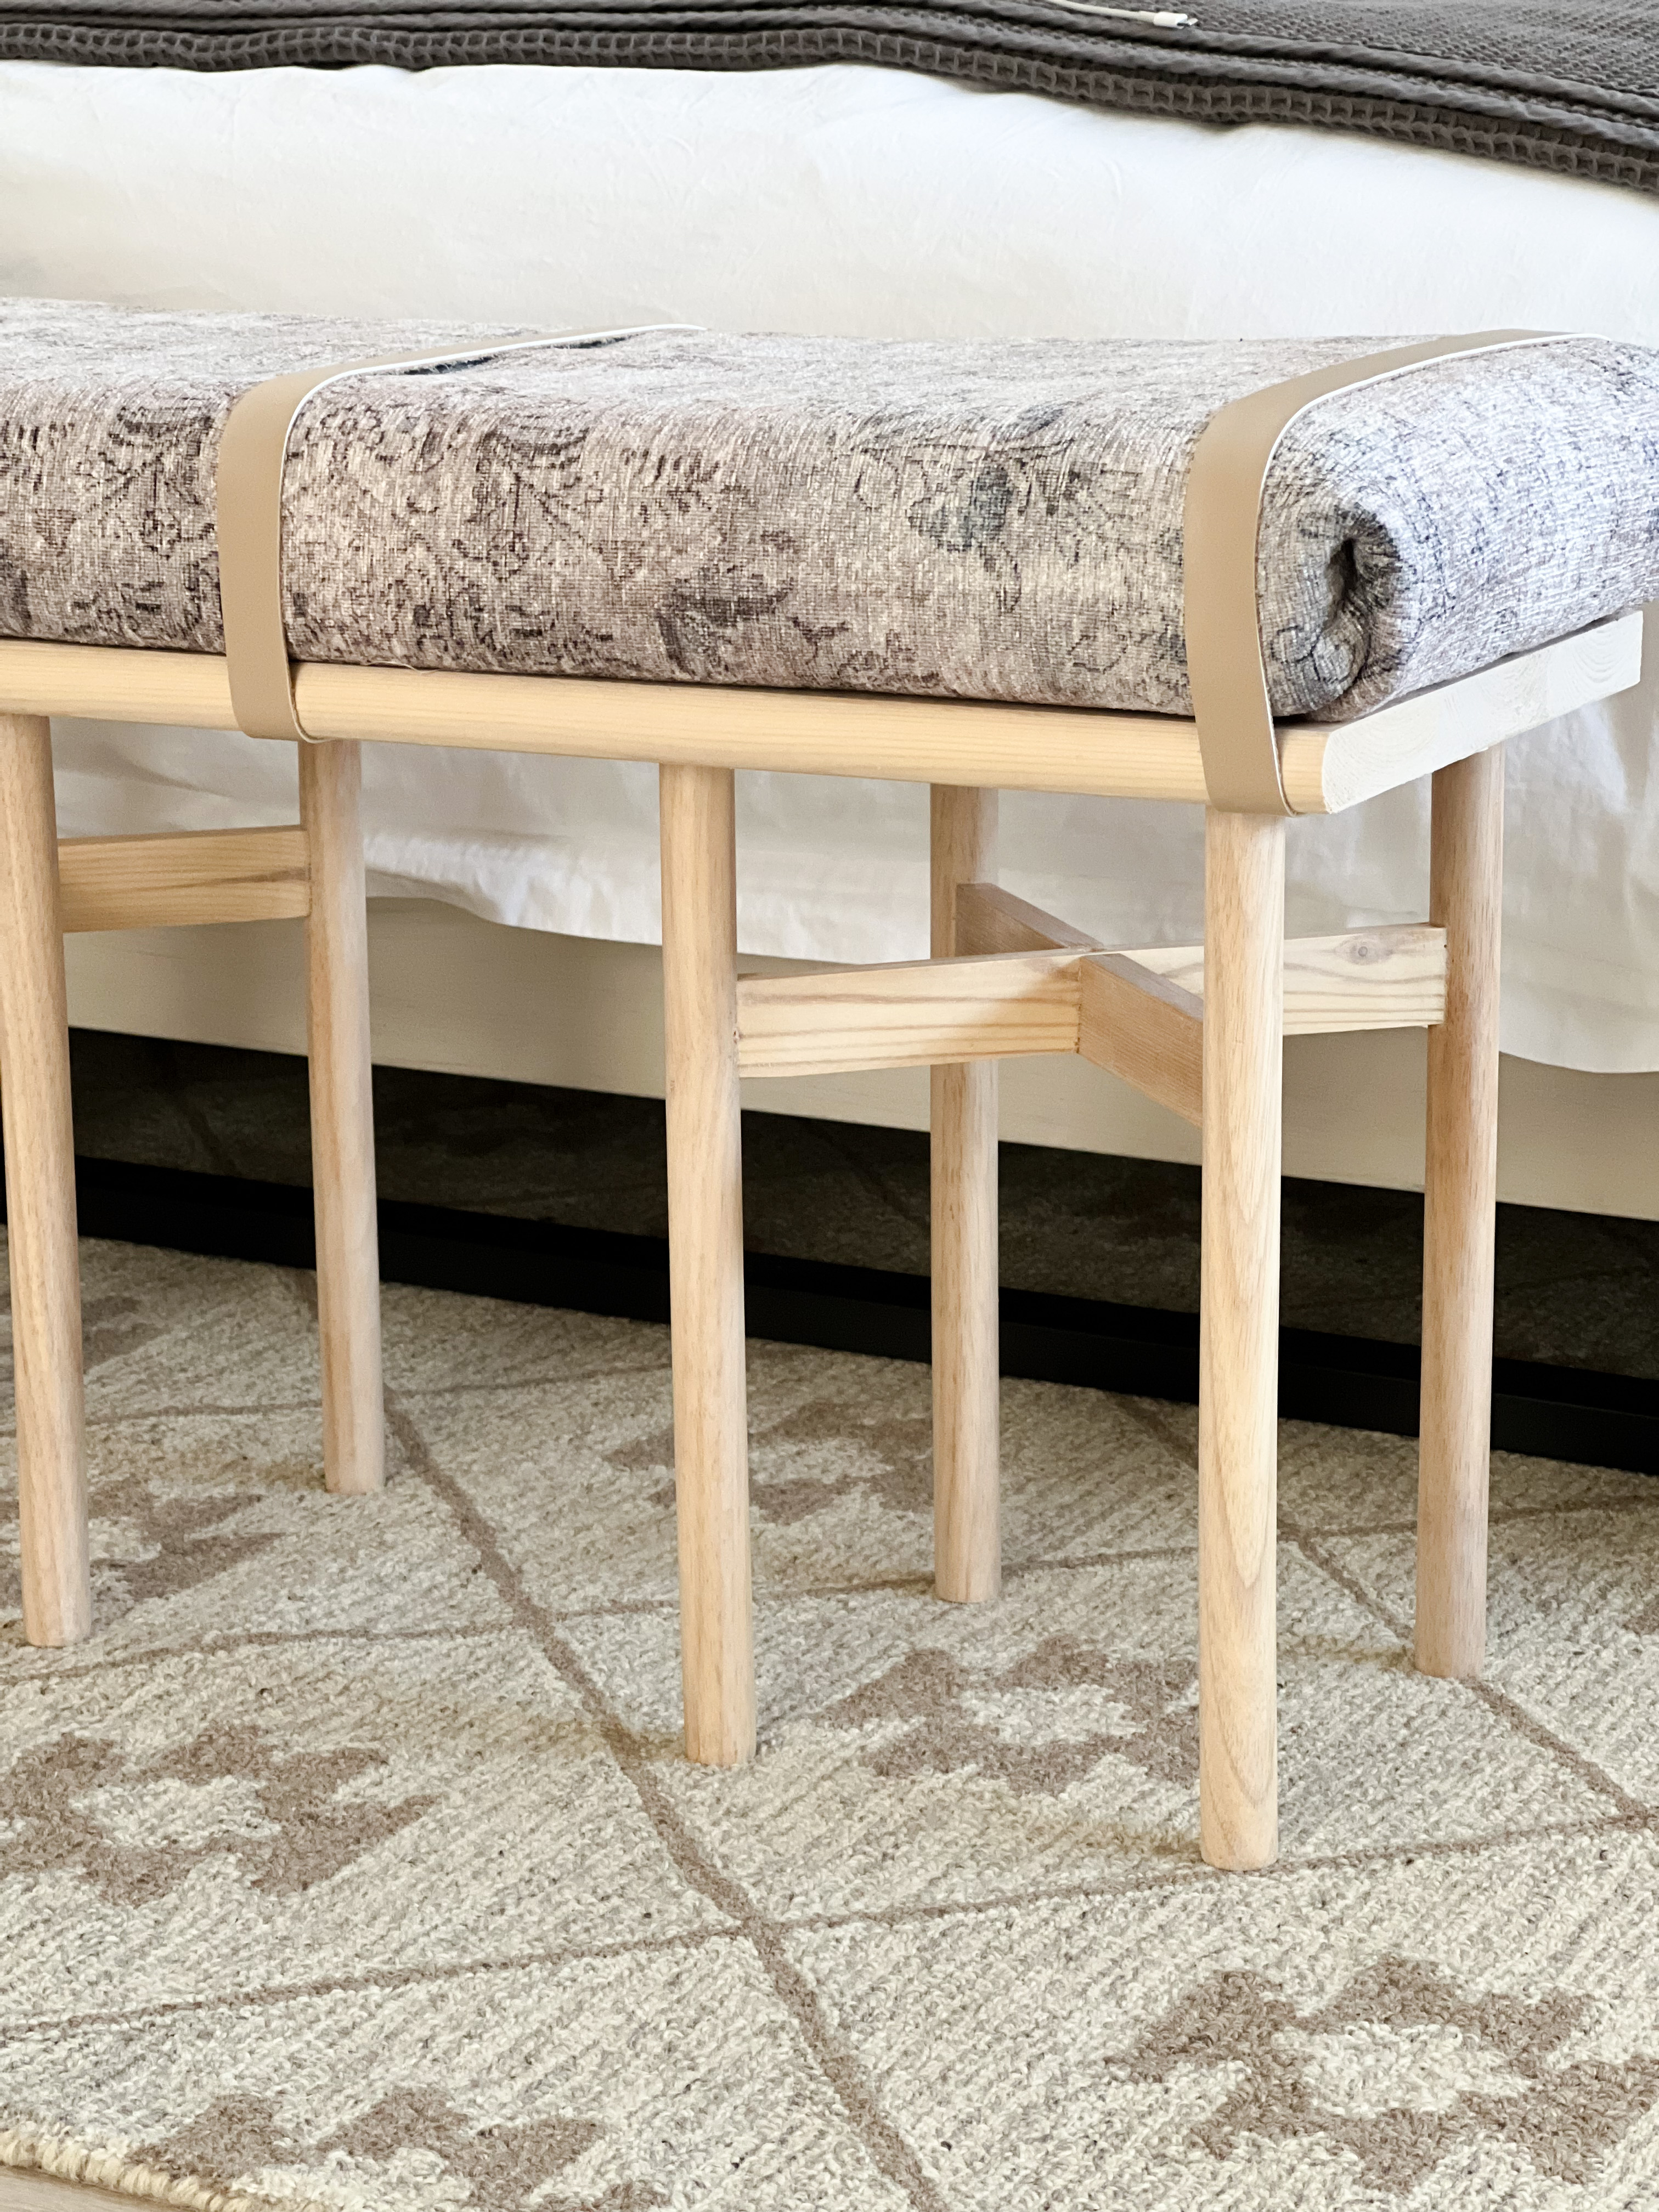
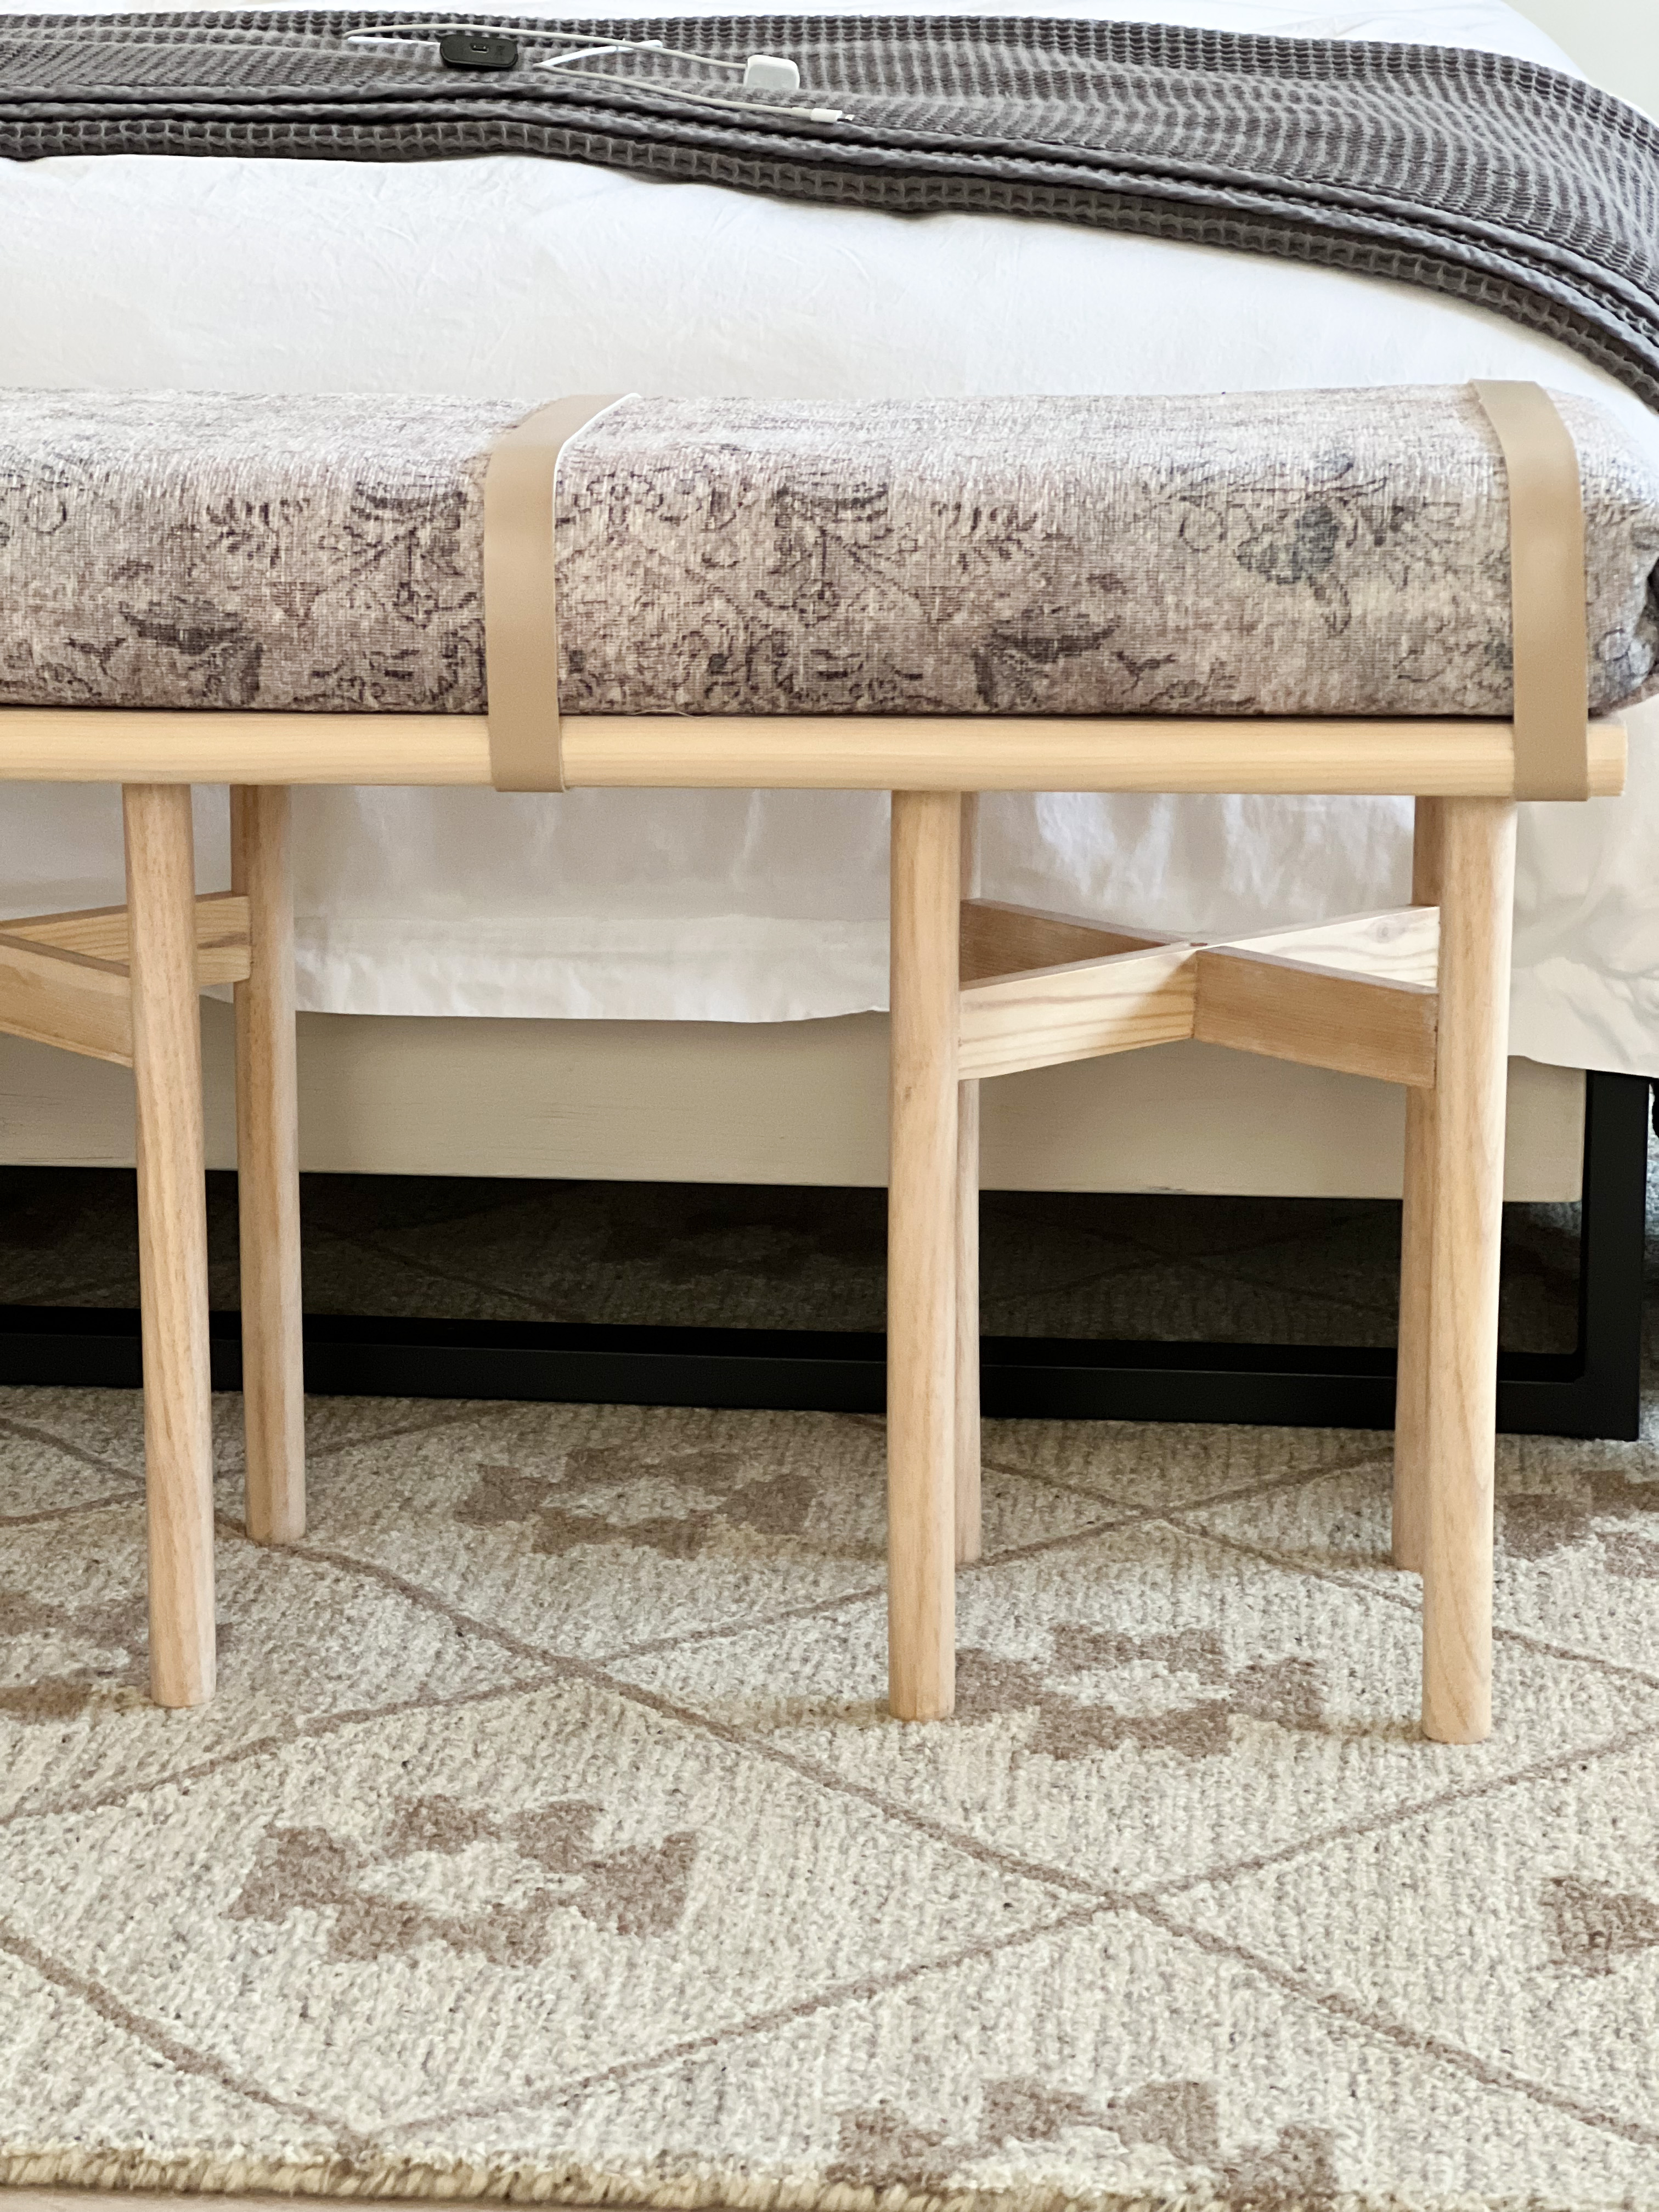
I don’t know about you, but to me, the most important part of a bench is the legs. Obviously for structure, but more importantly, the legs dominate the visual interest in a bench. I was overanalyzing how to make pretty, modern, functional bench legs, per usual, when I got a text message. Joe had sent me the link to these cute $20 plant stands, the rest is history.
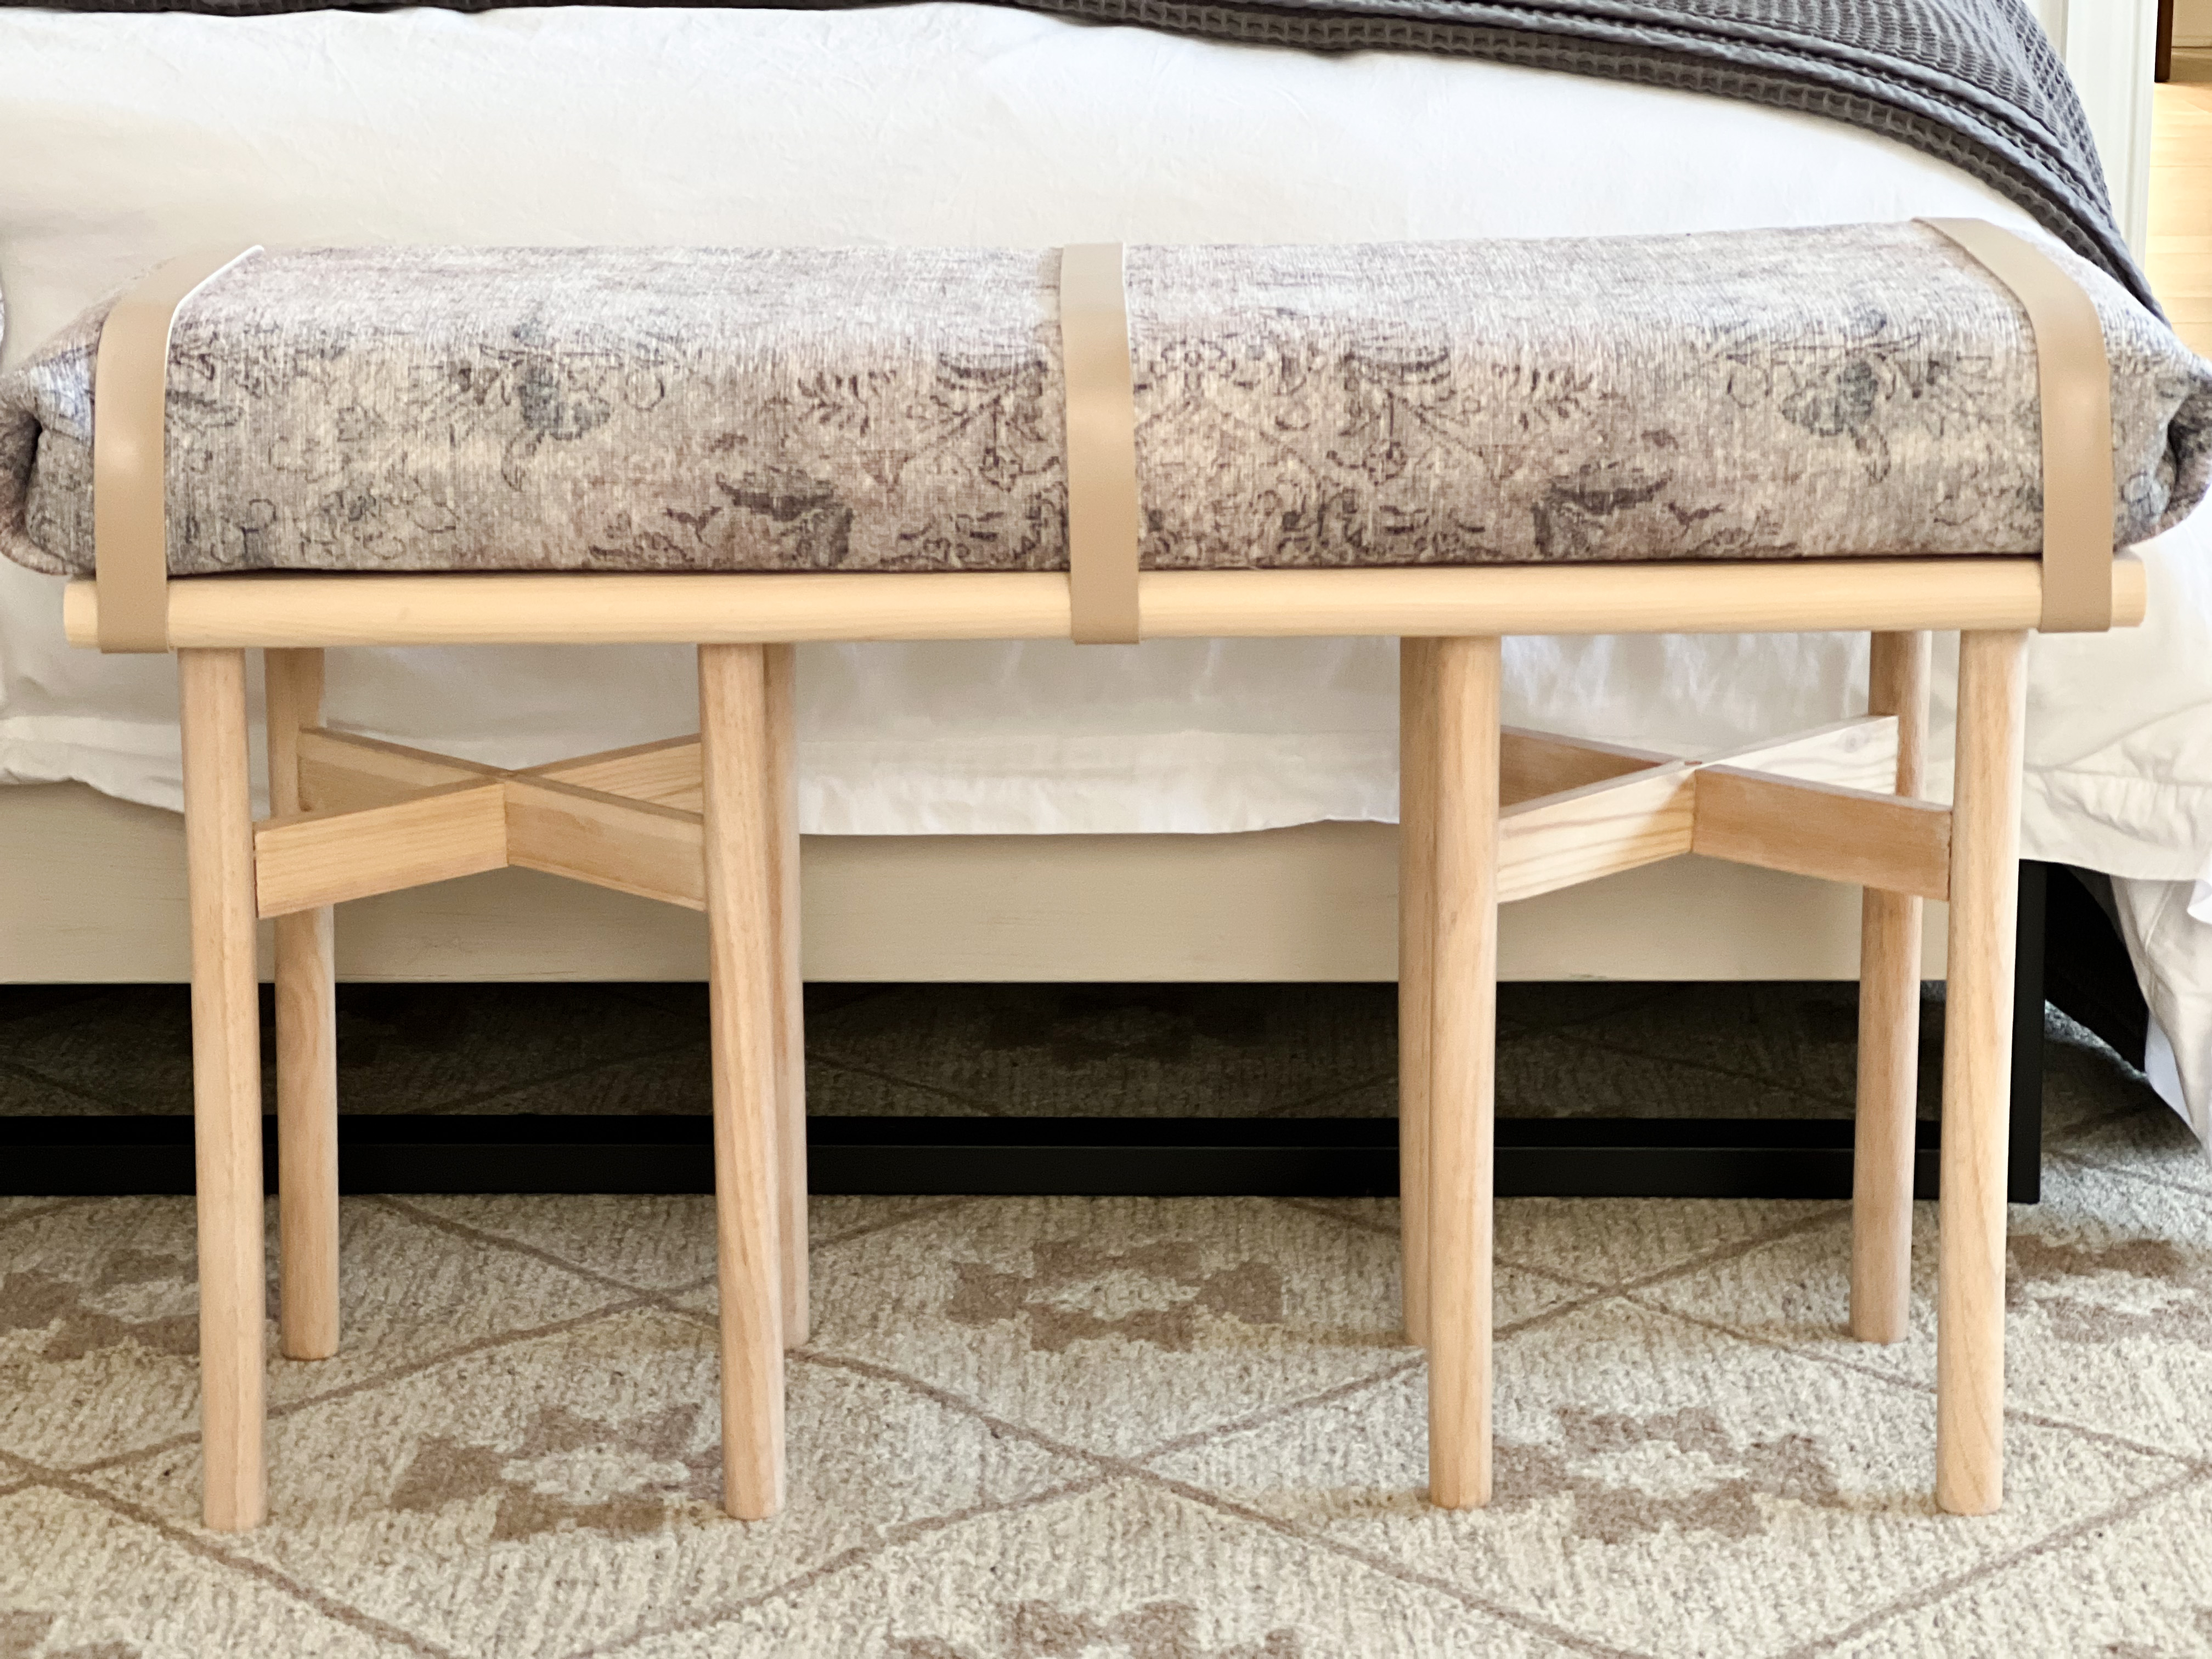
The biggest perk? They just made this build SUPER easy!
The Components
The main pieces I’m using for ONE bench are two plant stands, half a favorite runner, and a stair tread. You will also need a piece of foam (like this one) and leather straps (linked here) to attach the cushion to the bench.
The Process
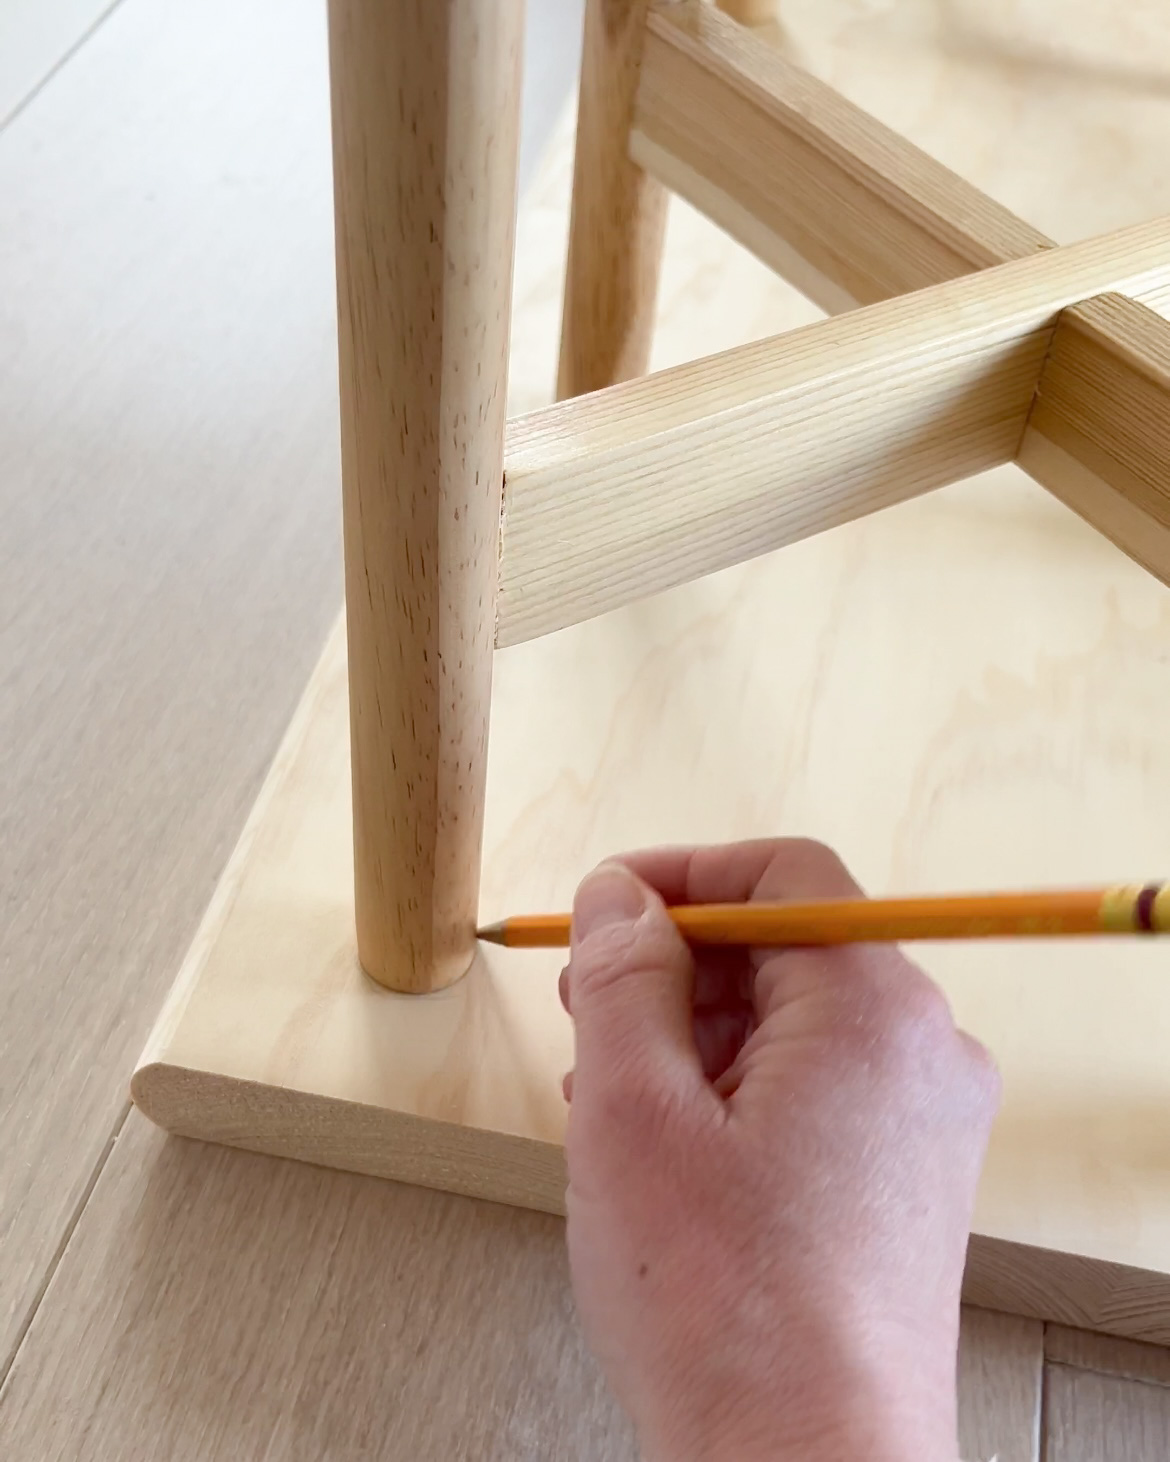
First, place the plant stands on the underside of the stair tread and trace/mark them. Drill a pilot hole in the middle of each circle, using a drill bit that is slightly smaller than the screws you’re planning to use.
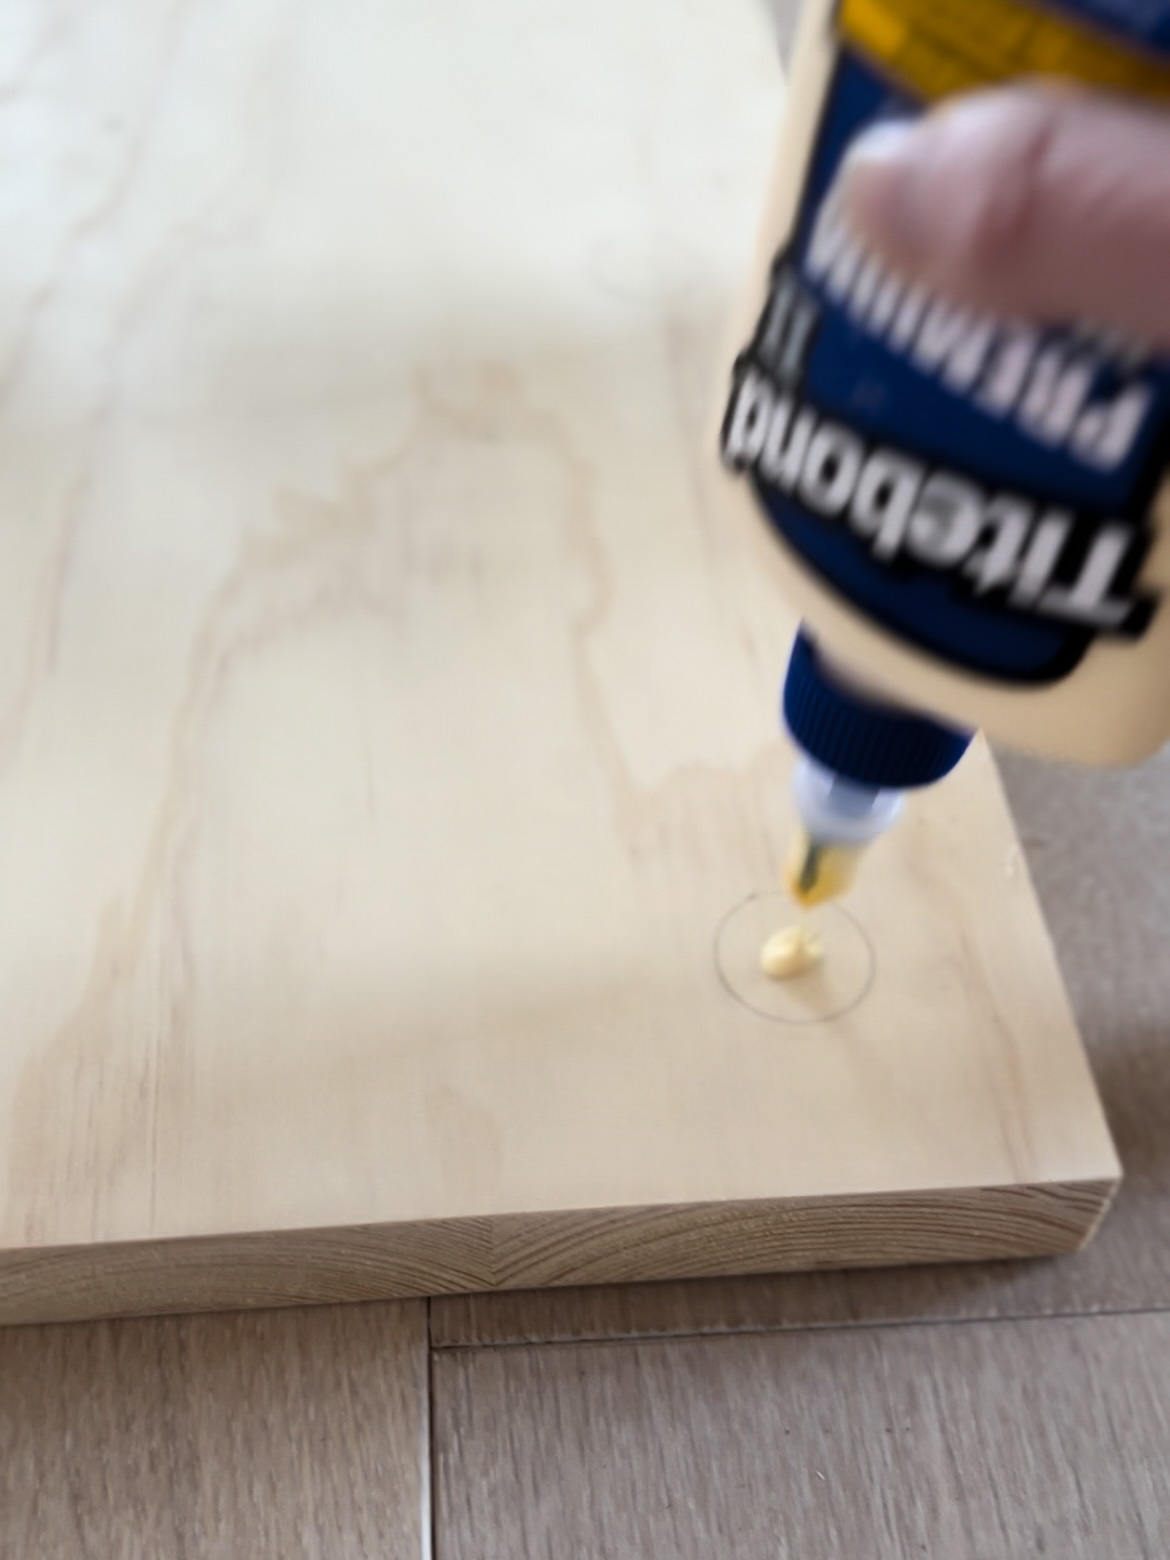
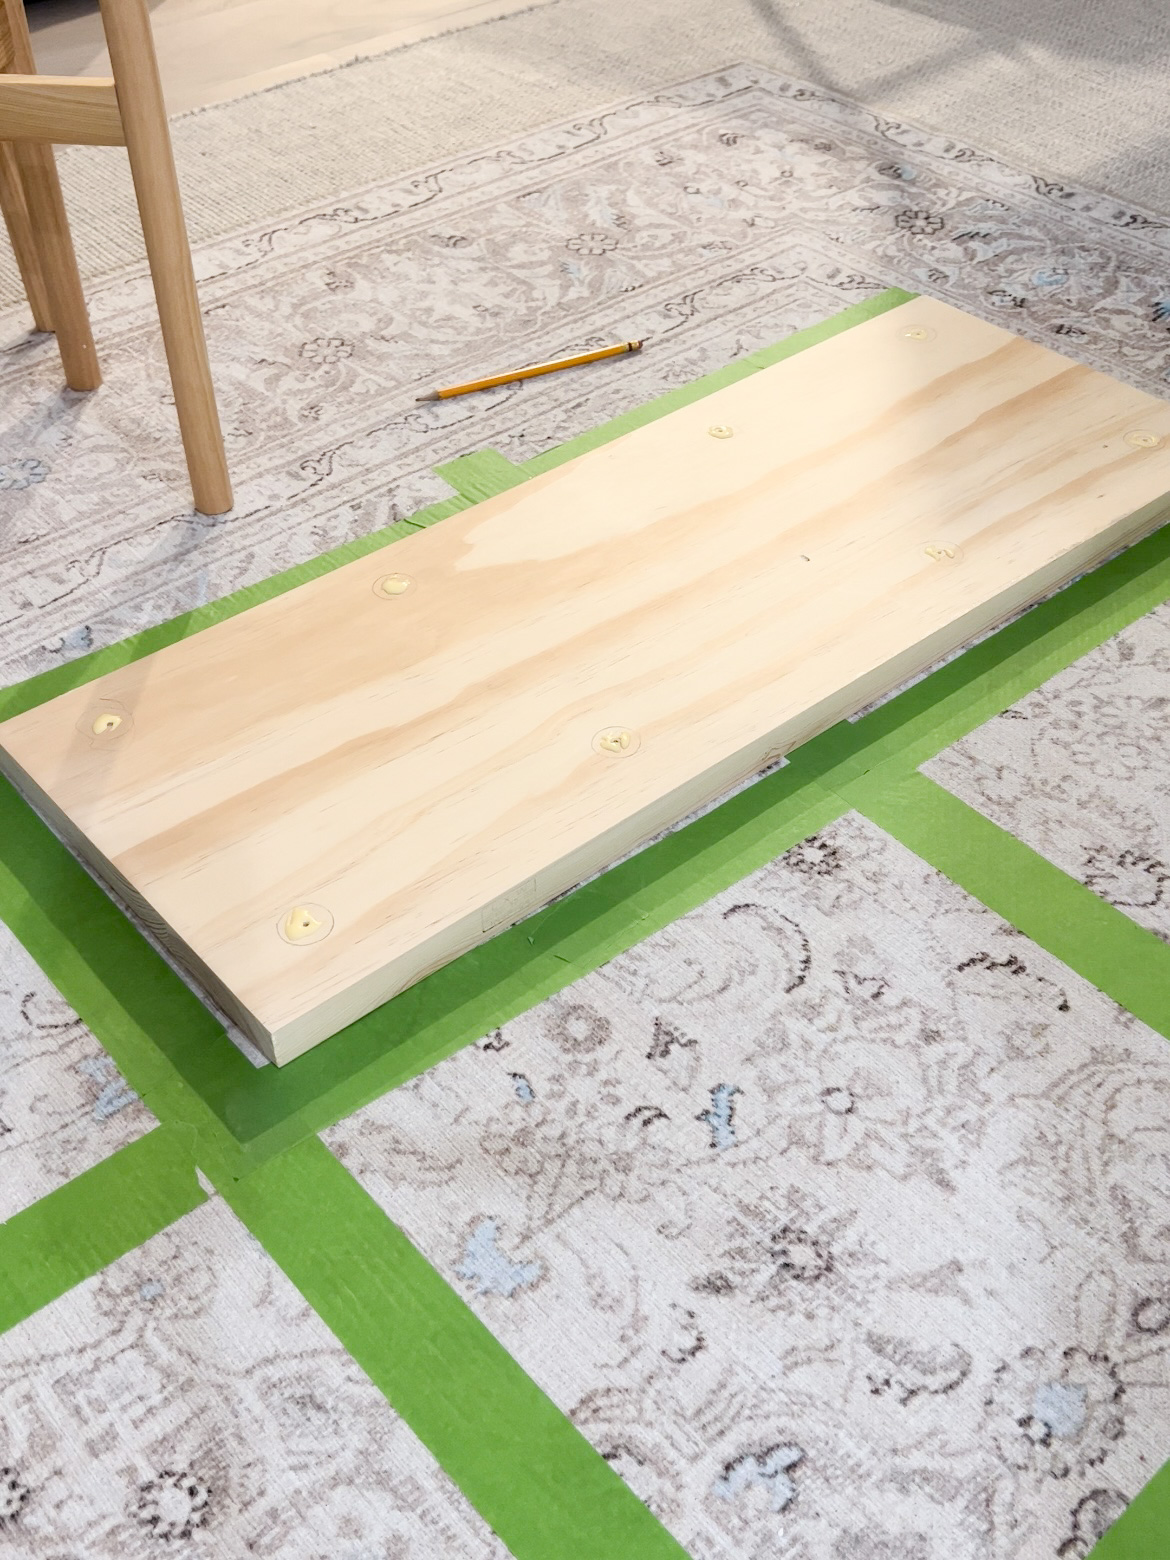
Add a dot of glue to each circle and place the legs back into their position. Once the glue is dried, flip the bench over and screw into each leg from the top. Allowing the glue to dry acts as a clamp to prevent slipping when adding the screw.

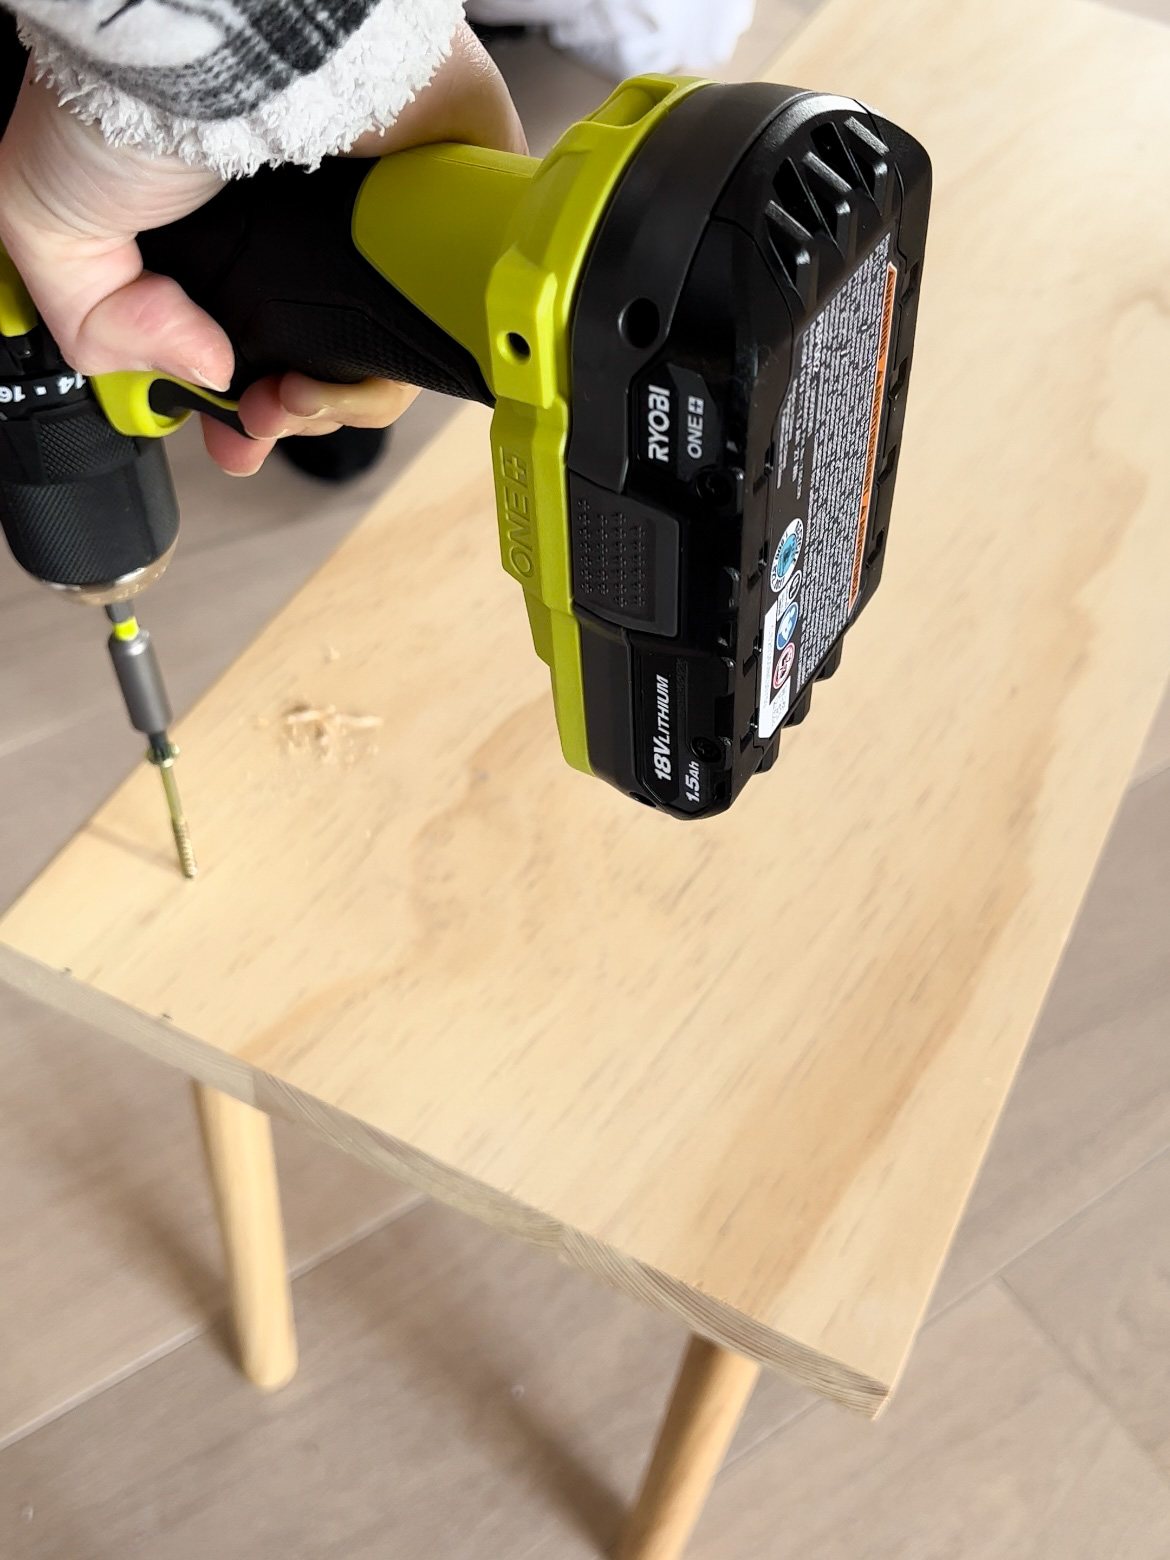
The pilot hole is CRUCIAL in this step because you do not want to split the legs. I used 2 1/2′ star head screws and drilled them in slowly. A handful of people mentioned that the legs would even be more secure if they were inset. You could use a forstner bit to do something like this!
Whitewashing the Bench
This step is totally optional. Our bedroom contains a ton of whitewashed wood, so the yellow/brown natural look of the plant stands was a little too intense.
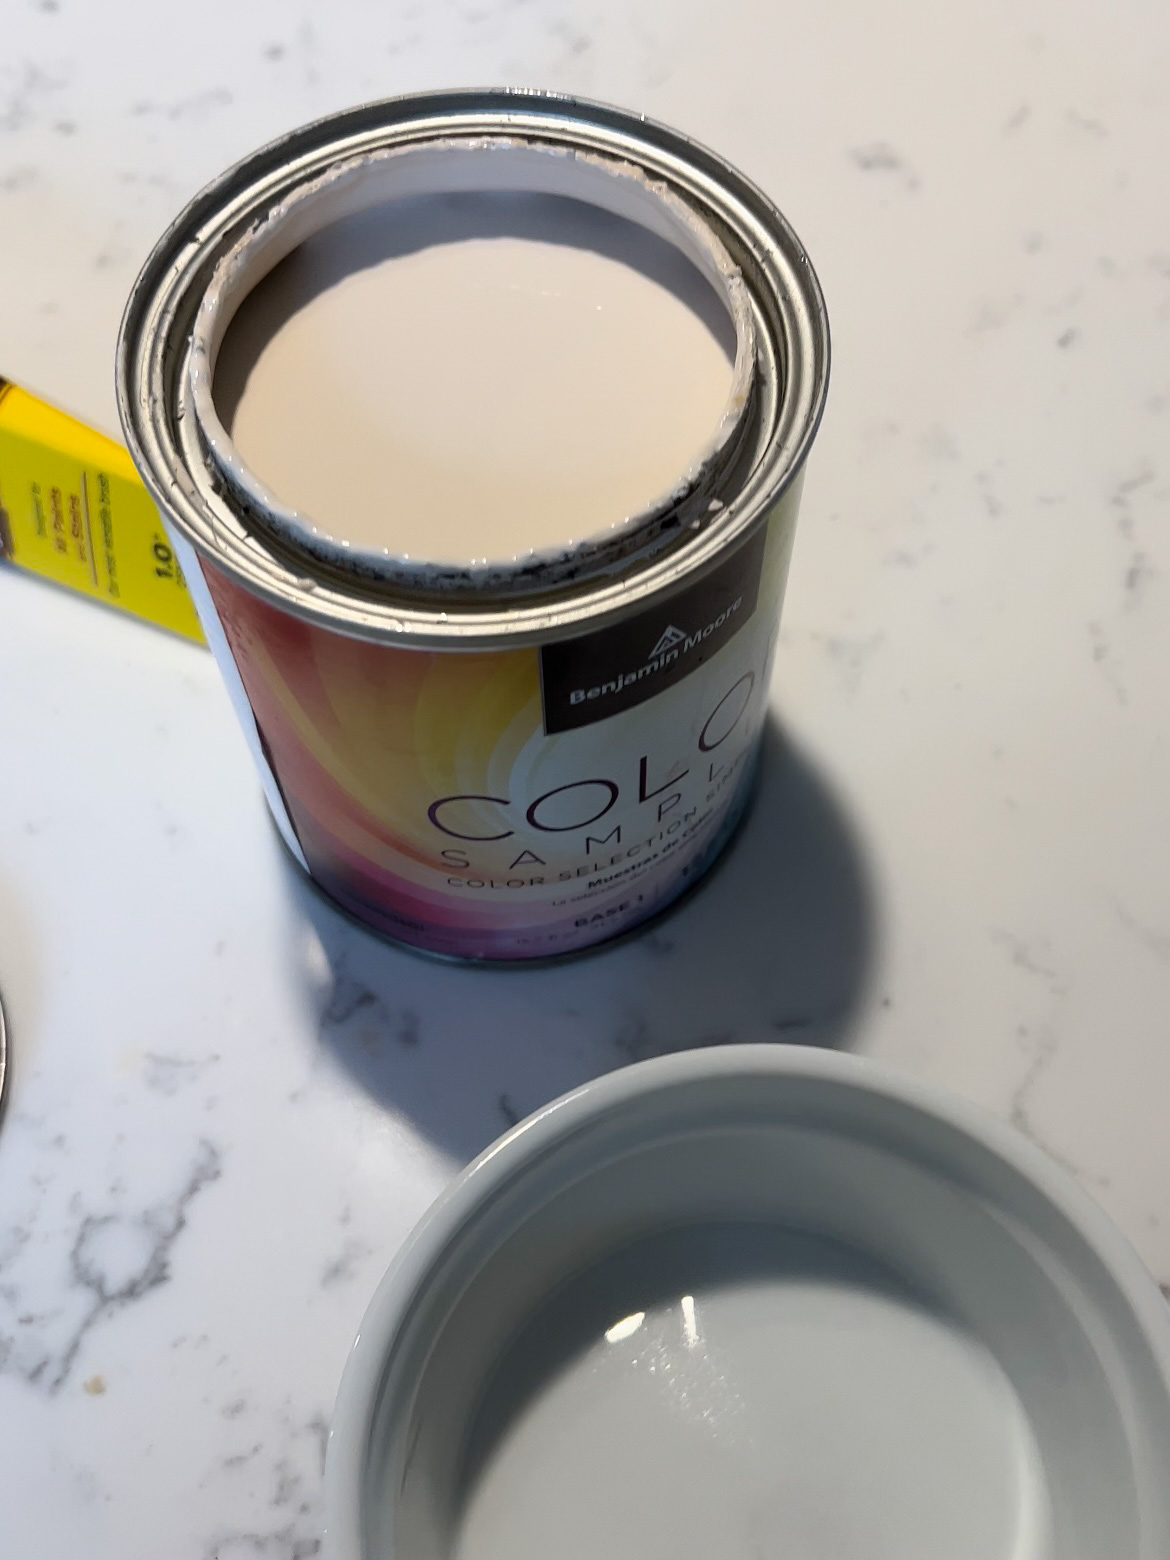
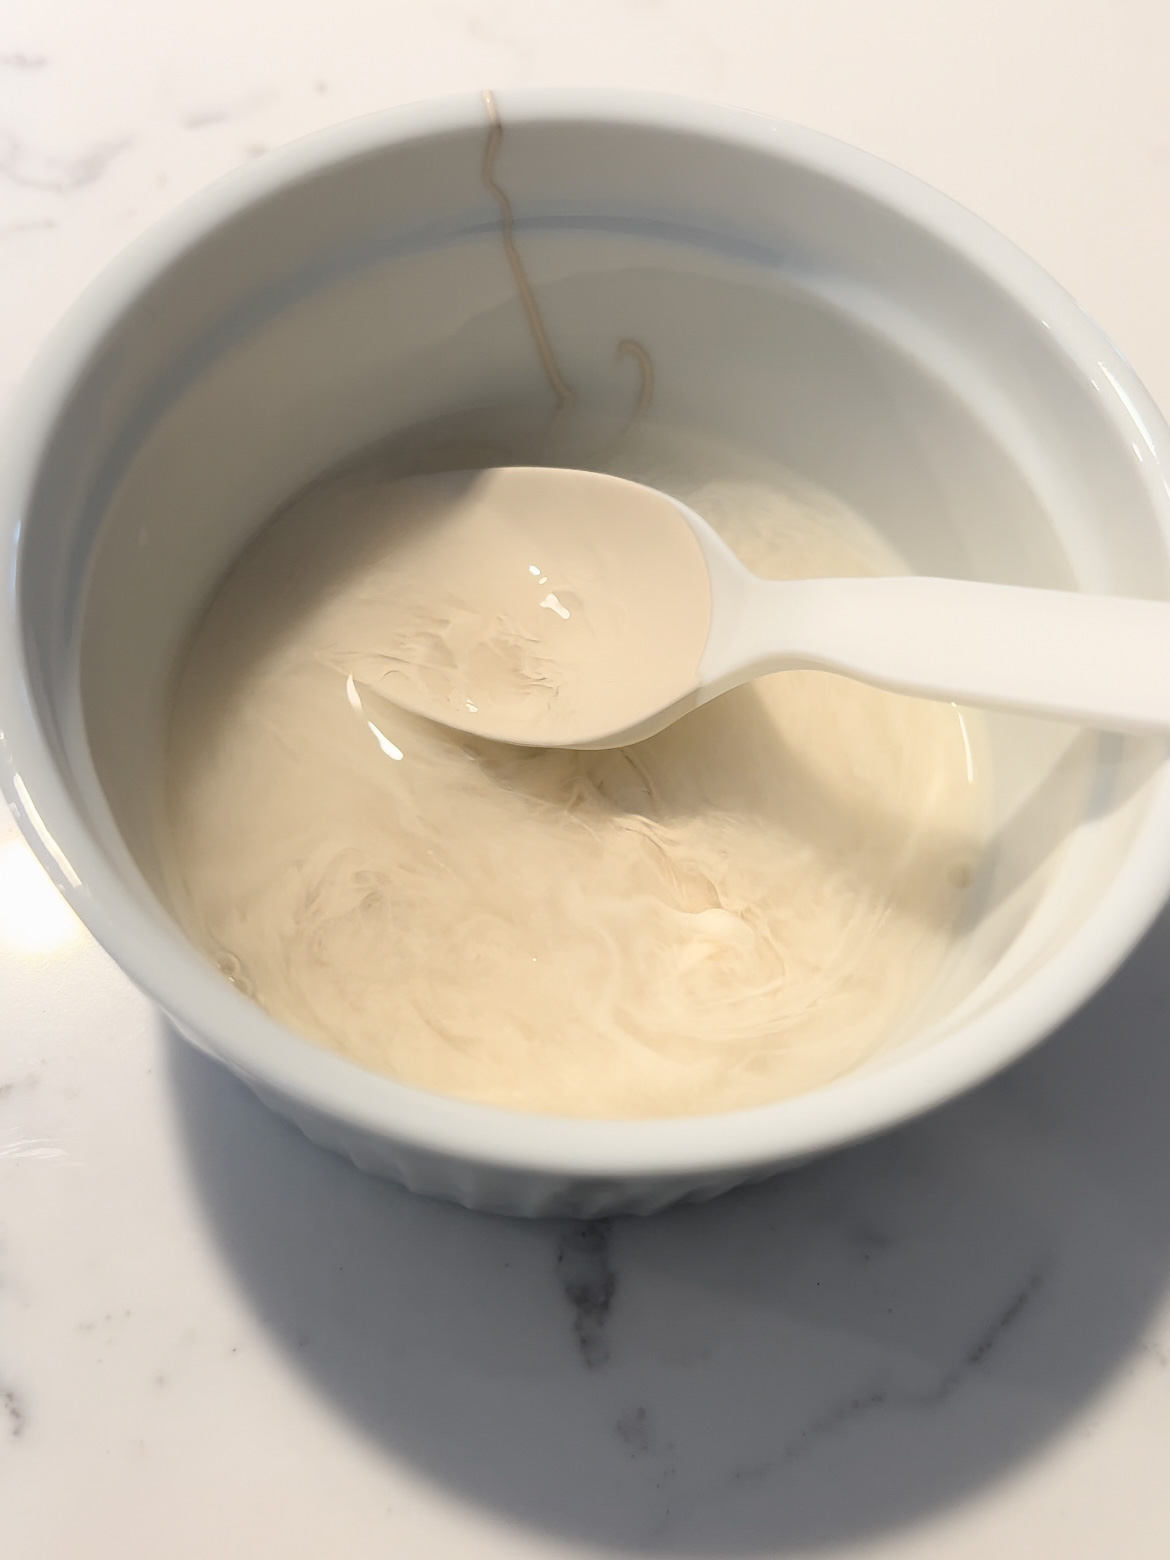
I used the paint color Benjamin Moore White Oaks, and diluted it to about 50% with water. Since the plant stands already have a finish on them, I didn’t think this would actually work. In the below left photo, you can see how weird the diluted paint brushed onto the legs.
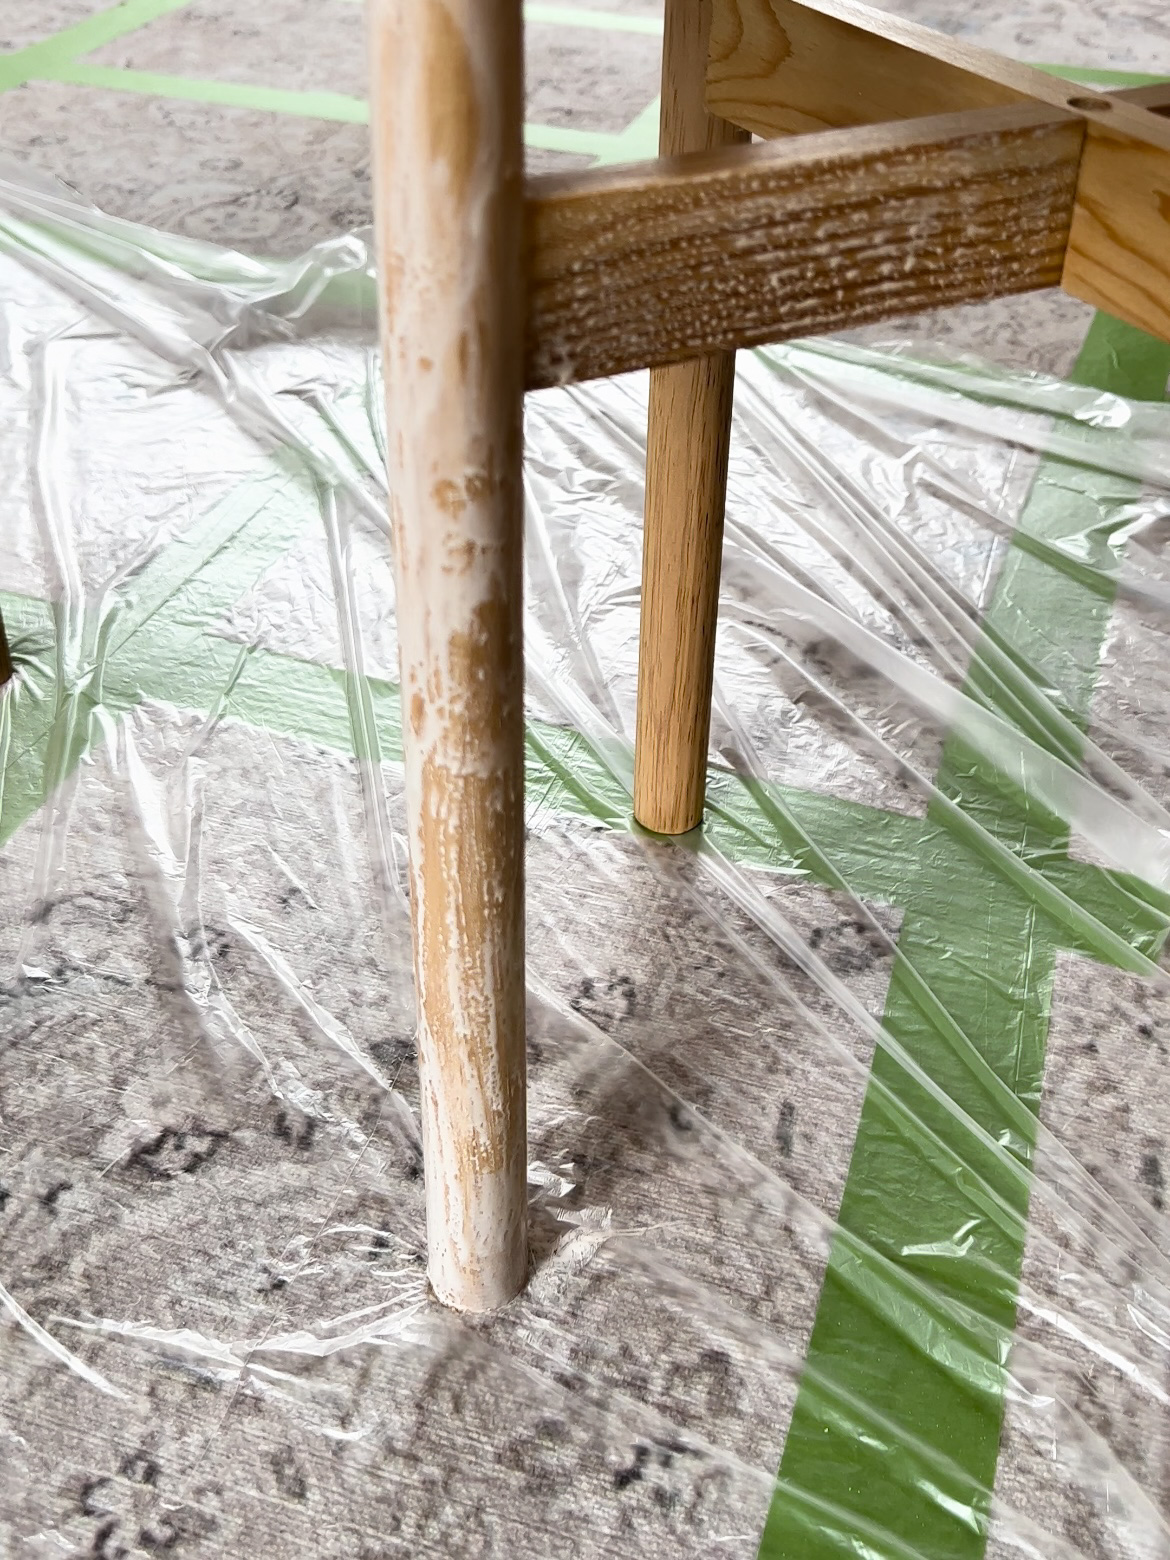
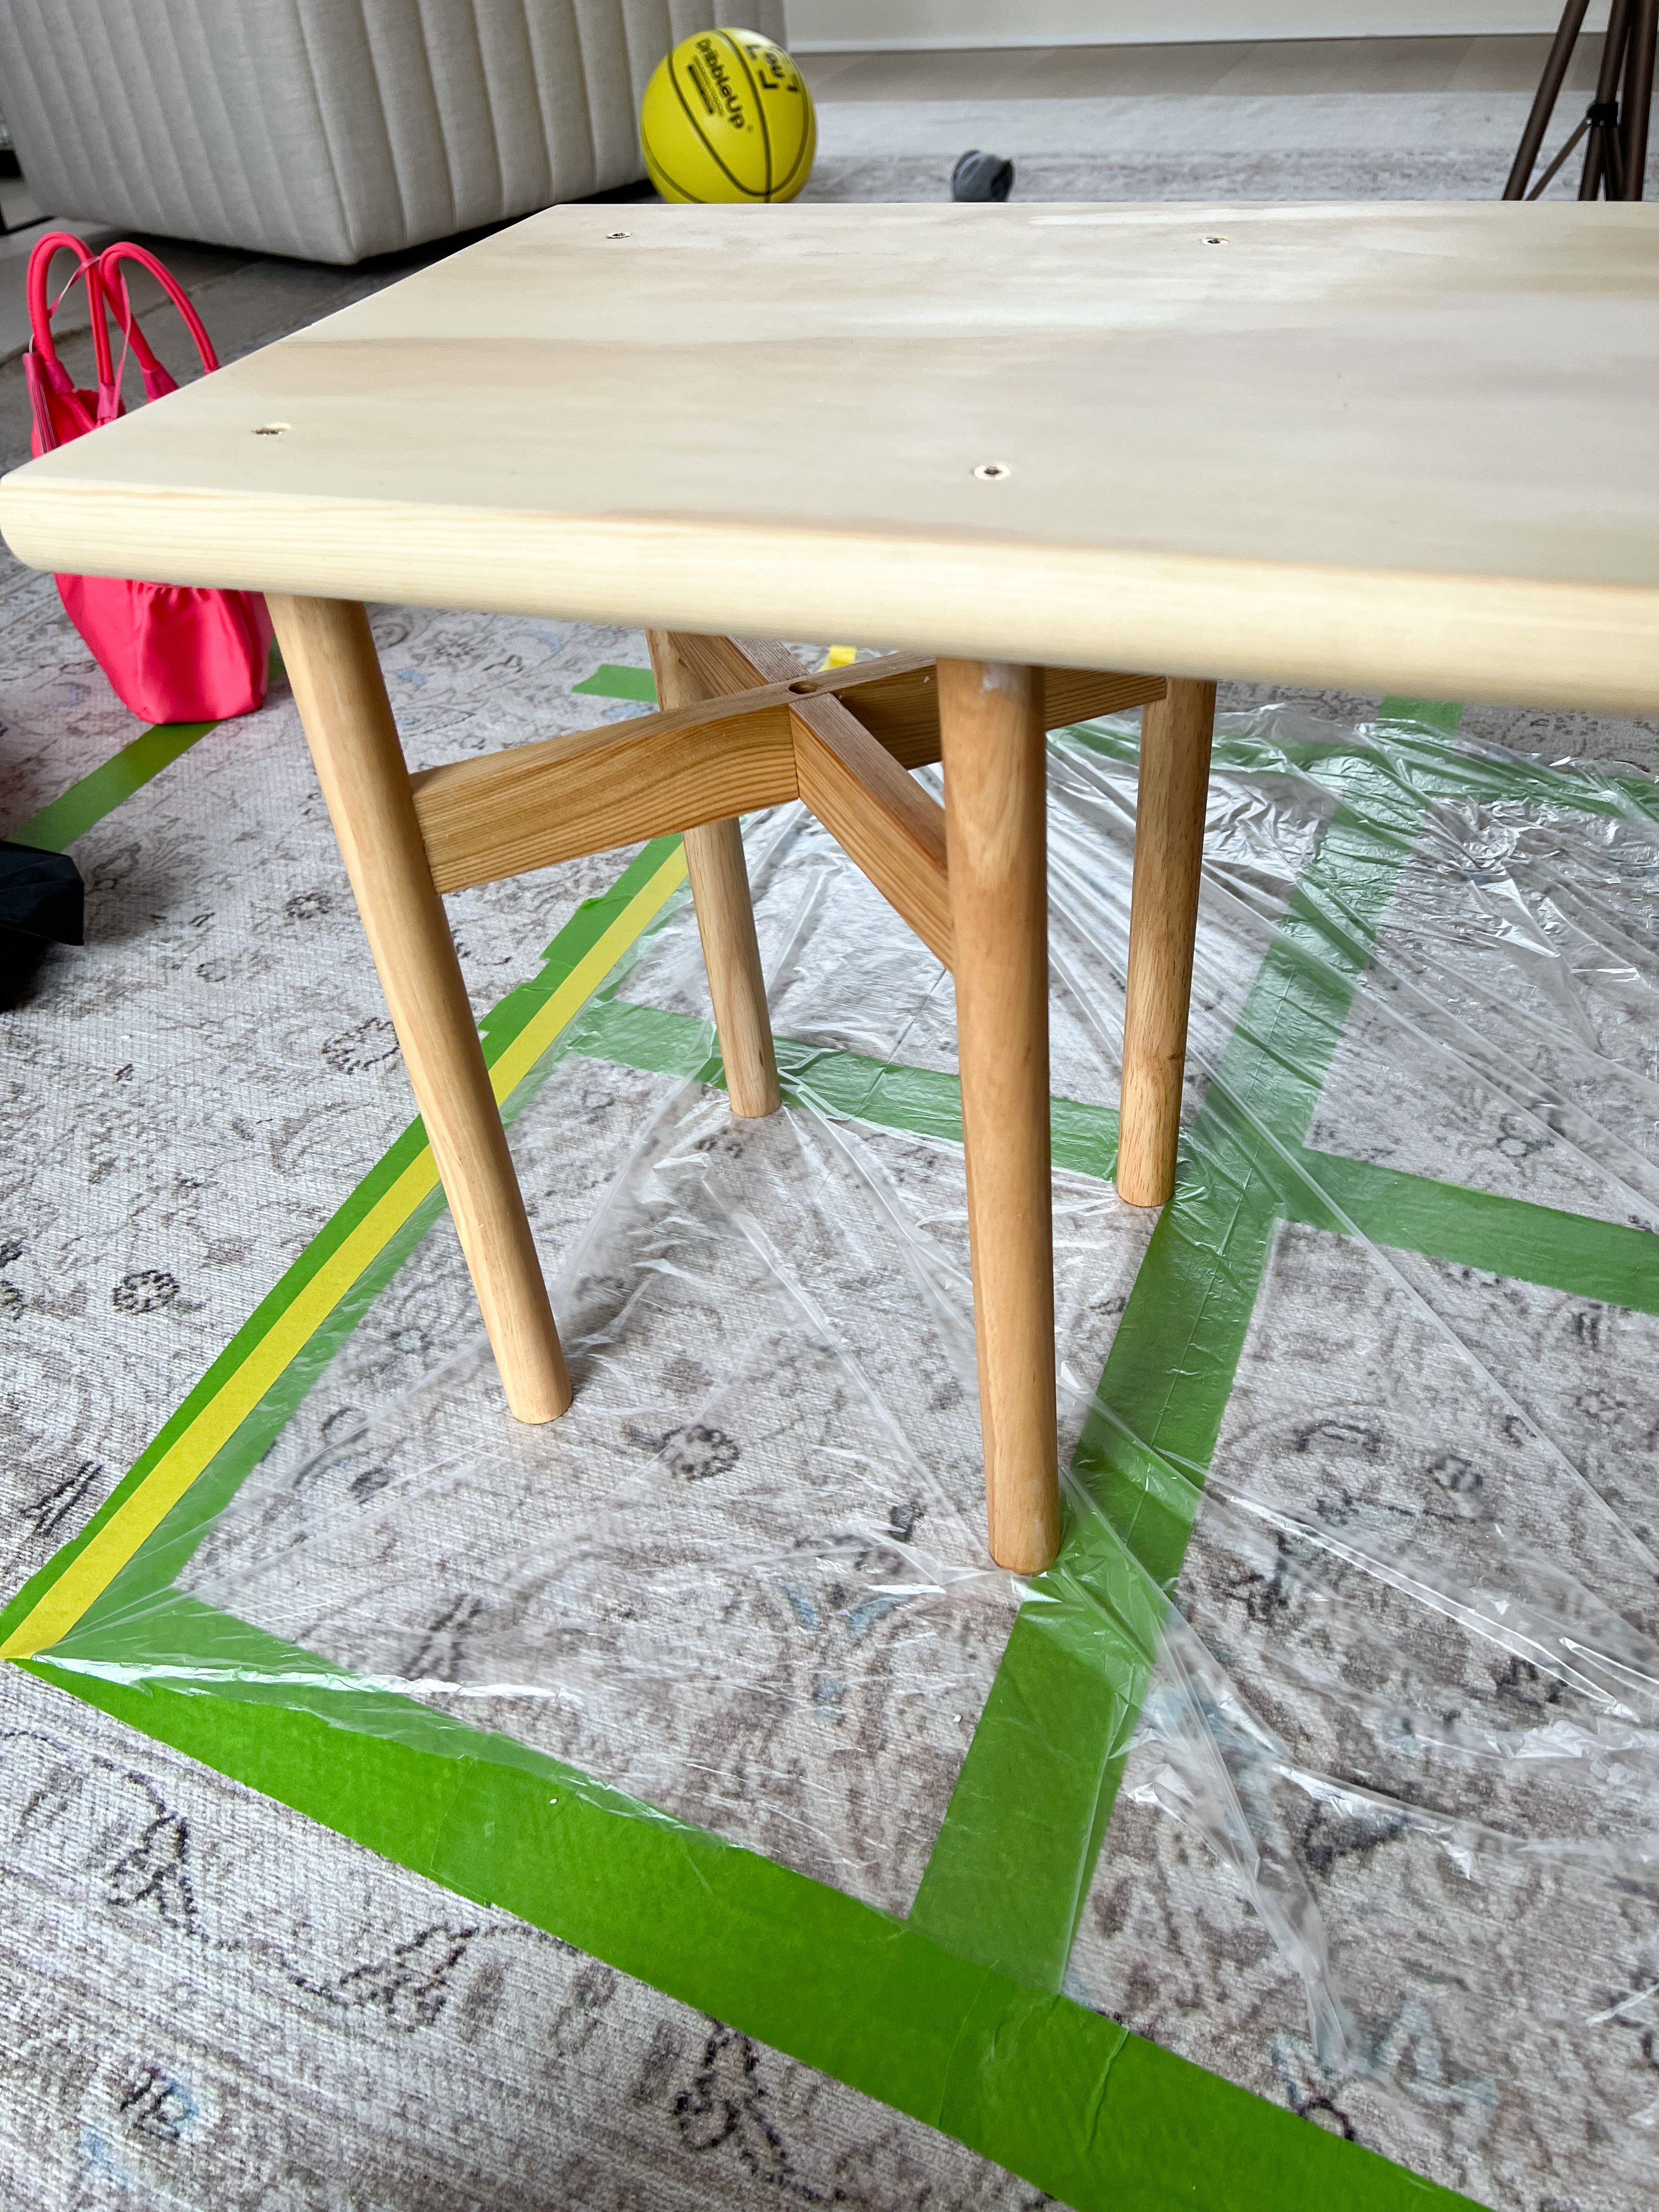
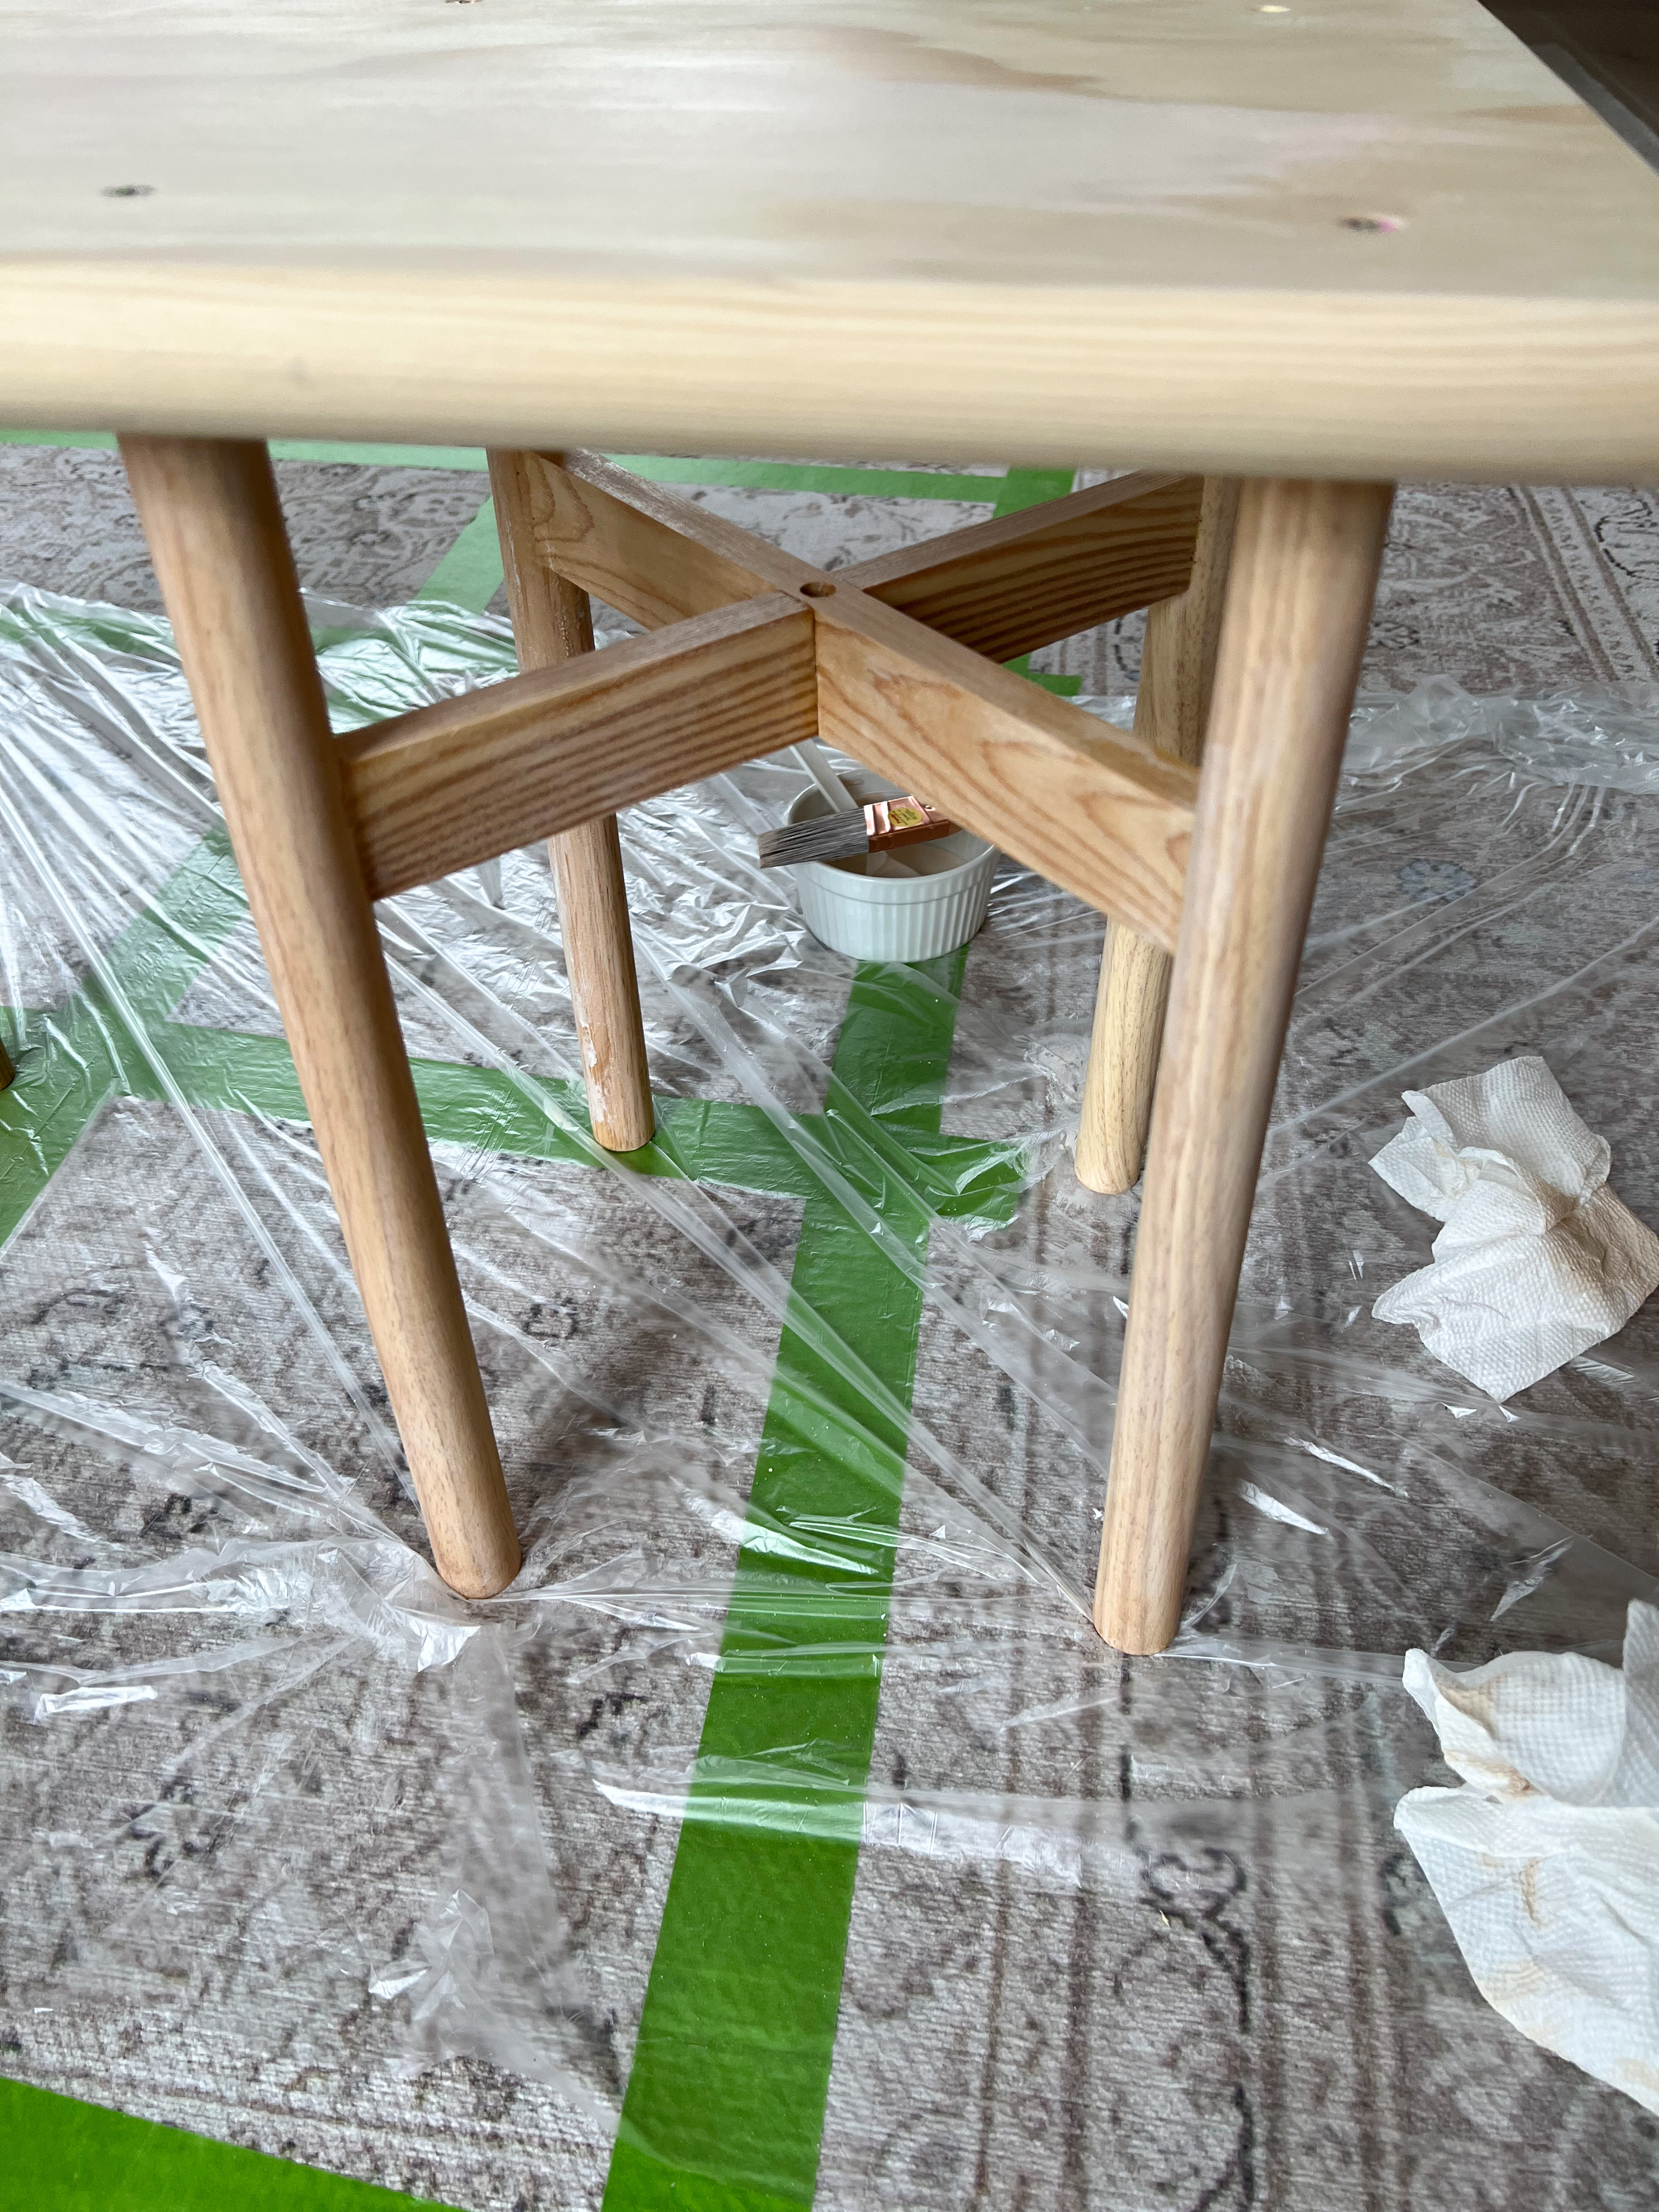
However, once I wiped off the paint, just enough stayed to give it the look I wanted. The picture in the middle shows the original legs. The photo to the right is after the whitewash layer. I did one leg at a time, painting and then wiping off with a paper towel, as I went.
The Cushion
Now for the cushion… My least favorite part because I’m not great at sewing haha. I cut a piece of foam to the size of the stair tread. A serrated bread knife worked great for this!
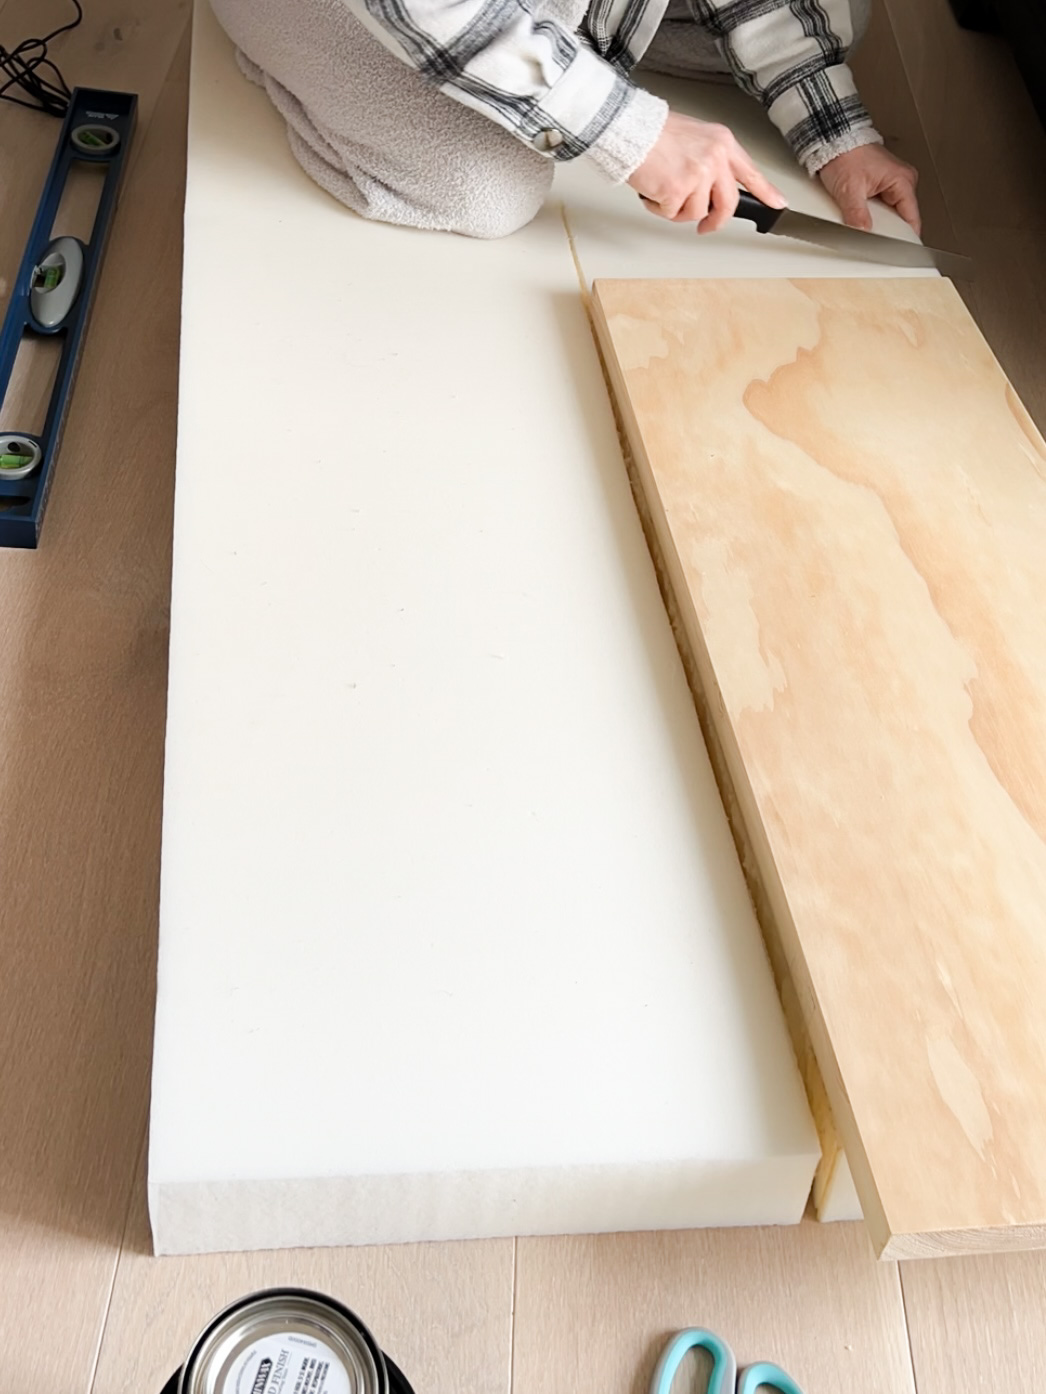

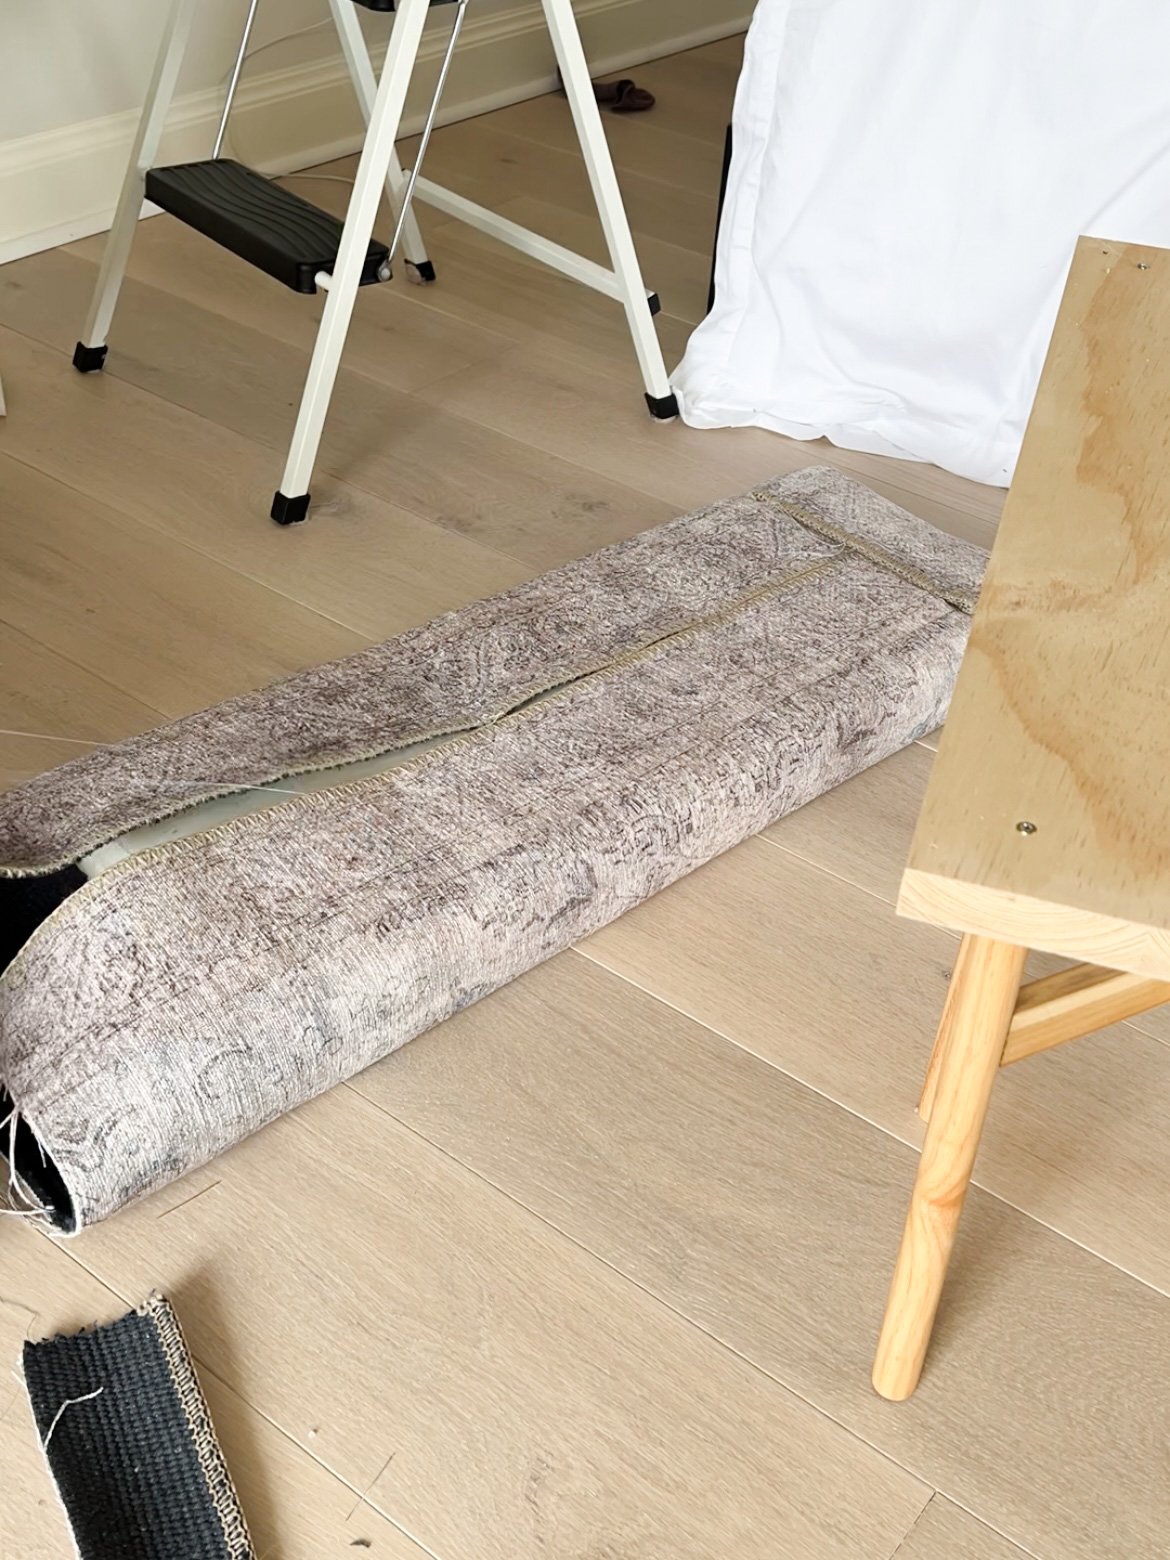
I then cut the runner in half and wrapped it tightly around the foam, sewing it together as I went. An easier way of doing this would be attaching the foam to a piece of plywood. Then you can use a staple gun to attach the runner to the underside of the plywood. I honestly may end up re-doing these cushions someday haha.
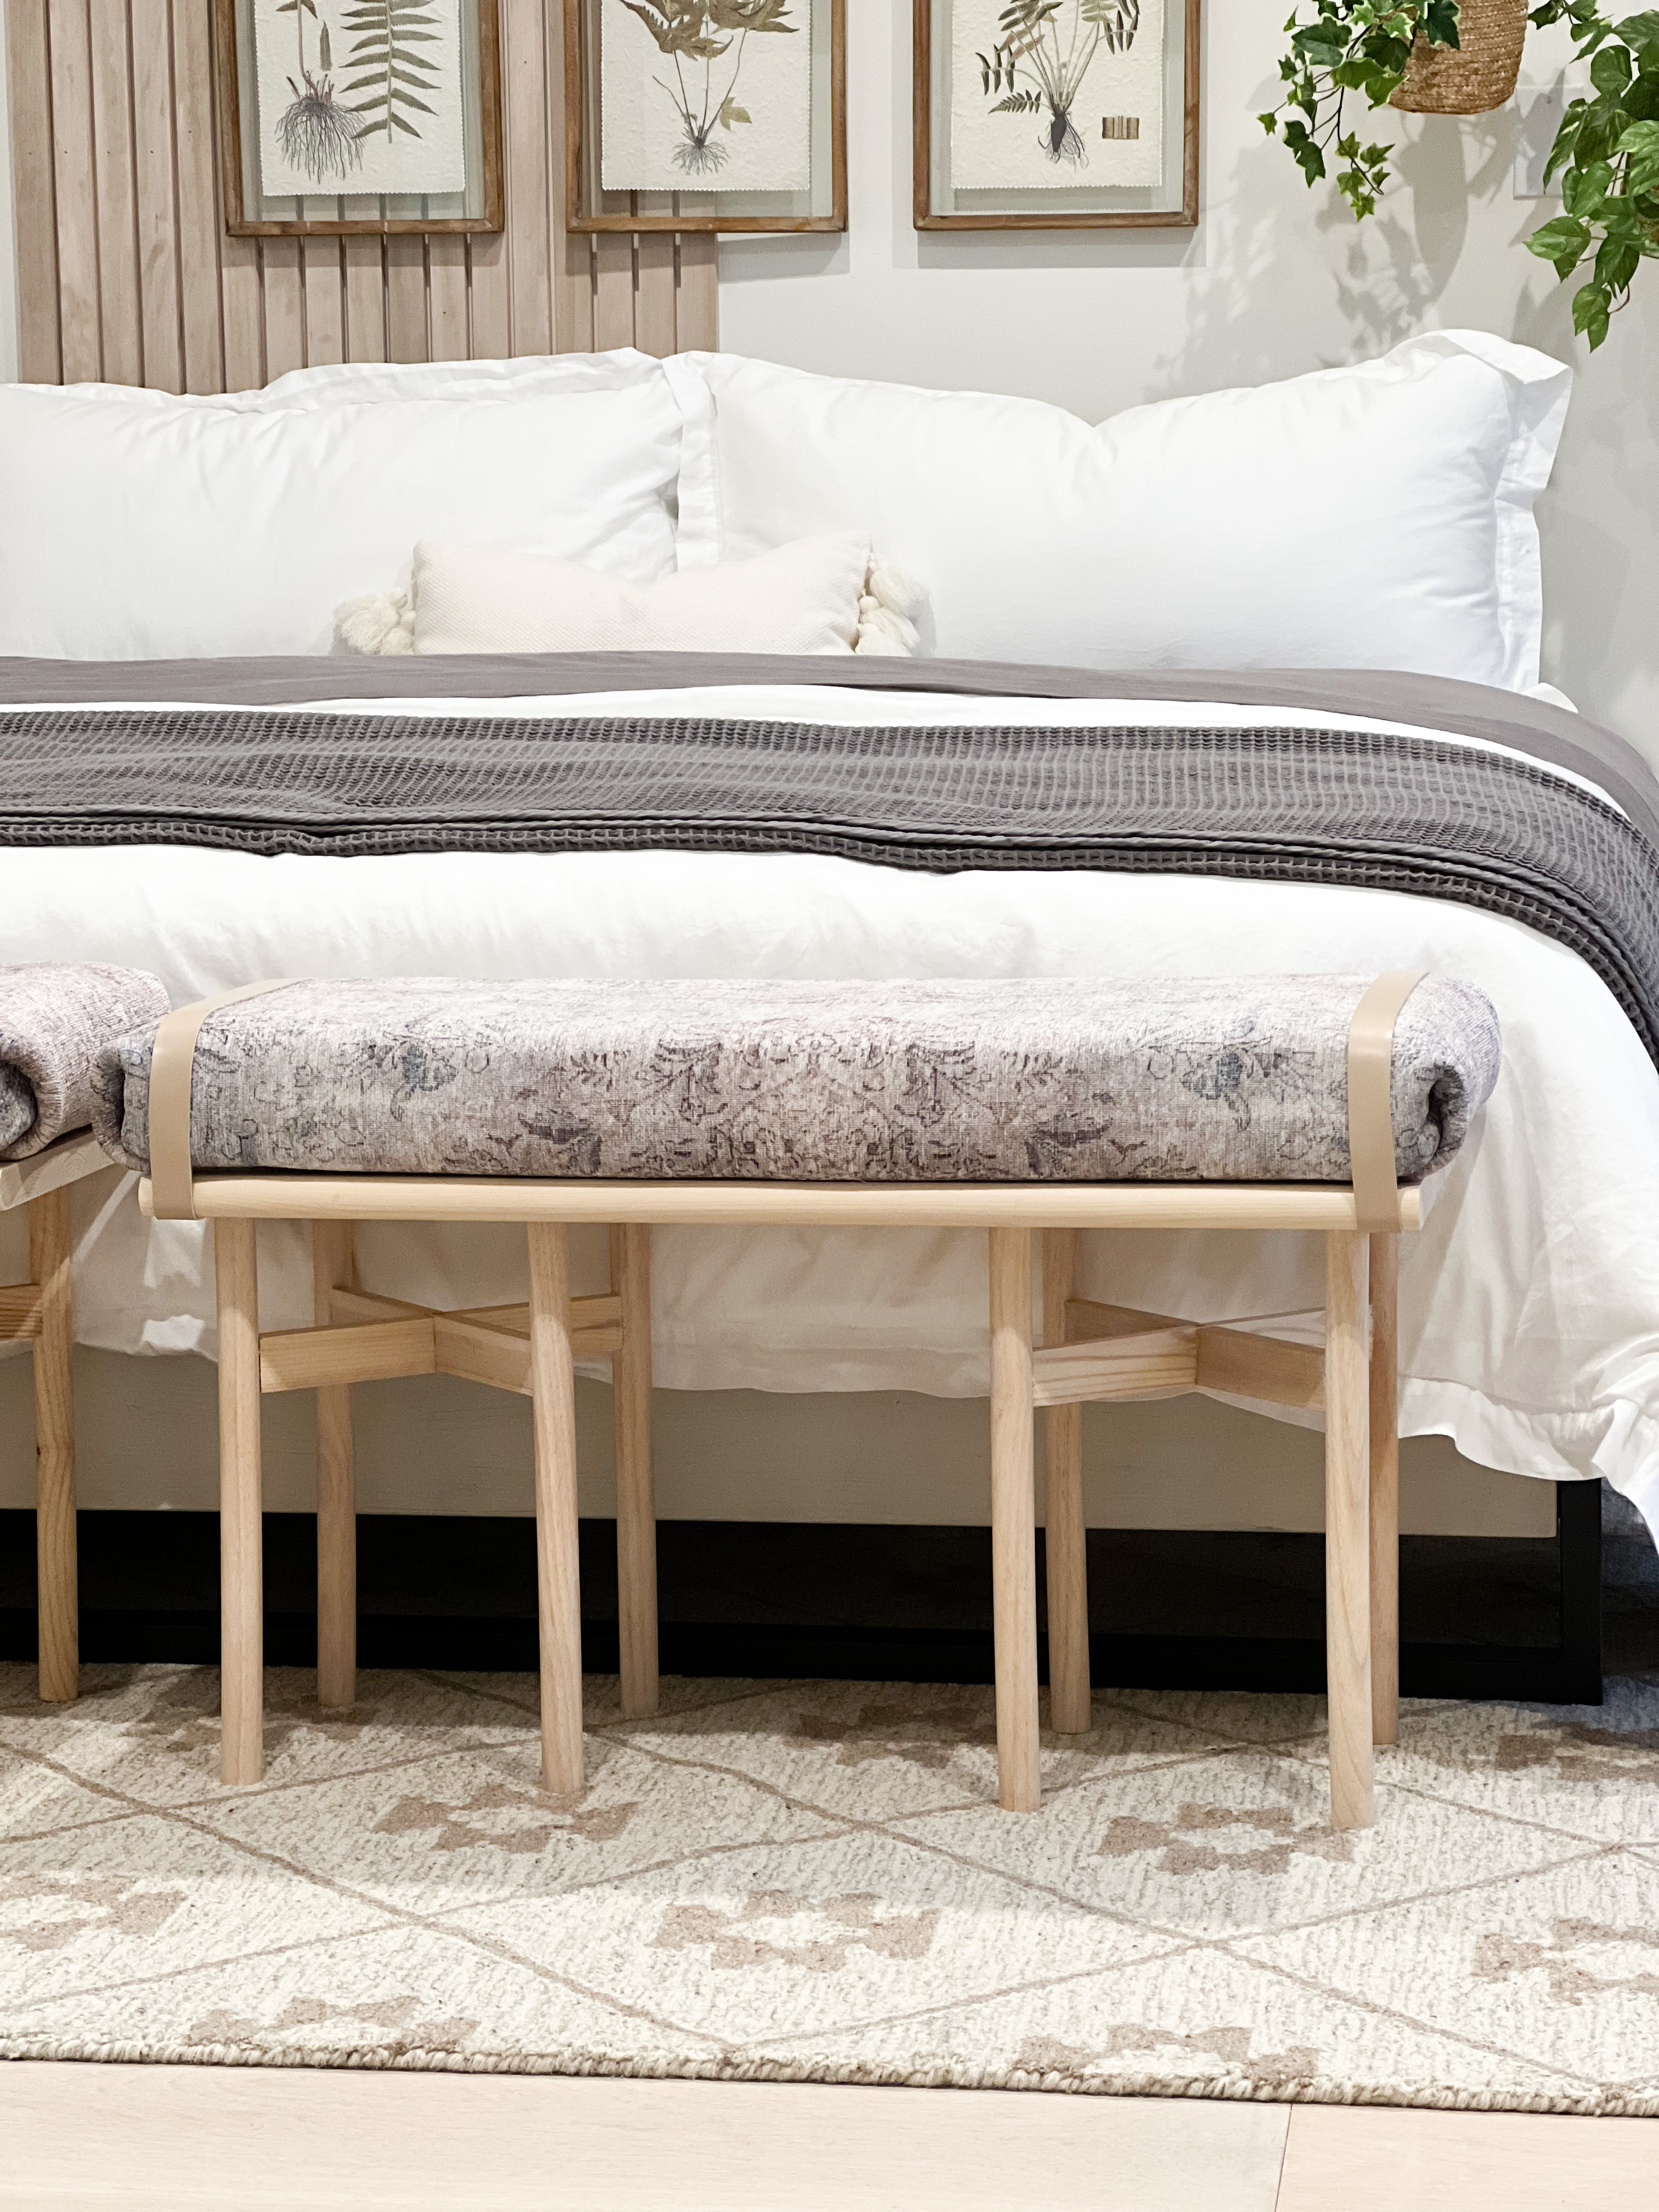
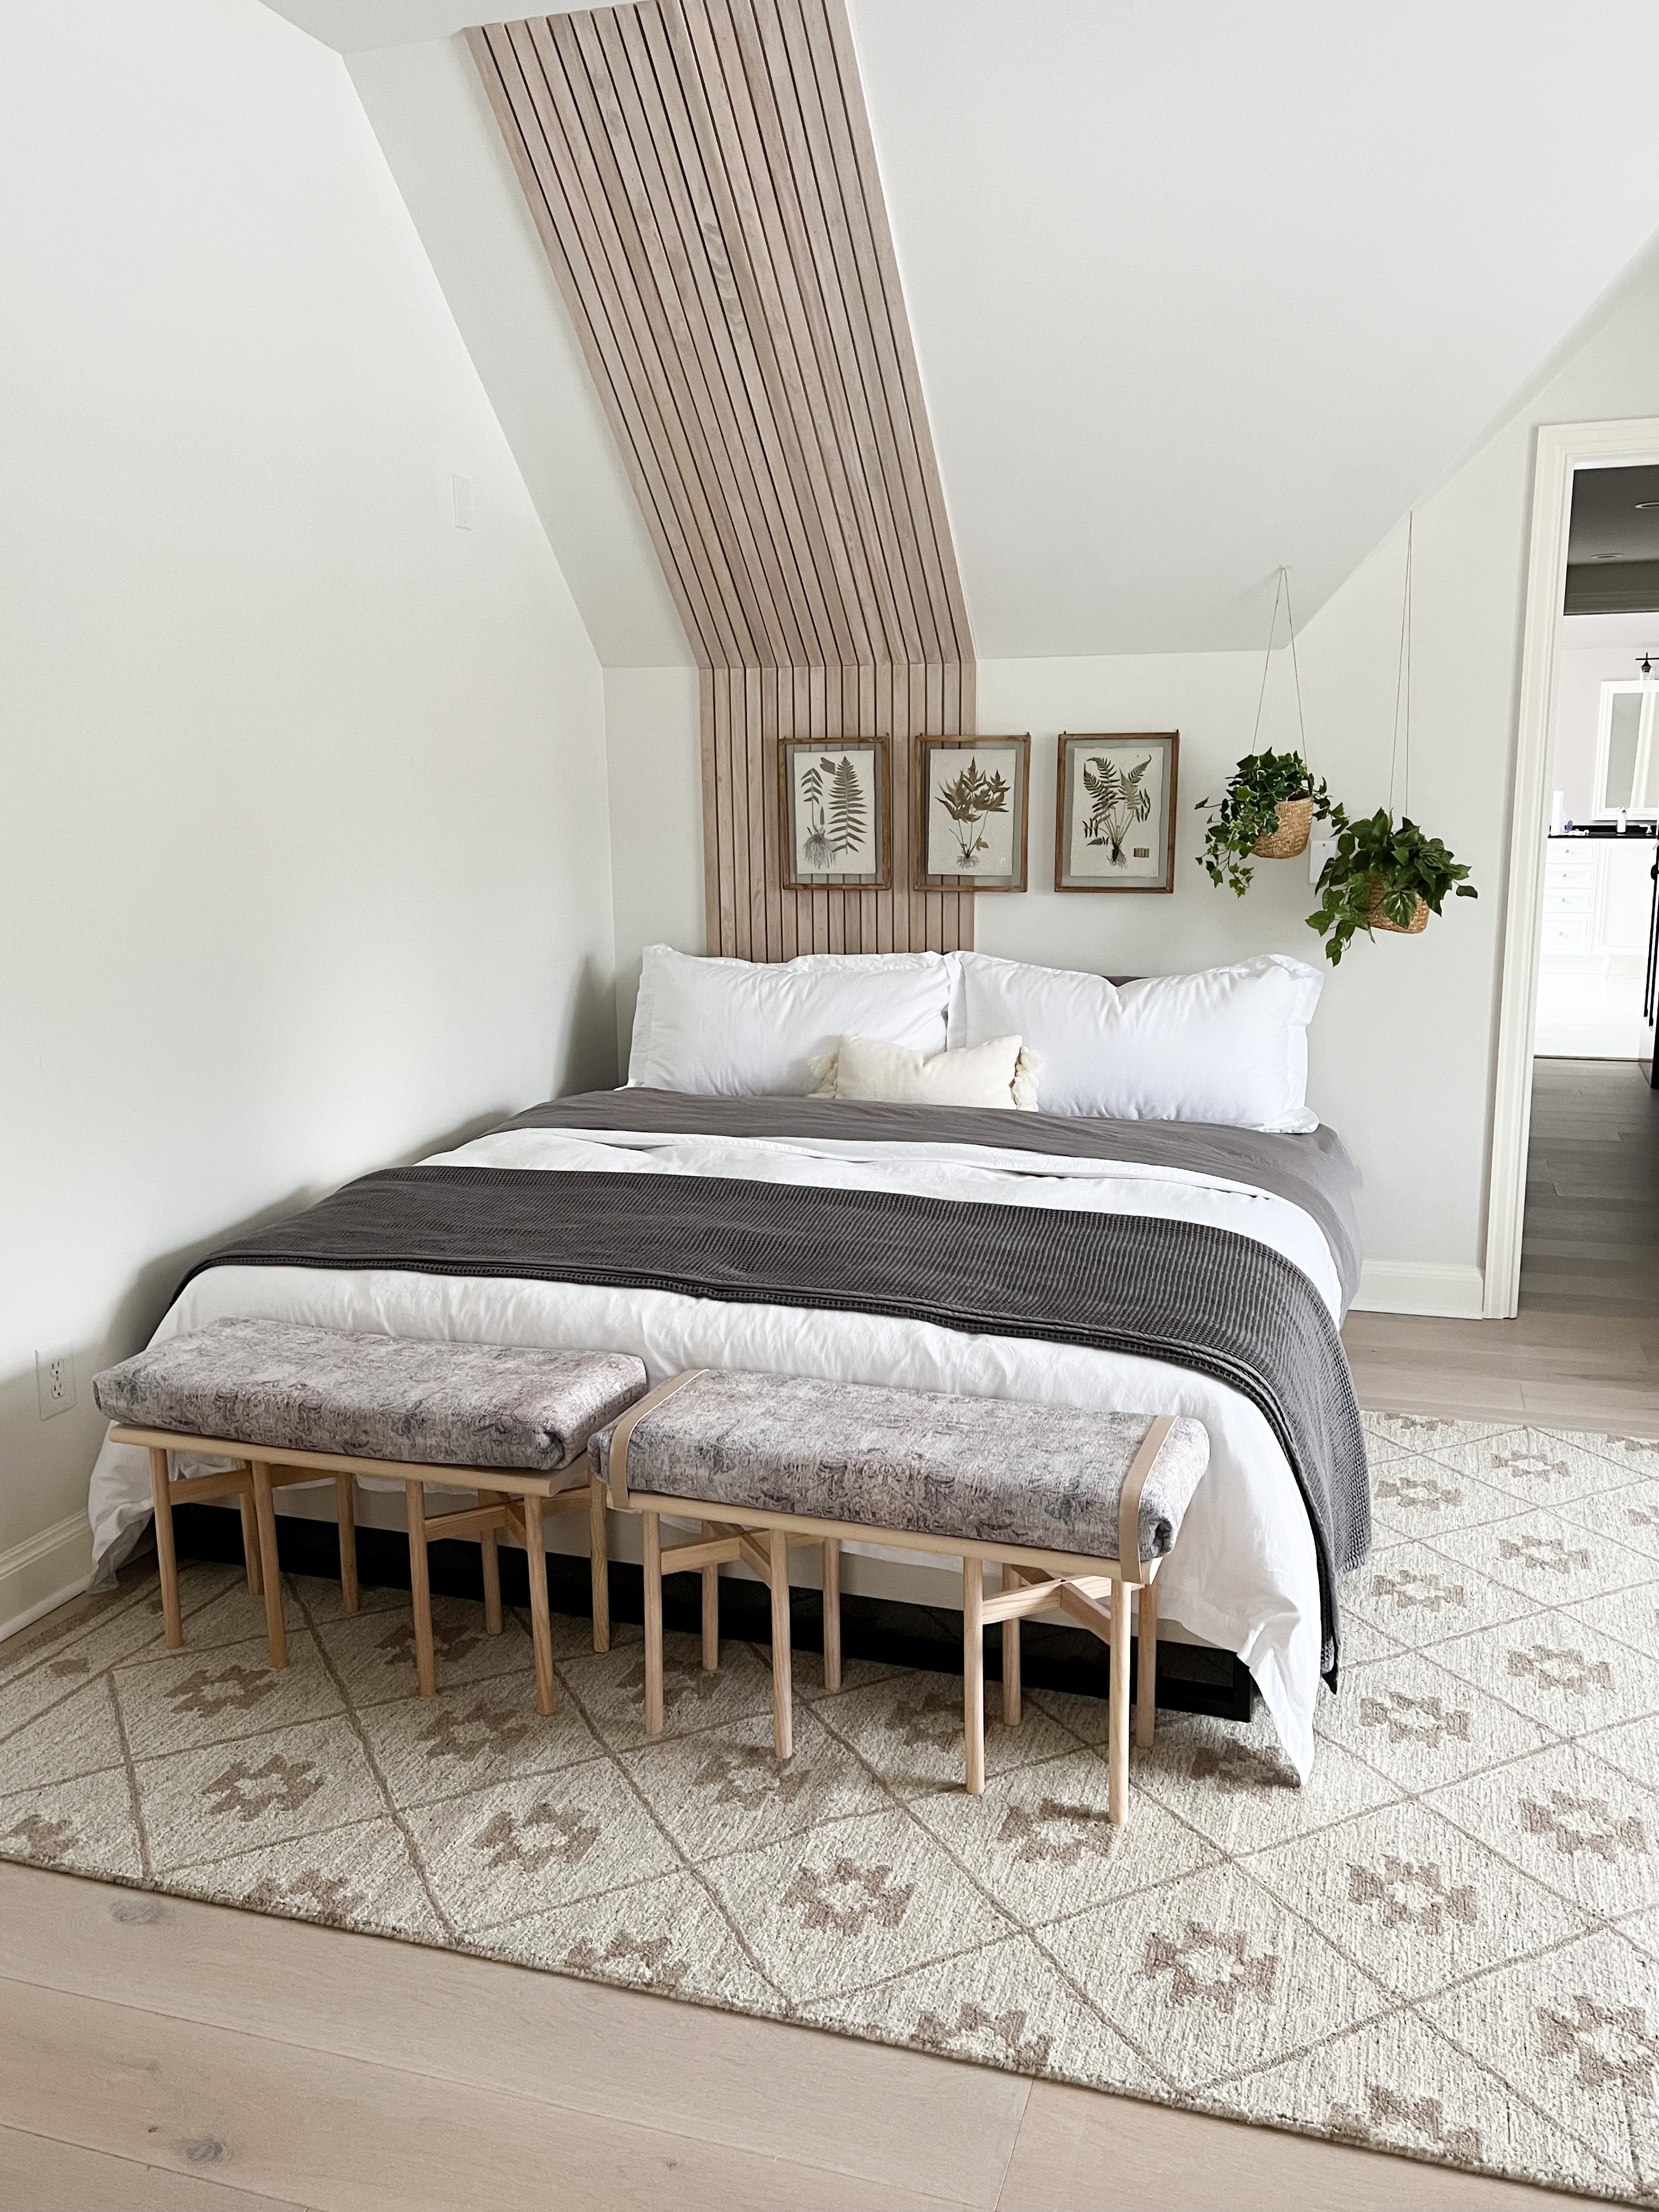
And that’s it! One of the easiest, most fun projects I’ve done recently…. and I LOVE the planter legs!!
Some links may contain affiliate links, please see disclosure, linked here.
