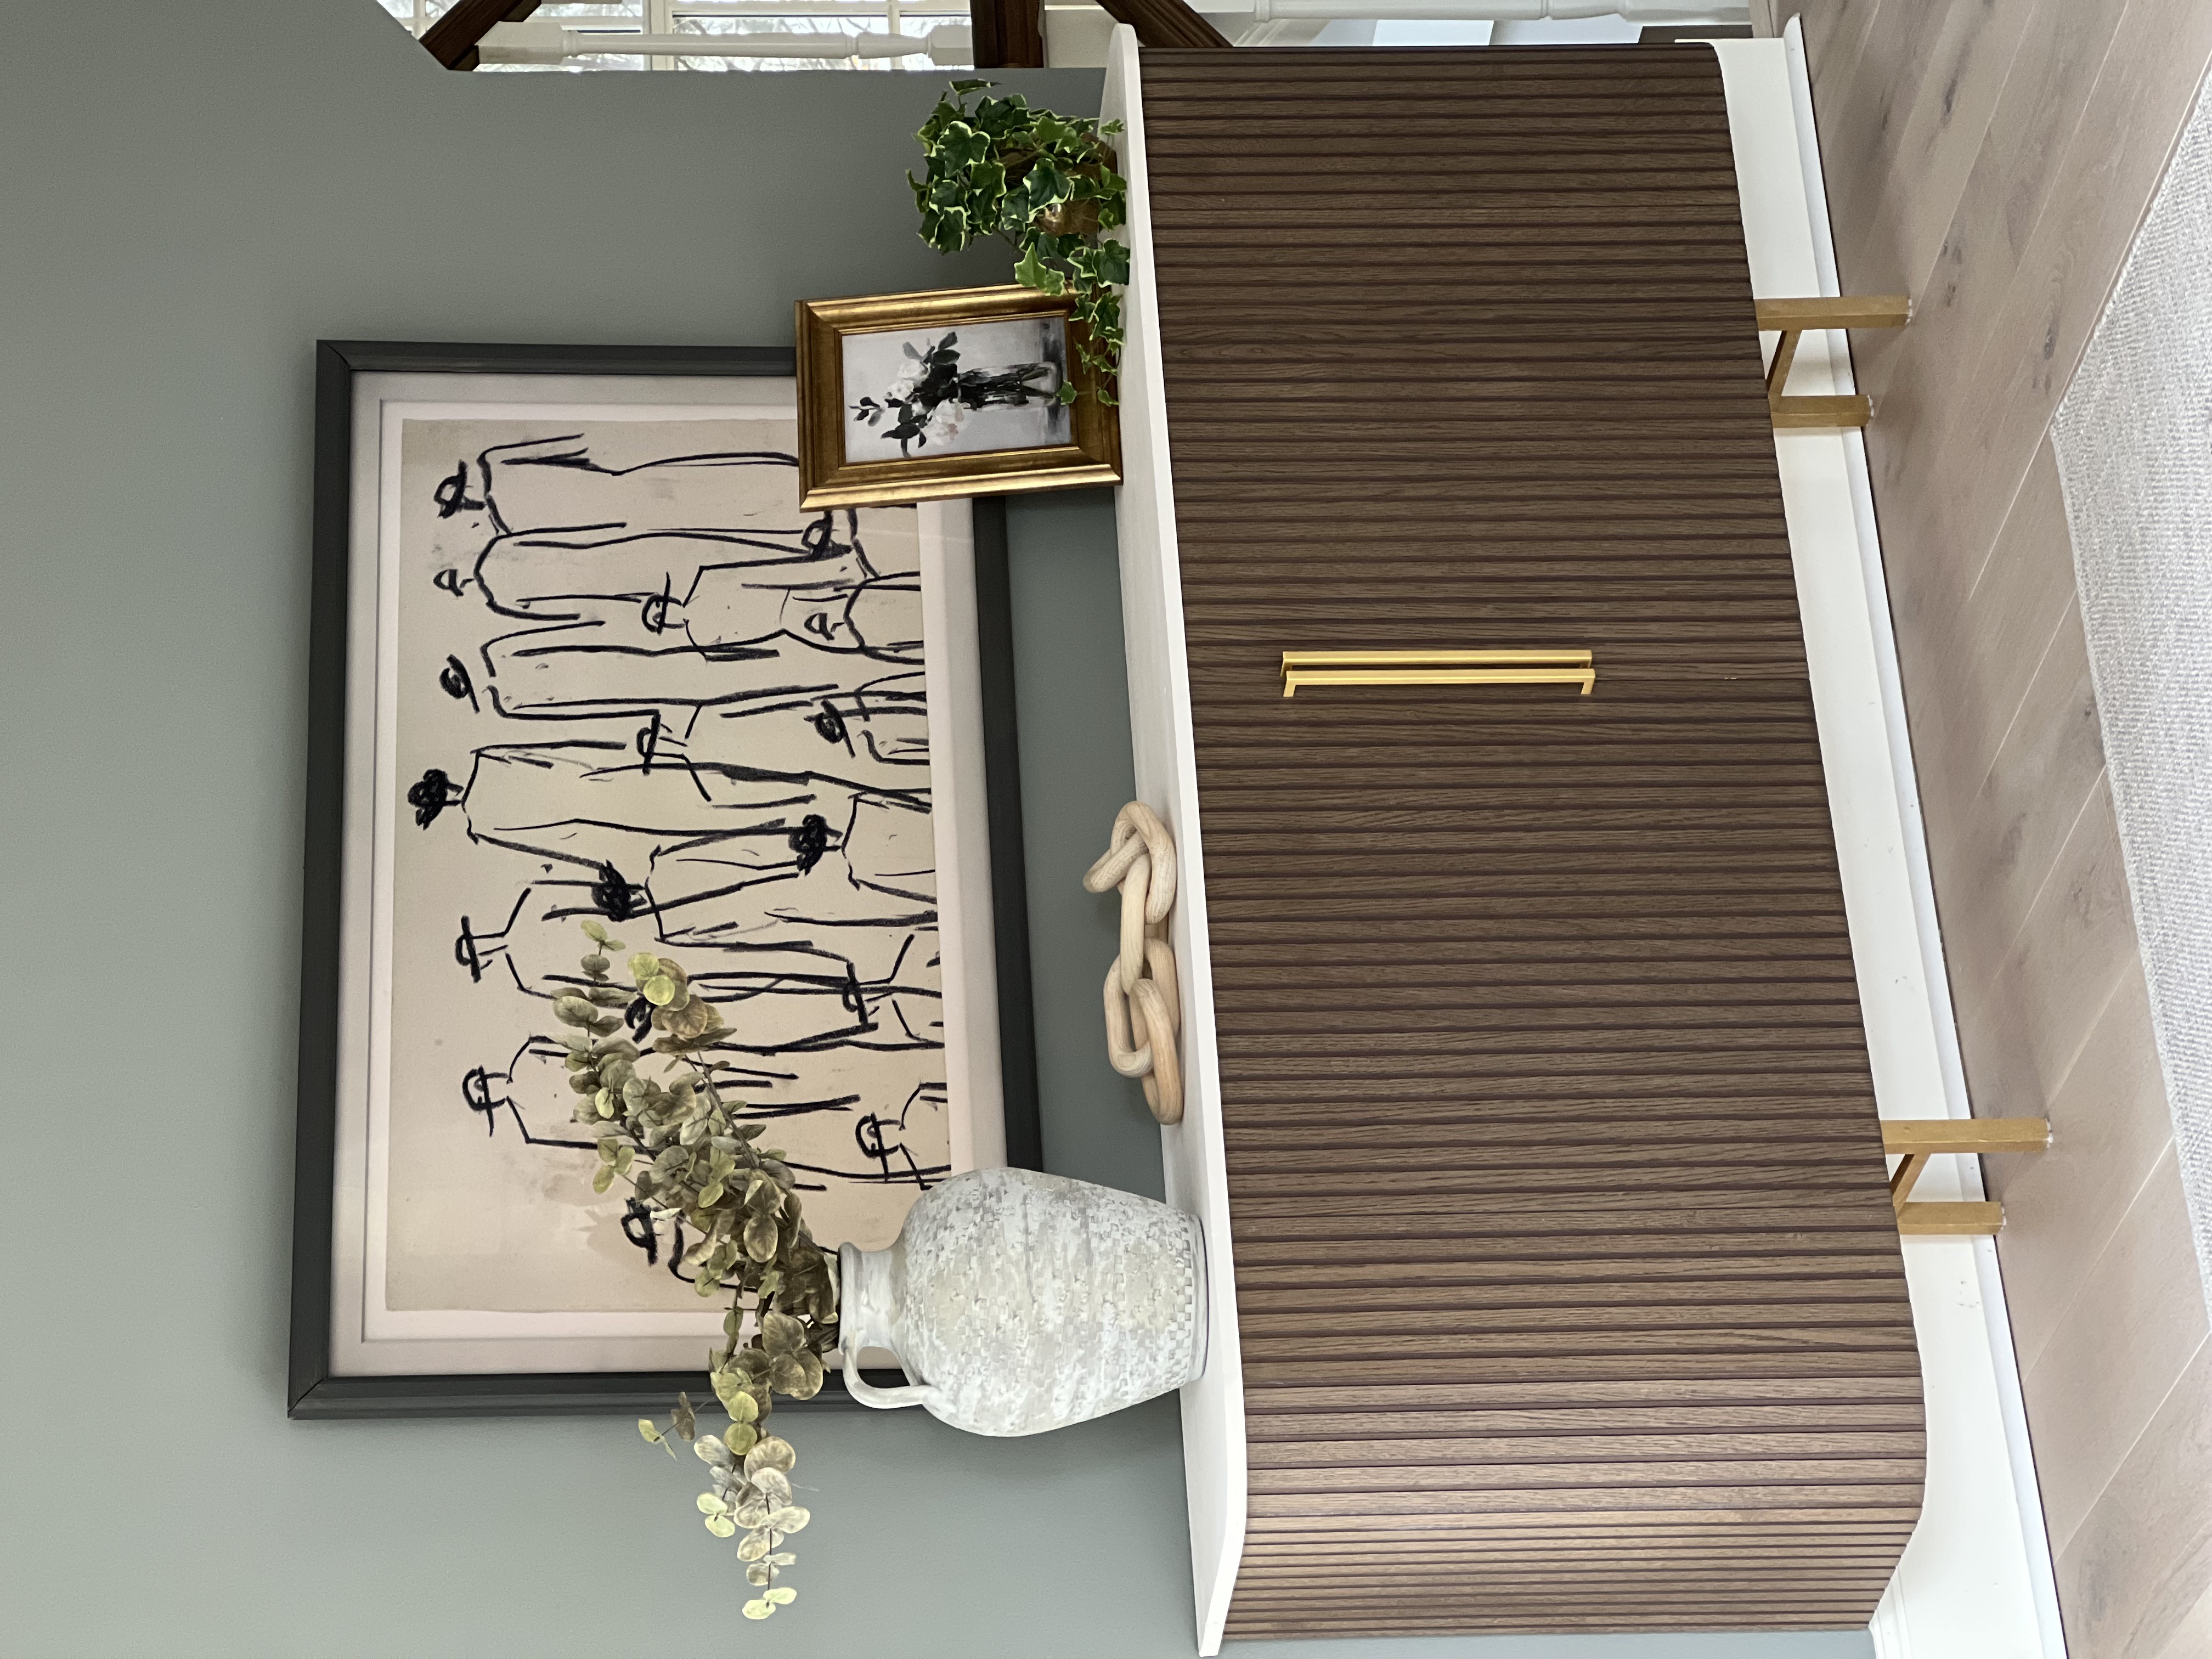
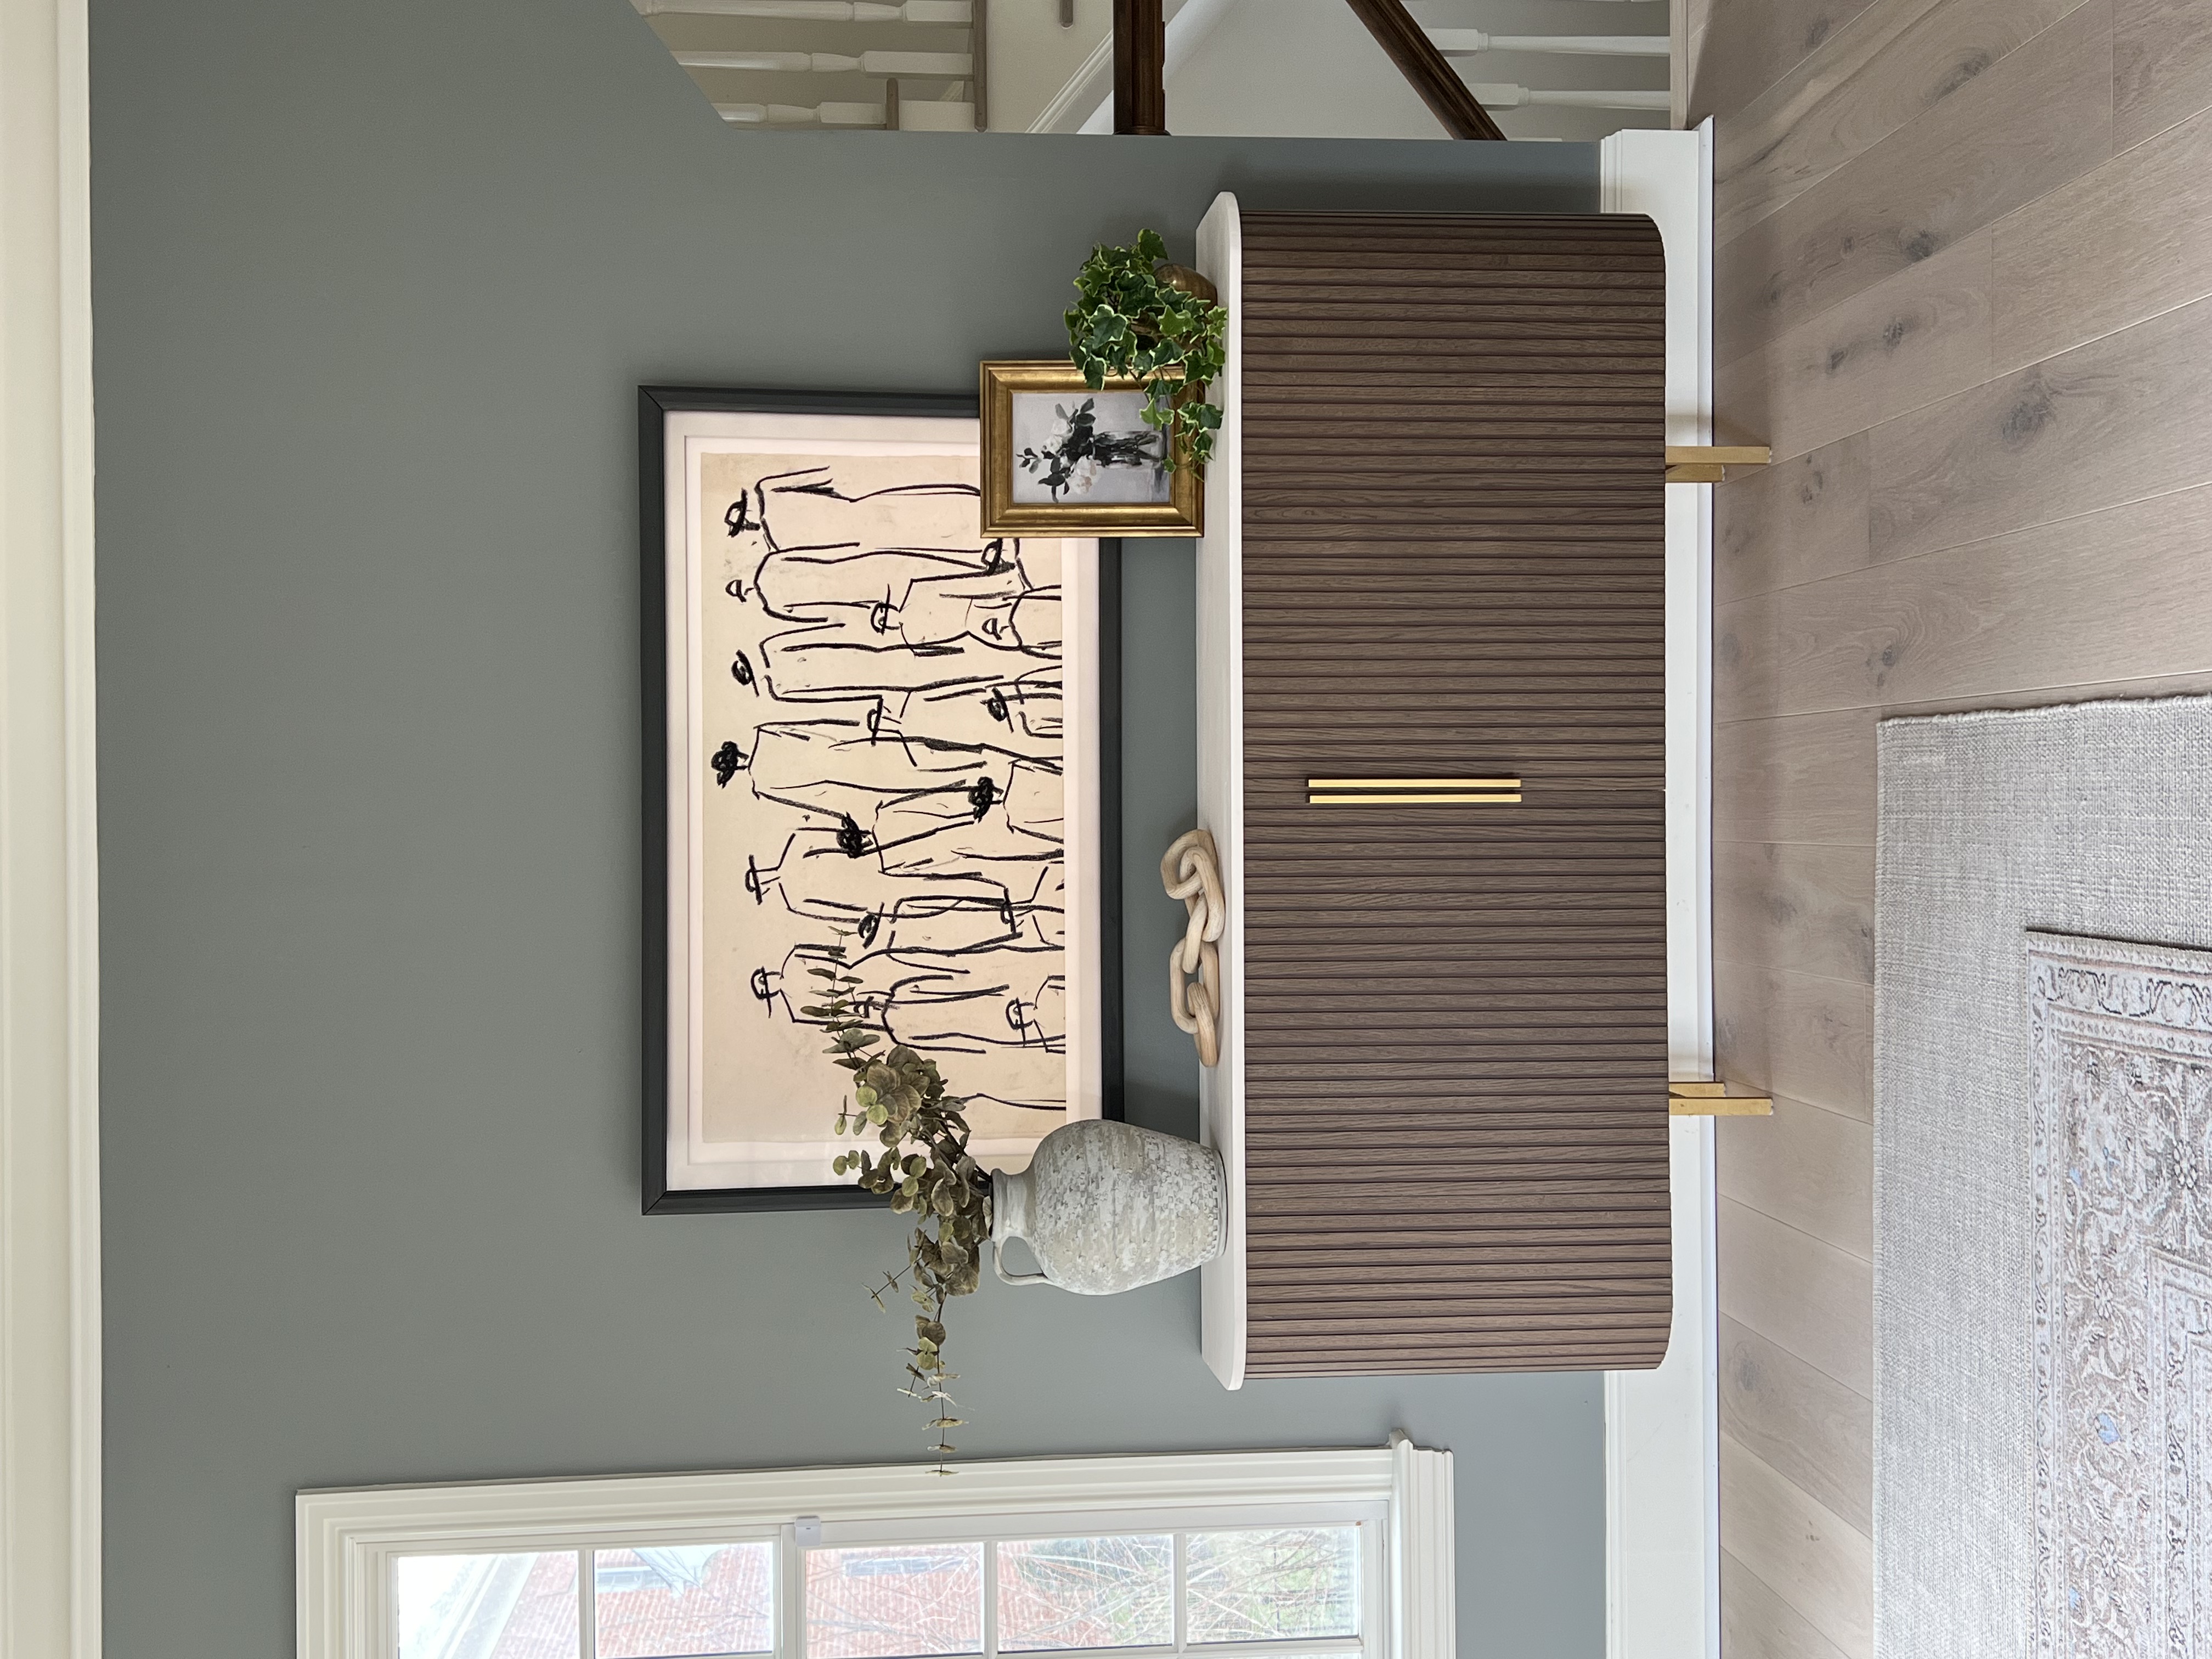
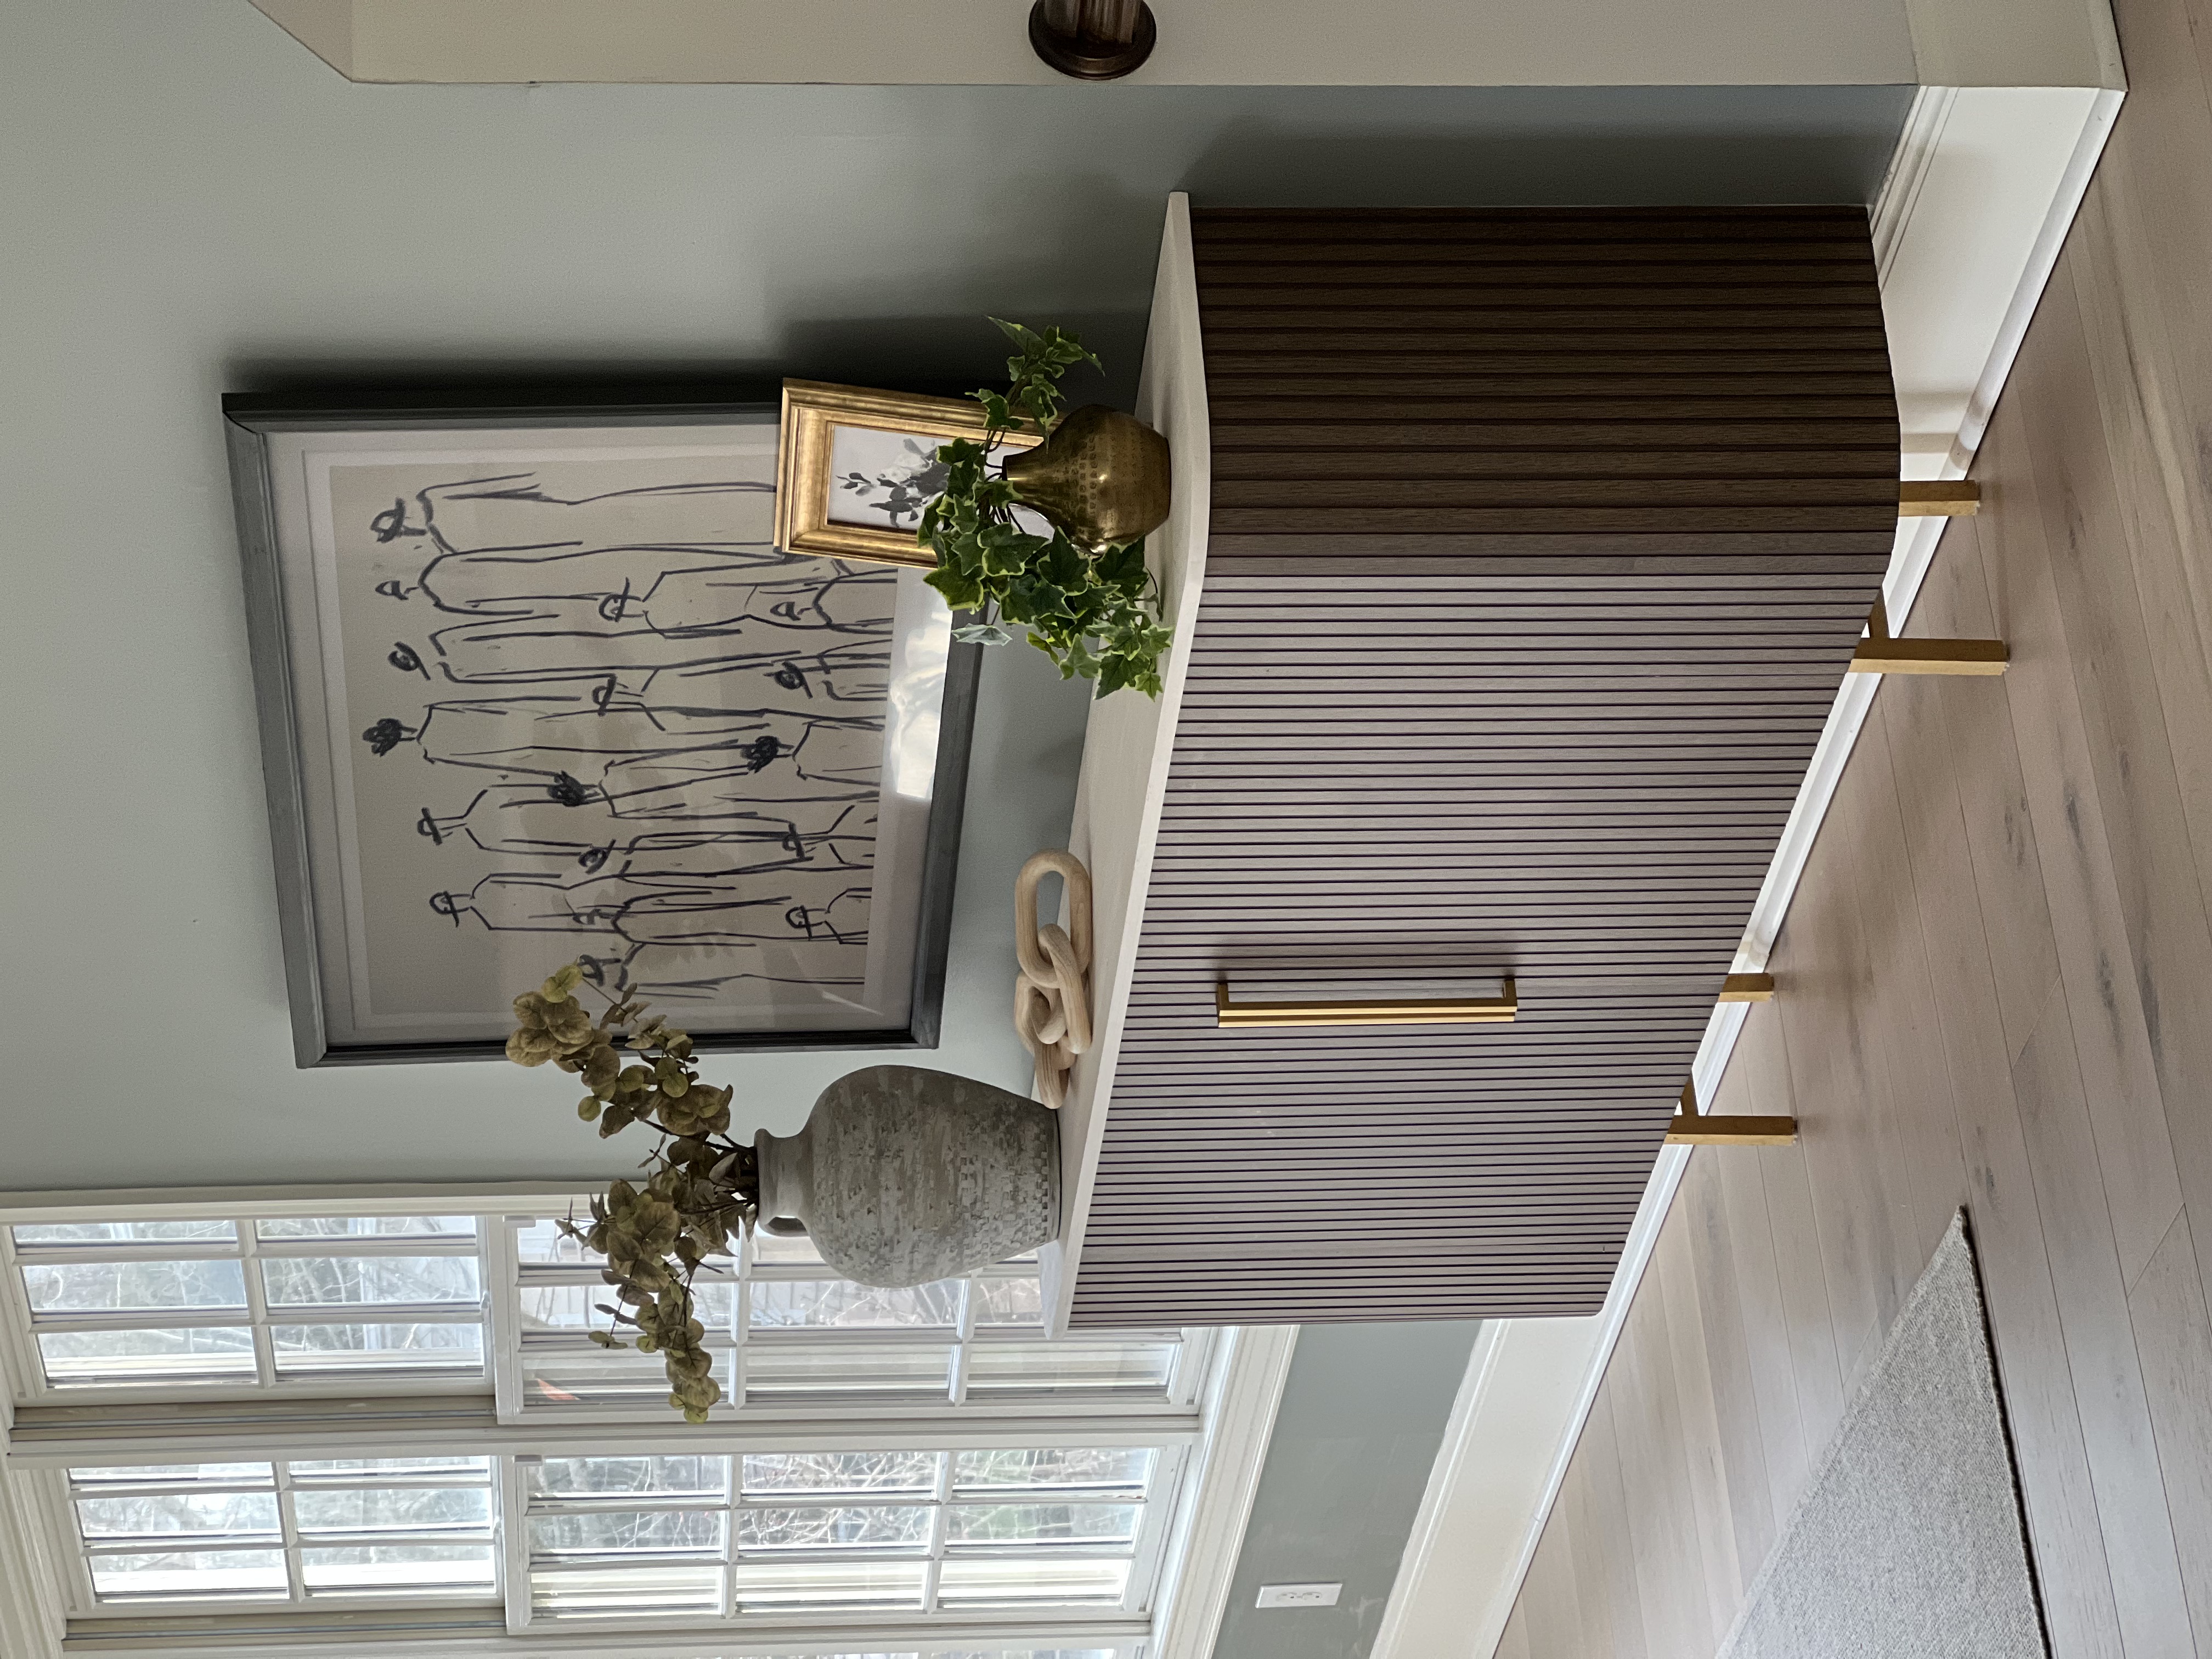
When you fall in love with something out of your price range, you learn how to build a sideboard! It turned out so well – making this one my favorite DIY projects of all time.
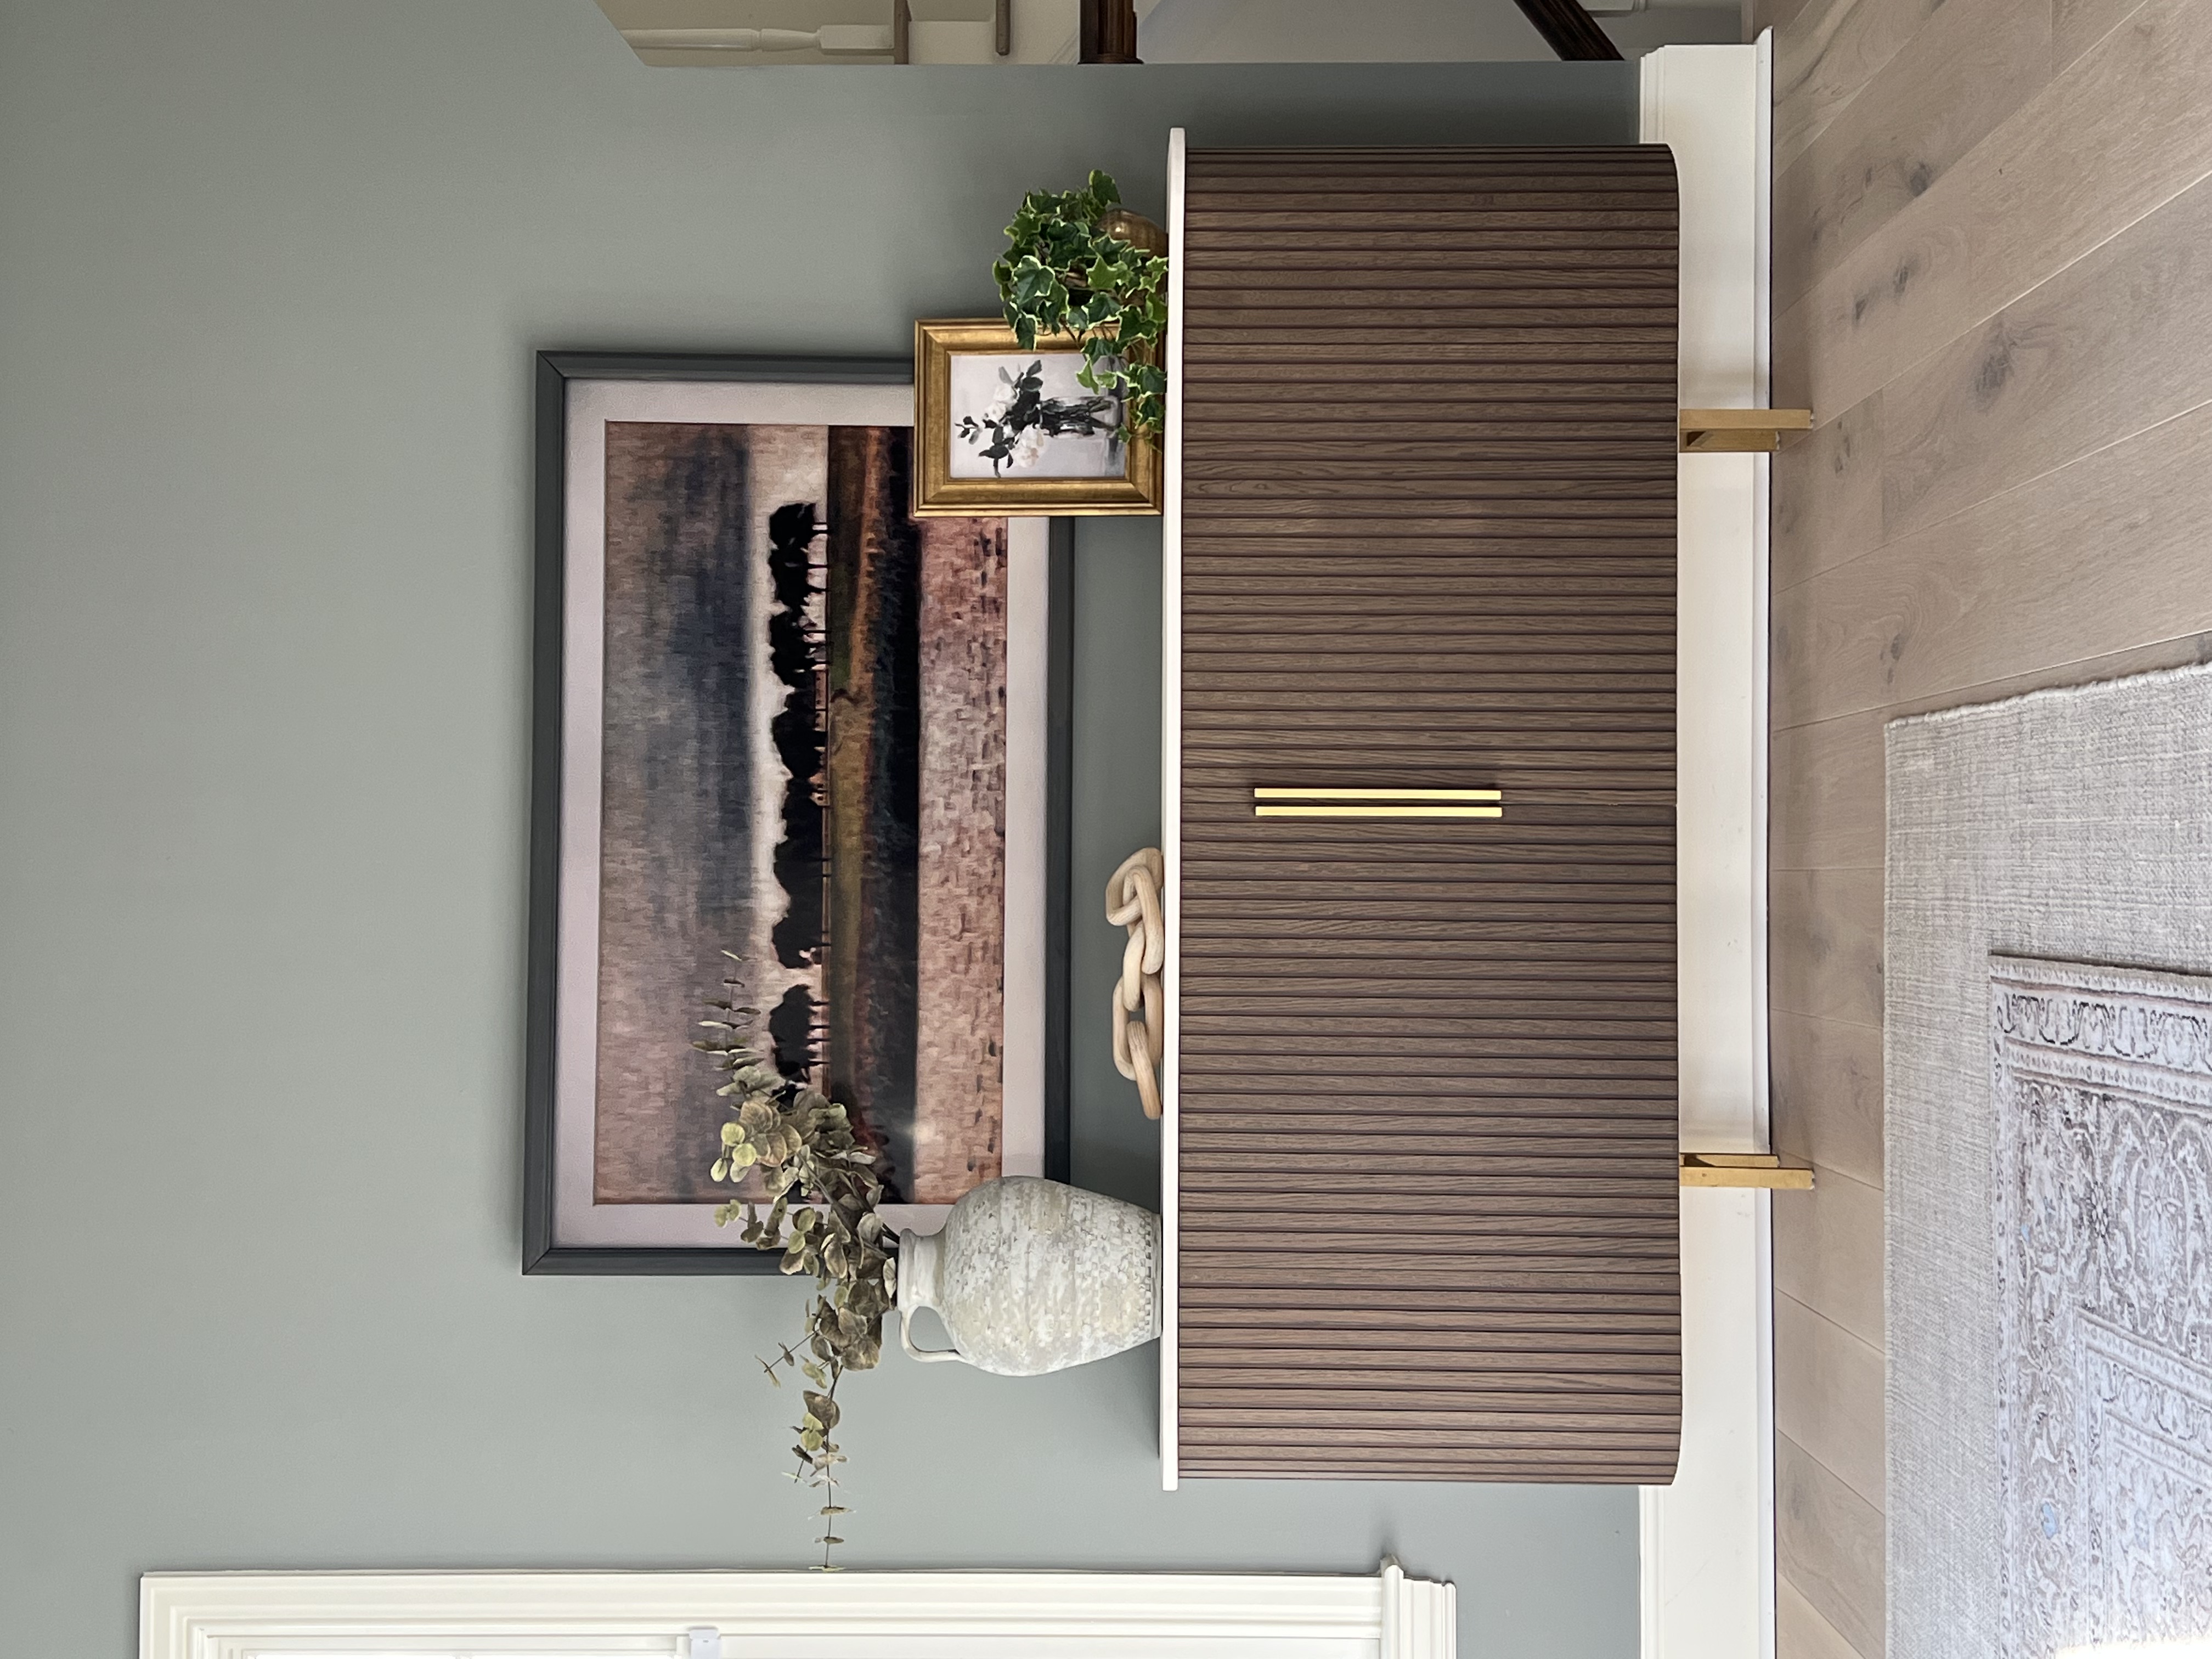
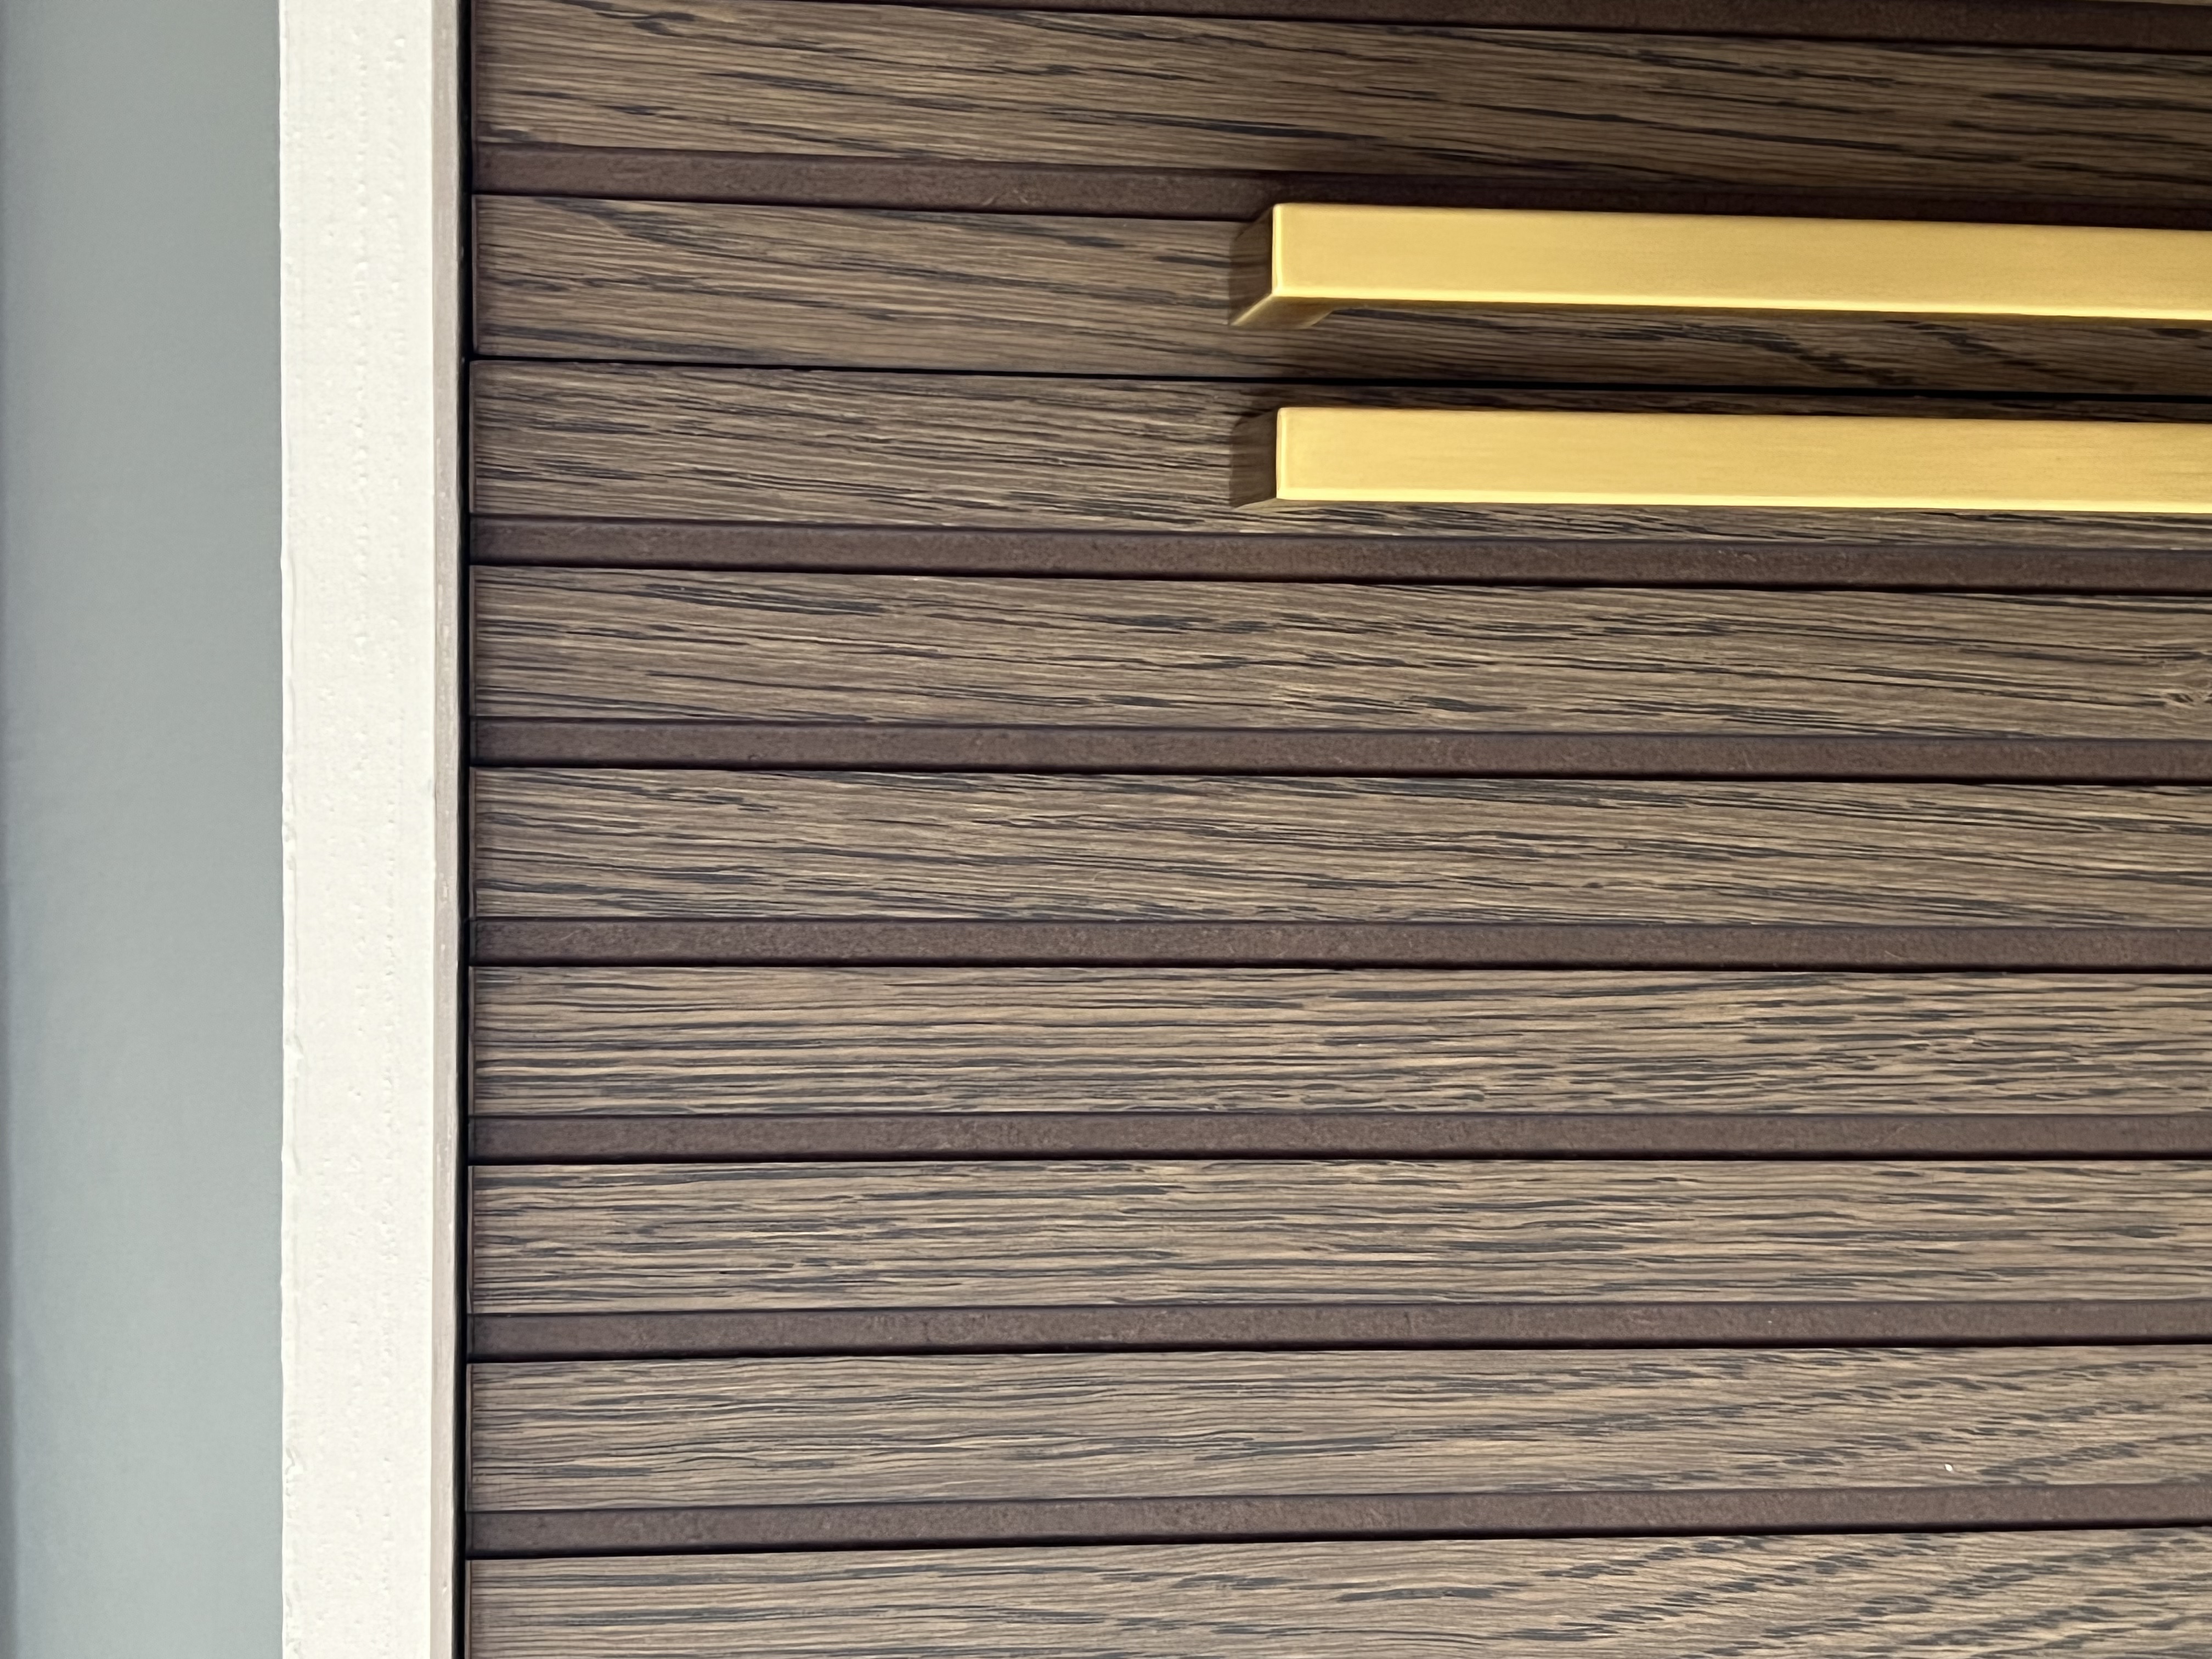
It’s no secret at this point that I’m obsessed with the fluted look. The moment I saw these new cabinet doors at IKEA, I knew I had to try to replicate my dream cabinet from Arhaus… the wood tone and fluting are almost identical!
The Arhaus cabinet retails for about $3,000. Their entire Finnley collection is basically what my dreams are made of, but my budget doesn’t care.
How to Build a Sideboard
I walk through how to build a sideboard in the YouTube video below, and I’m sharing more details and links in this blog post!
How to Build a Sideboard: The Materials
Stock cabinets from Home Depot are perfect for building the insides of this modern sideboard. You just remove the doors that come with the cabinets and replace them with the IKEA doors once the new layout is assembled.
I totally lucked out with this one. I was able to reuse the hinges from the stock cabinets with the IKEA doors, and they literally JUST fit within the combined cabinet height.

How to Build a Sideboard: The Body
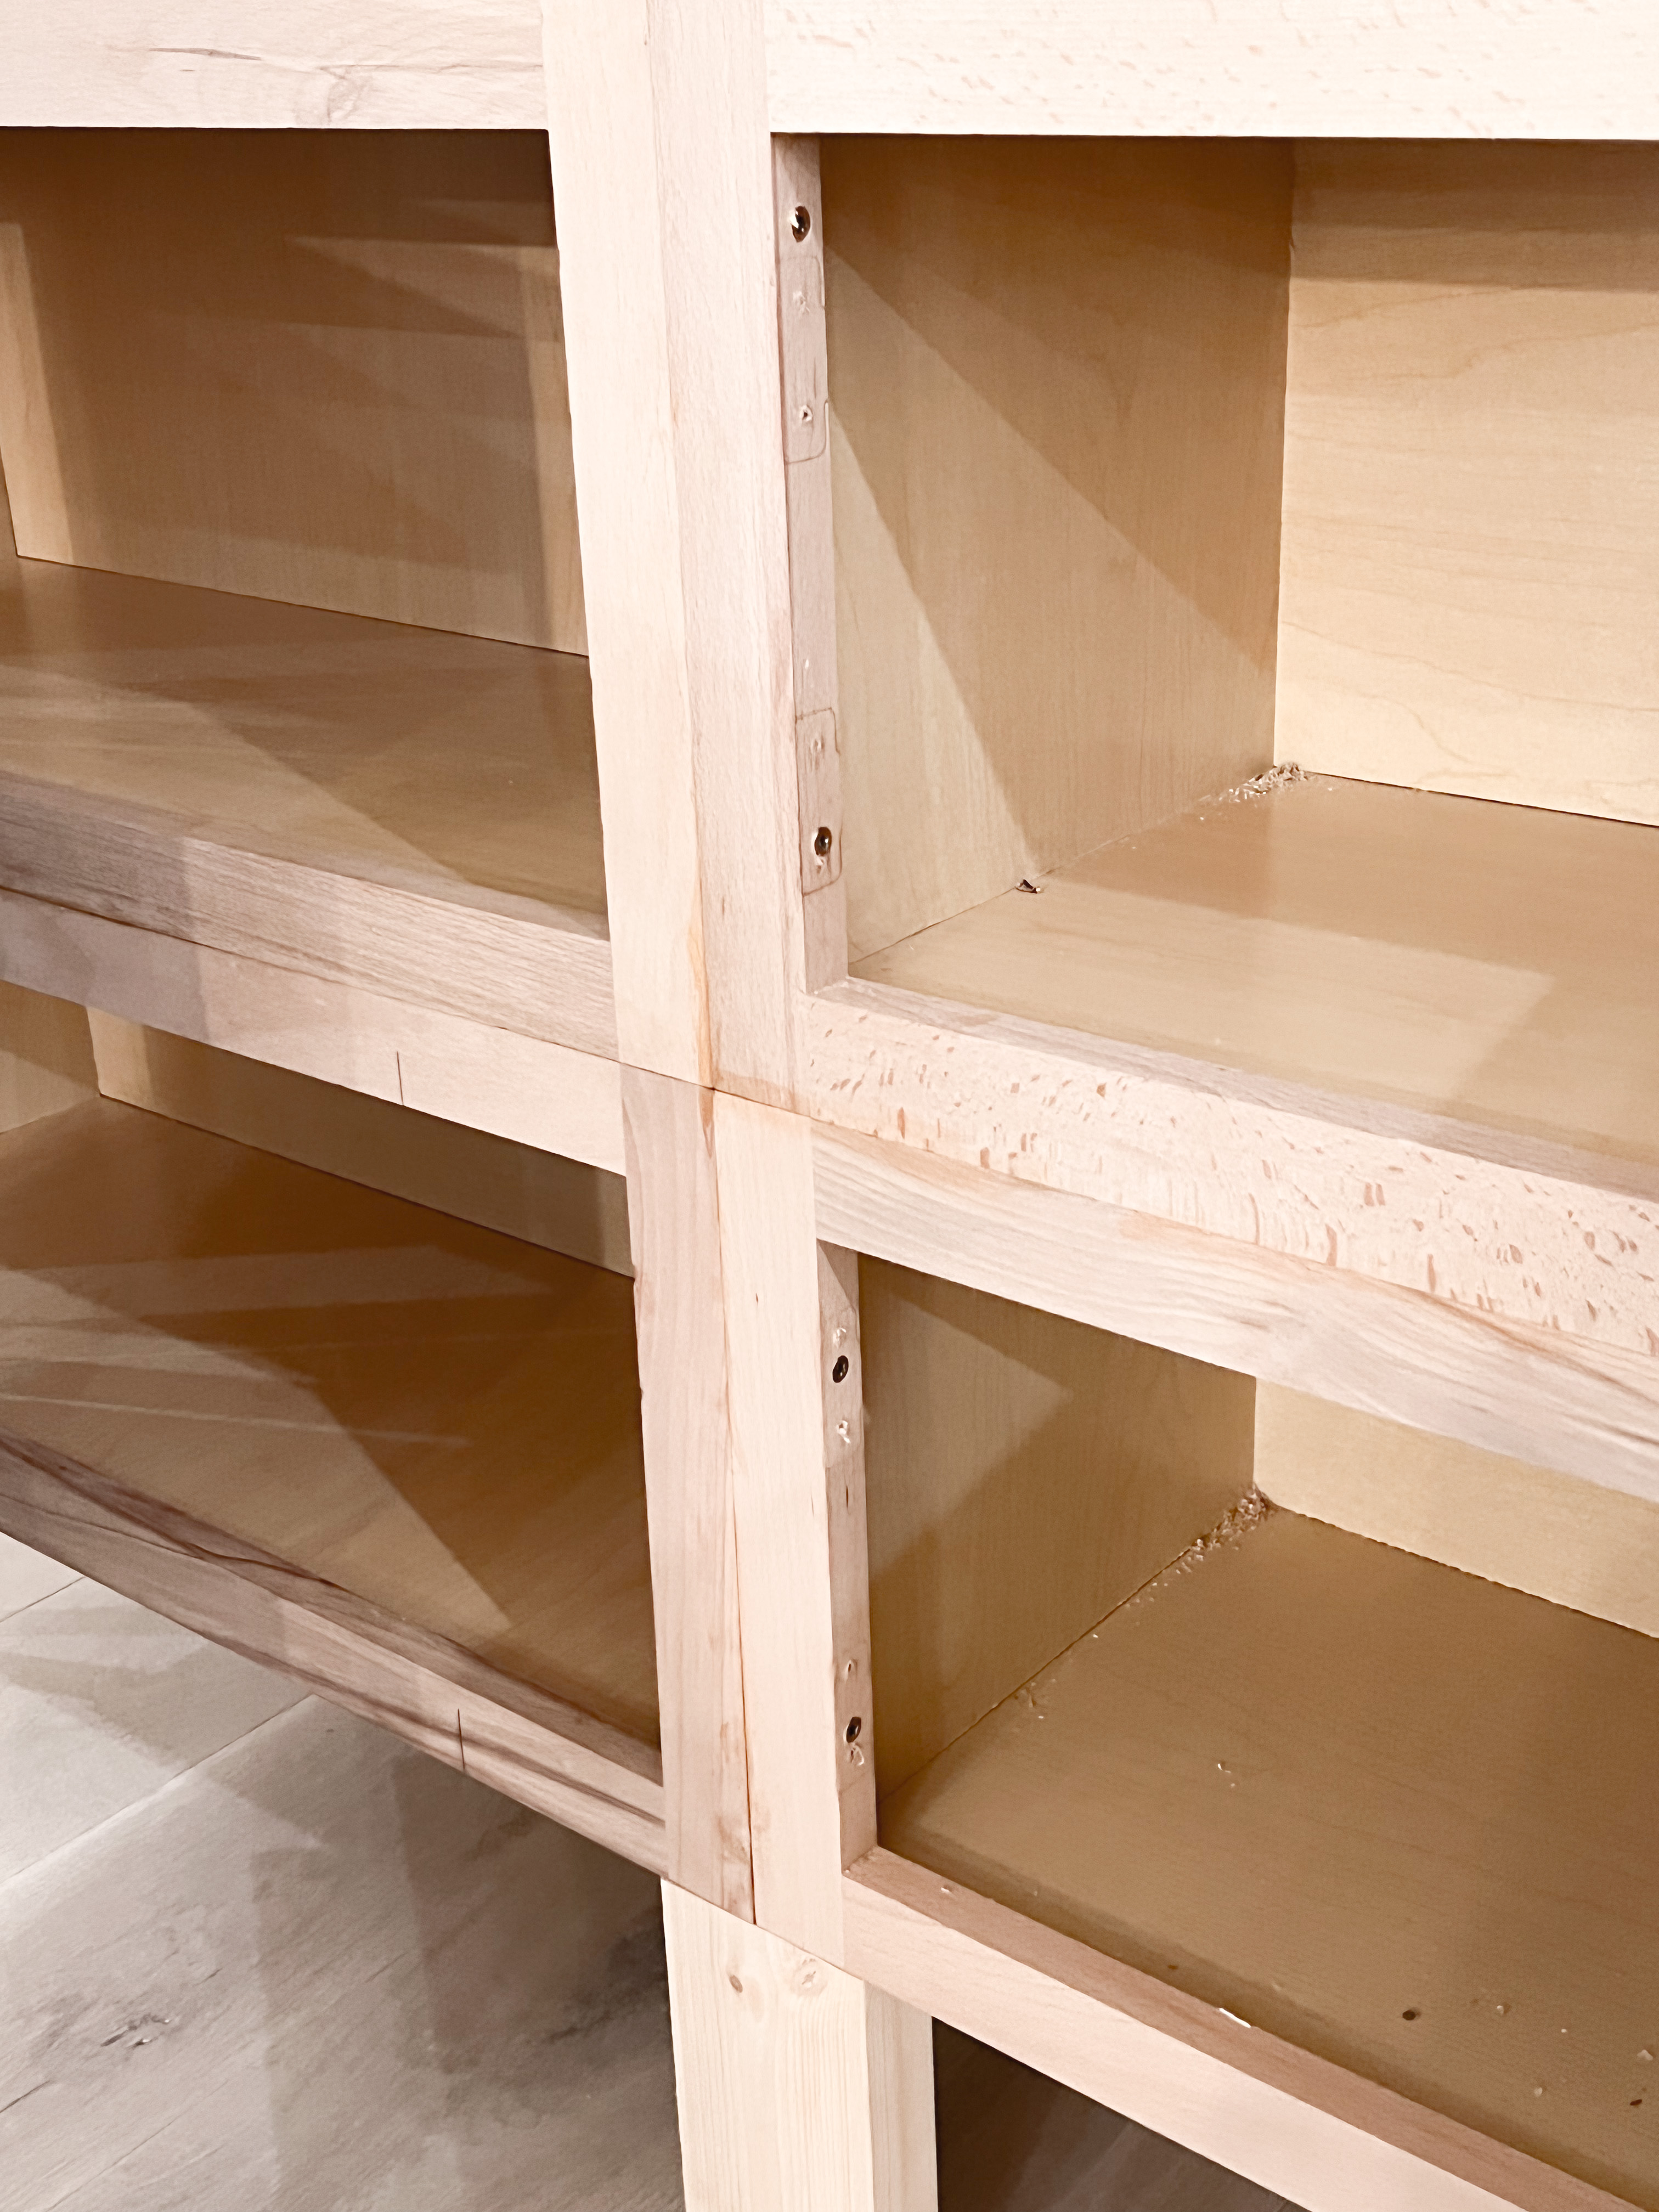
I stacked two cabinets on top of each other to form each side. The material making up the cabinet face is dense, so I attached everything with wood glue first. Once that dried, it was secure enough for me to then screw everything together. I like to use star-head screws to avoid stripping.
The IKEA doors are 24 inches wide, and the cabinet is 30 inches wide, so I added 1x2s to the cabinet face to give me a place to attach the hinges. The added 1x2s need to be glued and screwed in place as well since they’re responsible for securing the doors.


The part of the cabinets not covered by the doors is there for me to secure the curved pieces to. Speaking of curved pieces…
How to Build a Sideboard: Kerf Bending the Curved Sides
When researching how to build a sideboard, I knew one of the most difficult parts of this project was going to be kerf bending. It is a new skill for me and new skills take time and practice. Don’t let those super-easy-looking videos fool you! But I DO recommend watching some videos to wrap your head around it.
You will need to set aside time and material to practice this technique, and there will be some trial and error with it. There are online calculators to help with spacing, but I didn’t have luck with those, so I will share exactly what worked for me!


It’s important to take your time and be super precise. I lost my patience at the end and decided to freehand the last set of cuts. It still worked for me, but if I had taken the time to make sure the spacing was EXACT, the bend would have been even more flawless.
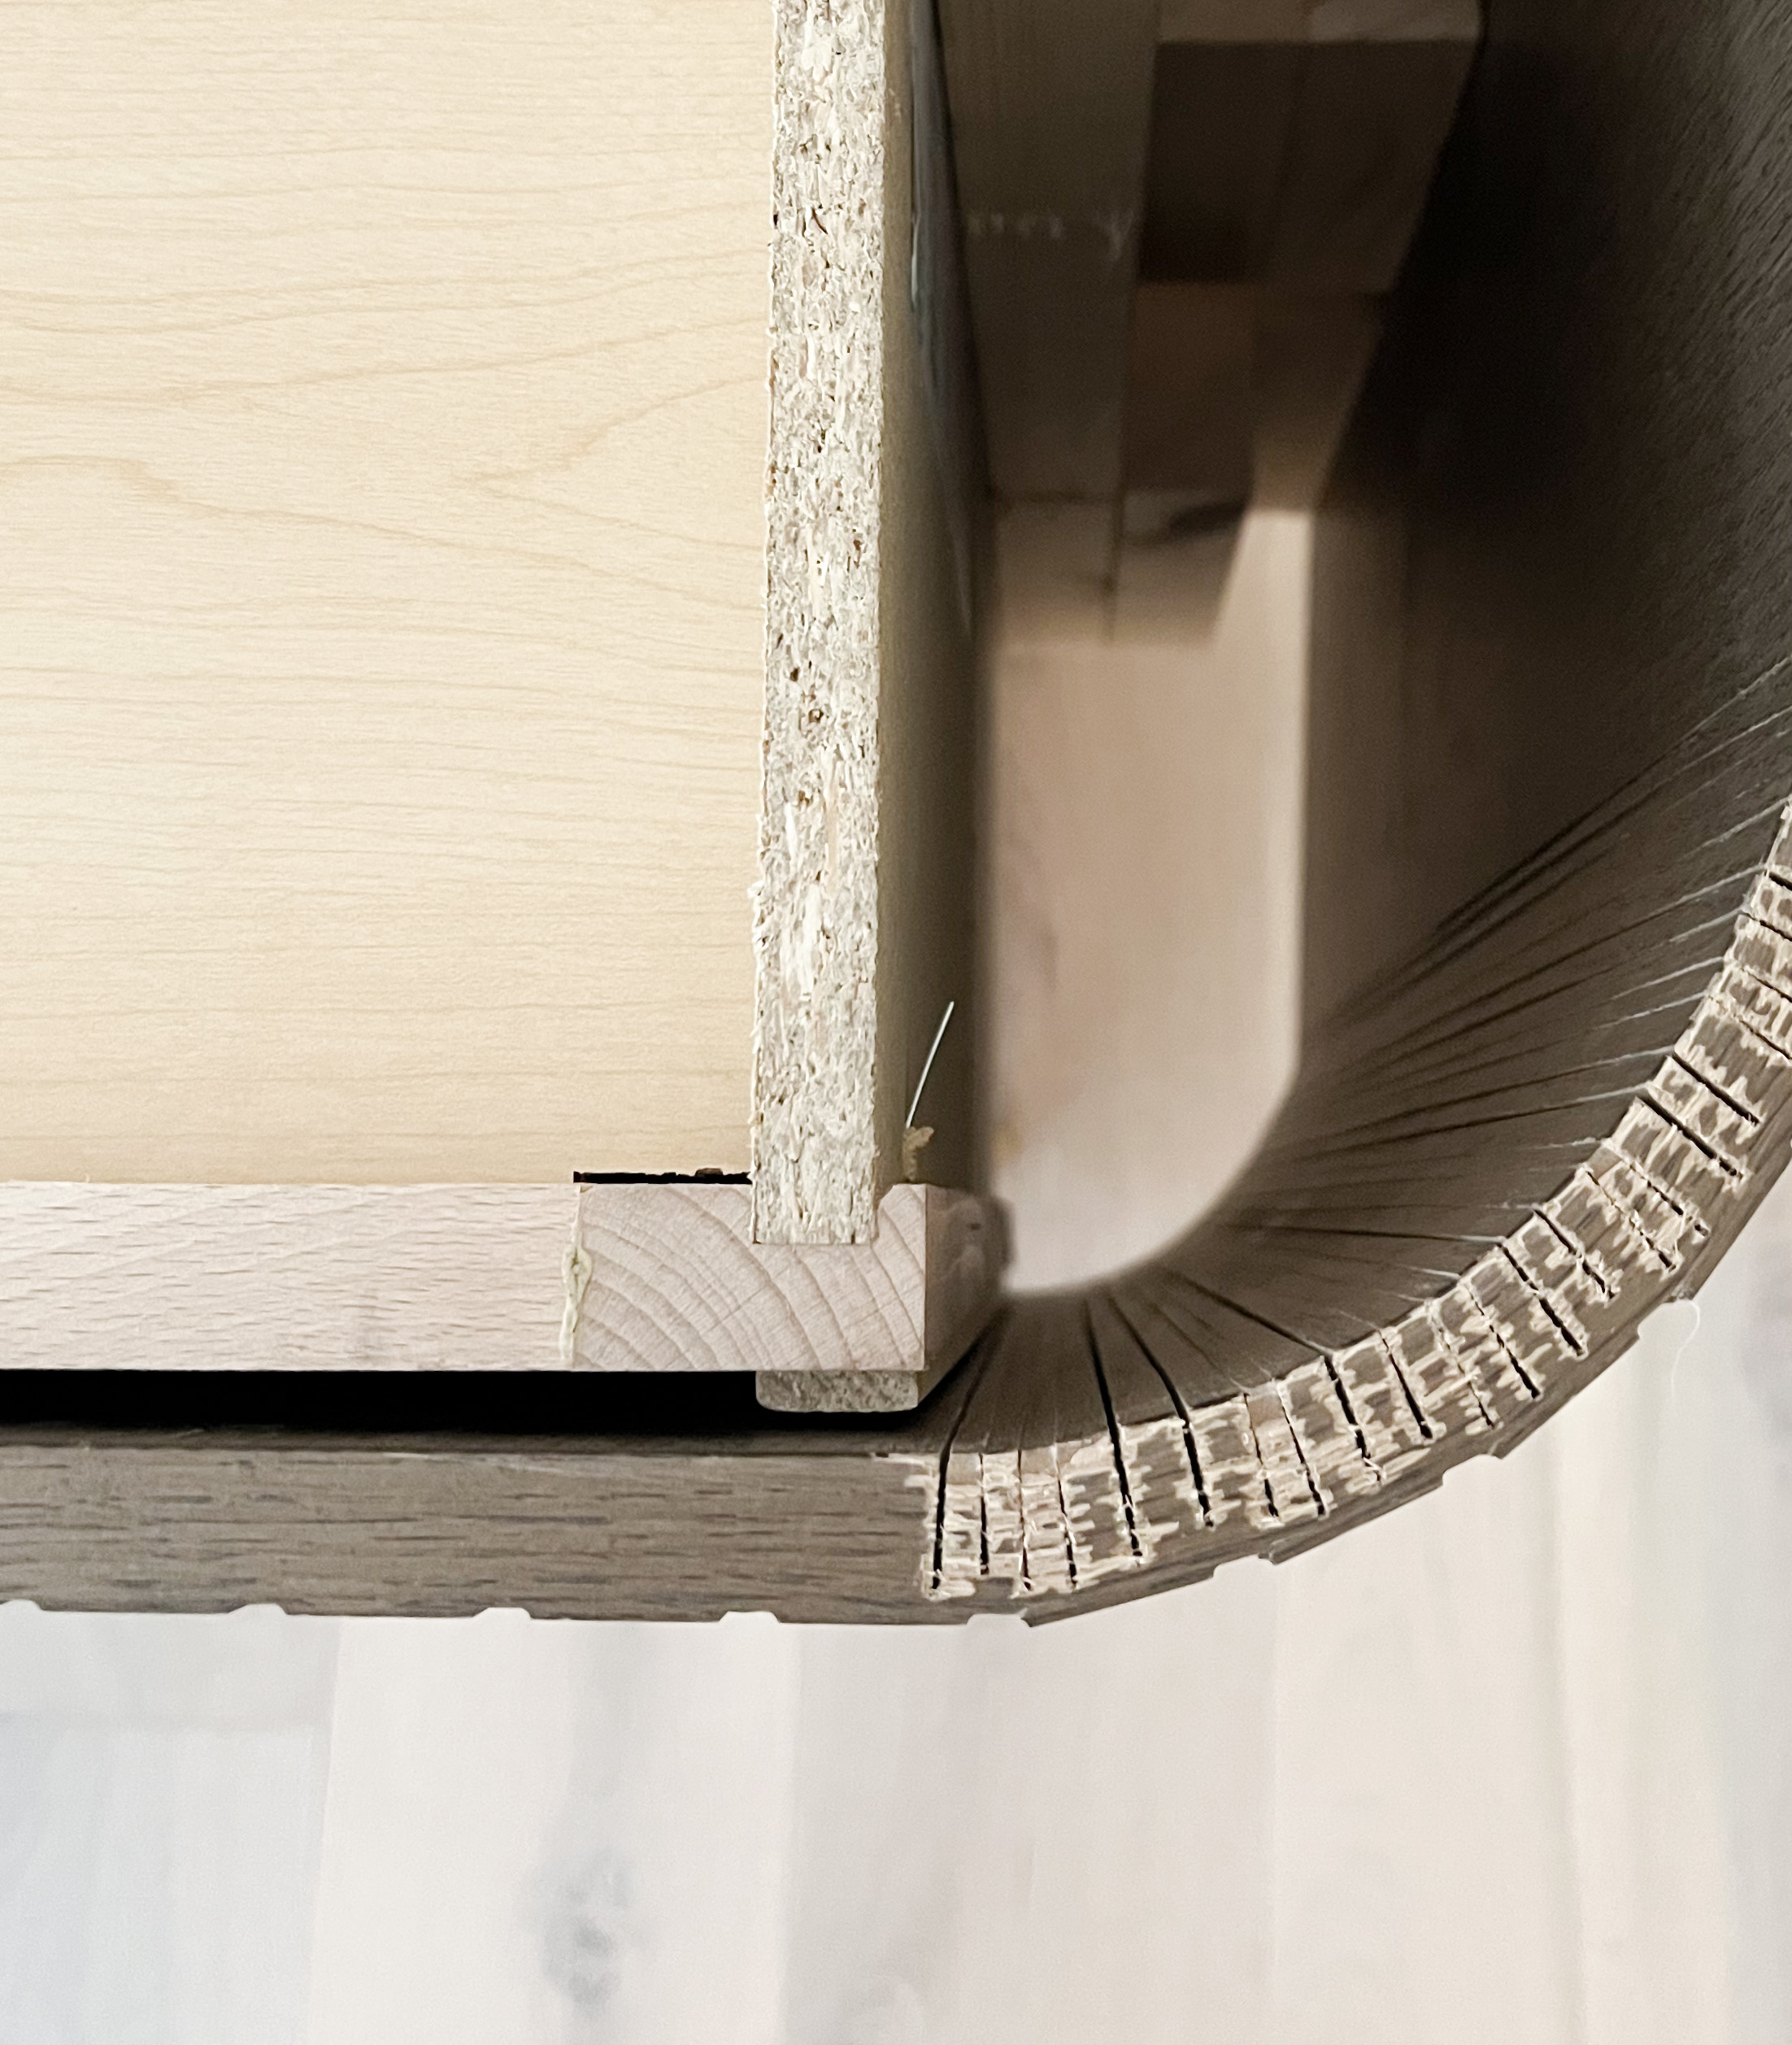
Measure where you need the bend to start, and start your cuts right before that spot. I used a circular saw for this, but a table saw would also work. Set the blade so that it won’t cut through the material and will leave a little over 1/8″ of the material intact (below right pic). Don’t forget to use a straight-edge guide!


FYI if you use the IKEA Cabinet Doors…
Since these cabinet doors have fluting, you need to be aware of the grooves, since the material isn’t quite as thick there. I made my first round of cuts 1/2″ apart since that landed all cuts in the thicker parts.
I quickly realized that there weren’t enough kerfs to get it to bend, so I went back and did additional cuts in between. This time, I had to adjust my saw blade to a lower depth for the handful of cuts done opposite the grooves.
You can see in the above picture, that some cuts in the grooves are more shallow than the others. Had I taken the time to measure, it would’ve resulted in a kerf cut about every 1/4″ along the inside of the bend.
I then slowly bent the door into the curve I needed. There were some scary snapping sounds and a couple of cracks along the edge of the groove, but they are next to impossible to see.
How to Build a Sideboard: Assembling the Cabinet
This cabinet is HEAVY. I knew it would be a beast to carry whole, so we (by “we”, I mean Joe) carried the pieces in separately, and then I assembled them in place.
The sides are built out using scrap wood, similar to my other curvy IKEA hack (blog post here). I used 2x2s and 2x4s to build it out 4.5″. This is where I landed with my curve, and where I needed something to nail my curved piece into.
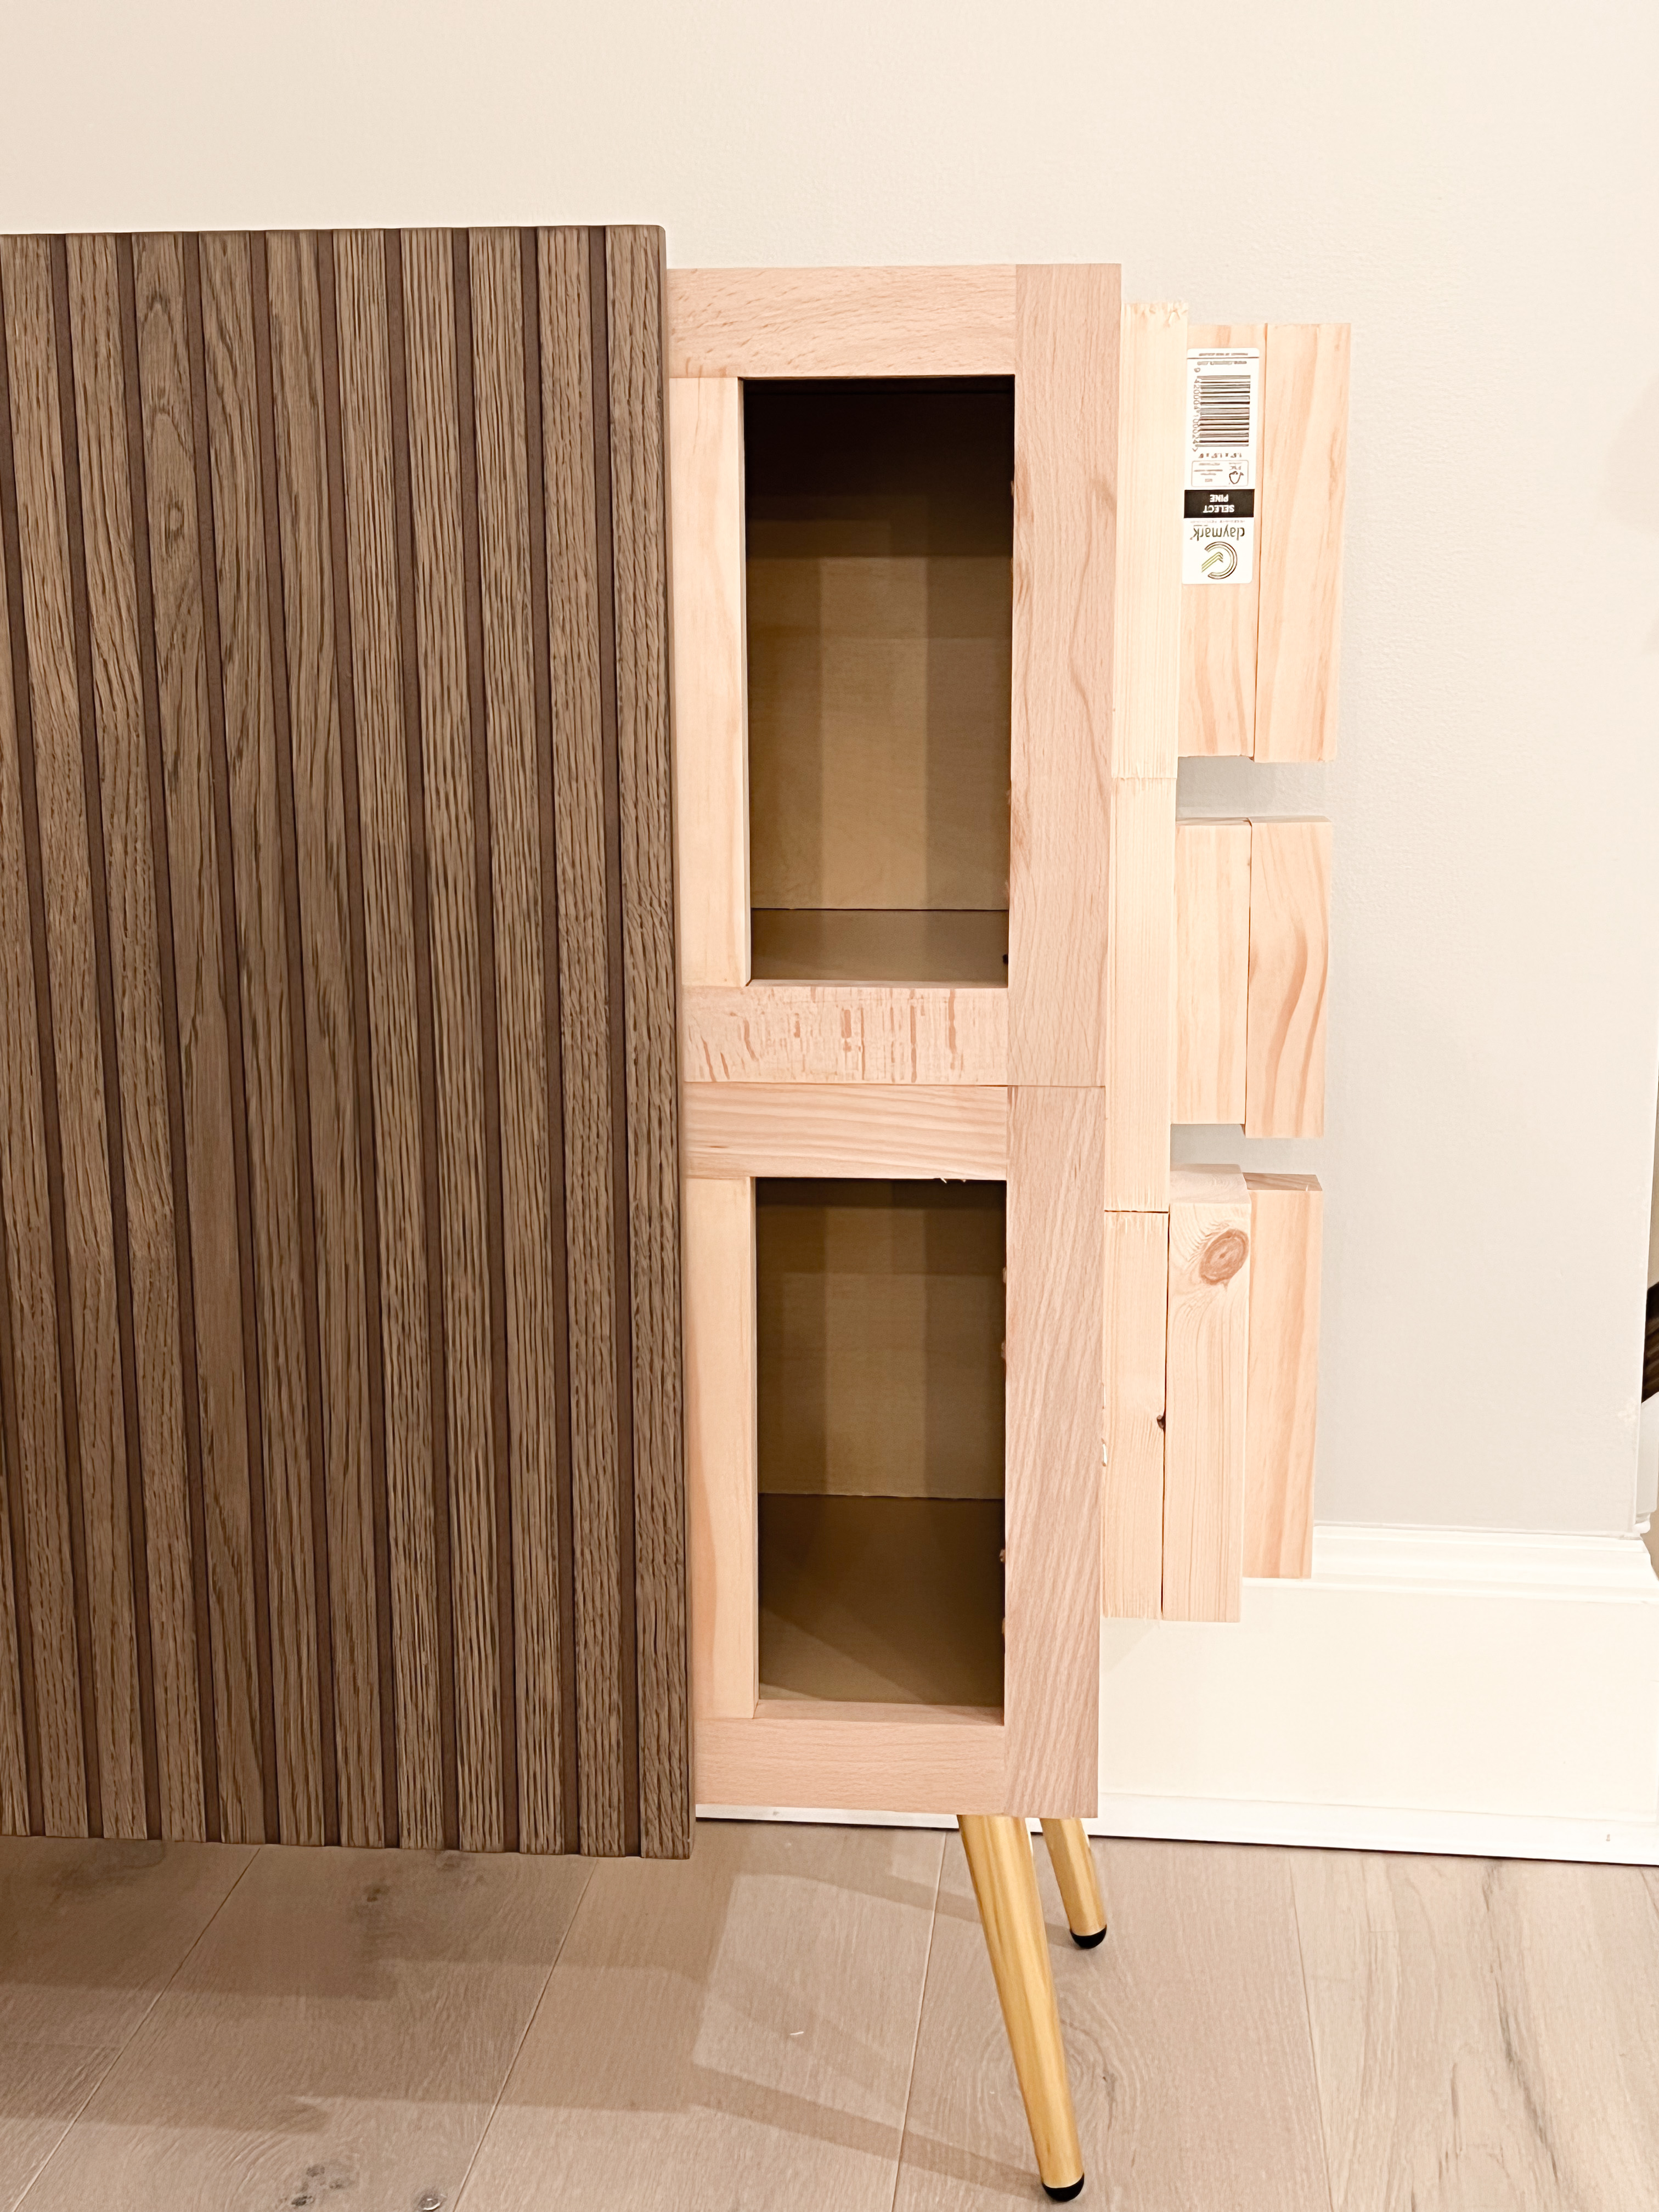
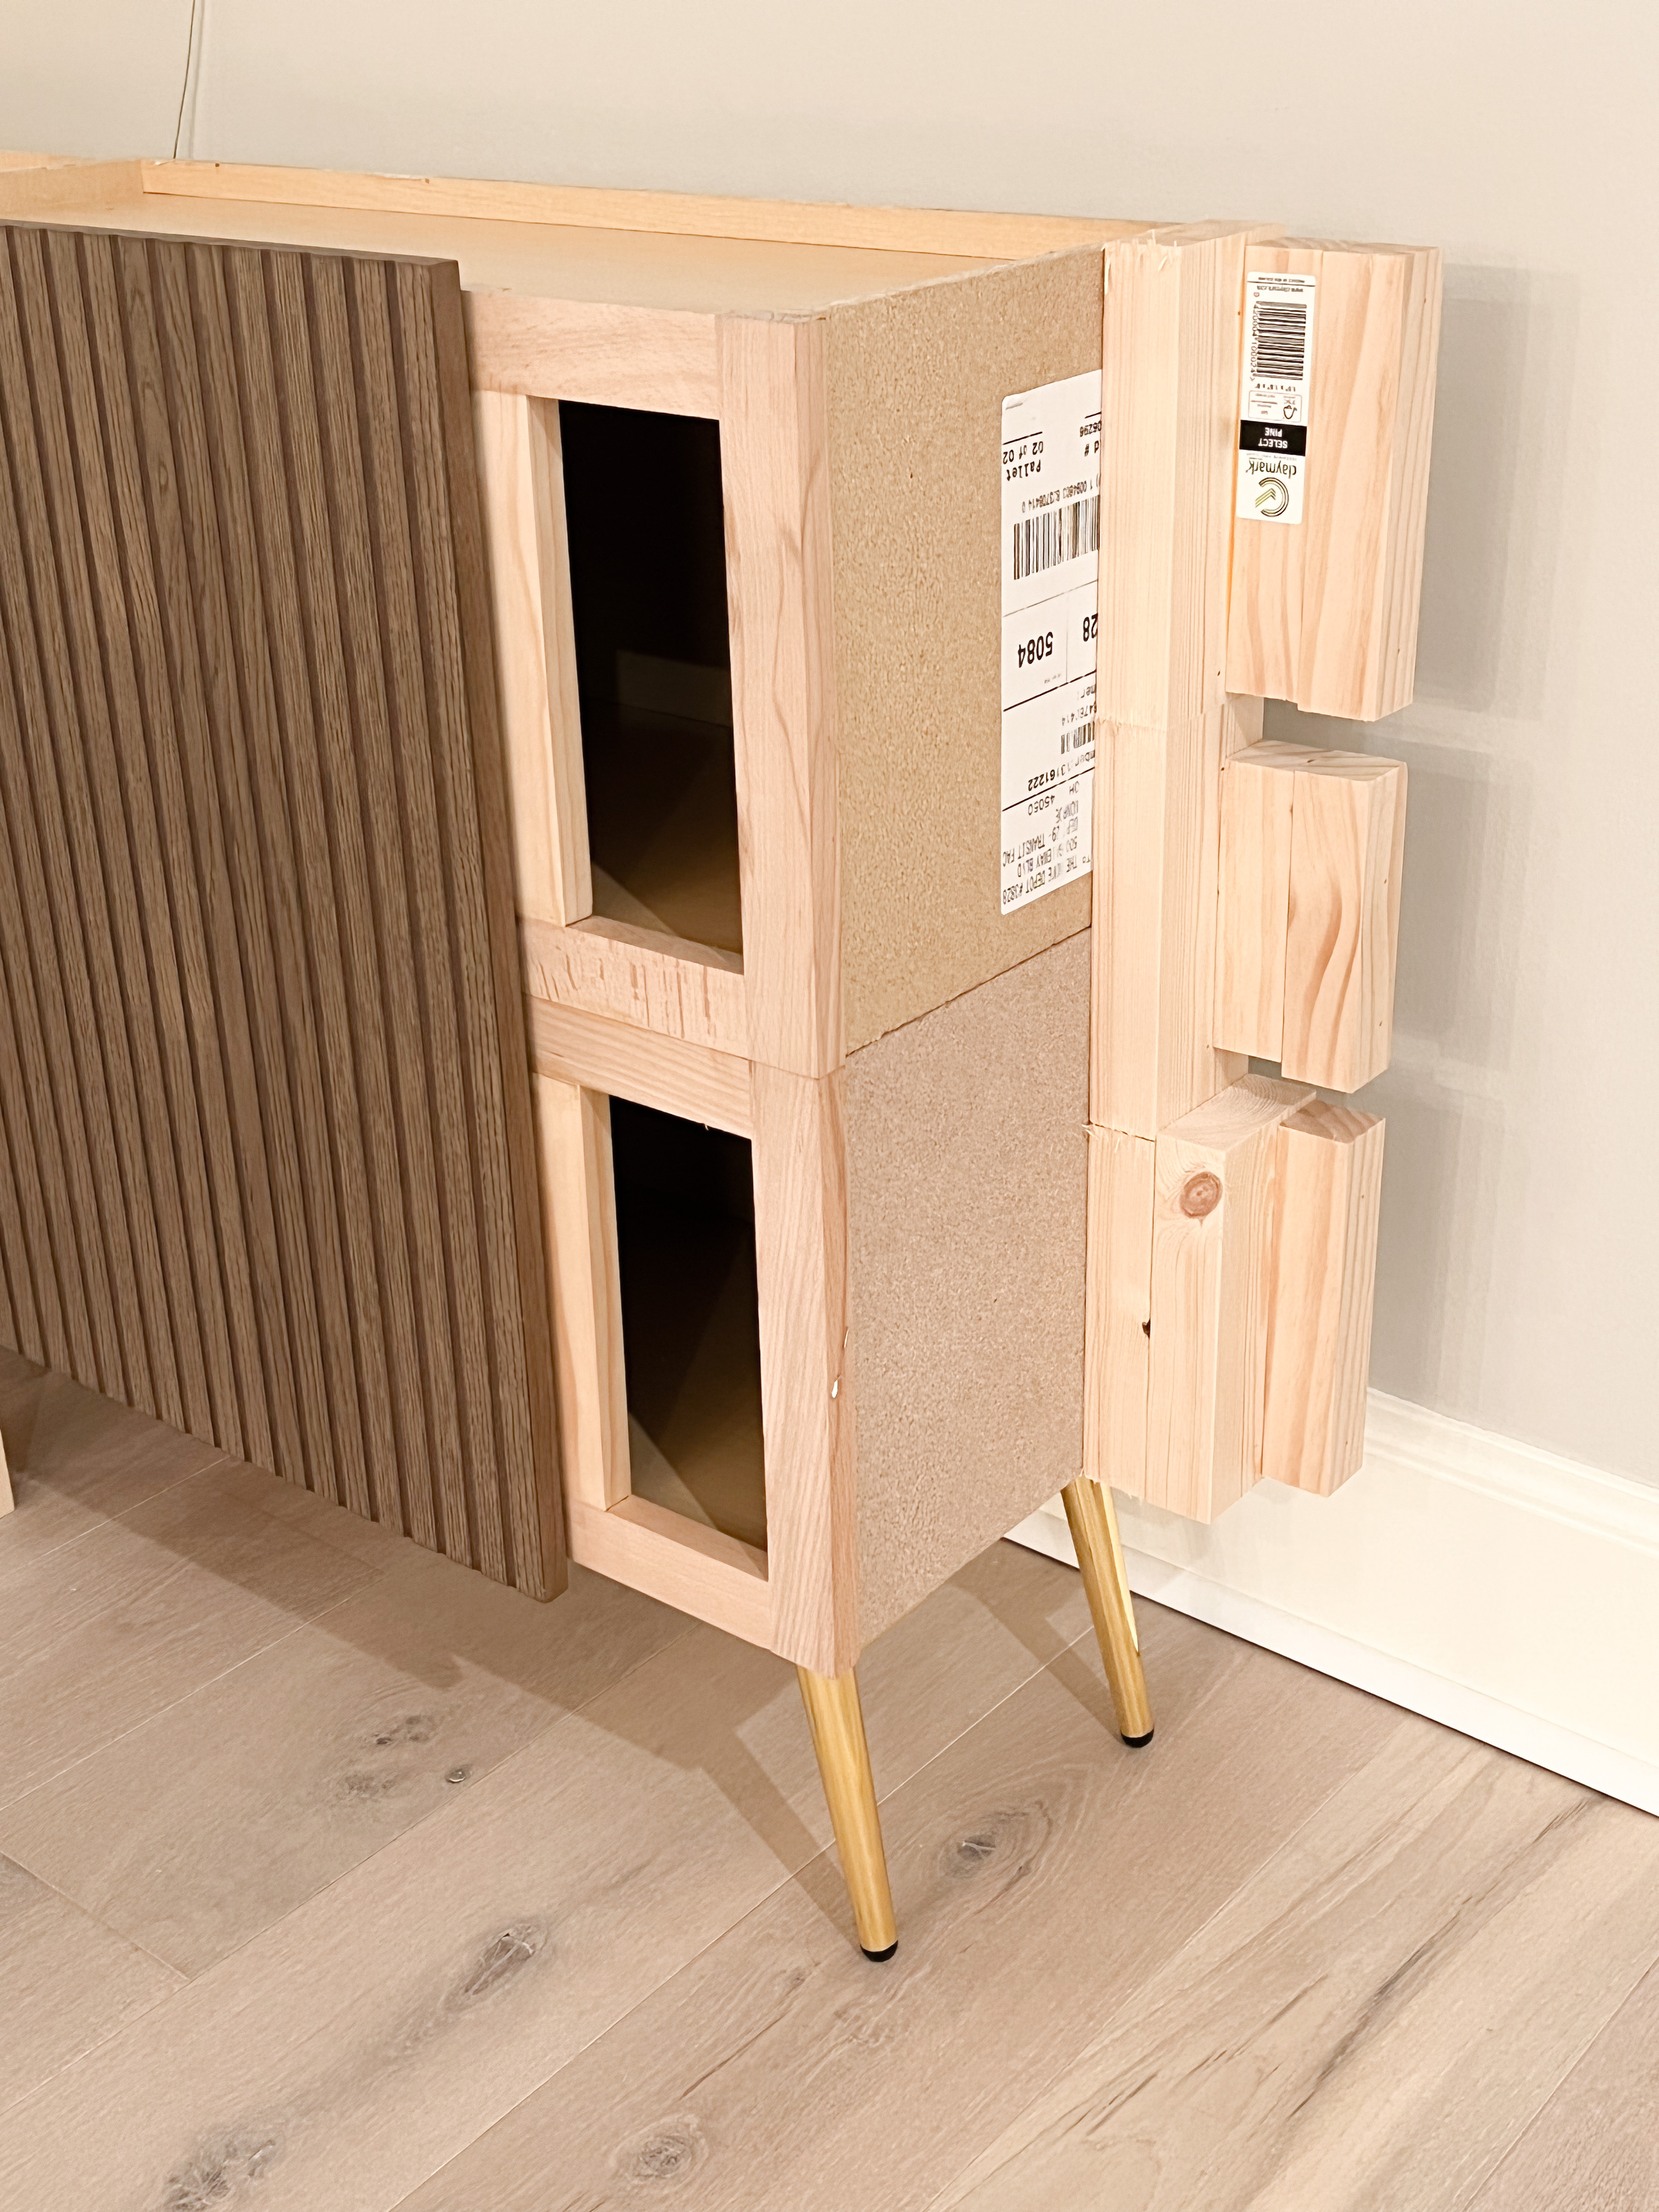
The right and left side of the cabinet are attached in the middle by screwing the cabinet faces together.
I’ll go into more detail on the legs in a bit, but the 2×4 in the middle temporarily propping up some of the weight helped a ton before we screwed the whole thing into wall studs.

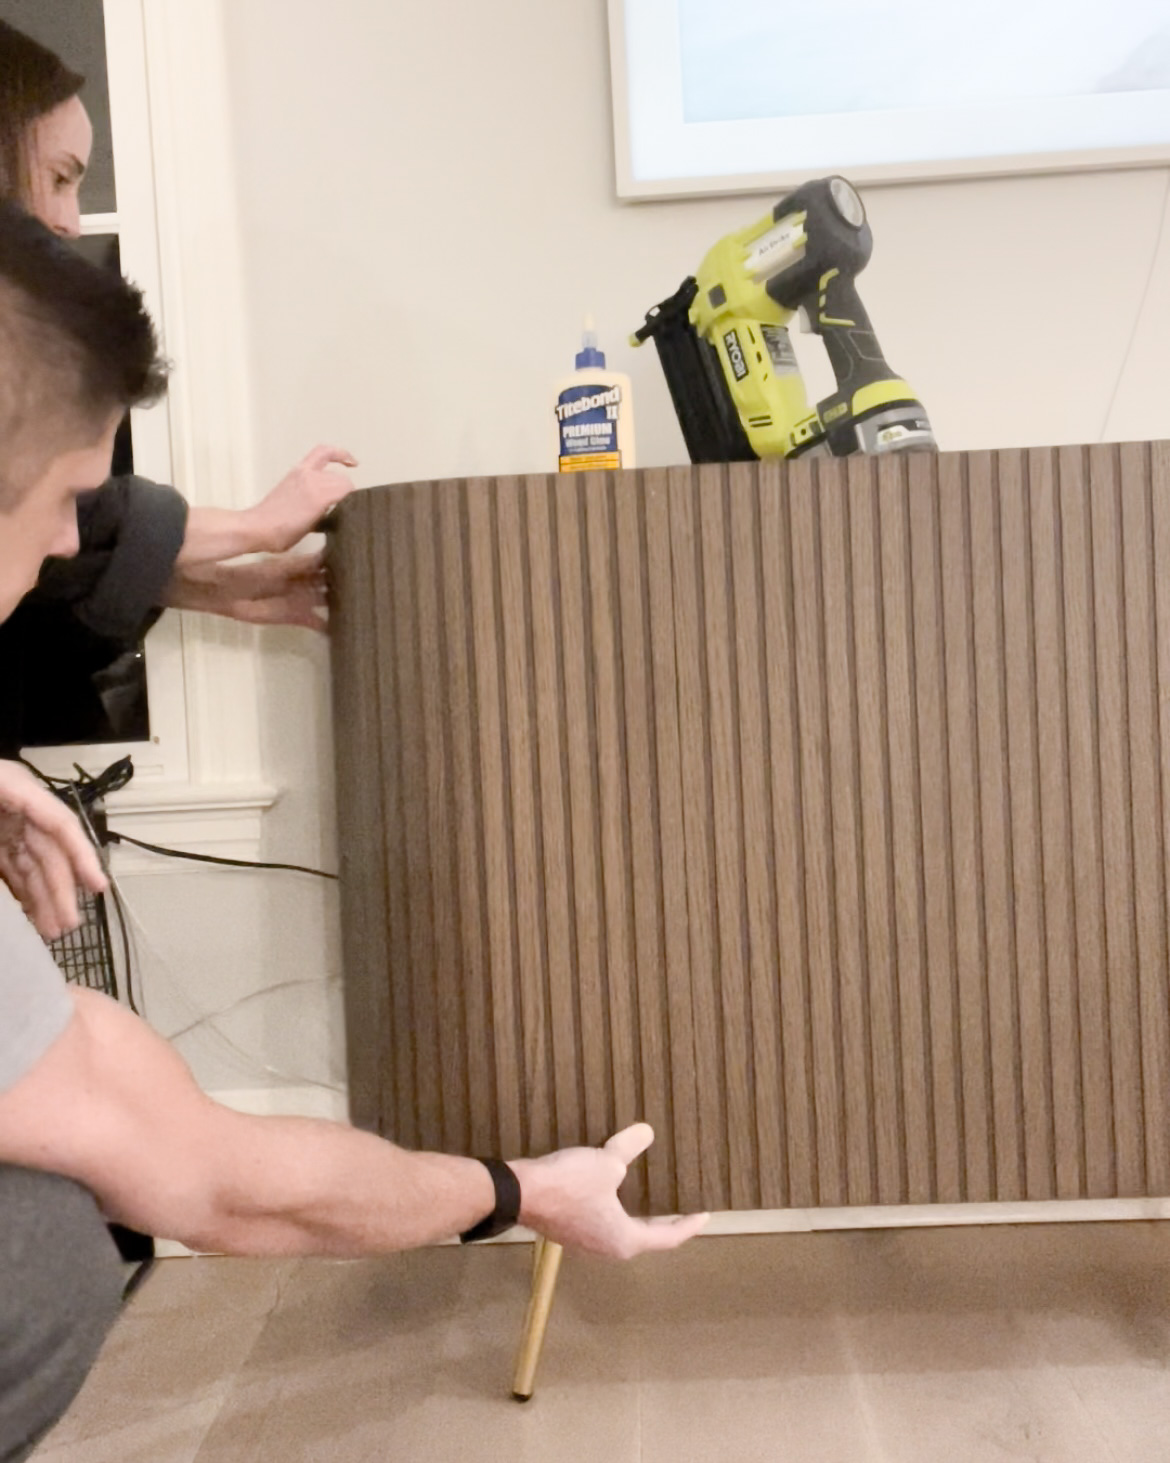
Once all the glue dried on the base, I attached the curved pieces with wood glue and a few nails. The below middle photo shows that I added a little piece of screen trim to bump out the side pieces to be totally flush with the front cabinet doors.
I also had Joe help me hold the doors in place to make sure placement was super accurate. These hinges are awesome because you don’t need to leave any space between the doors… the seamless look is so pretty!!
How to Build a Sideboard: The Top
The top of the cabinet is made out of pine laminate. I tried to find a link to the one I used but had no luck. It’s similar to this board, but it was long enough to cover the whole cabinet. Any kind of plywood should work also (the pine laminate I used was only $40 which is cheaper than plywood).
I wanted a 3/4″ overhang, so I used a piece of 1×2 to scribe a line around the cabinet to show me where to cut.


The Arhaus inspiration cabinet looks to have a marble top. This would be an awesome spot to do the faux marble epoxy technique. For me, the top needed to be light, affordable, and easy.
I wanted to avoid any weight falling on the cabinet doors, so I added scrap plywood and other materials in the center to build it up. This allows the top to sit JUST above the top of the cabinet.
I painted the top “Heavy Cream” by Behr Dynasty.
How to Build a Sideboard: The Legs
Since I was going for low cost, I went with cheap cabinets made with particle board. That would make it tough to get legs to securely attach!
Instead, I screwed wooden square dowels to a 1×12 board to form a base for the entire cabinet to sit on. The cabinet is also screwed into studs, so this platform doesn’t have to hold the entire weight.

I highly recommend screwing this piece into studs because of the weight. Doing a French Cleat would’ve probably been even better than just drilling through the back of the cabinet like I did.
I cut pieces from the back allowing us to access the plugs. And that finished it up!

DIY Sideboard Cabinet: Cost Breakdown
This project wasn’t easy and it wasn’t cheap, but WOW! It looks even better than I imagined!
4x Cabinet Bases at $55 each – $220
4x IKEA Cabinet Doors at $55 each – $220
Pine Laminate Table Top – $40
Gold Cabinet Pulls (linked here) $20 each – $40
DIY Legs and Platform – $30ish?
GRAND TOTAL – $550
In comparison, the Arhaus cabinet that is the same size retails for over $3,000. Honestly, now I kind of understand the price haha.
Let me know in the comments if I missed any details!
Want to Build More Furniture with IKEA Hacks?
White Oak Sofa Table using an IKEA hack
IKEA Bar Cabinet Hack
Fluted IKEA STALL Shoe Cabinet Hack
Easy DIY Coffee Table
The post contains affiliate links, please see the disclosure, linked here.
This is so impressive! Looks just as beautiful as the $3000 one. Mad skills!
You just made my week!! Thank you so much for such a nice comment!!
I love all of your fluting – it is exactly what I have been looking for! Do you think it would be possible to replicate the ikea cabinet doors by cutting grooves into plywood? I want to do this in a much bigger space (a door).
I love that you’re thinking of doing this!! I’ve honestly wondered the same thing… The thing I’m unsure about is what the grooves would look like in plywood, since it’s made of all the thin layers of wood. If you’re painting it all one color, though, I don’t see why it wouldn’t look awesome!
Omg this is crazy!!!!! Awesome job! How did you do the legs? Super curious!!
Thank you so much for such a nice comment!! I struggled with the legs because I used cheaper cabinets with particle board. I found that the most secure way to do it was to build a platform for the cabinet to sit on. I made the legs by screwing square dowels into the 1x12x60 in piece of wood, to get the look I wanted. I still screwed the cabinet into the wall for extra support, since I used wooden dowels. If you didn’t want to screw into studs, you could use actual furniture legs with the 1x12x60 in board, and that would be your platform! If that makes sense??