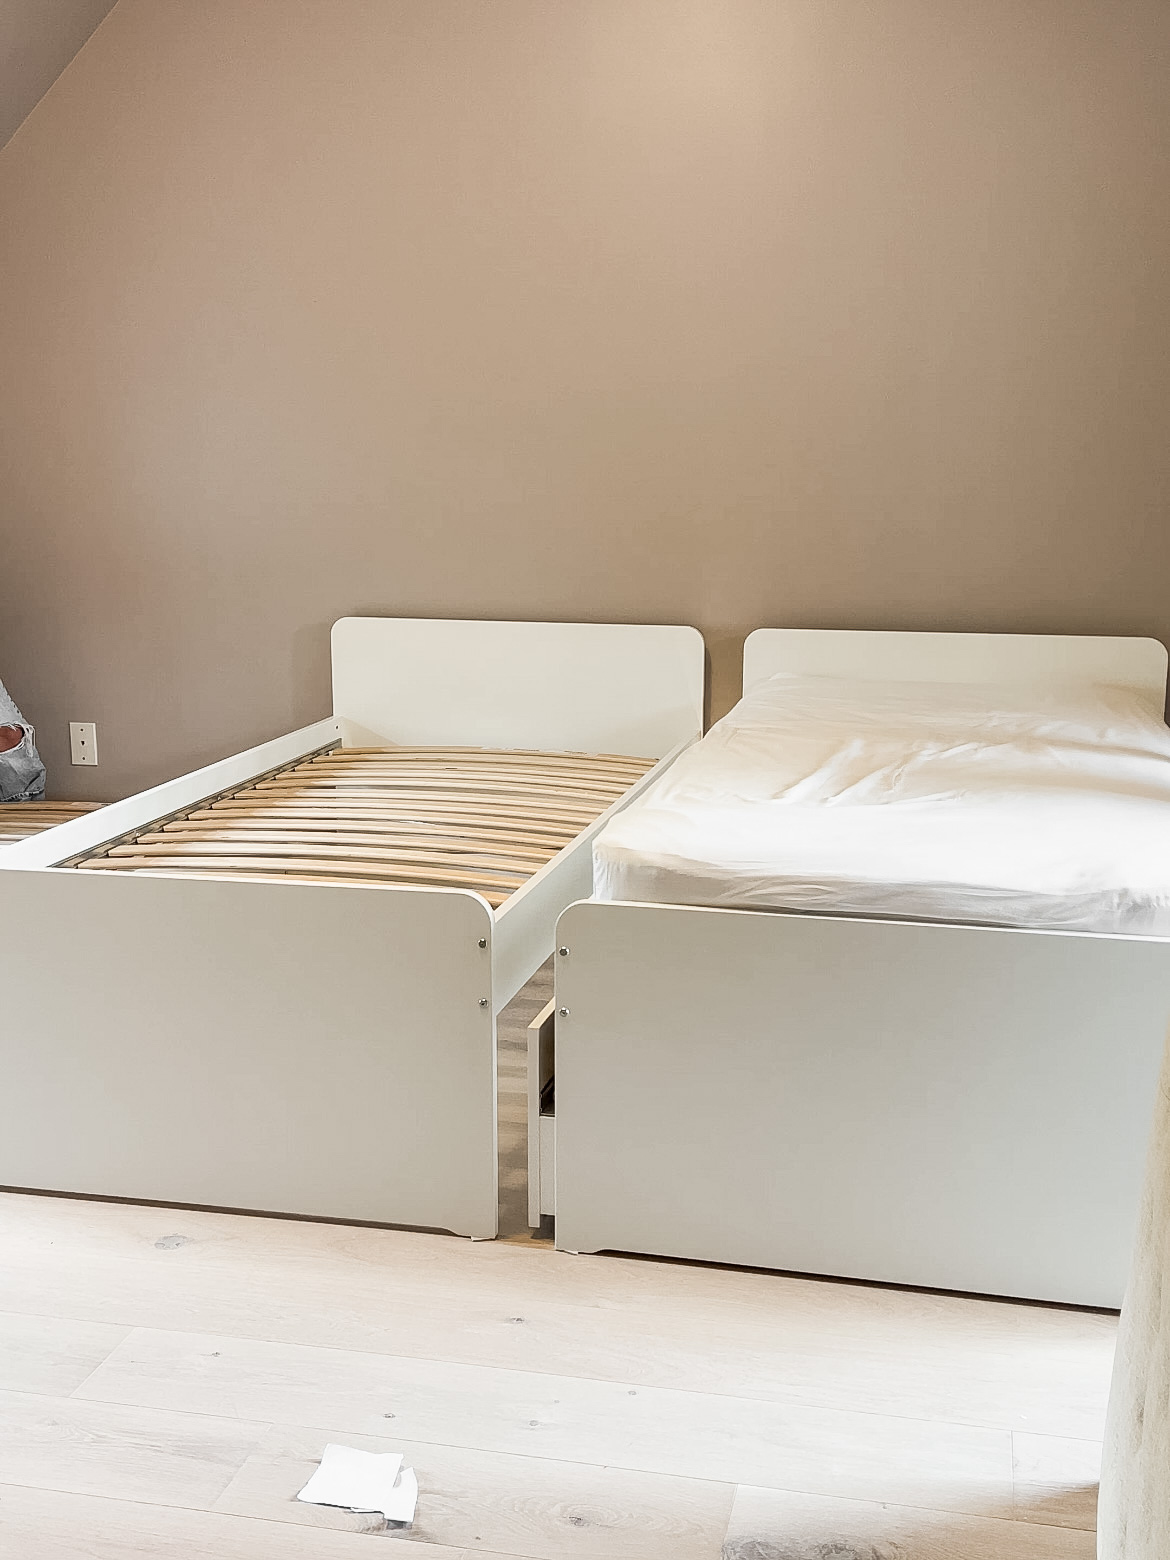
I bought these IKEA trundle beds two years ago with the intention of using them for a fun guest room. I’m finally getting around to it. The room layout doesn’t allow for the trundles to go along the walls, since they would overlap the window nooks.
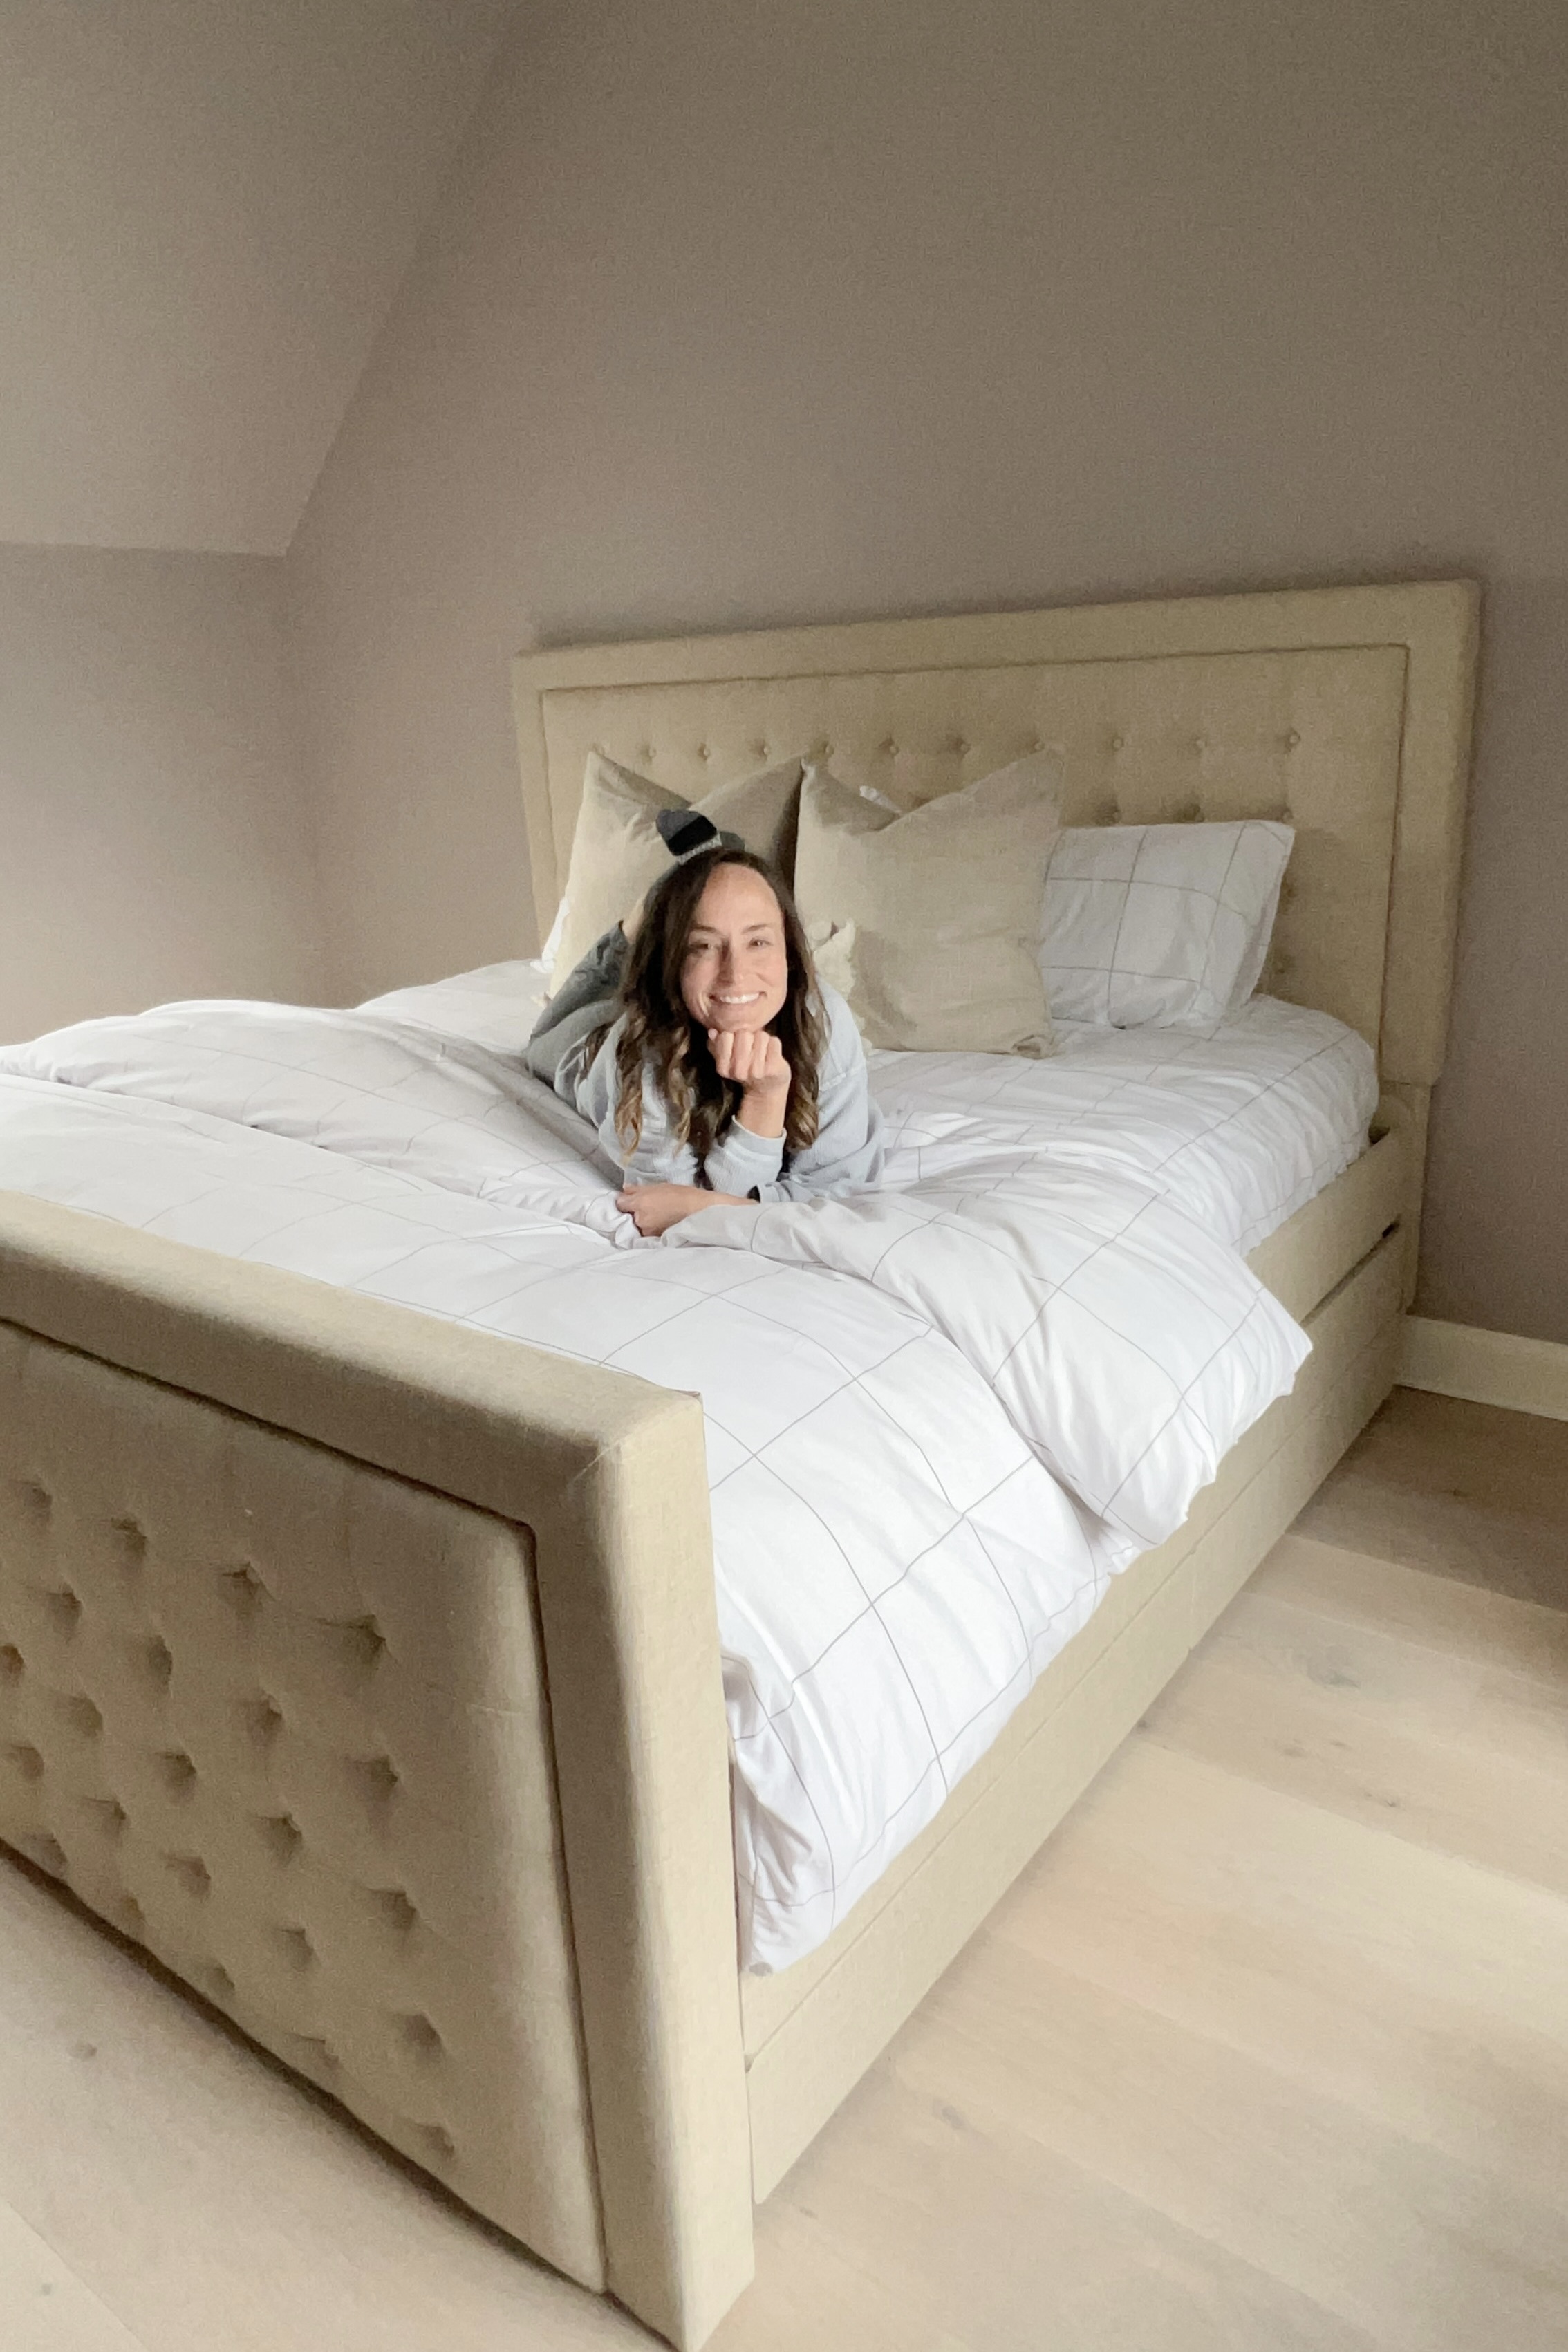
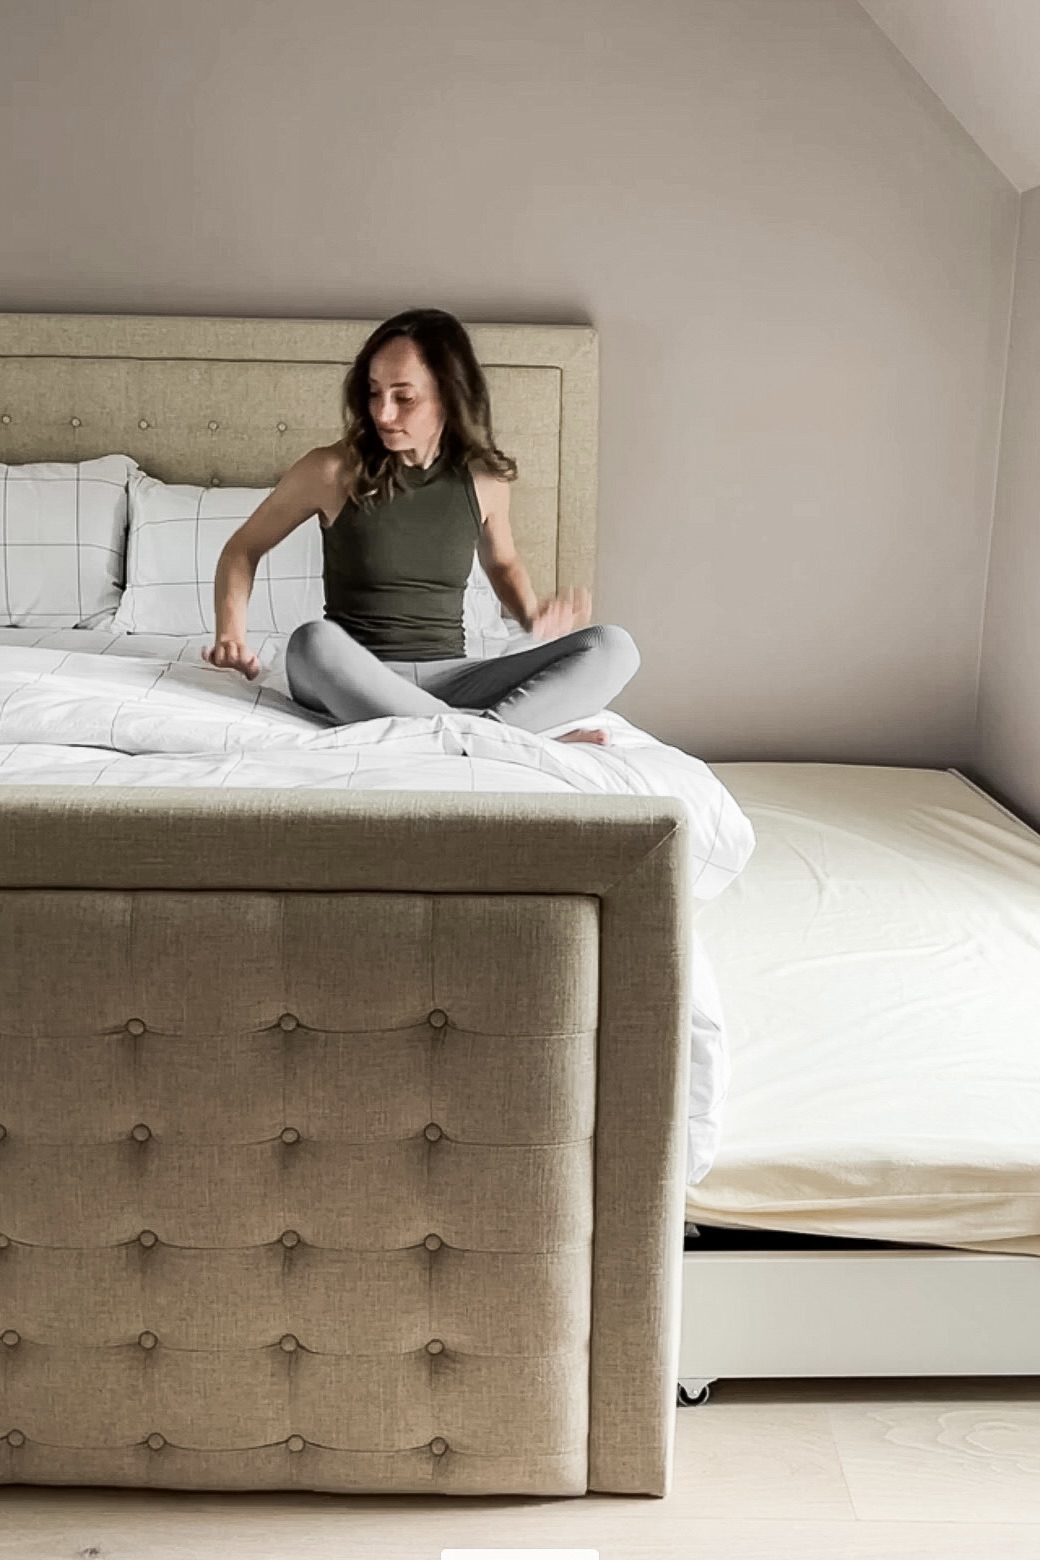
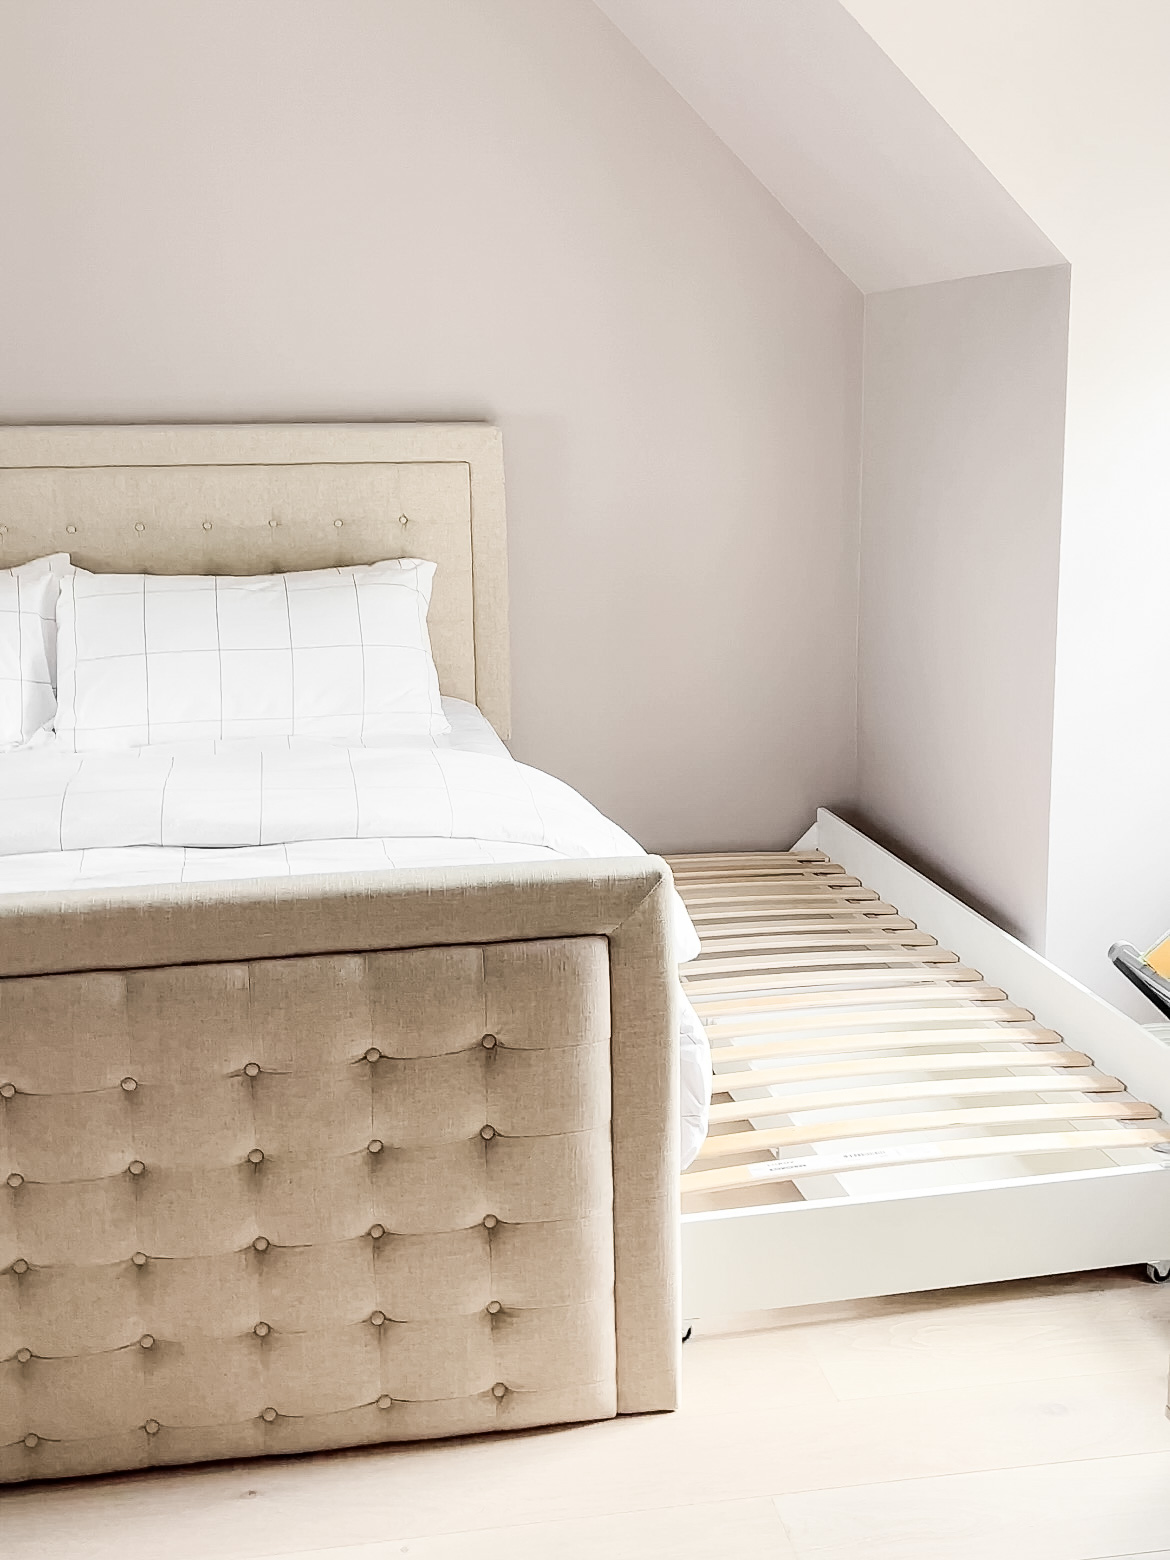
Giving up the trundles wasn’t an option. We wanted a guest space that would fit an entire family, or make a great spot for a cousin sleepover!
I also knew I wanted a beautiful guest bedroom with one large bed in the center. That might sound trivial, but I want to love the room I’m looking at when it’s not being used for guests. I couldn’t find a king-sized bed with trundle beds on either side, so I knew I needed to create it.
Below are my YouTube videos relating to this project if you would like to watch the saga! Details and links to materials used will be listed in this blog post!
Step One: Ikea Trundle Beds into One King Bed
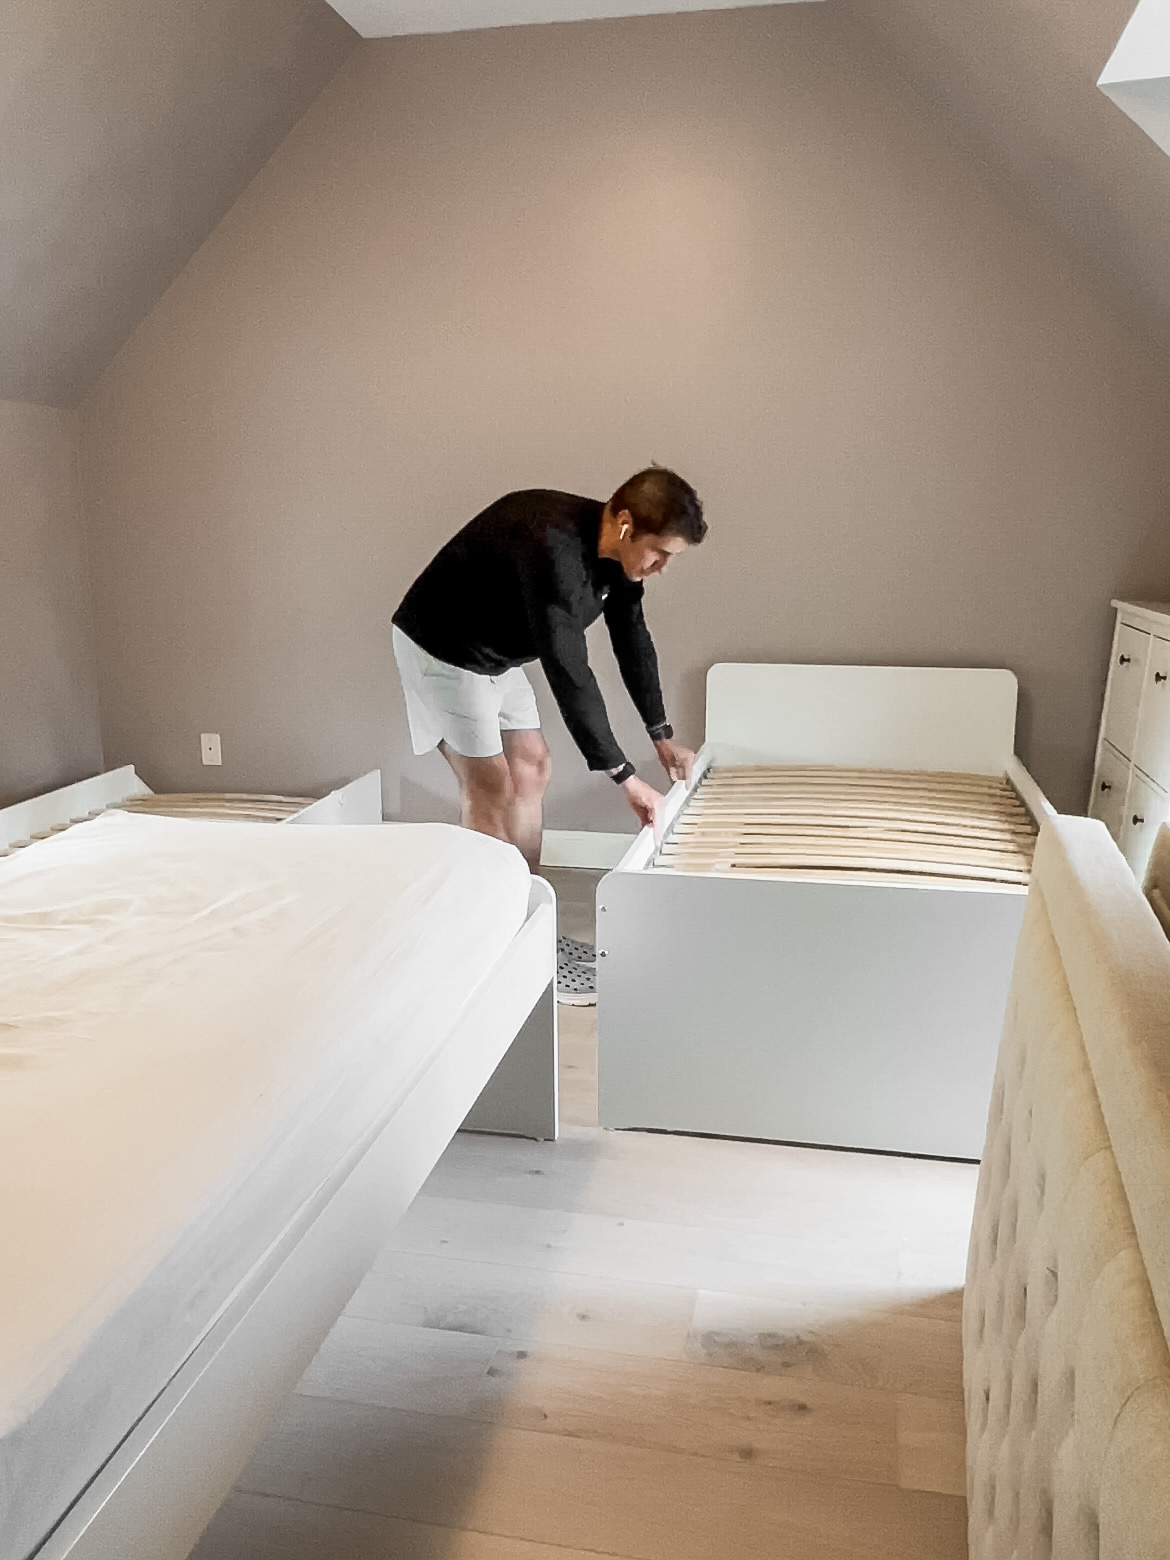
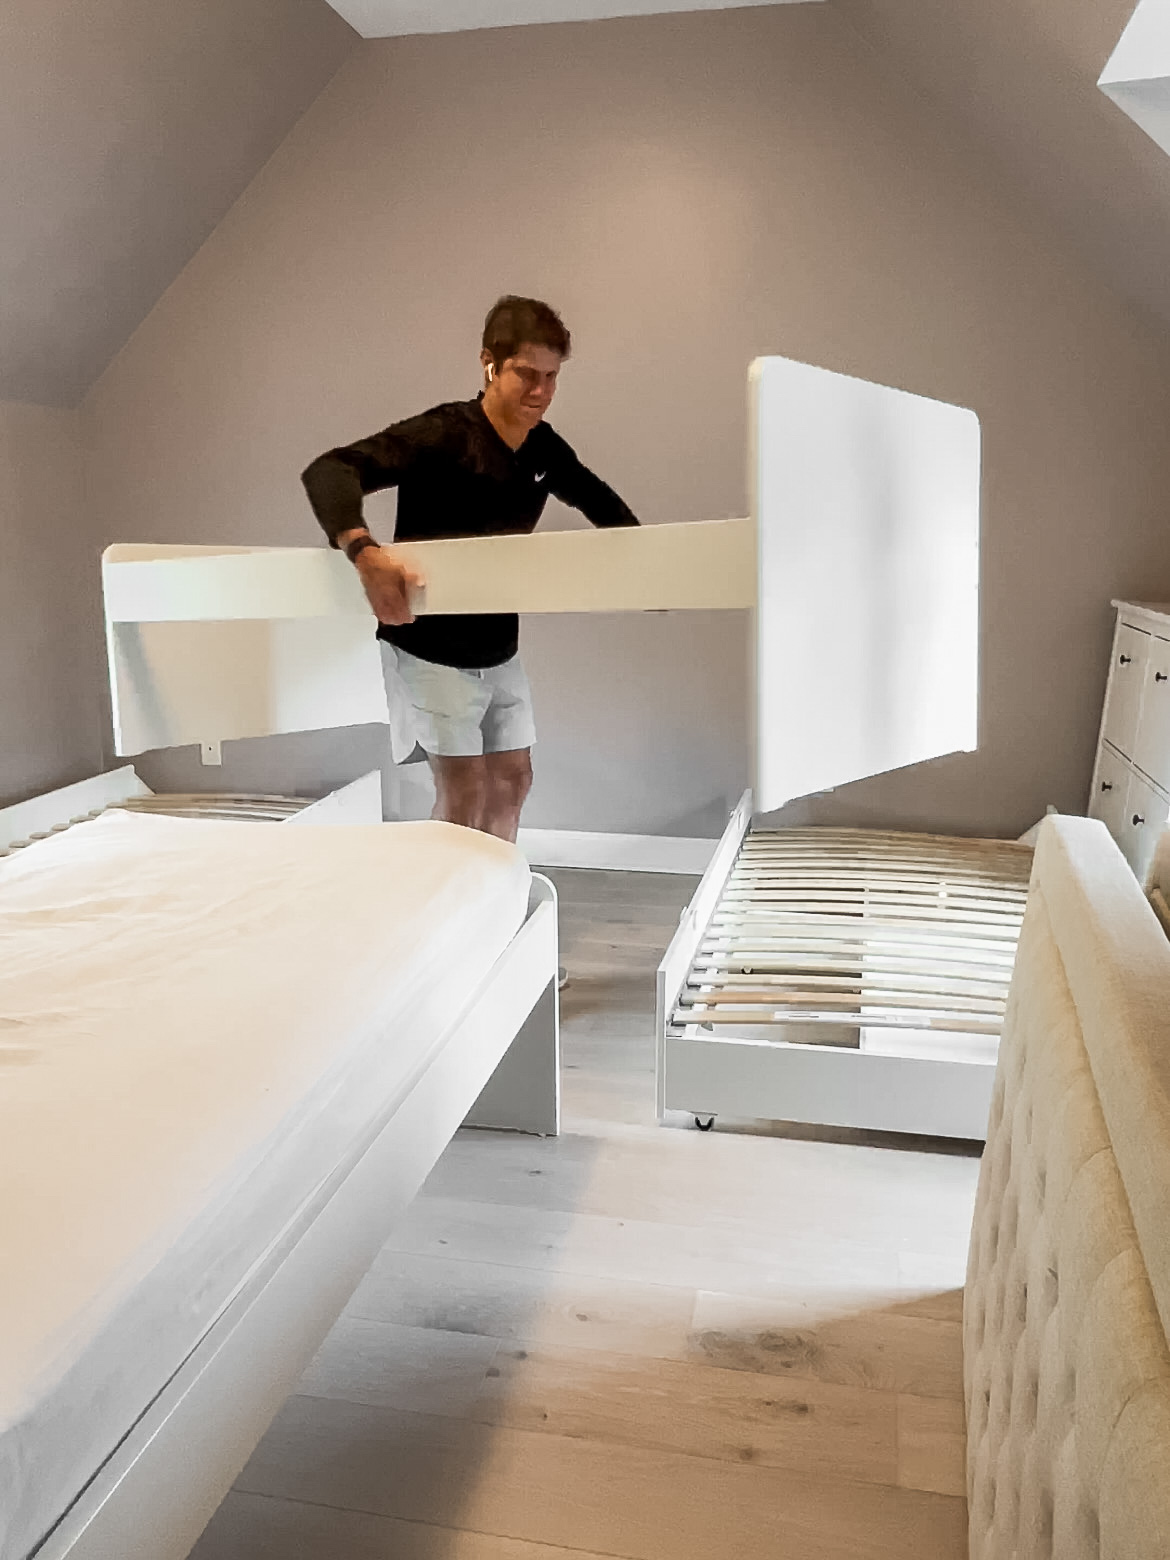
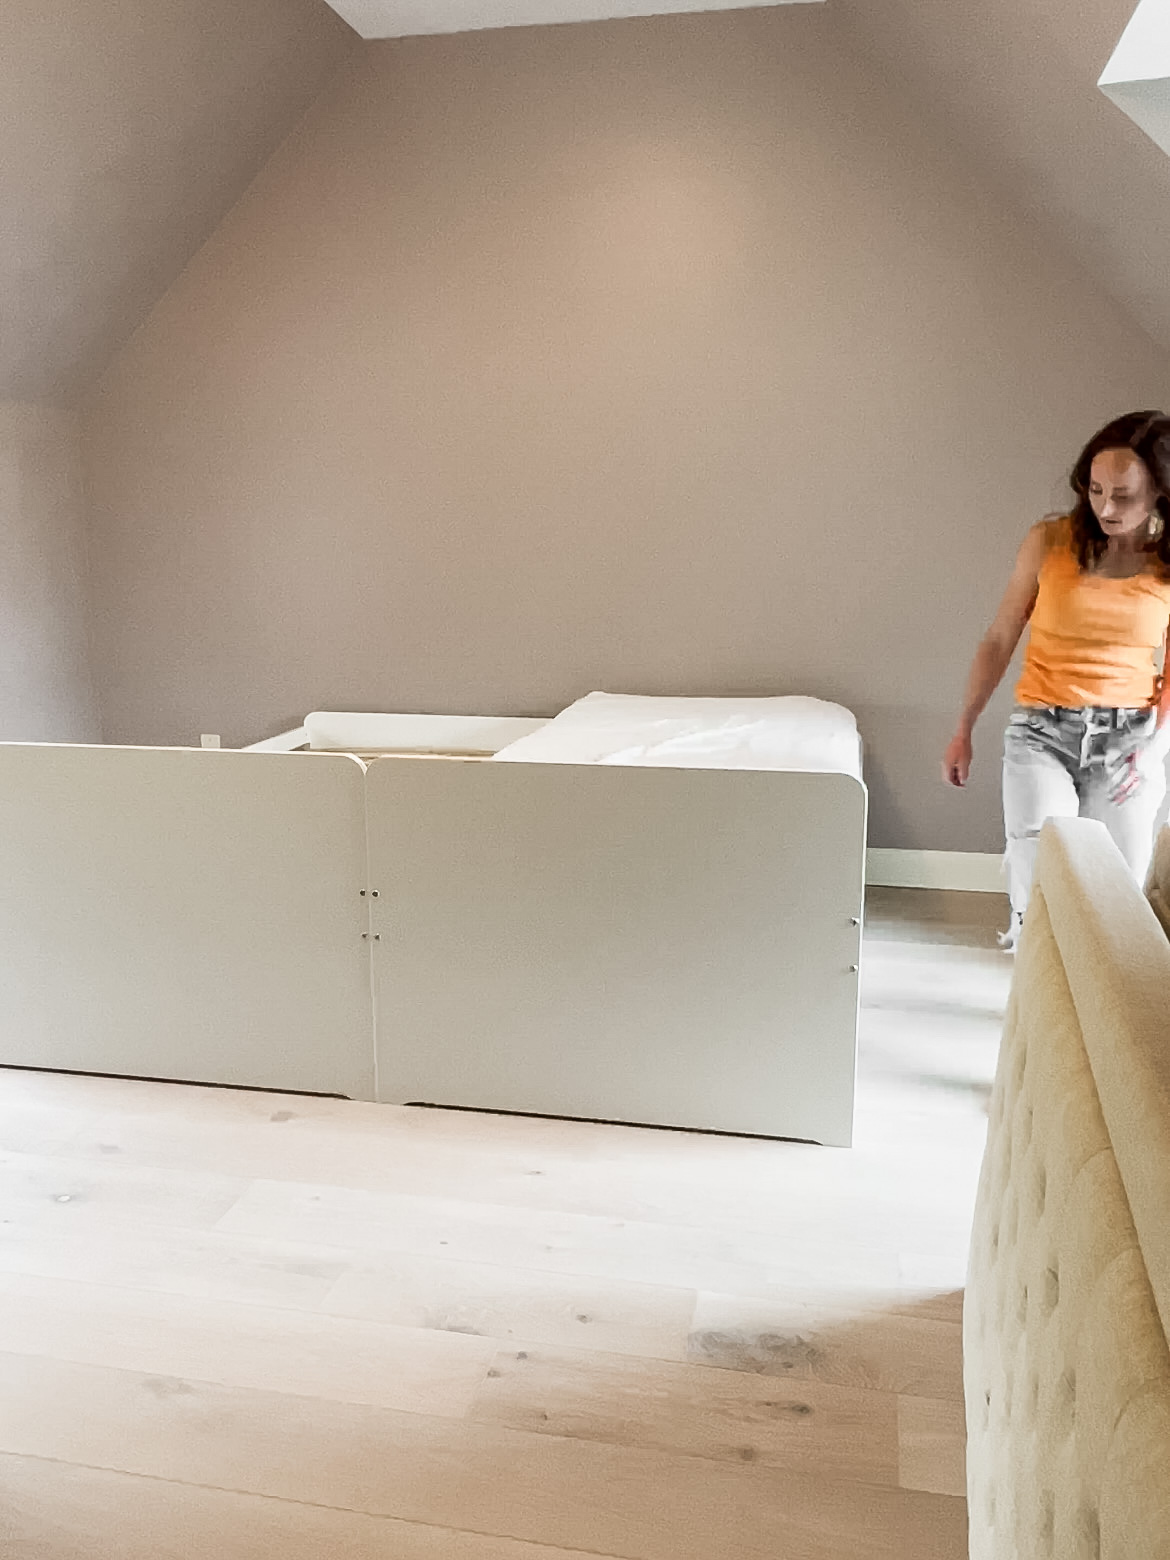
The first step was flipping the IKEA trundle beds around, so the headboards were actually at the foot of the bed. This step might not be necessary if using different trundles or headboards. For these trundles, it was necessary to make my life easier. More on the flip in a minute.
Step Two: Add a Bed Bridge
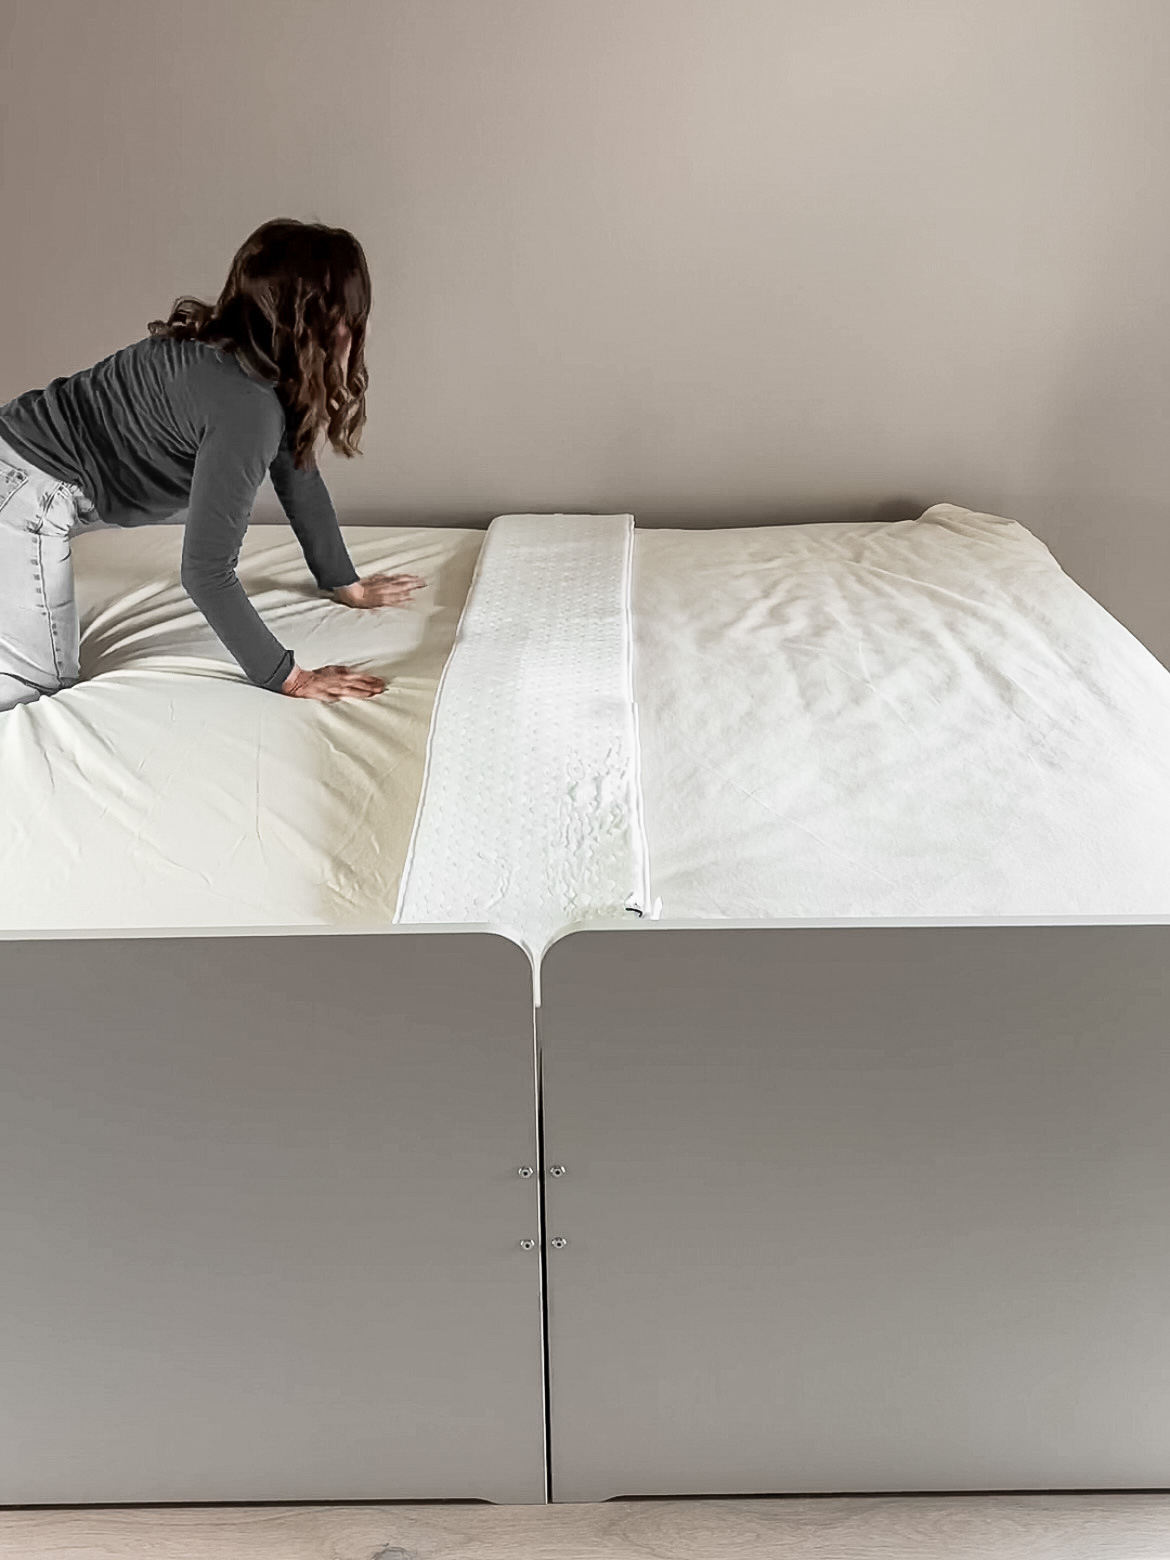
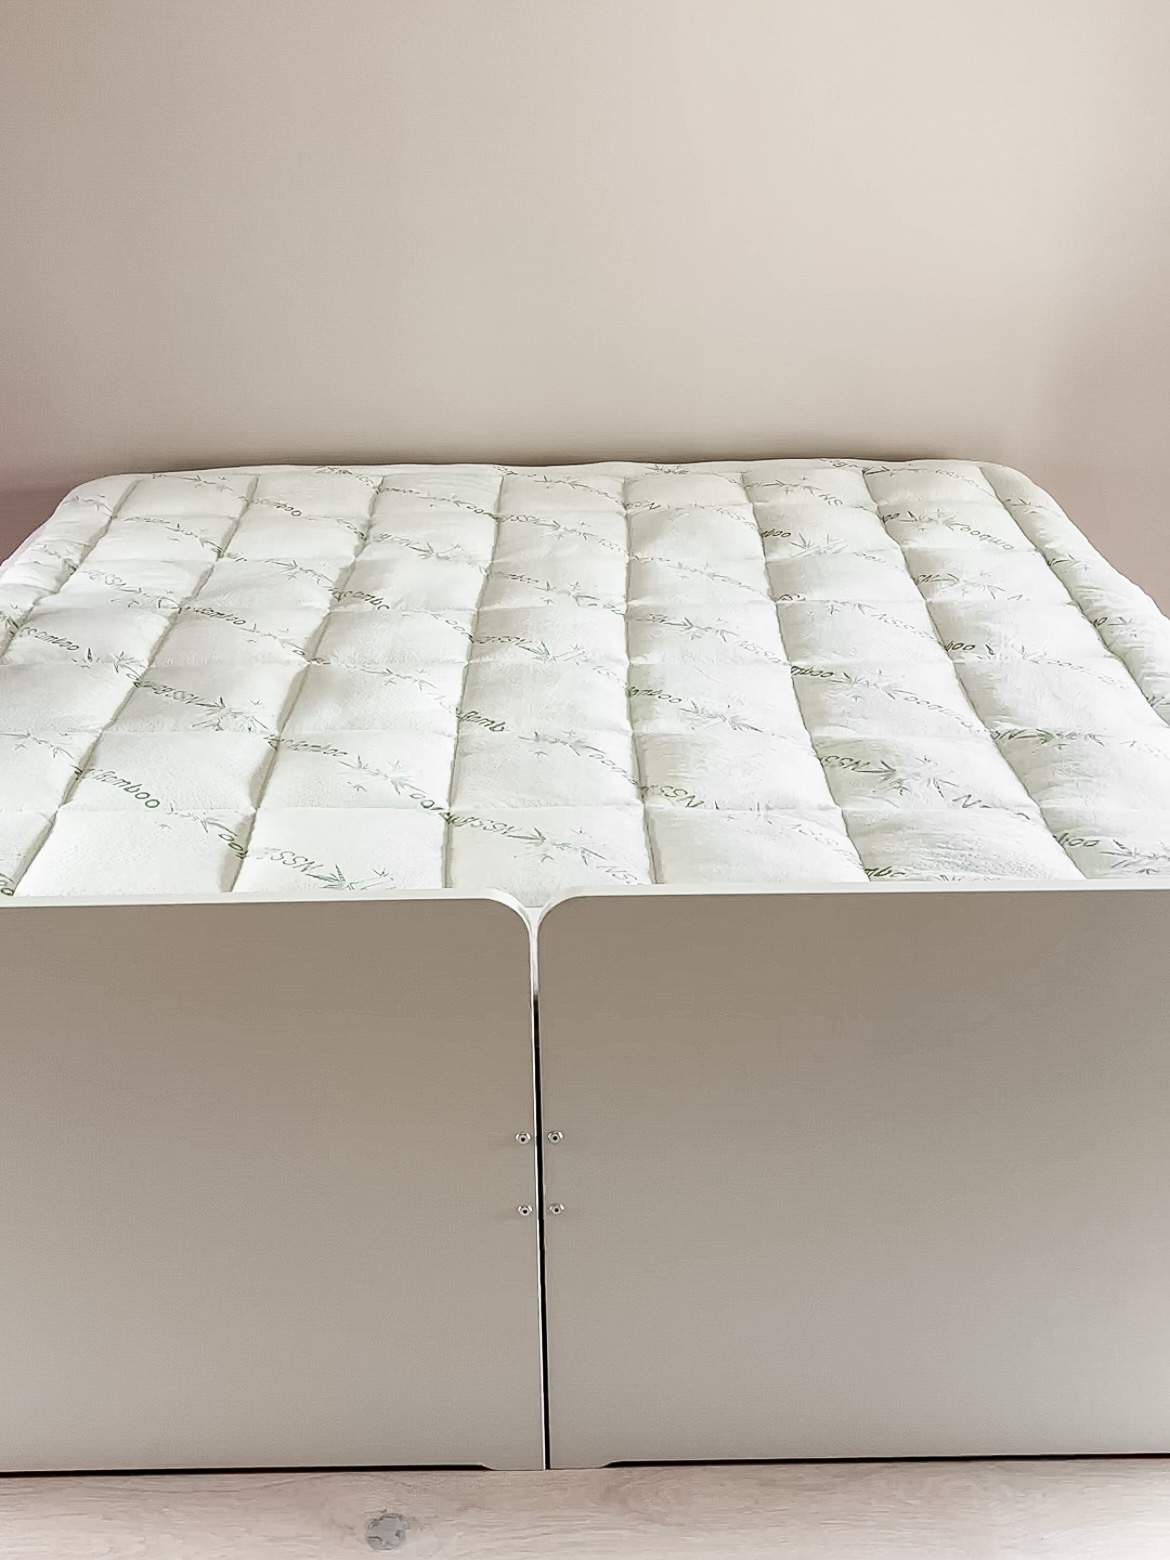
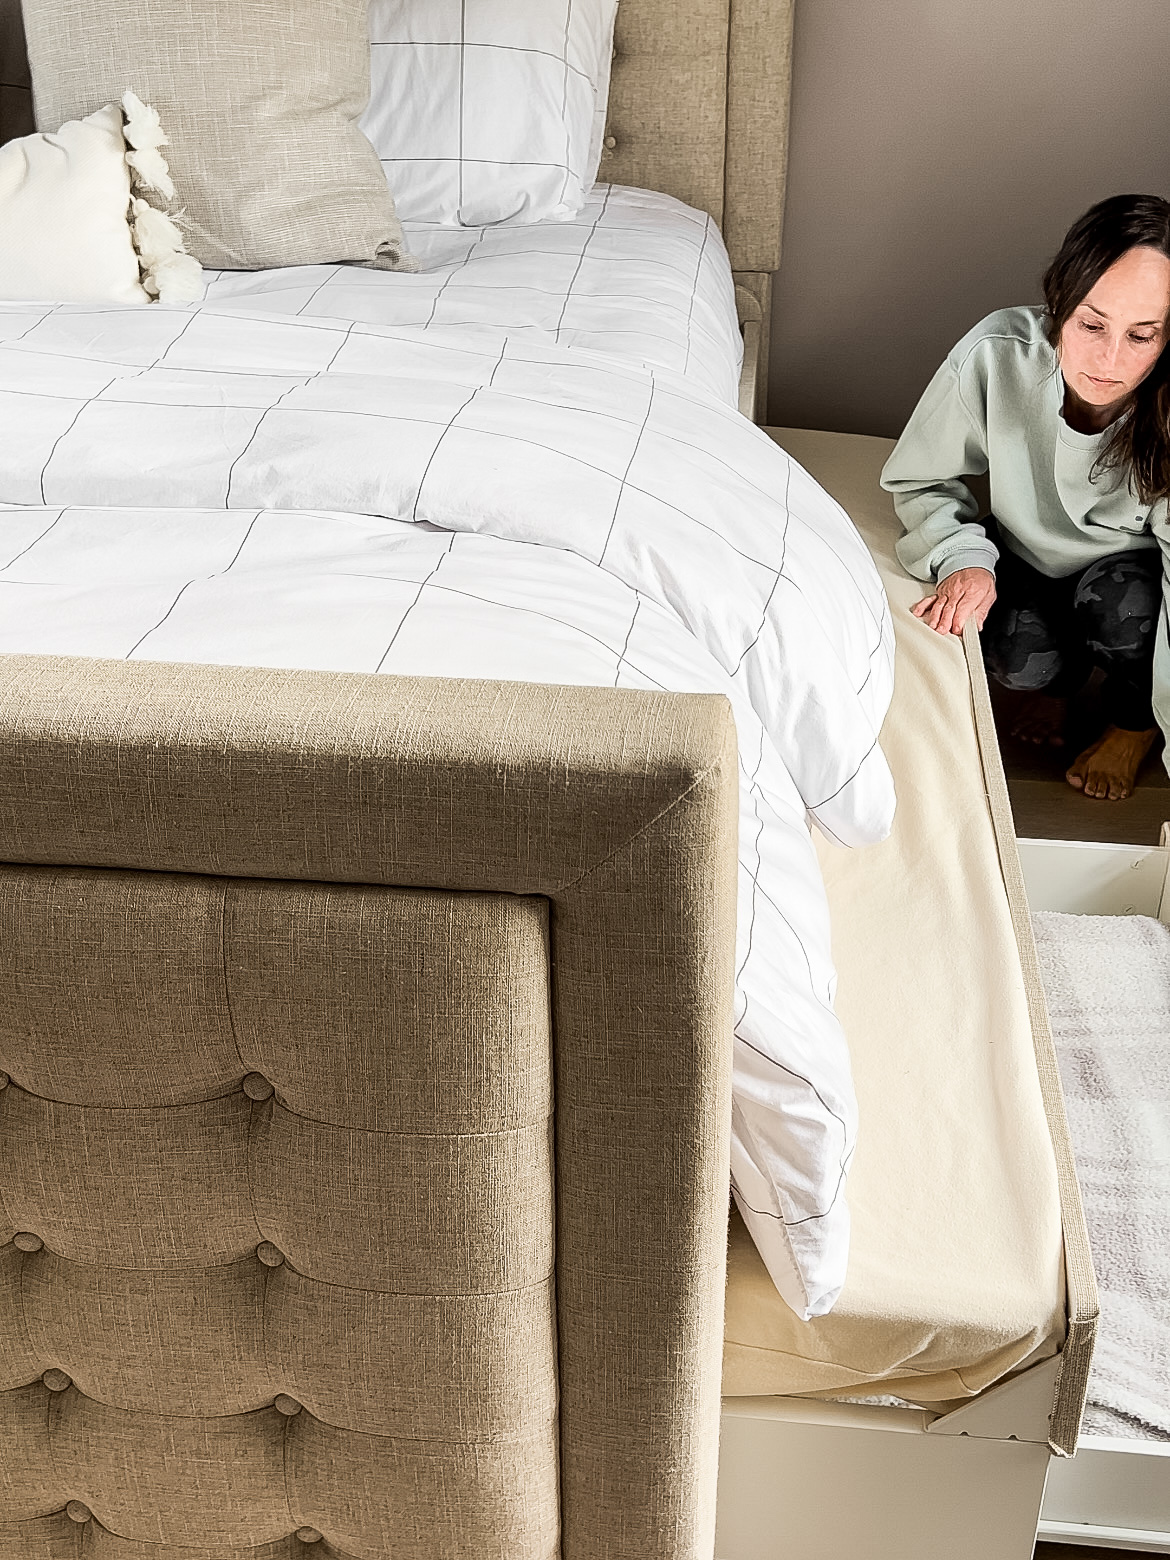
The next step in making the twin beds look like one big bed was adding this bed bridge. Some people have told me the bed bridge won’t hold up well, but we have used this same one previously with no issues. I also added a padded mattress cover over top to make it feel seamless when lying in bed.
Step Three: Source Wide Headboards
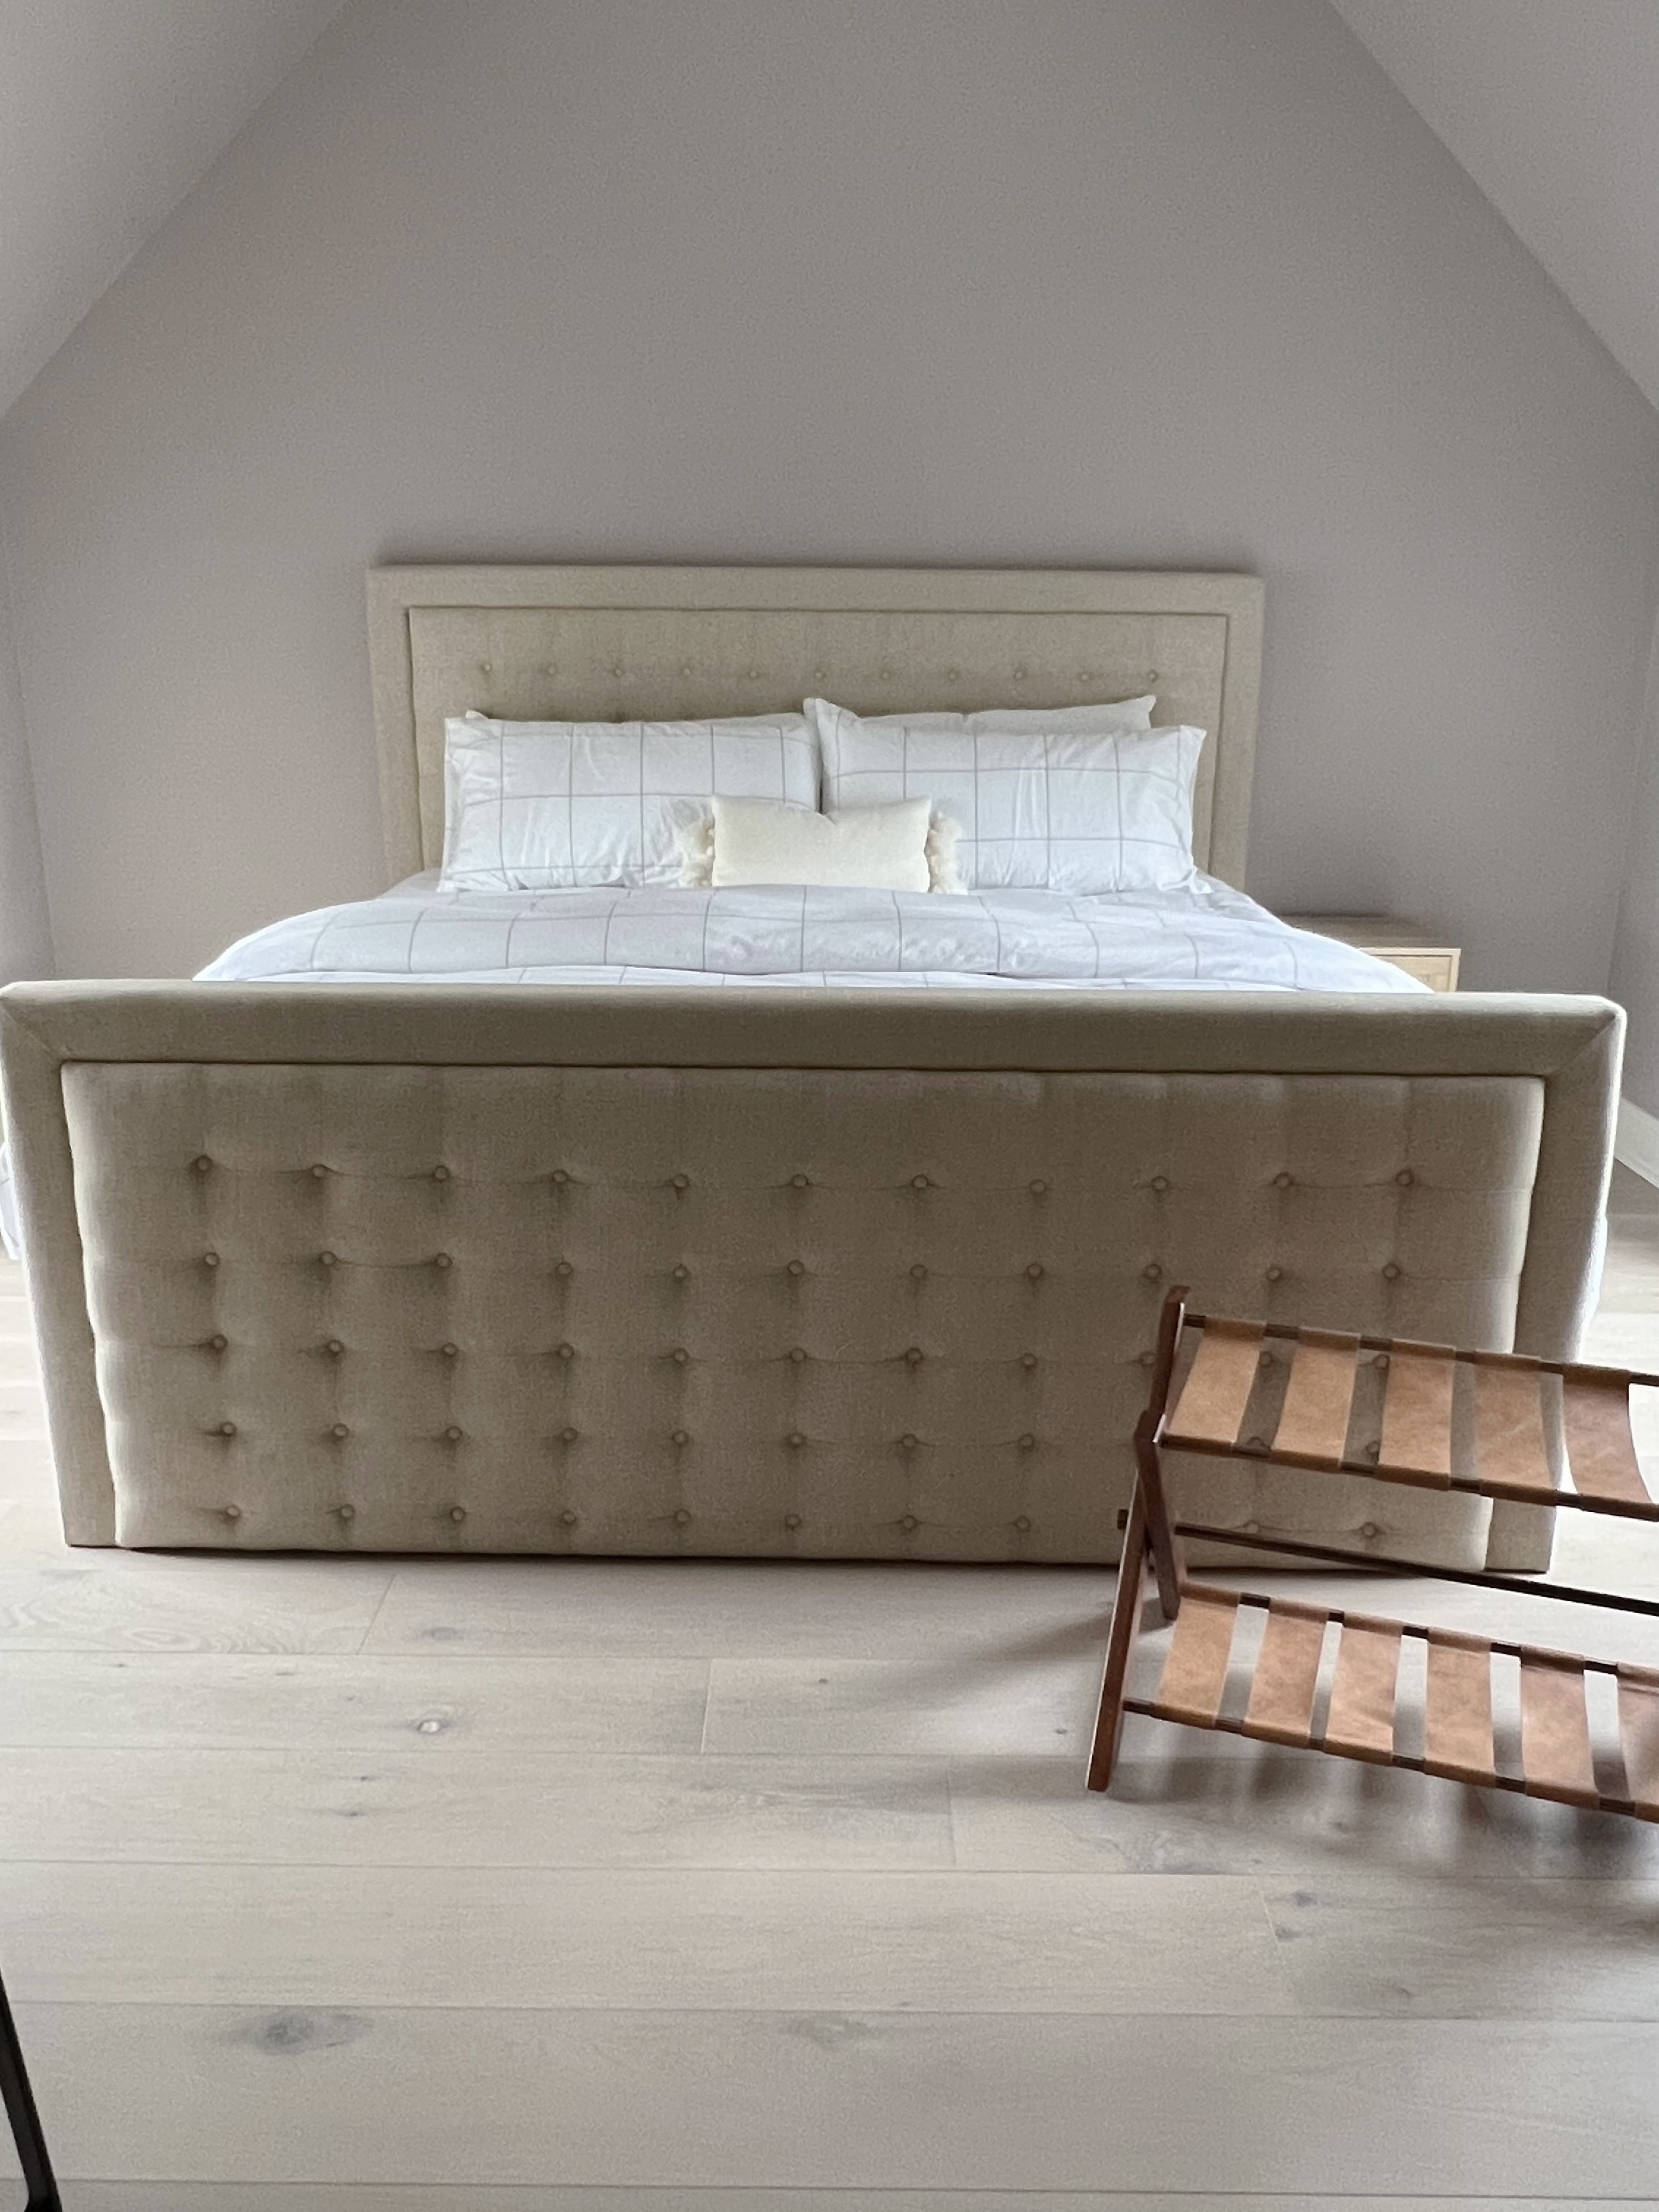
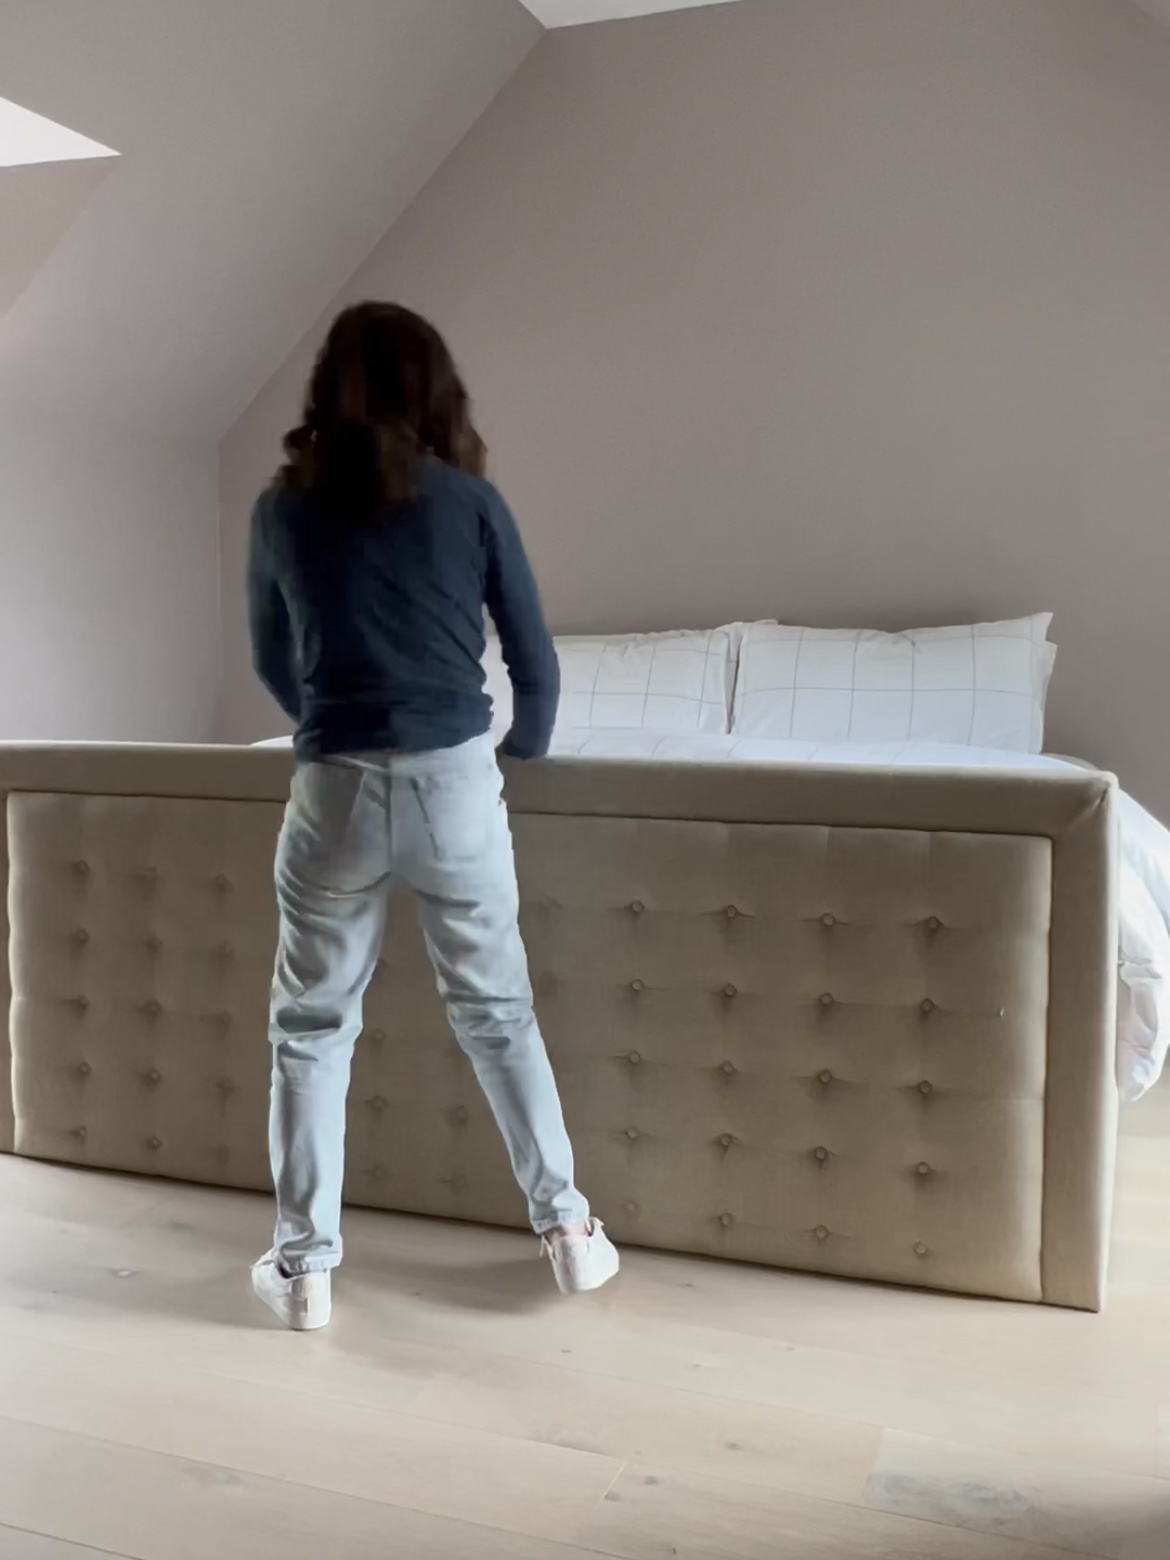
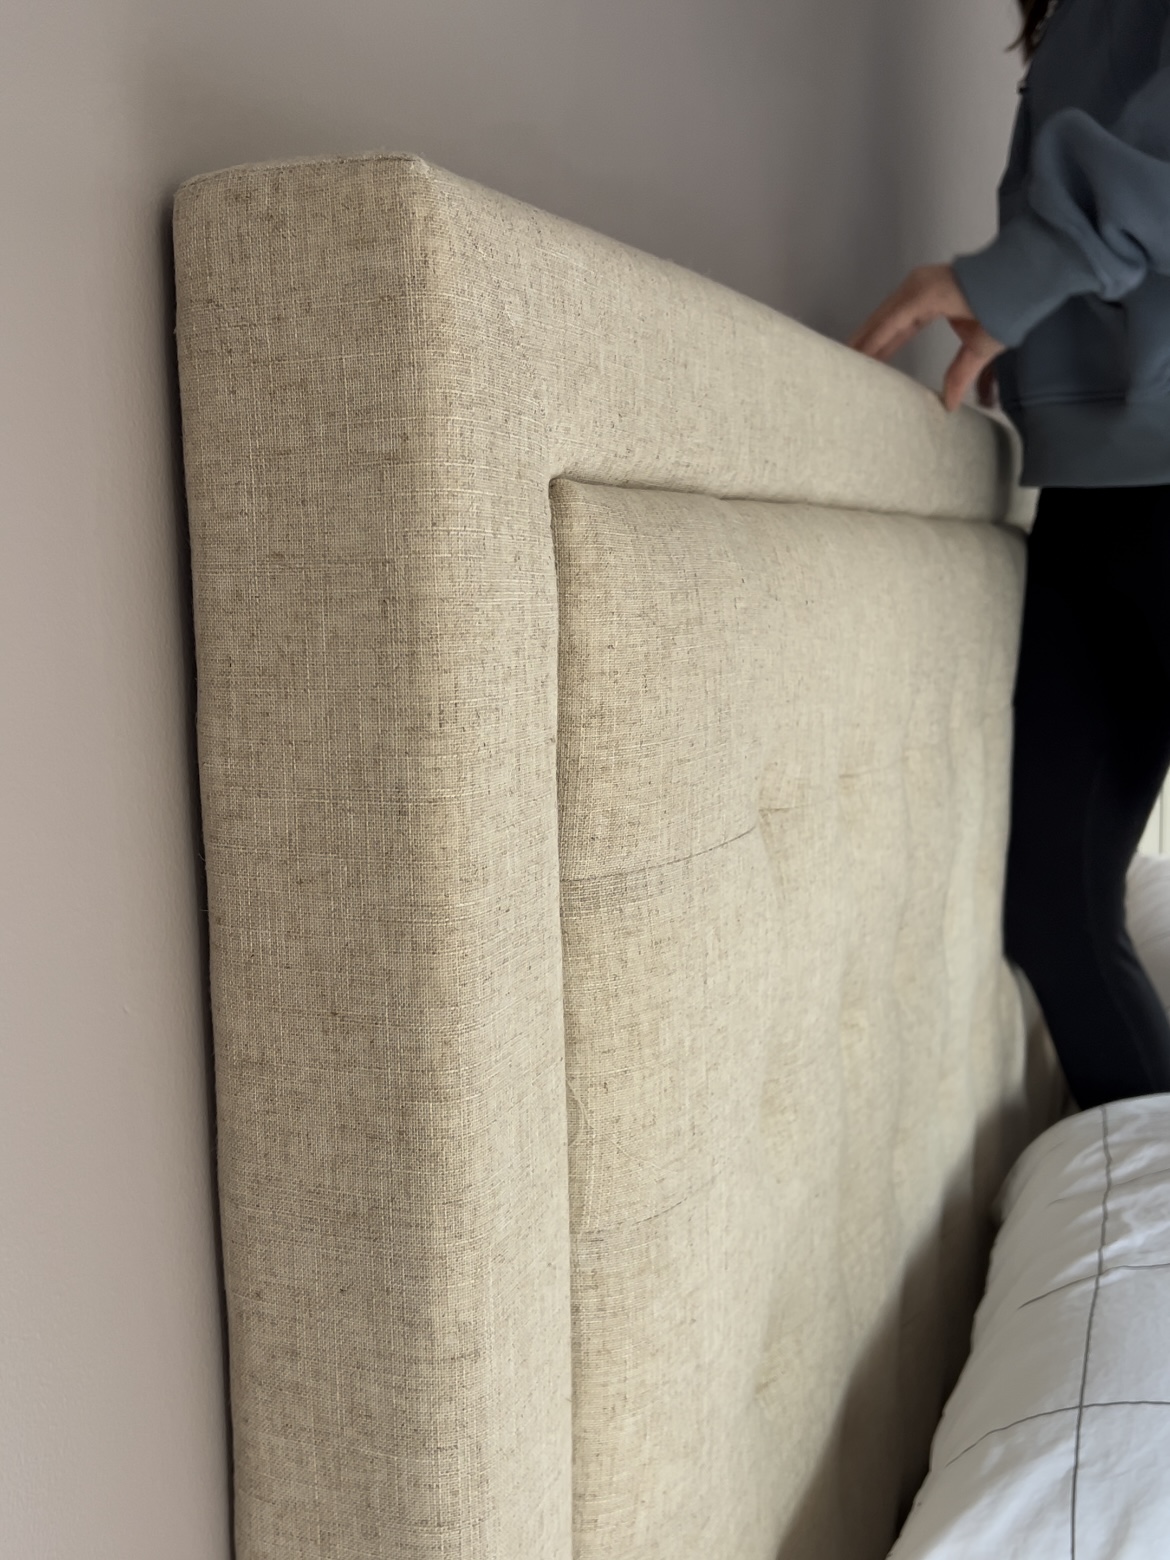
The next step was covering up the old headboard and footboard with one large new one. I used this headboard from Wayfair because it’s 82″ wide. It was difficult to find a headboard that wide, but that’s the minimum width needed to cover up the trundles.
One alternative I found, that could maybe work, are these peel-and-stick tiles. You can customize the size by using whatever number of tiles you need. I haven’t tried this personally, but it’s on my radar for future projects!
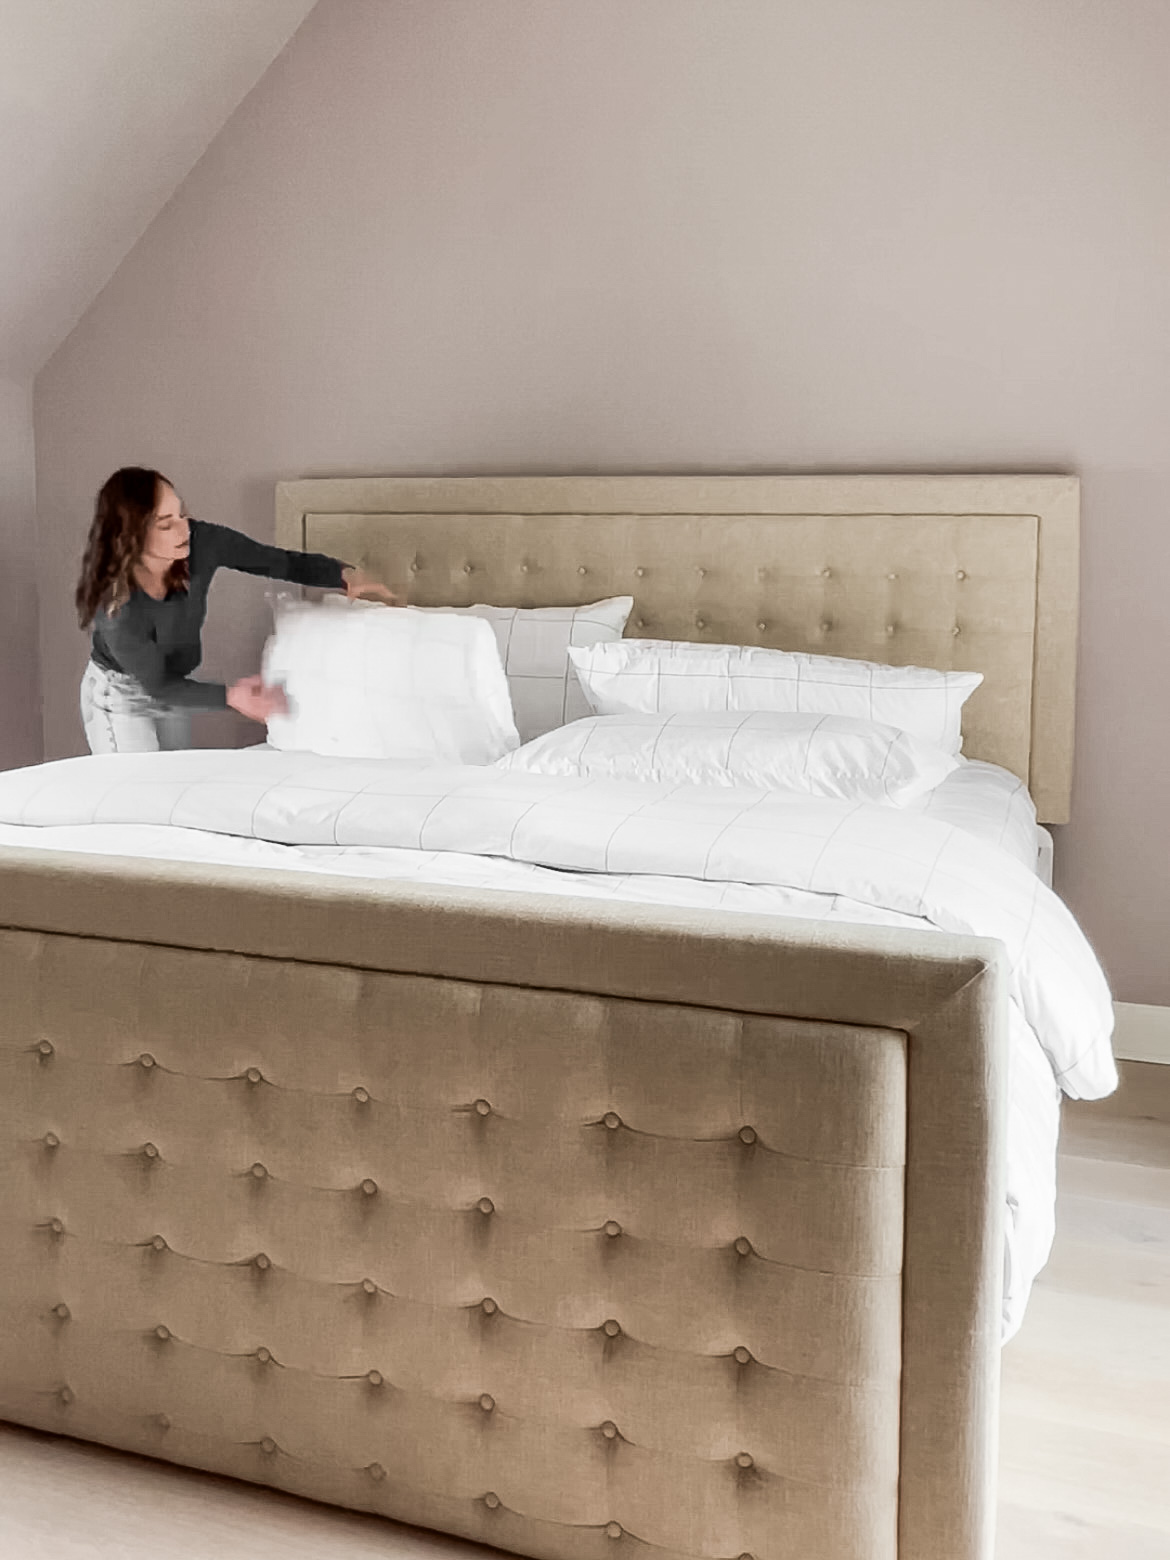
Step Four: Attaching the Headboard and Footboard
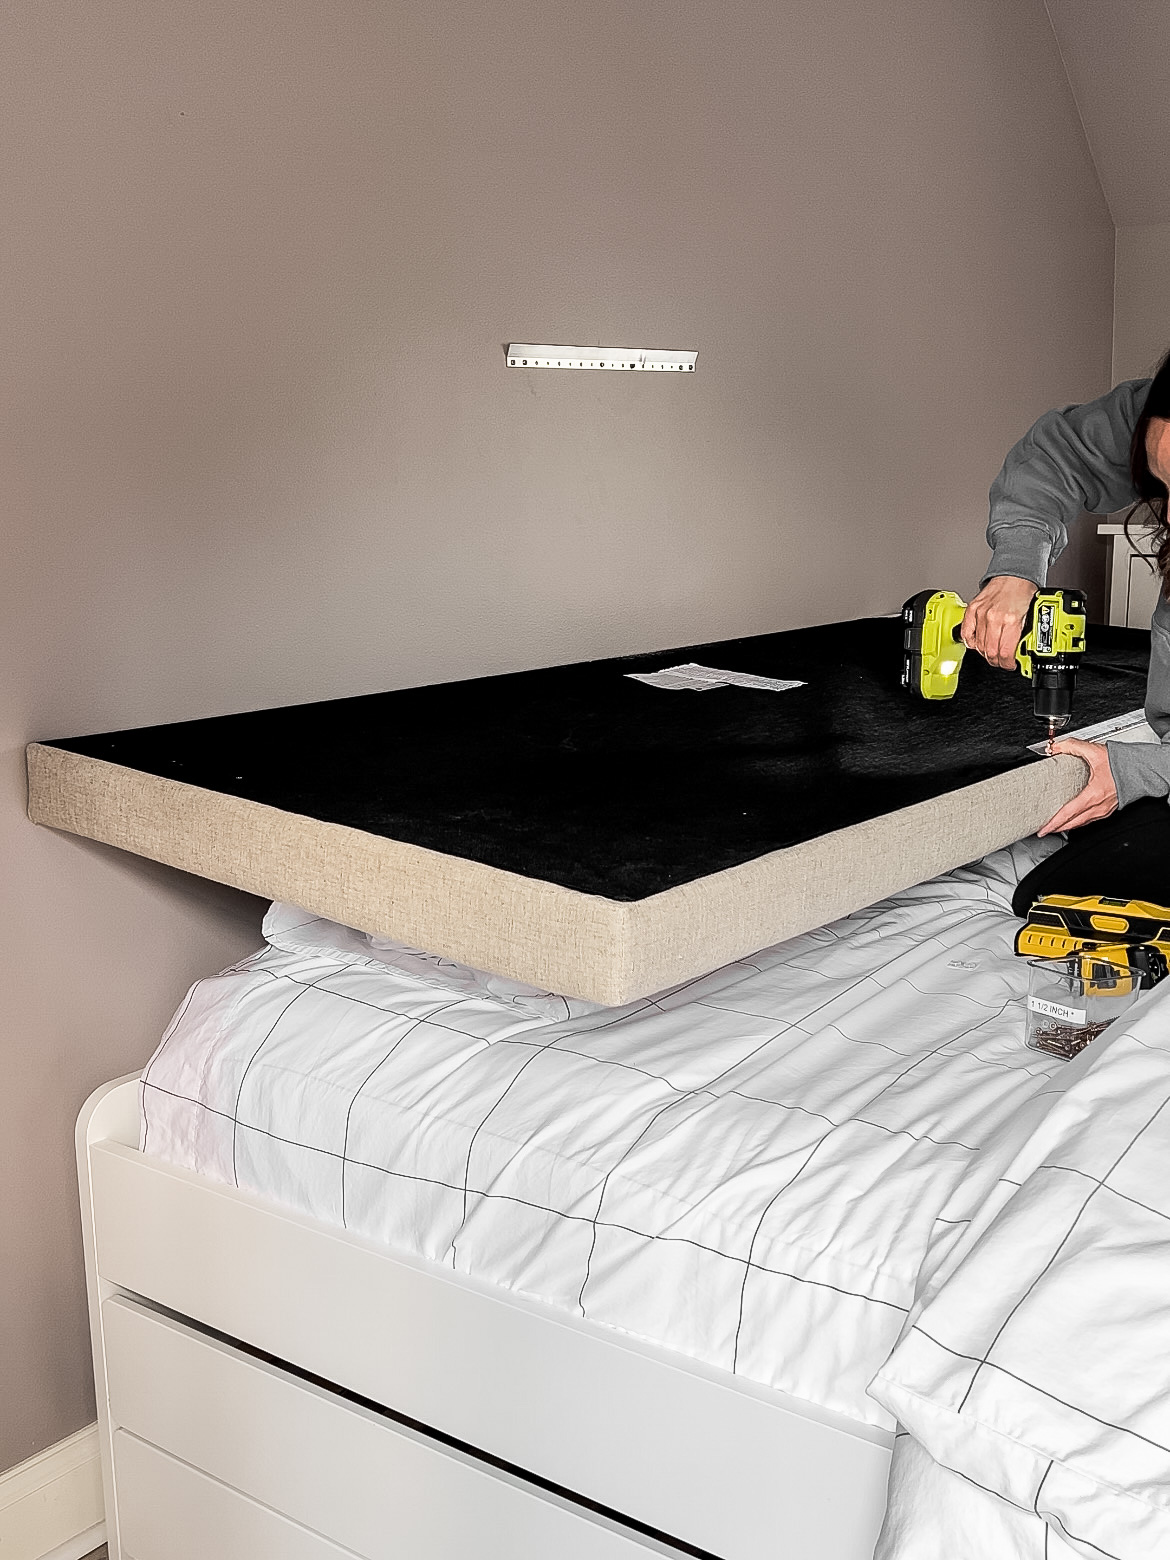
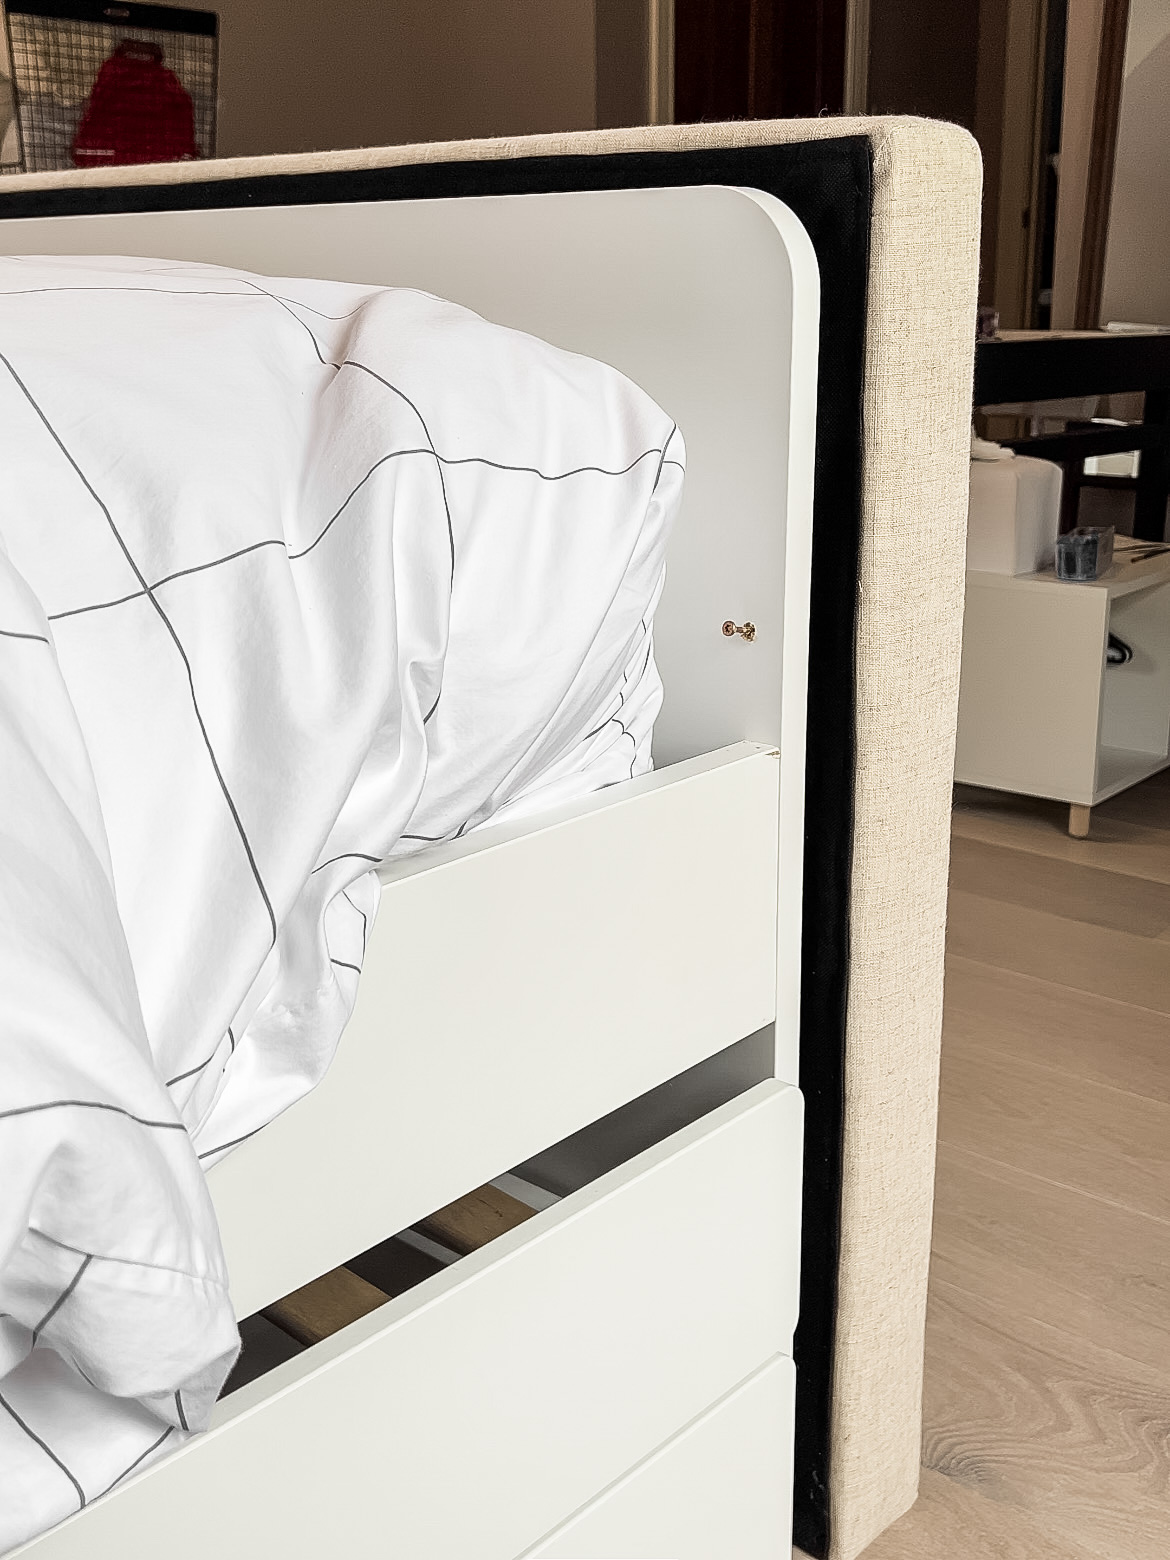
This is where flipping around the beds came to my rescue. I was able to hang the headboard directly onto the wall with a French Cleat (linked above). Since the foot of the trundles was against the wall, the beds slid right under the headboard perfectly.
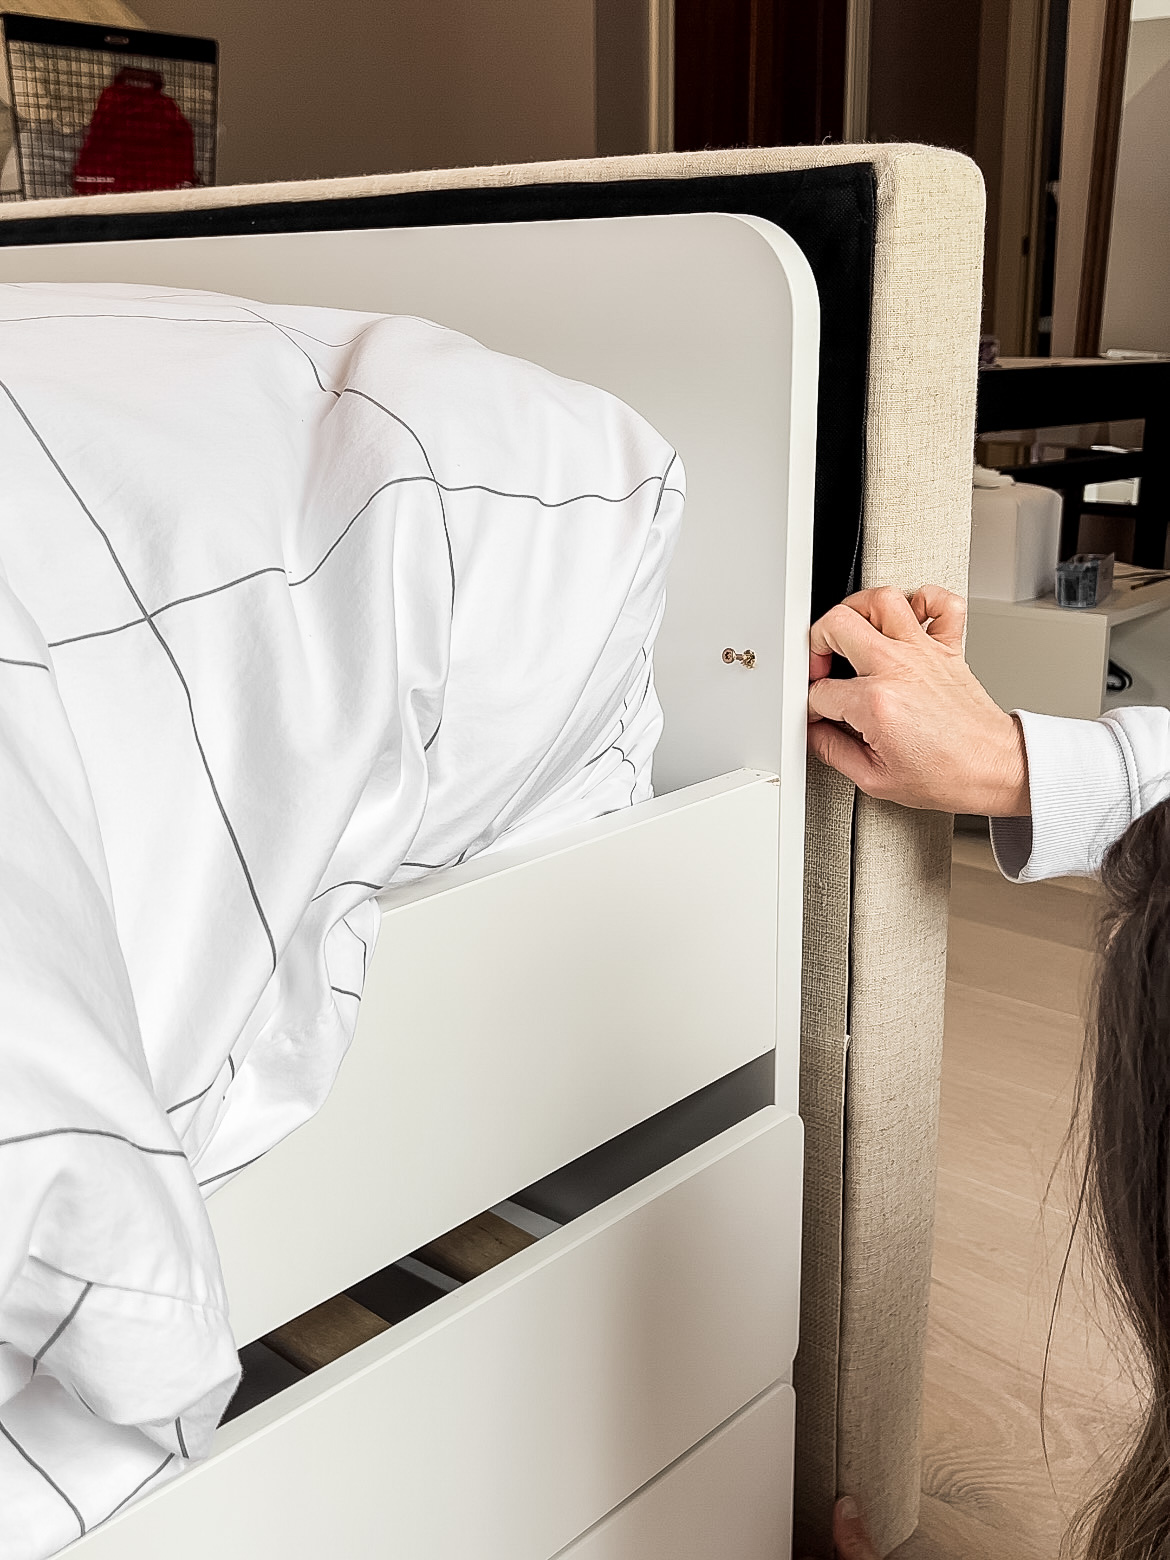
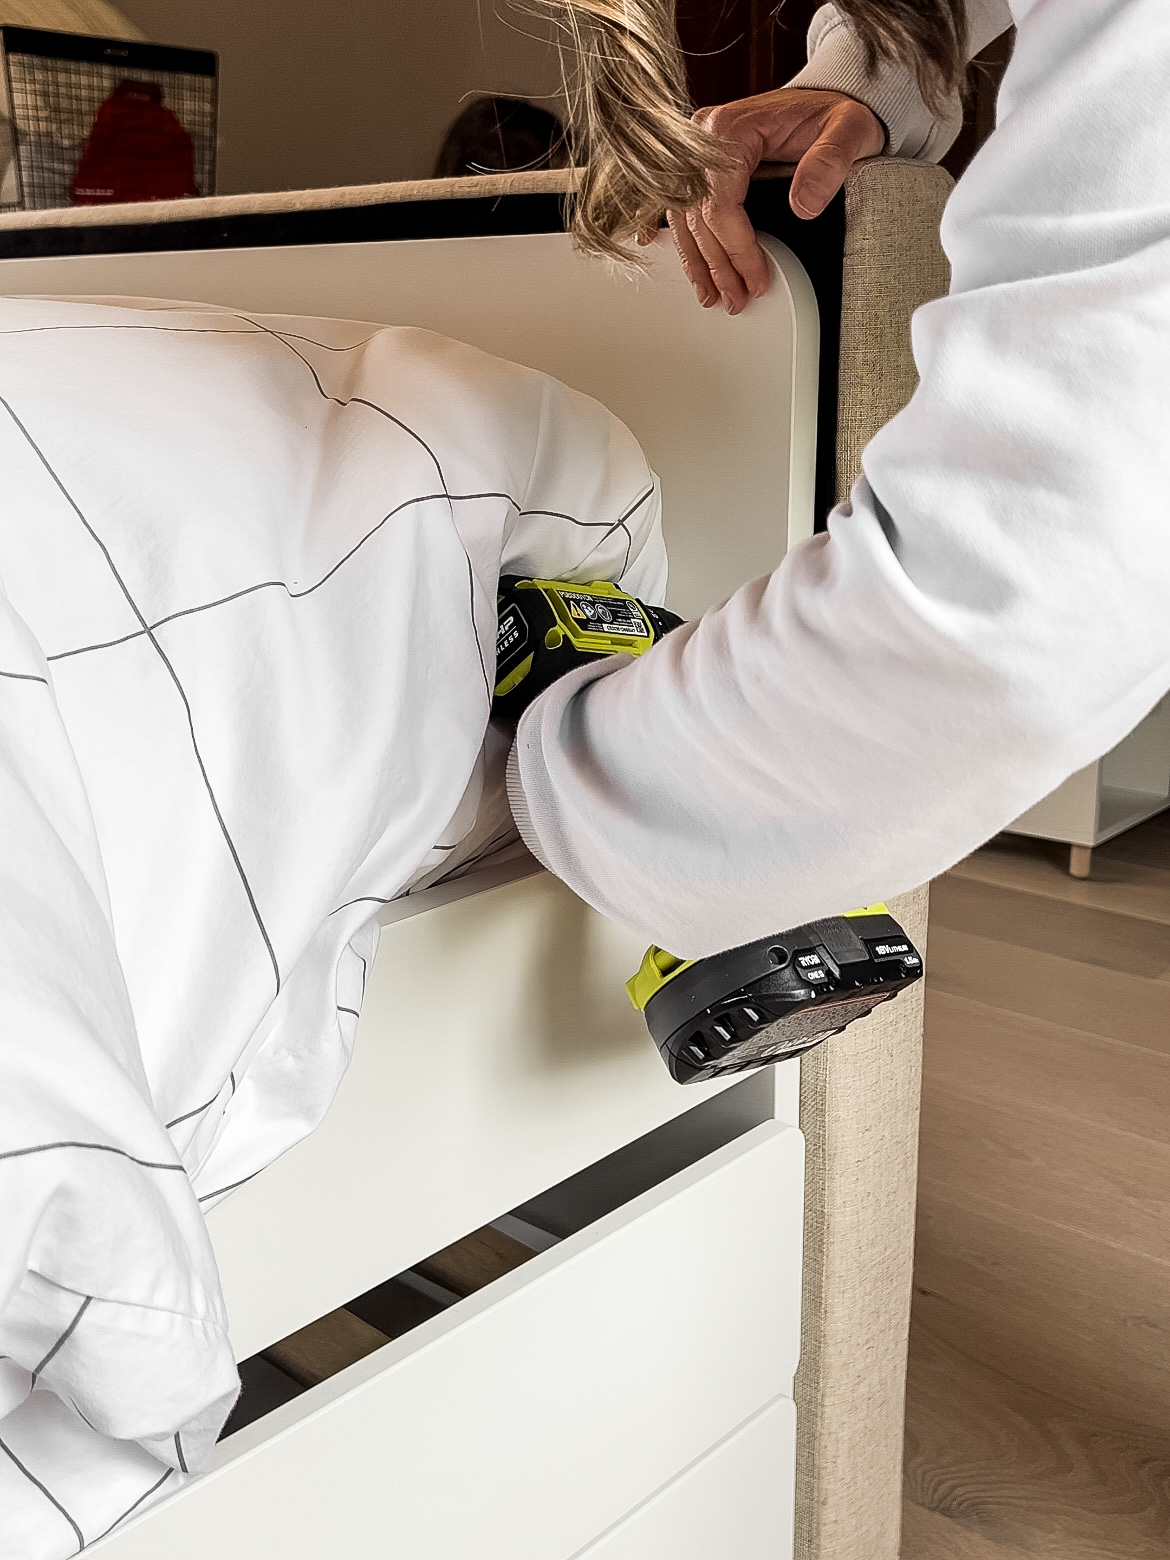
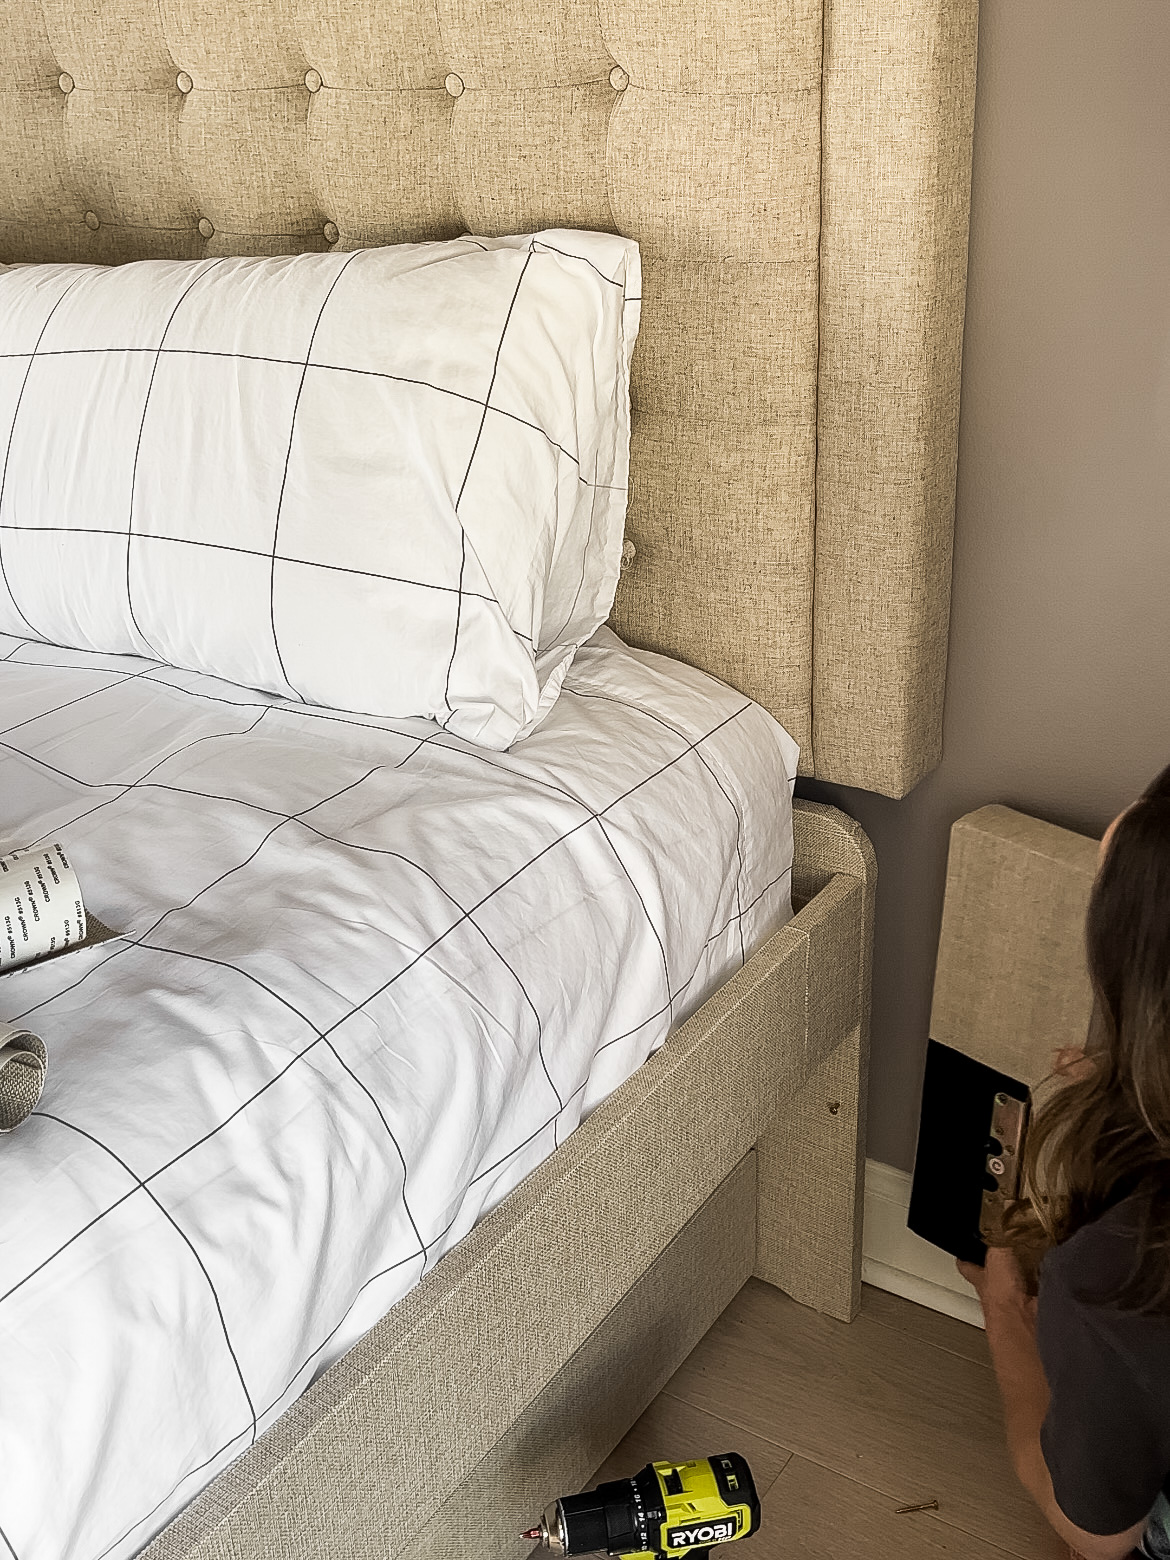
The headboard of the trundles being at the bottom of the bed worked well too. The trundles covered up most of the exposed black backing of the headboard and gave me something to screw through to attach the two pieces.
Step Five: Hiding the Signs of the IKEA Trundle Beds
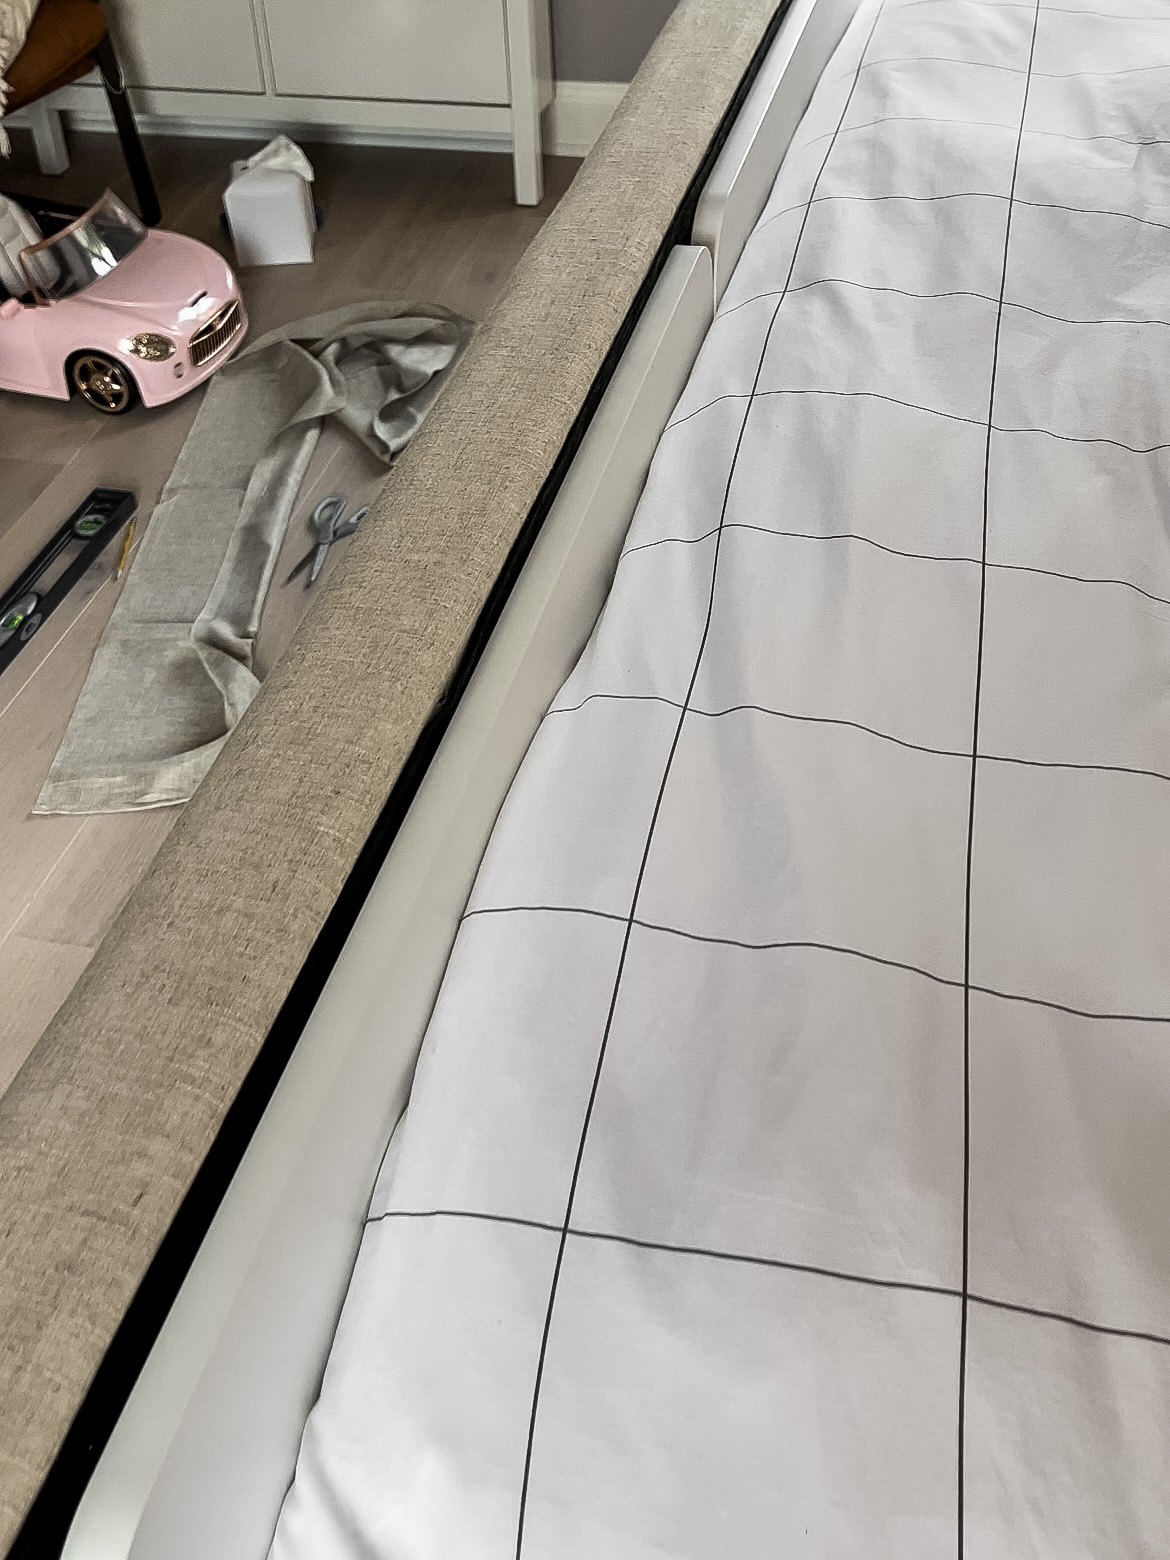
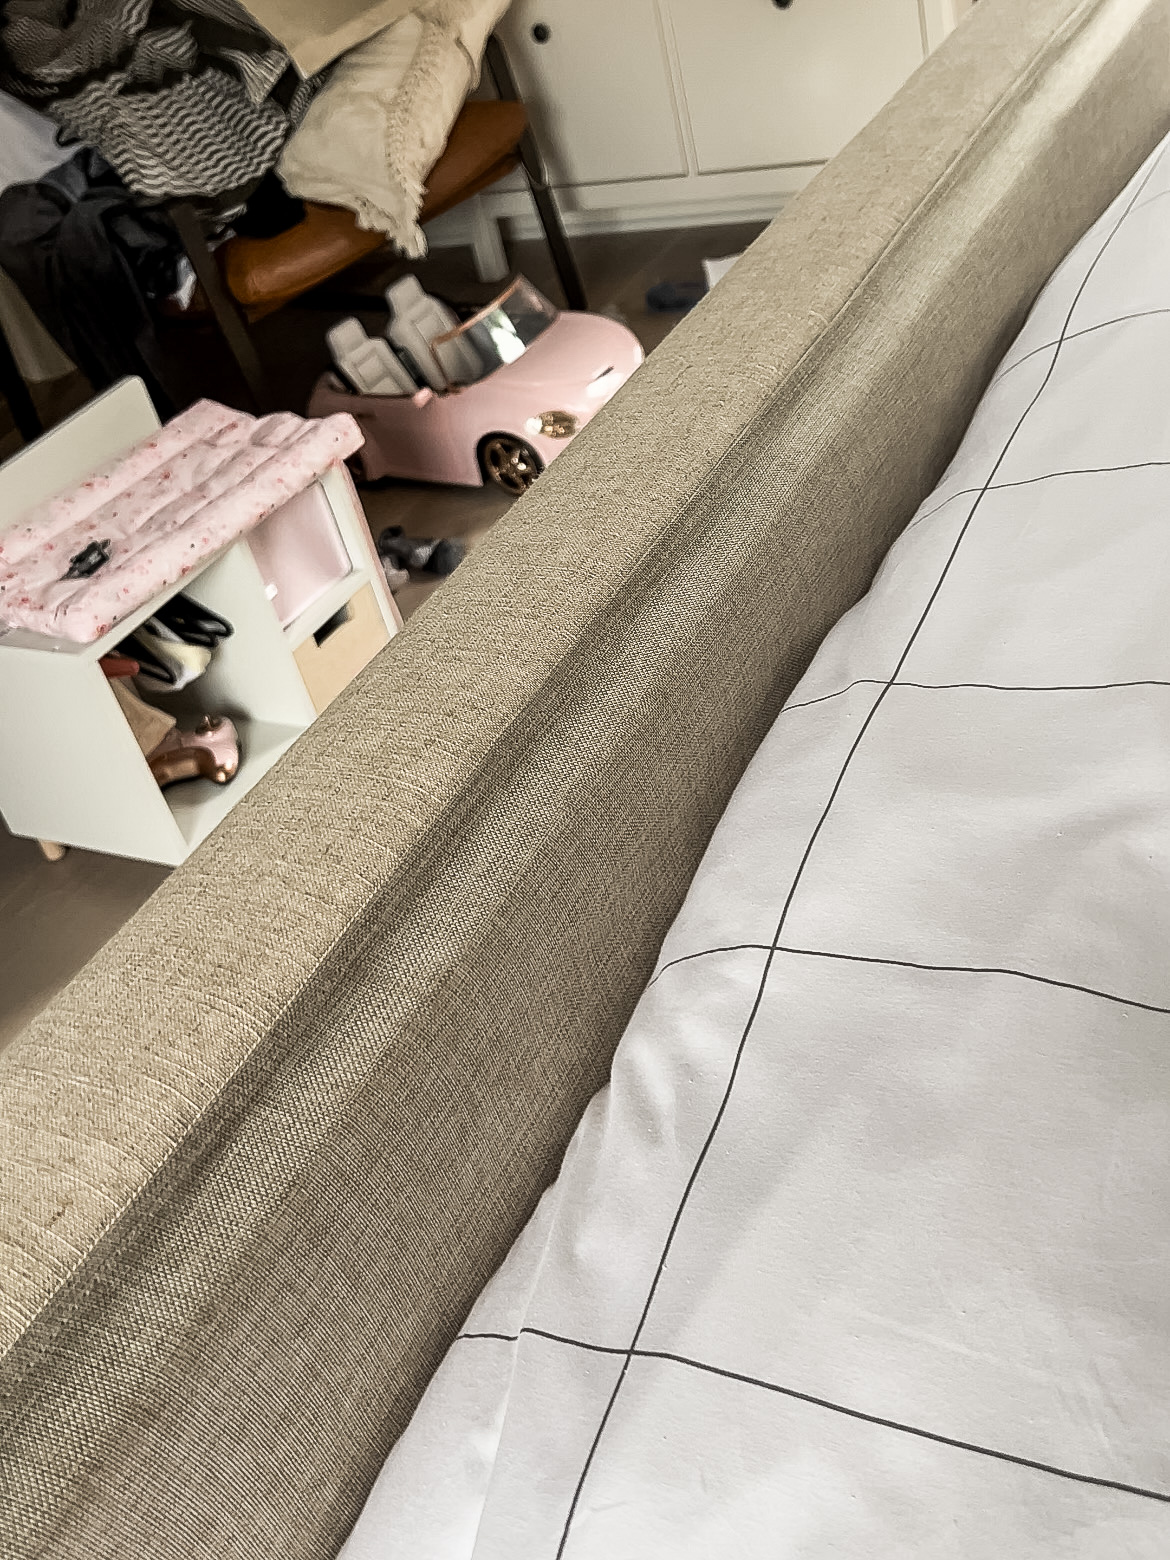
Material Used: Tablecloth
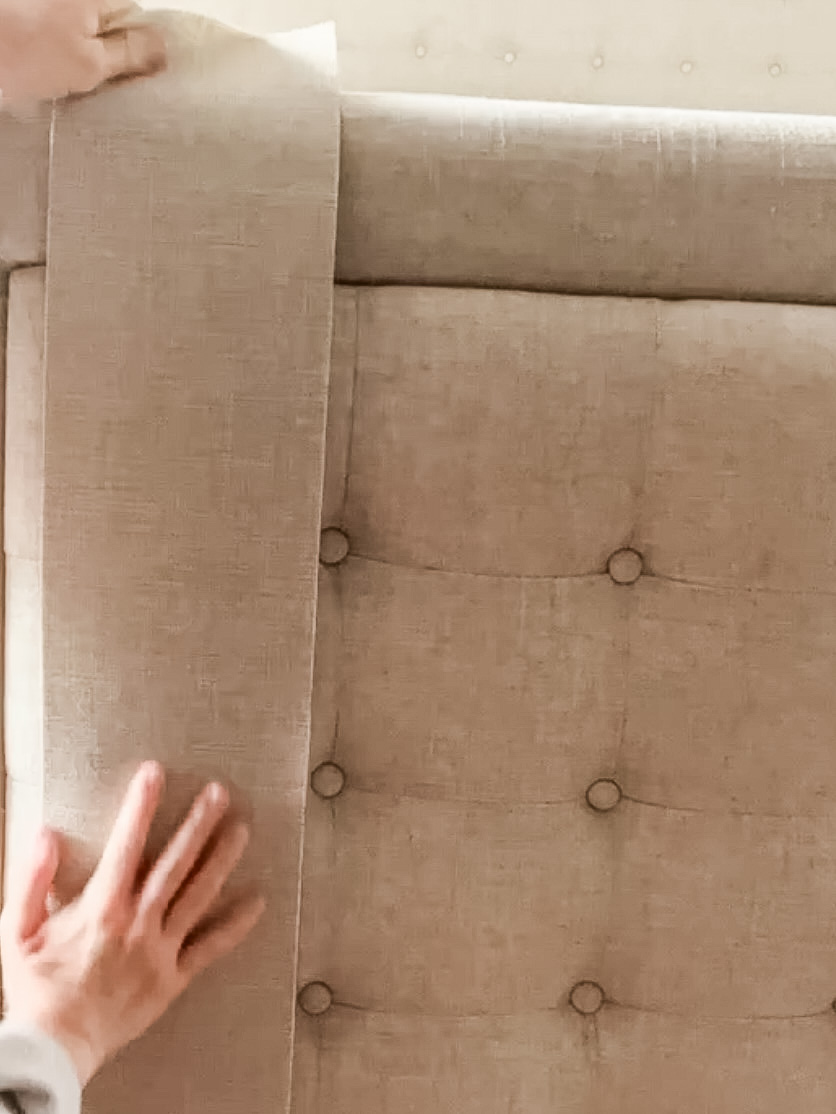
The footboard looked great from the doorway, but I wanted the bed to also look nice while lying in it. I found this tablecloth on Amazon that was an incredible match. I cut it to size and hemmed it to look more finished. Then I attached it to the footboard with this fabric tape.
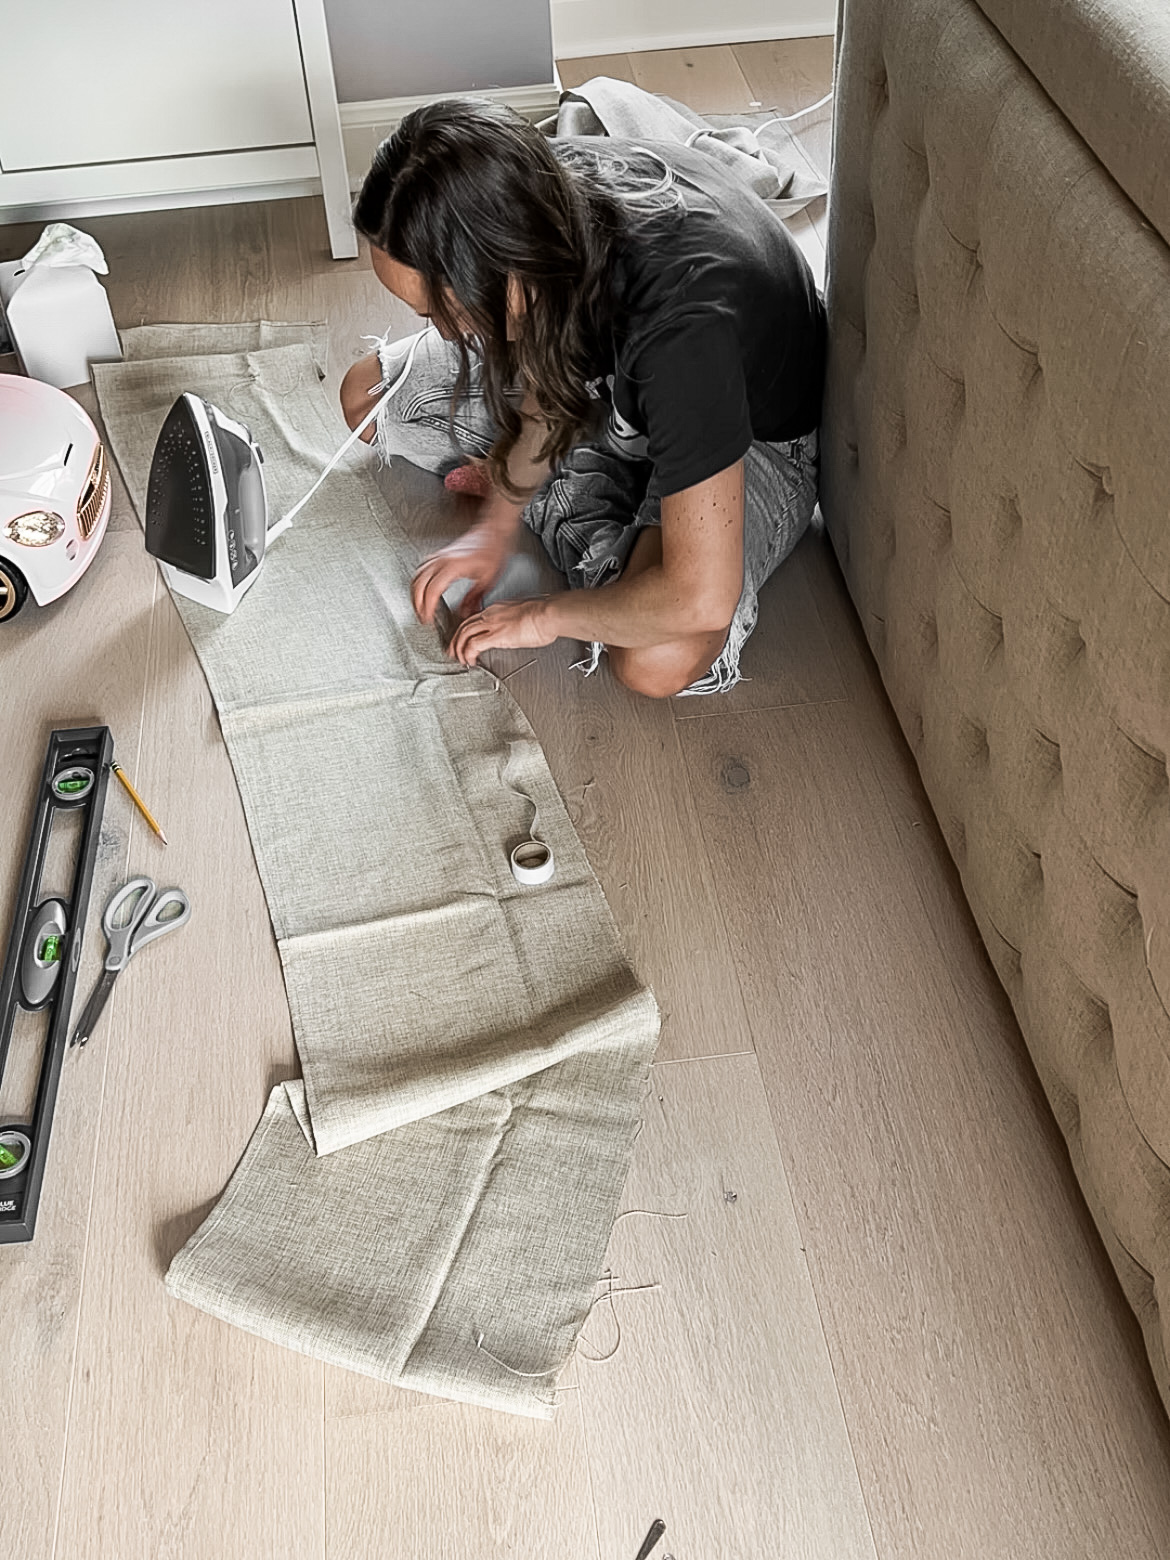
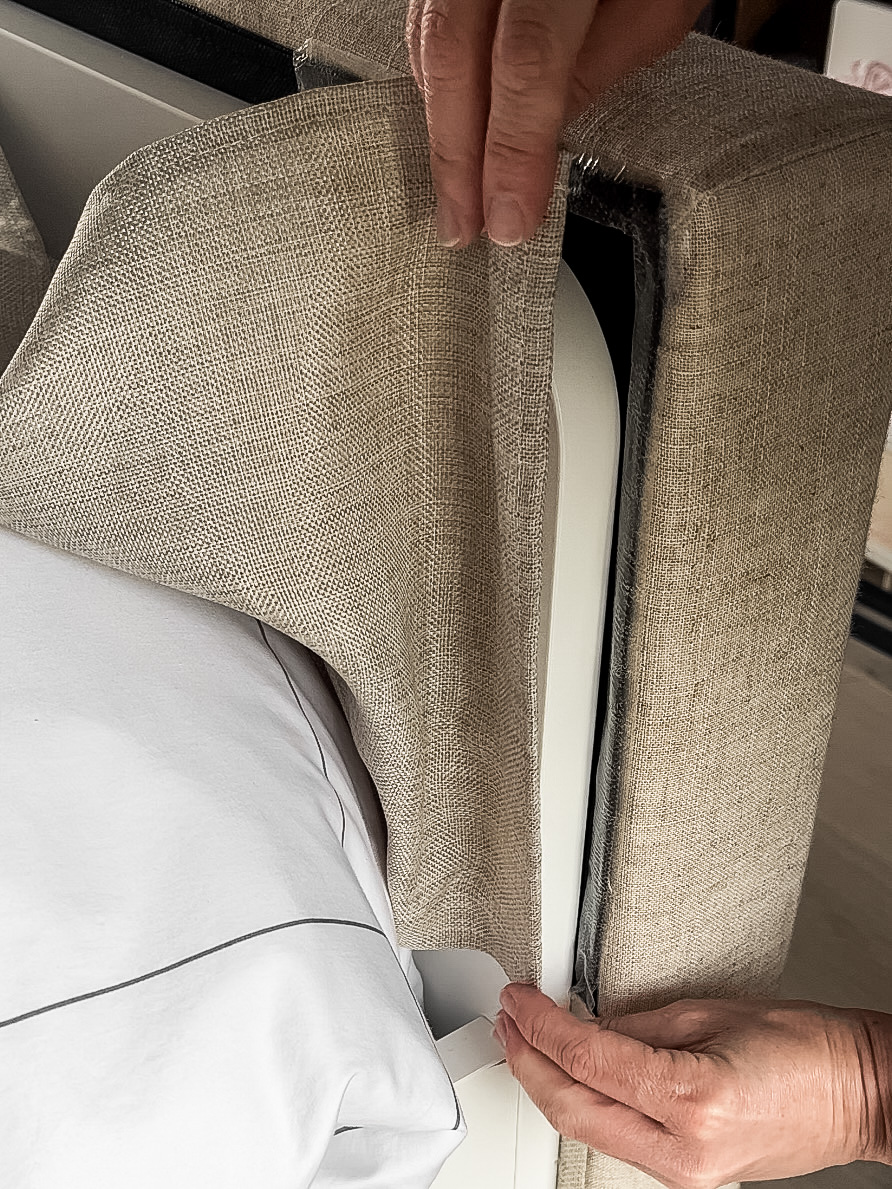
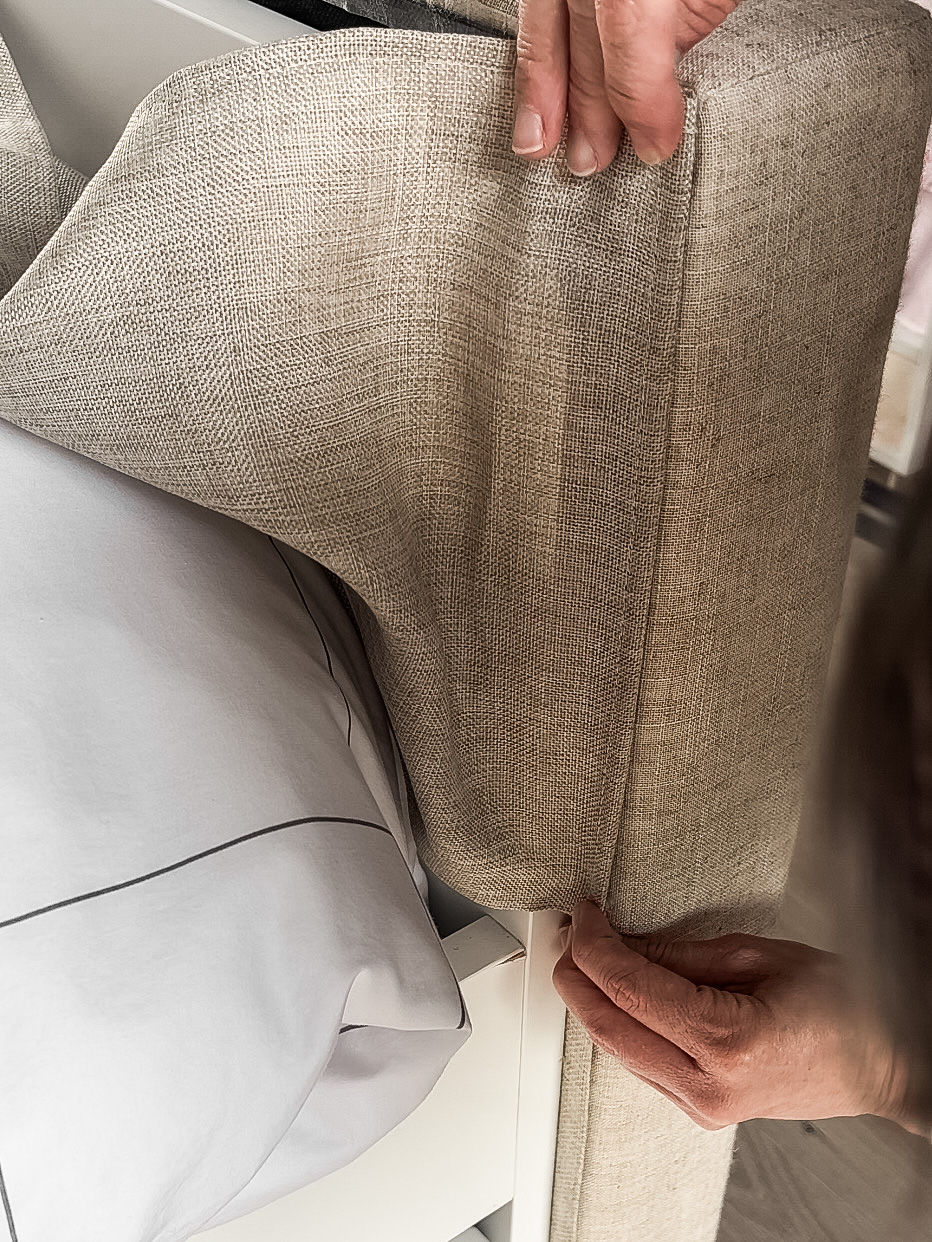
You could attach the entire piece to the back of the footboard, but I liked the idea of being able to remove the Wayfair headboard if needed. Attaching the tablecloth only to the edges still gives me access to the screws and can be lifted off of the IKEA trundle beds if needed.
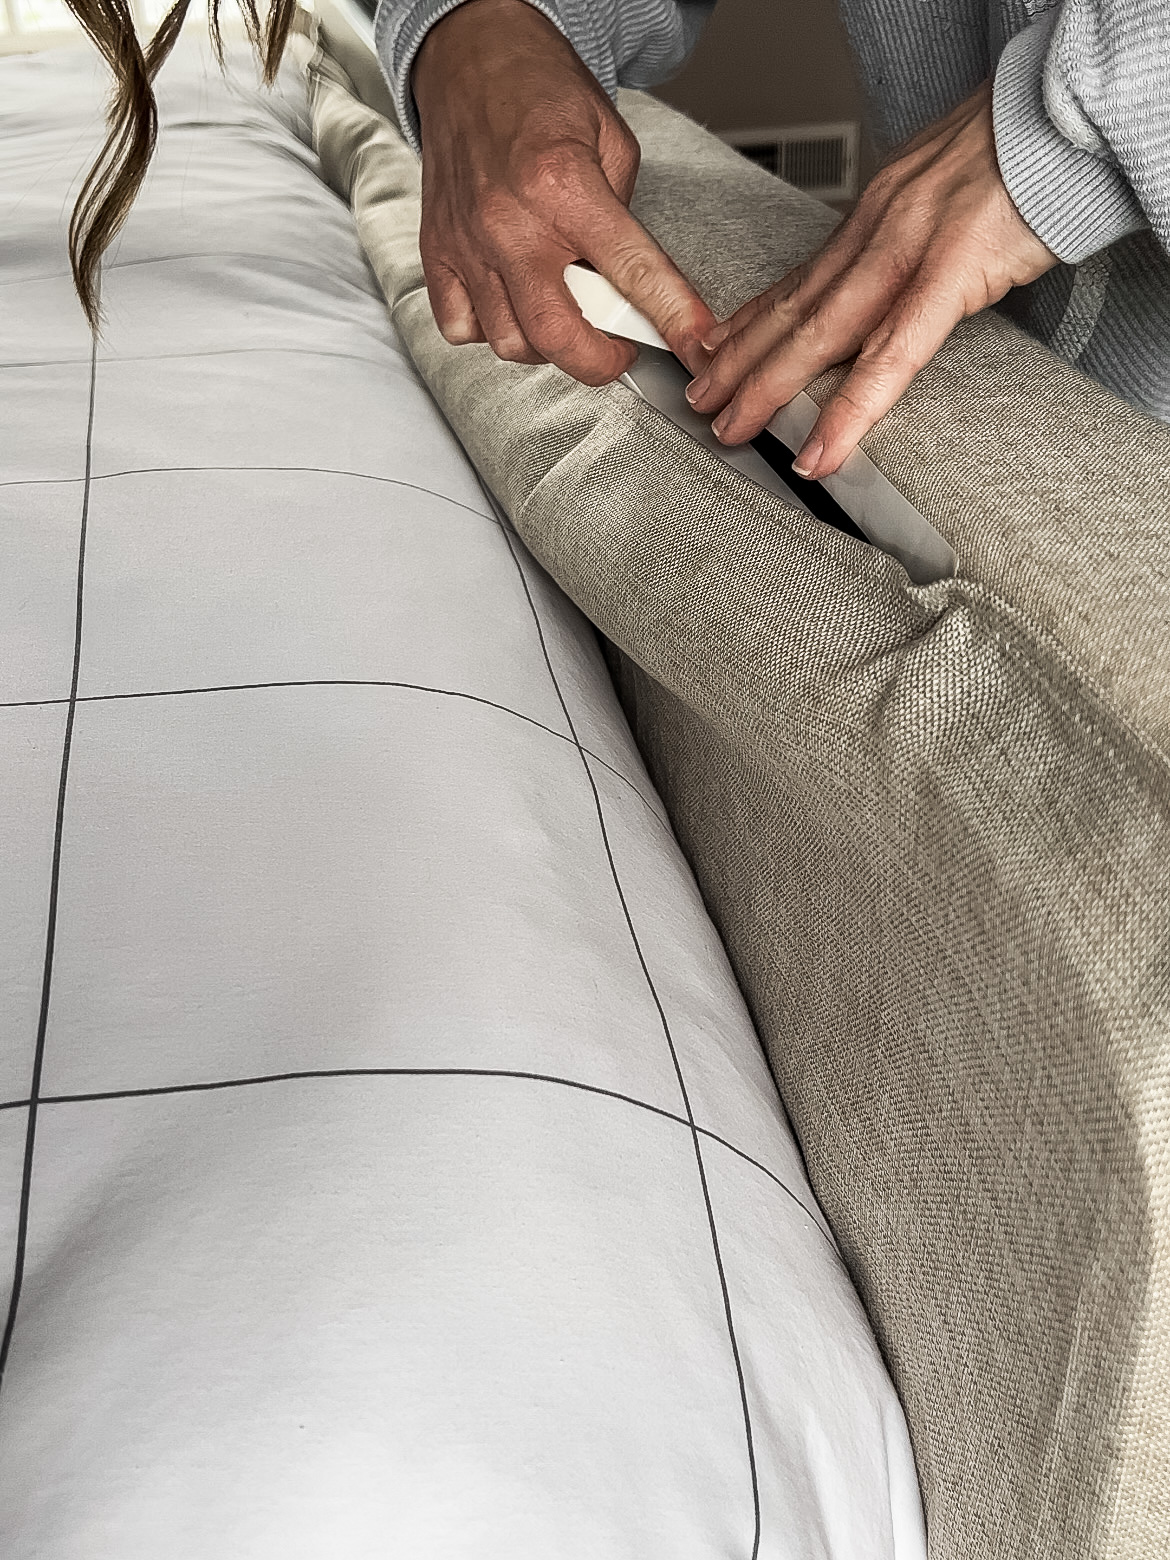
Material: Peel-And-Stick Fabric
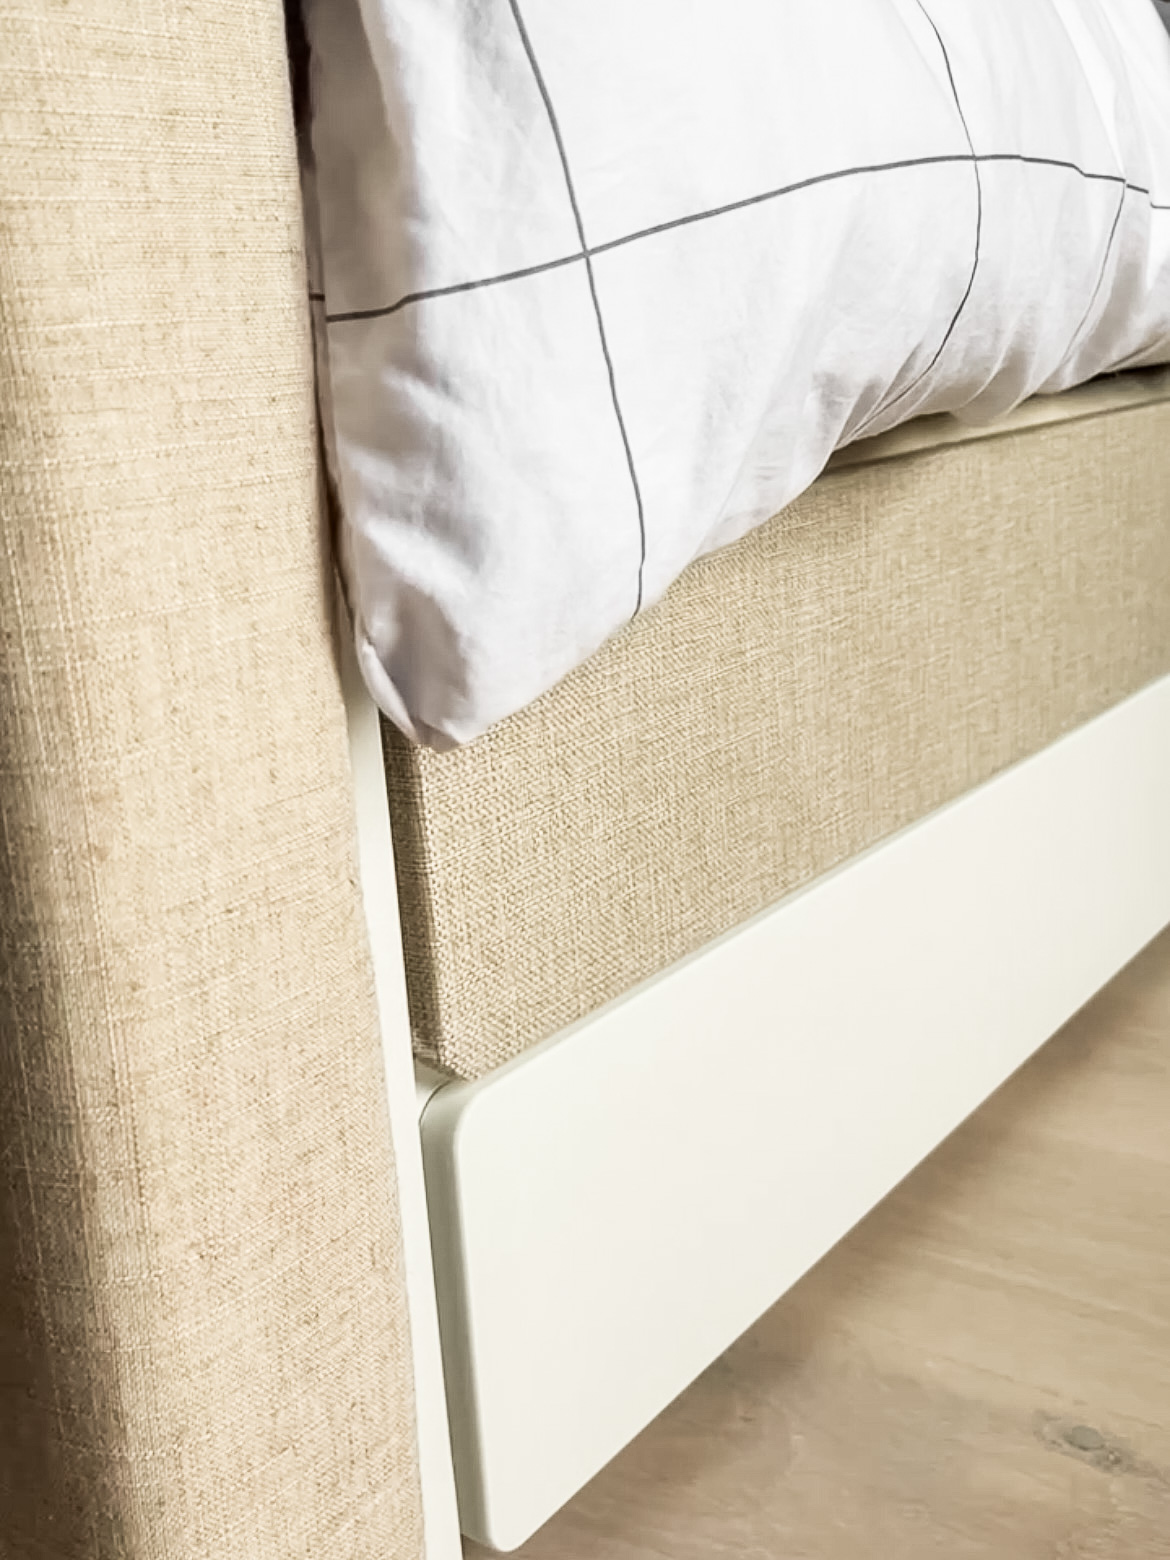
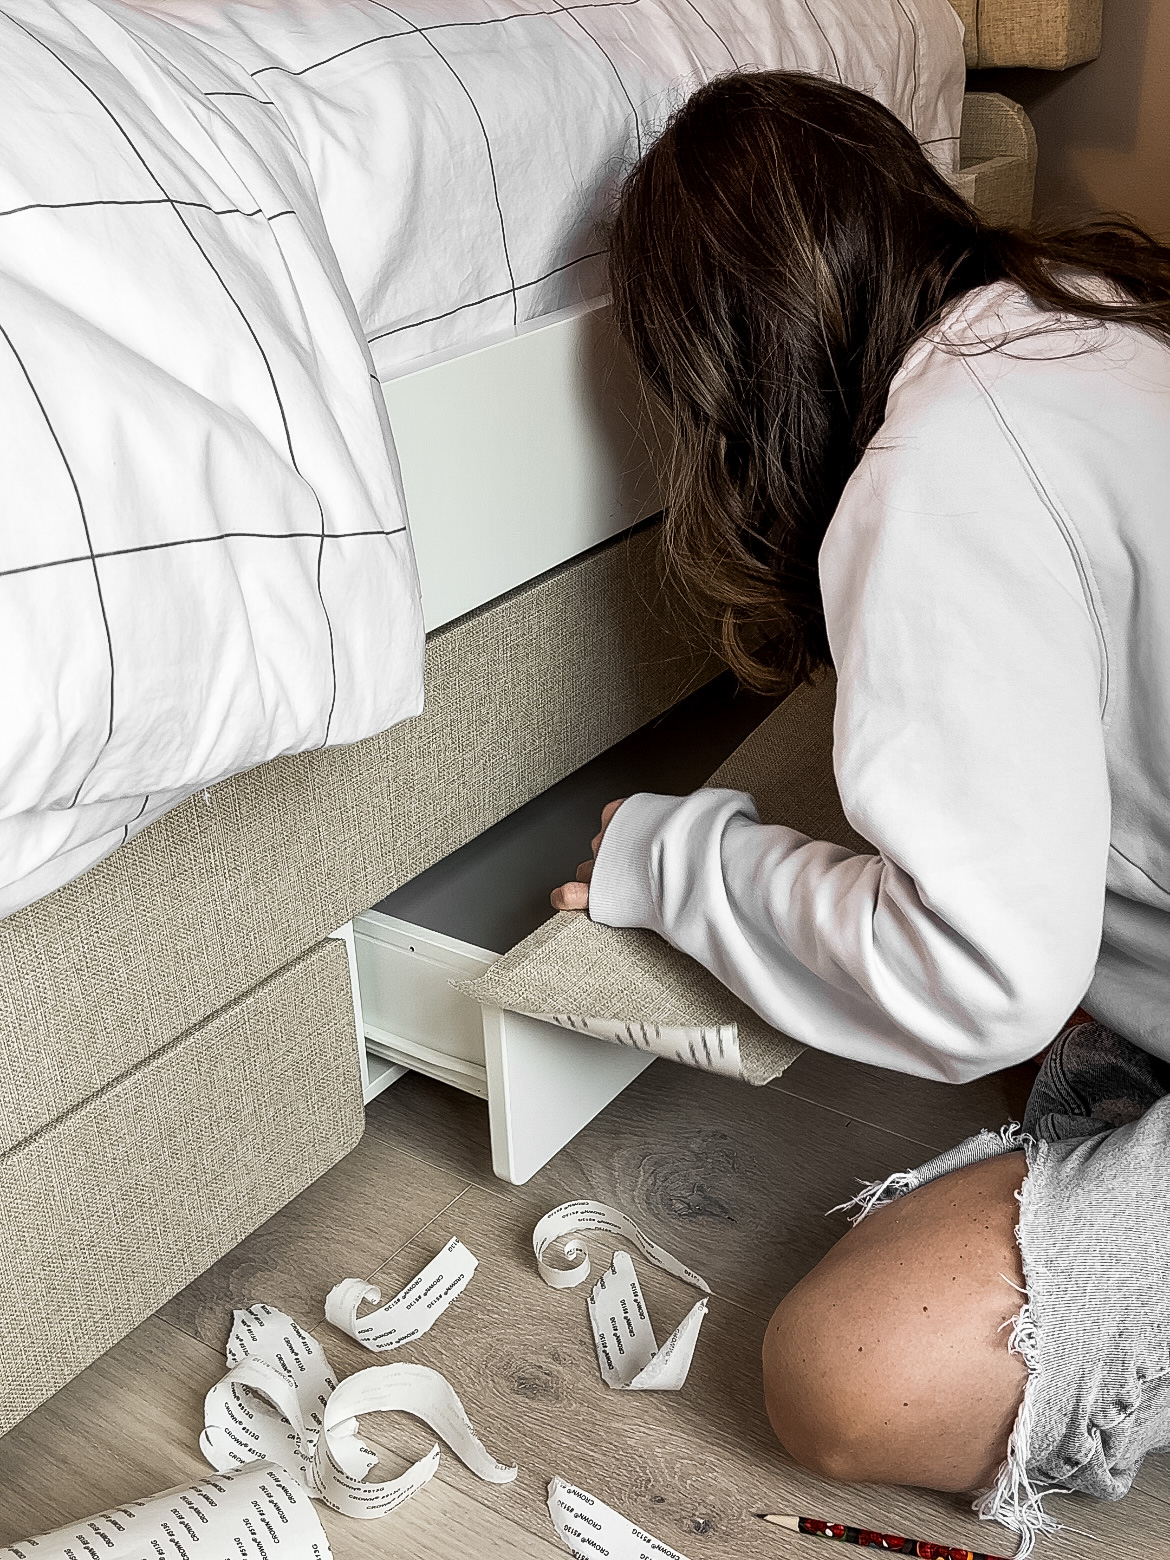
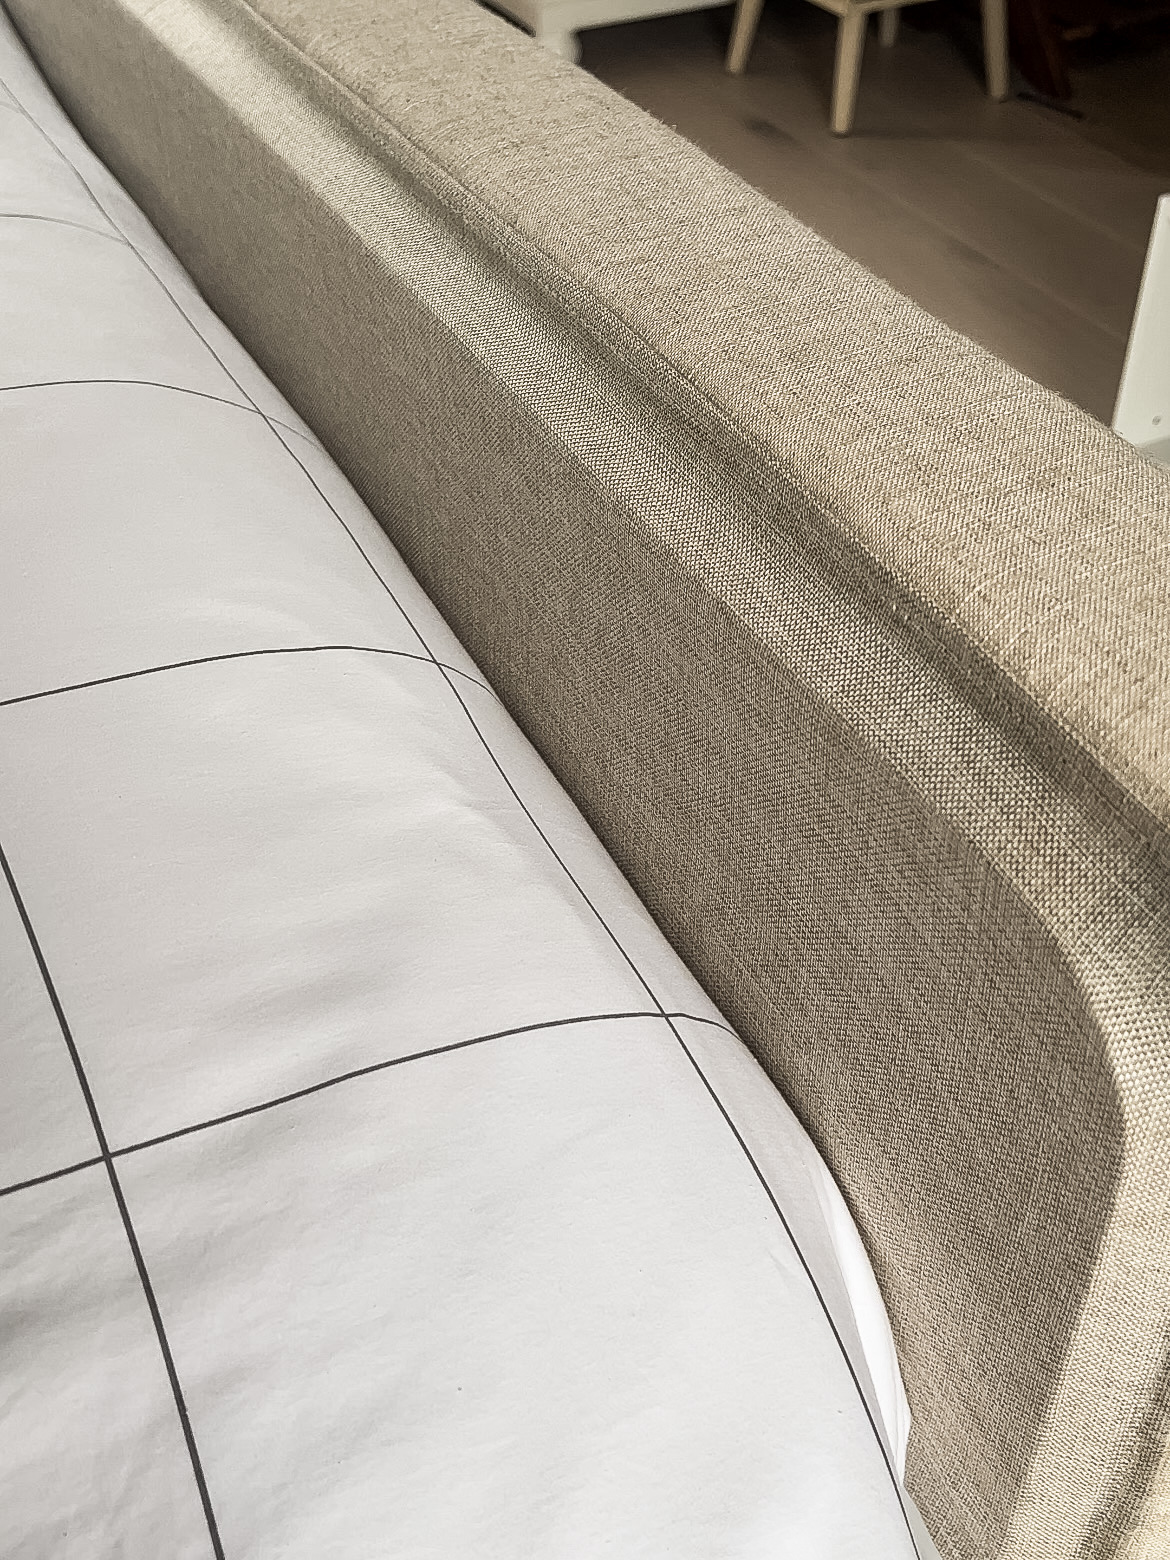
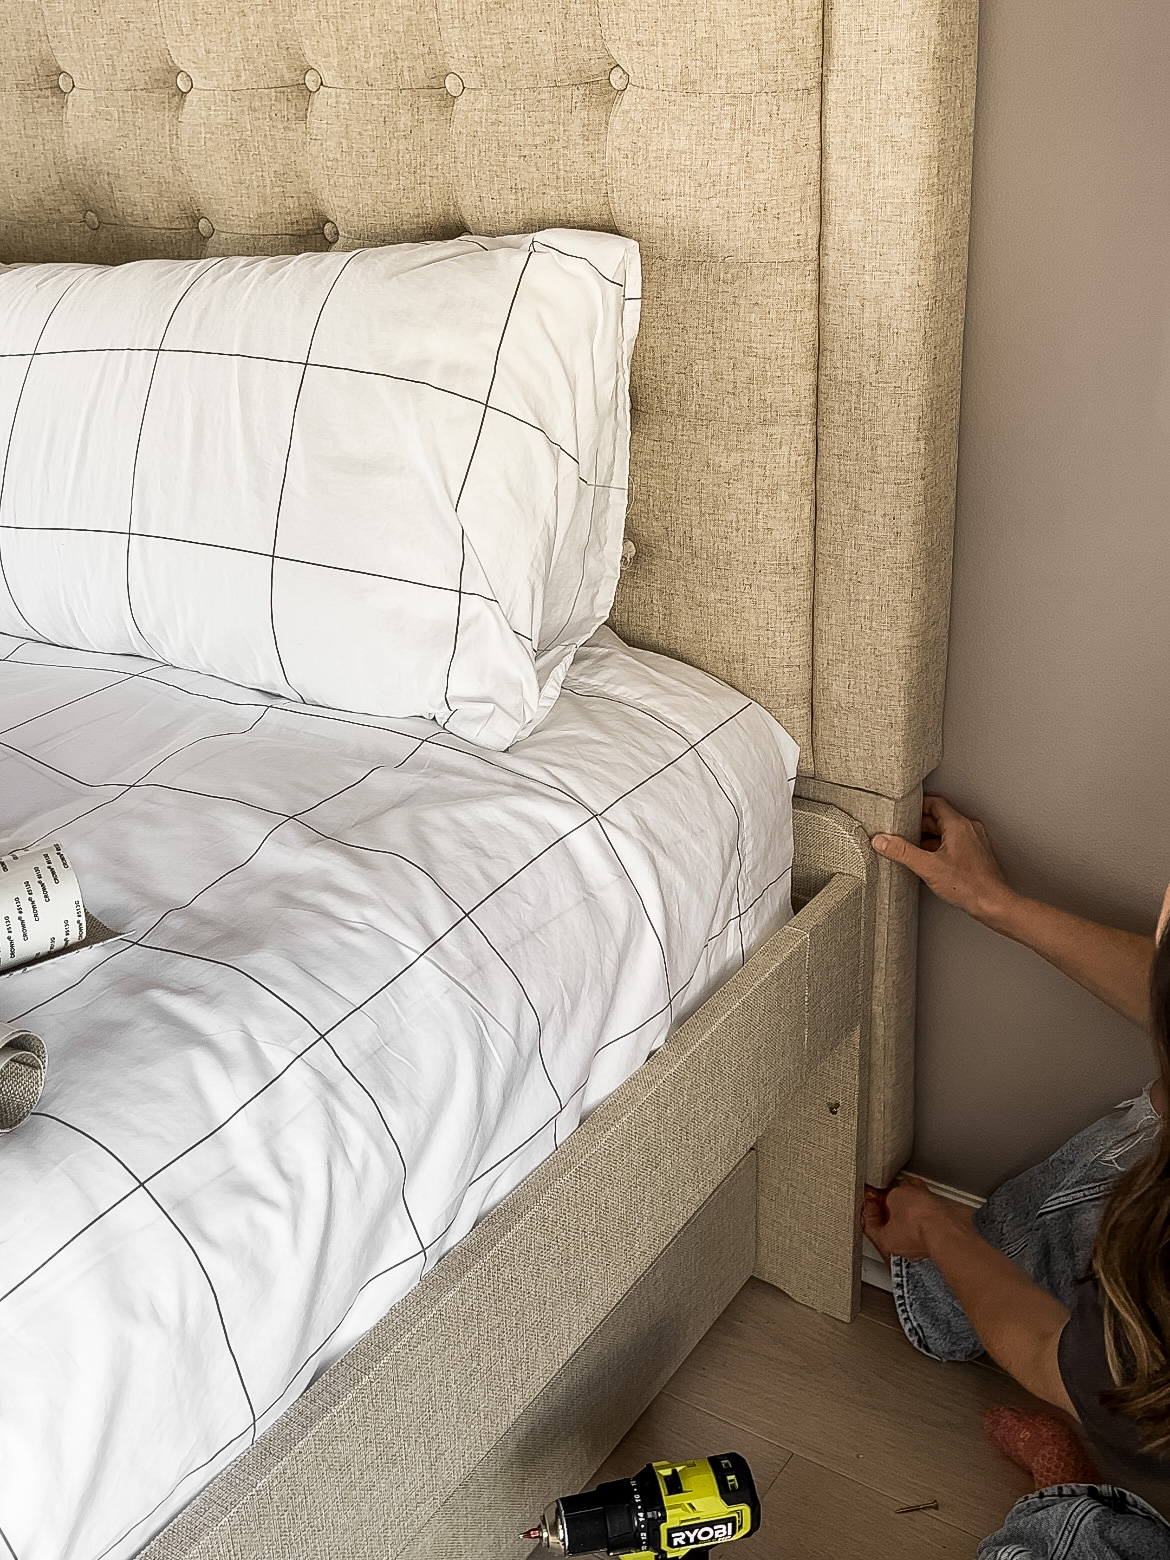
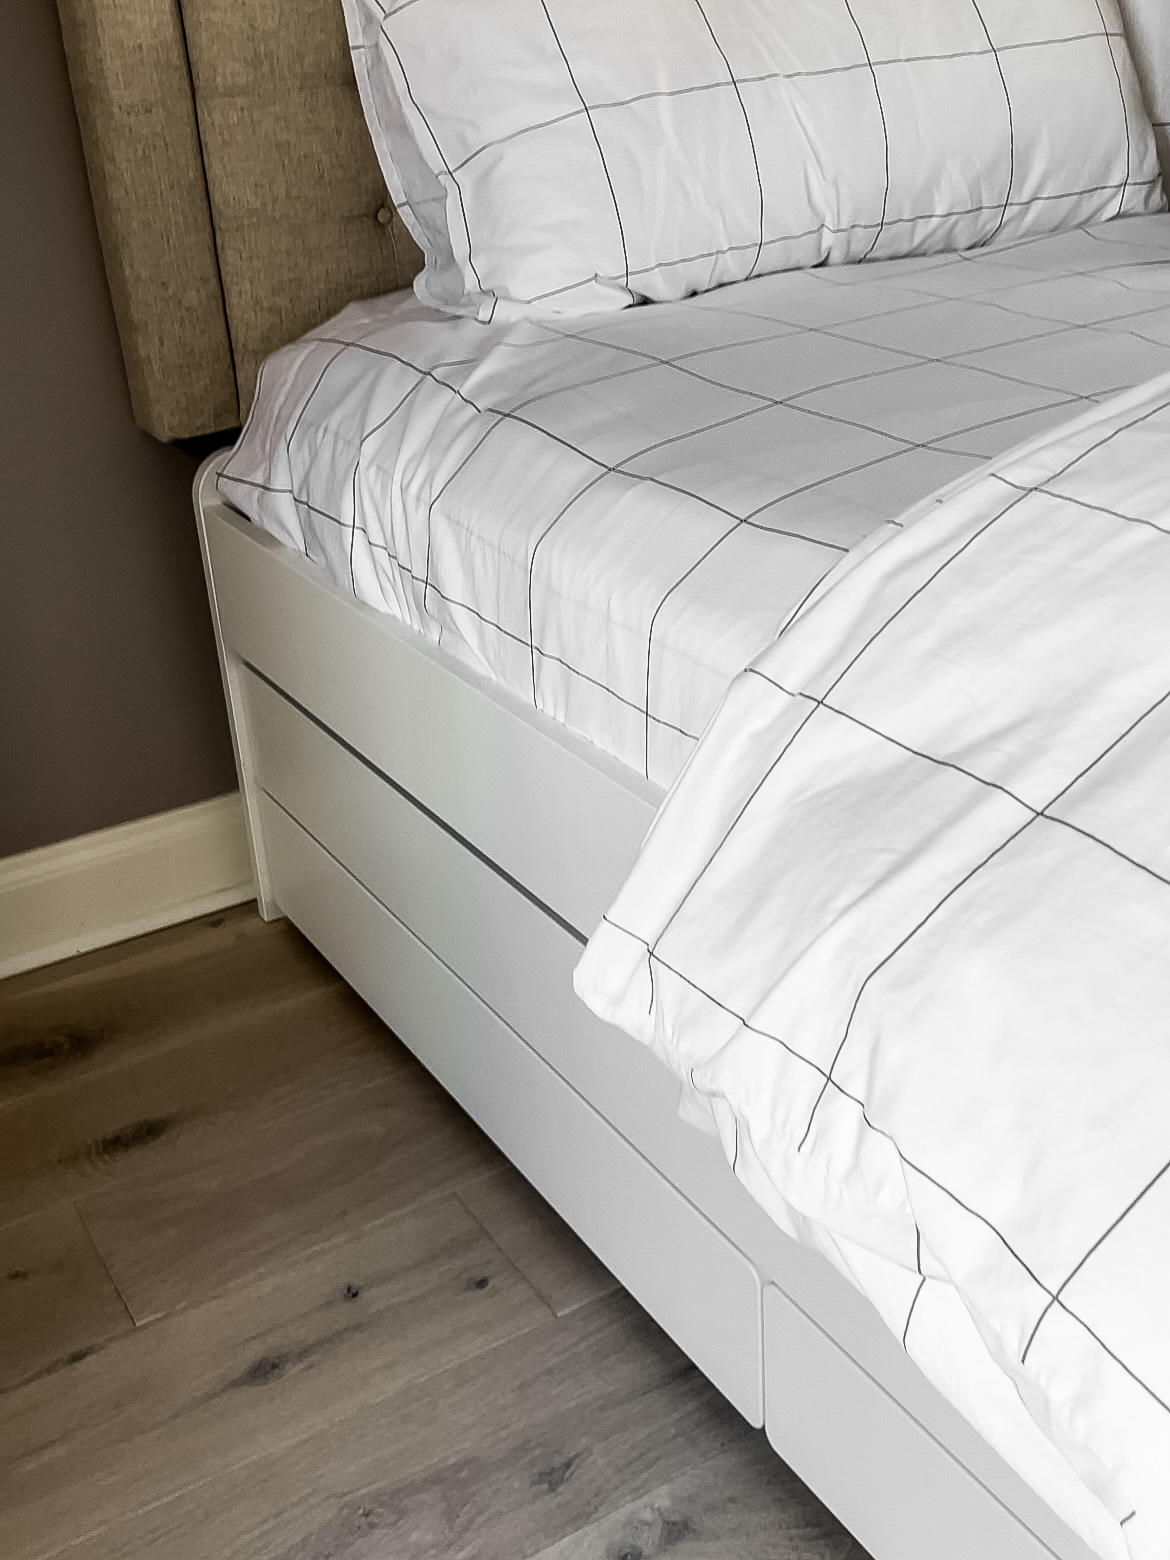
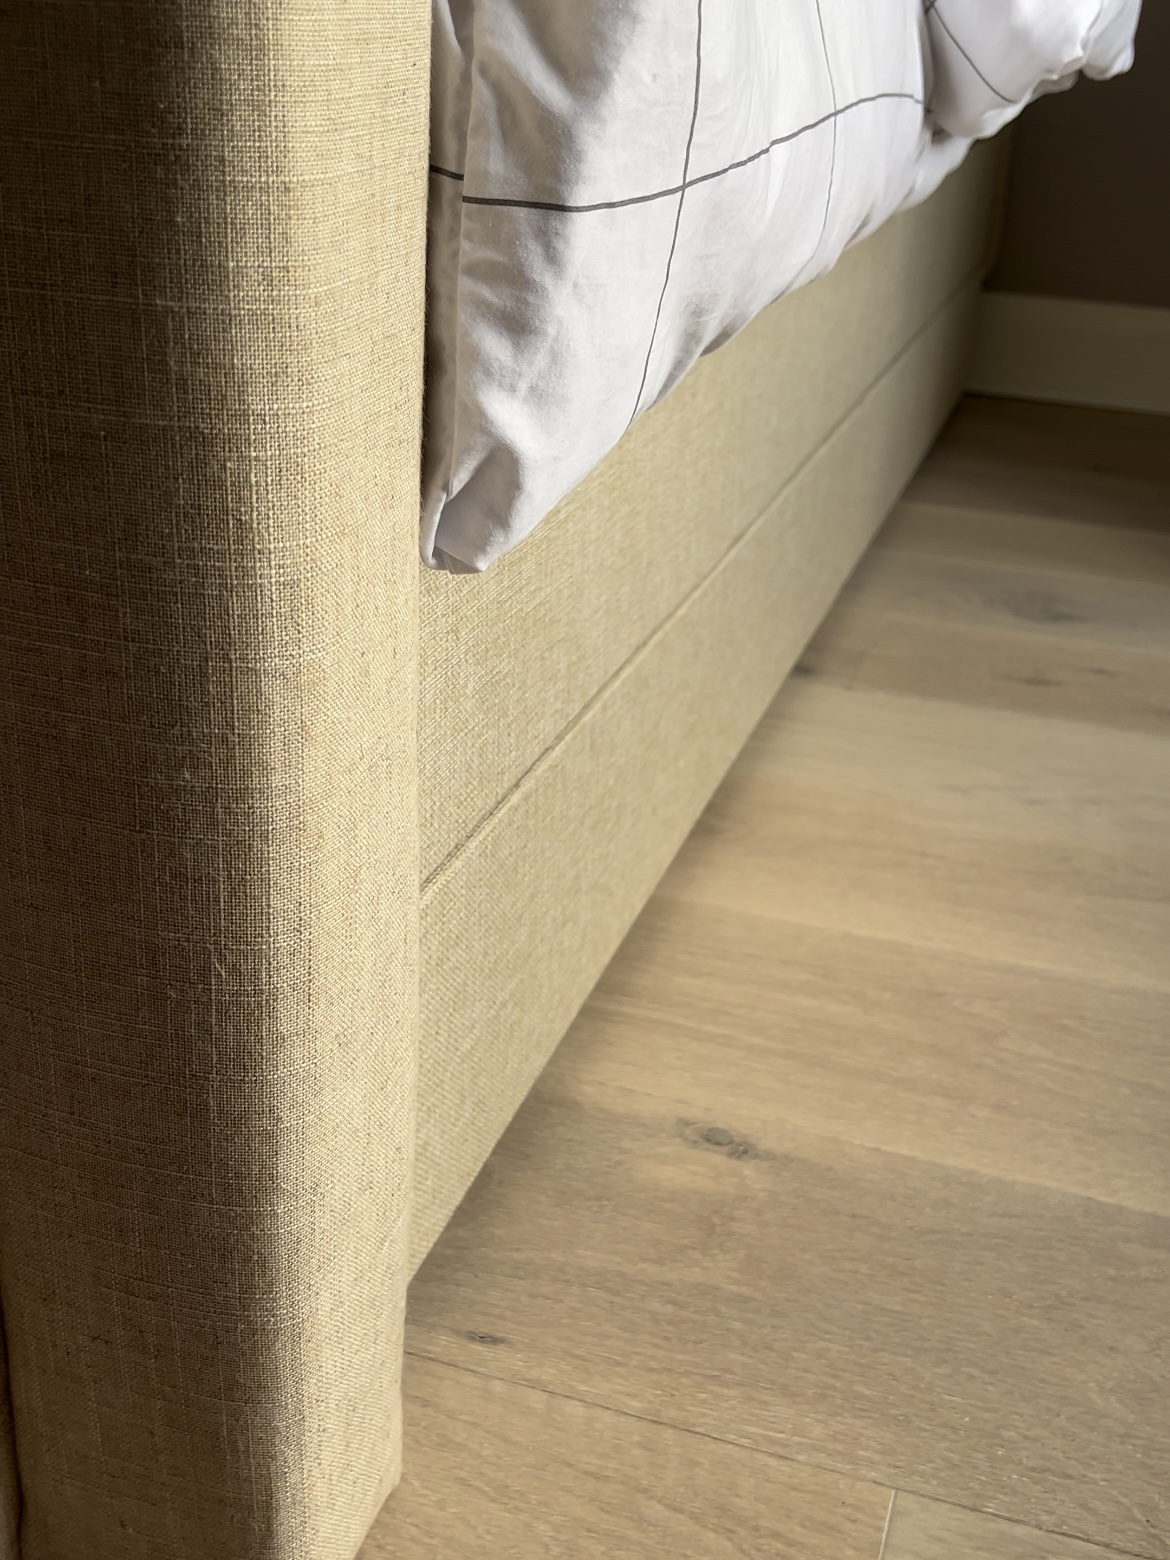
I couldn’t leave the sides of the bed bright white when the headboard and footboard are a beige color. The real MVP of this project was this peel-and-stick fabric. It’s technically linen repair patch, but it worked perfectly for wrapping the white sides.
I used the color Beige 01, and it matched the headboards perfectly. It went on in the same way a peel-and-stick wallpaper would (the adhesive was probably a little stronger than wallpaper). I cut the sizes I needed and wrapped everything the way I’d wrap a present.
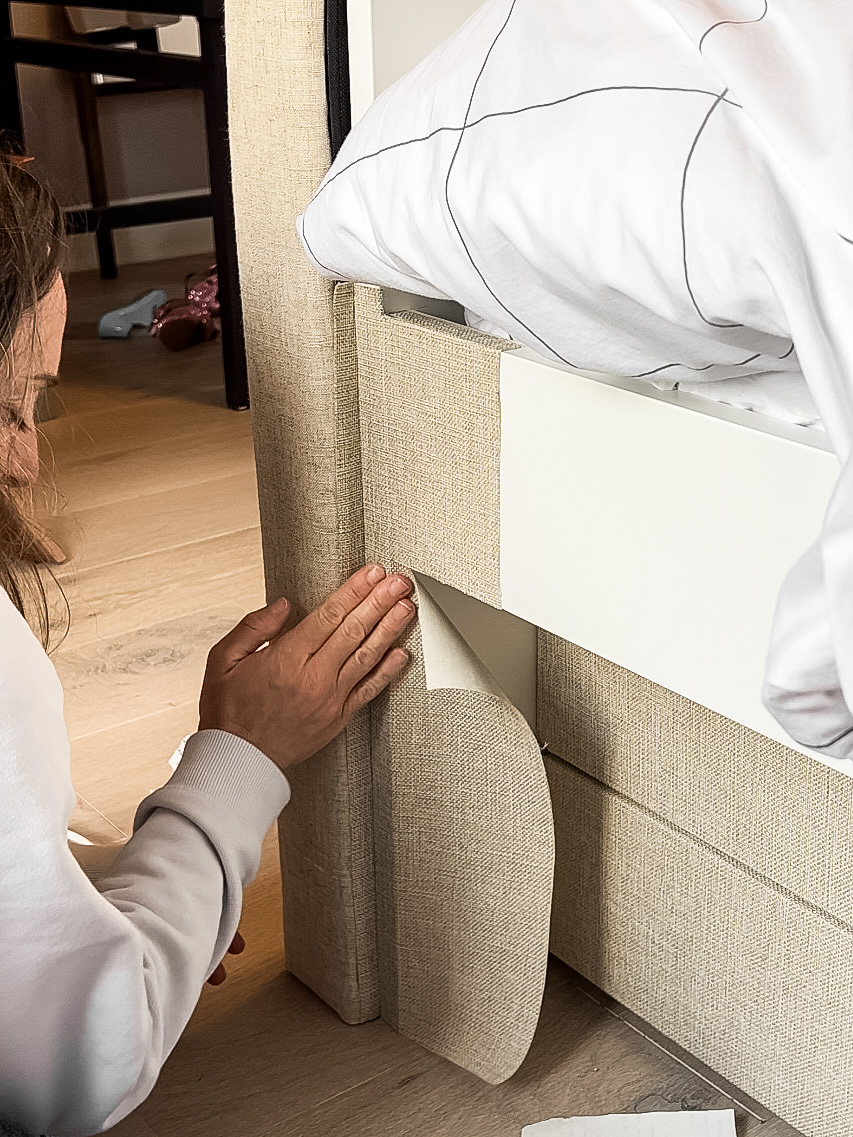
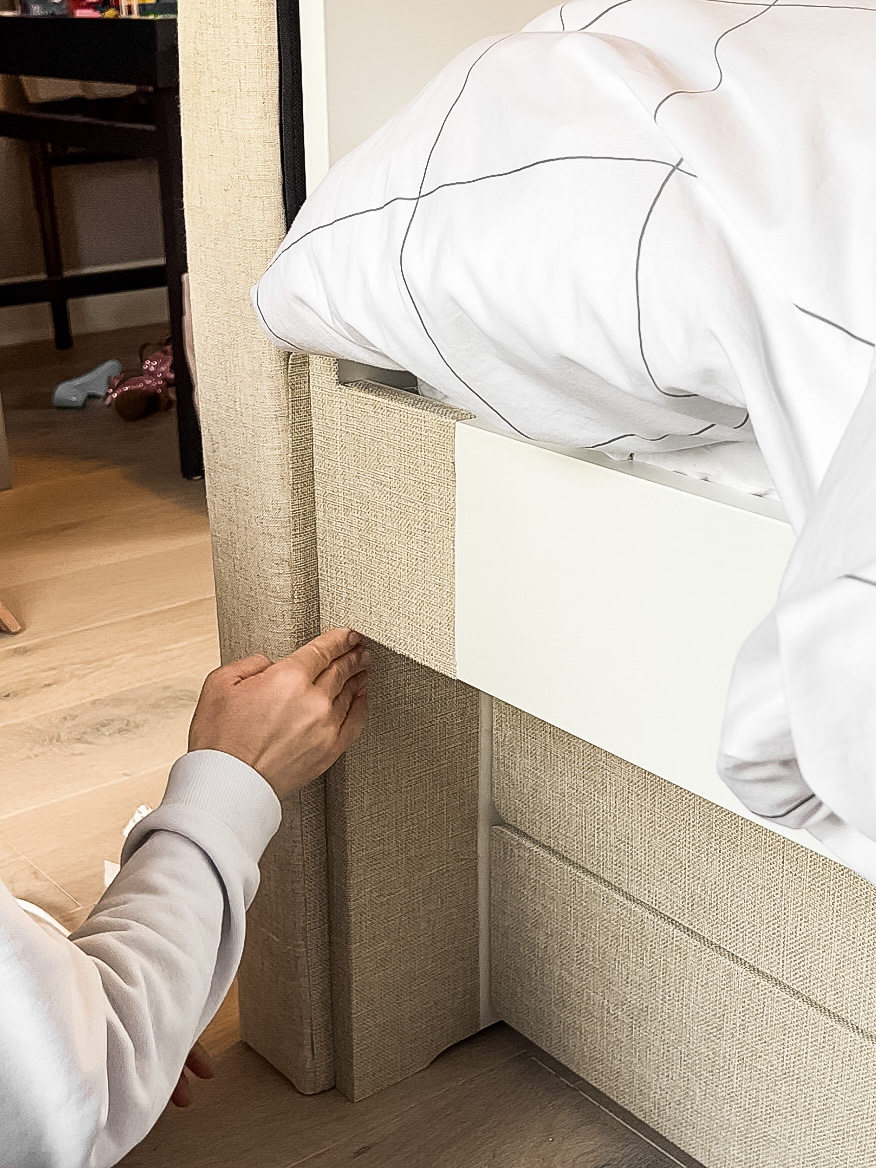
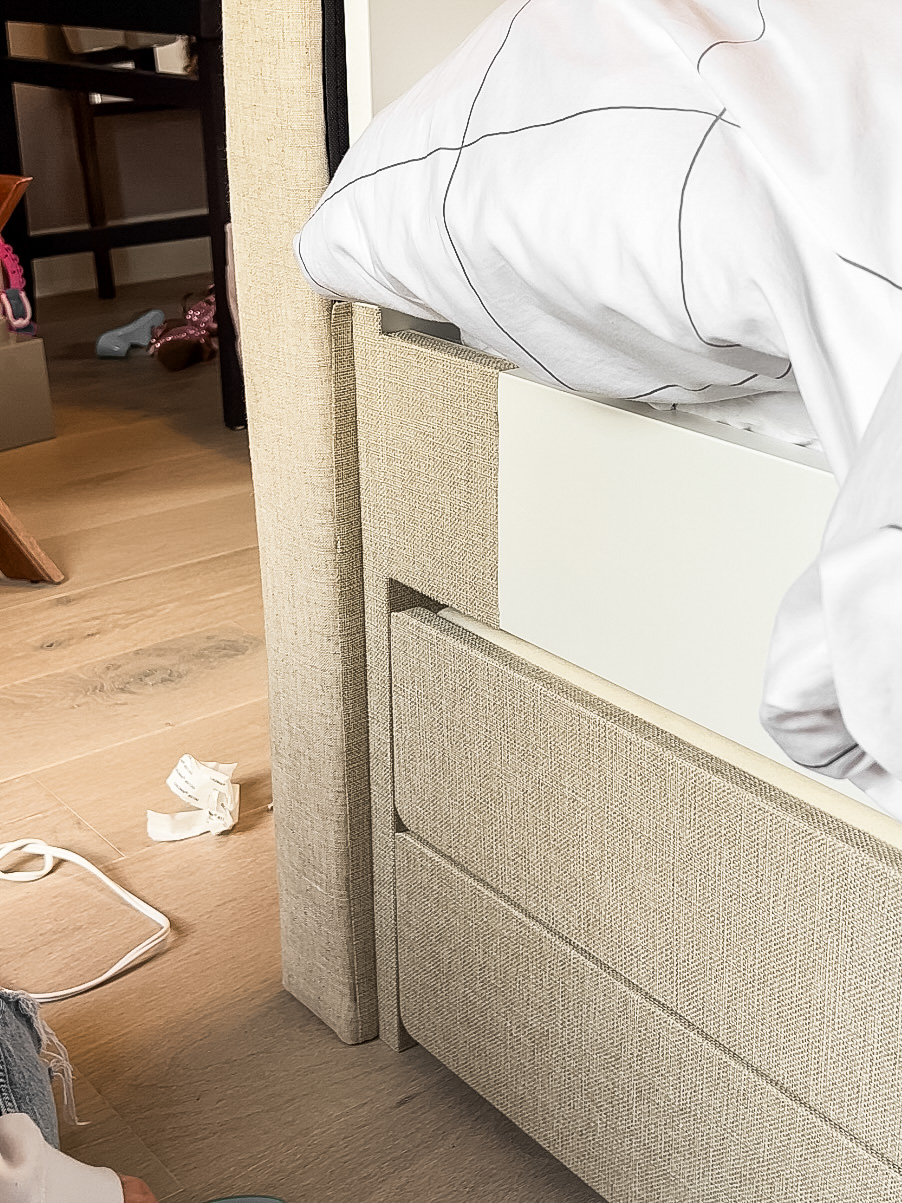
I made sure to cut enough fabric to wrap around the edges to give it a cleaner look, and was so impressive with the invisibility of the seams. Just like wallpaper, I butted up any edges that needed to be pieced together.
Material: Headboard Legs
Because of the baseboards, there was a gap between the trundle and the wall. I used the legs that came with the headboard to fill that gap and make the headboard look attached to the trundle beds.
Last Couple of Things…
I believe there are mattresses sold to go with the IKEA trundles, but I used these latex mattress pads for mine. I’ve read good things about using latex in a mattress, and using these pads made it more affordable. The trundle bed fits a 4″ mattress, so I got two 2″ mattress pads and wrapped them in a mattress cover. I wanted two because we currently have six cousins, so I could use both mattress pads individually if needed.
Not only can you keep the trundle mattress in the bed while the trundle is closed, but there are also drawers underneath the trundle pullout. I keep pillows and other bedding for the trundle beds in there. I can never get enough storage!
IKEA Trundle Beds FAQ:
There was a lot of concern about how to get up to pee in the night. My entire family and I slept on these combined IKEA trundle beds for a few months and had zero issues. You’re easily able to get out at the end of the bed without stepping on anyone.
Cost was also a concern, which I completely understand. Two IKEA trundle beds, two headboards, and all the peel-and-stick fabric ended up costing about $1400. I looked everywhere for a more affordable King bed with two trundles, but it doesn’t exist. For us, the convenience and functionality of this setup were worth the cost!
Can’t get enough projects?
Fluted Sliding Door Out Of 1x2s
IKEA Nightstand Hack – Three Ways to use IKEA MALM
Easy DIY Bench Using Plant Stands
Post contains affiliate links, please see disclosure linked here.
