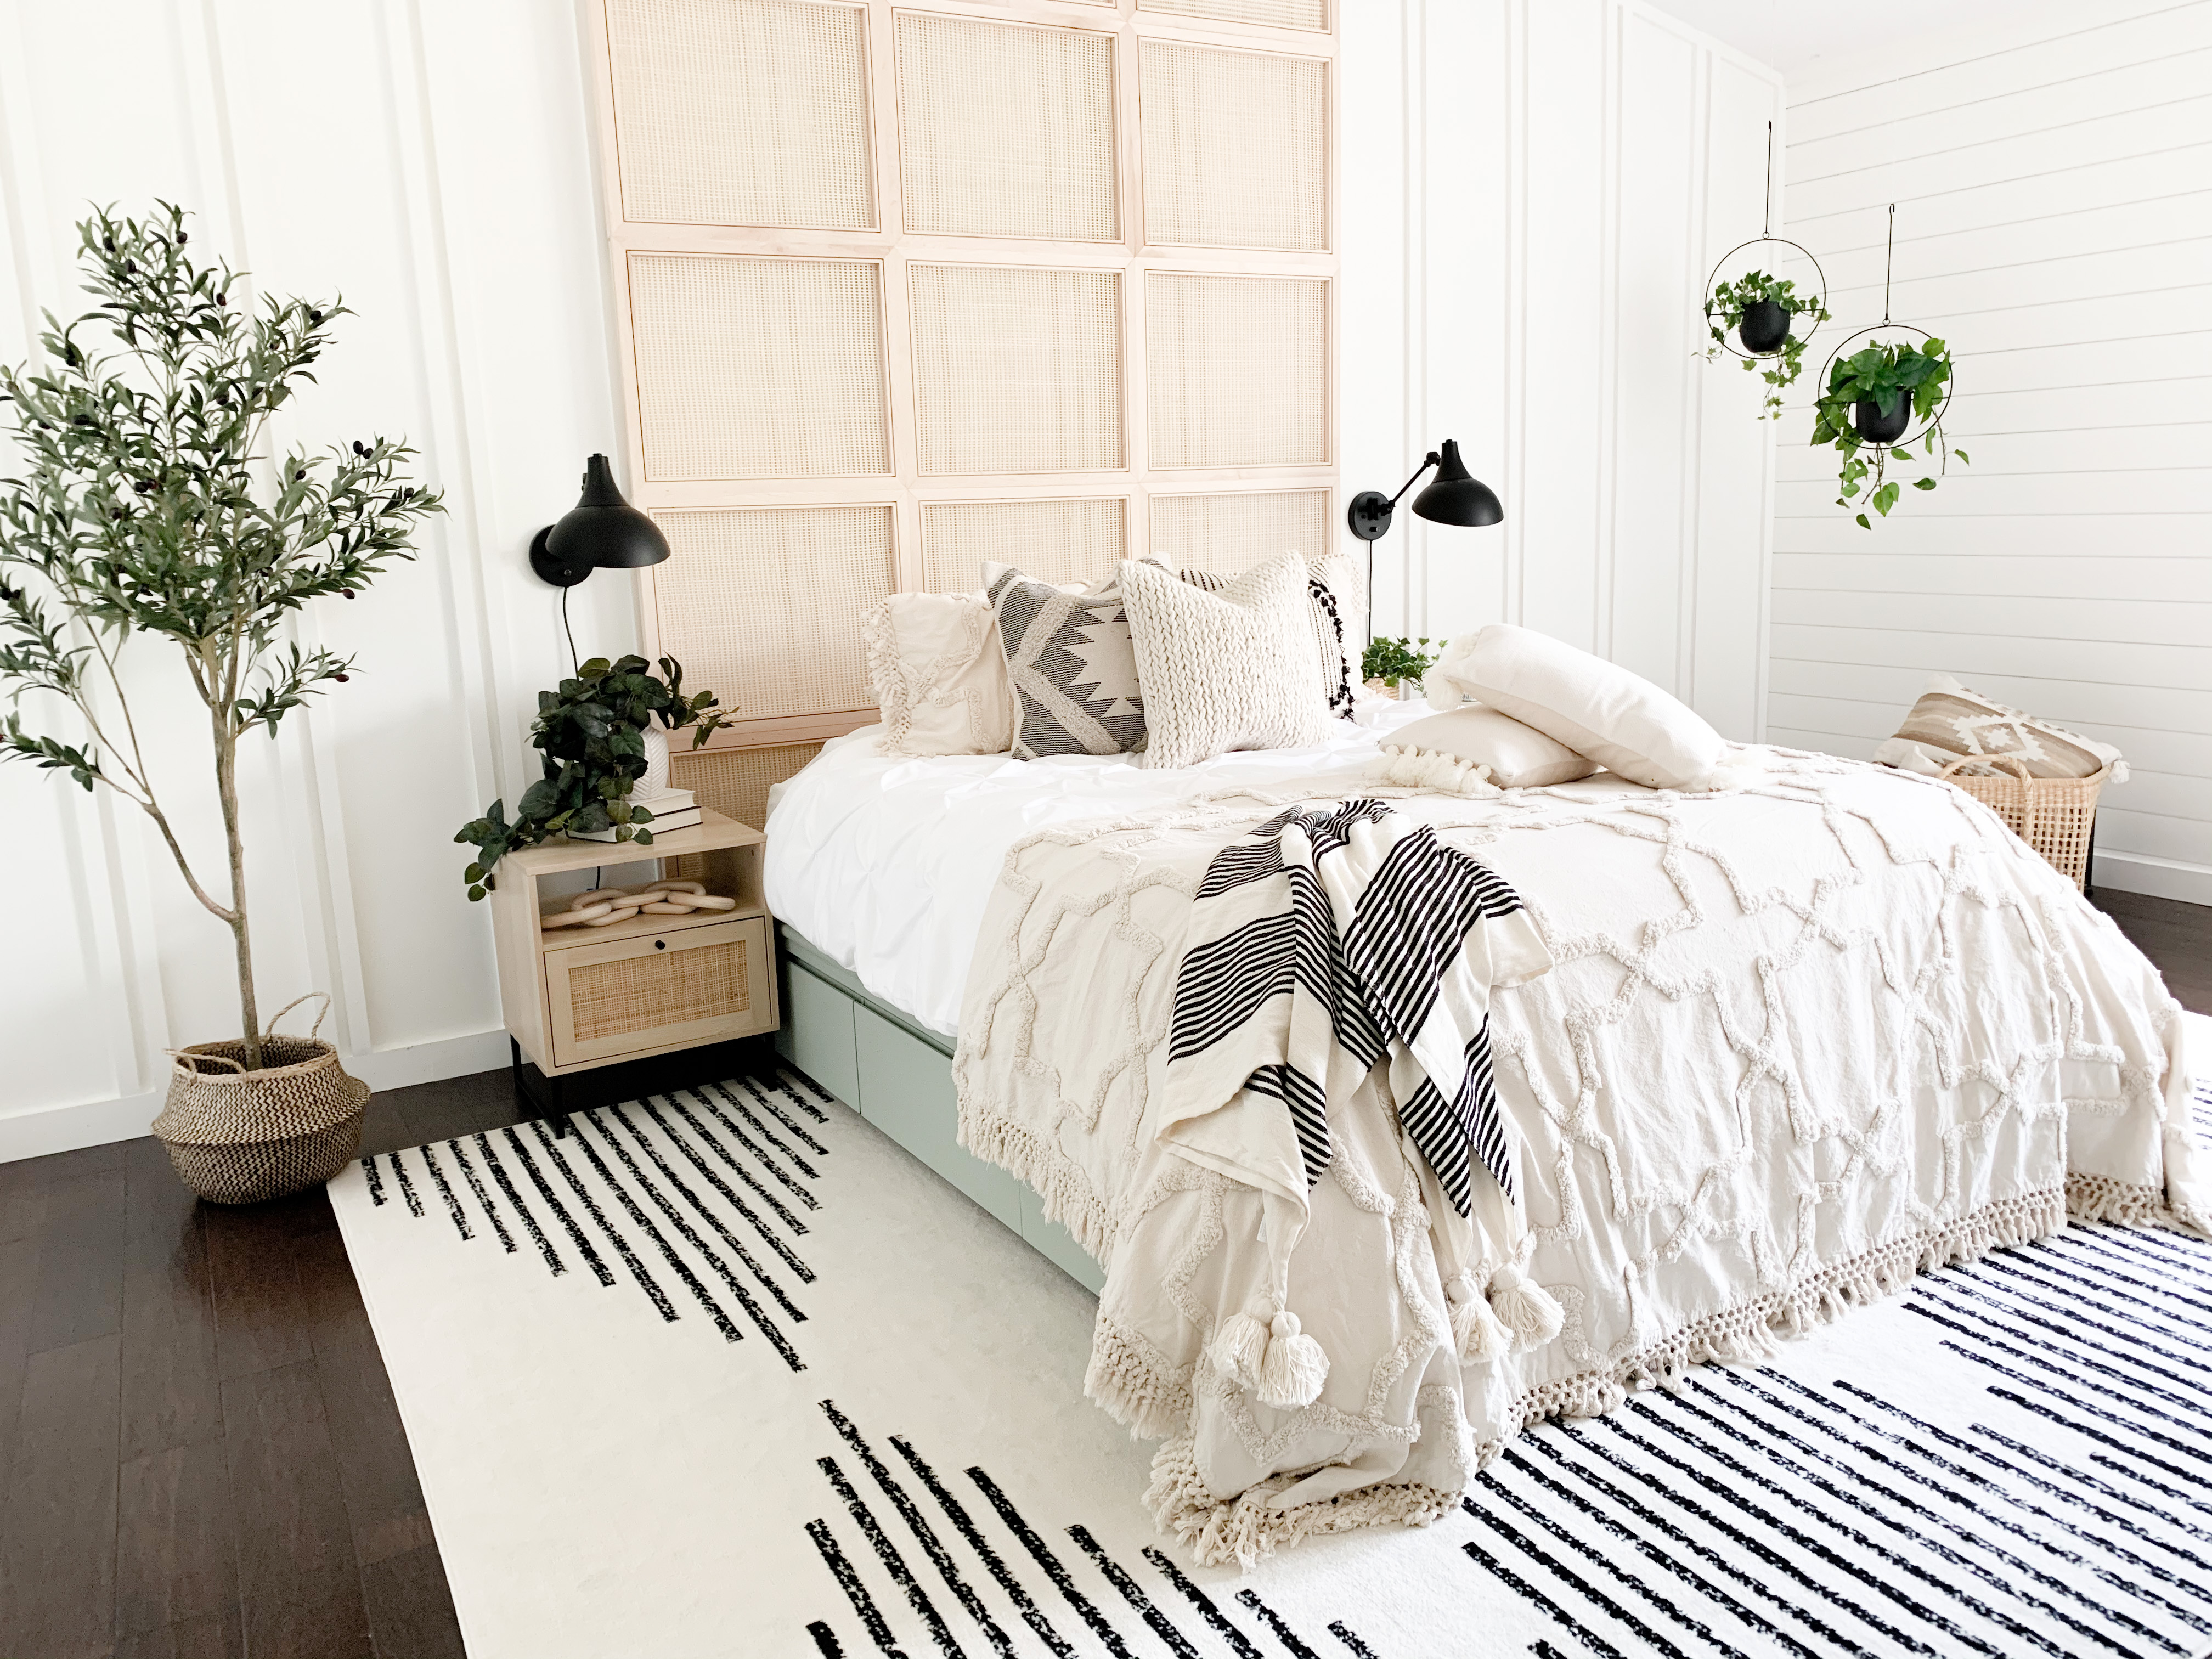
The beautiful thing about home is that you get to make it exactly what you want. And the best part about bedroom design is that you don’t have to follow any rules – make it feel like YOU. We’ve been working on our bedroom re-design for weeks, and here’s the big reveal of our Modern Bohemian Bedroom!
Whether you love this style, or you just want to be inspired to start the process of creating the feeling of home inside your four walls, welcome along!
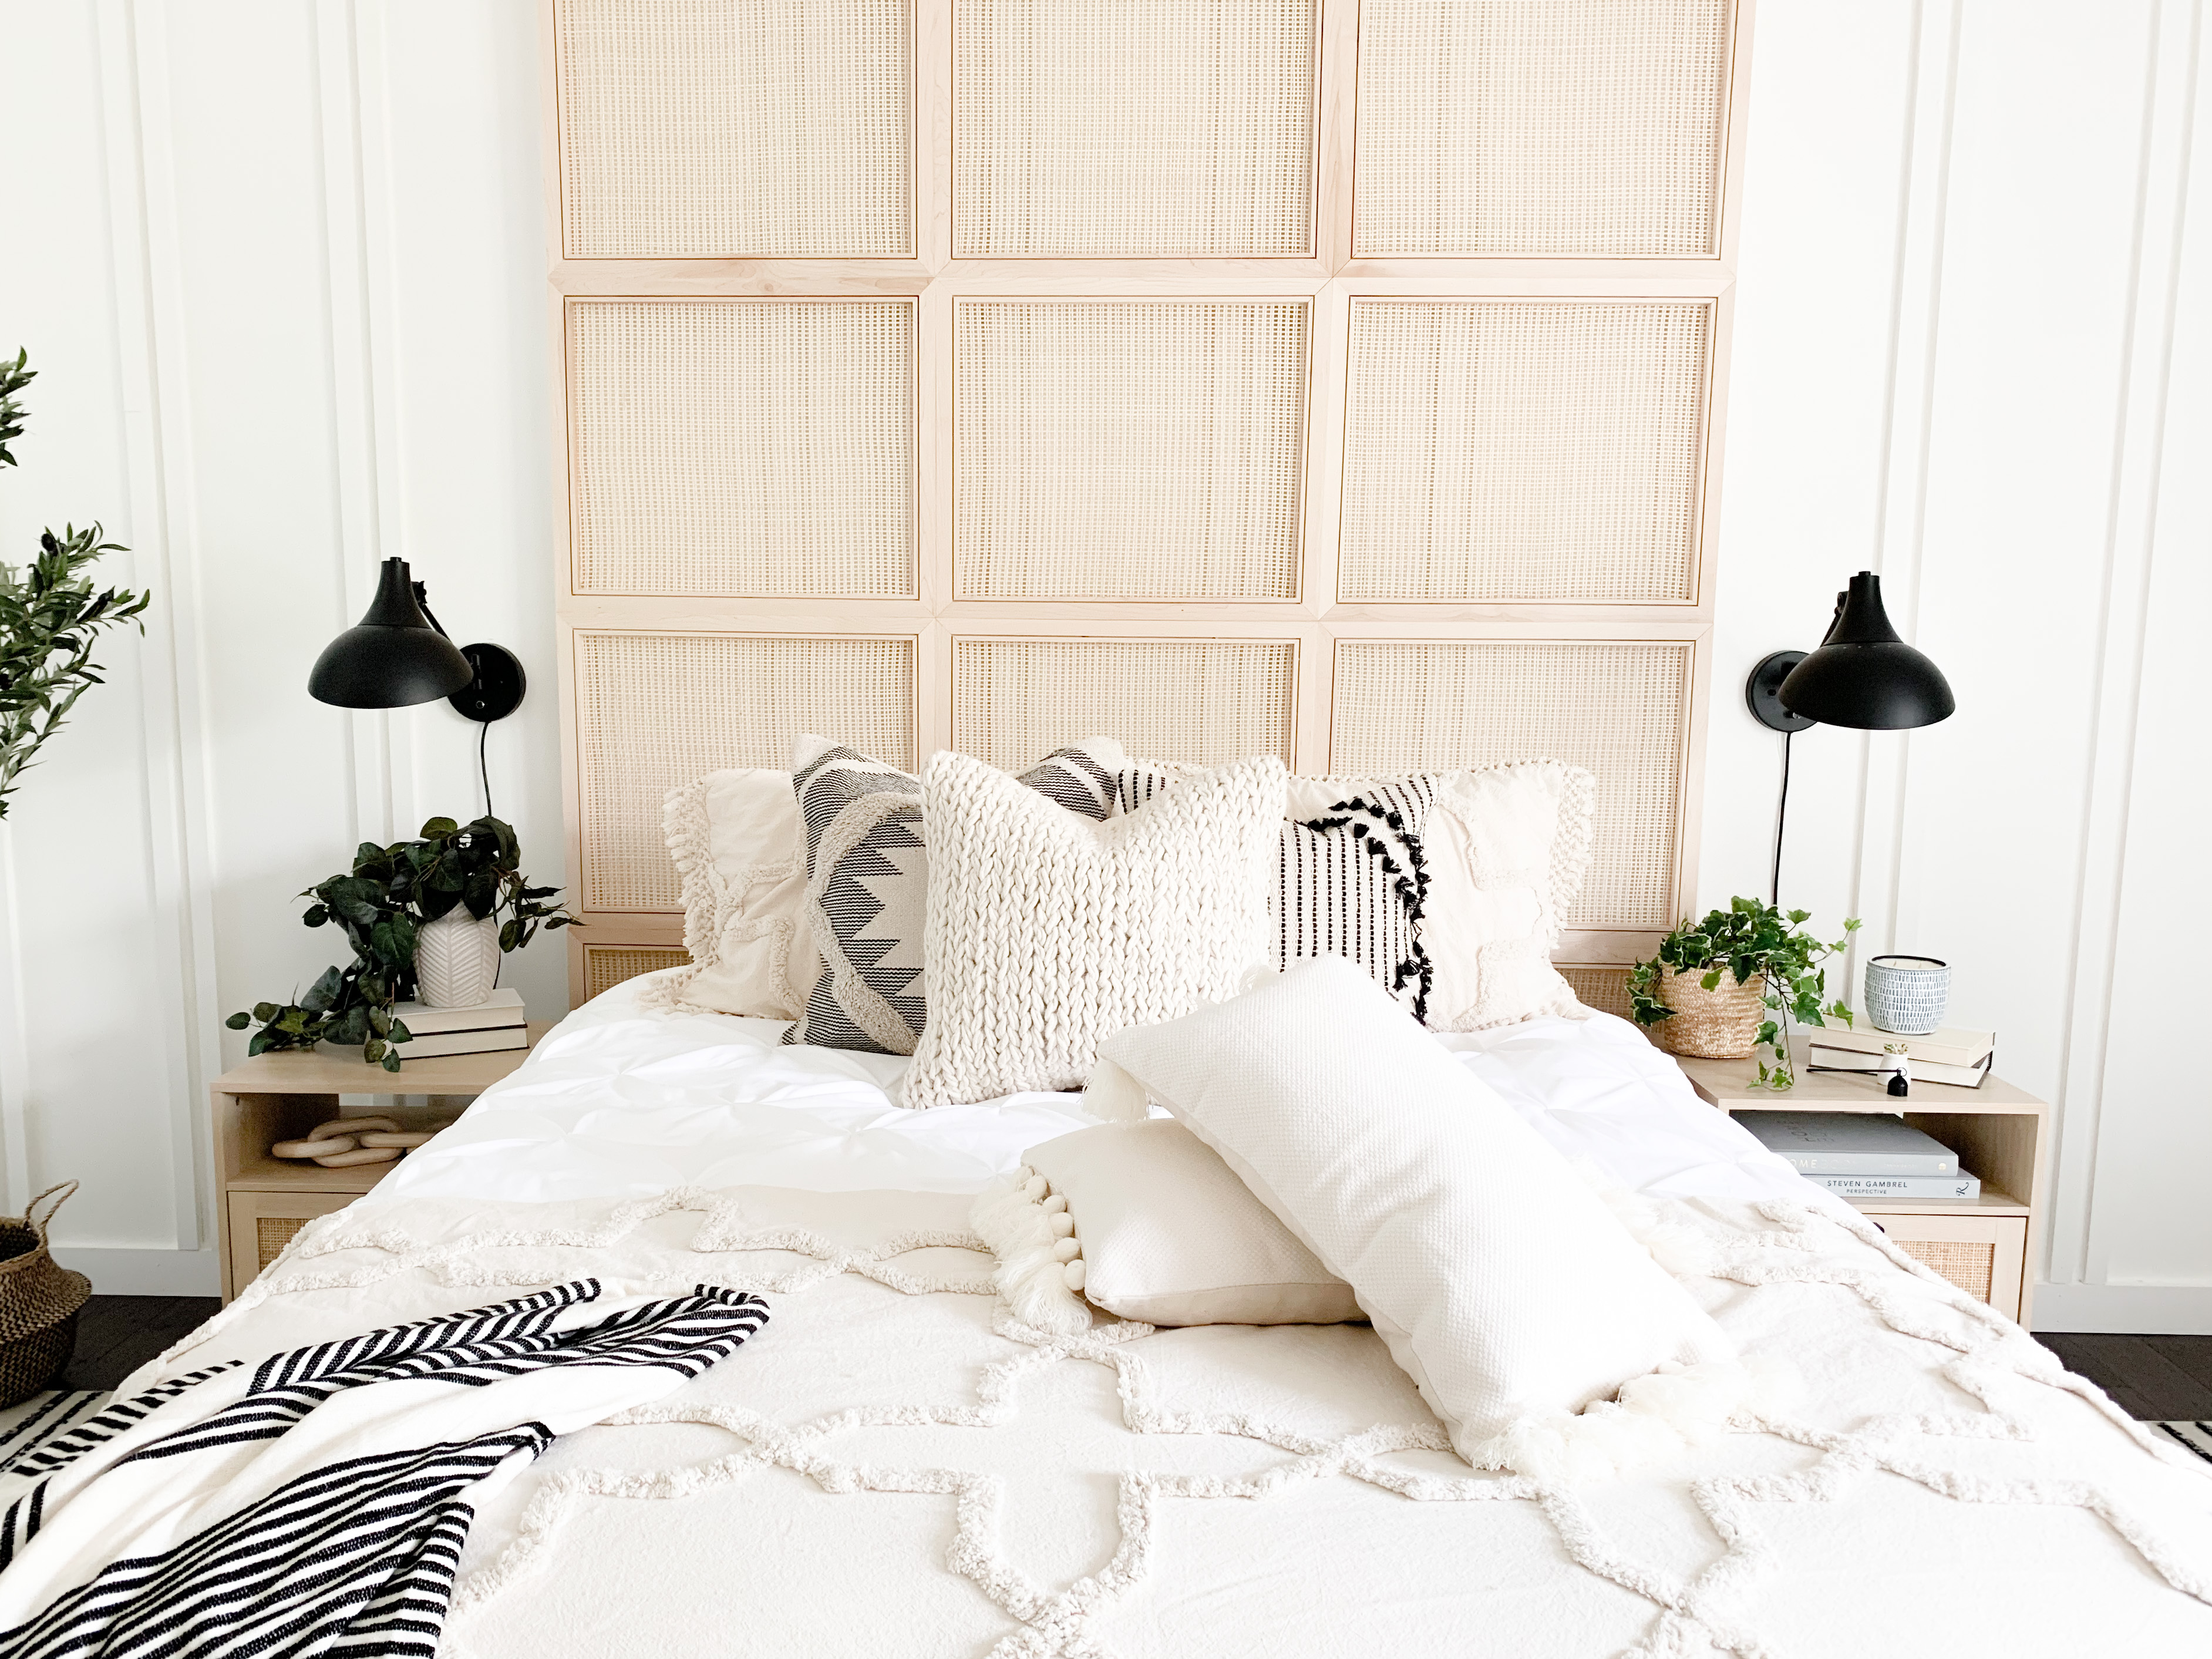
We made it!! We are officially at the end of the One Room Challenge hosted by Better Homes & Gardens, and I am EXCITED. We are so incredibly happy with the way the room turned out, but if I’m being totally honest, I’m just as excited to be done with the intensity of our first really big project!
We aimed high, fell a little short, but came out with a great bedroom retreat! I can’t believe I get to live in this modern bohemian bedroom!
Before Photos
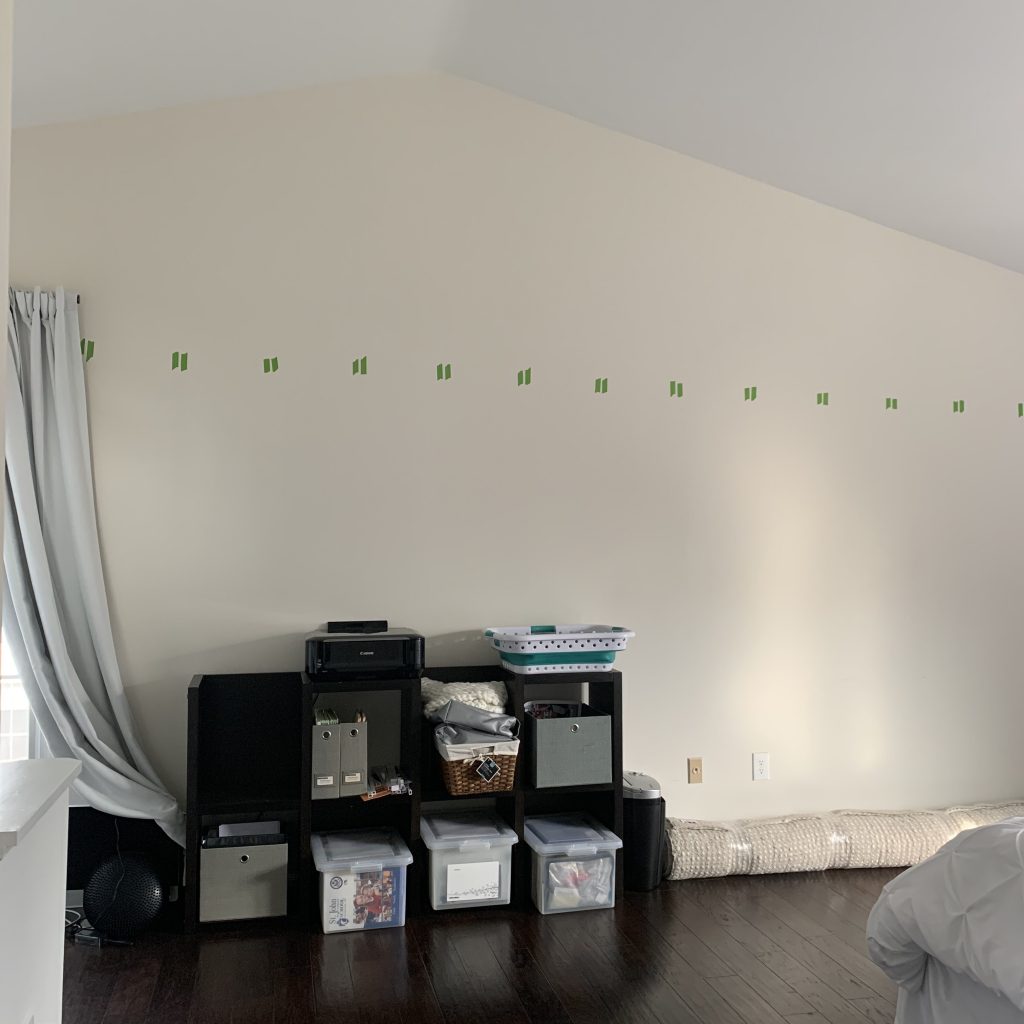
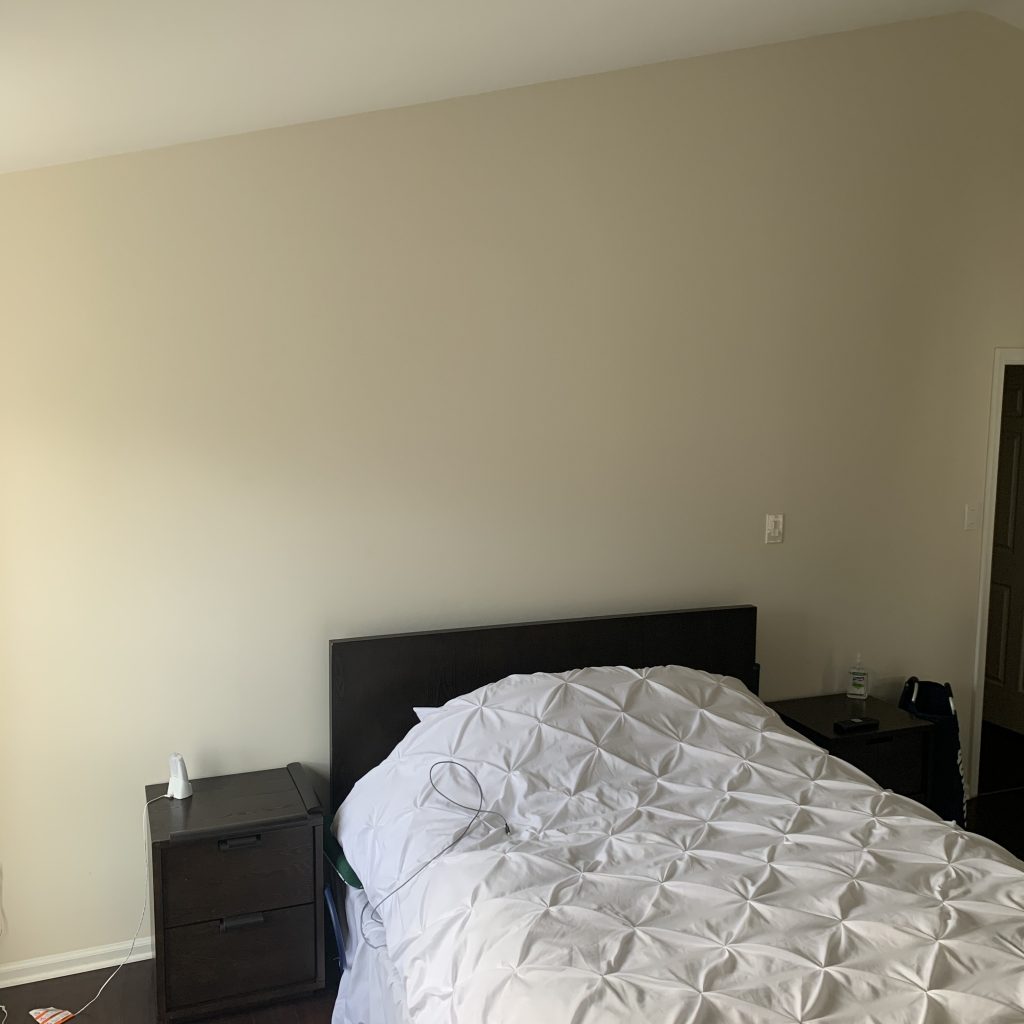
I won’t spend much time looking back, but the “after” photos always look better if you know what the space used to look like. Our room hadn’t been touched since we moved in.
We renovated our bathroom last year with a modern farmhouse spin. Then, this past year, I fell in love with all things bohemian. We wanted the room to have the bohemian elements that I love, but we knew we needed the stacked shiplap and hints of black to tie it back to the en-suite. A modern bohemian retreat!
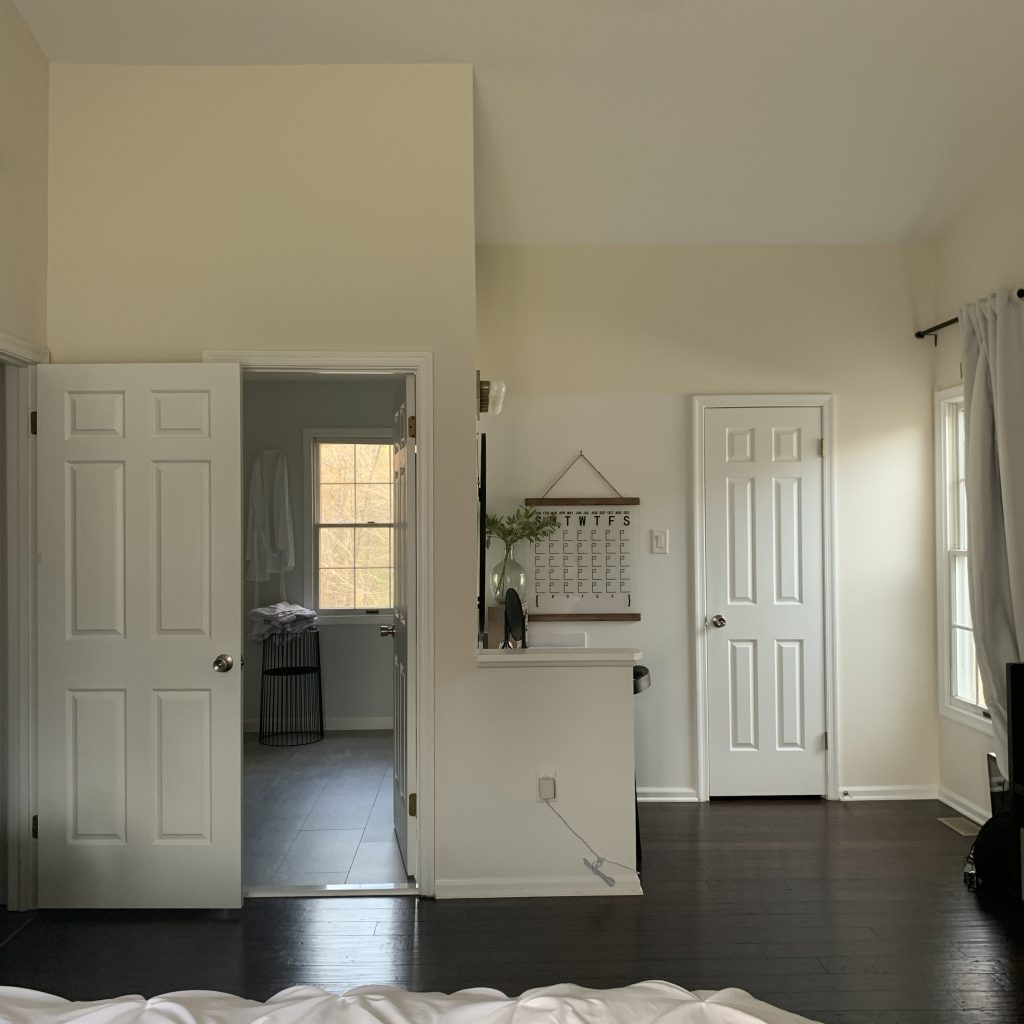
View Outside Bathroom
Cane Headboard Wall
Picture Ledge Wall
If you follow along on Instagram, you know that I went back and forth on SO many decisions. From paint color to furniture color to picture ledge placement. I’m so indecisive! Looking back, I realize that we ended up doing the very first idea anyway… being indecisive is such a waste of energy, right??
THE AFTER
We went a little nuts with accent wall techniques in here…. from shiplap, to skinny board and batten, to a cane headboard, to a picture ledge wall. My concern was that it was going to look too busy, but it came together so nicely! I think the color palette is responsible for that one. I’m beyond in love with the gorgeous white wall color we chose from Benjamin Moore. It’s a pretty, bright white but somehow feels warm and cozy. I just wish it weren’t named Cotton Balls.
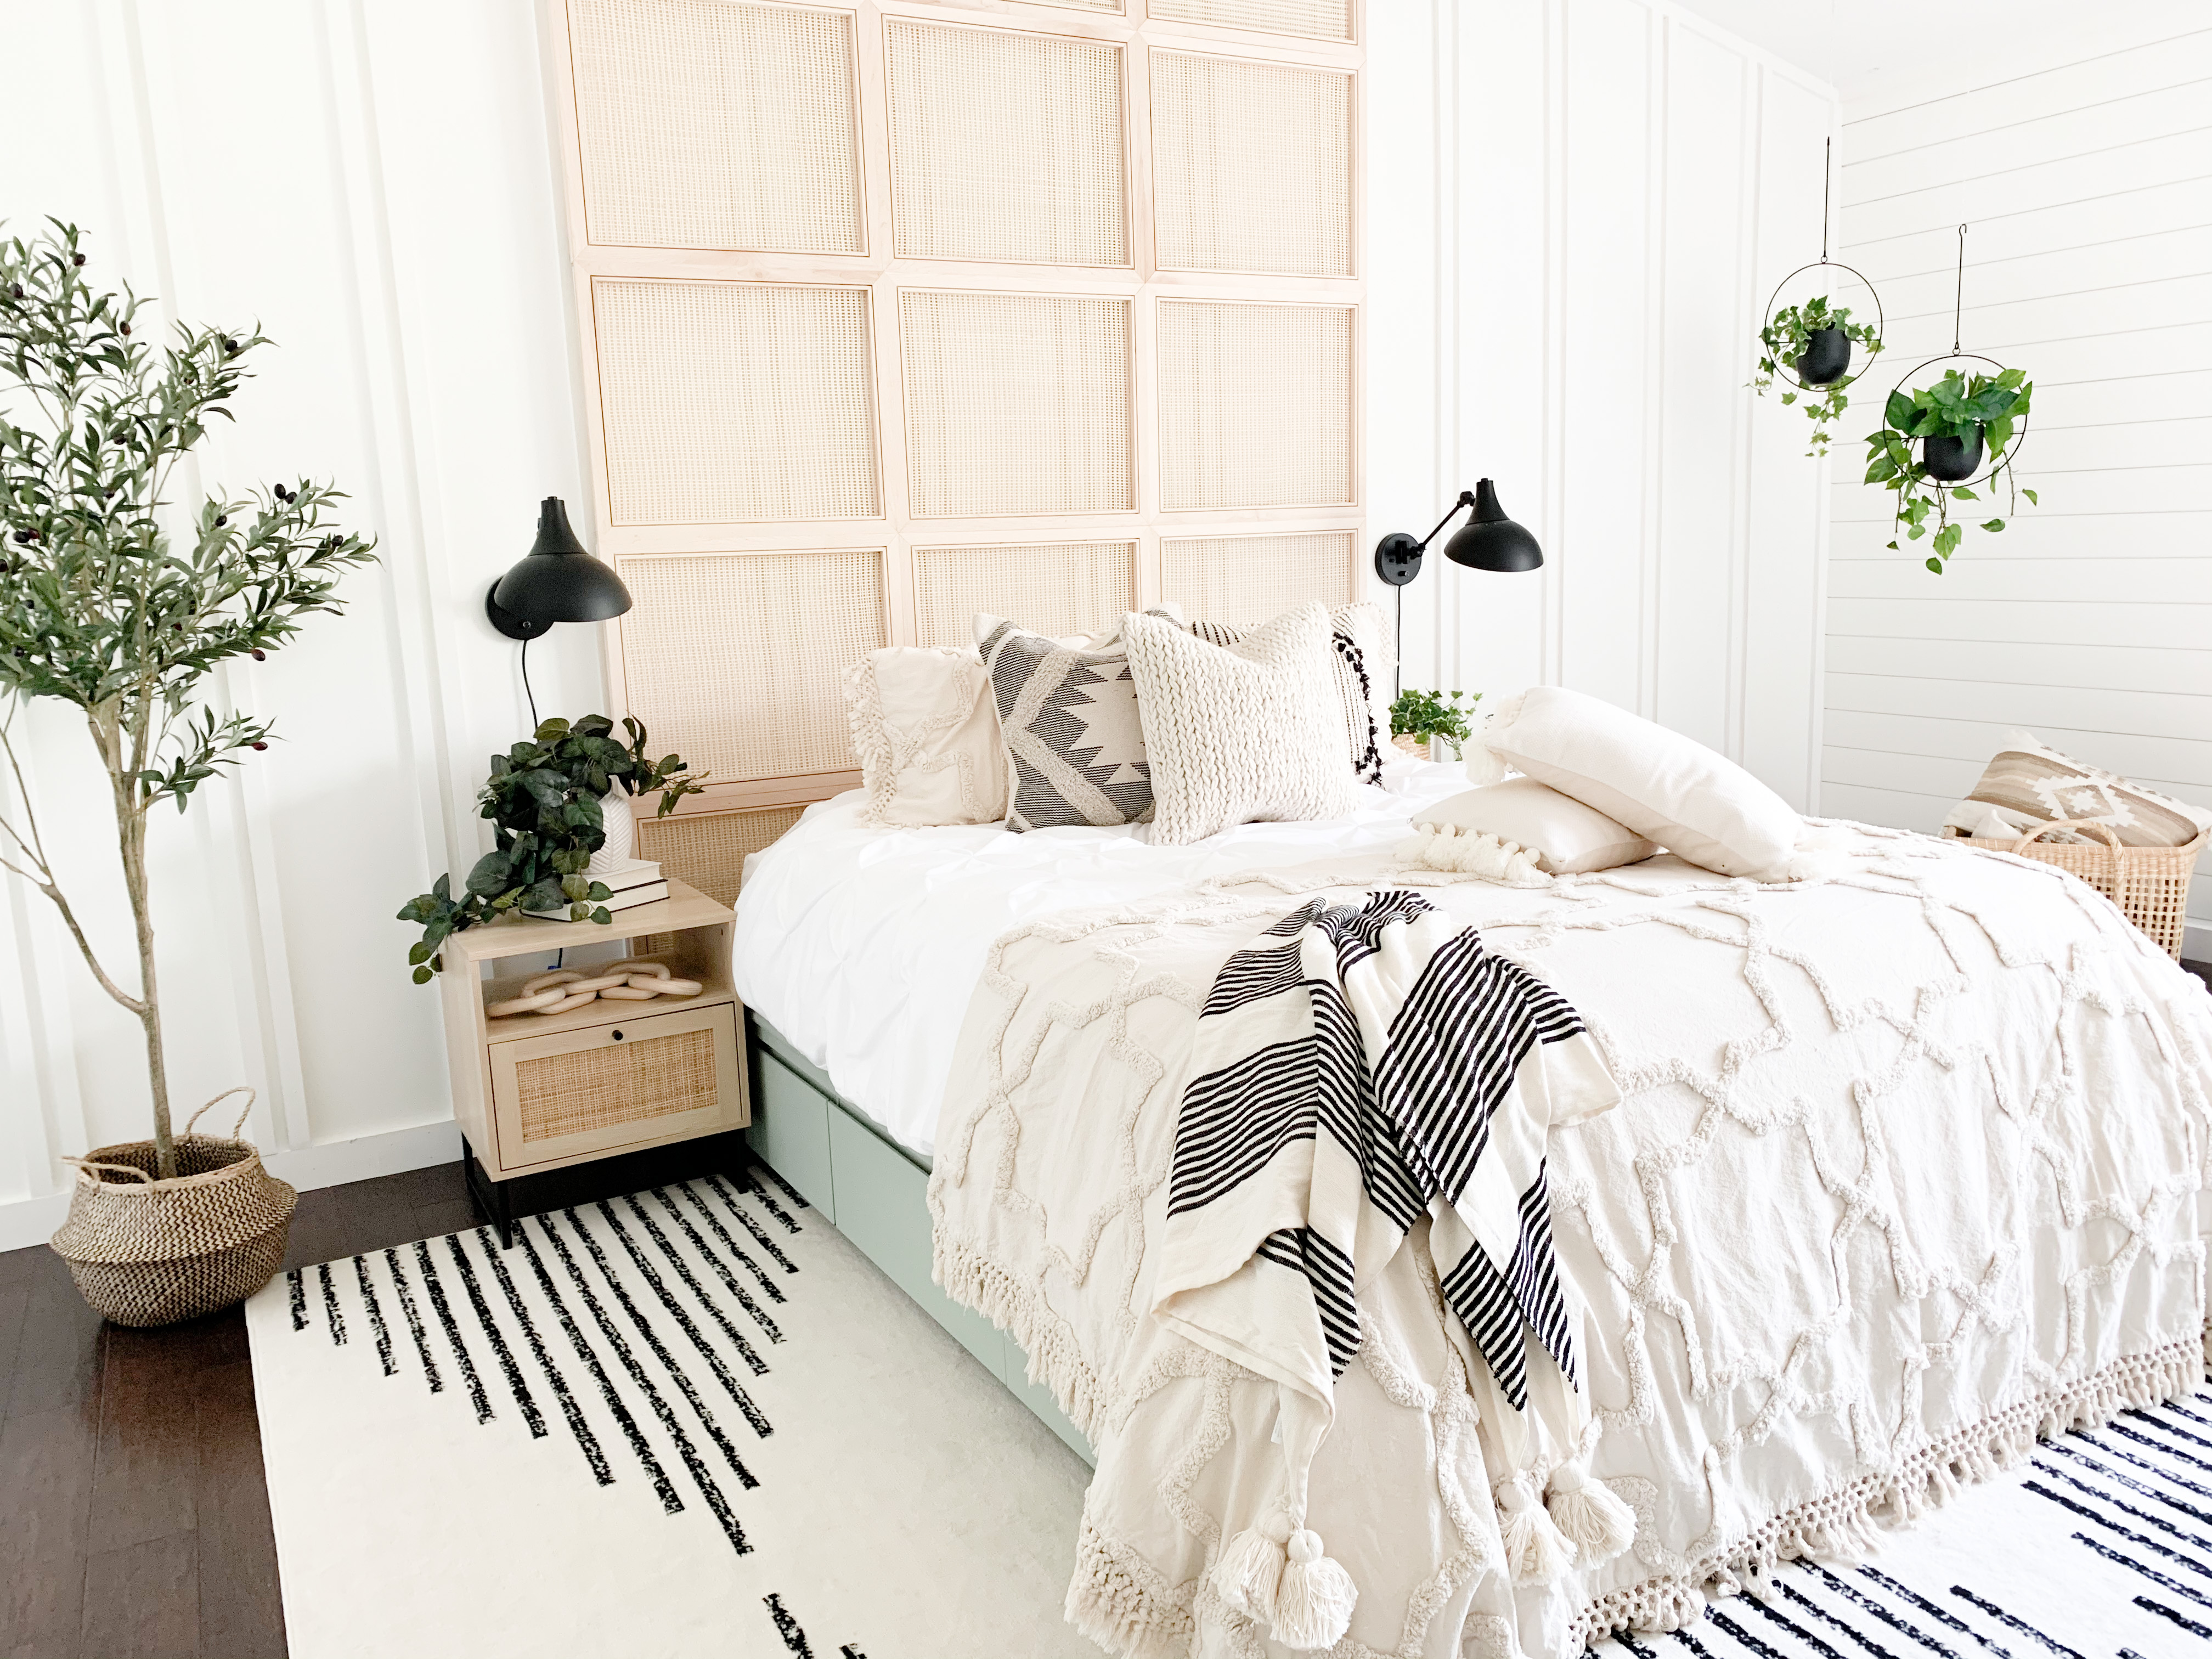
After the white walls, the next dominant “color” is natural. Between the cane headboard, the picture ledges, and all the bedding, there is TONS of neutral texture. The pops of green and black top it all off to give it a rich, modern element. This green chalk paint is one of my absolute FAVORITE colors!
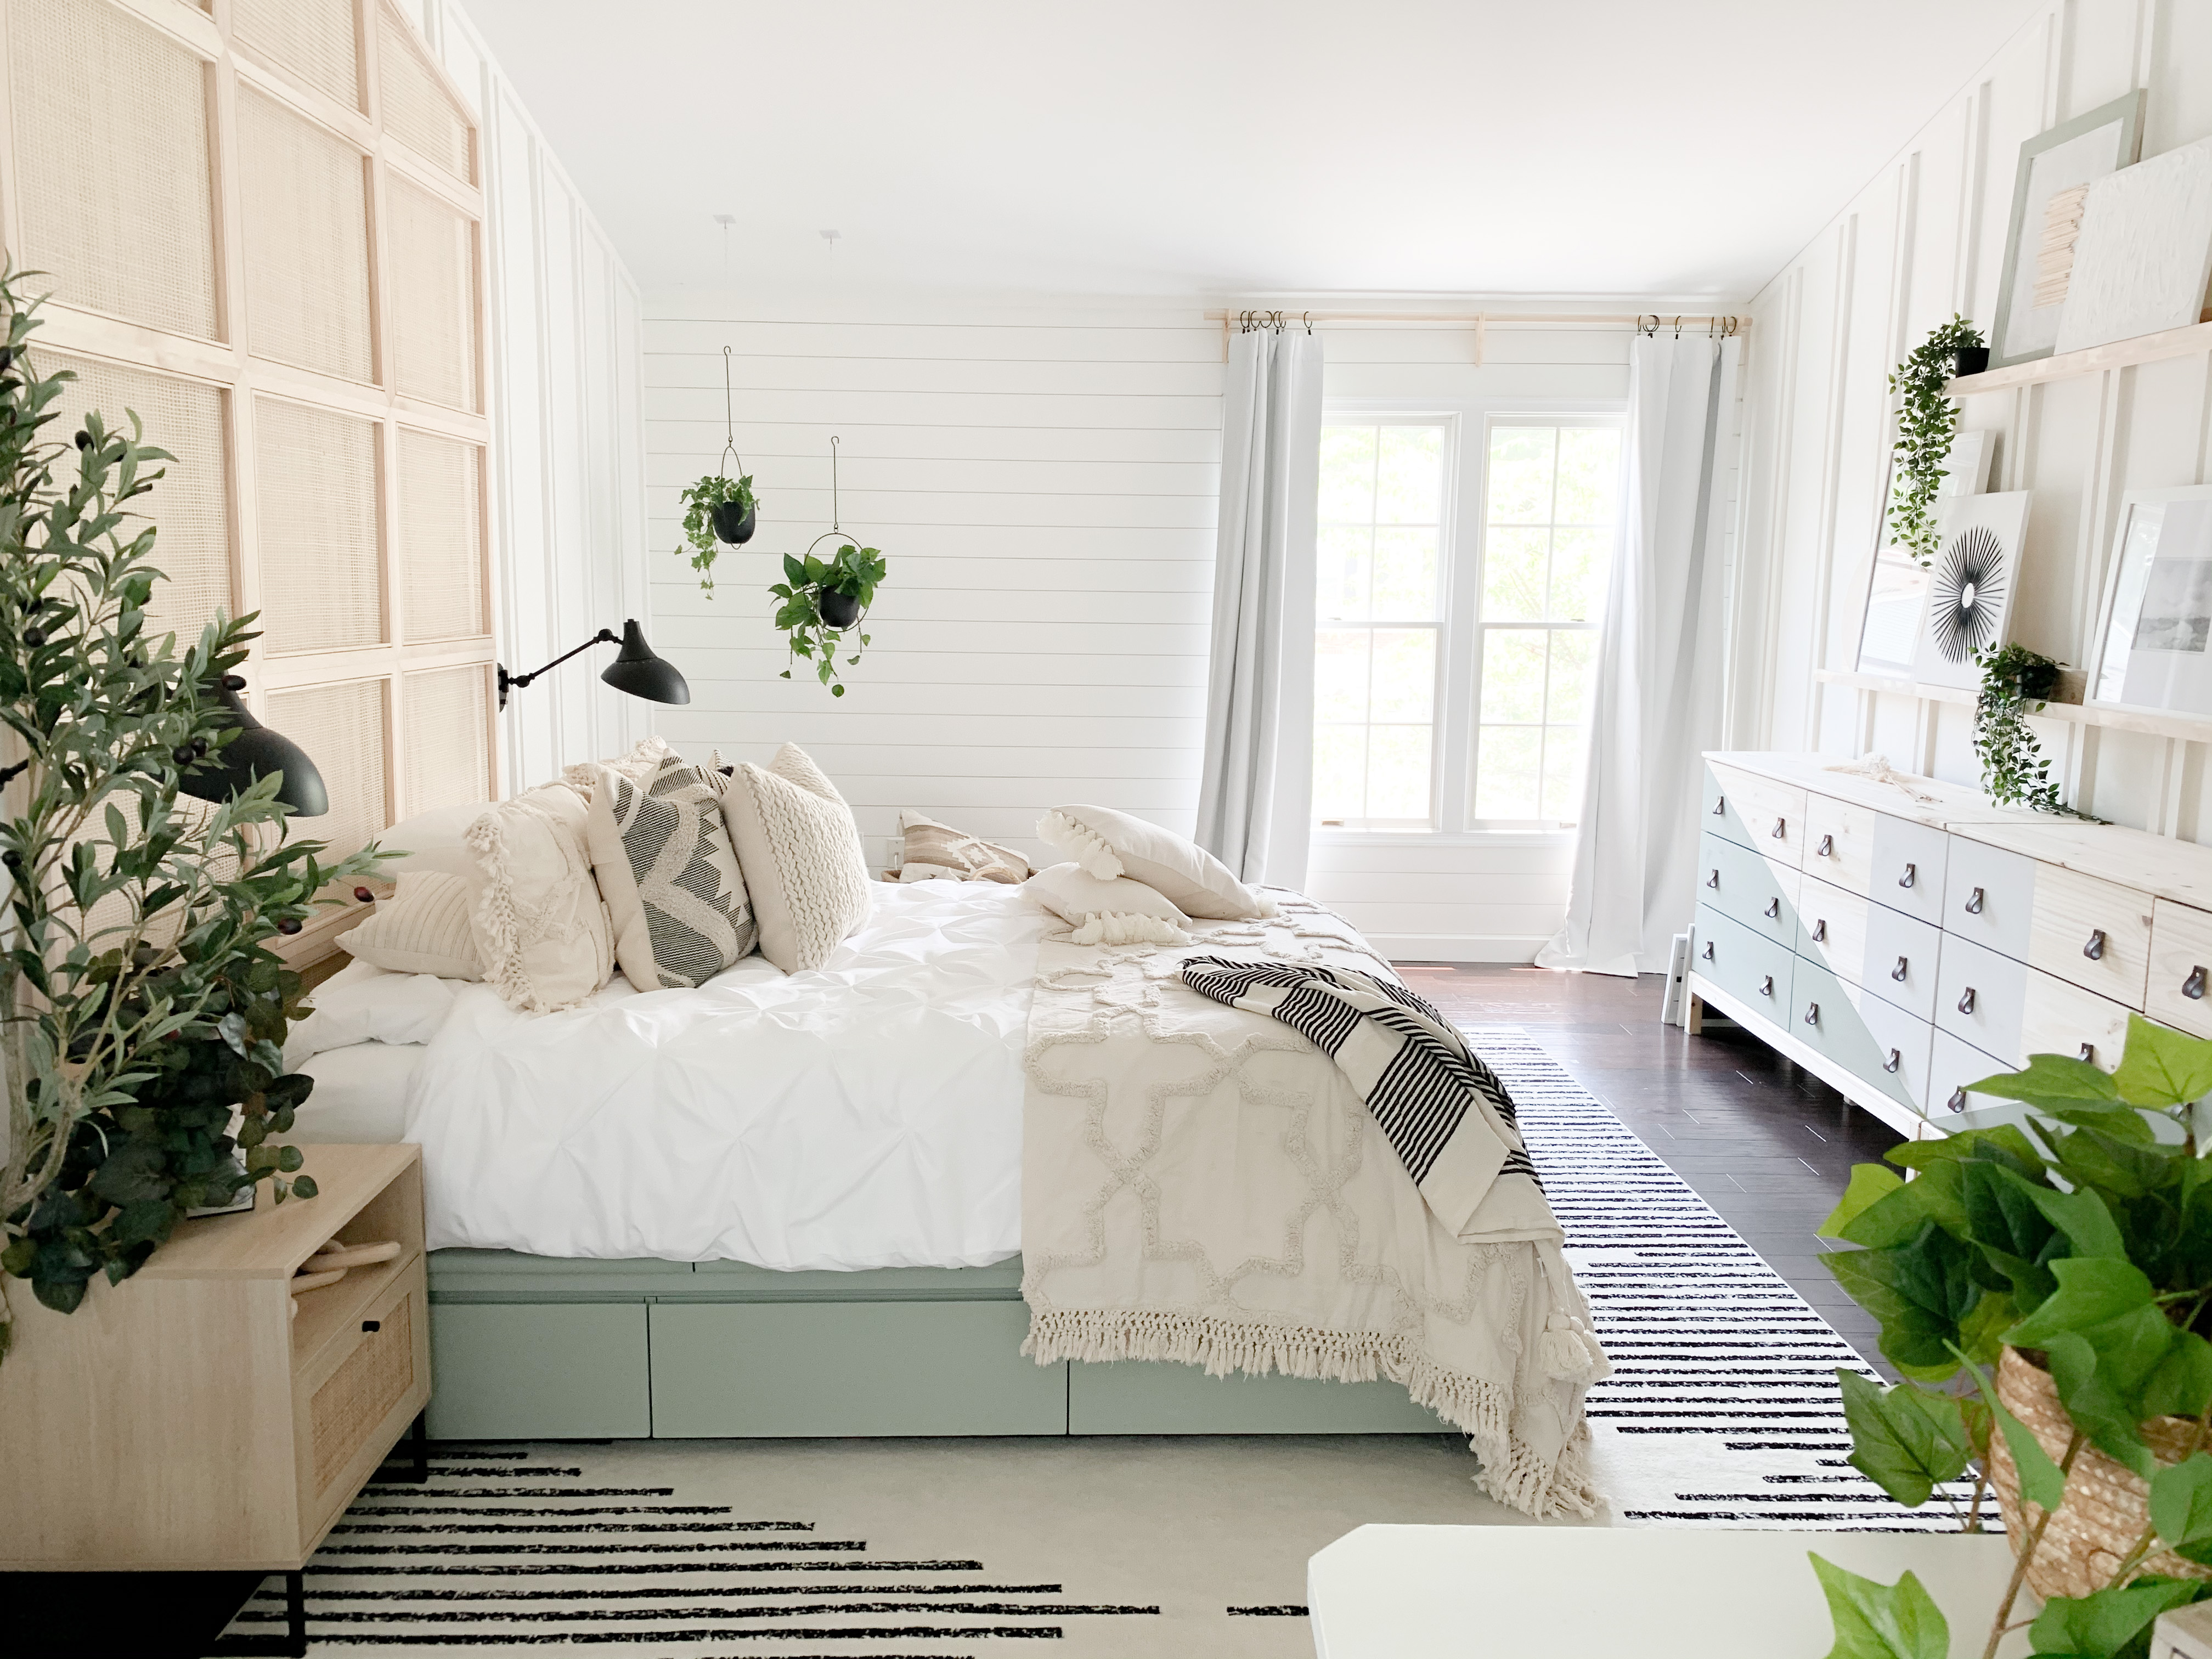
The Picture Ledge Wall
We aren’t quite finished with the picture ledge wall, but we’re already loving the way it looks! We have to patch up a few places and finish framing out some of the artwork. If you’ve been following me for a little while, you’ll recognize some of the “artwork” from my DIY Toothpick/Skewer Art bonanza. We knew we needed a lot of pieces to fill these 8 ft long ledges, and I was determined to do it as affordably as possible.
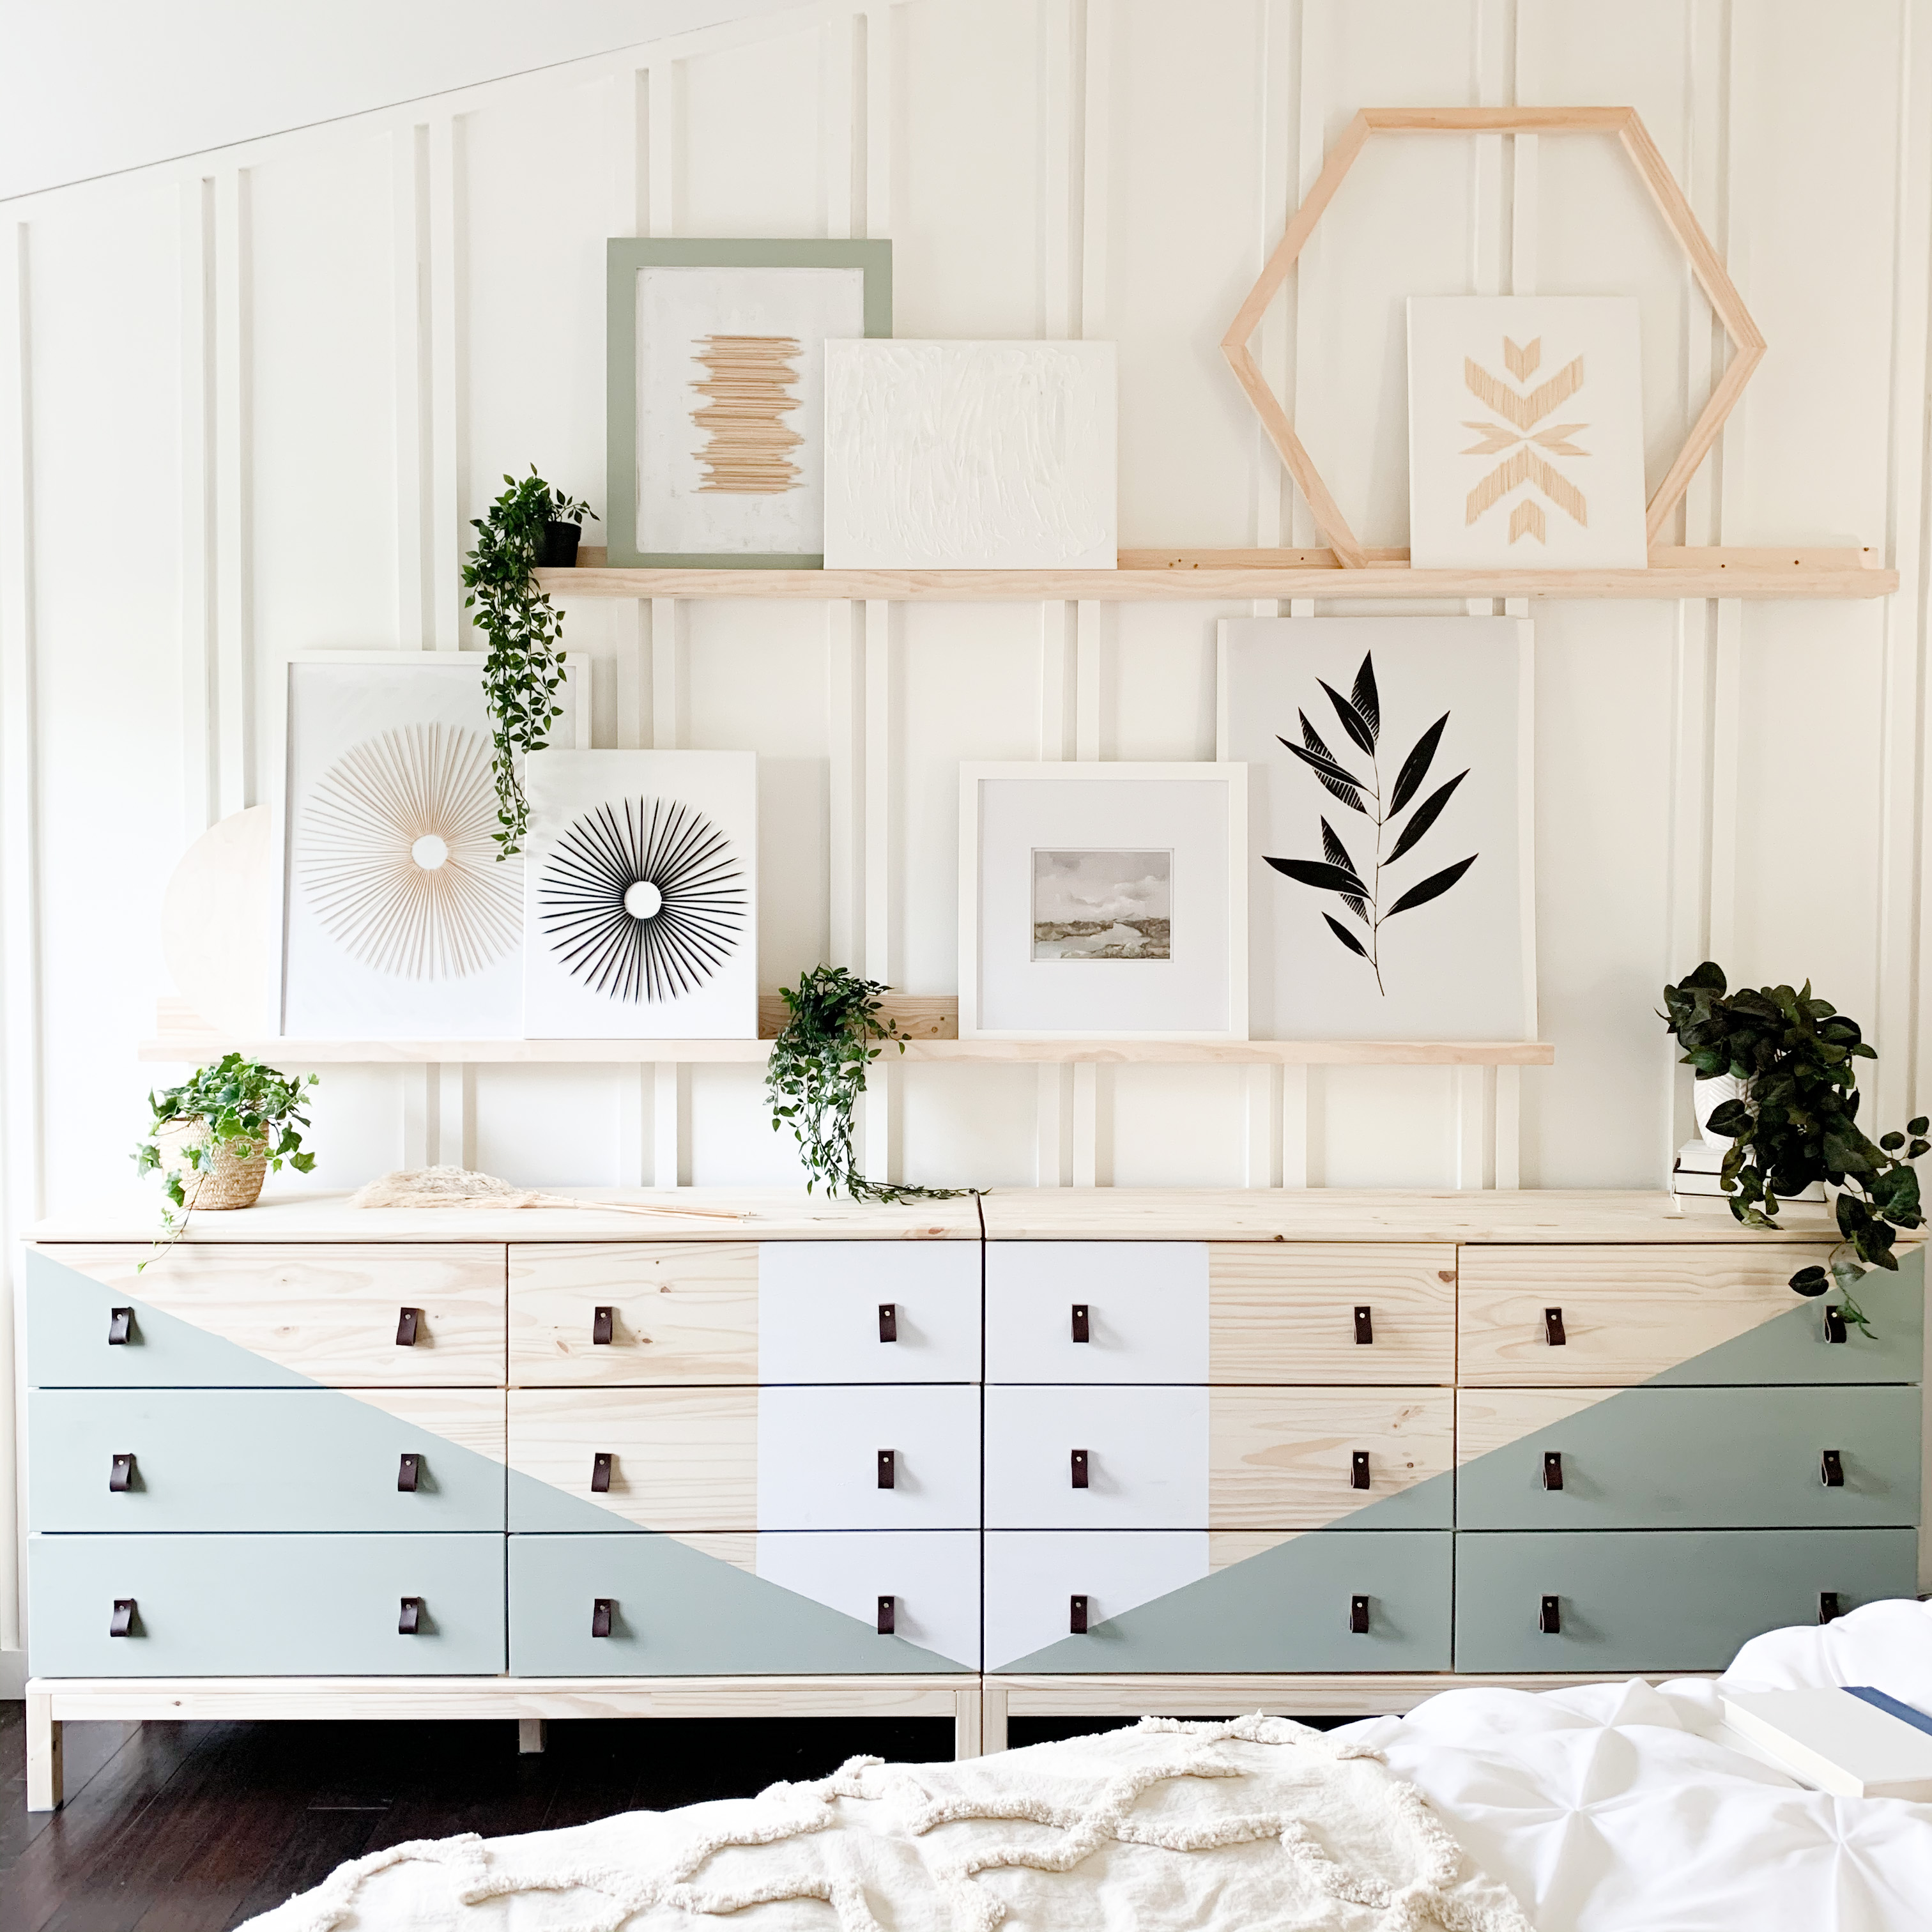
The hexagon shape was the one I made when debating the pattern for the headboard. I still think that hexagon puzzle pieces would’ve looked amazing! With the experience we have gained, I can finally wrap my head around doing it that way…. but it’s too late haha. The two legit pieces of artwork are prints that I downloaded from Collection Prints. The downloadable option is only $20 per piece (on sale for $15 currently), and the selection is, hands down, my favorite. I have Eucalyptus 1 and Tranquil River pictured here.
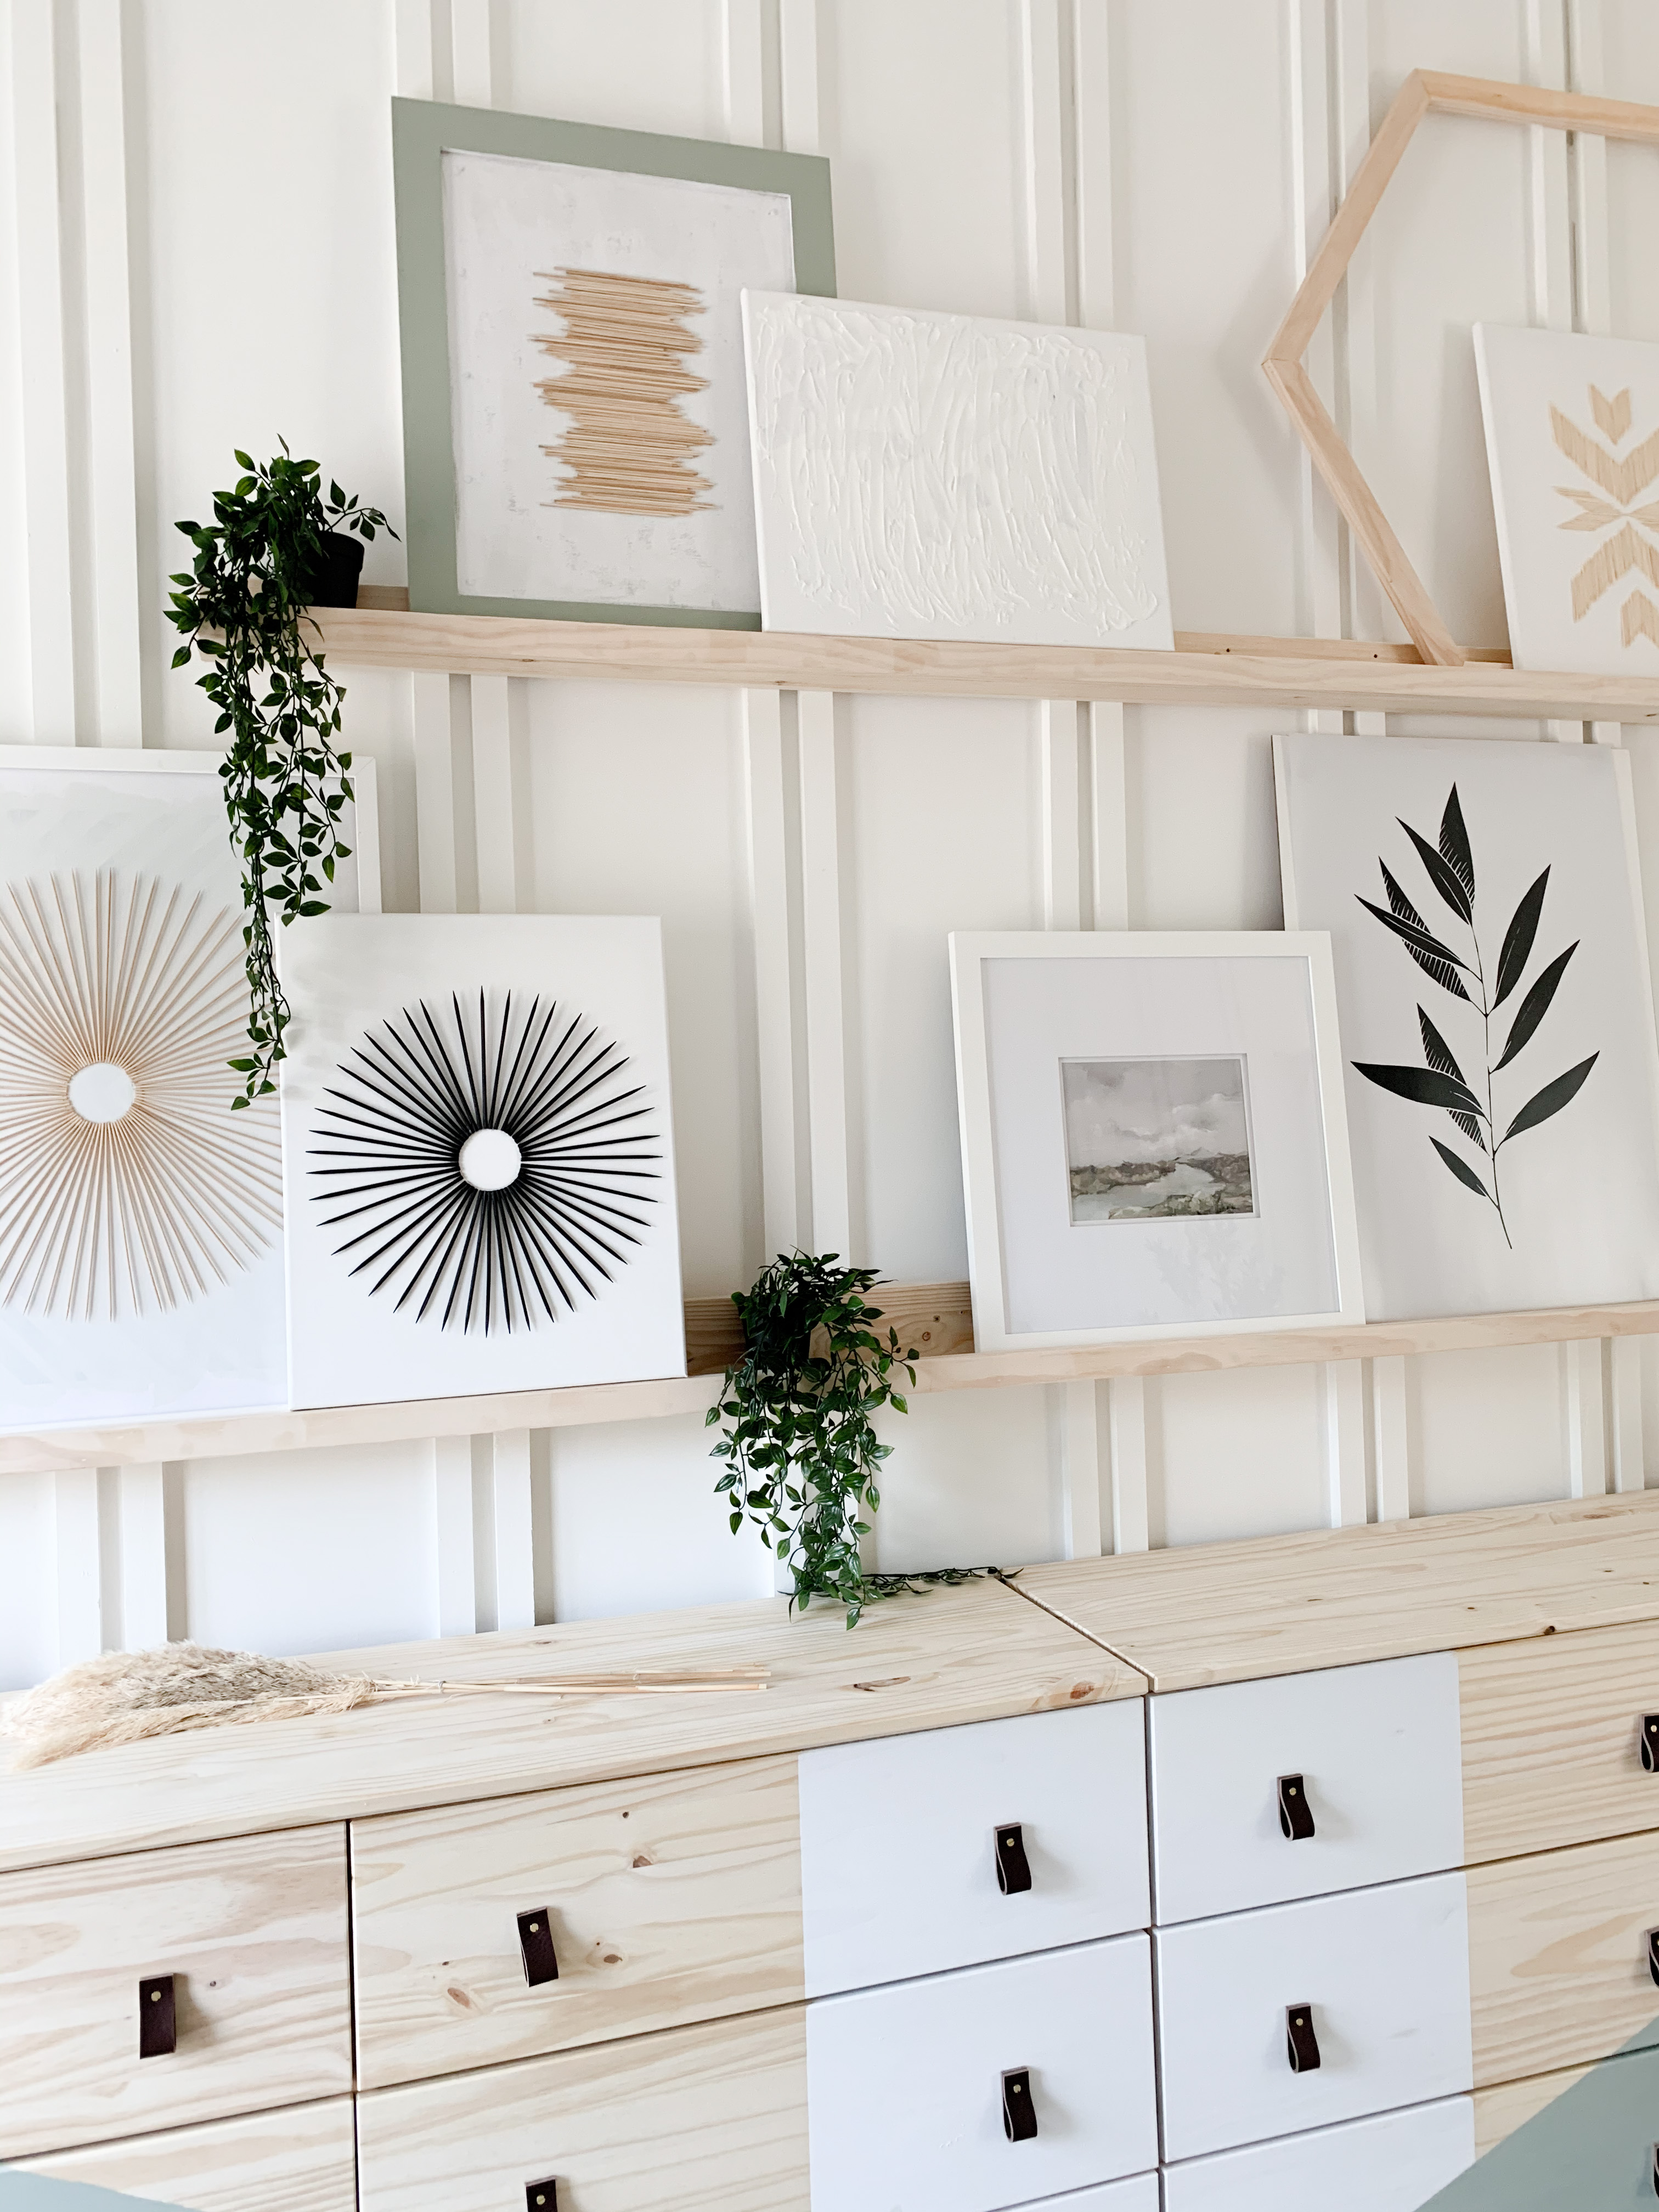
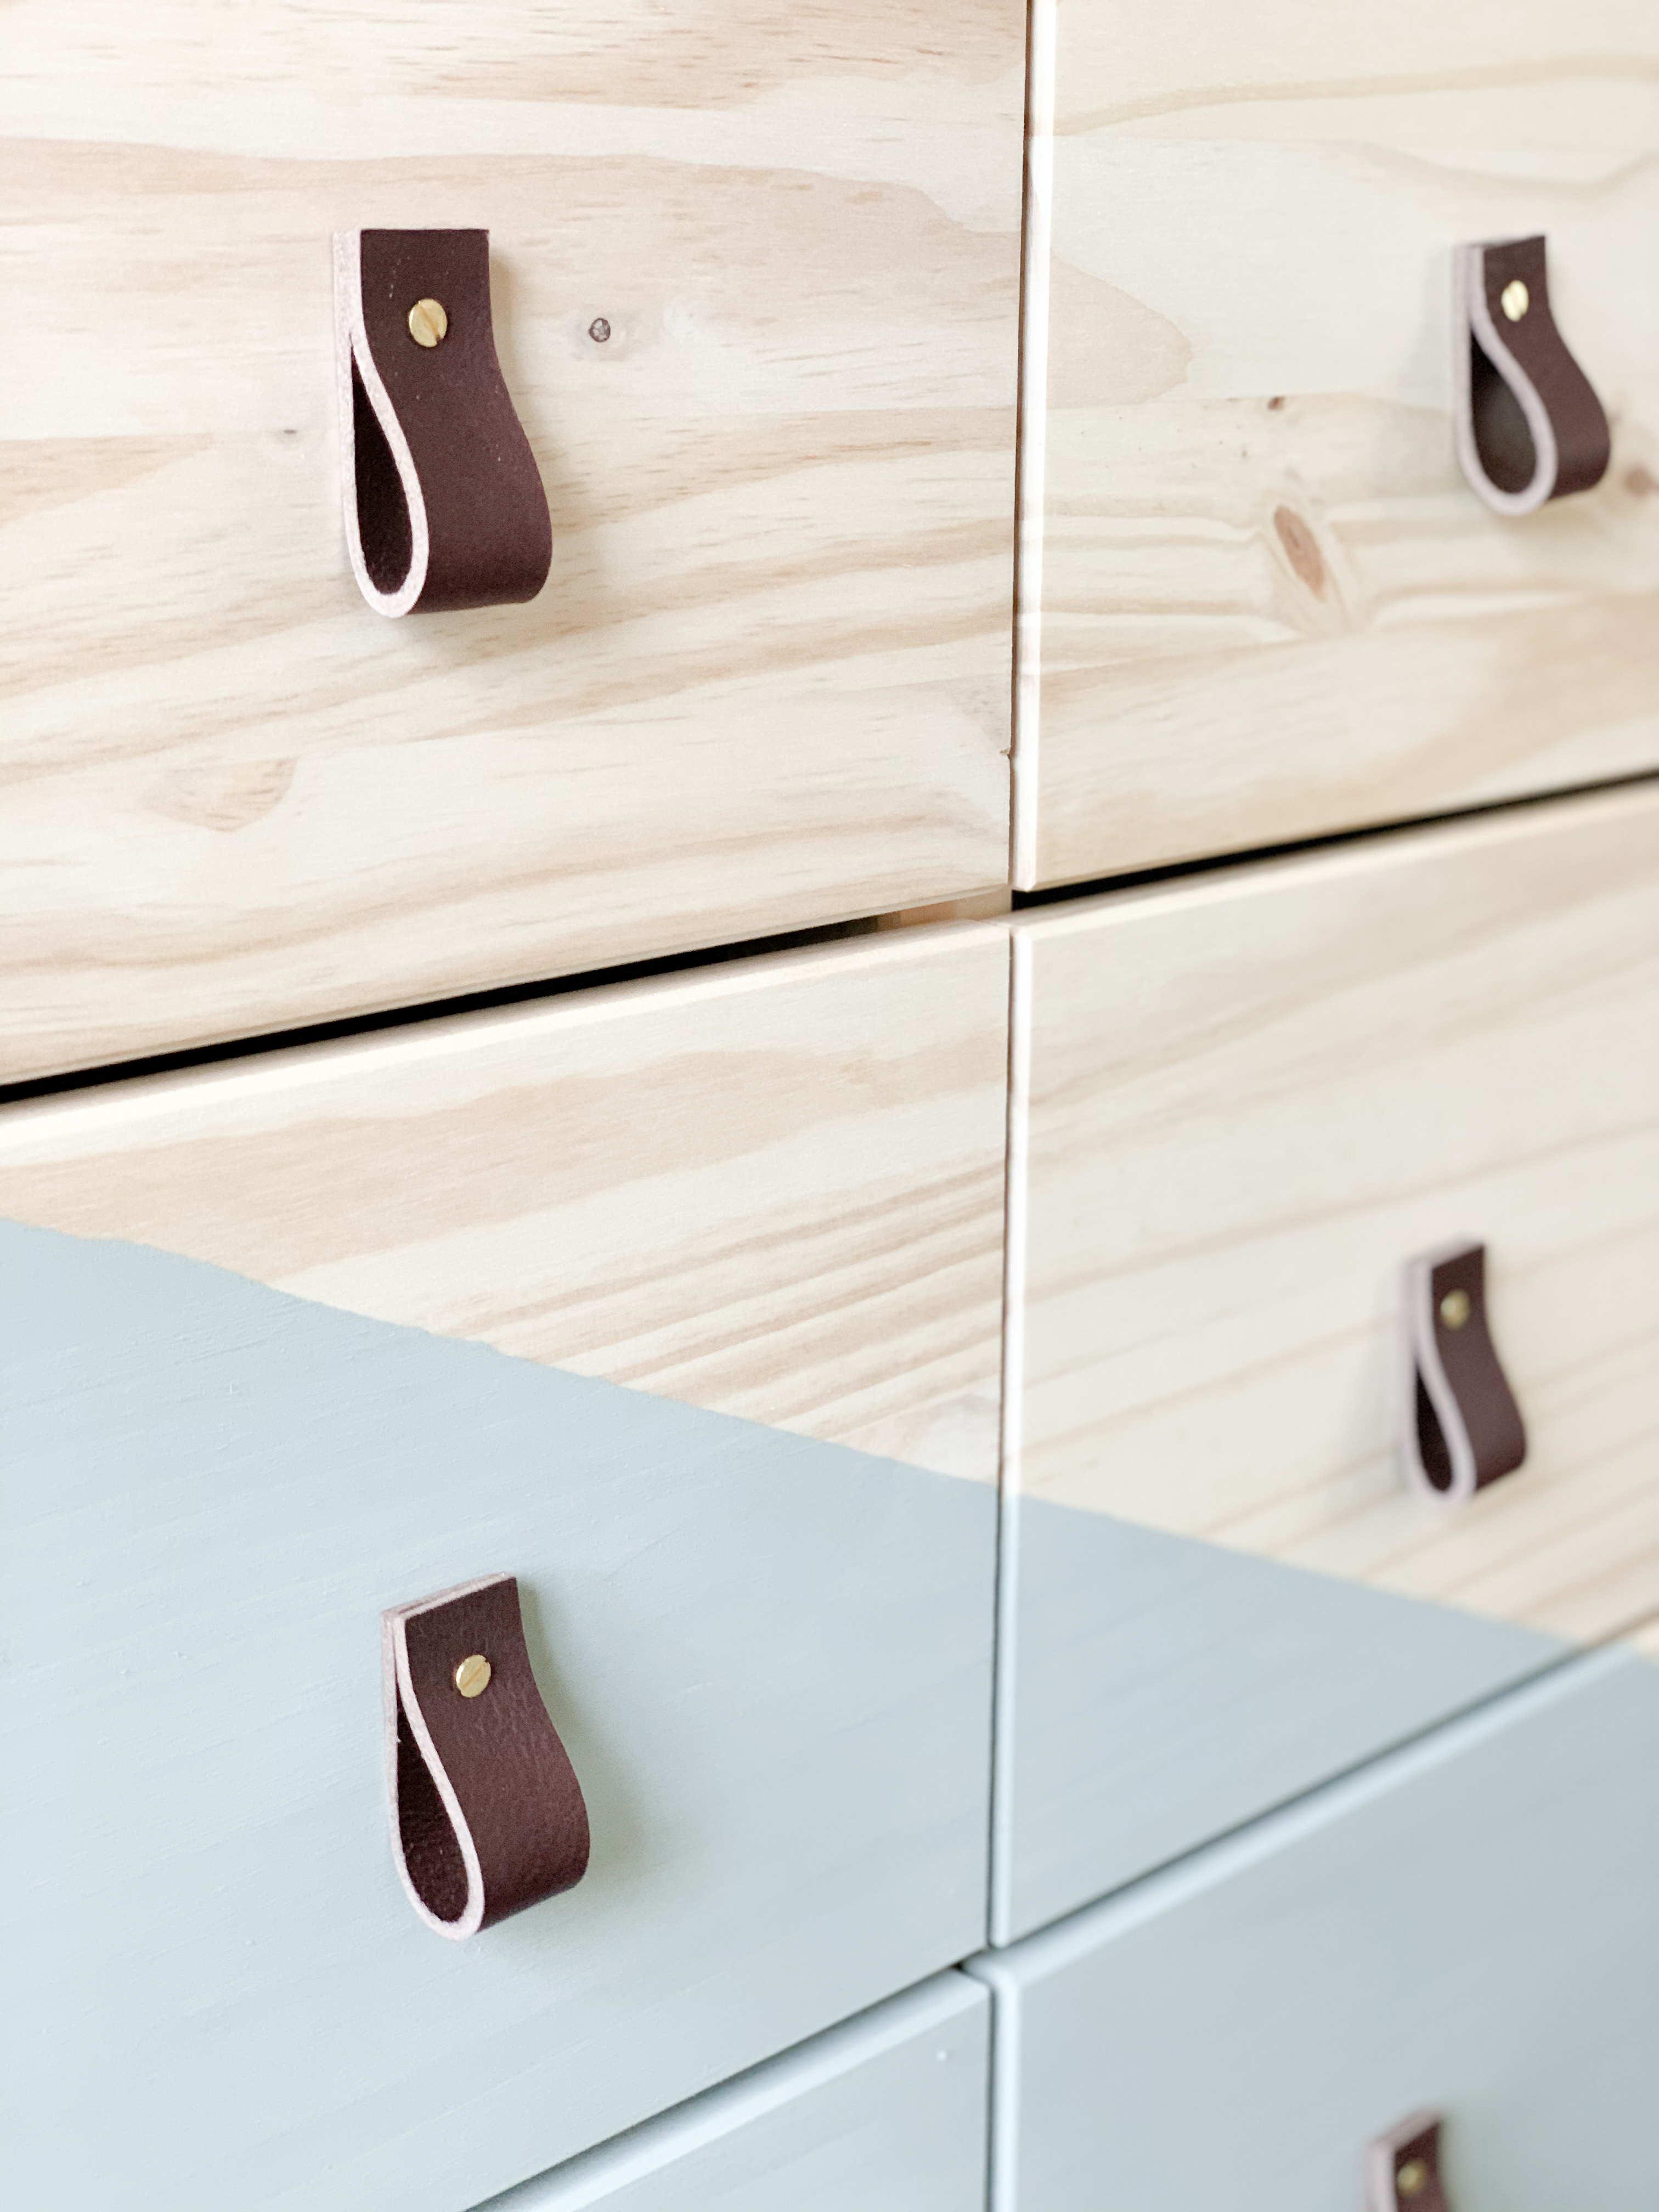
The dressers we chose are from IKEA, the TARVA Collection. We love that they are natural wood and basically a blank slate. I fully took advantage of that fact and had a ton of fun taping off a color-blocked pattern. Once the novelty of it wears off, I’ll paint the whole thing the pretty soft green color. Even though this is a small detail, I’m such a huge fan of the leather pulls!
*Update: The leather pulls I used are no longer sold. I’ve linked a similar option on Amazon, but Etsy would also be a good place to search.
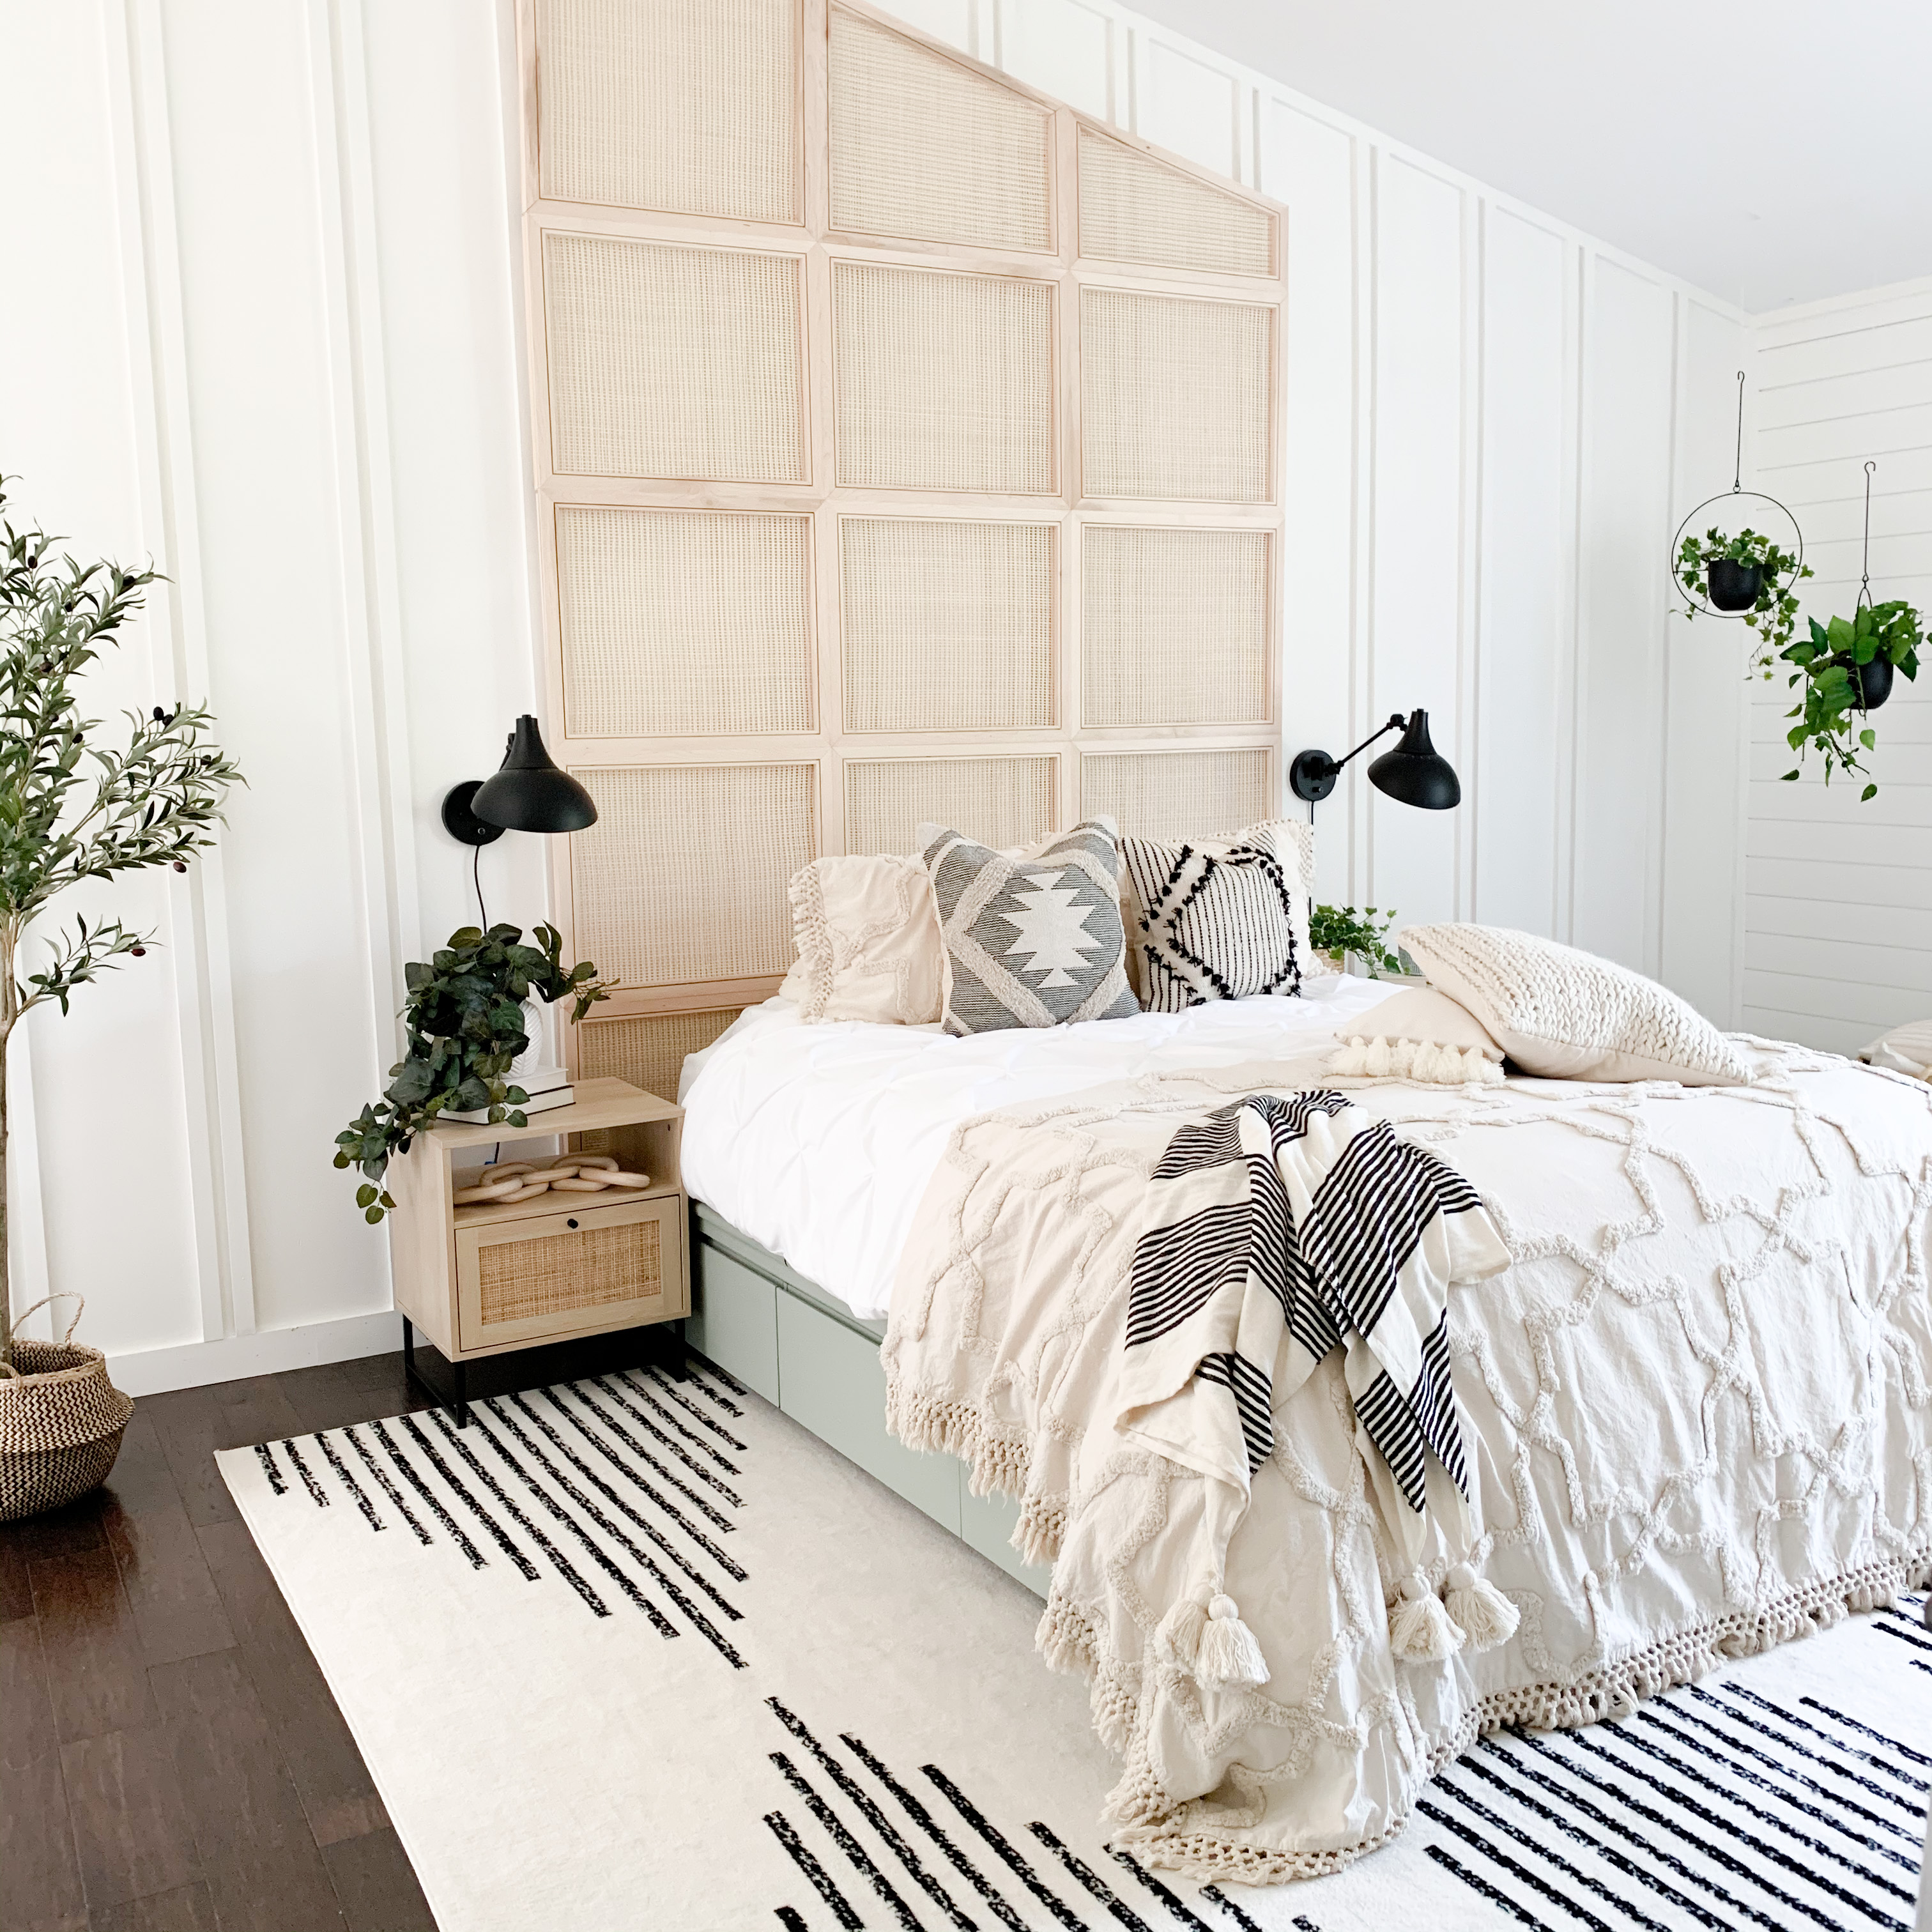
Bedding
One piece of the room that I had my eyes on for MONTHS before we started this project was the bedspread. This bedspread has been such a love of mine since I first spotted it…. I basically tried to create the rest of the room around it. The pillows are from the same shop… This black and white stripe pillow and the kilim pillow are both still in stock. The beautiful woven wool pillow is currently out of stock, but I included the link to reference when it’s back! Last, but not least, the black and white striped throw blanket from another favorite shop adds the perfect touch!
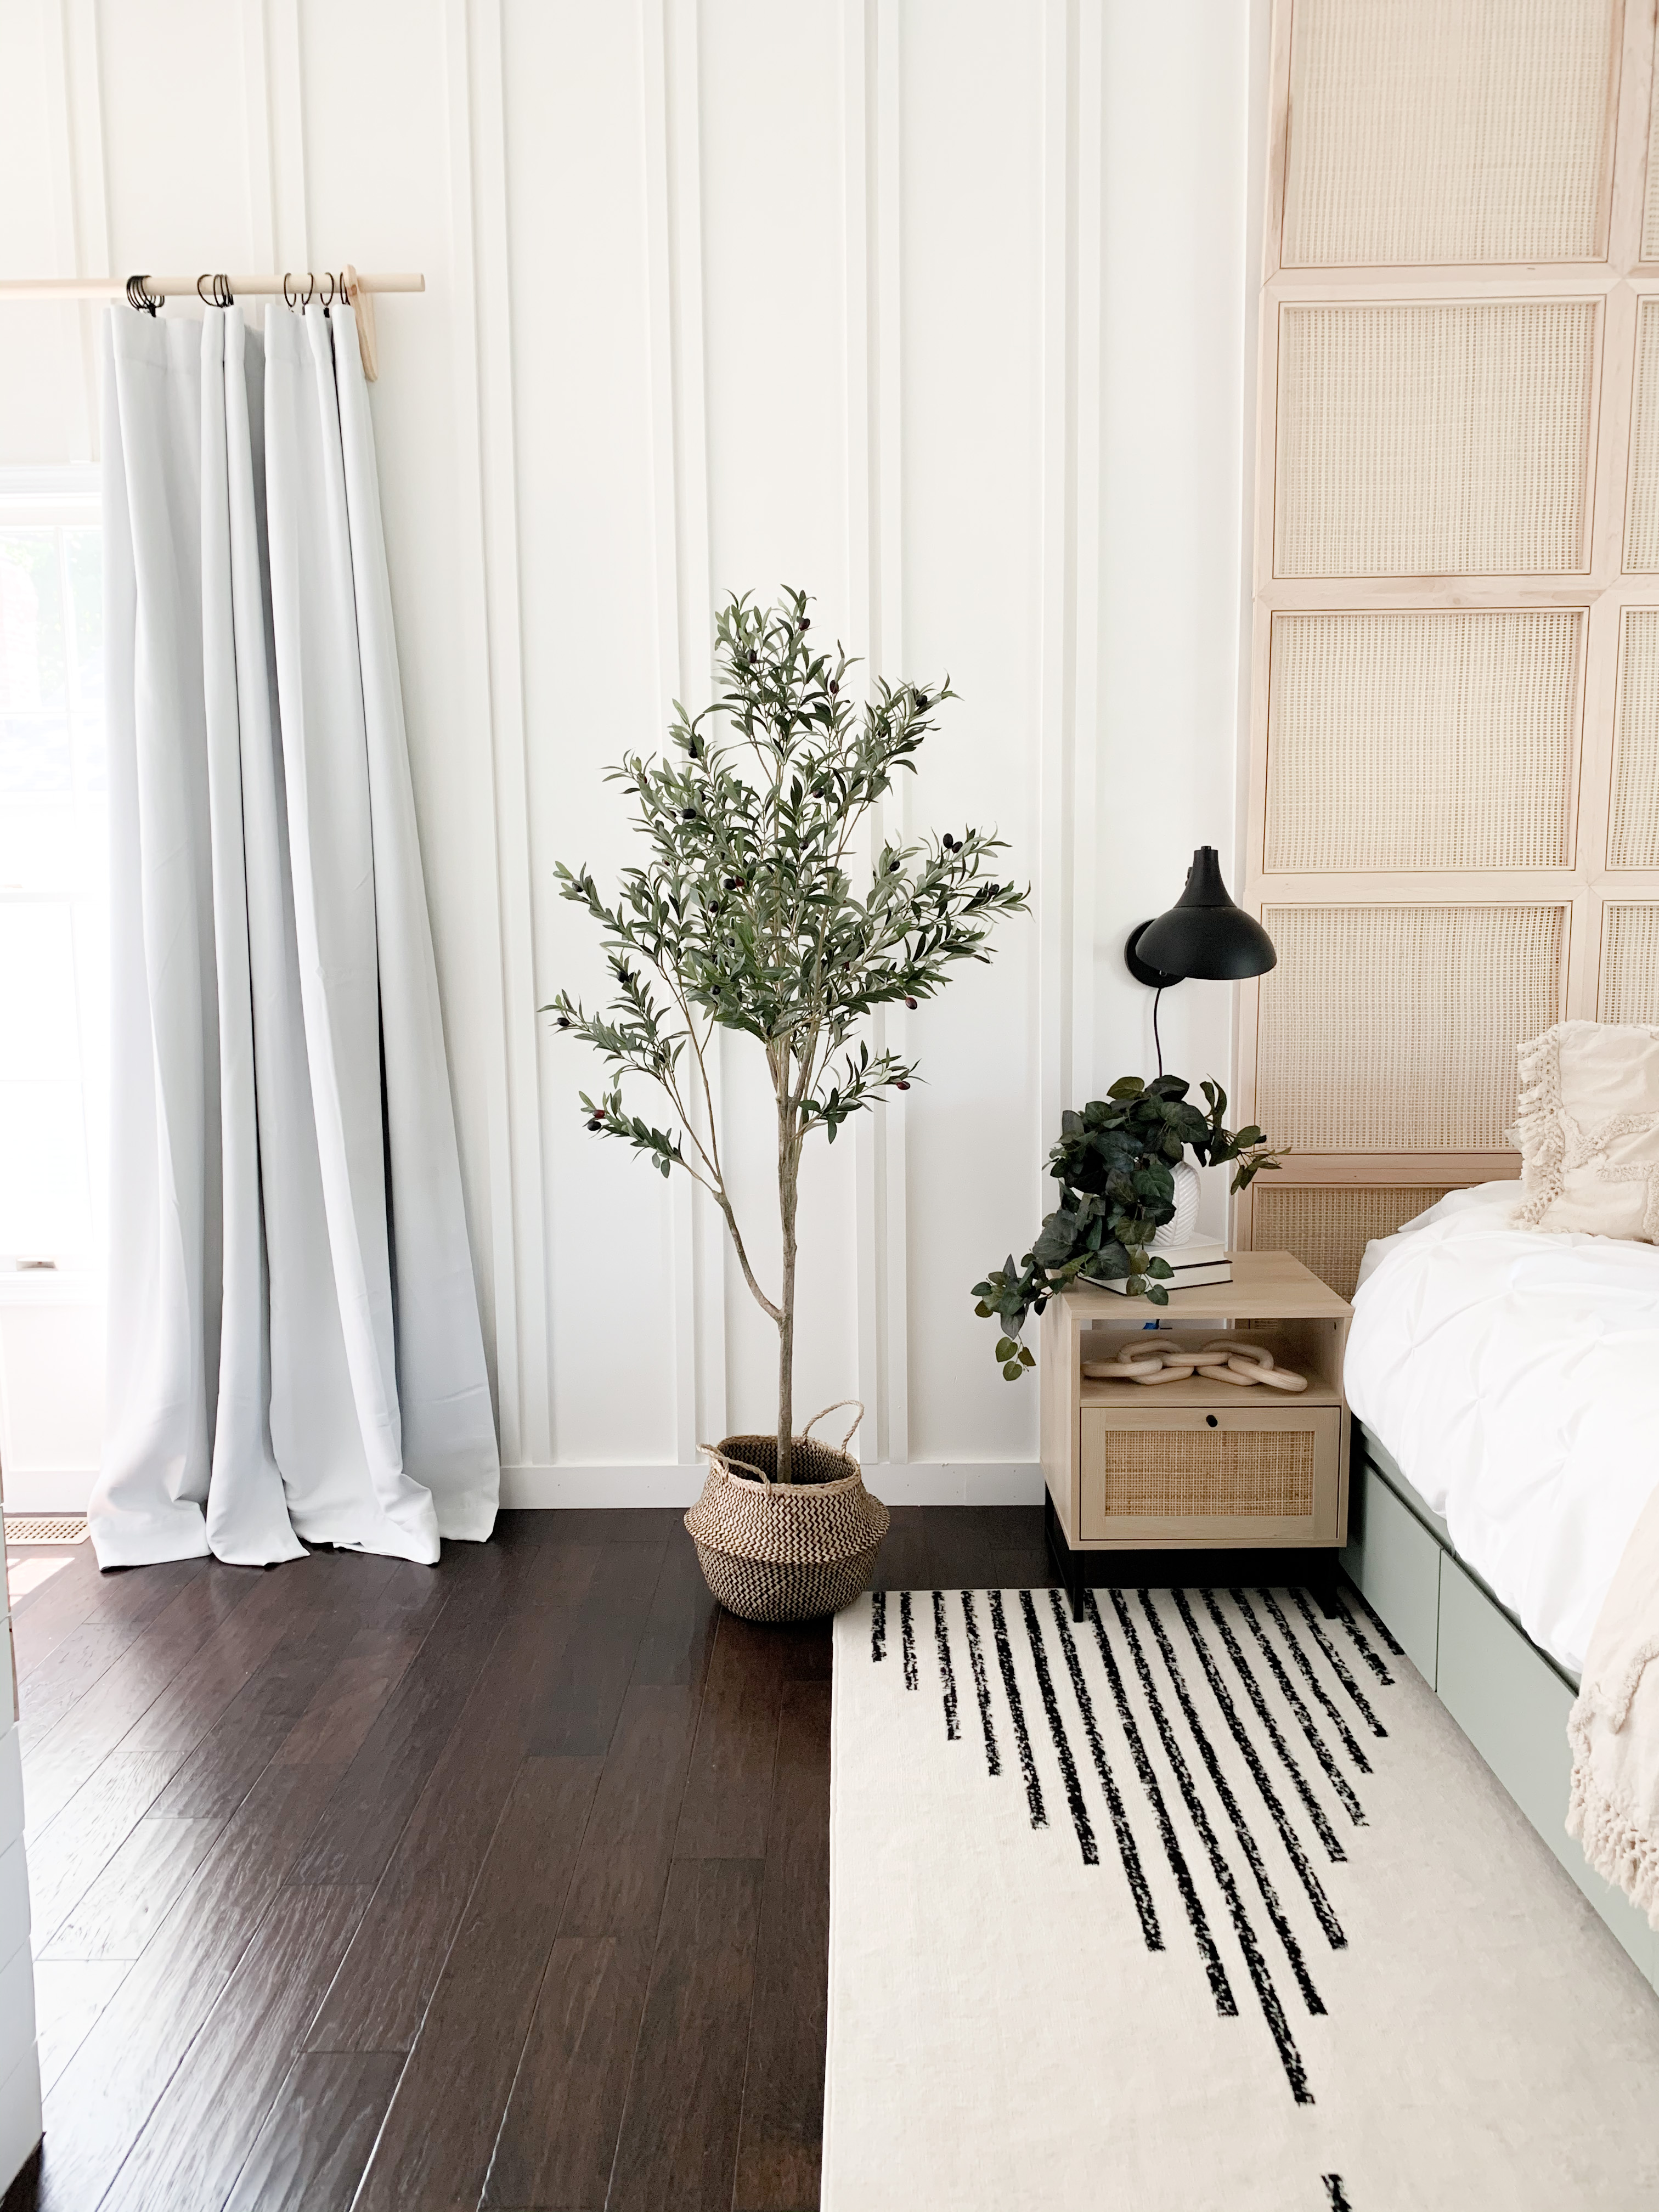
Accessories
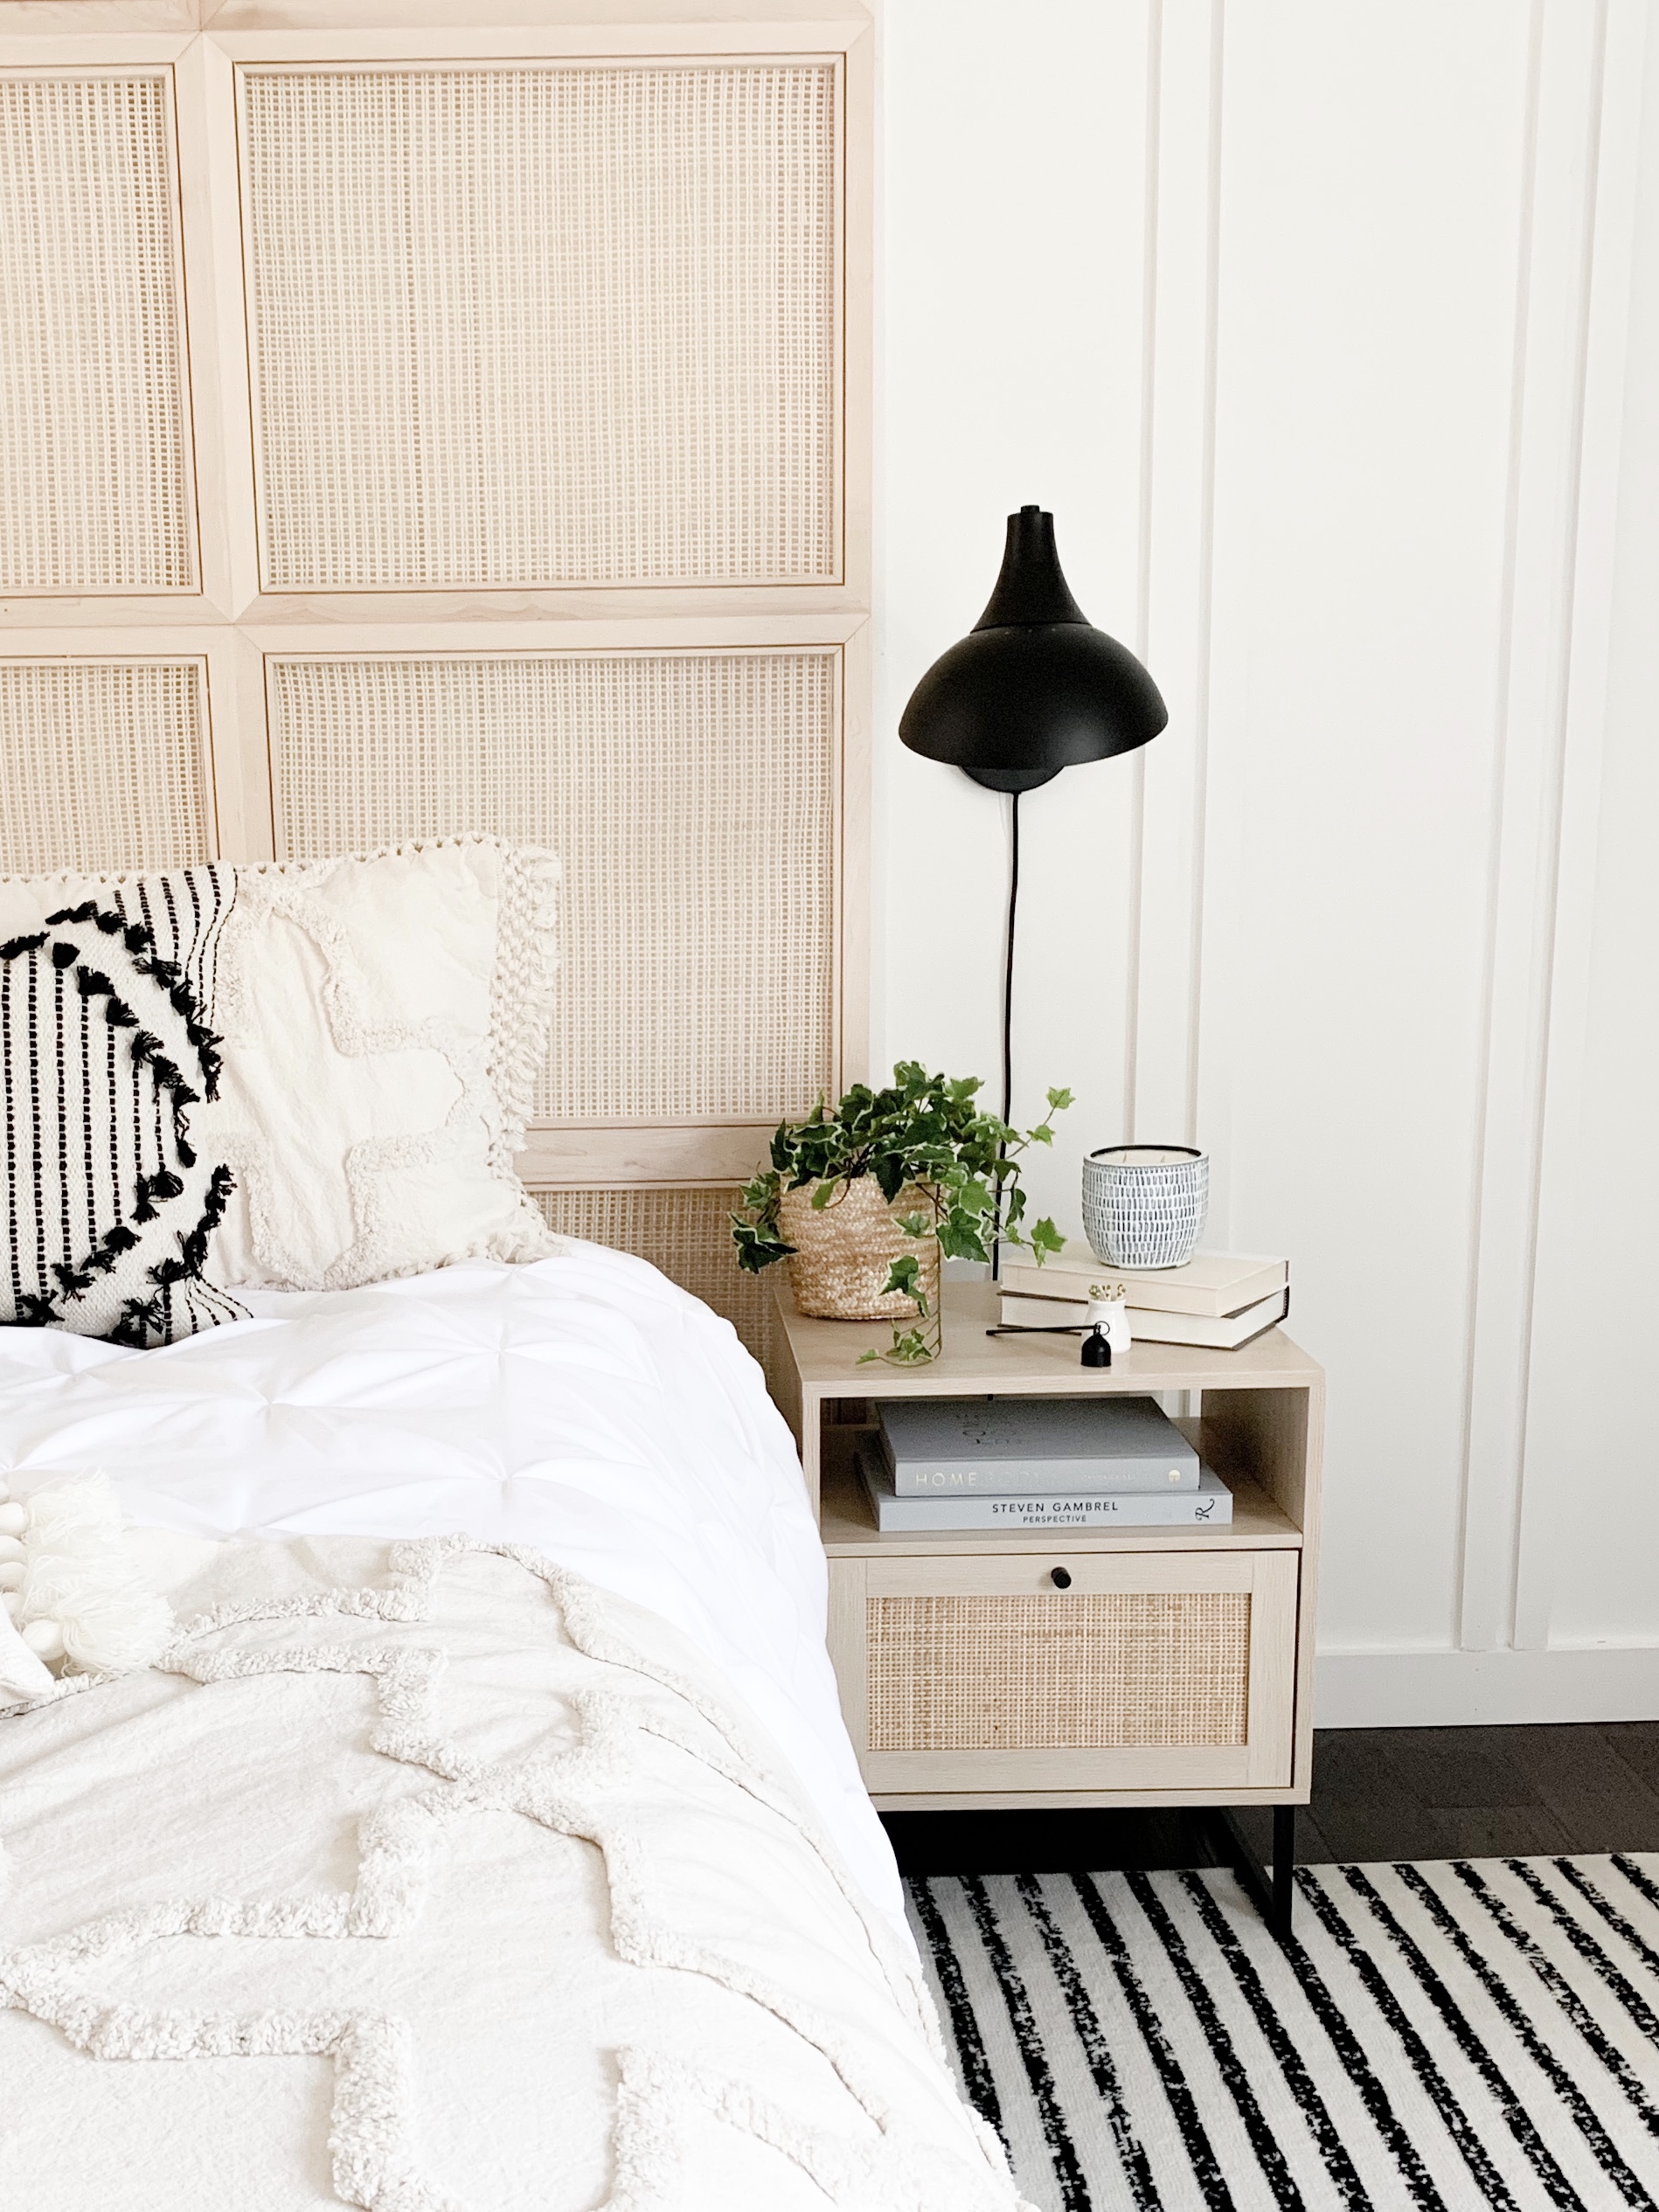
I didn’t plan on buying a ton of new accessories…. We have more than enough decor items lying around the house! That was before the start date got pushed back and the project extended. Three months later, several pieces have piled up… And I’m not mad about it! The nightstands were a random find through a friend on Instagram, and I’m so glad they ended up working out. The wood tone and cane color is such a close match!
We knew we weren’t going to be able to do hard-wiring, but we went with these plug-in lights instead of the good old puck light trick we used in our Gallery Wall.
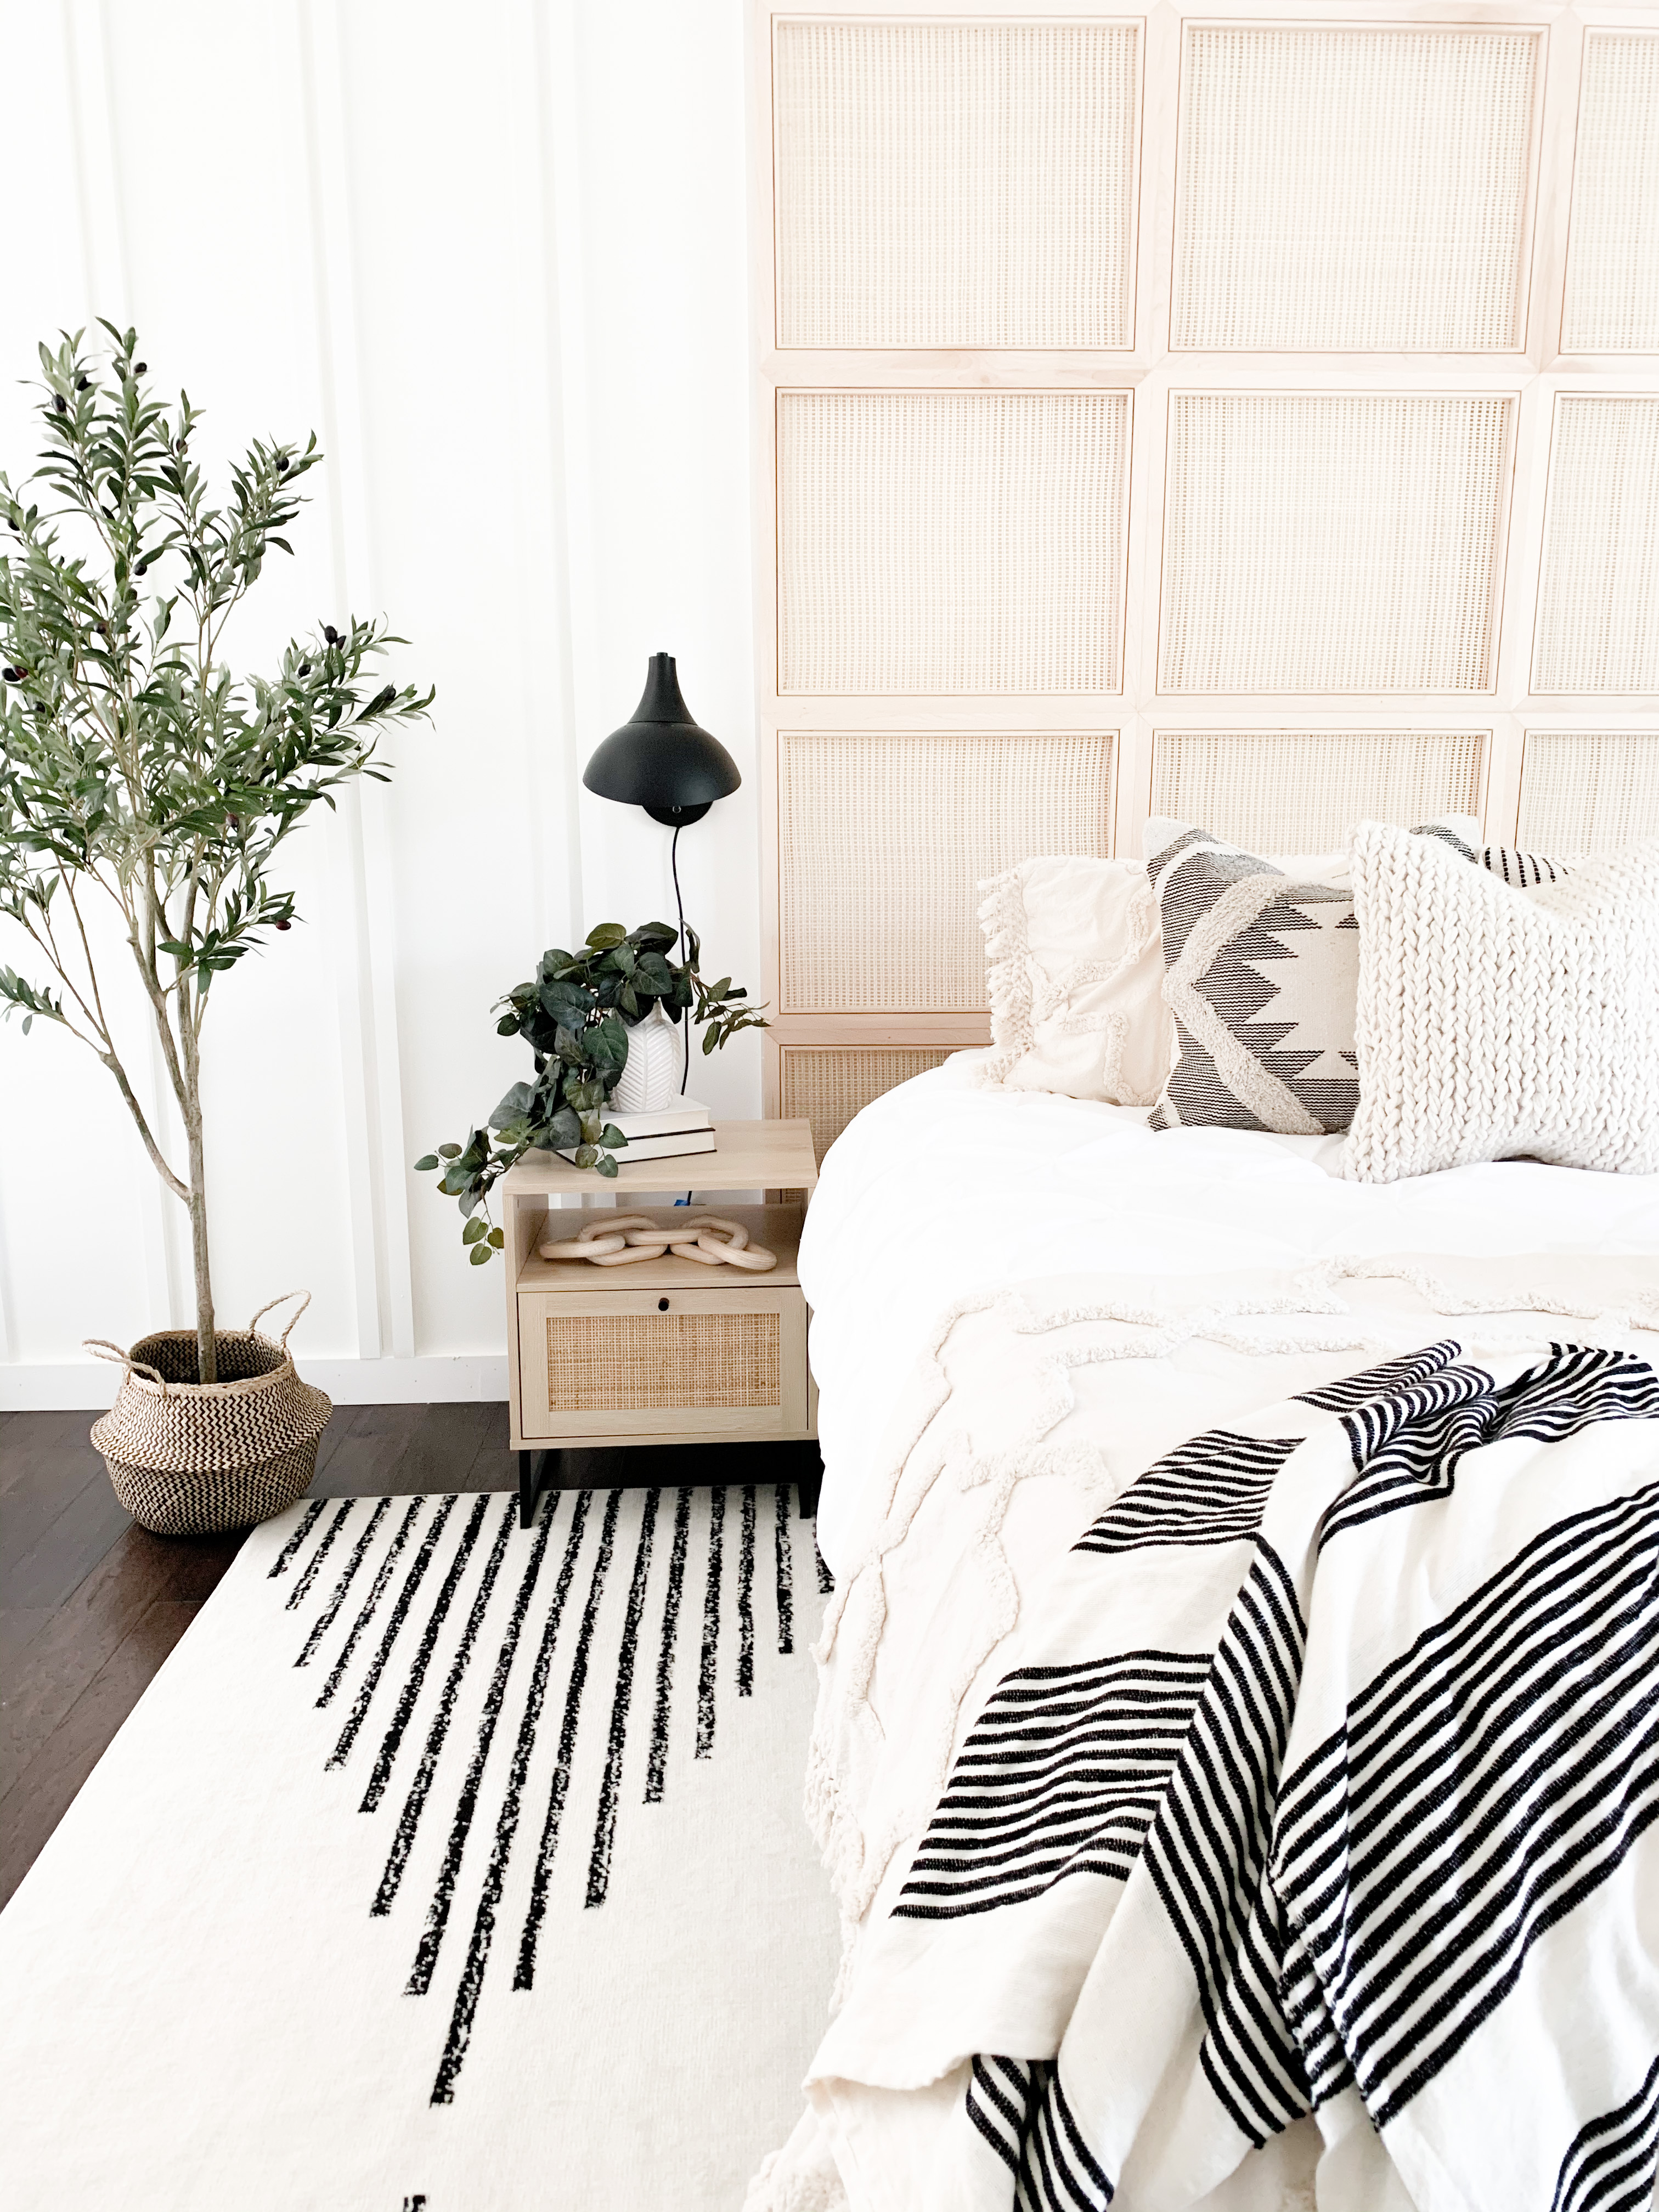
I got a couple tiny plants from IKEA, but most of the greenery in this space is from Afloral. I’ve been so impressed with the quality of what I’ve received from there so far! The plants, especially the hanging ones, require a ton of ‘zhuzh’-ing. Once you get it right, though, it’s right forever! Maybe someday, I’ll actually be able to take care of real plants.
On the right , I planned on decorating with a candle and accessories… A gorgeous candle, match striker, and snuffer are perfect with the stacked books! I ended up adding a small plant to round it out.
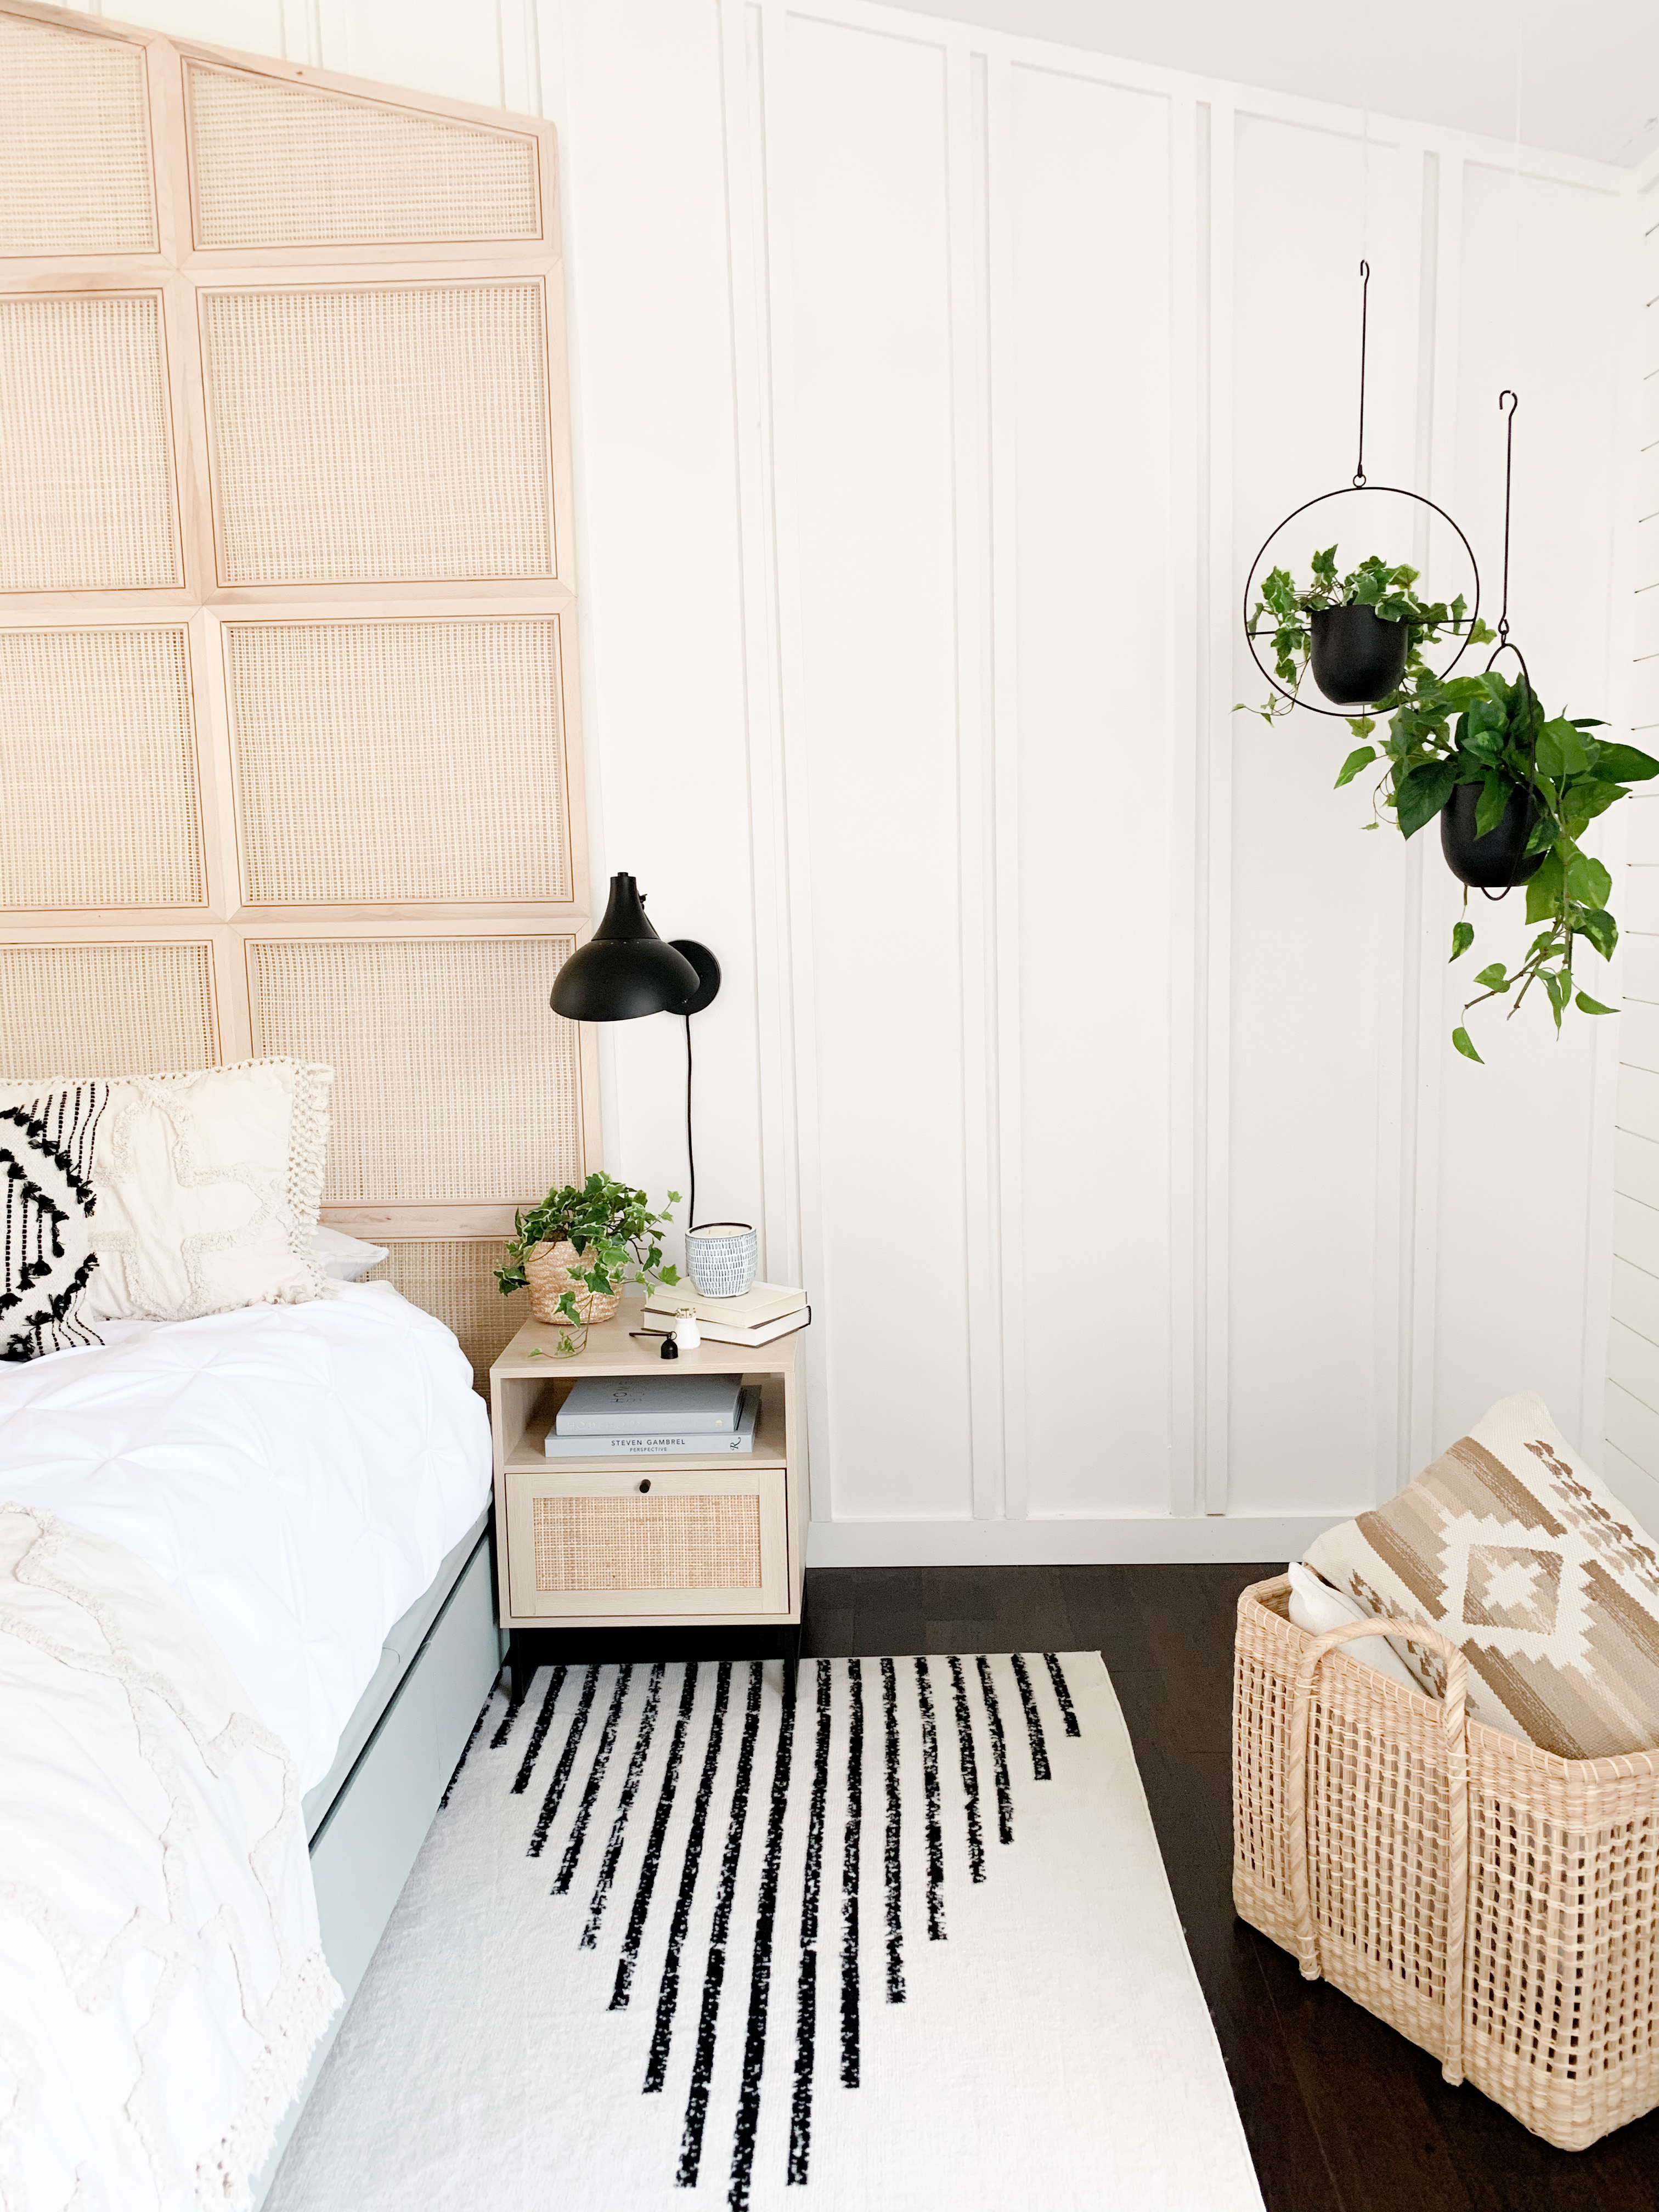
We have high hopes of maybe building a small desk in this corner of the room, but for now, I wanted to add something simple and easy to give the empty corner interest. My original plan was to hang lights from the ceiling over the nightstands. When that fell through, I decided that hanging planters would achieve that look I loved. I fell in love with these modern black hanging planters!
PS. Hanging the Headboard and Picture Ledges
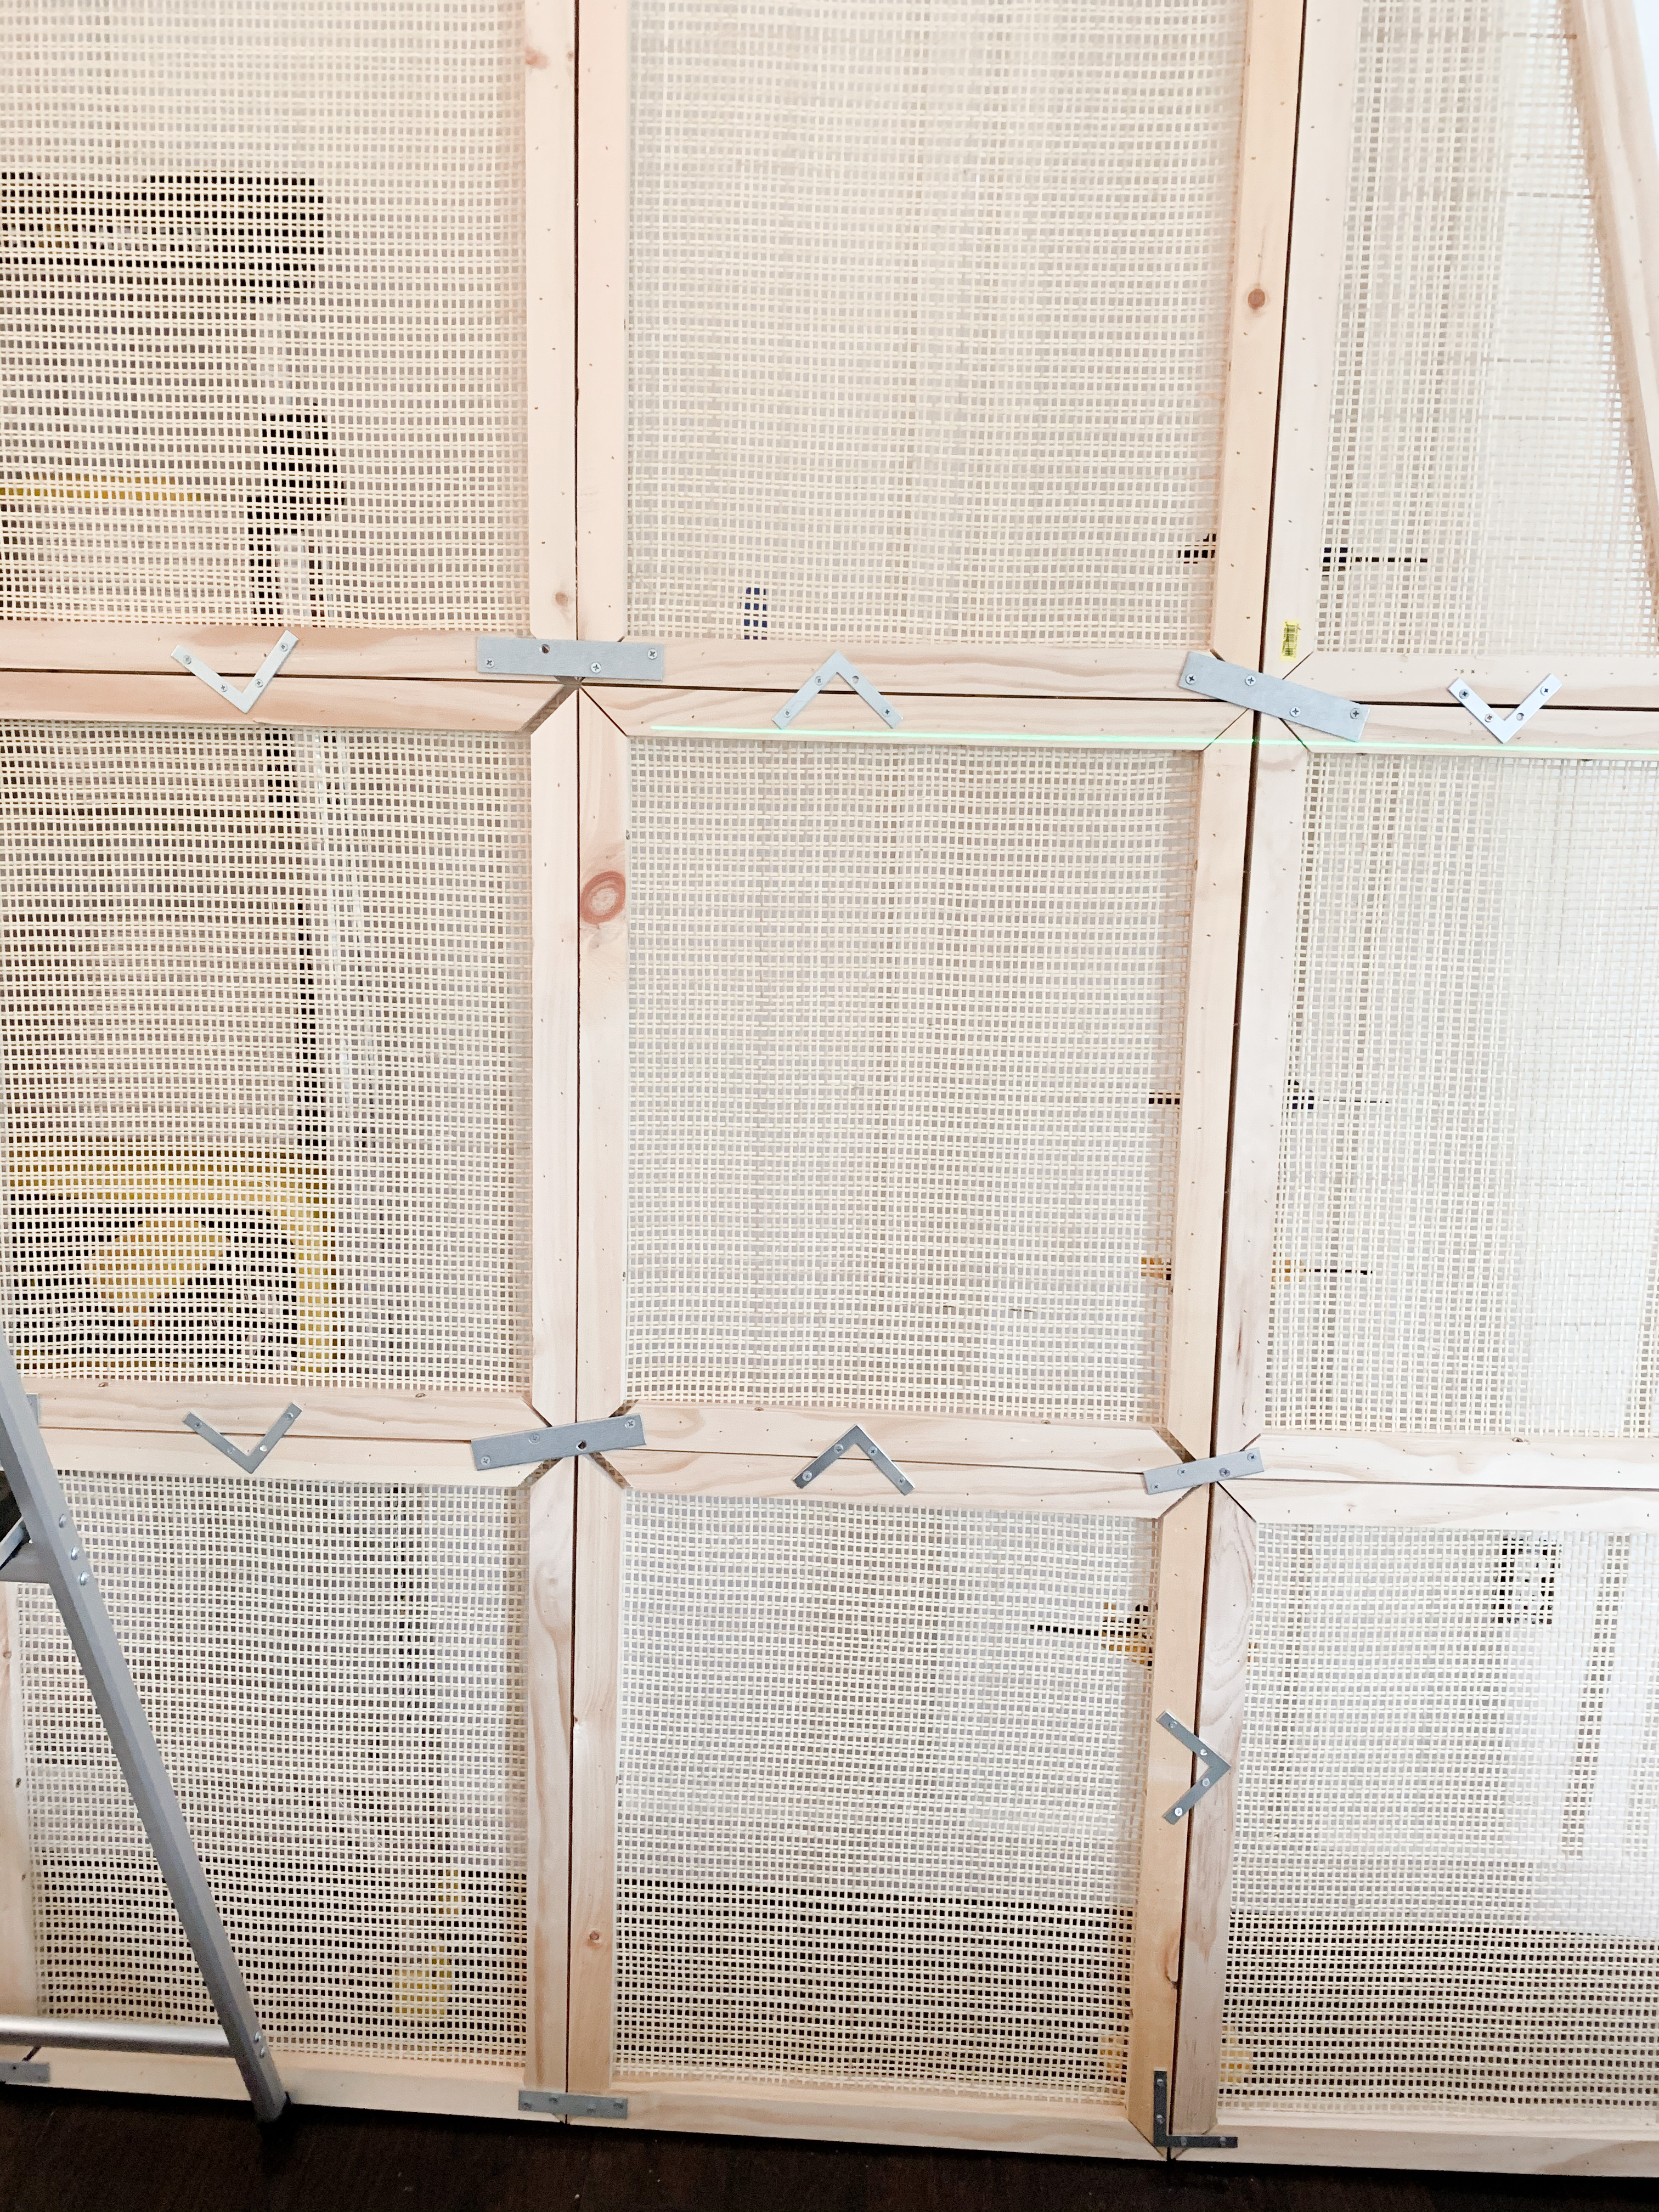
Since I missed my week 7 updates and have been sprinting to the finish line, I wanted to circle back to how we actually got the headboard onto the wall. The skinny board and batten pattern complicated things a bit. Anything heavy should be screwed into a stud, so we used horizontal 2×4’s in between the board and batten to securely anchor. Then we were able to screw directly into those 2×4’s. The mending plates we used between all the “blocks’ is also crucial. I know this pictures aren’t pretty, but they’re a good reminder for me that we did all we could to secure it.
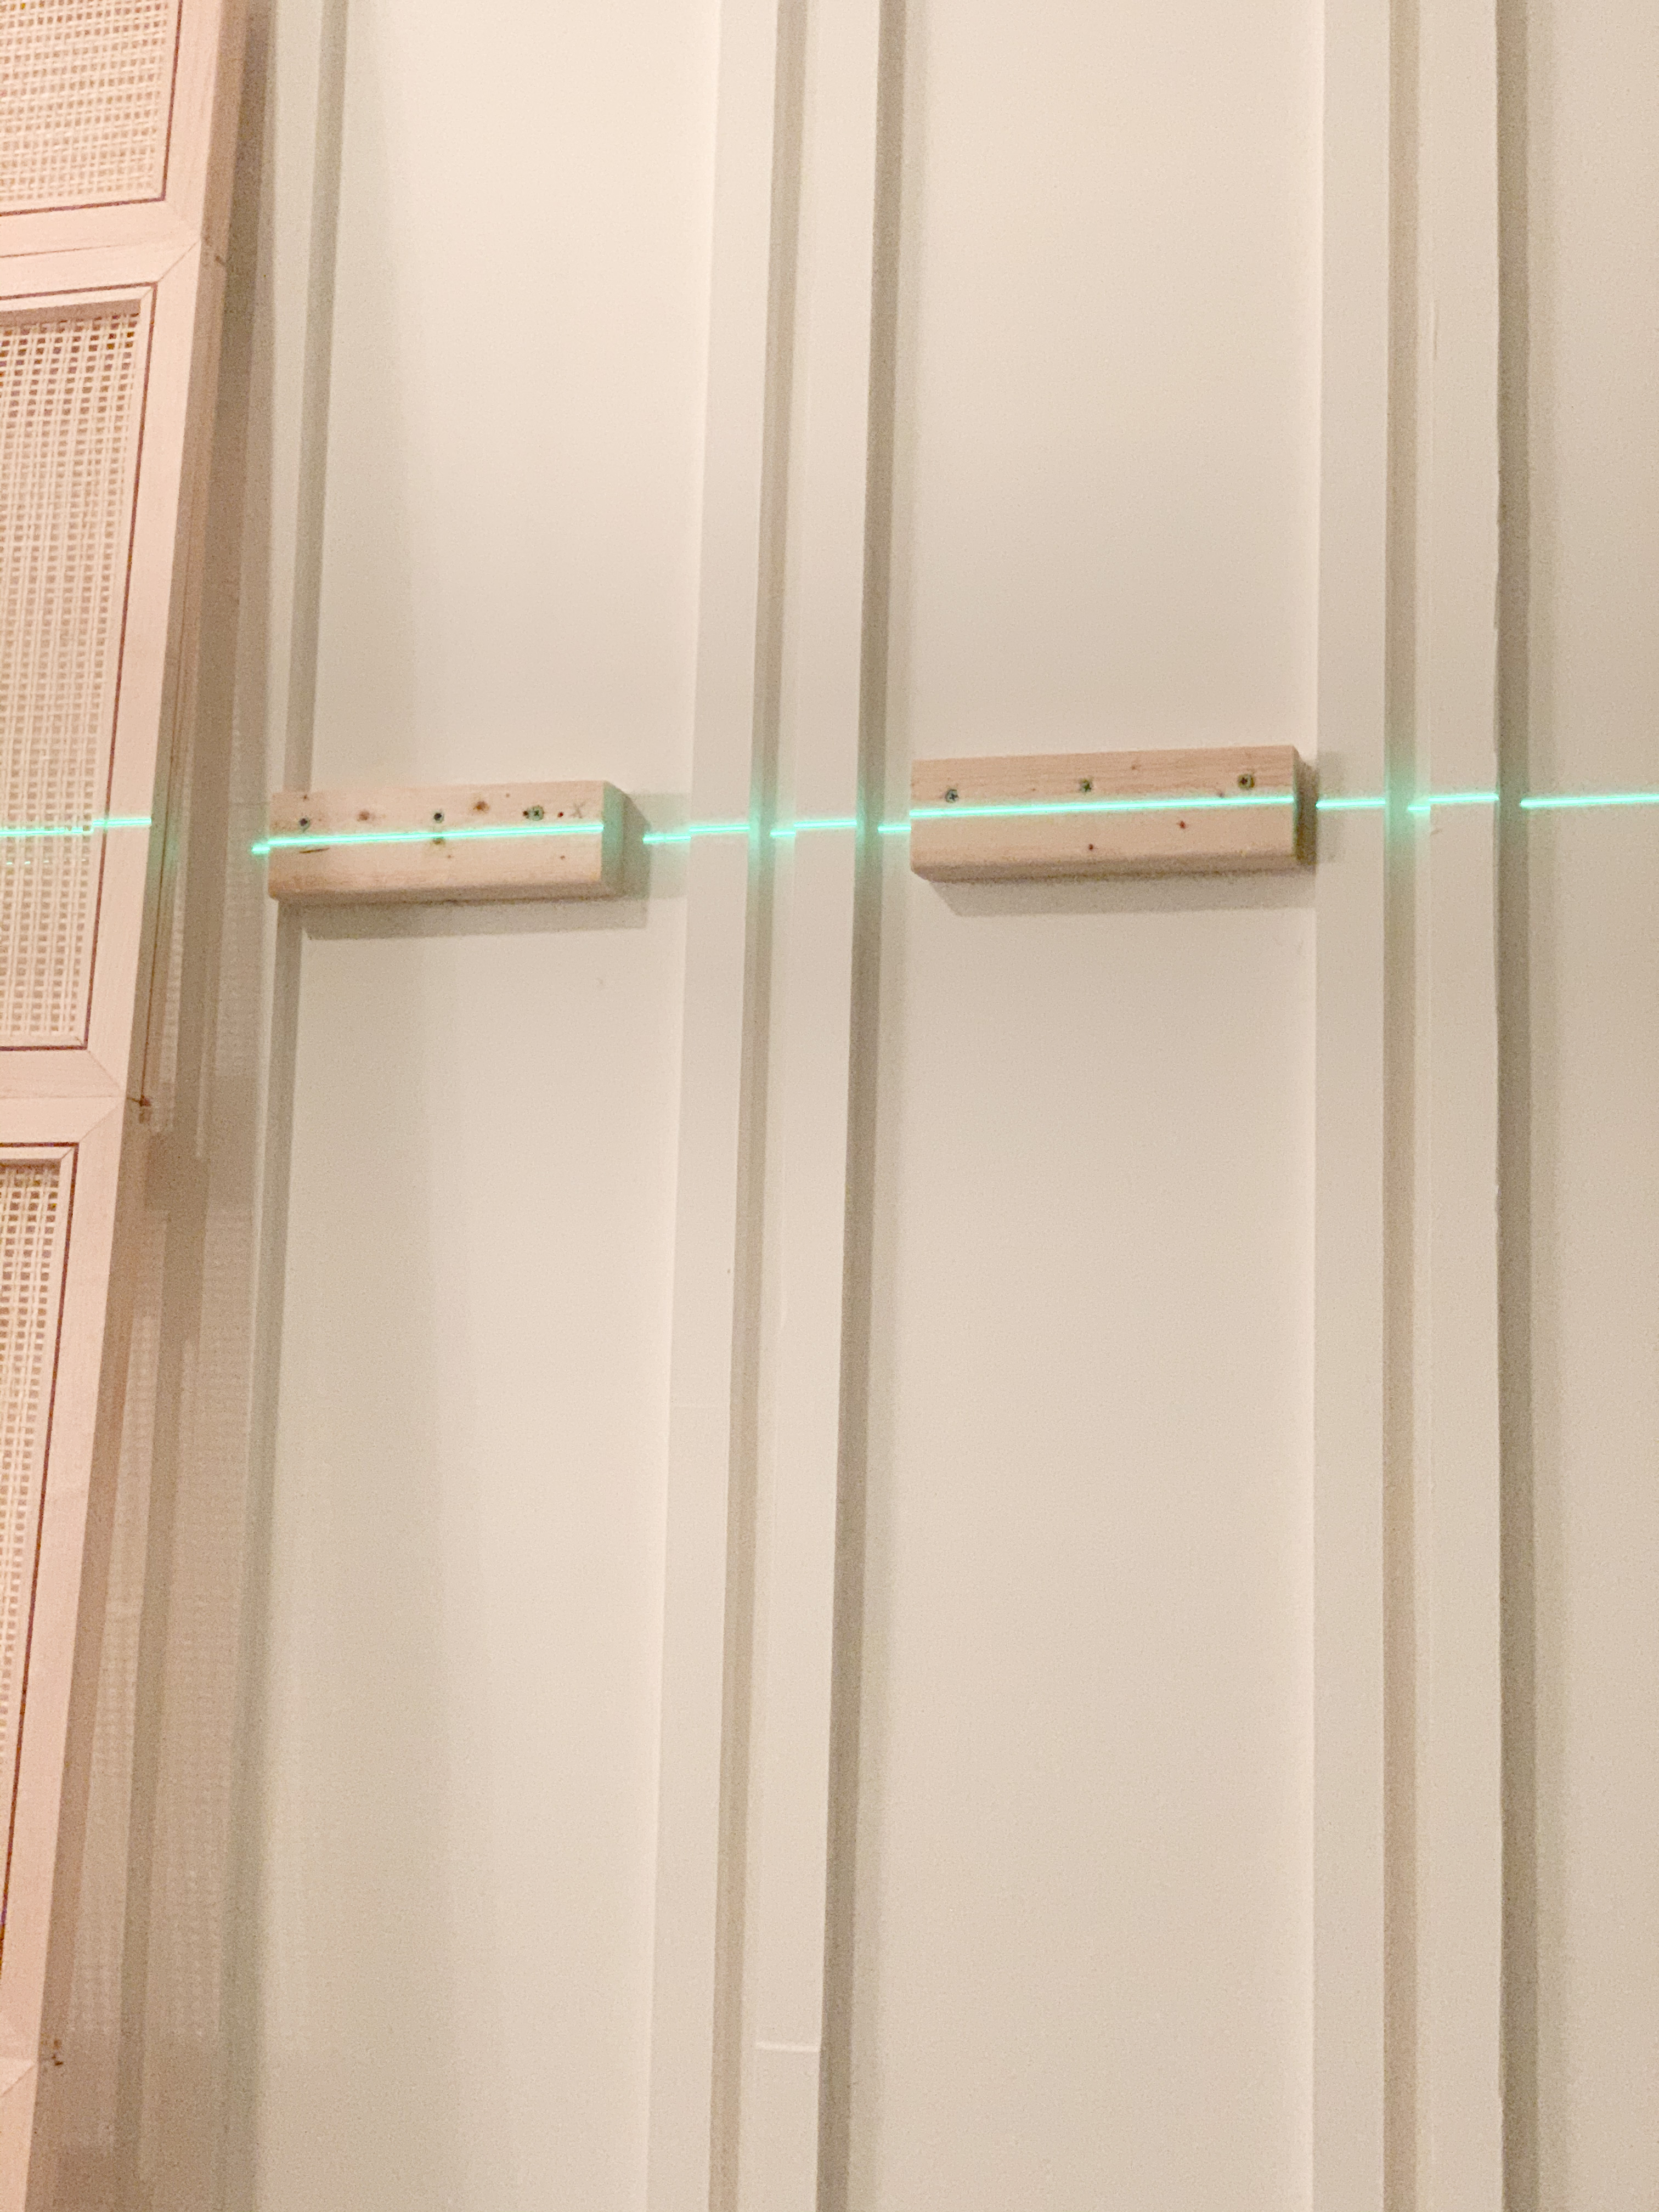
Once the 2×4’s were installed, we used this picture hanging system from Lowes that uses a French cleat. I can’t lie, I’m terrified sleeping under something so heavy. However, this cleat systems seems legit and has promised me to hold up to 150 lbs. Fingers crossed!
Post may contain affiliate links. Please reference disclosure, linked here.

It looks sooo good Annie! What a huge project – I don’t know how you got that all done so fast. It looks great, though, and everything came together so nicely. Way to go!
You’re the best, Uncle Joe! Thank you!!! I love that it seemed fast to others because it felt like forever over here haha…. I appreciate that so much and hope you guys had an awesome weekend!
congrats on finishing up the bedroom in the style you love!! I am still crazy about those screens you made yourself and they work so well with the white shiplaps. The ikea dressers are fun and offer loads of storage. I like the rug too and the fringes on that comforter …. so jealous!!
I’m so sorry I’m just seeing this! So incredibly nice of you to say, Tim! Thank you!! I just got to see your finished space and WOW!!! My mind is literally blown! You are SO talented!!
This has got to be one of my fave rooms from this ORC. I freaking love everything in here. You absolutely smashed it!
This is the nicest comment ever, Lizzie!! I can’t even tell you how much that means to me!! Thank you!!
I LOVE it!!! The headboard, bedding, and bed color are STUNNING!!!
Thank you so so much, Jessica!! I truly appreciate that!!
Annie my friend you and Joe have outdone yourselves! That cane headboard is a stunner and that photo ledge is styled so beautifully! I’m getting modern farmhouse with a splash of boho! Congrats on completing this crazy but inspiring event! We made it!
I can’t believe I’m just now seeing this! You’re the best, Aminah! Thank you!! I can’t get enough of your room and still think it’s the coolest thing that we incorporated so many of the same elements!
I hope you are incredibly proud of this gorgeous room! The color palate is so calming
Thank you so so much, Lindsey!! It’s been so nice not having to sleep in a construction zone, which I know you understand haha… your bedroom looks incredible!!
Like!! Thank you for publishing this awesome article.
I appreciate that so so much!! Thank you!!
Omg I’m in love with this room! You did an amazing job! Did you make the bedframe yourself as well? I was looking for details on it but didn’t see any.
This is seriously the nicest comment ever! Thank you so so much!! I did! This post has some info about how we hung it at the end, but the blog post right before this one (ORC Week 6) has all the details…. Let me know if you every have other questions!