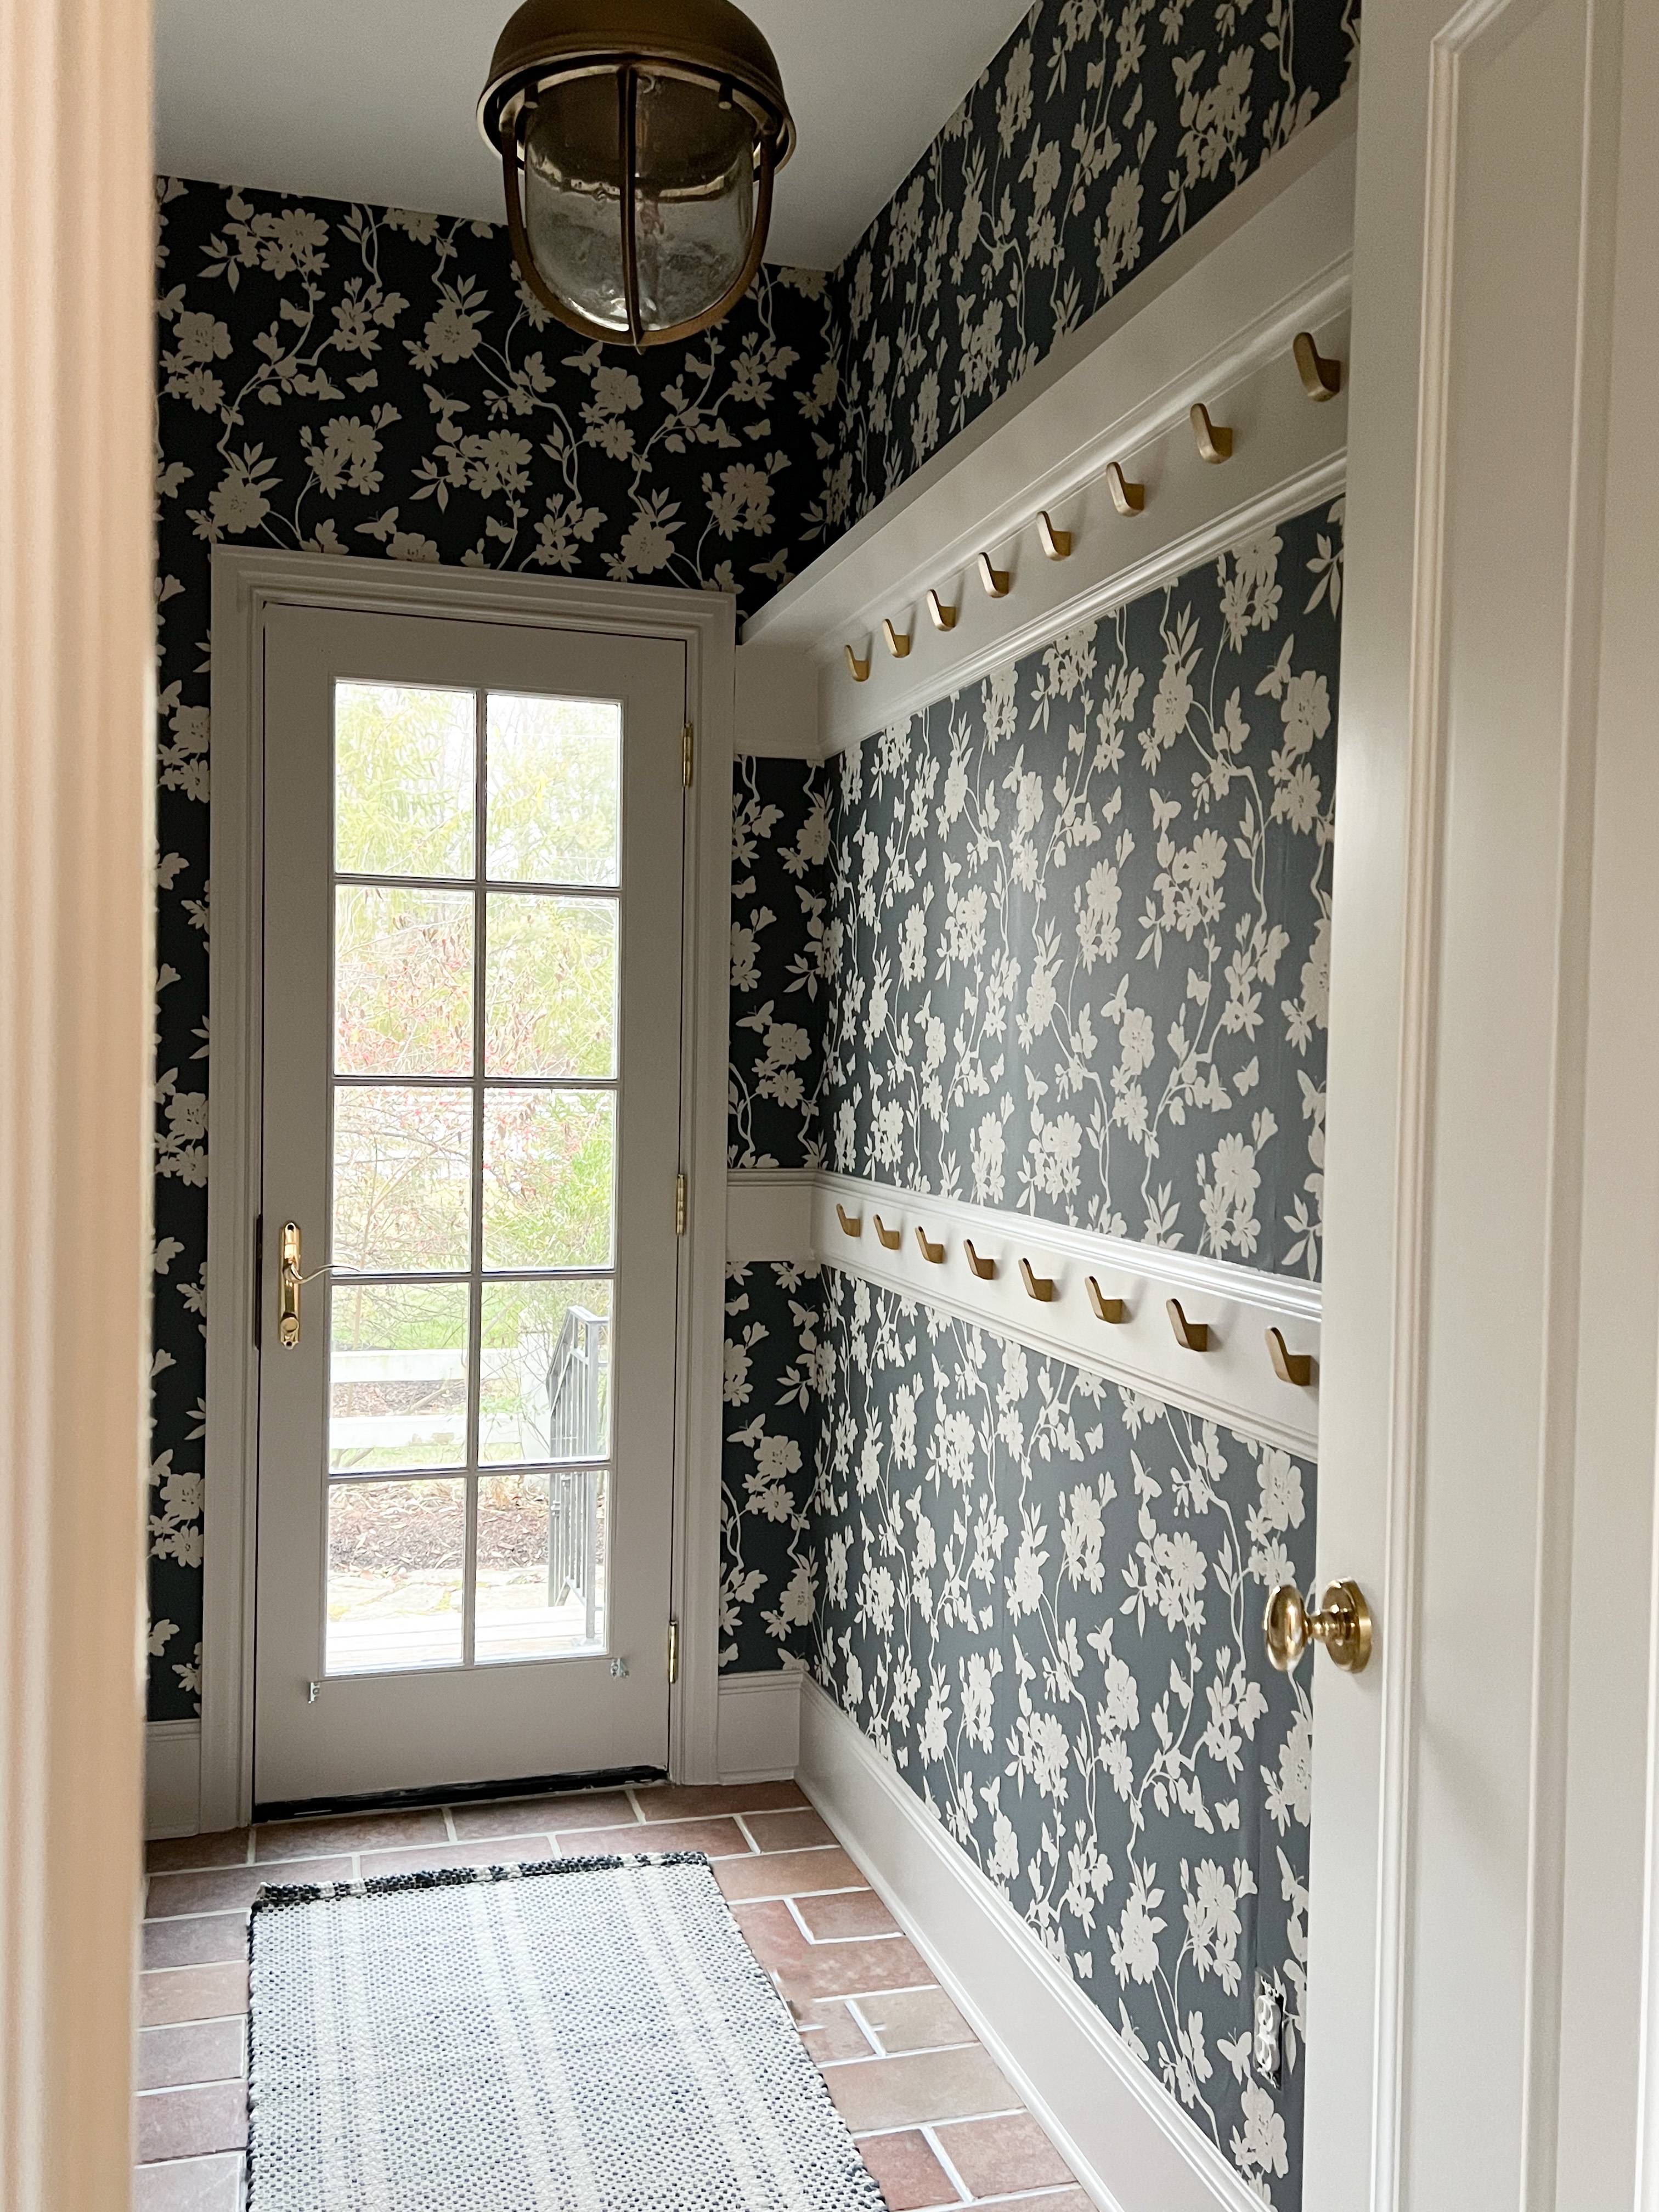
I’ve heard that wallpaper installation is a beginner-friendly DIY, so I’m not sure why I’ve waited so long to give it a try, but a mudroom makeover is a fun space to test the waters!
I honestly think I’m a little scarred from having to remove stubborn wallpaper in previous homes… Do you ever fully recover from that?
Install Wallpaper: Prep
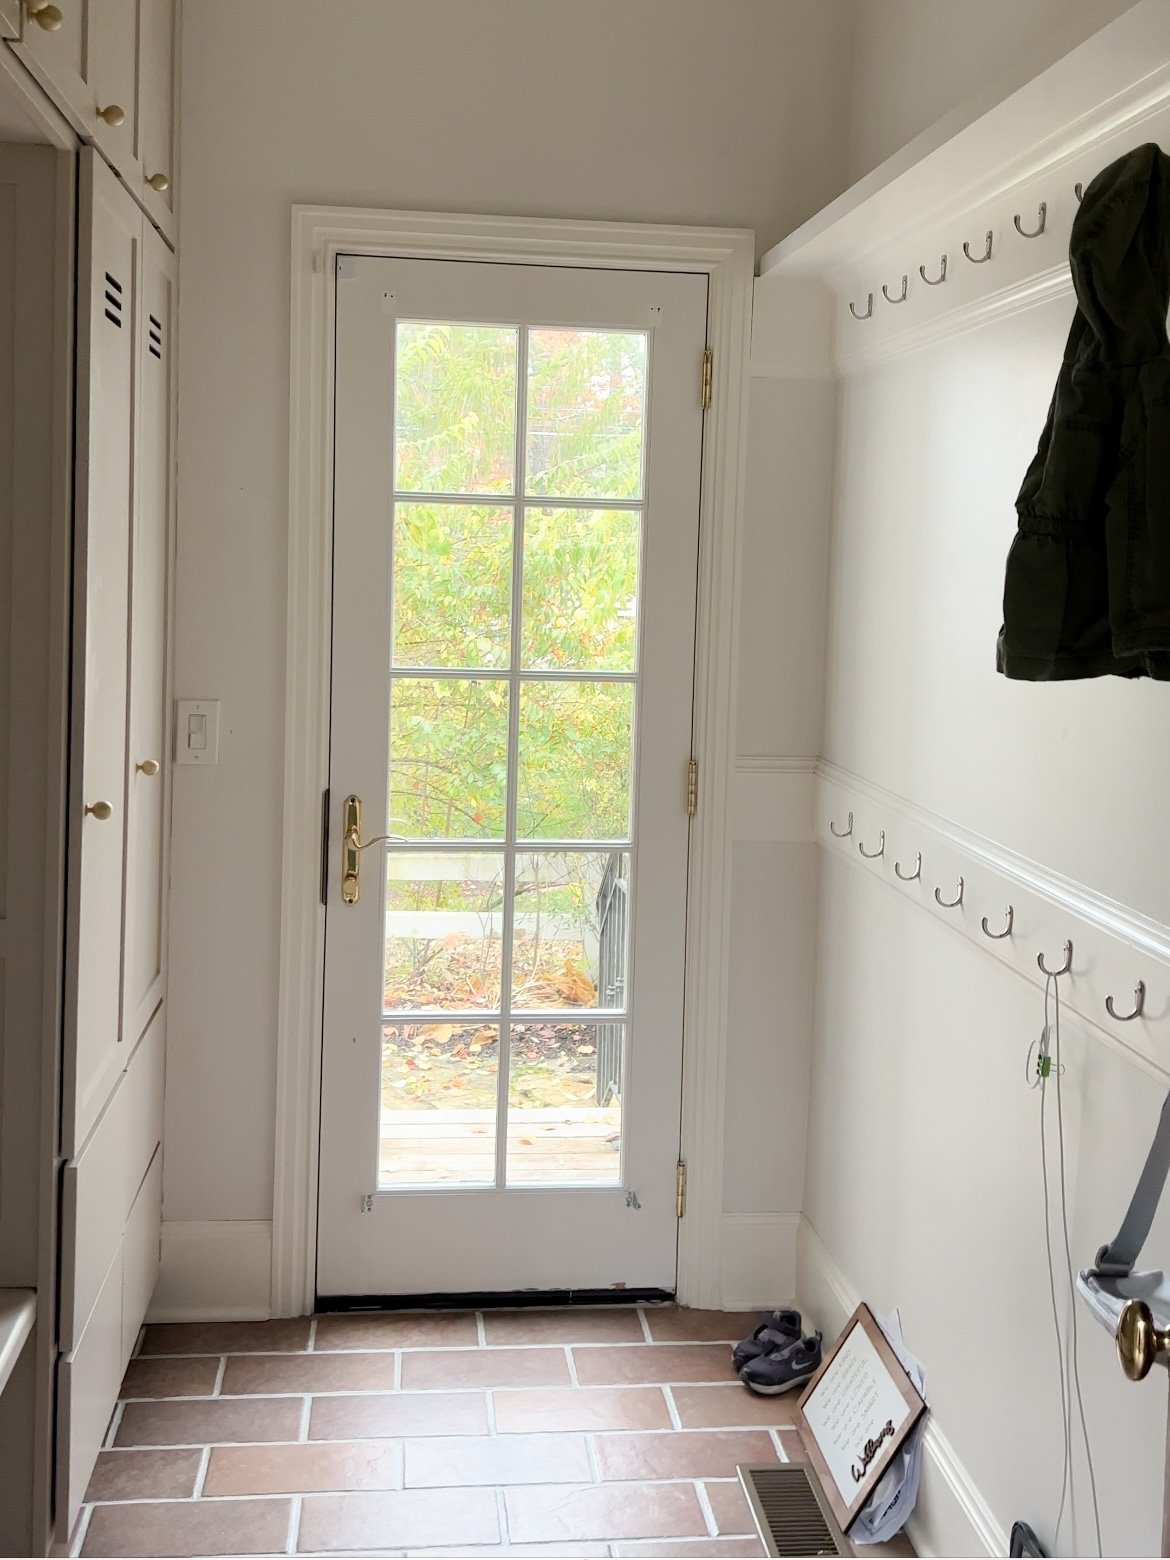
I decided that a mudroom makeover would be the perfect time to face my fear of wallpaper. At least it would be a small area to fix if I jacked it up.
Per usual, to prepare myself, I researched a ton, and this website was really helpful.
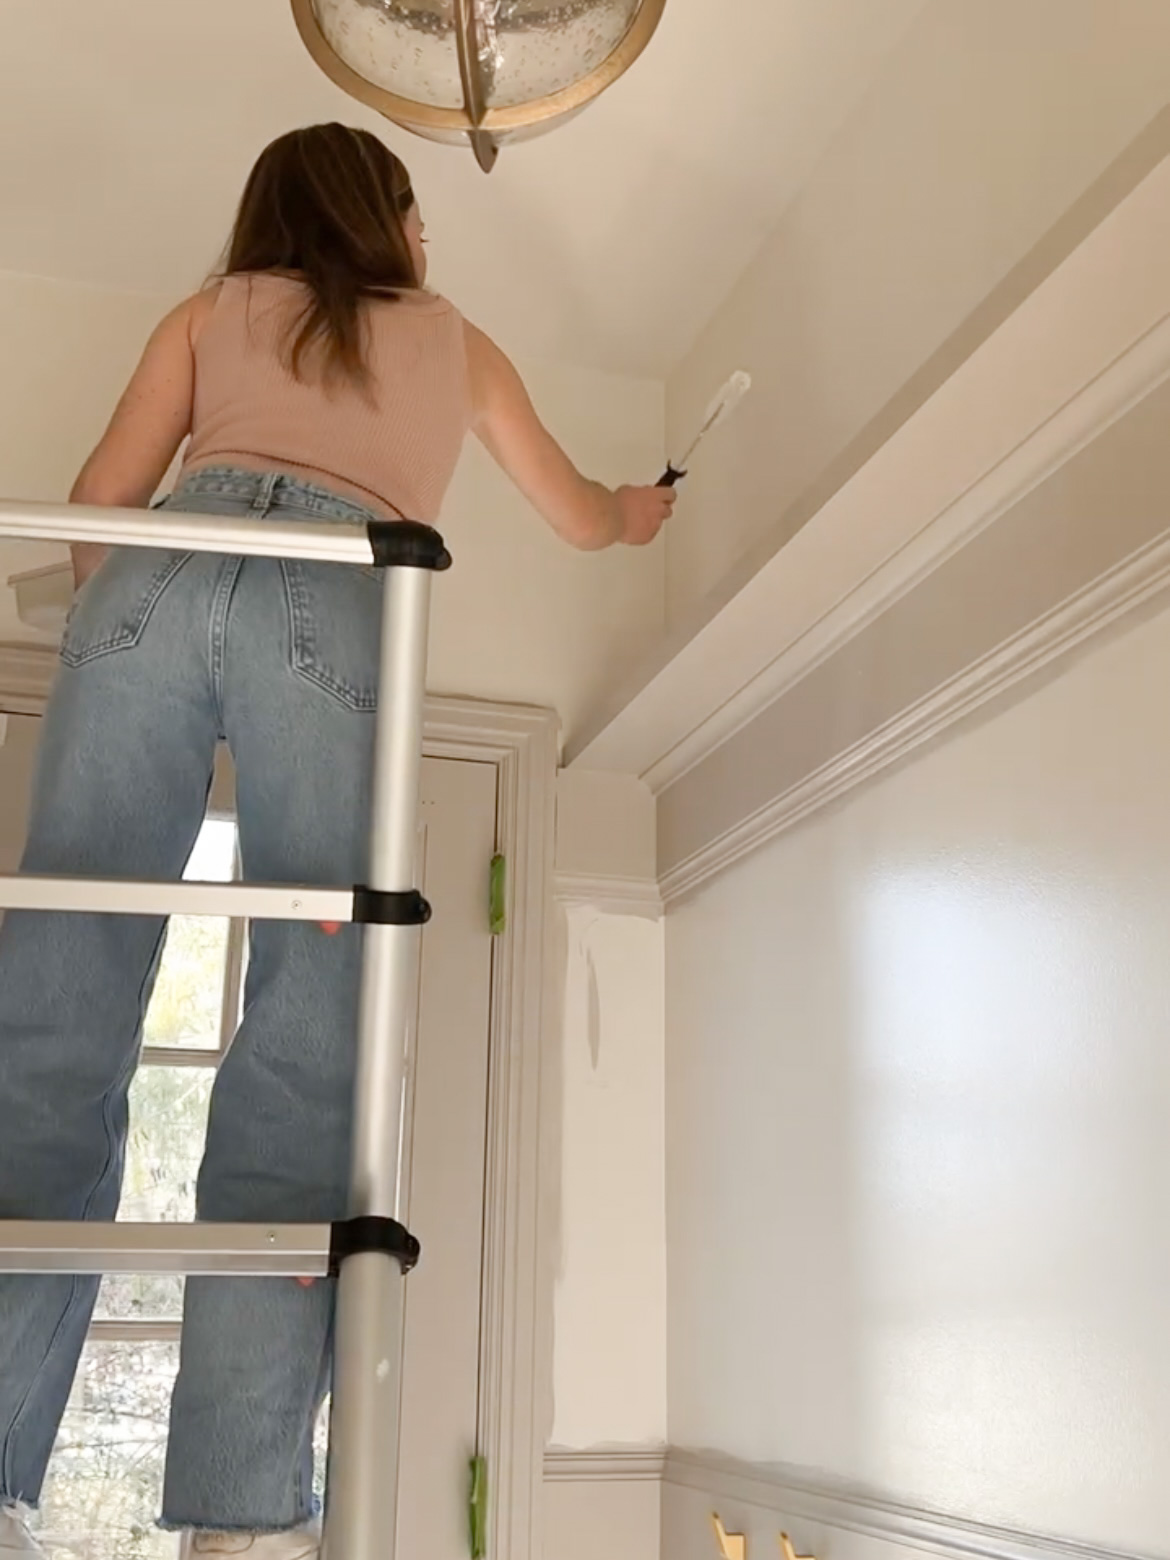
I read that priming the walls can sometimes make it easier to remove in the future, so that’s what I started with. I used the Roman Rx-35 Primer.
Anthropology Wallpaper
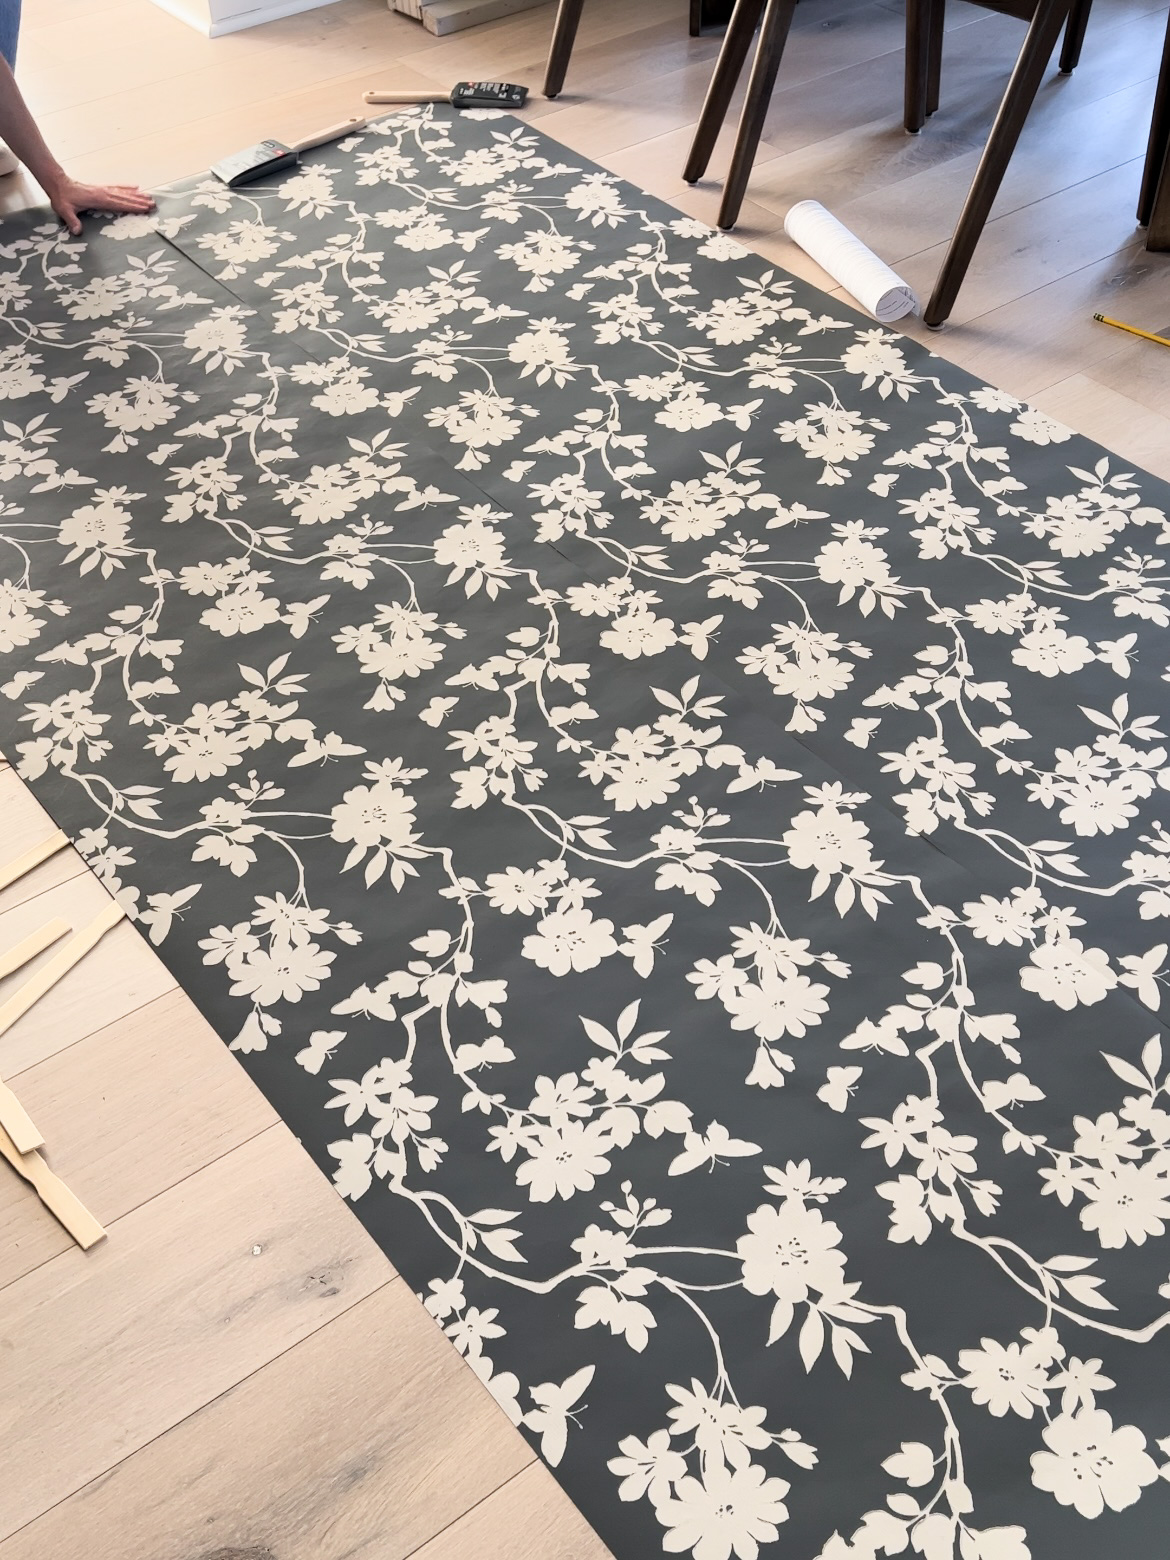
I chose this gray wallpaper, but before you buy it, read the rest of this post to see the issues I had with the printed pattern.
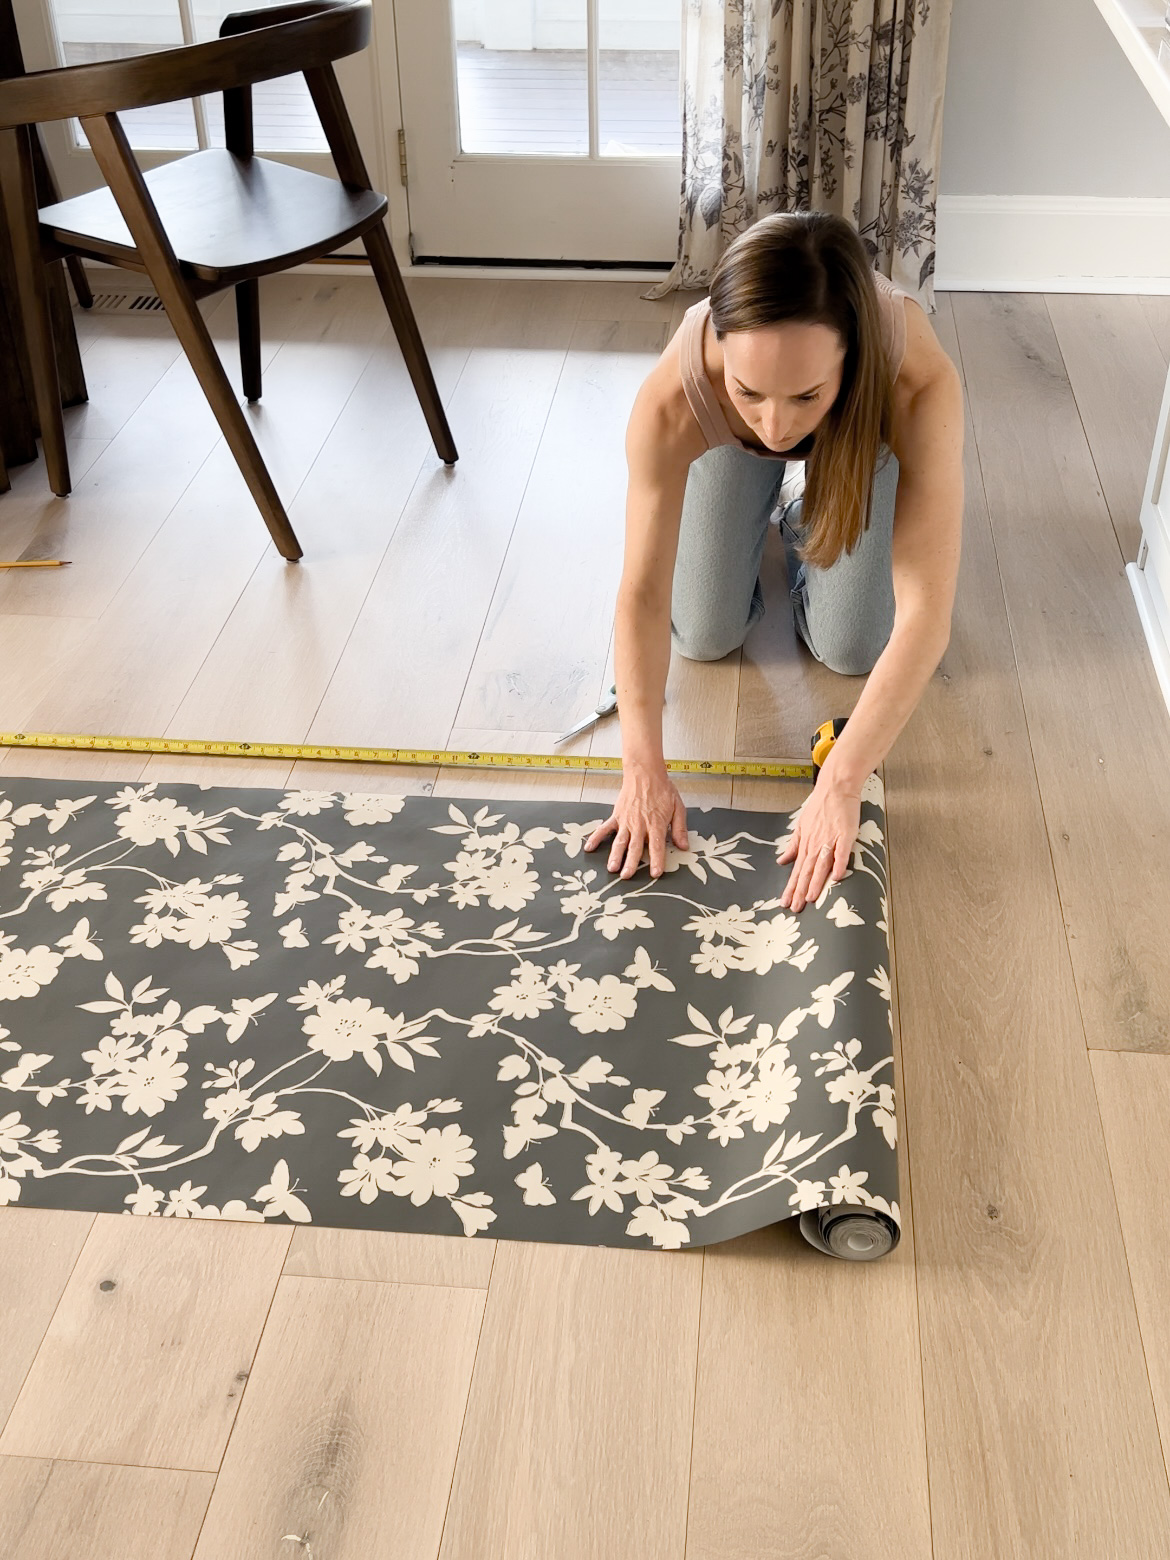
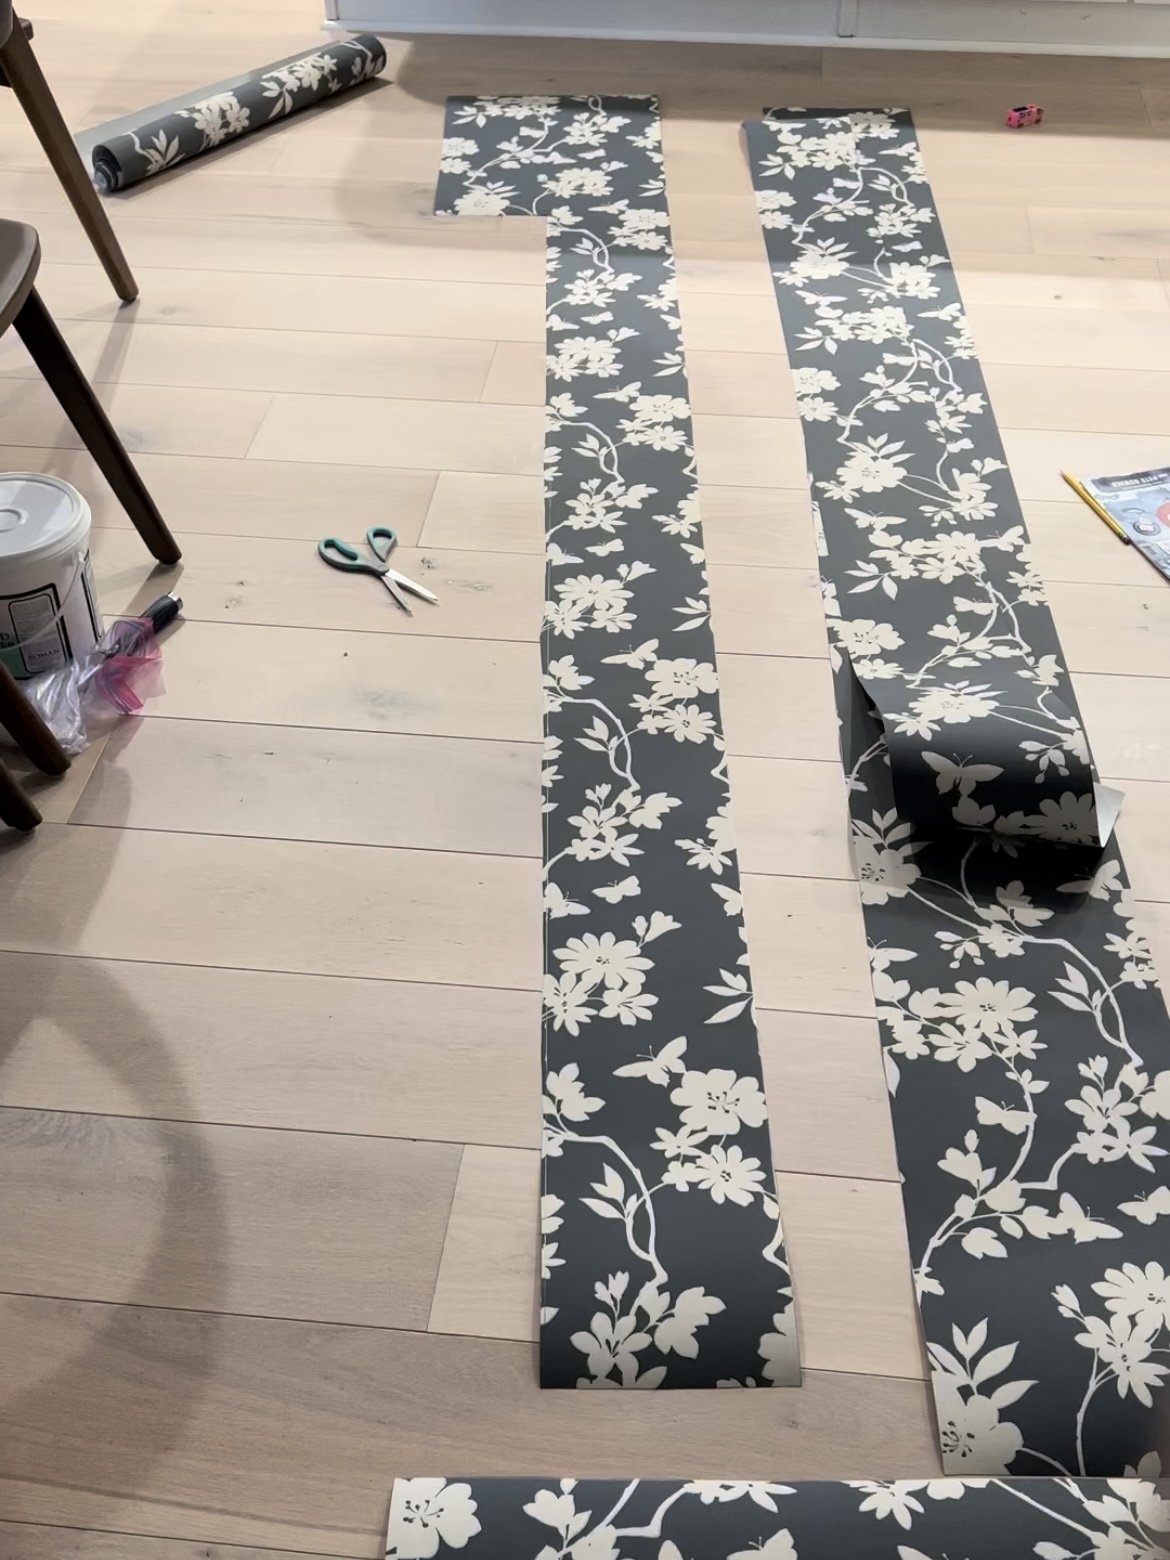
The next step was measuring the wall and laying out the paper to make sure the pattern lined up.
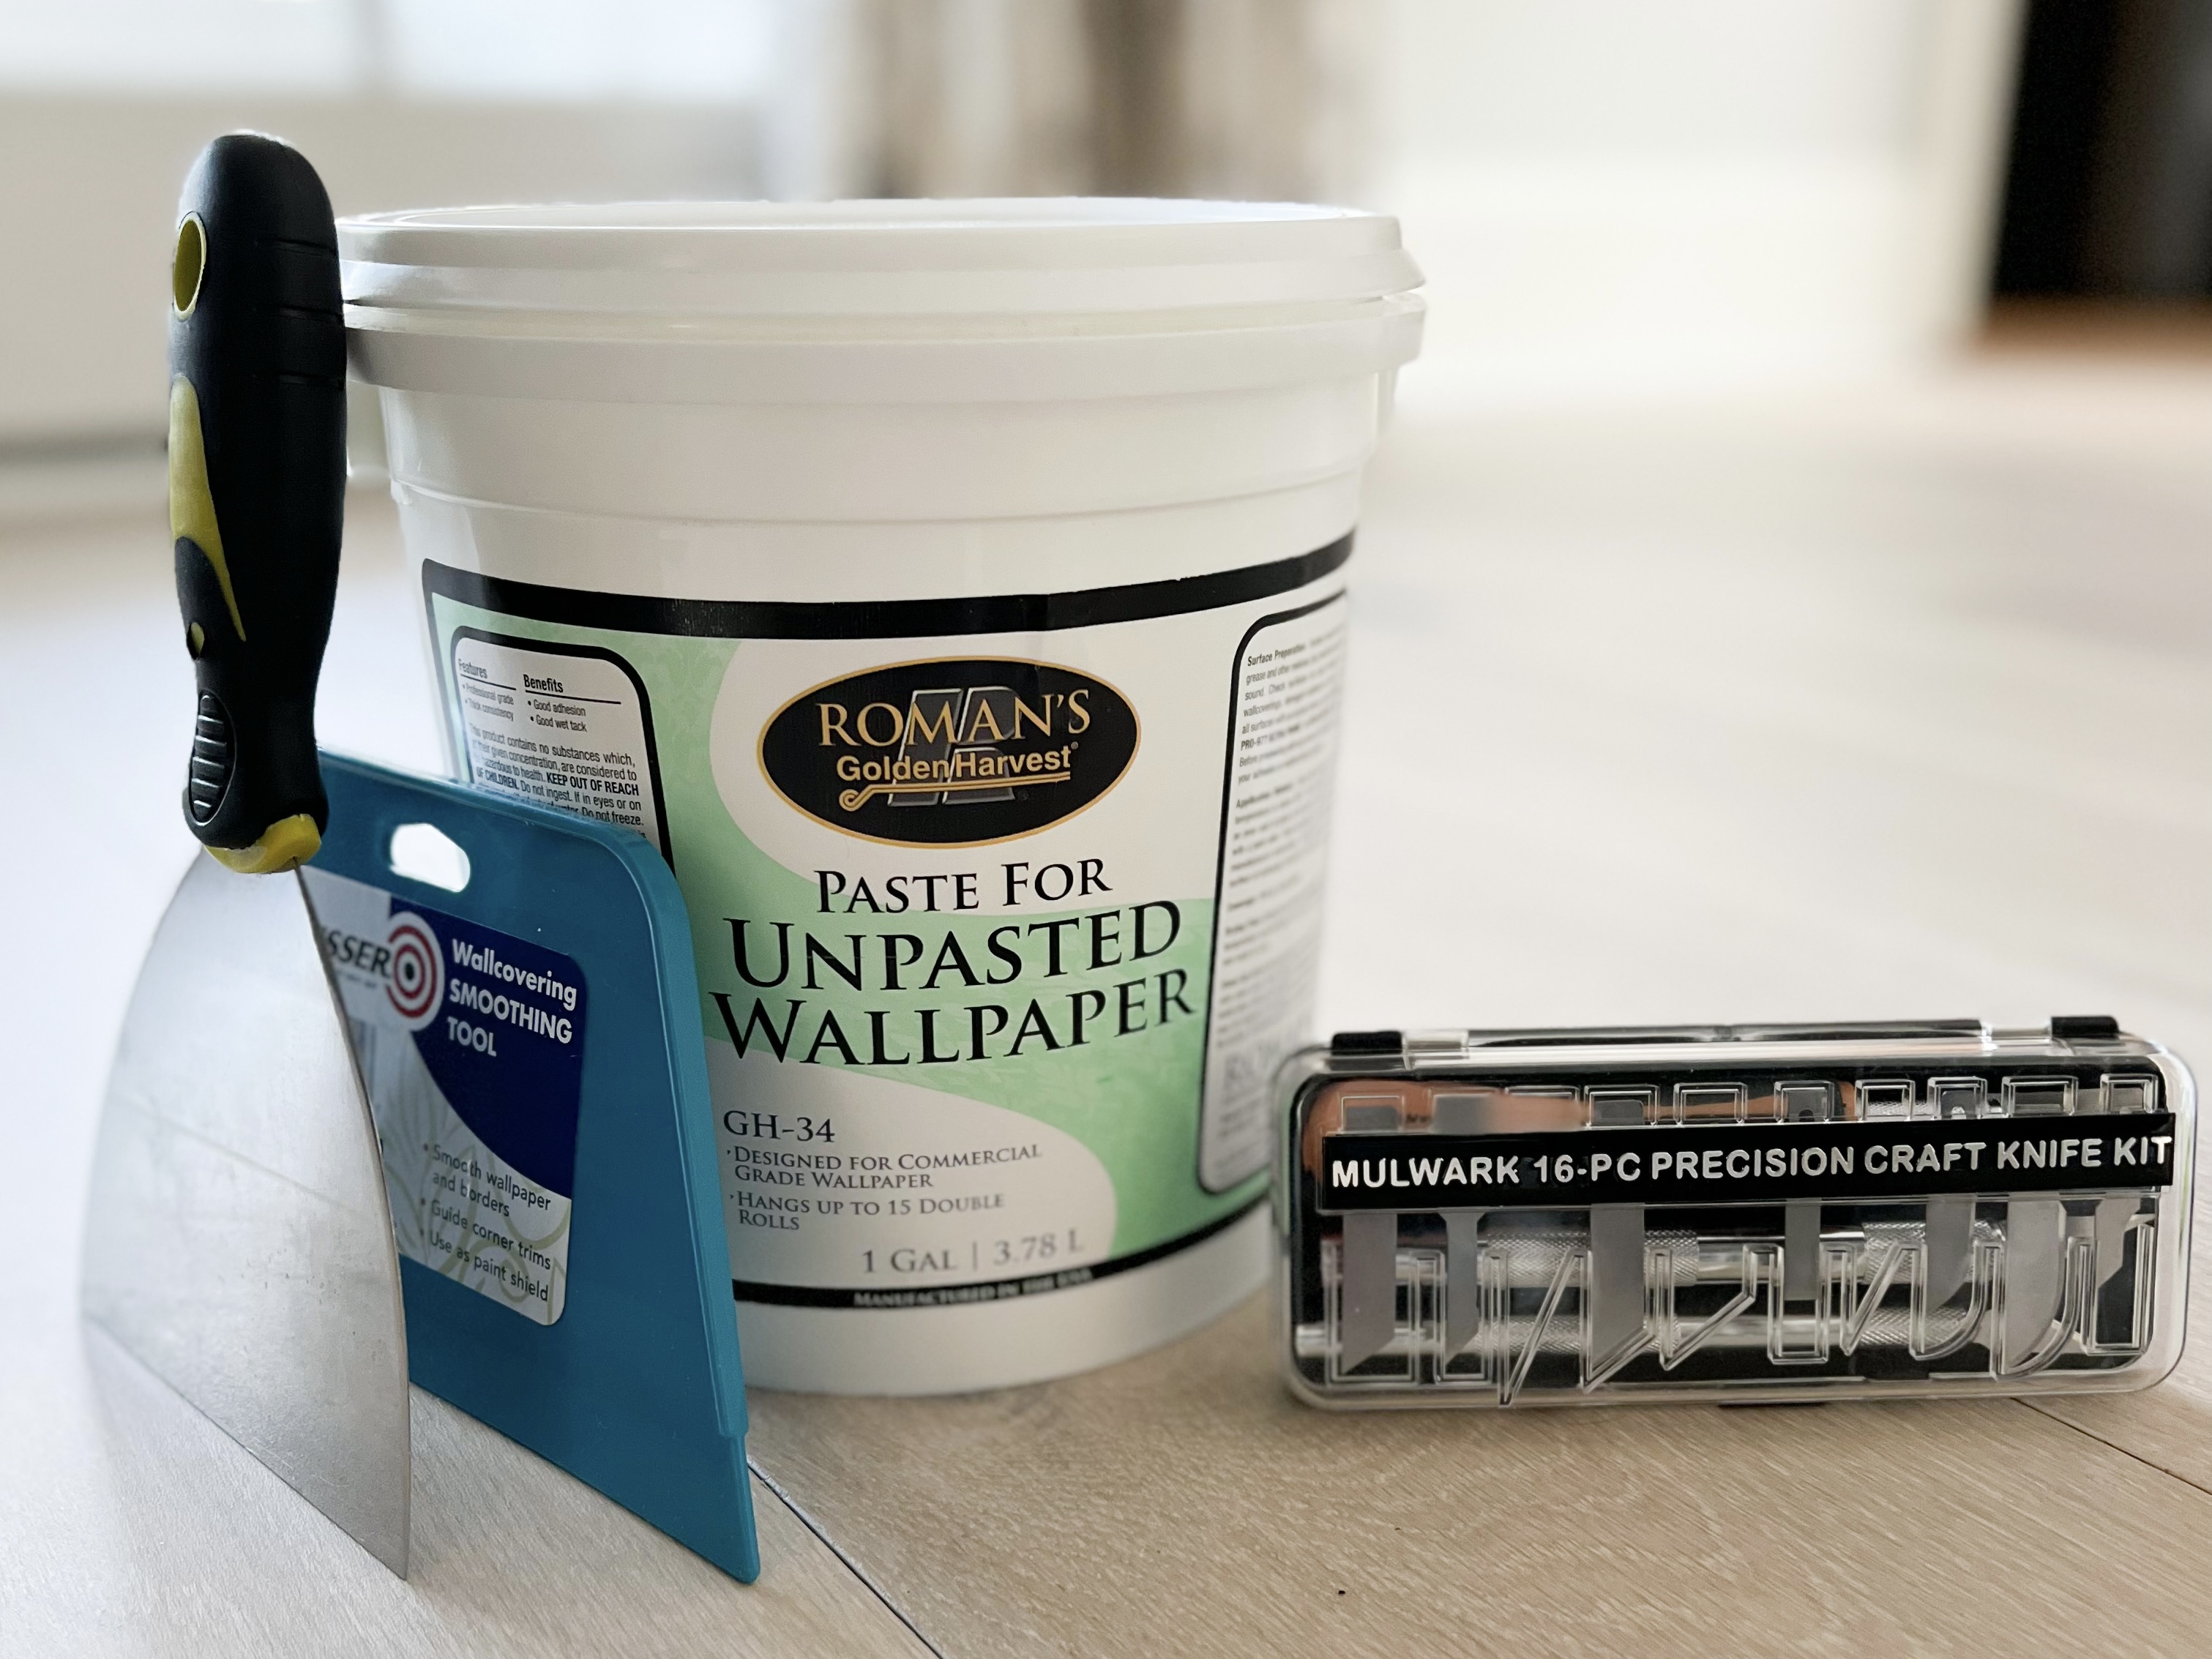
I read that it’s important to use a paste made for the type of wallpaper you’re using, so I used the above paste. I’ve seen people use universal paste with success, but I figured it couldn’t hurt to get the kind specifically meant for traditional/unpasted paper (the paper I was working with).

Wallpaper Install: The Installation!
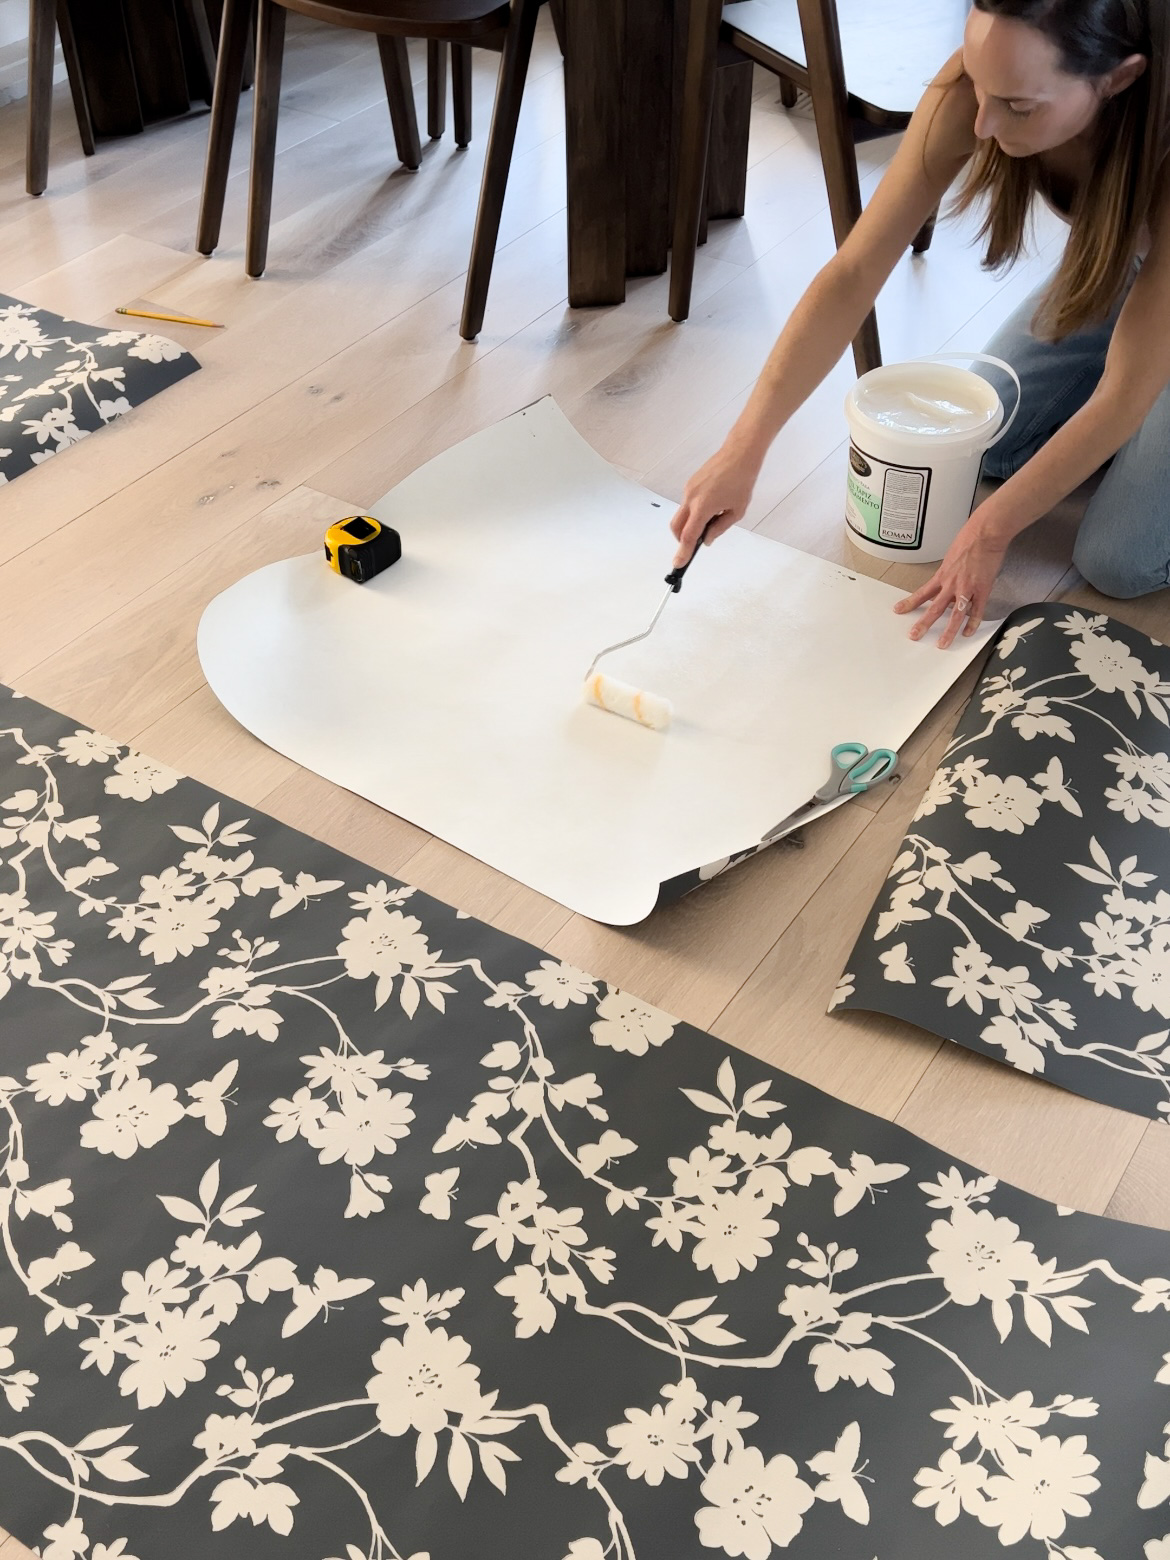
For the wallpaper install, I worked section by section. I rolled a good amount of the paste onto the back of the paper, then loosely folded it over onto itself. Again, there are mixed reviews about doing it this way versus pasting the wall.
Folding it onto itself is called “booking” and is supposed to help the glue soak in, making it easier to work with and preventing shrinkage as the glue dries. I let it sit at least 3-5 minutes before unfolding and putting it on the wall.
Wallpaper Install: Level Up!
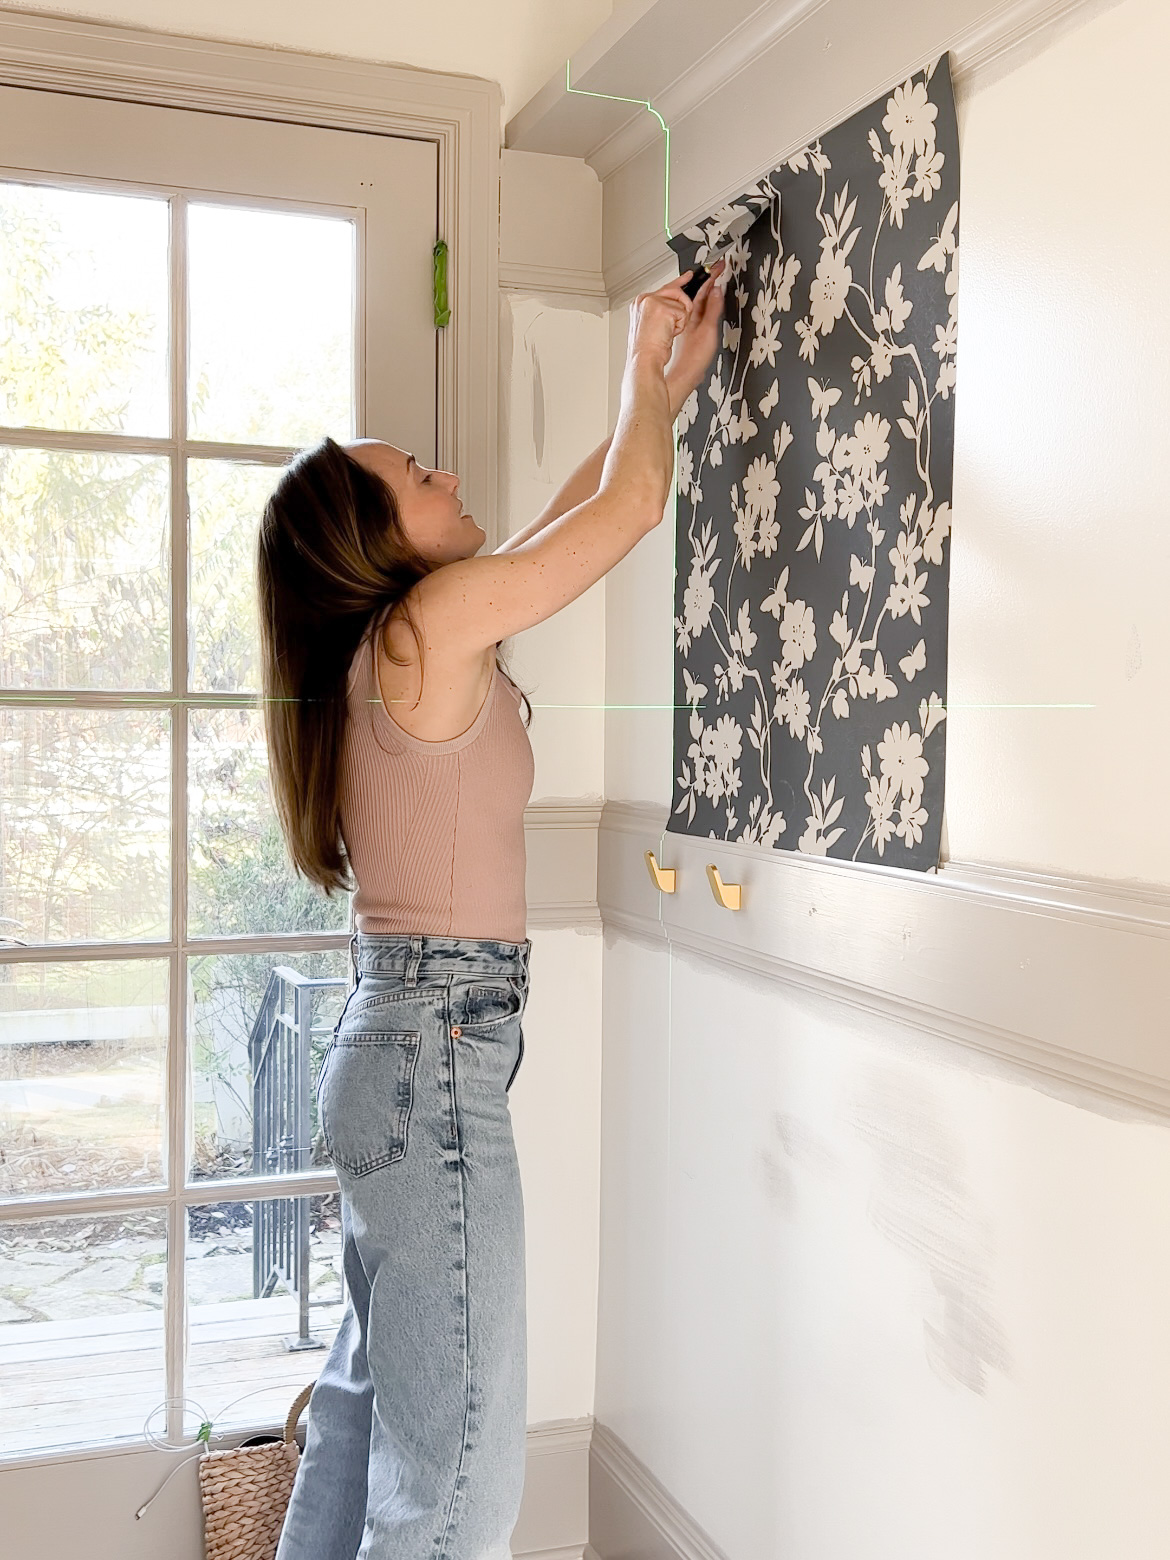
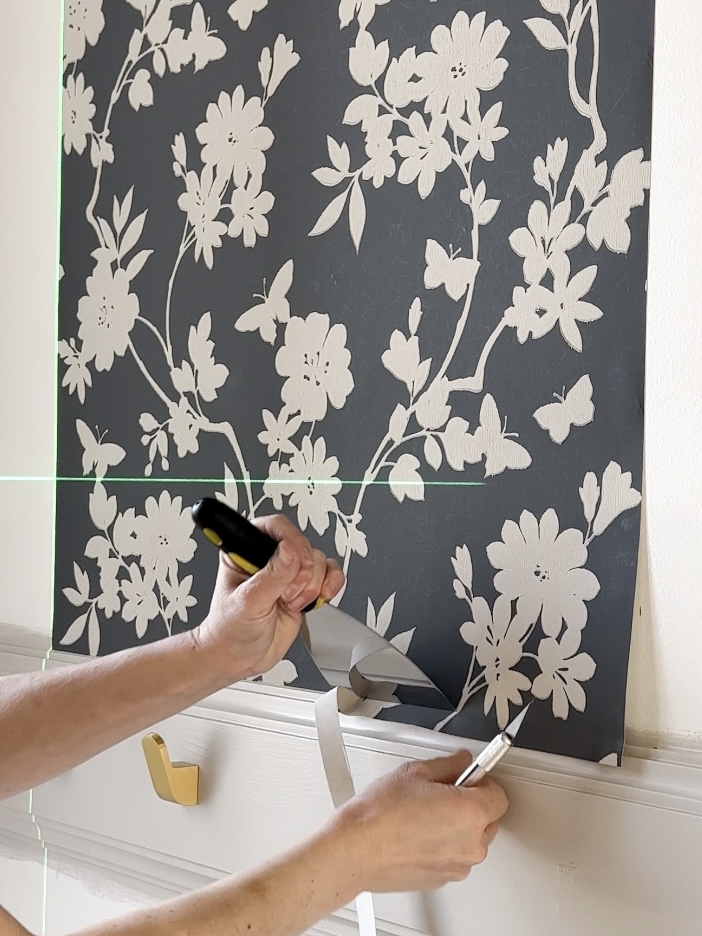
I used a laser level to make sure the first piece was straight down the entire wall. The article I read said to use the laser level for each piece of wallpaper. I figured that, if the first row was perfectly straight, the rest of the pieces should also be straight if I line up the seams correctly.
The wallpaper should come with directions and tell you to either butt up the seams to each other or overlap. My directions specifically said NOT to overlap.
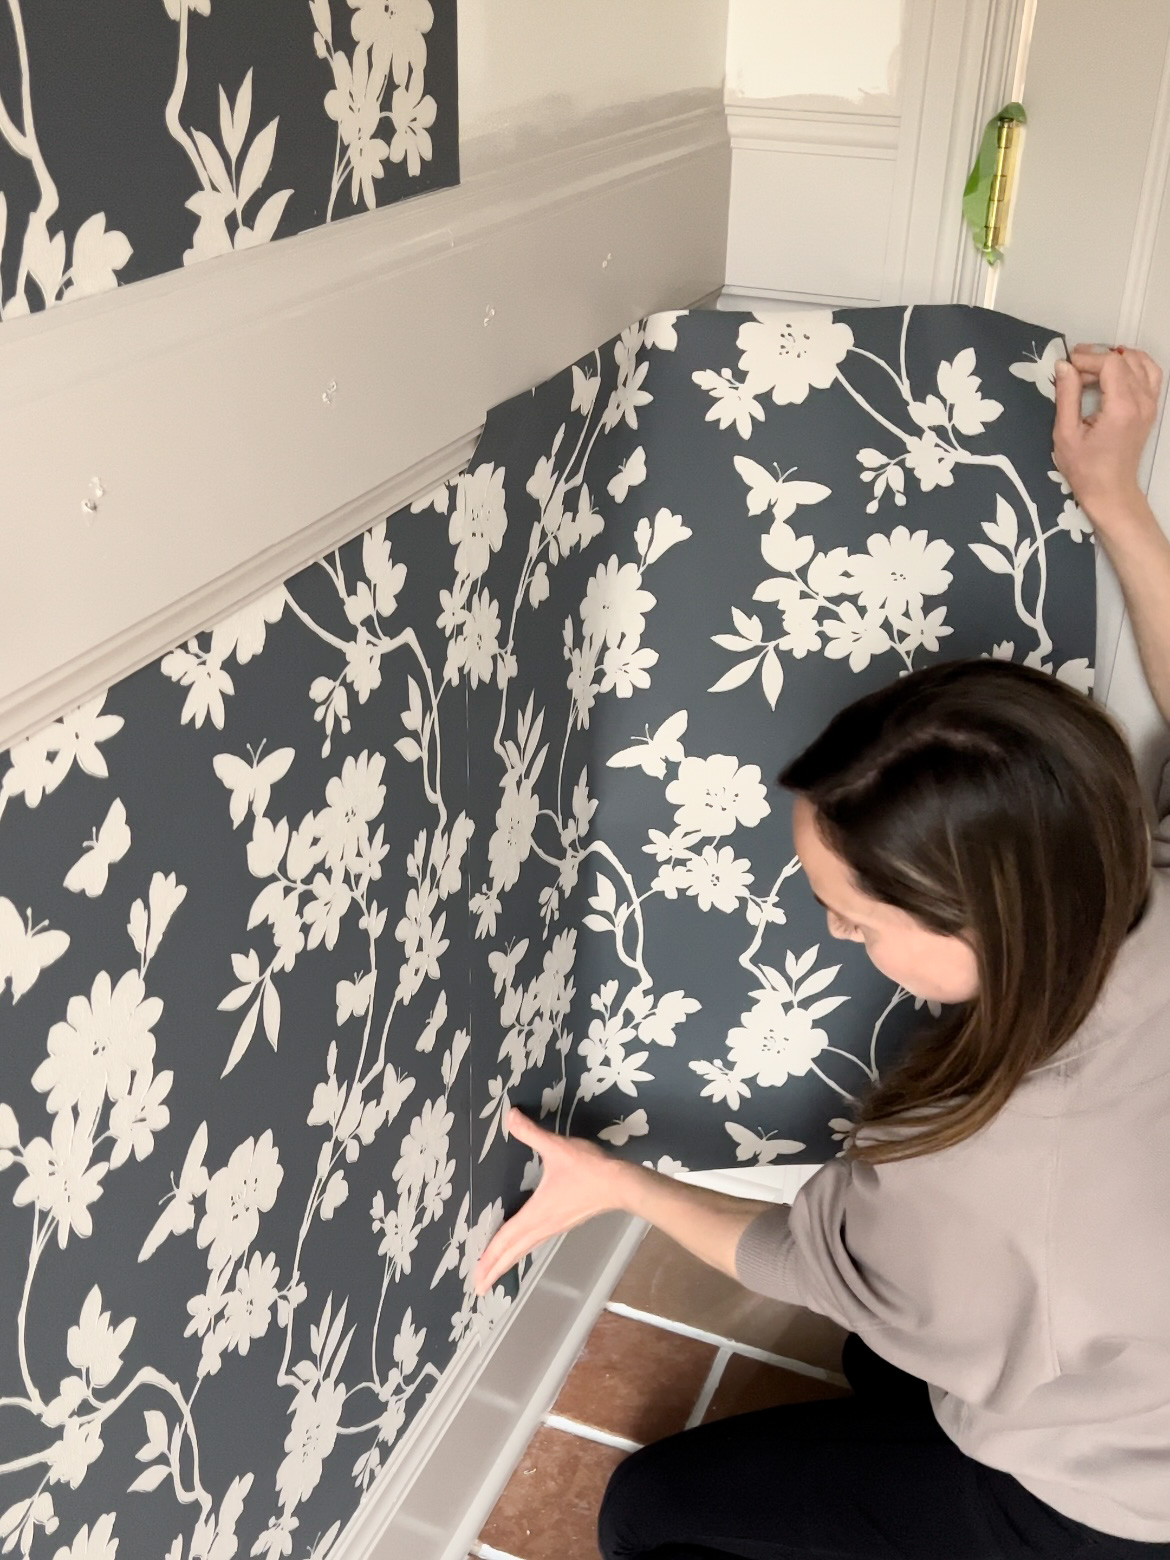
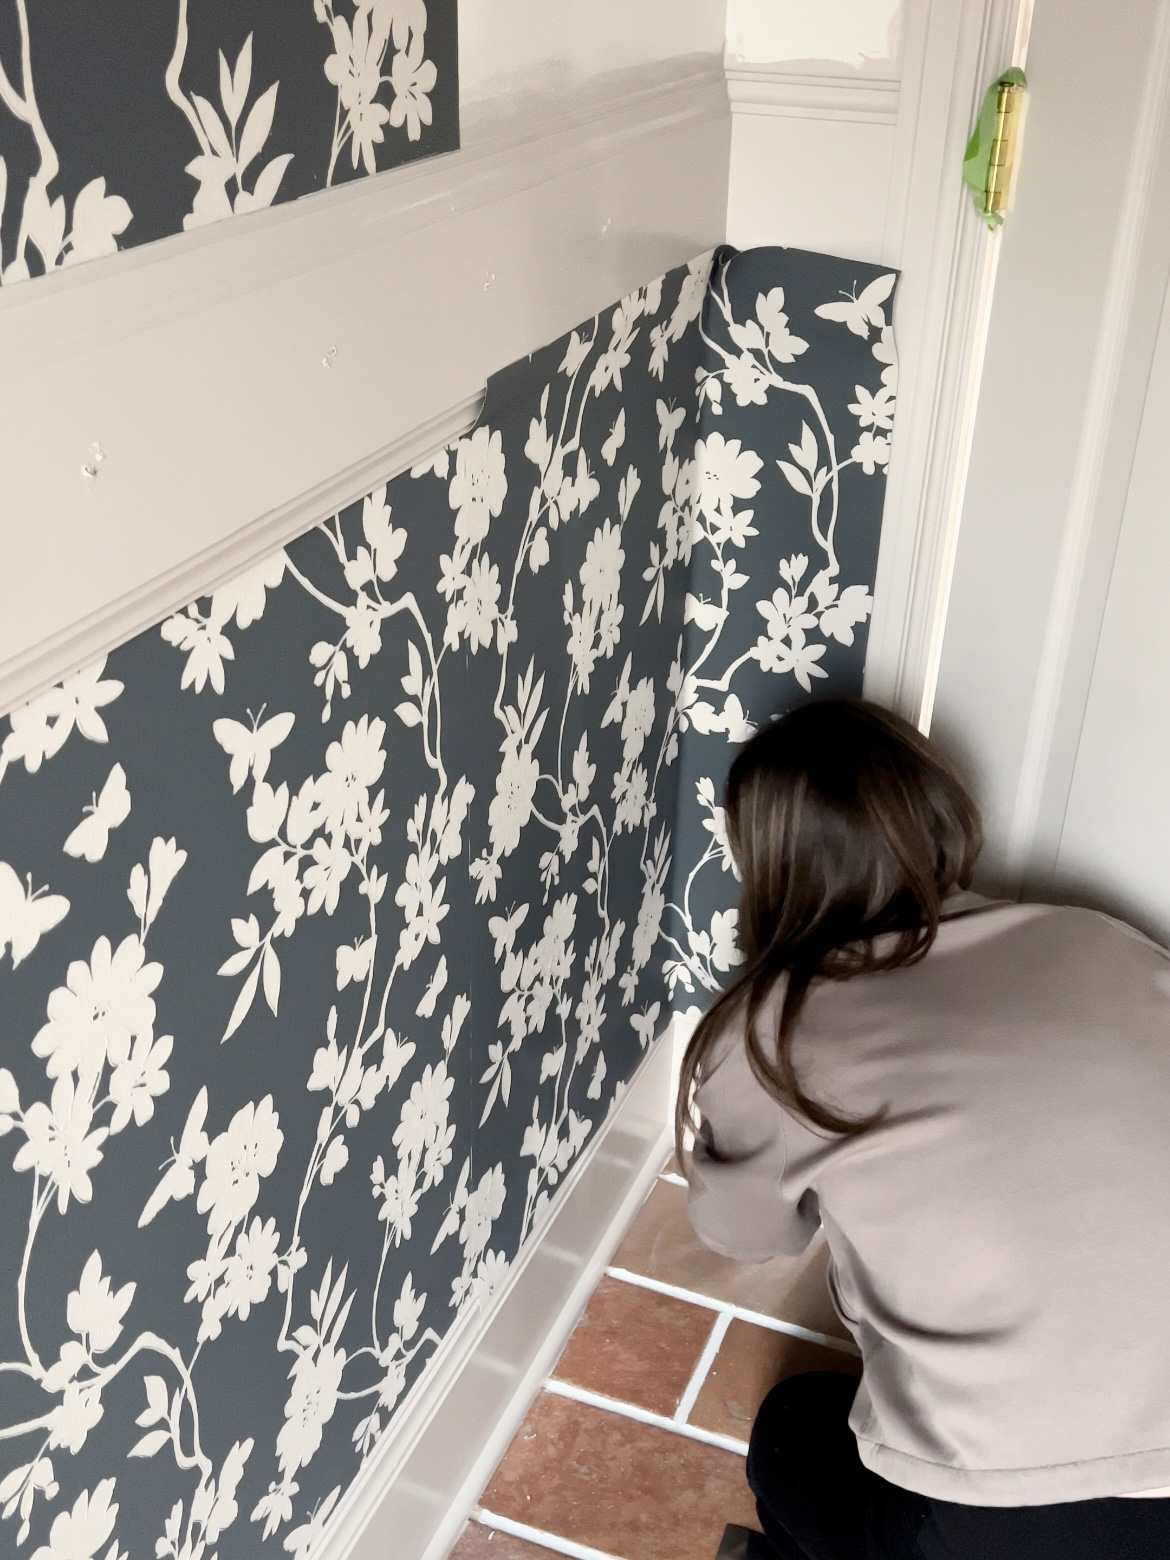
I bought a plastic smoothing tool, but with the texture on the paper, it didn’t work as well as I expected, so I ended up using my hands to smooth out the paper. Then I used a putty knife to press down on all the edges.
I bought this little razor blade set (linked here) to trim off the excess paper, and it worked out really well!
It helped to have multiple blades because a fresh blade cut the paper so much cleaner than one that had been used.
Wallpaper Install: Smooth the Seam
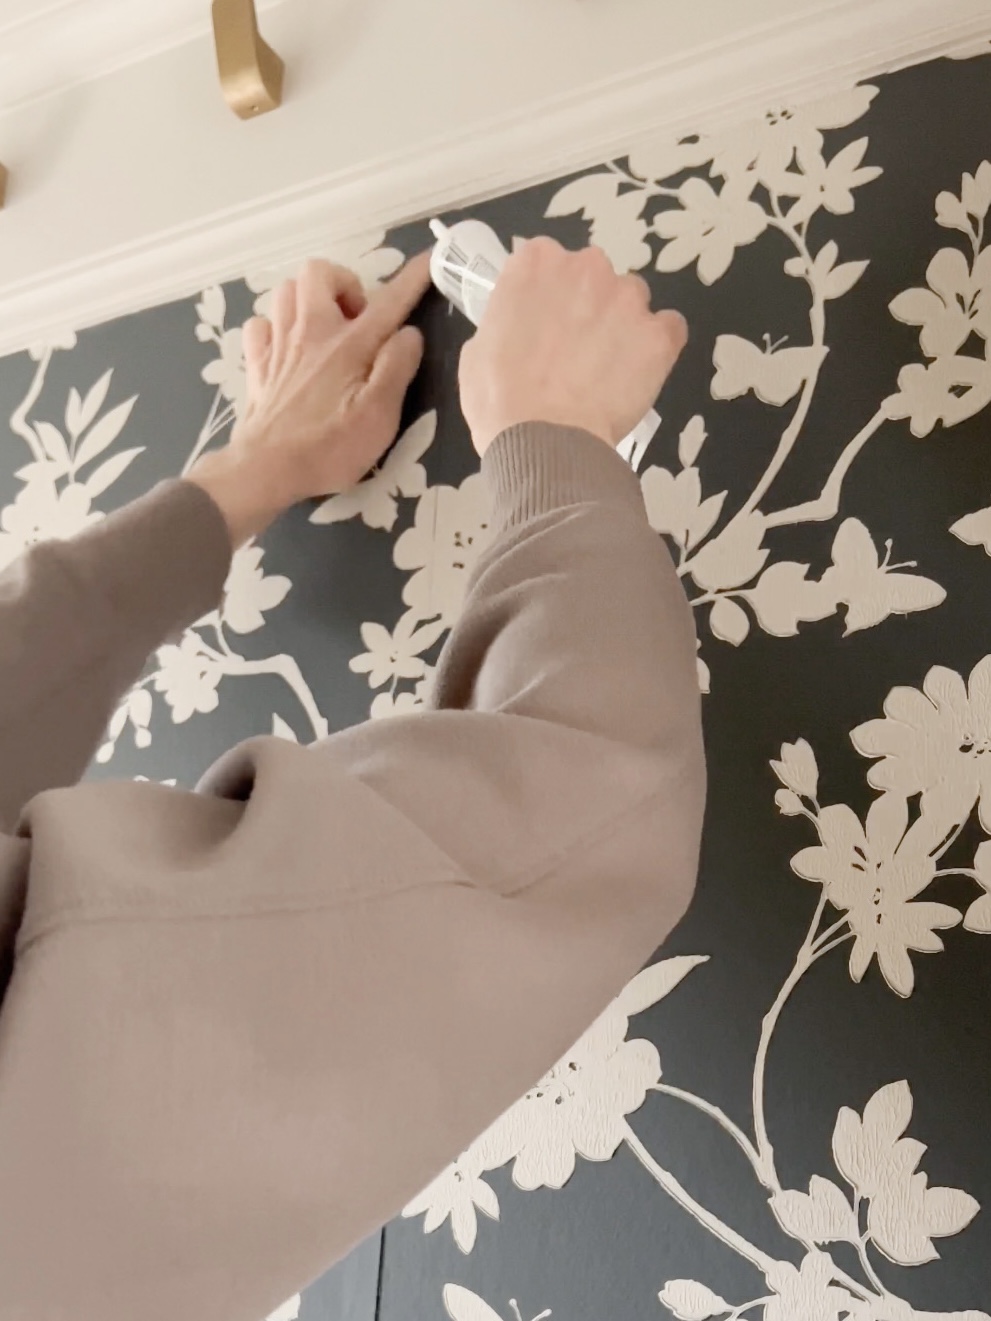
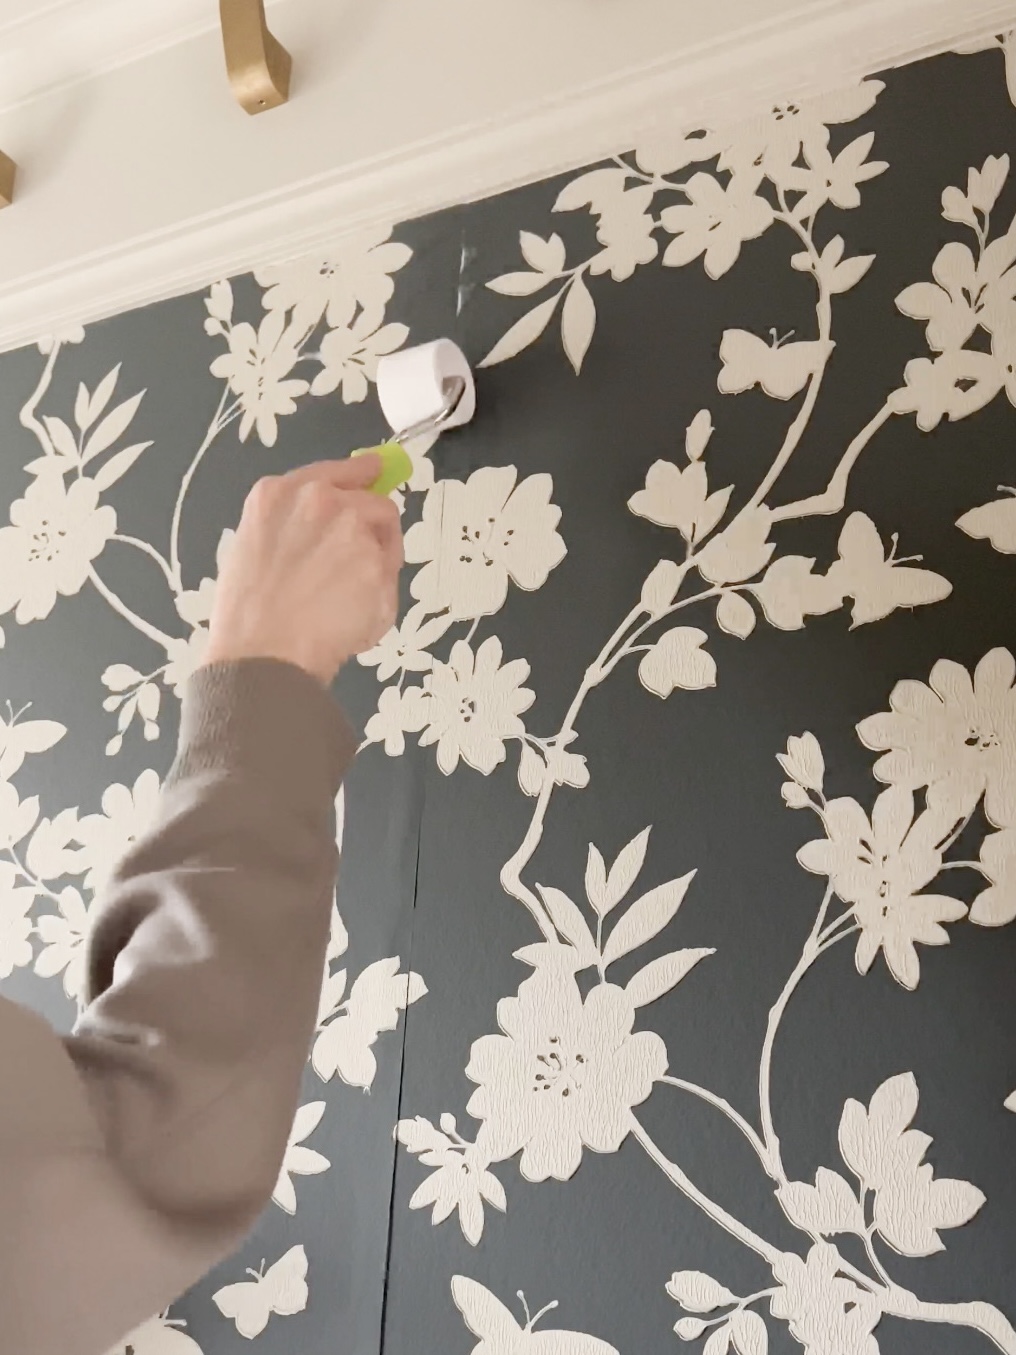
I used this seam repair and roller on all the seams. If I had put more paste on the edges, I wouldn’t have needed as much of the seam repair.
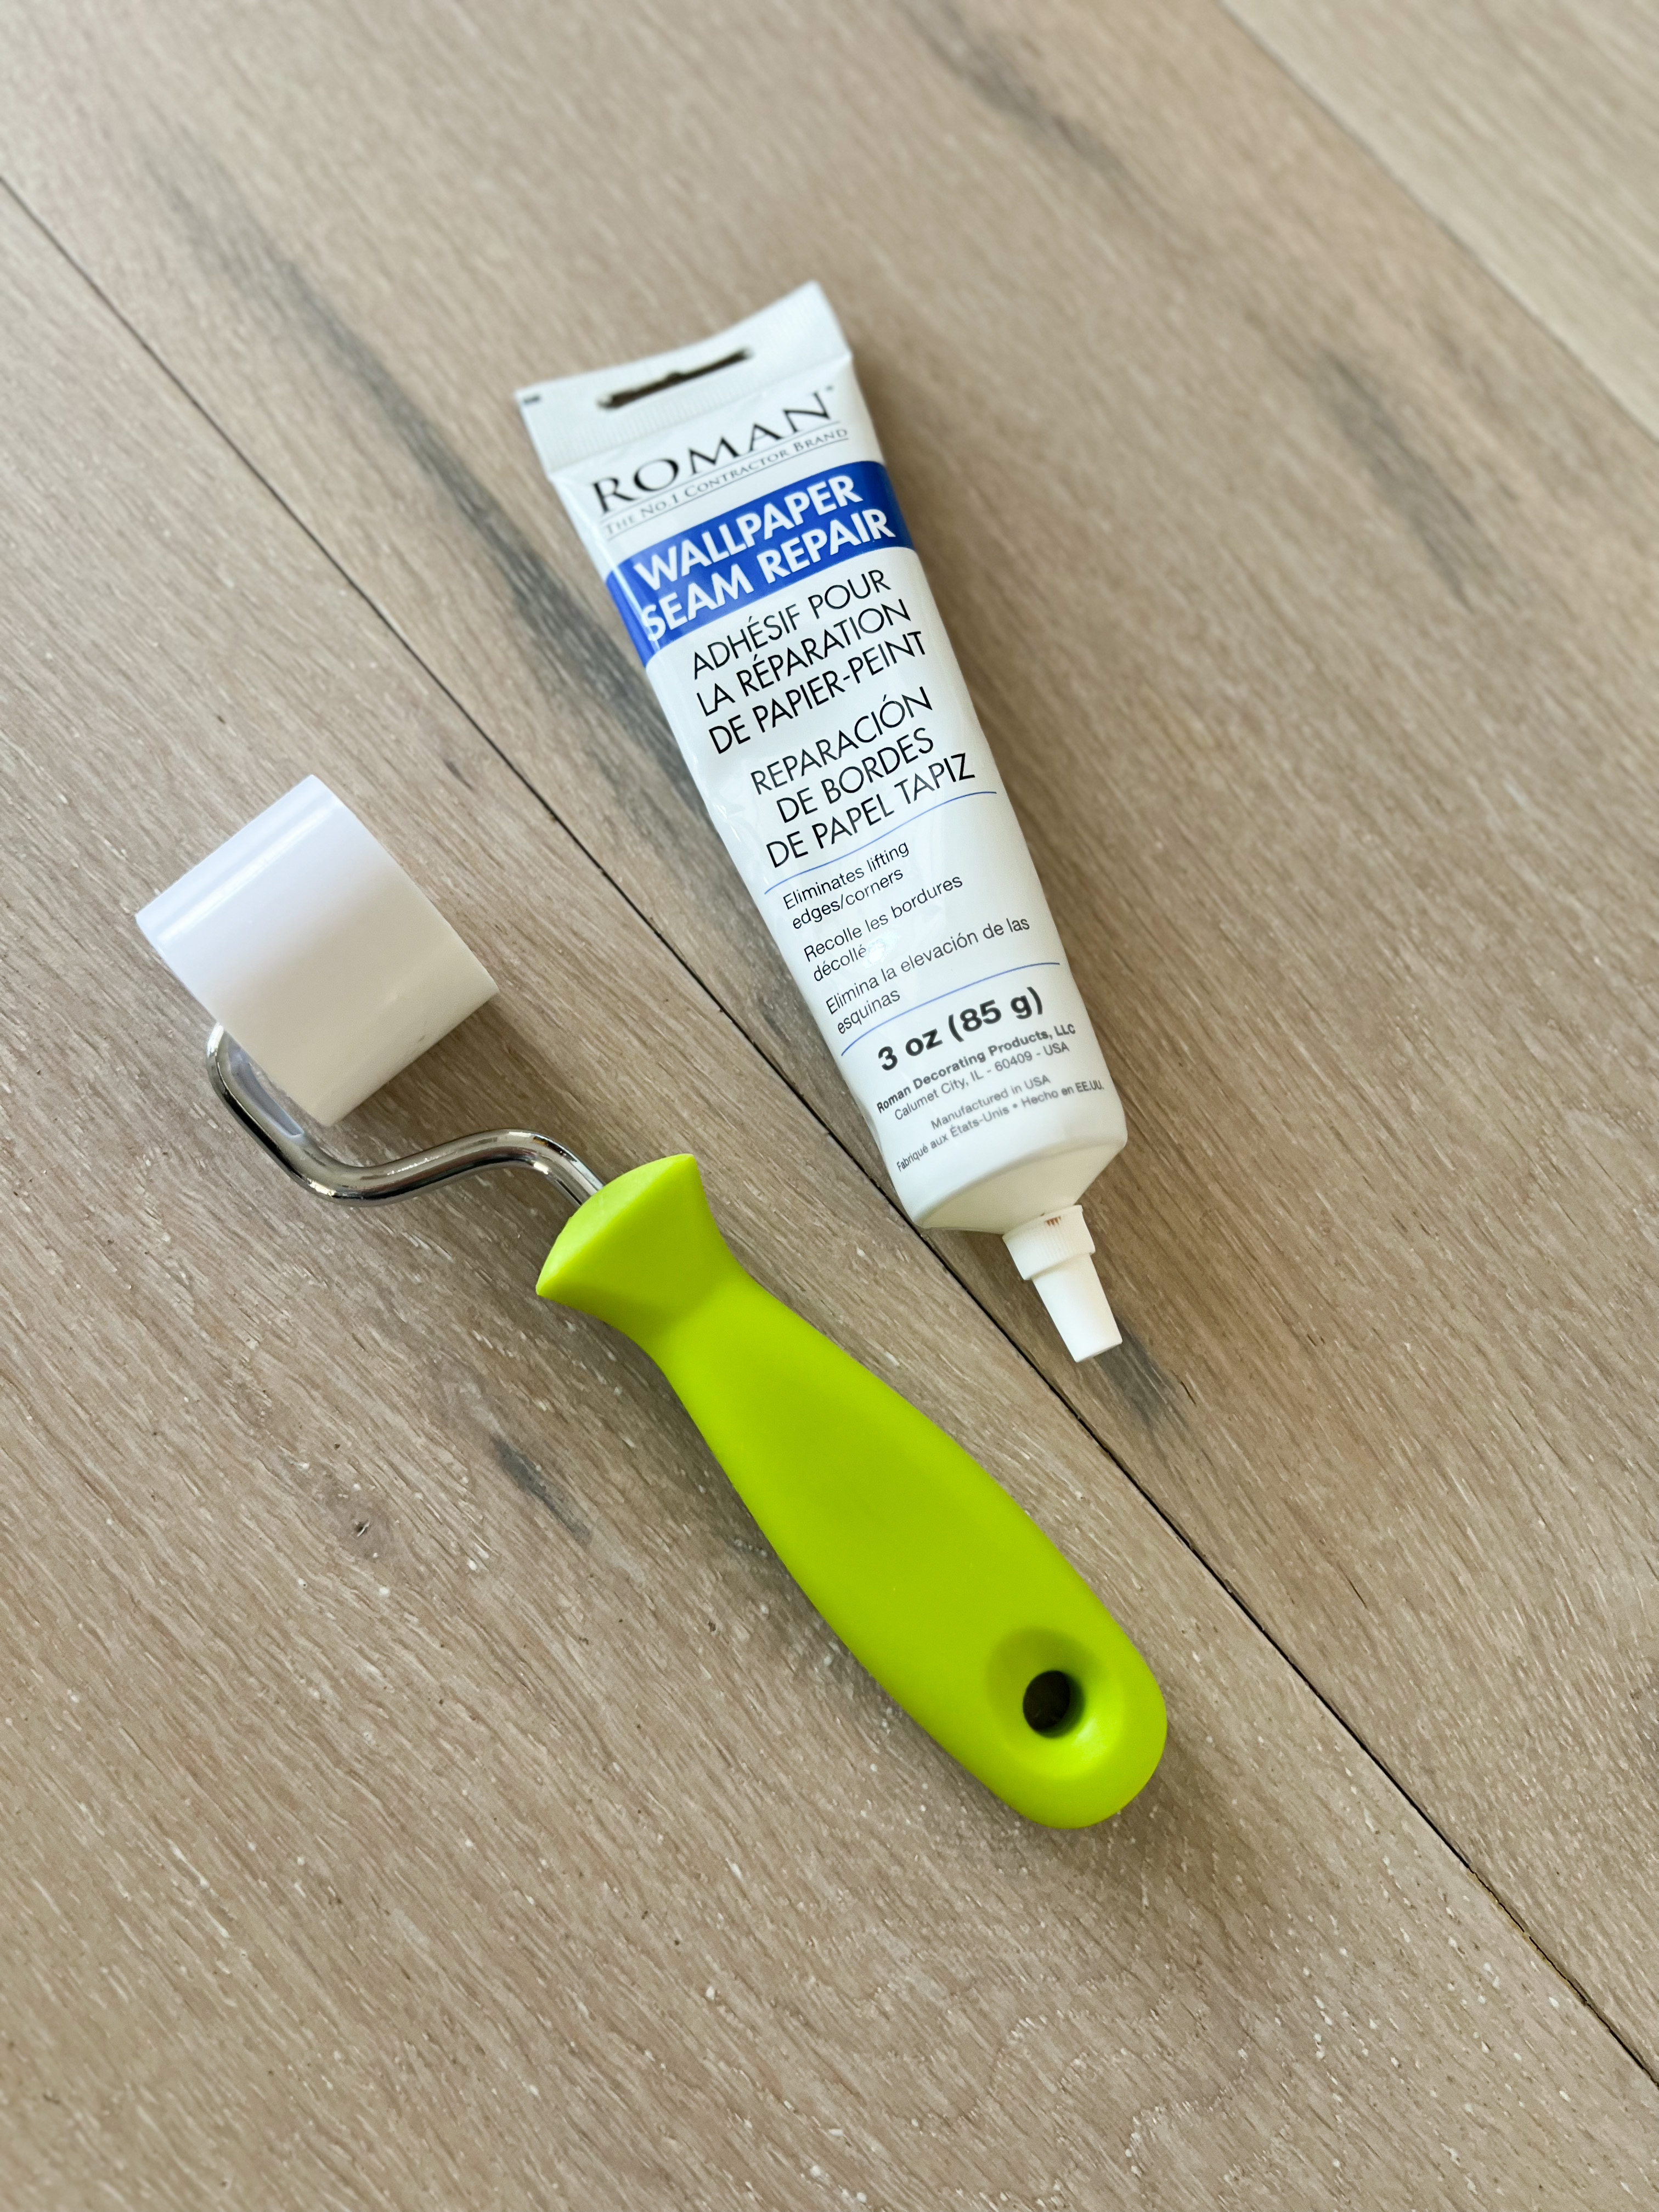
However, I really liked how the seam repair finished it off, and I was glad a bunch of paste didn’t get on the paper.
Wallpaper Install: Lining Up the Pattern
Back to the pattern lining up…
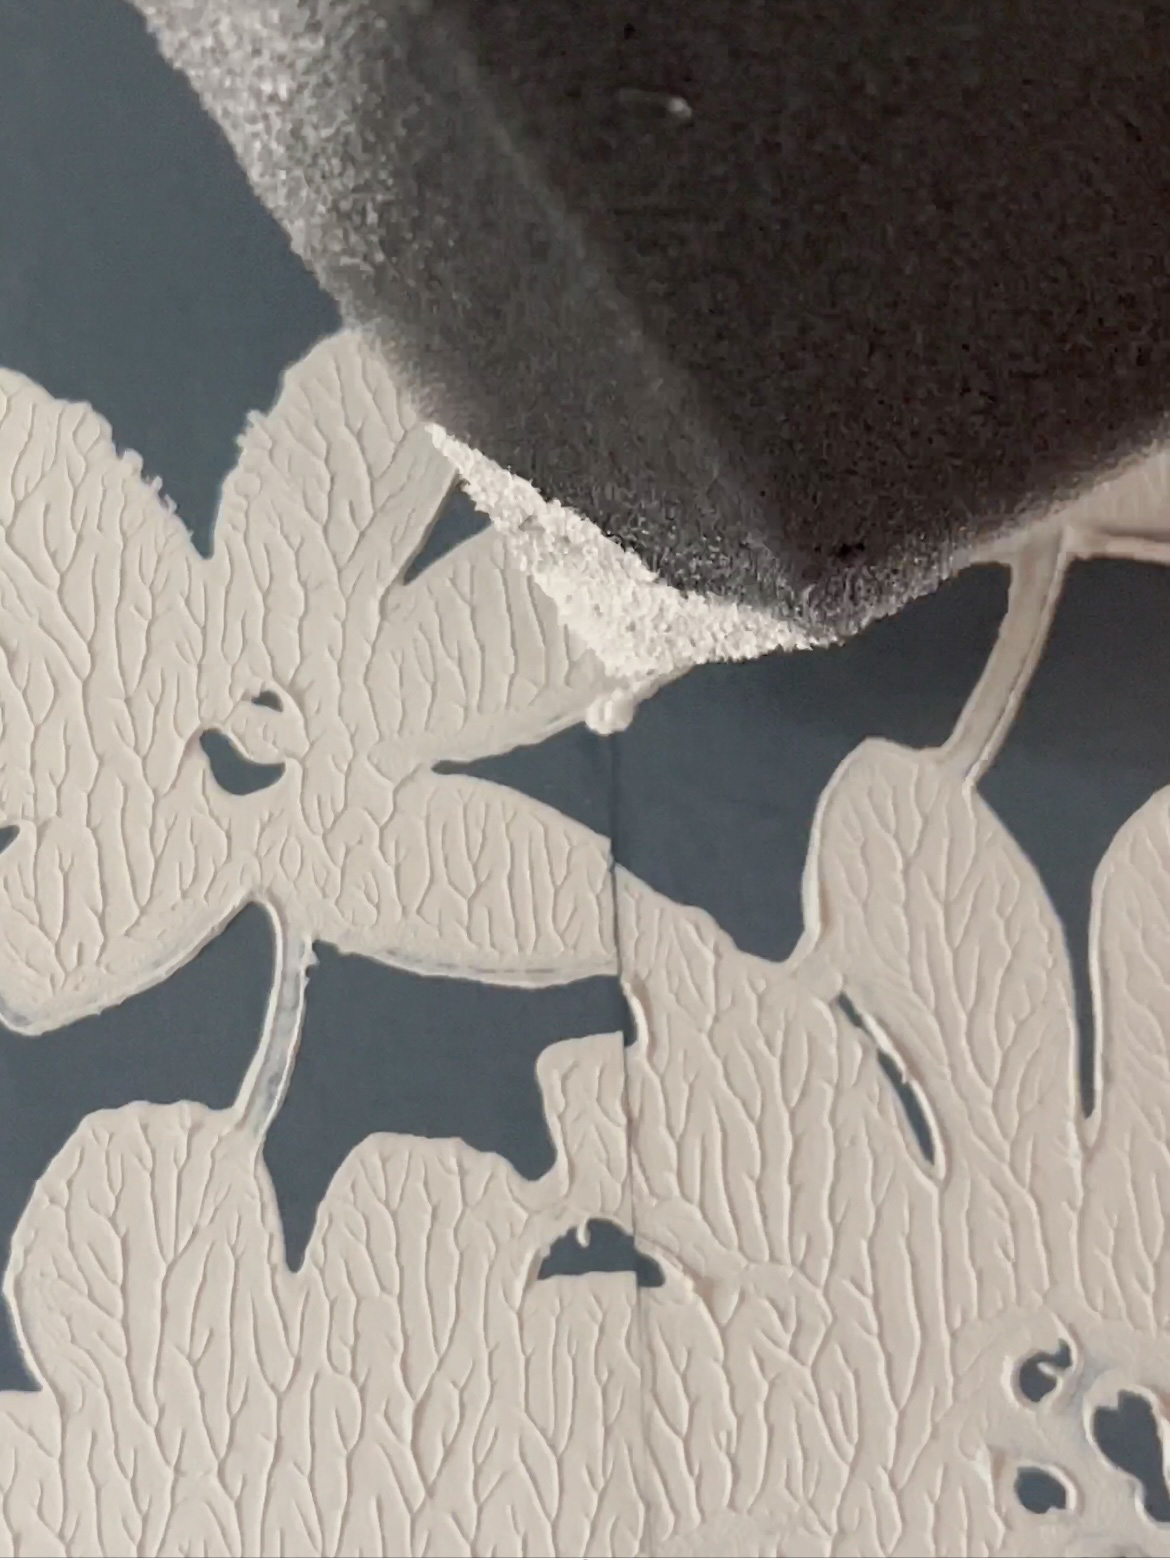
The first few panels lined up SO well. After that, things got a little dicey. Where the beige florals overlapped panels, there were a lot of spots that didn’t line up well. It’s my first time installing wallpaper, so the first few times it happened, I assumed that I was doing something wrong.
But I purchased the third roll of paper, and it arrived with petals straight up missing, I officially knew it was the paper itself.
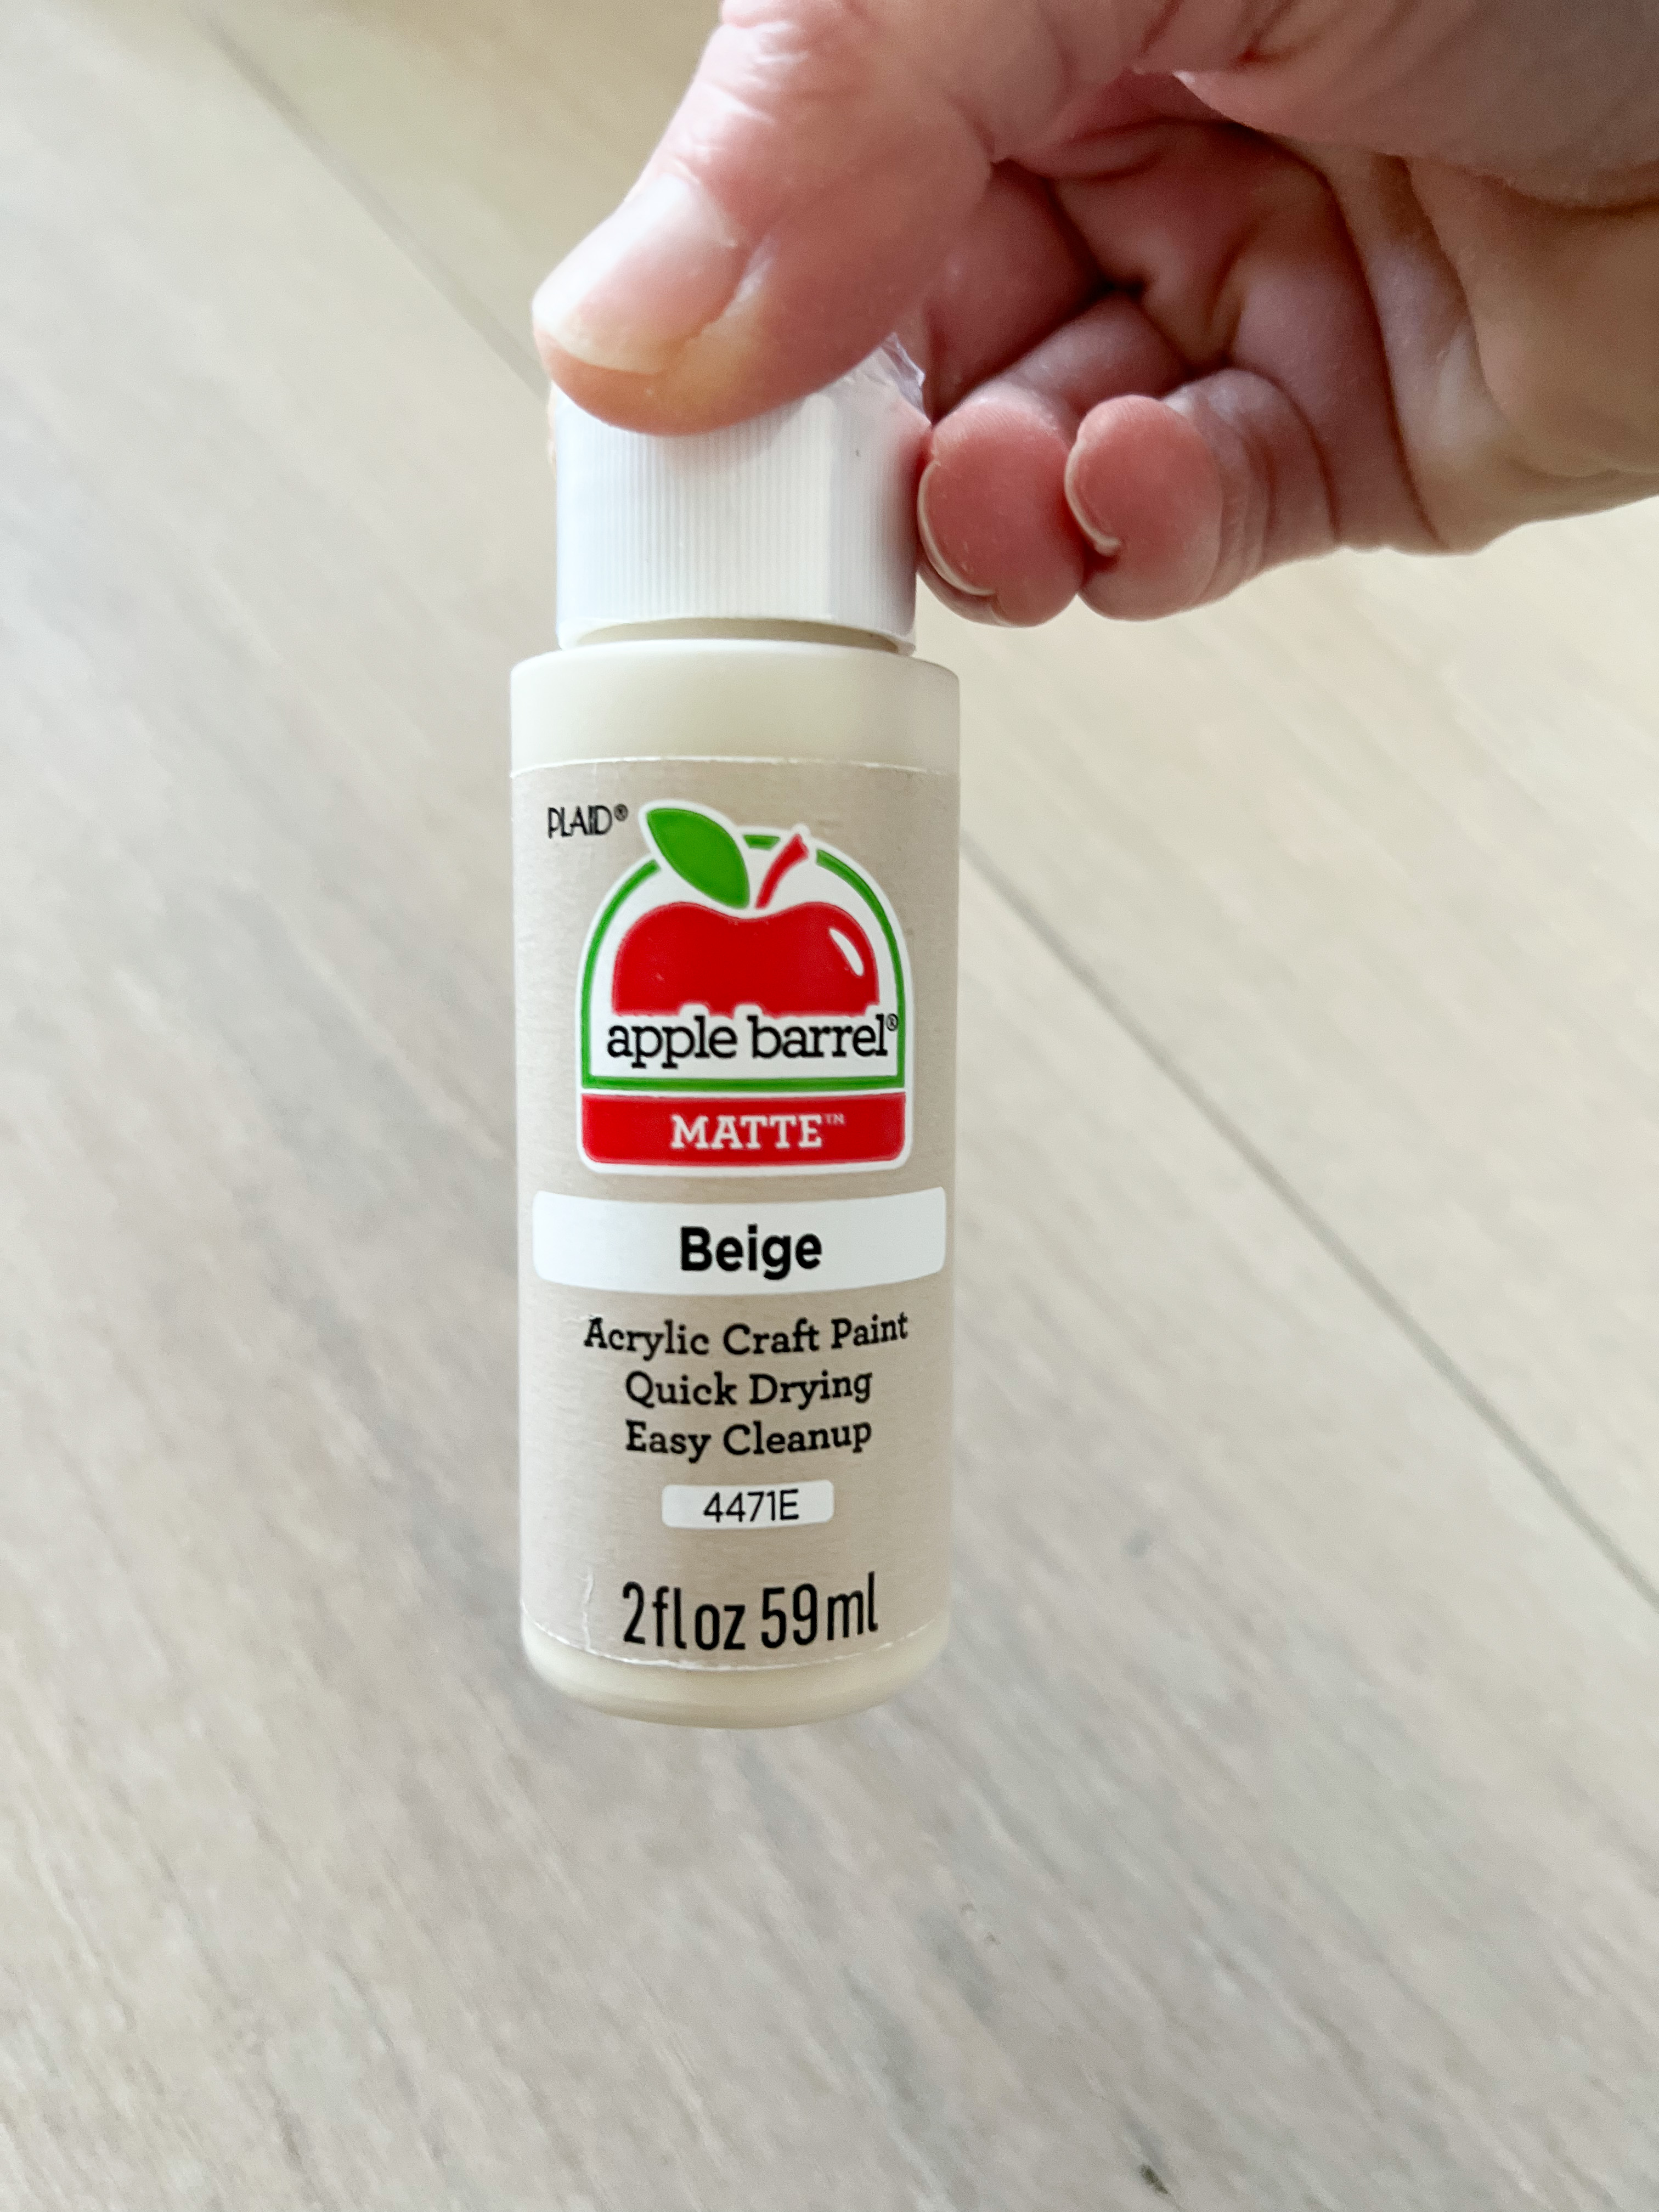
Fortunately, I found a really good paint match to the beige color and was able to fix all the imperfections. The beige paint has a matte finish – crucial to helping it blend into the same sheen as the paper.
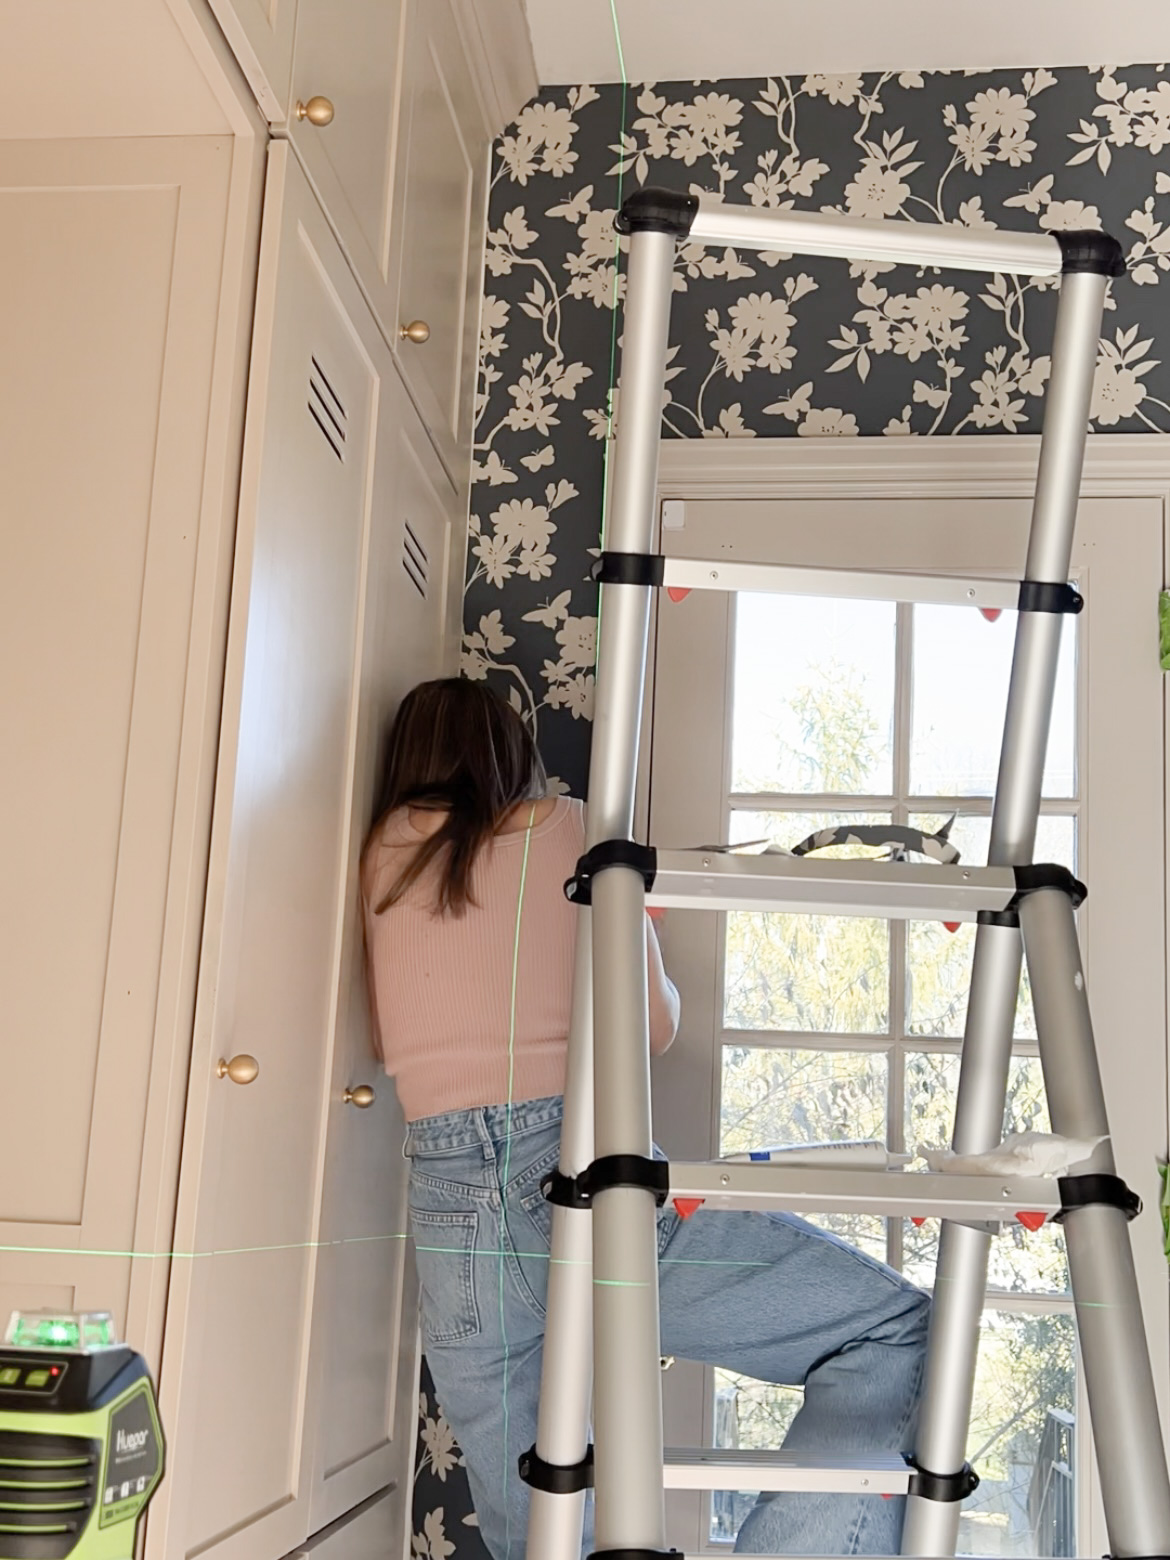
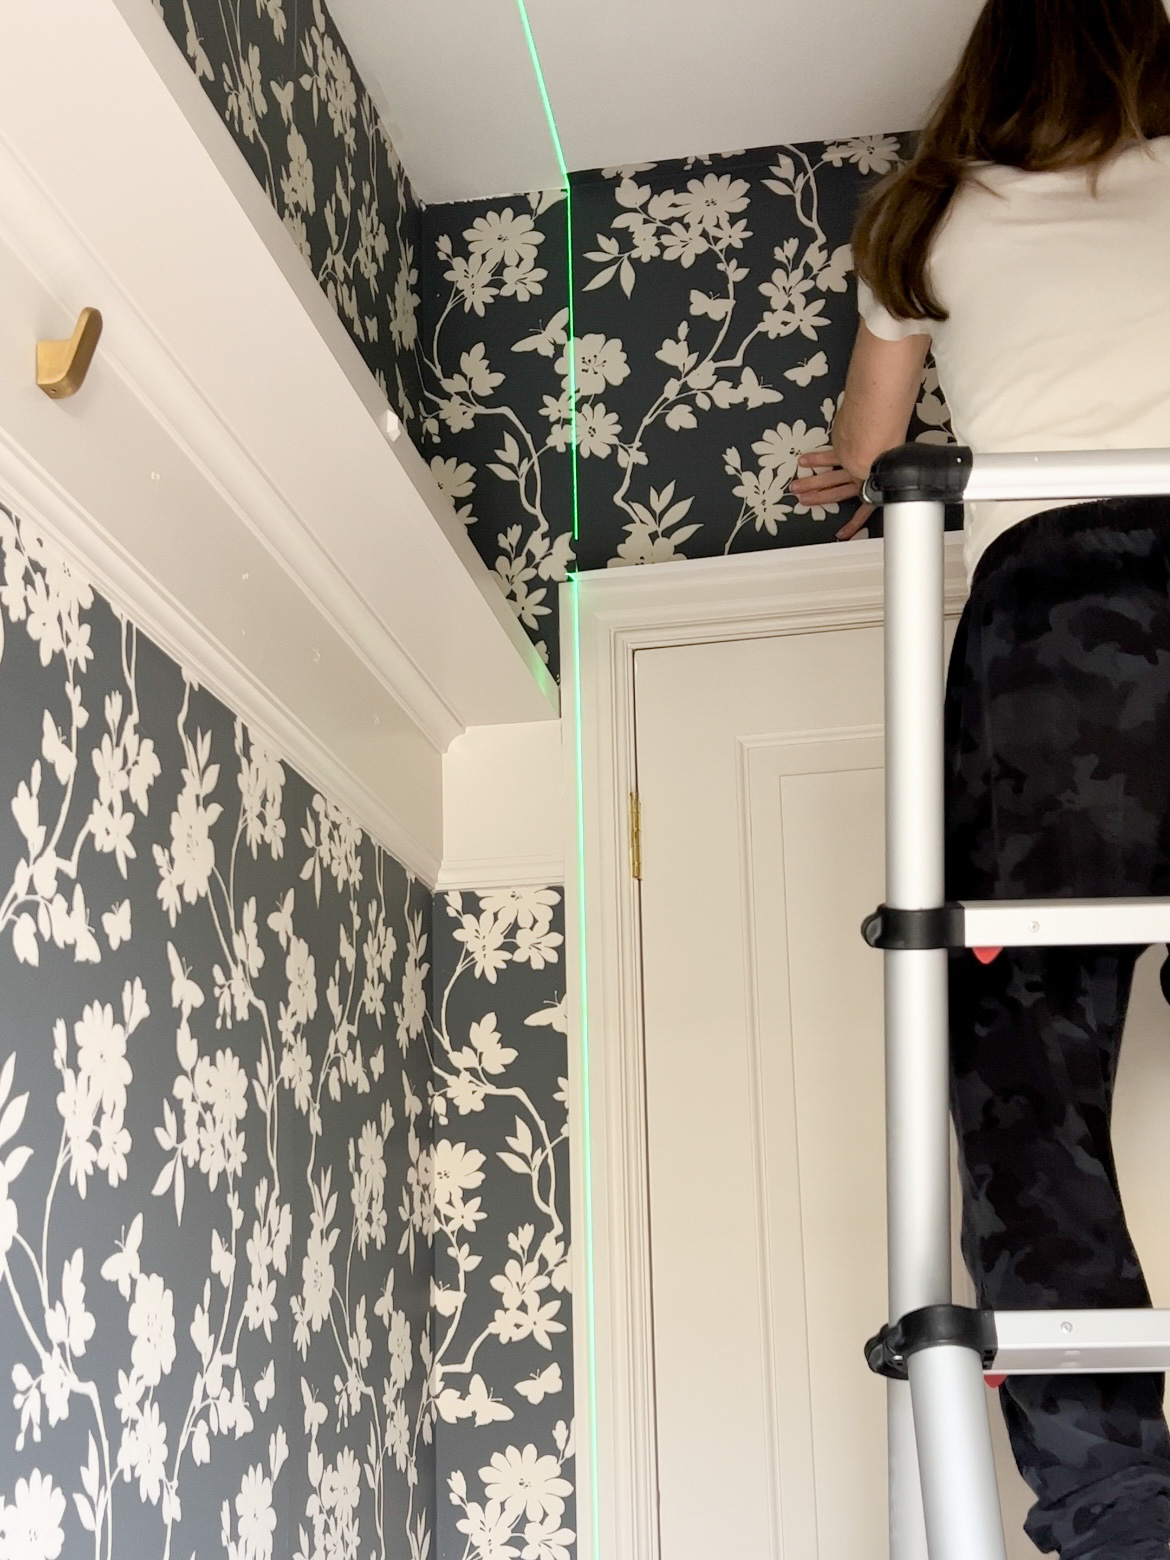
The straight wall went pretty quickly, but the doors took a while to work around. I made sure to use the laser level again on each side. Then I measured and cut down the pieces slightly larger than necessary and trimmed them in place.
Hook Replacement
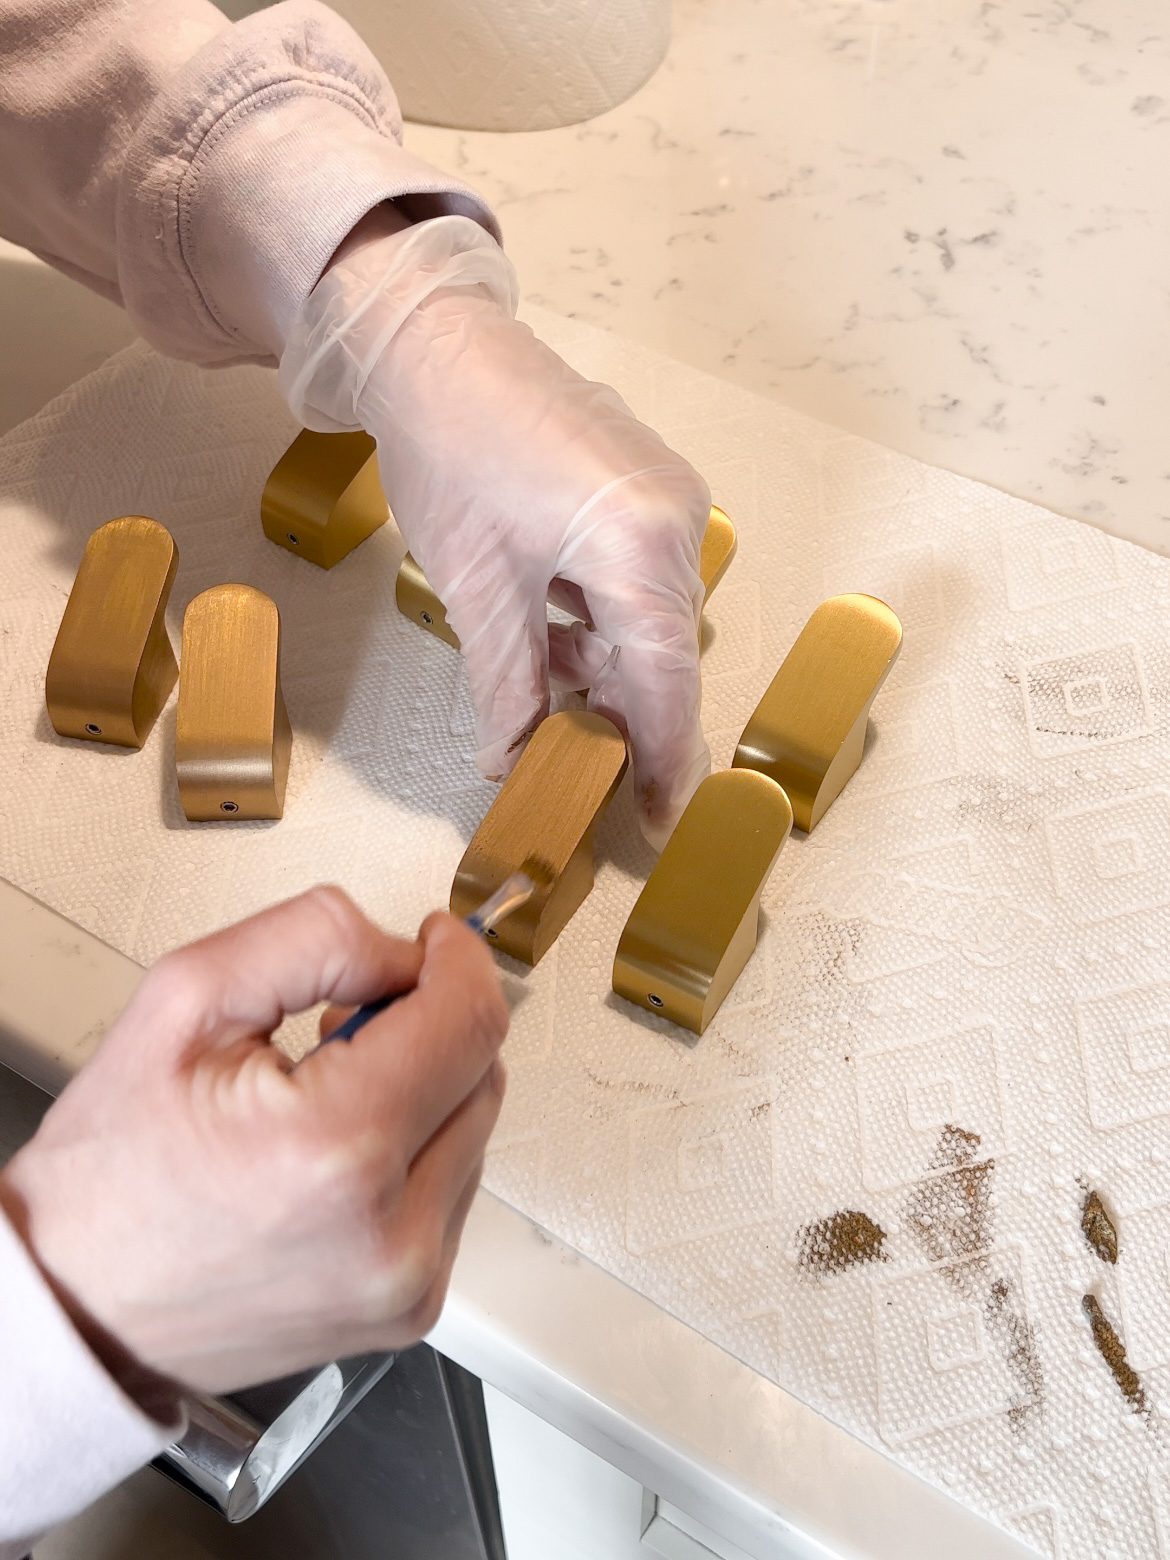
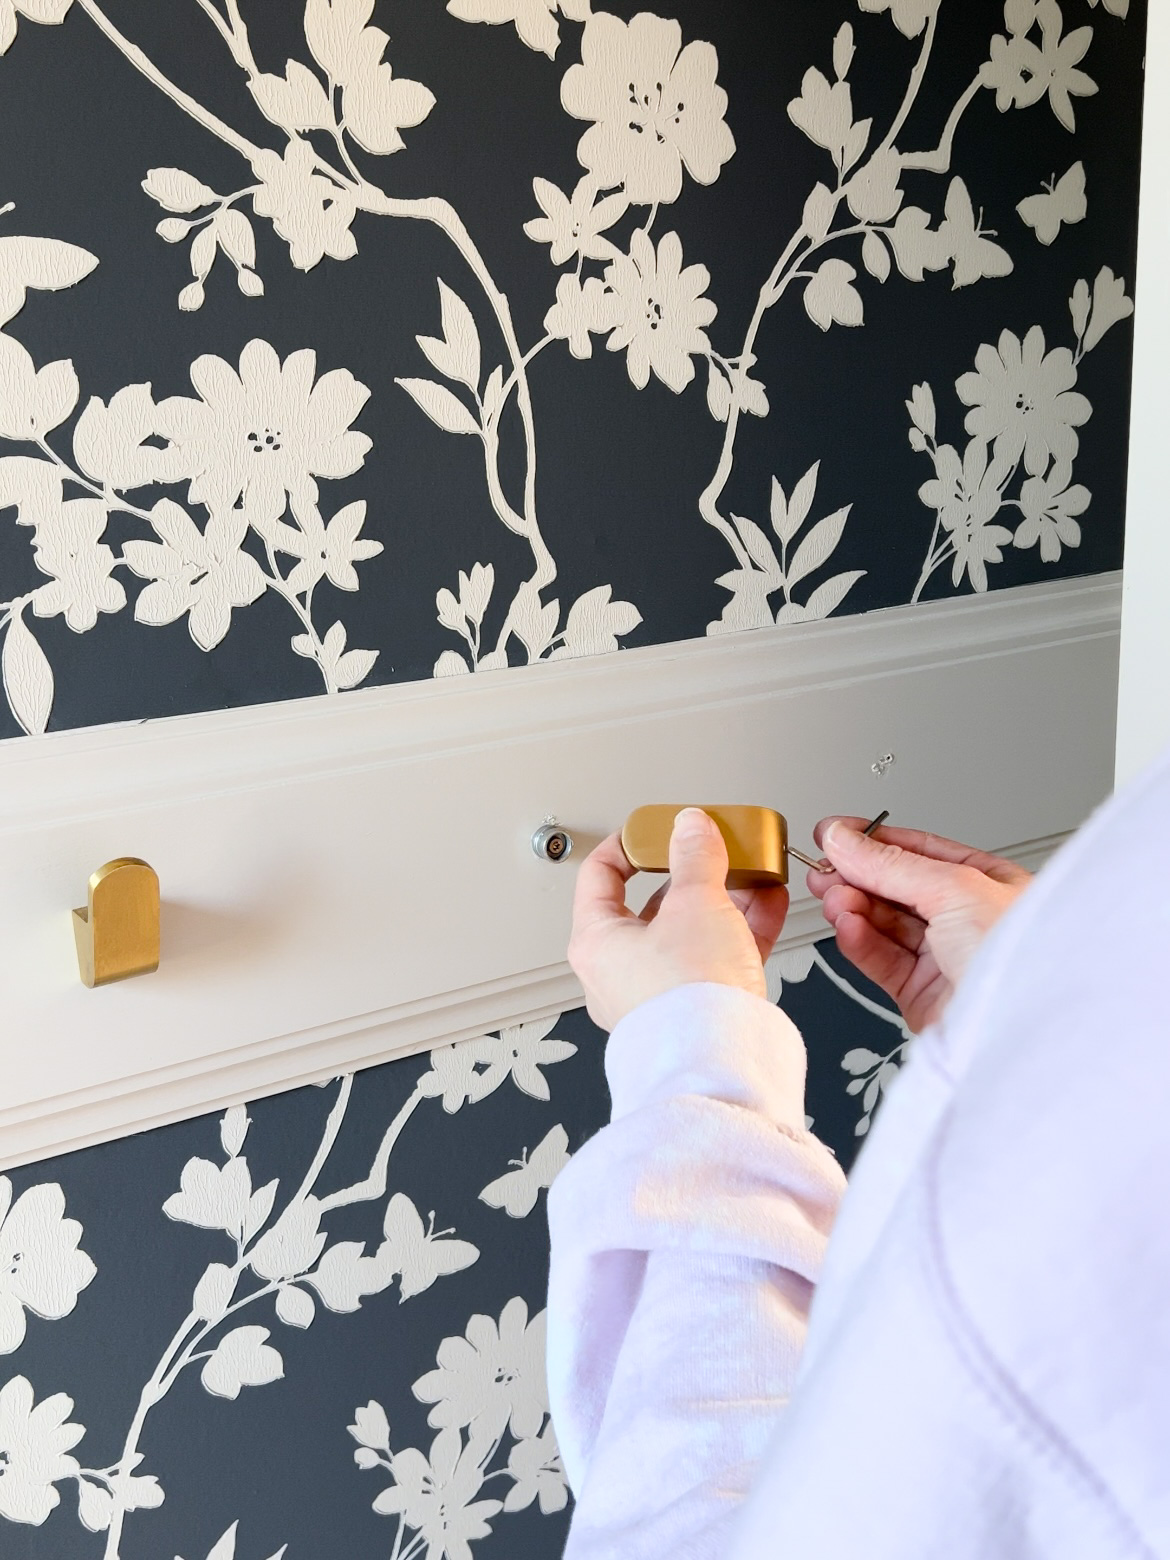
The last thing I added in the mudroom makeover was new hooks to replace the old ones. I bought hooks from Amazon, but the color was a bit little too yellow. I used antique gold rub ‘n buff, and they matched the other hardware in the room much better.
Mudroom Makeover Links
Pendant Light
Knobs
Pulls
Wallpaper
Cabinet and Trim Paint
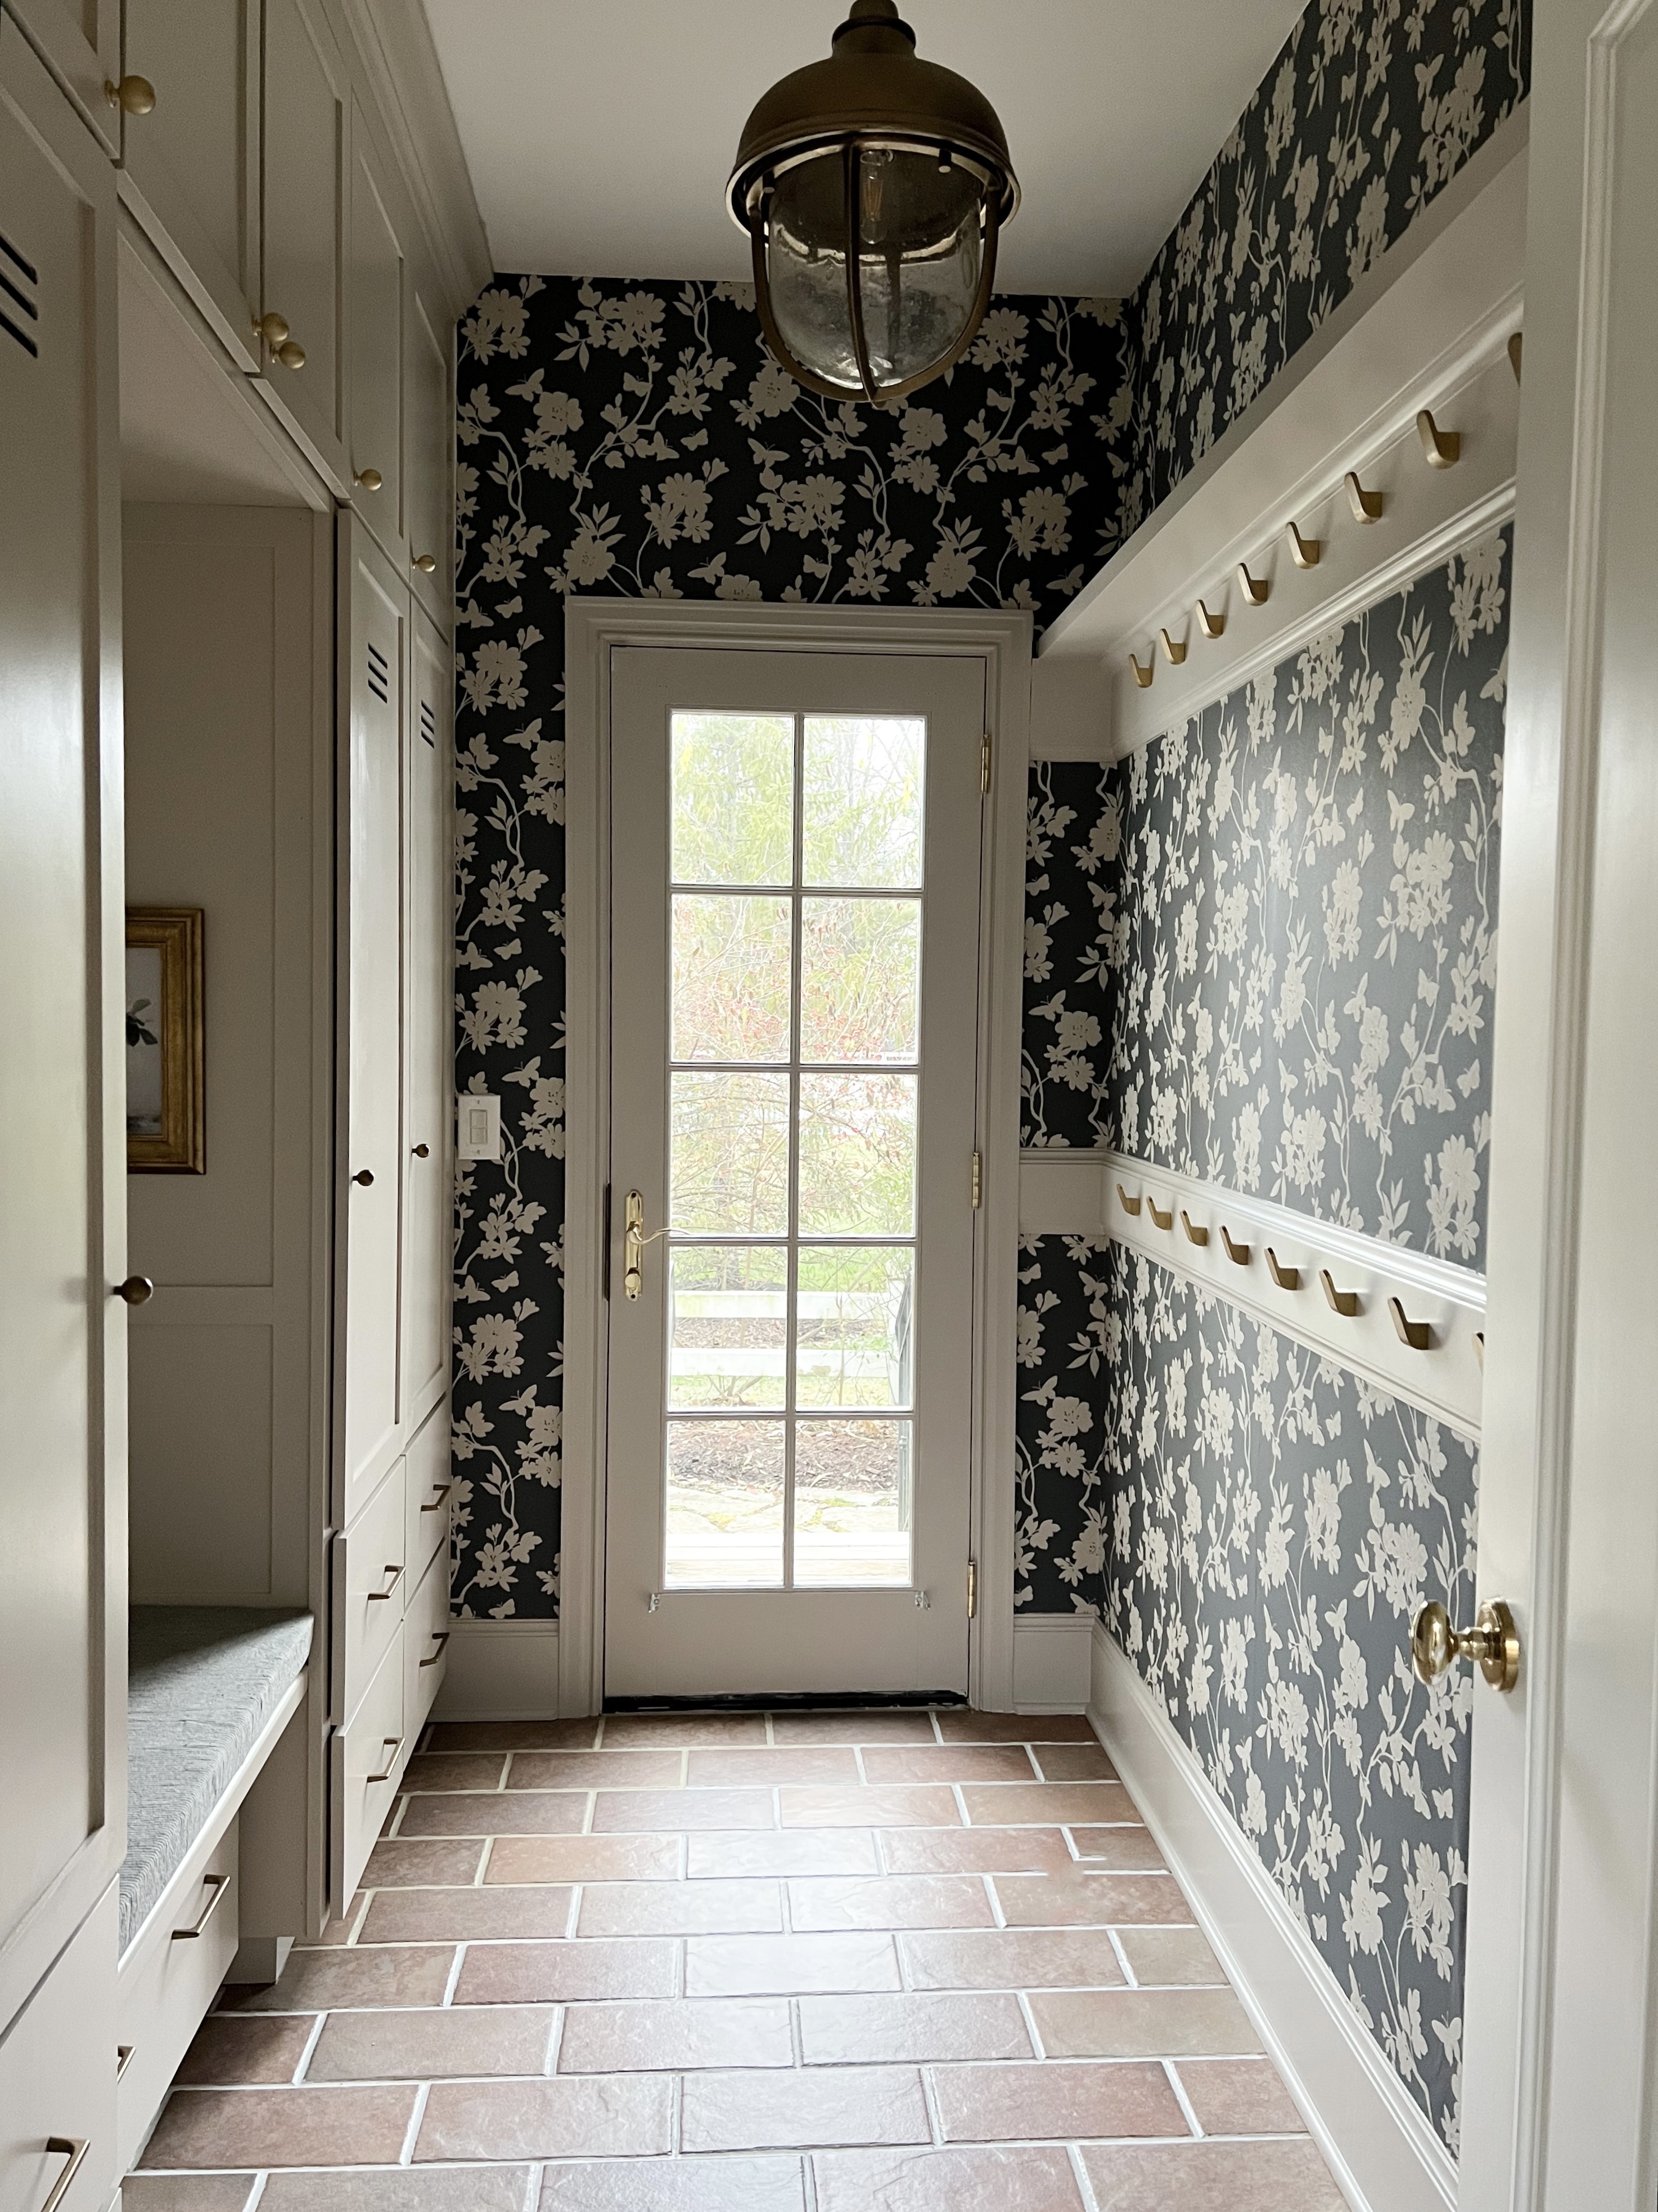
Want to learn how to paint cabinets? Part 1 of the mudroom makeover is linked here!
Post may contain affiliate links, please see the disclosure linked here.
What a transformation! Thank you for detailing the journey and THANK YOU for your unfiltered honesty, so helpful!
You’re the best!! Thank you!!