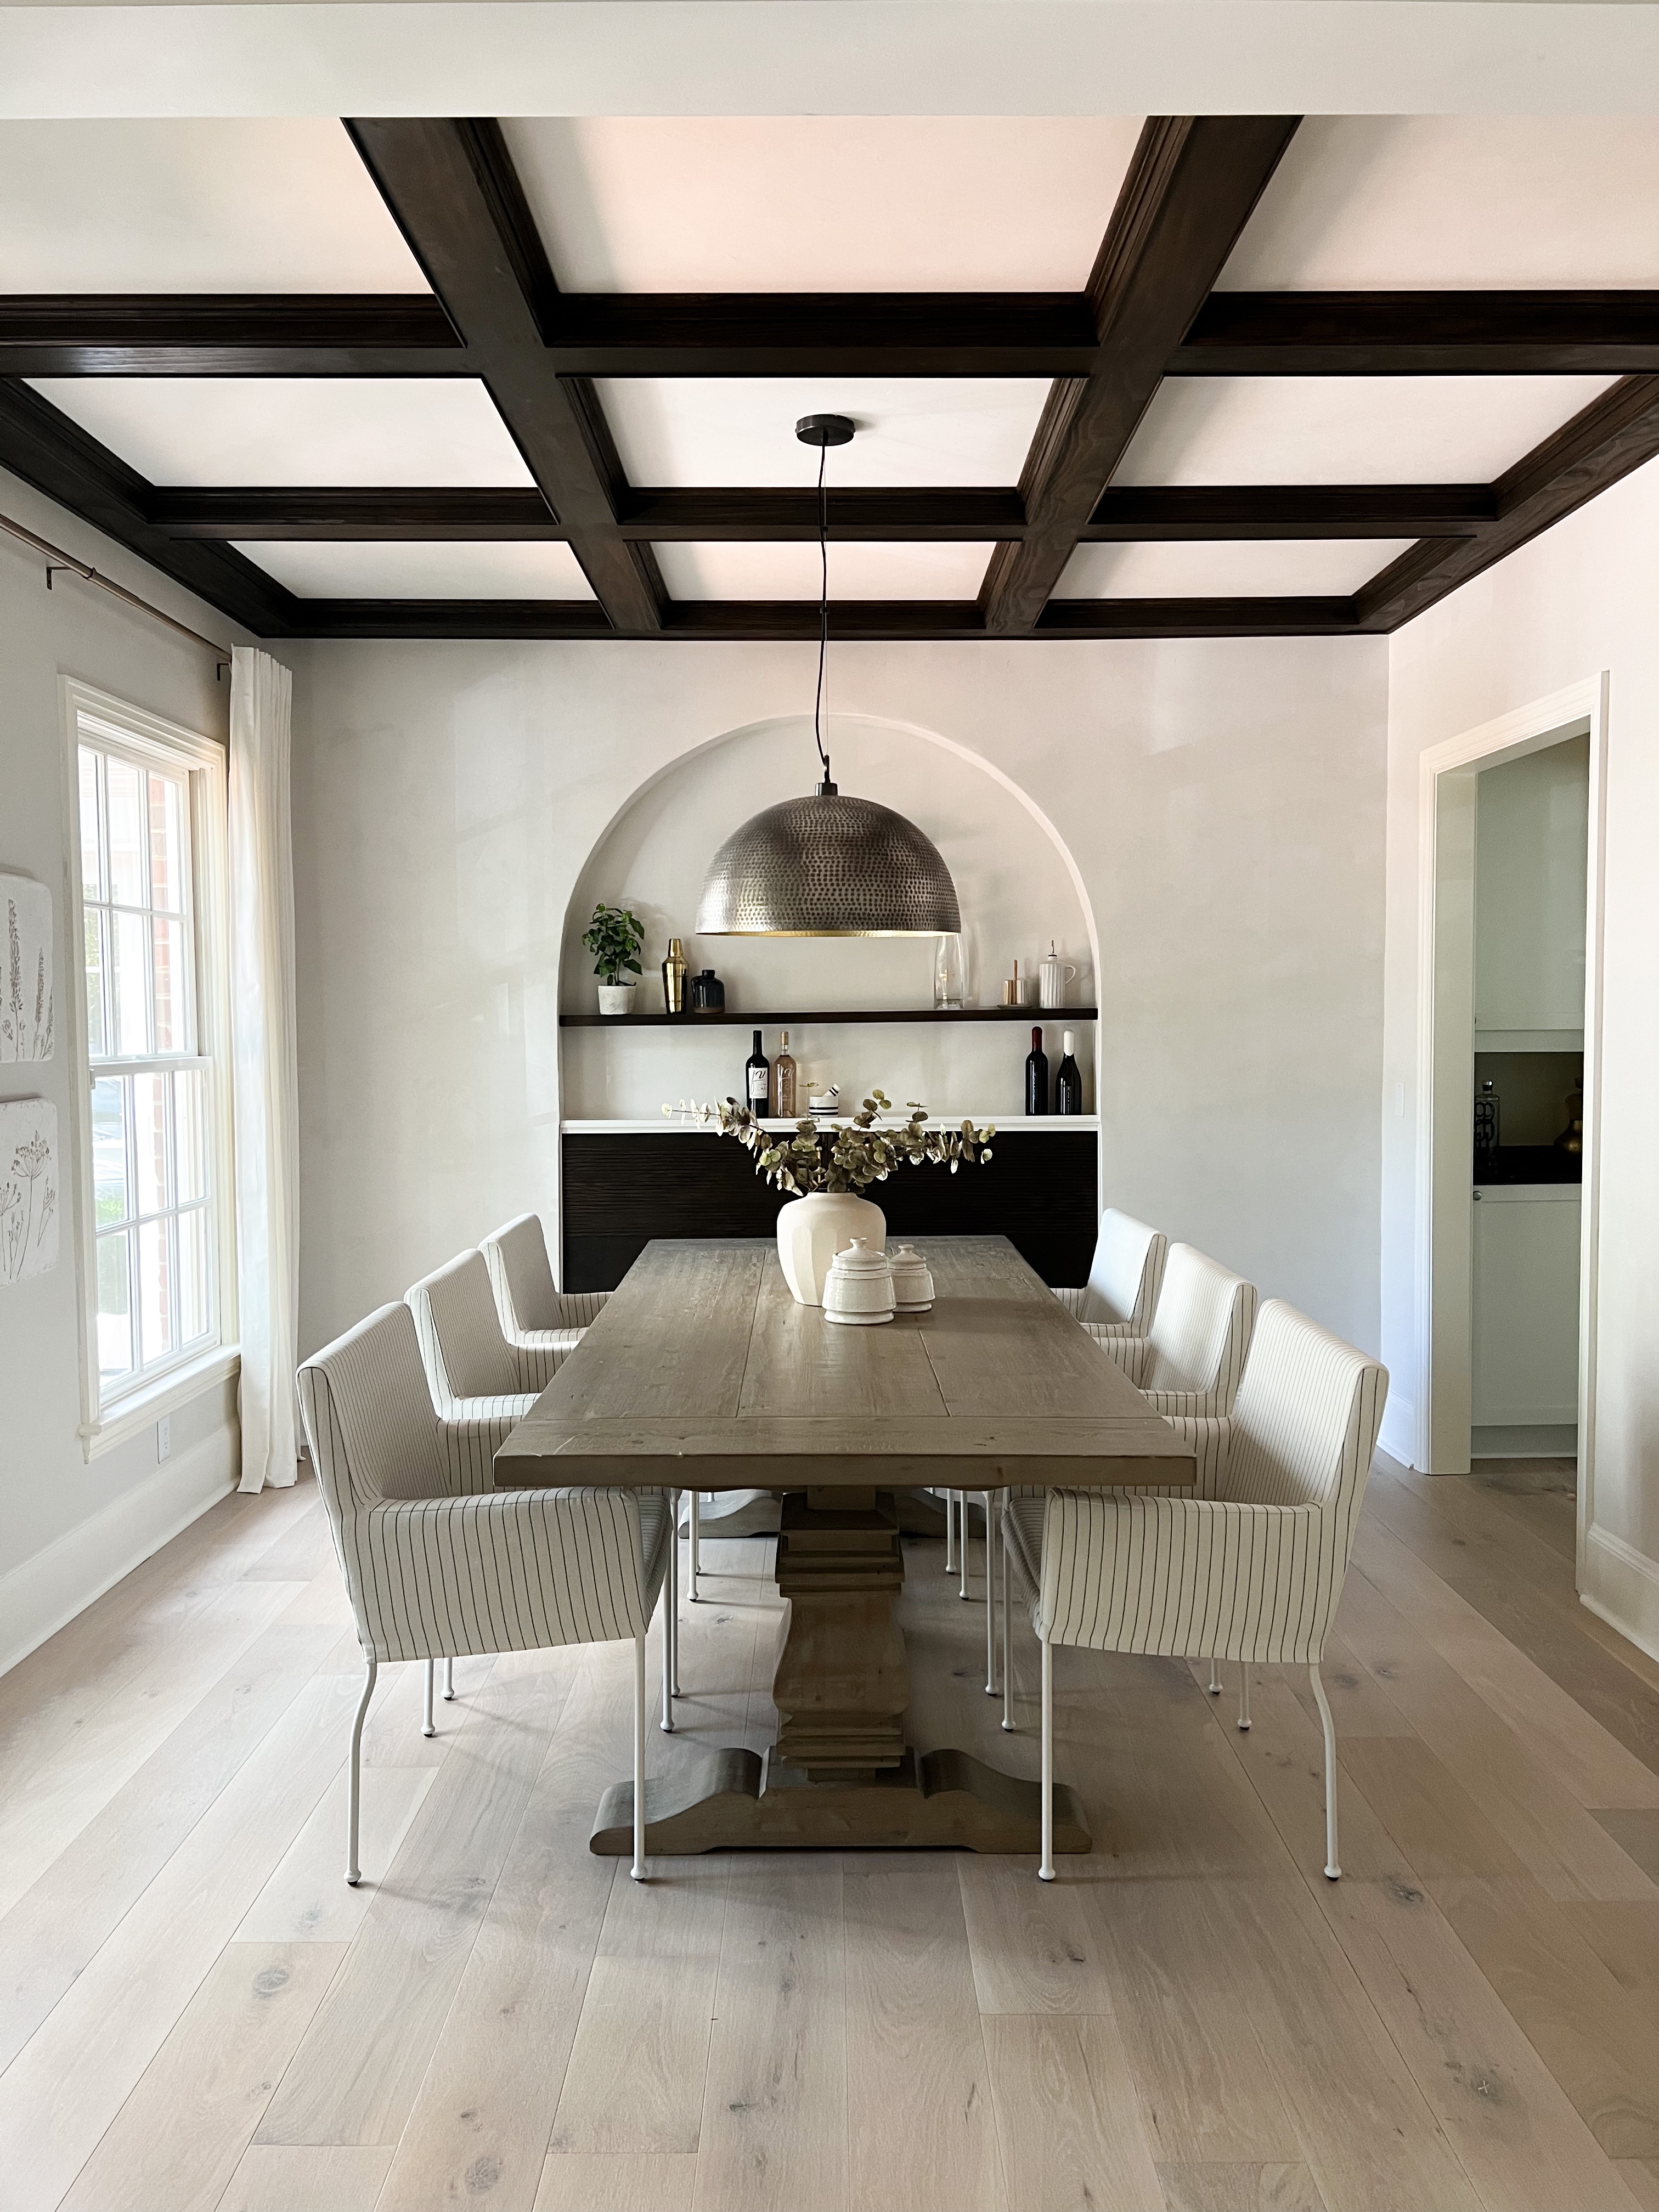
I love the look of wood beams, especially reclaimed wood ones. Someday, I’ll have beams like that. For now, to fit with the style of this home, I need a more traditional beam ceiling – like a DIY coffered ceiling!
I knew if I could find a way to create one with stained wood, it would be a perfect fit!
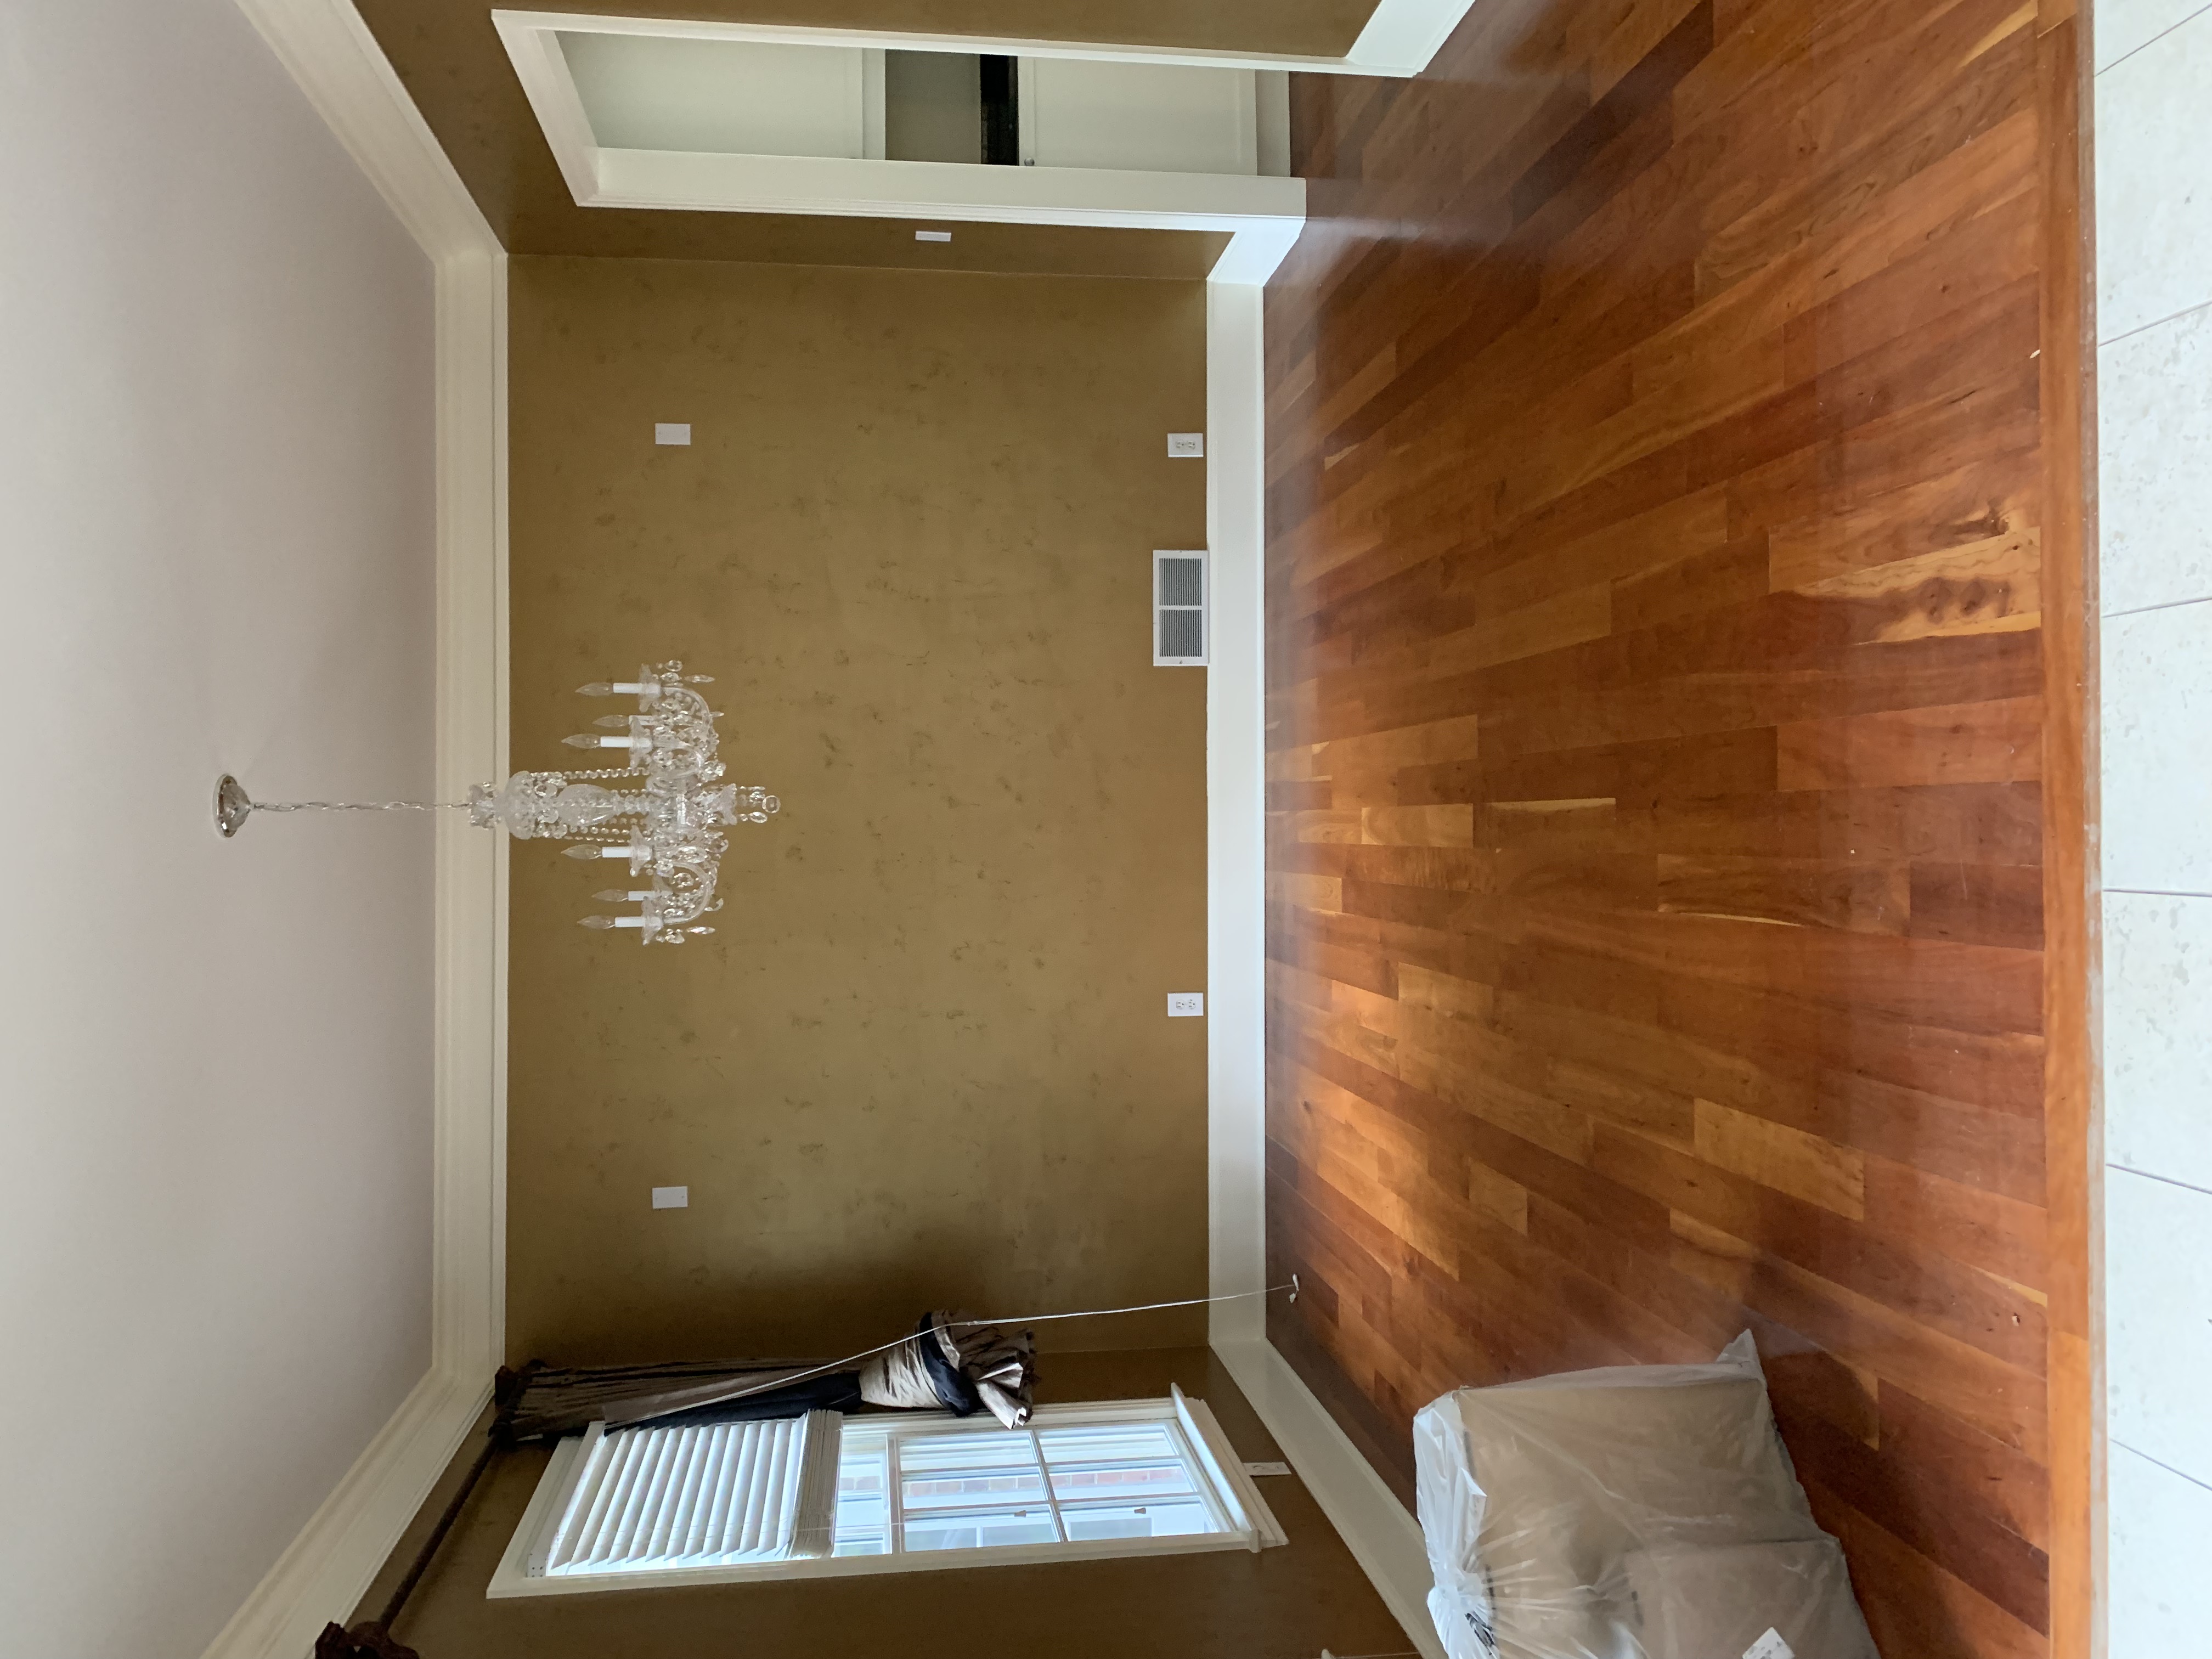
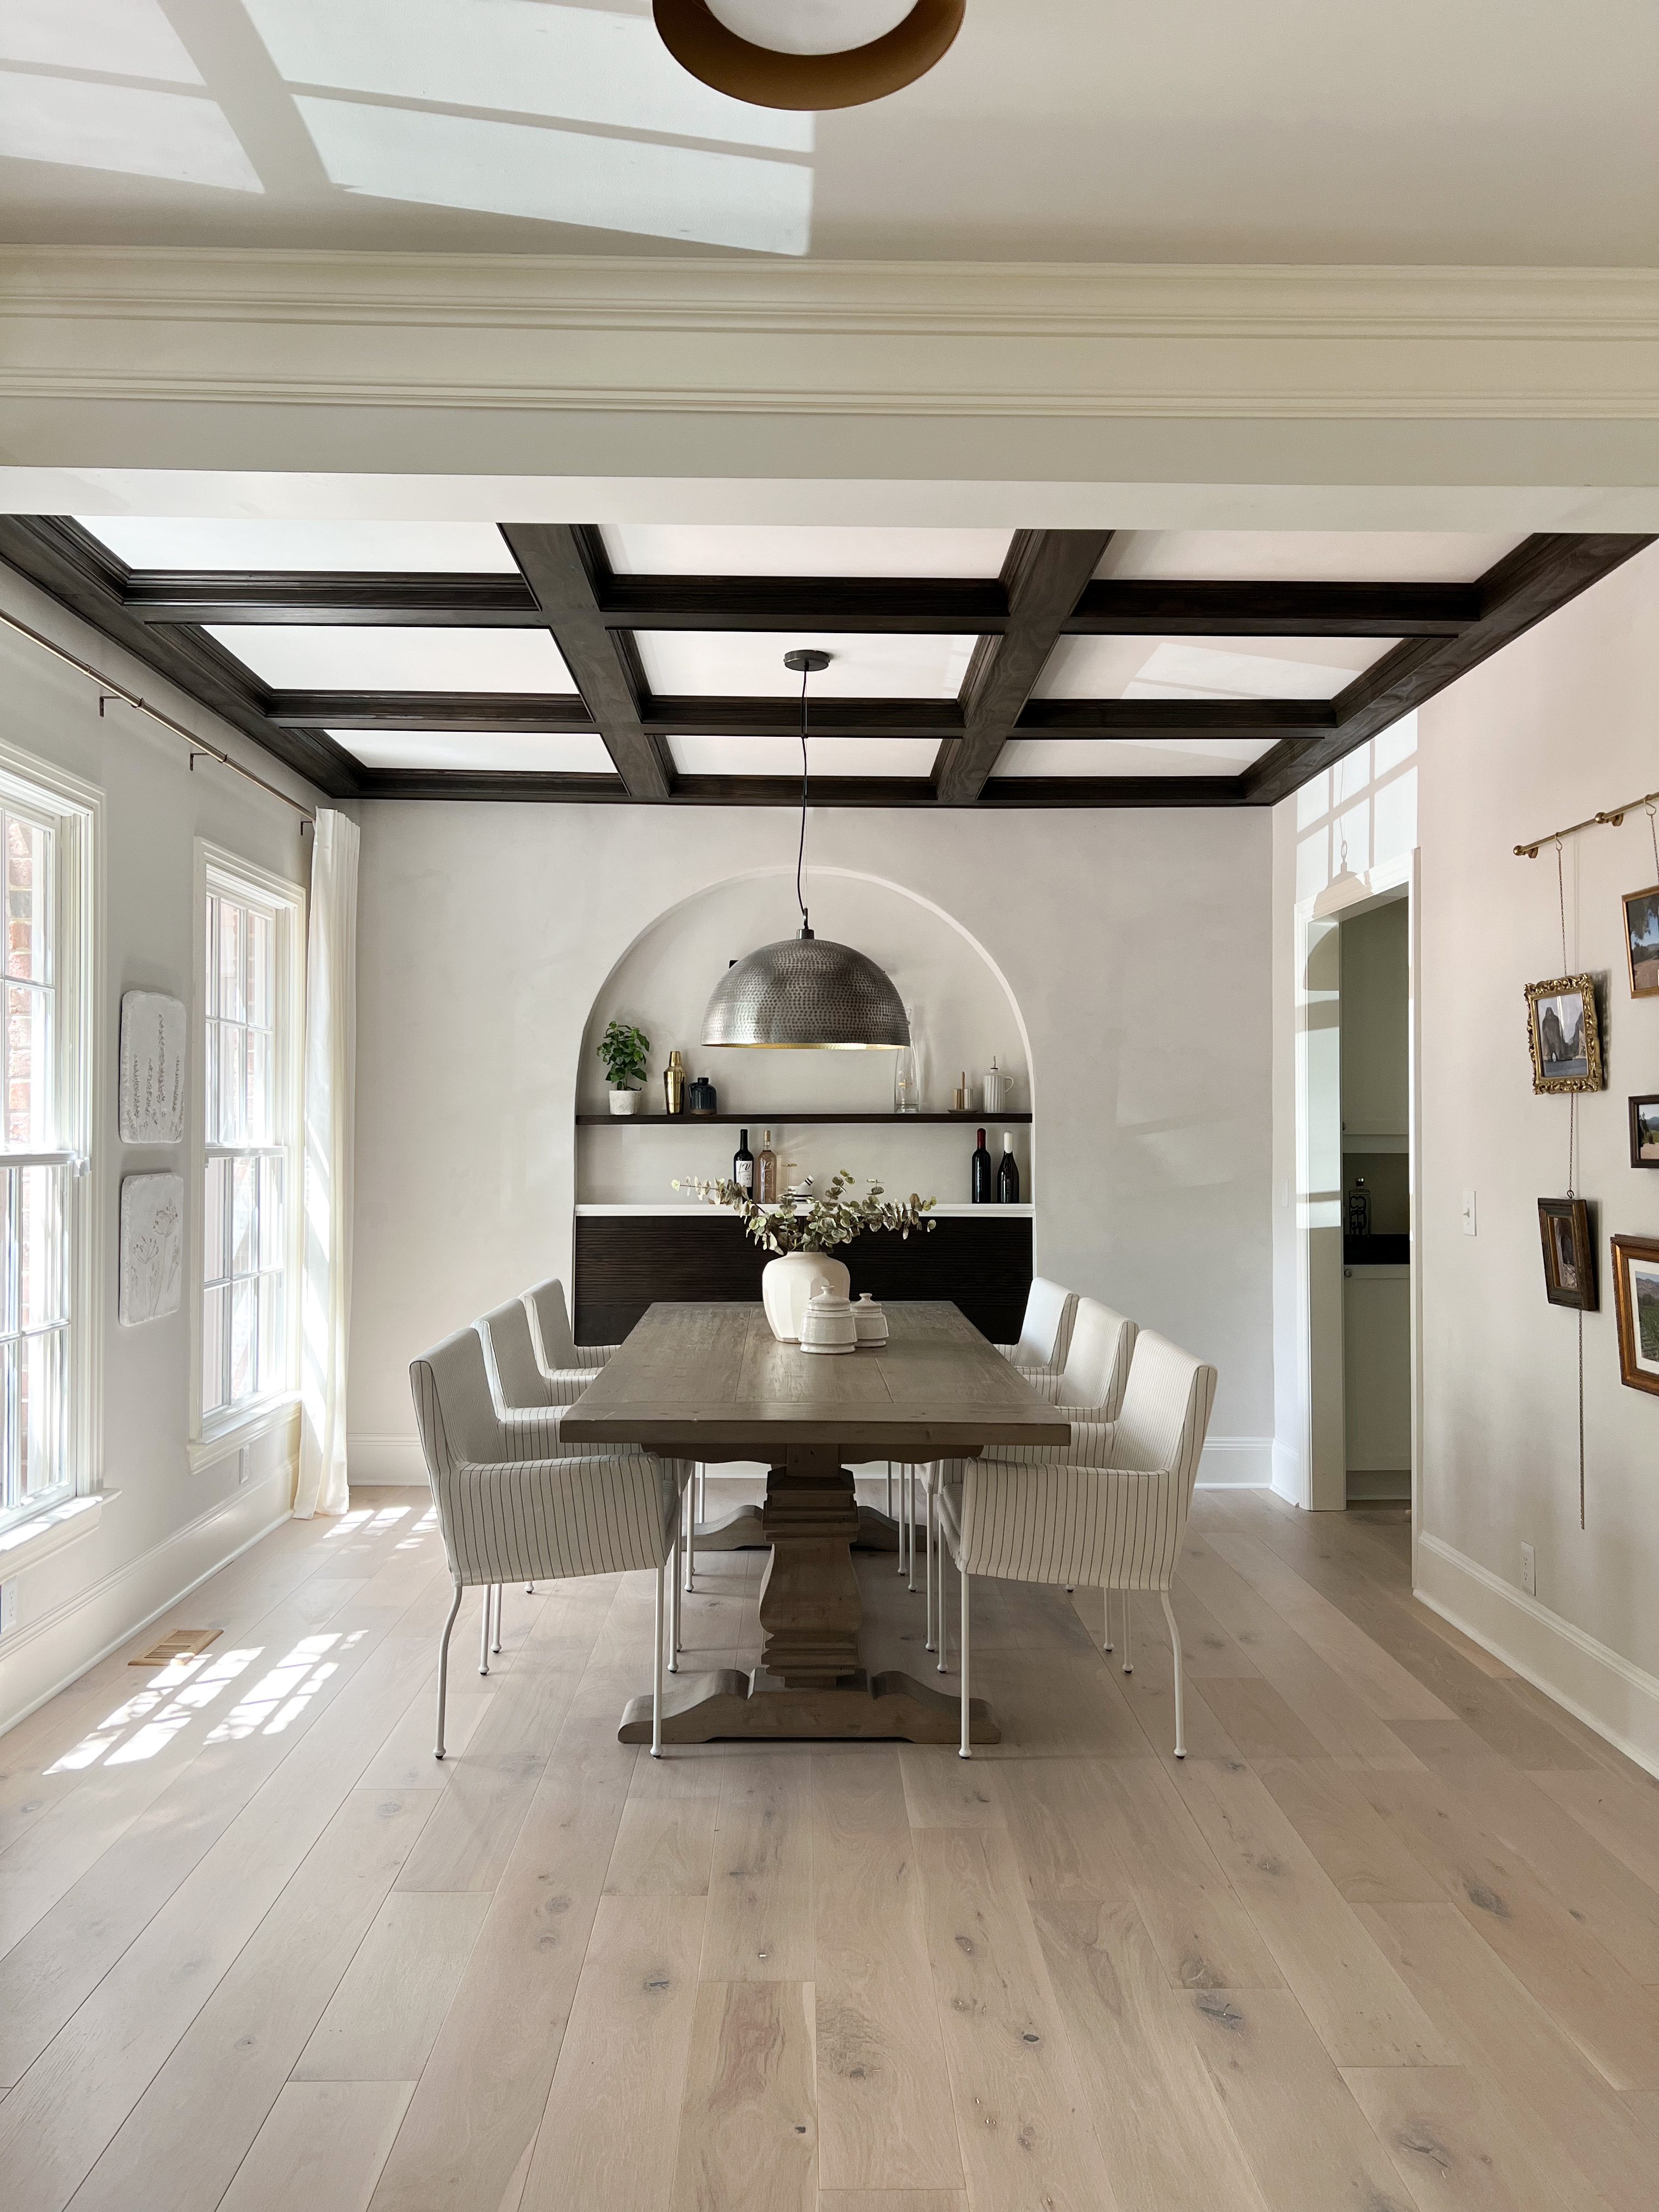
Read about my step-by-step process on how to build a DIY coffered ceiling below, or watch my YouTube video to watch this DIY project come to life!
A materials list with links is at the bottom of this post!
I definitely read and watch a lot of things before starting a new project! I loved reading this blog post when I started brainstorming for this project. It breaks down a coffered ceiling build in a very manageable way and is a great tutorial to follow! I changed the dimensions and used different trim, but the gist of the build is very similar.
Planning my DIY Coffered Ceiling
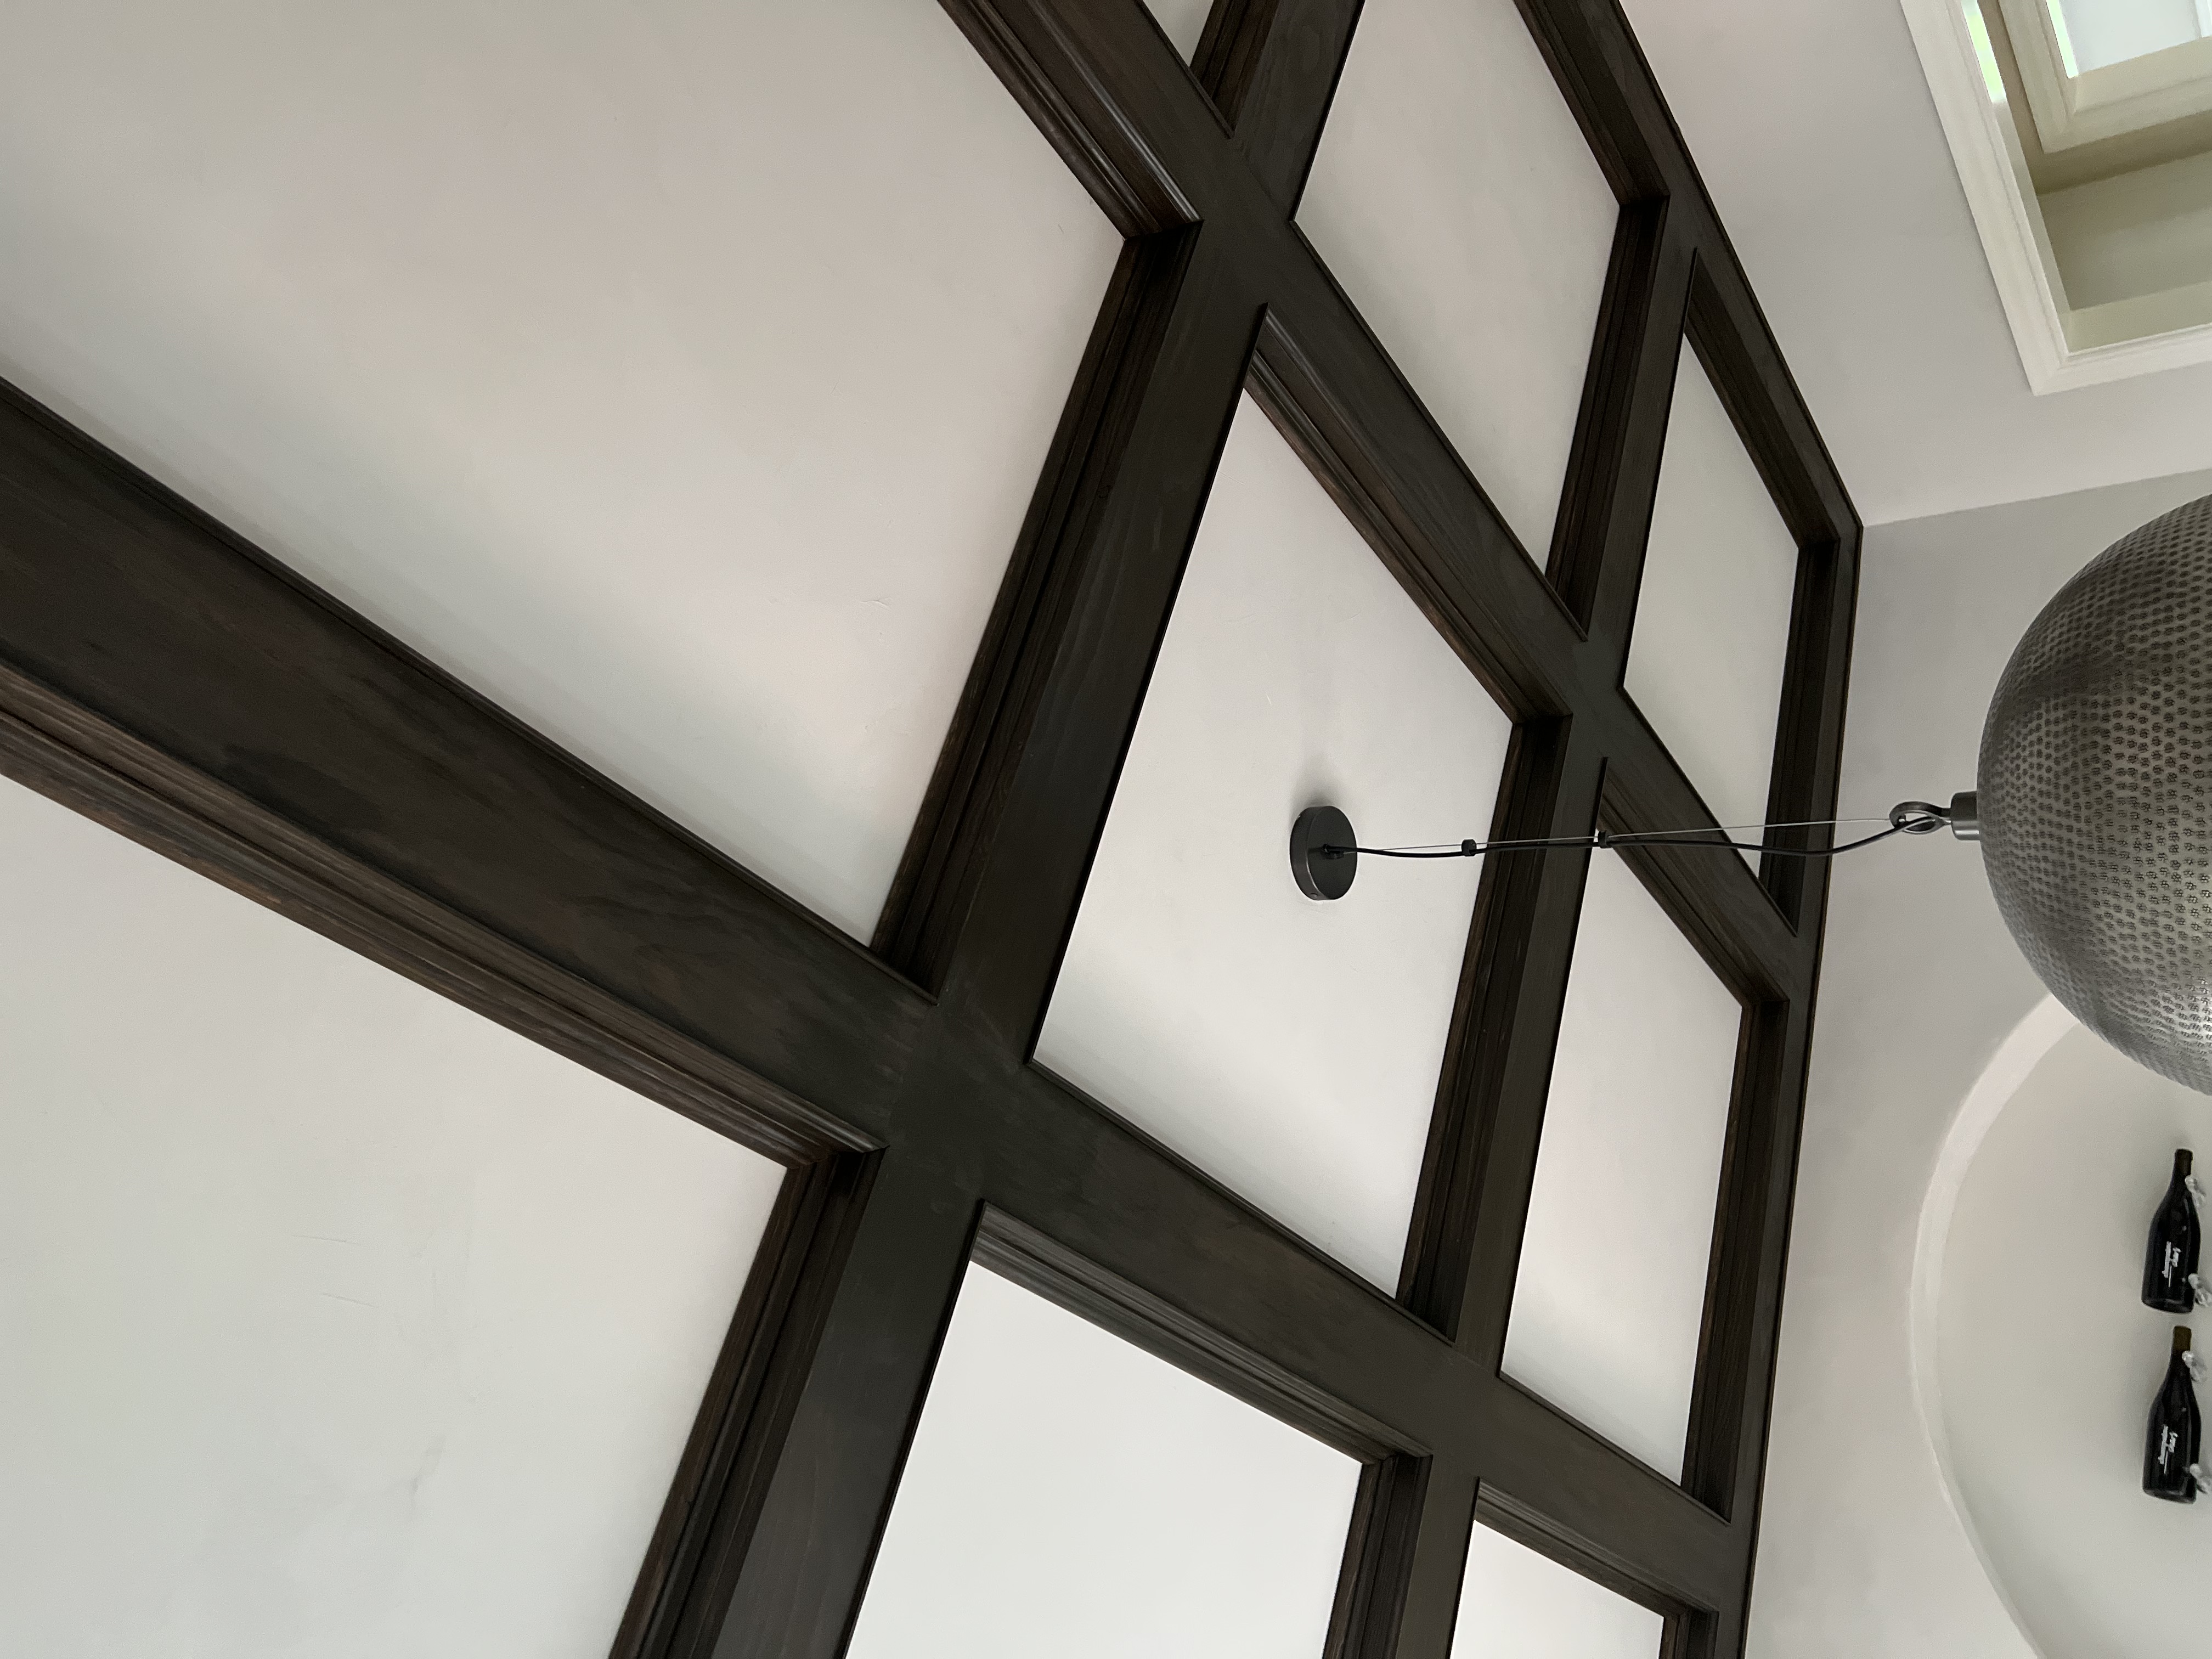
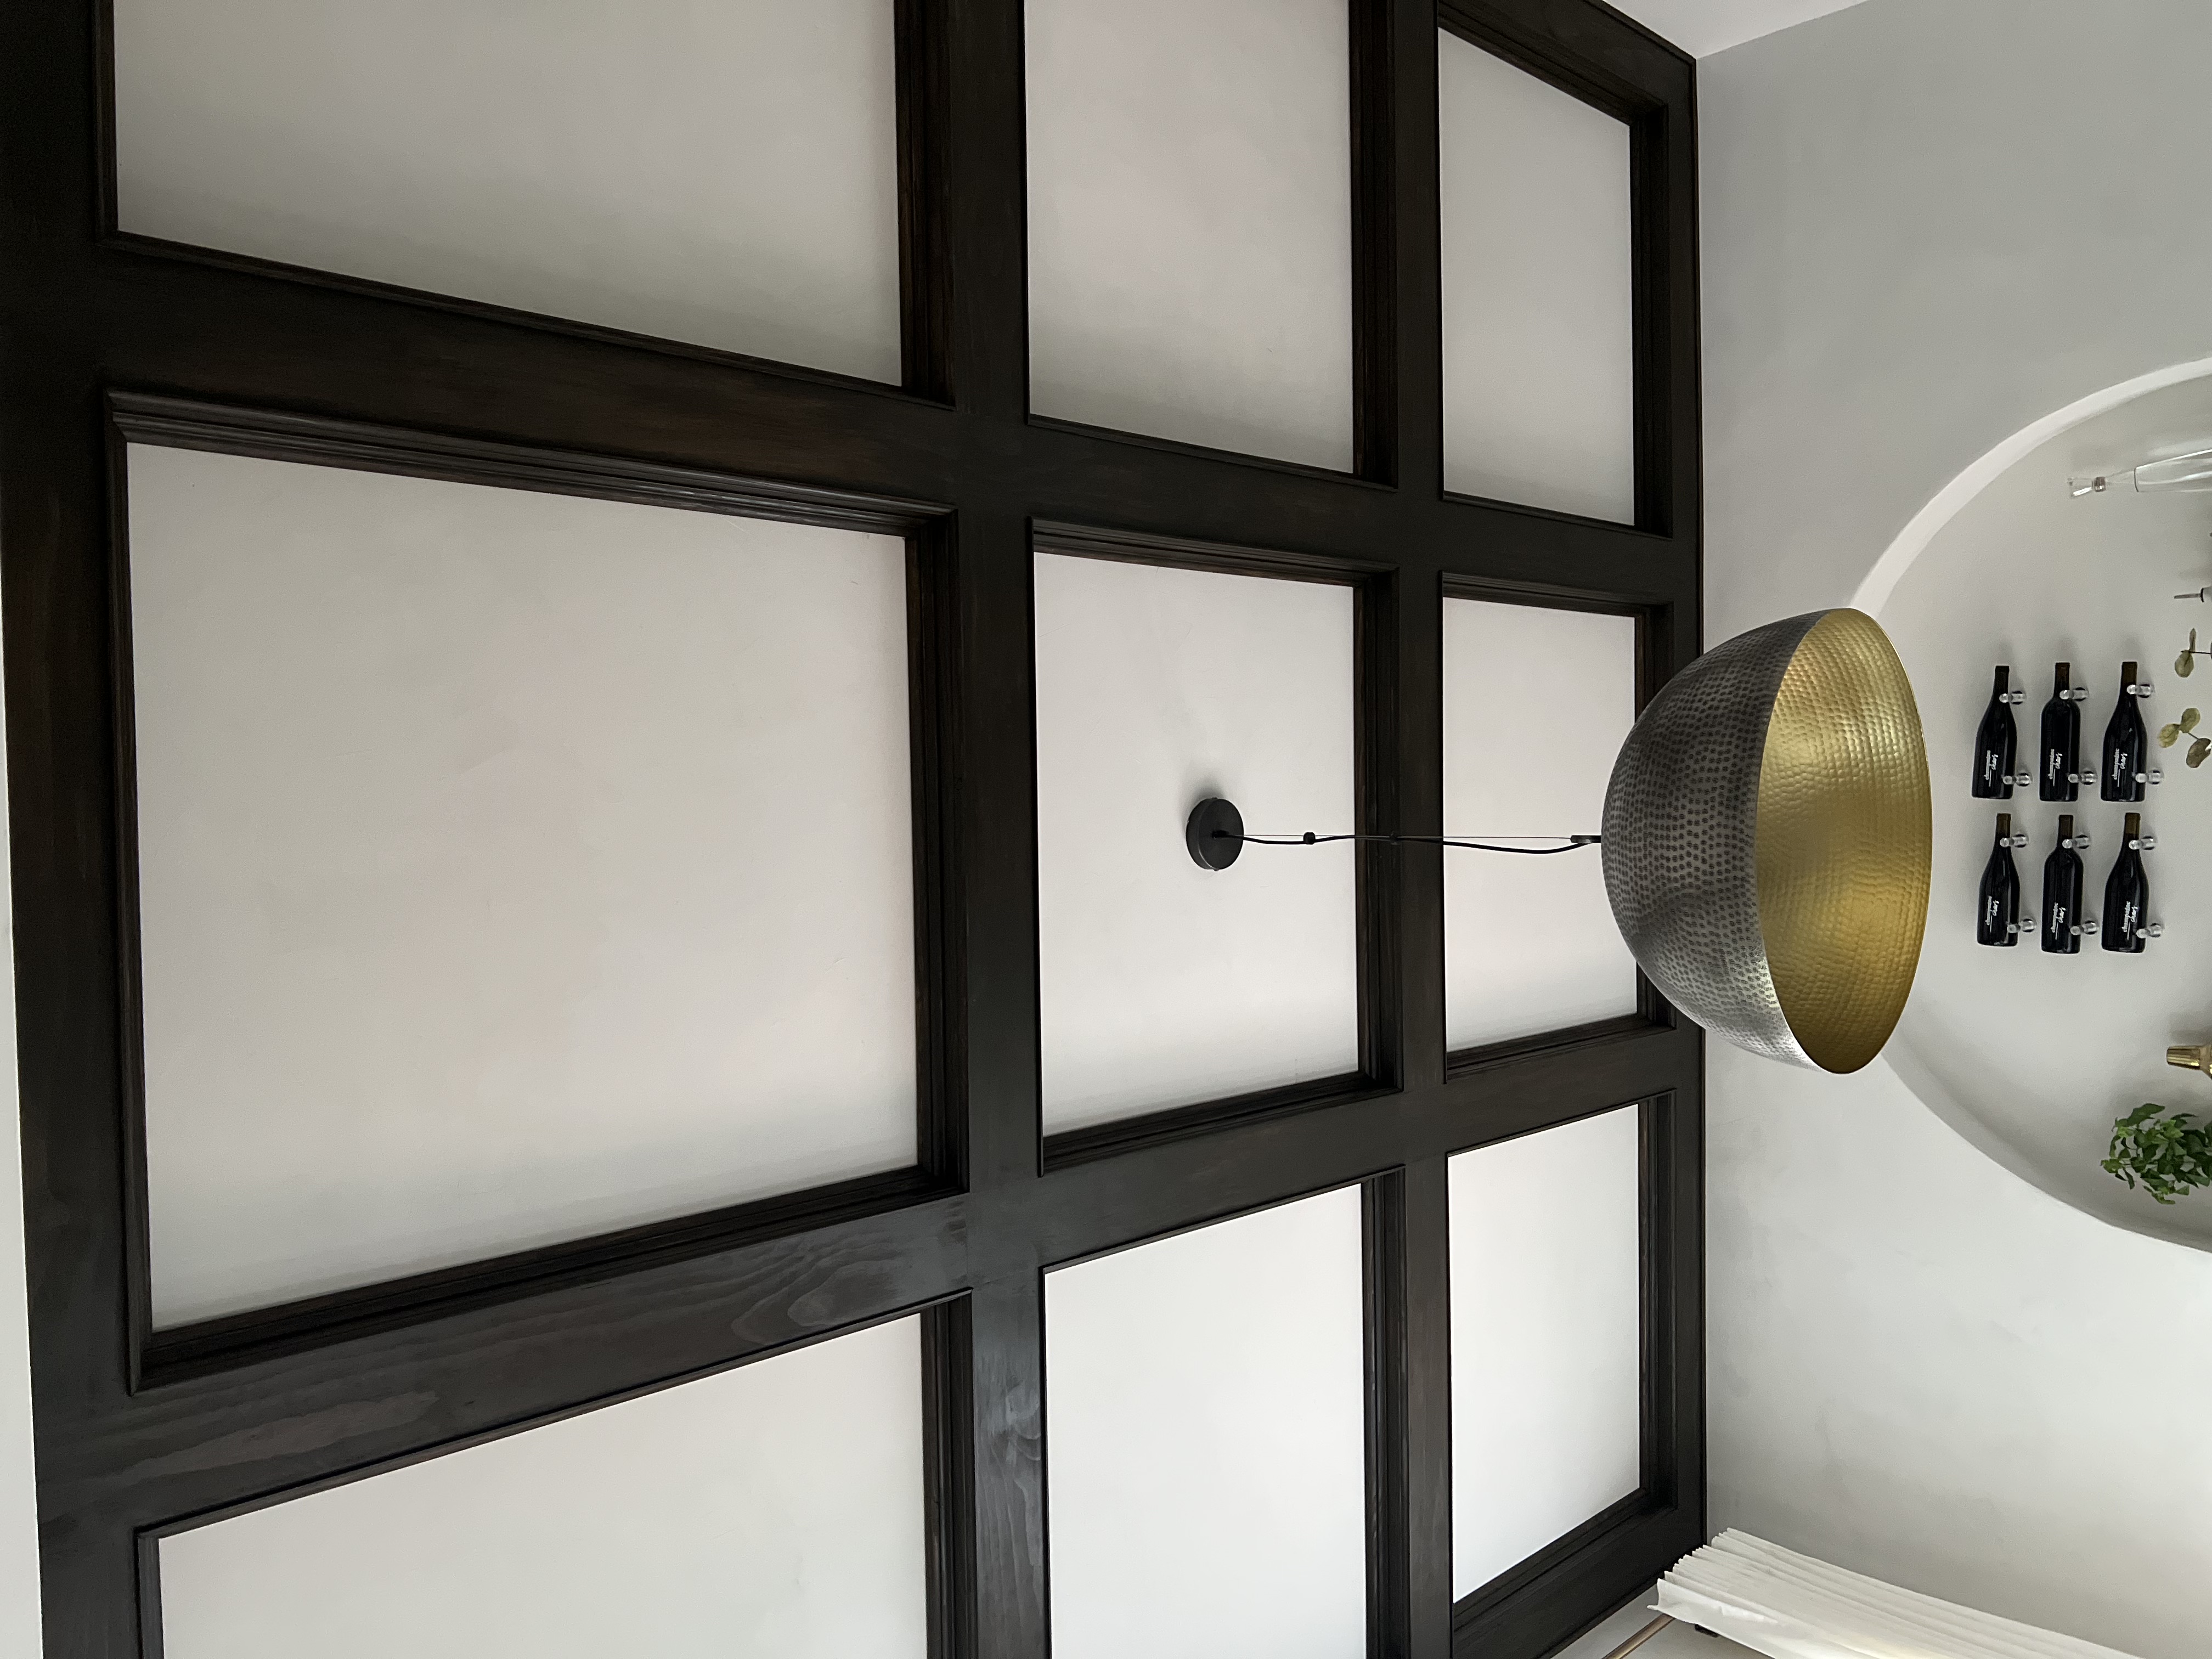
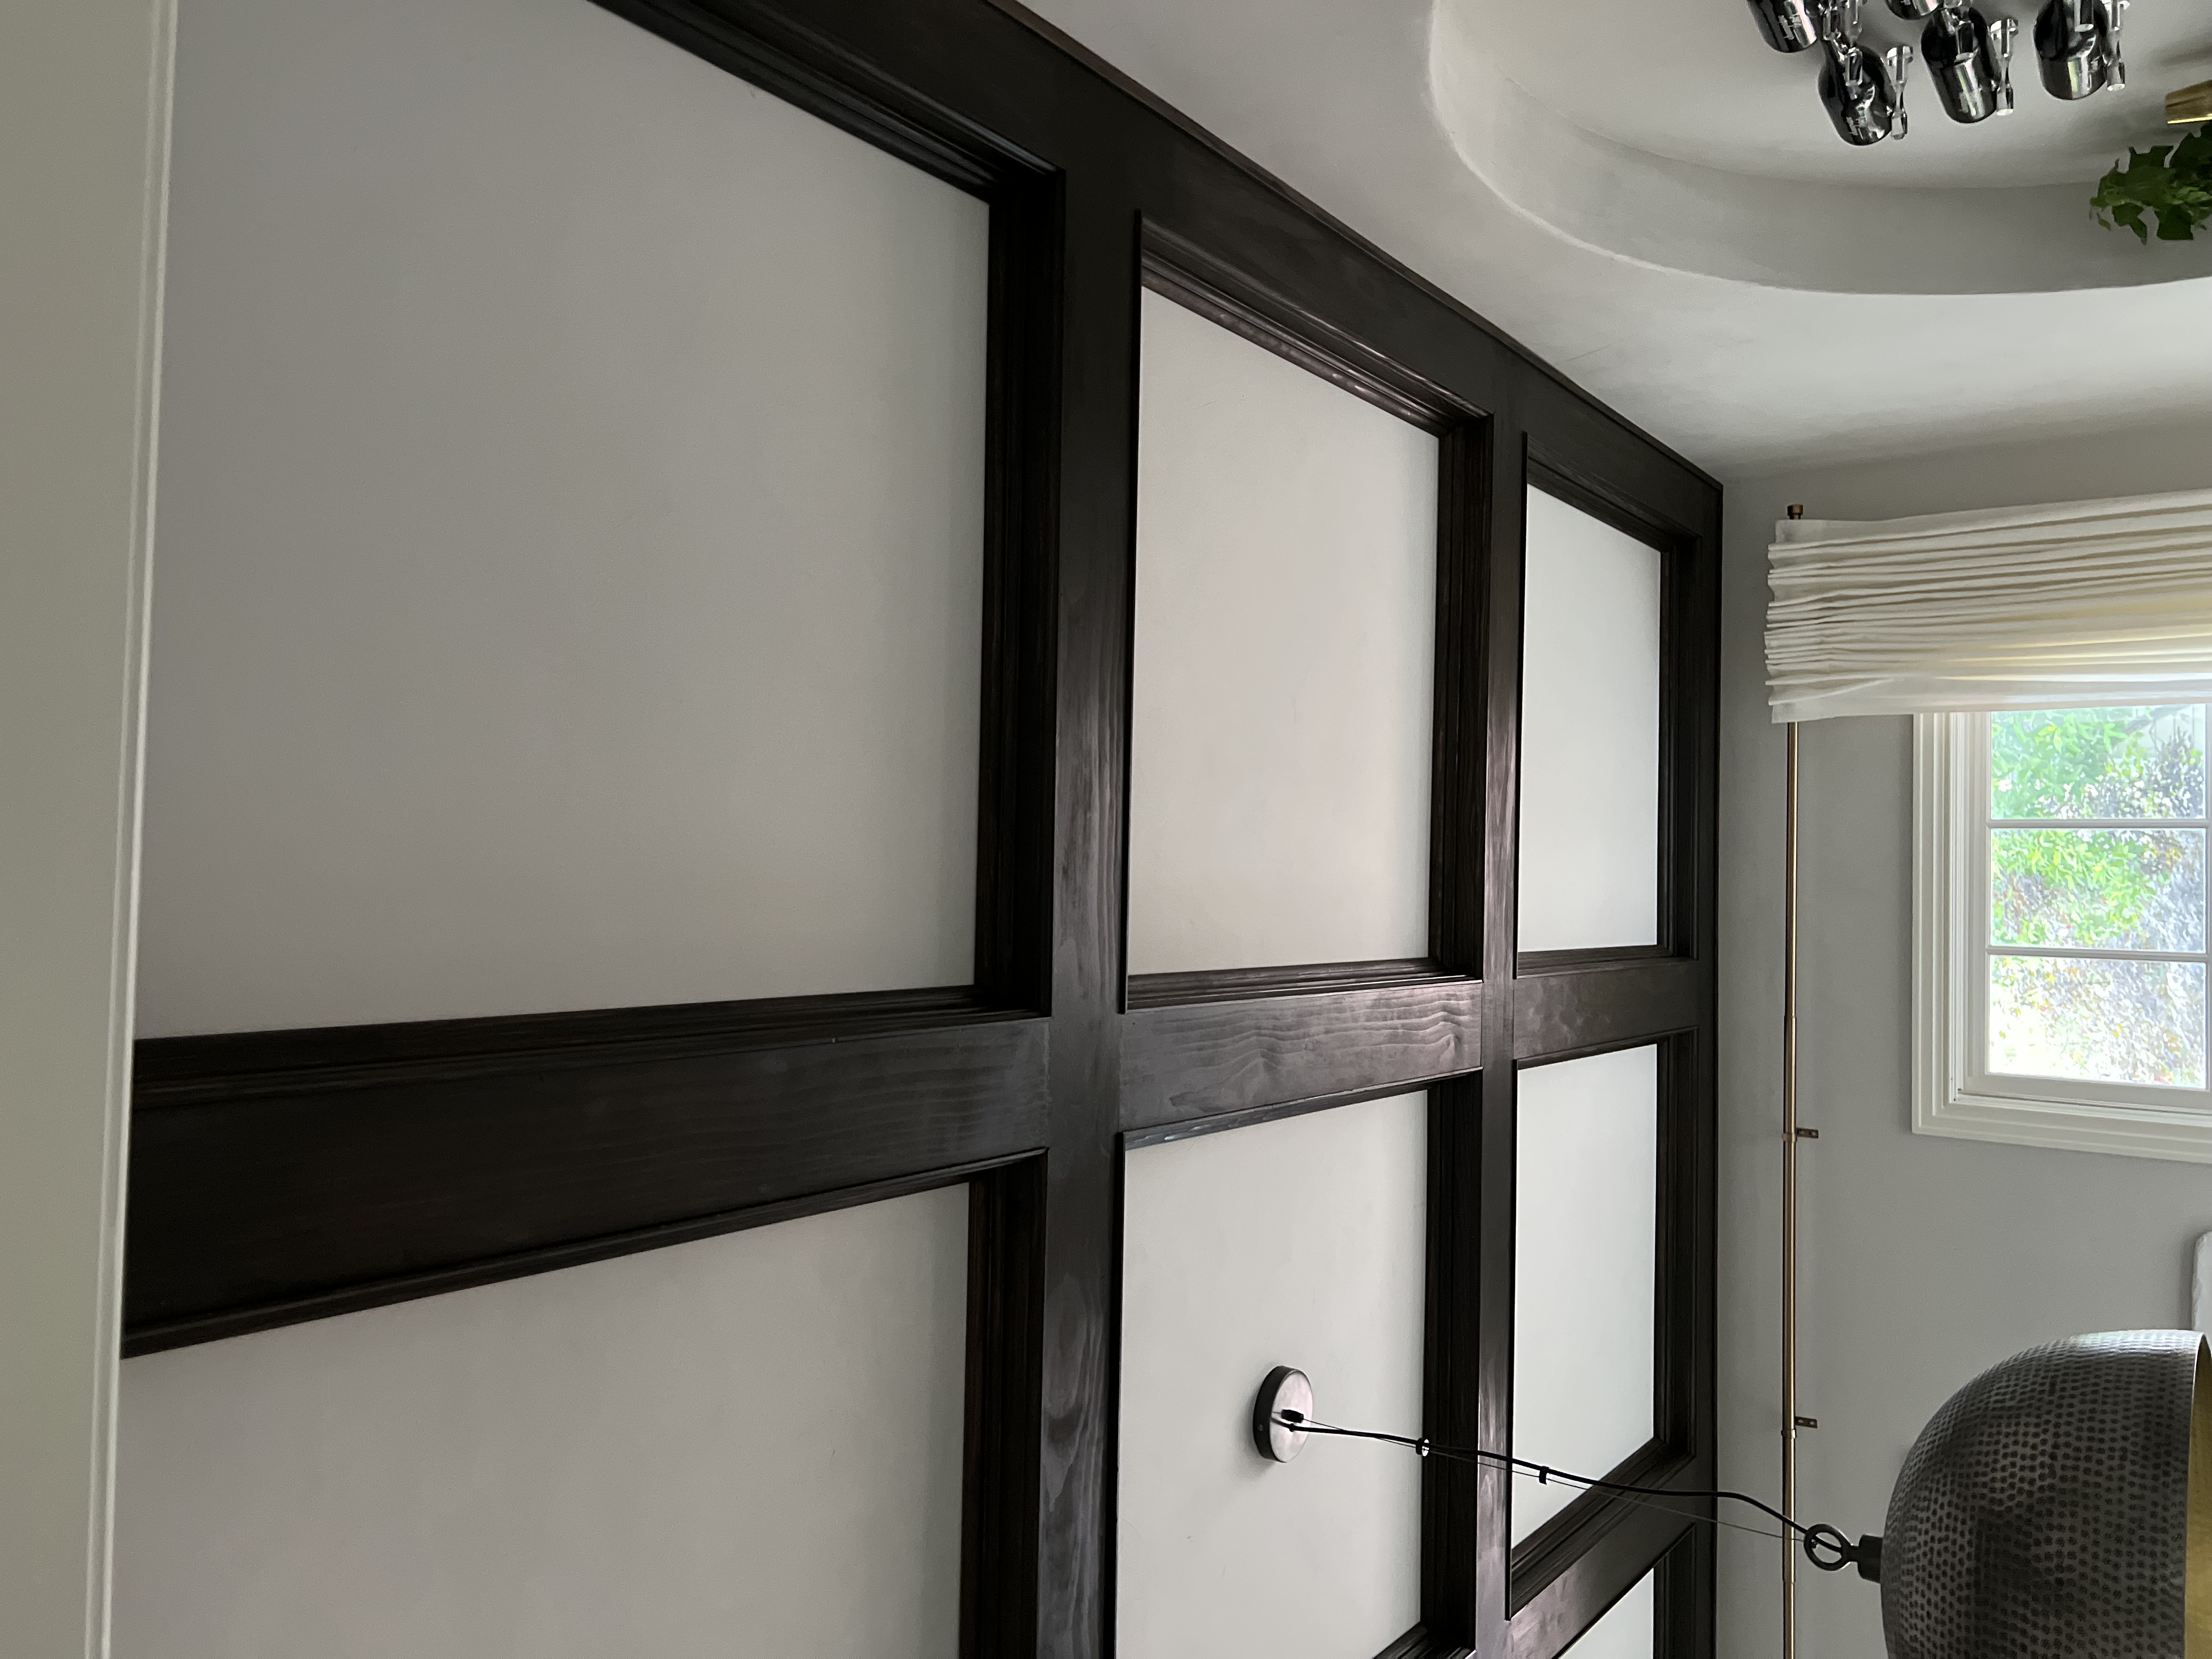
Our ceilings are 9 feet tall. I went with dimensions that wouldn’t take a ton of that height away but would still be substantial. I used 1×6 boards for the width. The height of the baseboards used on the sides is just over 3 inches.
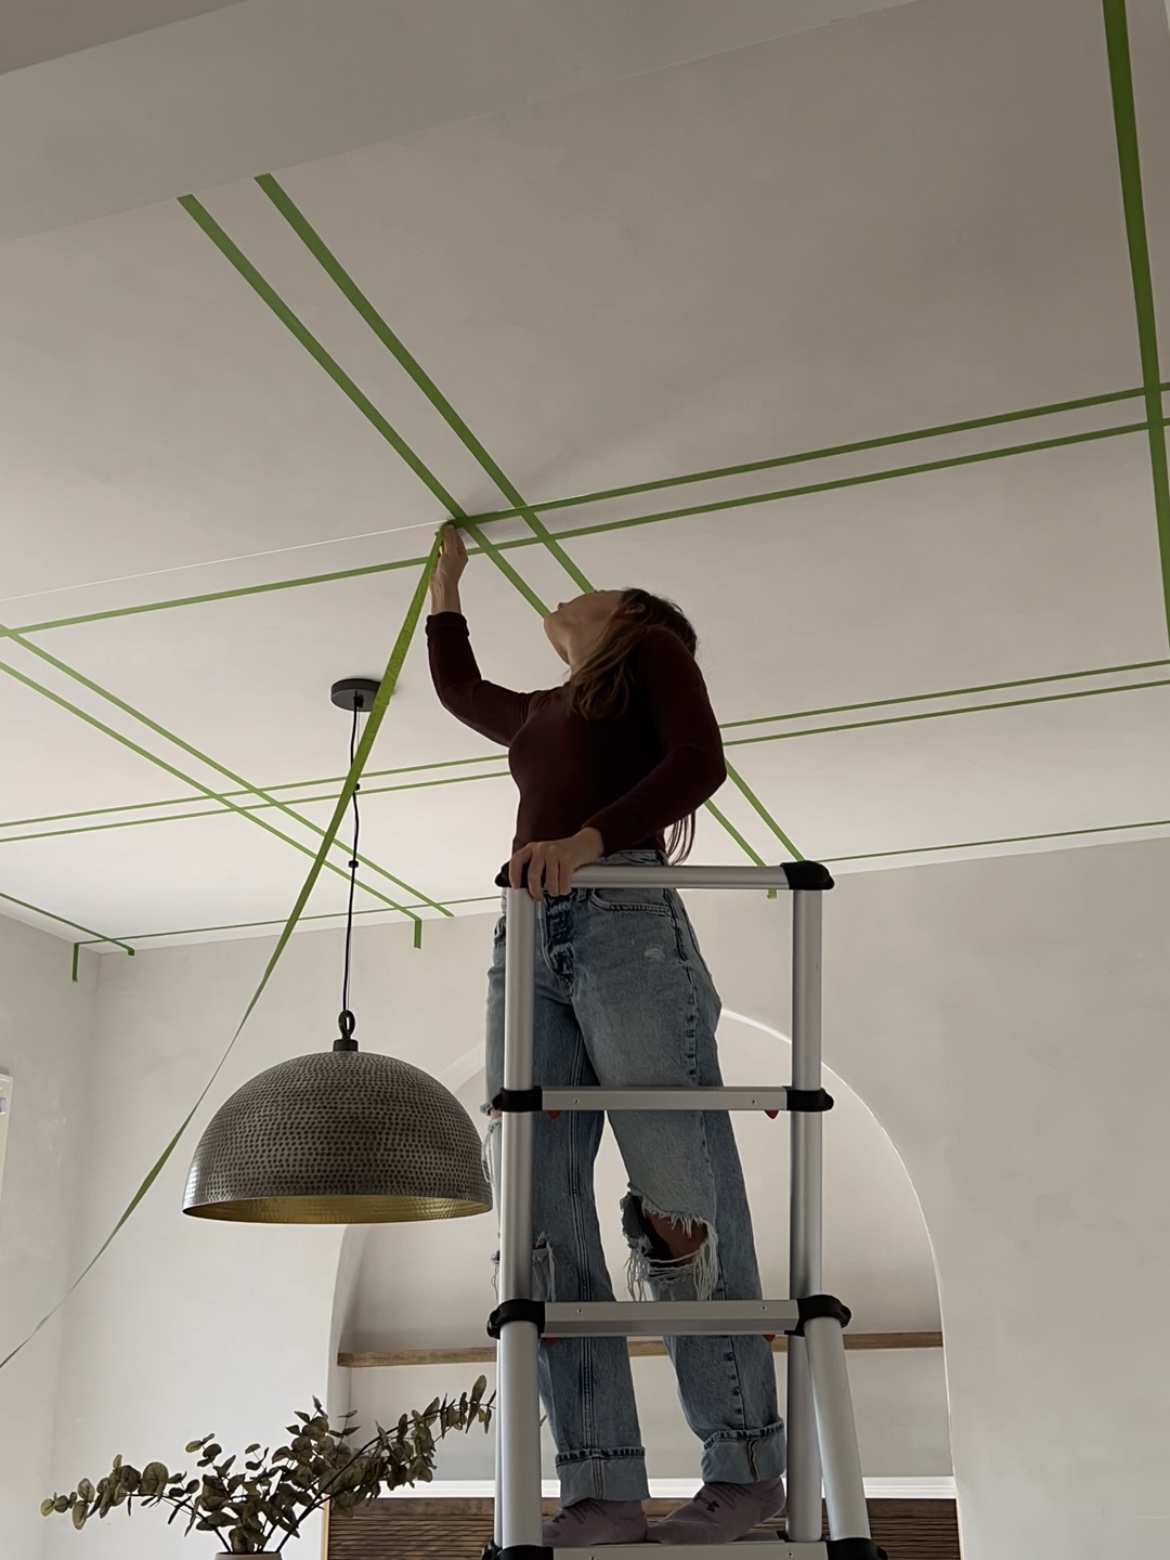
The dining room is a square, right around 12×12, so I went with a grid pattern. I started by using a laser level to tape it out and help me to see the scale before starting.
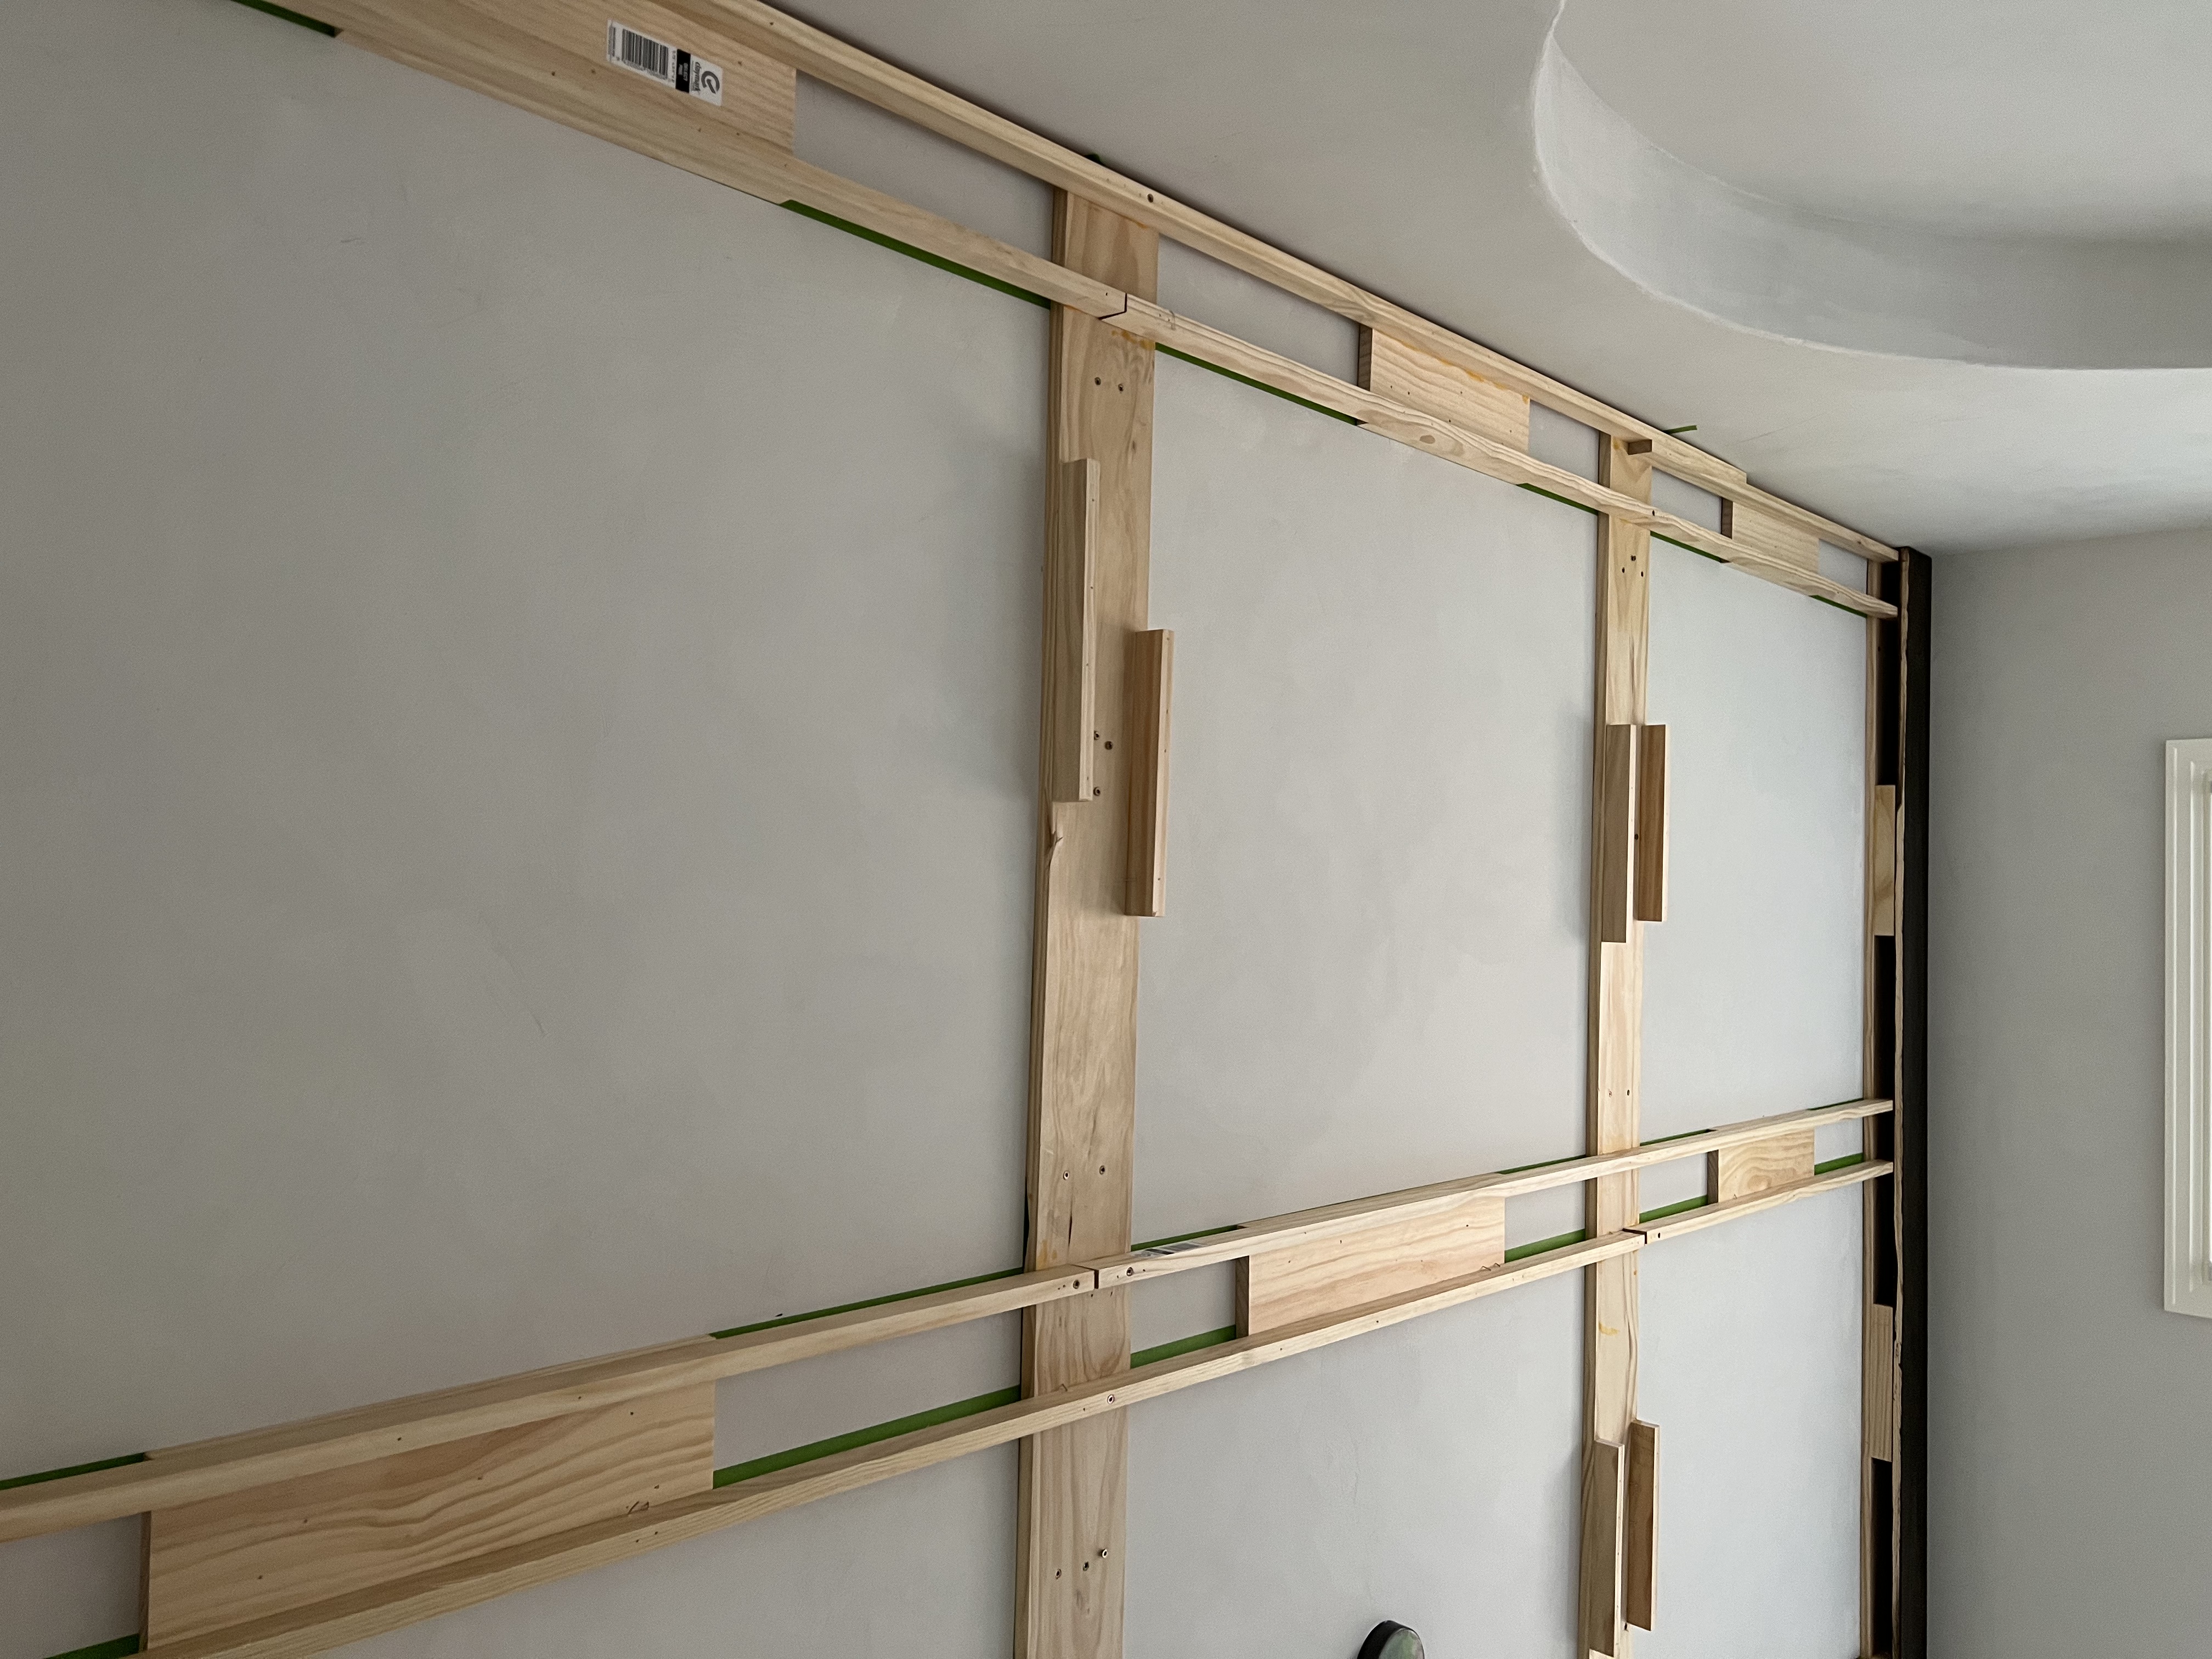
I chose the size of the grids based on where my ceiling joists were, so I could attach to them for stability!
Attaching the Brackets
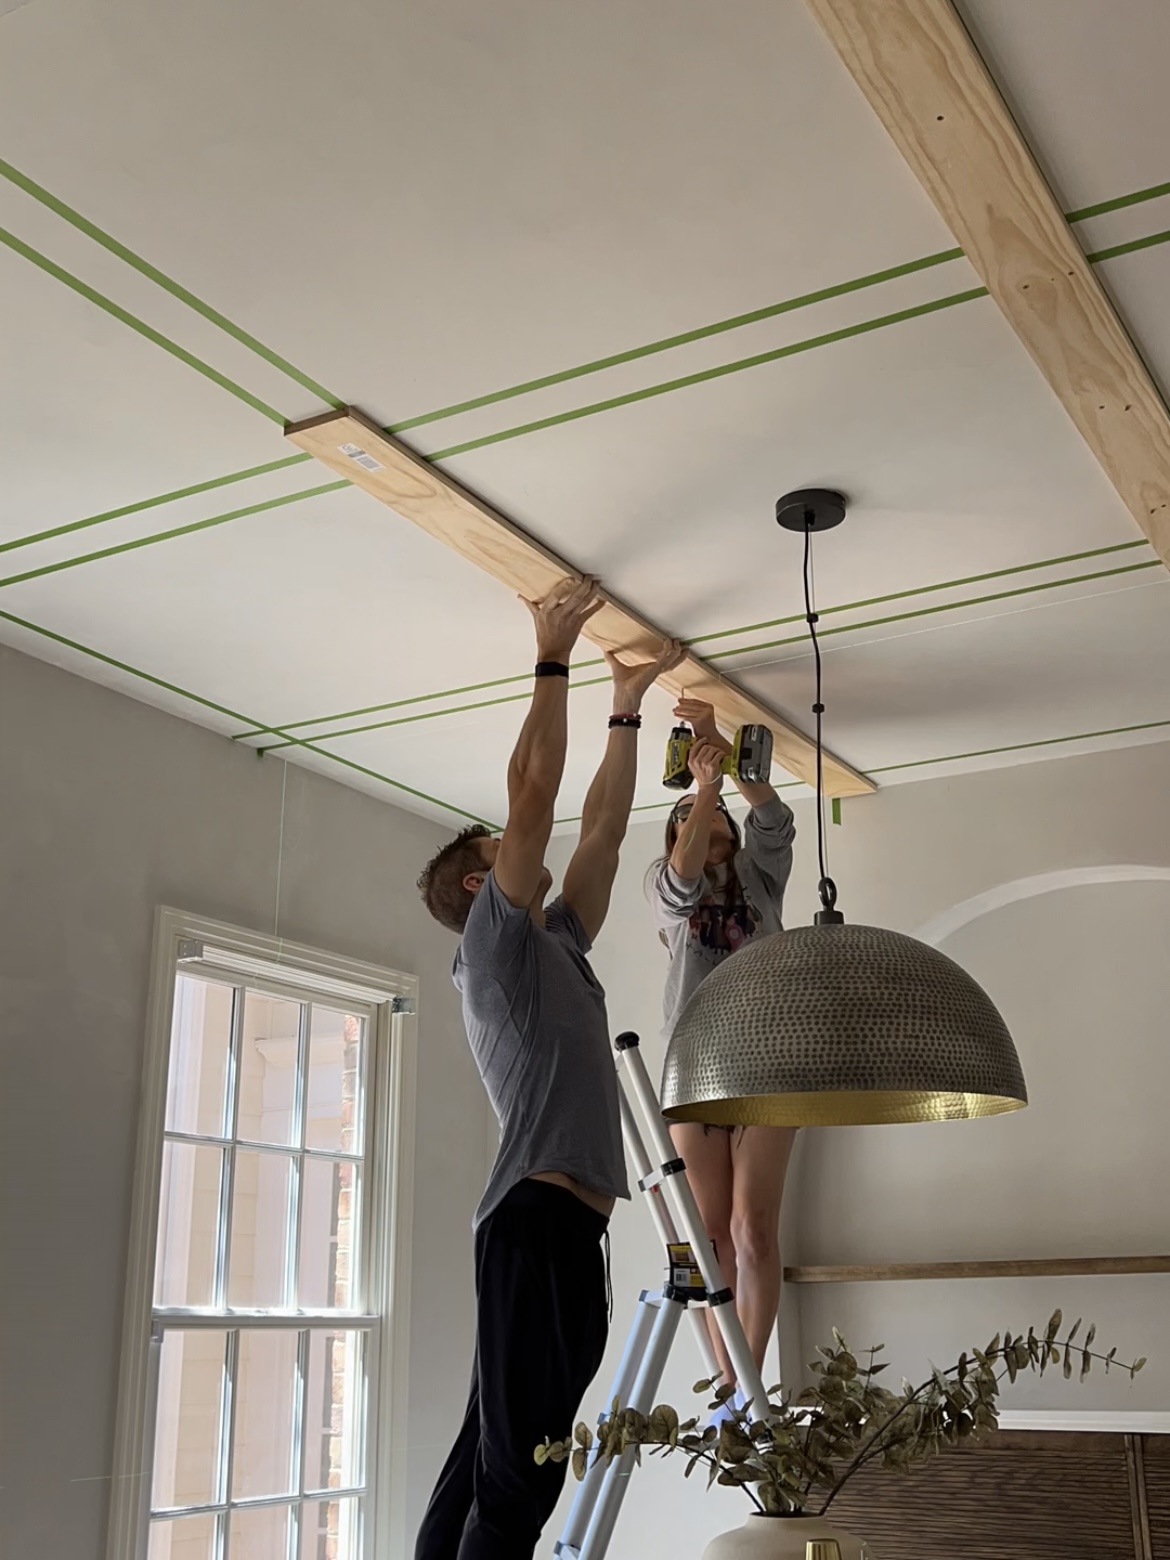
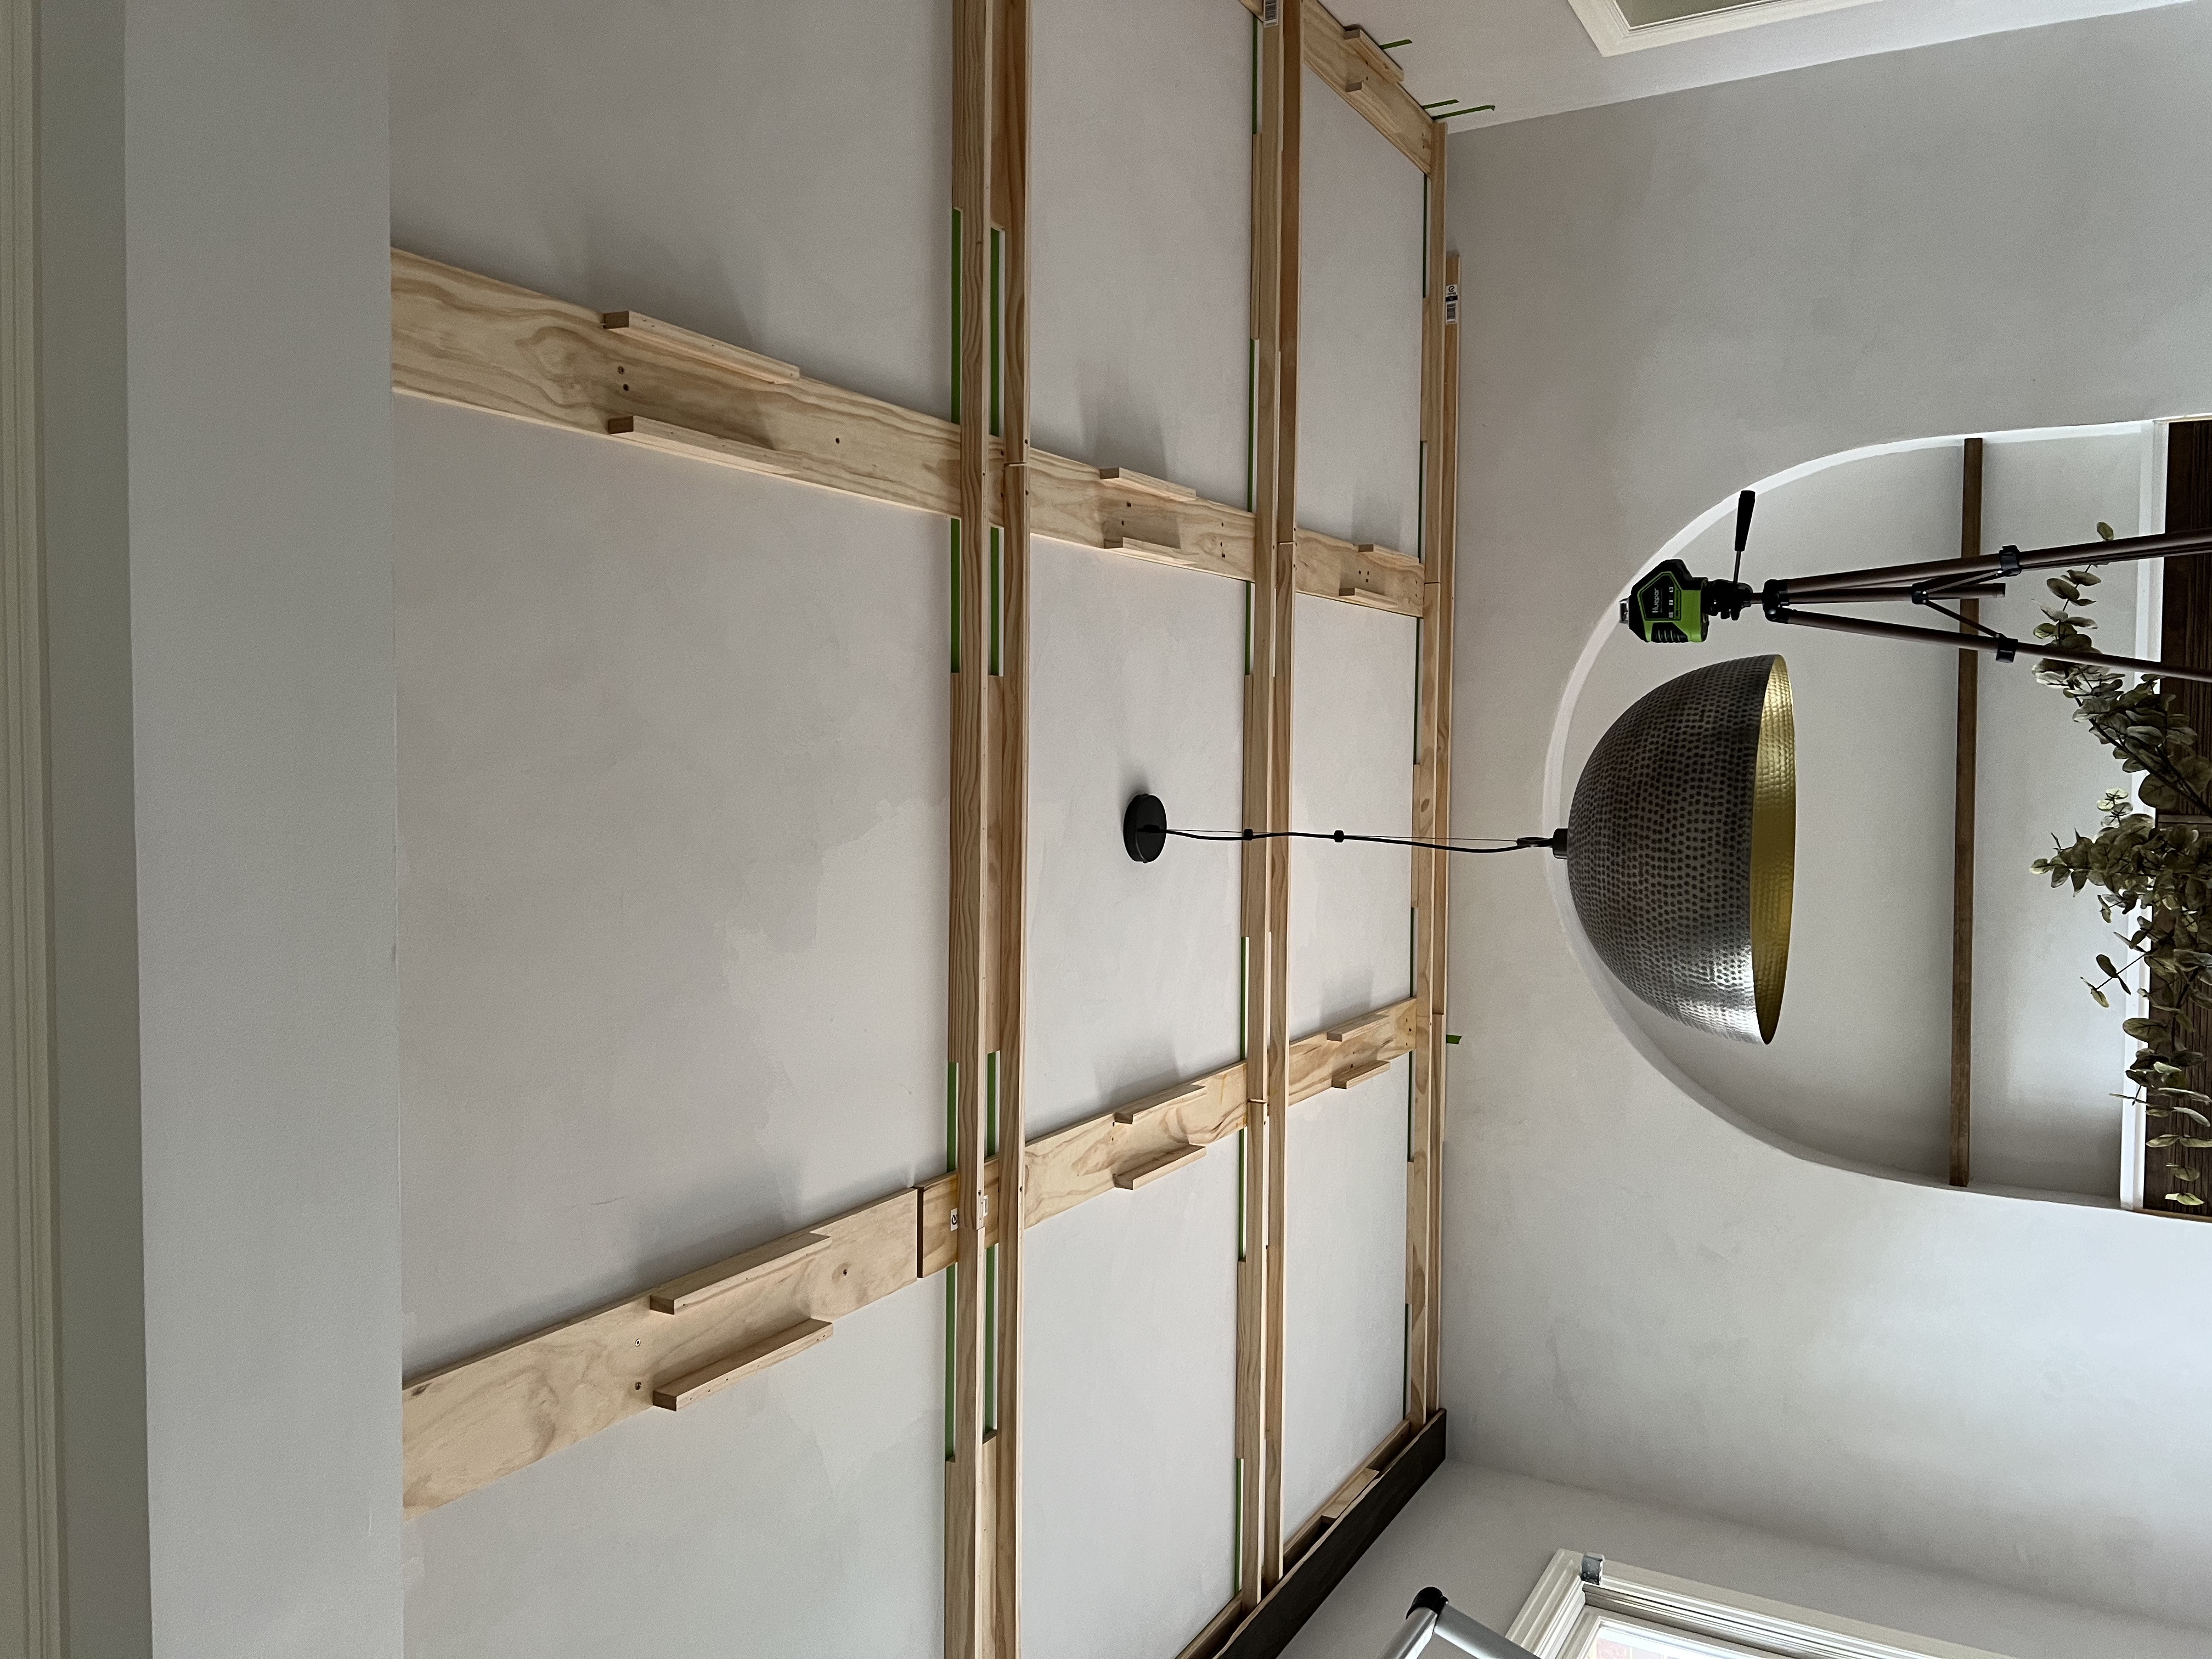
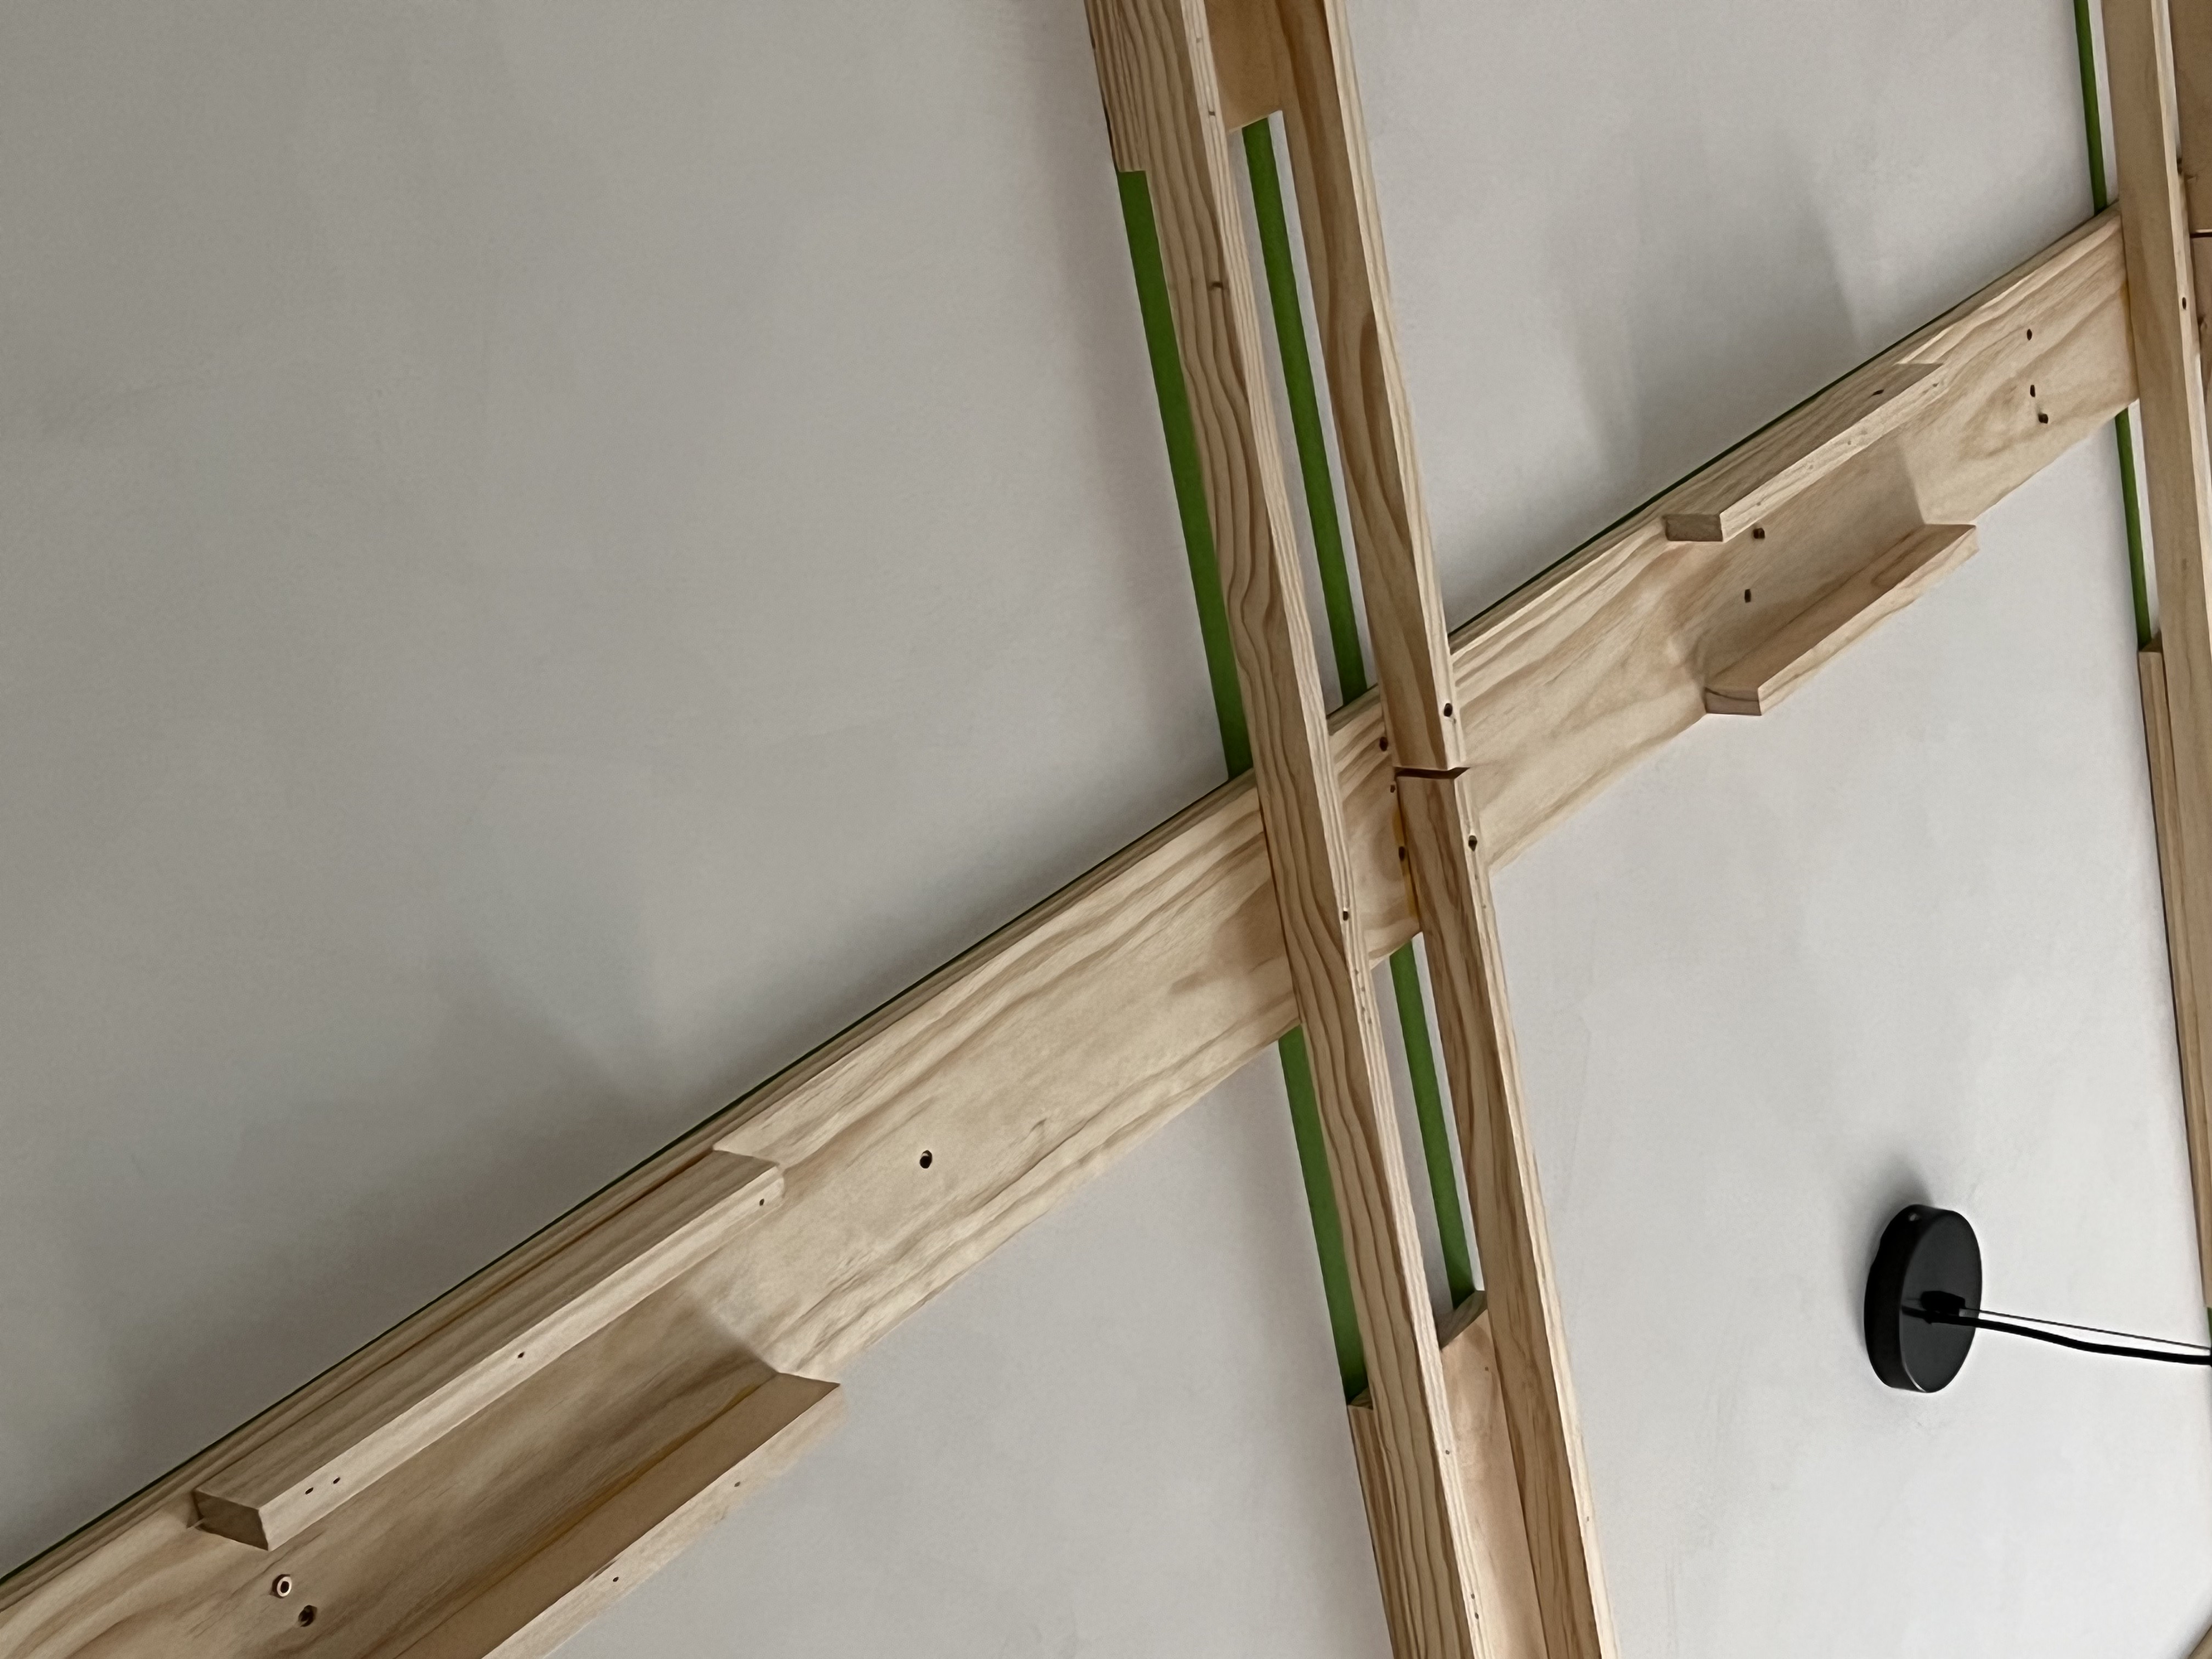
I ran the long boards perpendicular to the ceiling joists and used plenty of screws to attach the boards directly to the joists.
The smaller 1×6 boards that are parallel to the joists were nailed in (shooting the nails at alternating angles). I try to avoid using glue on drywall when possible, so I didn’t use glue on this step.
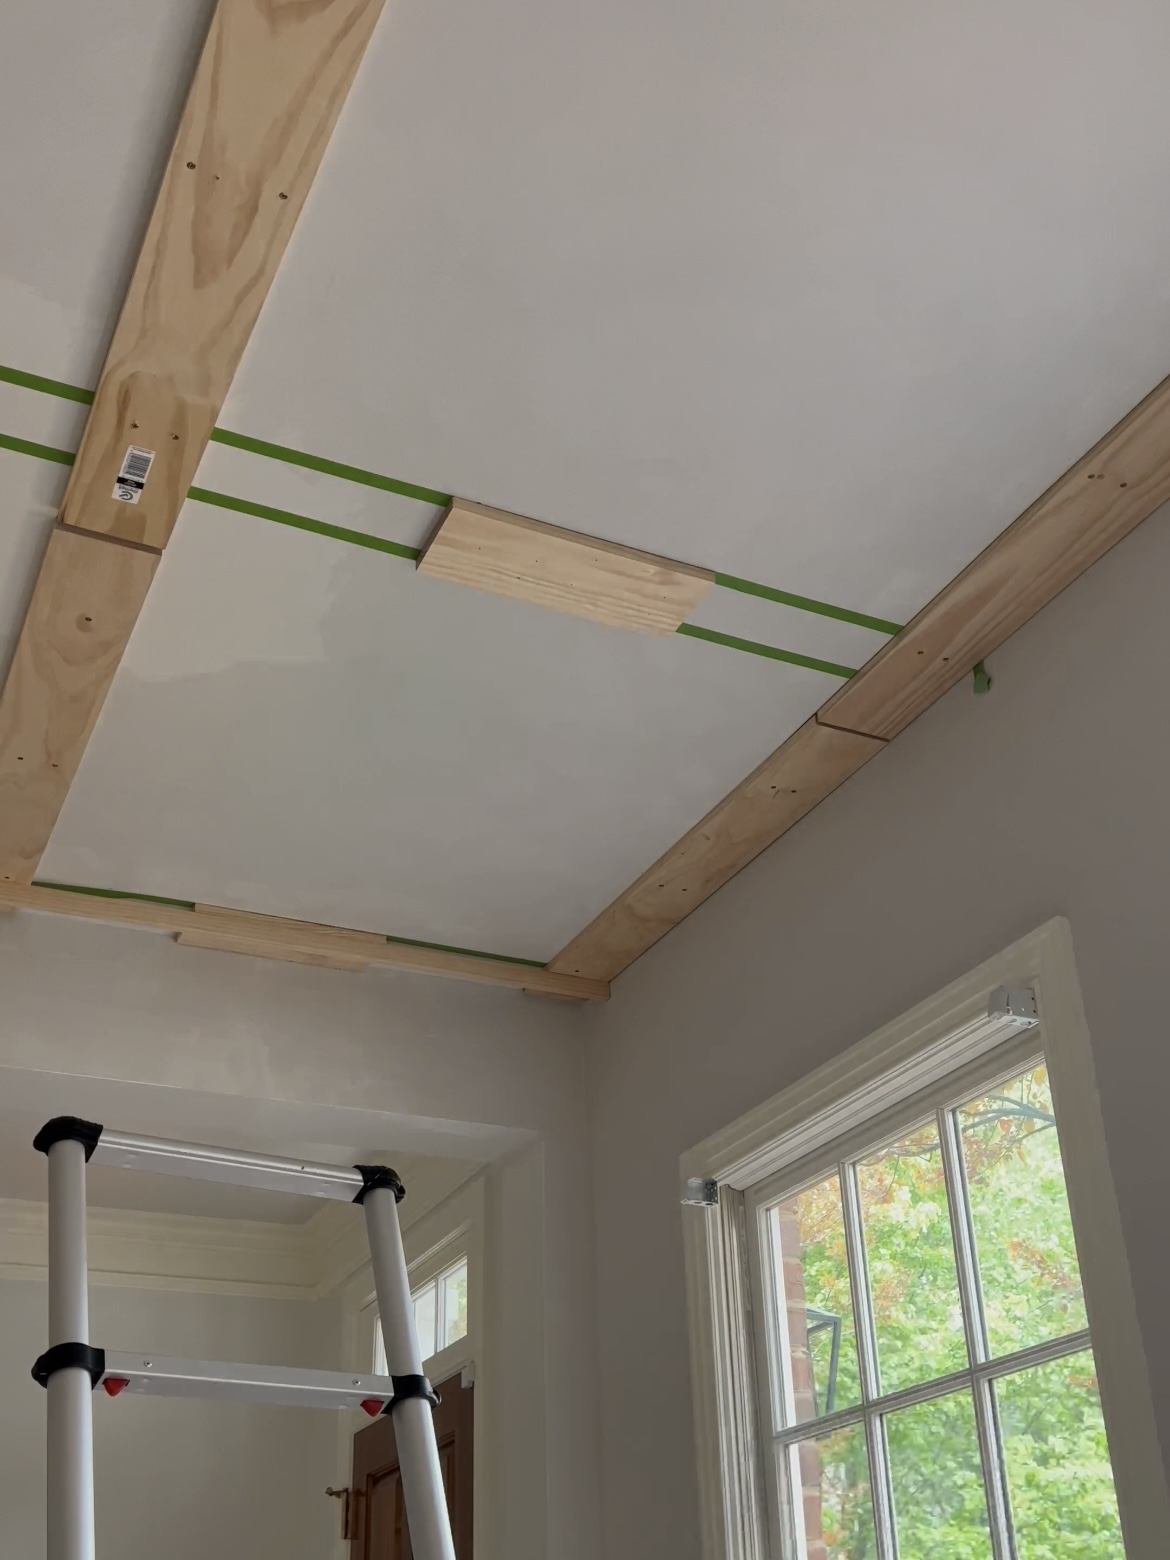
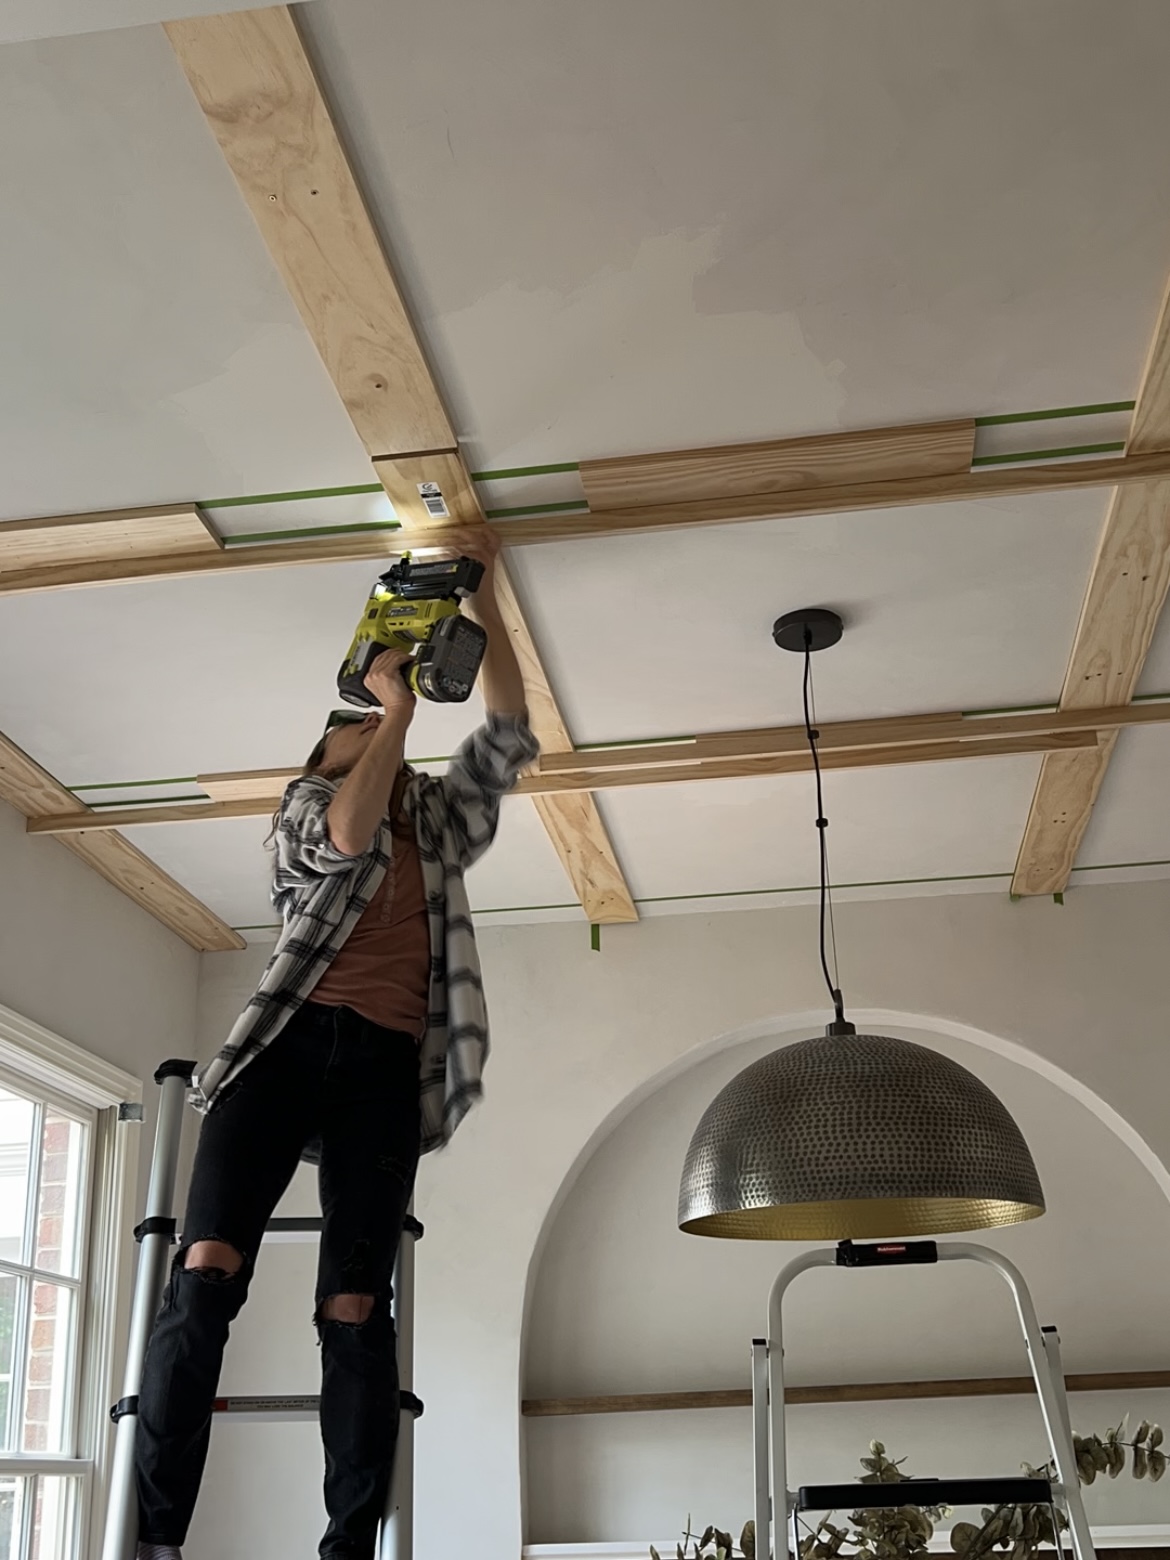
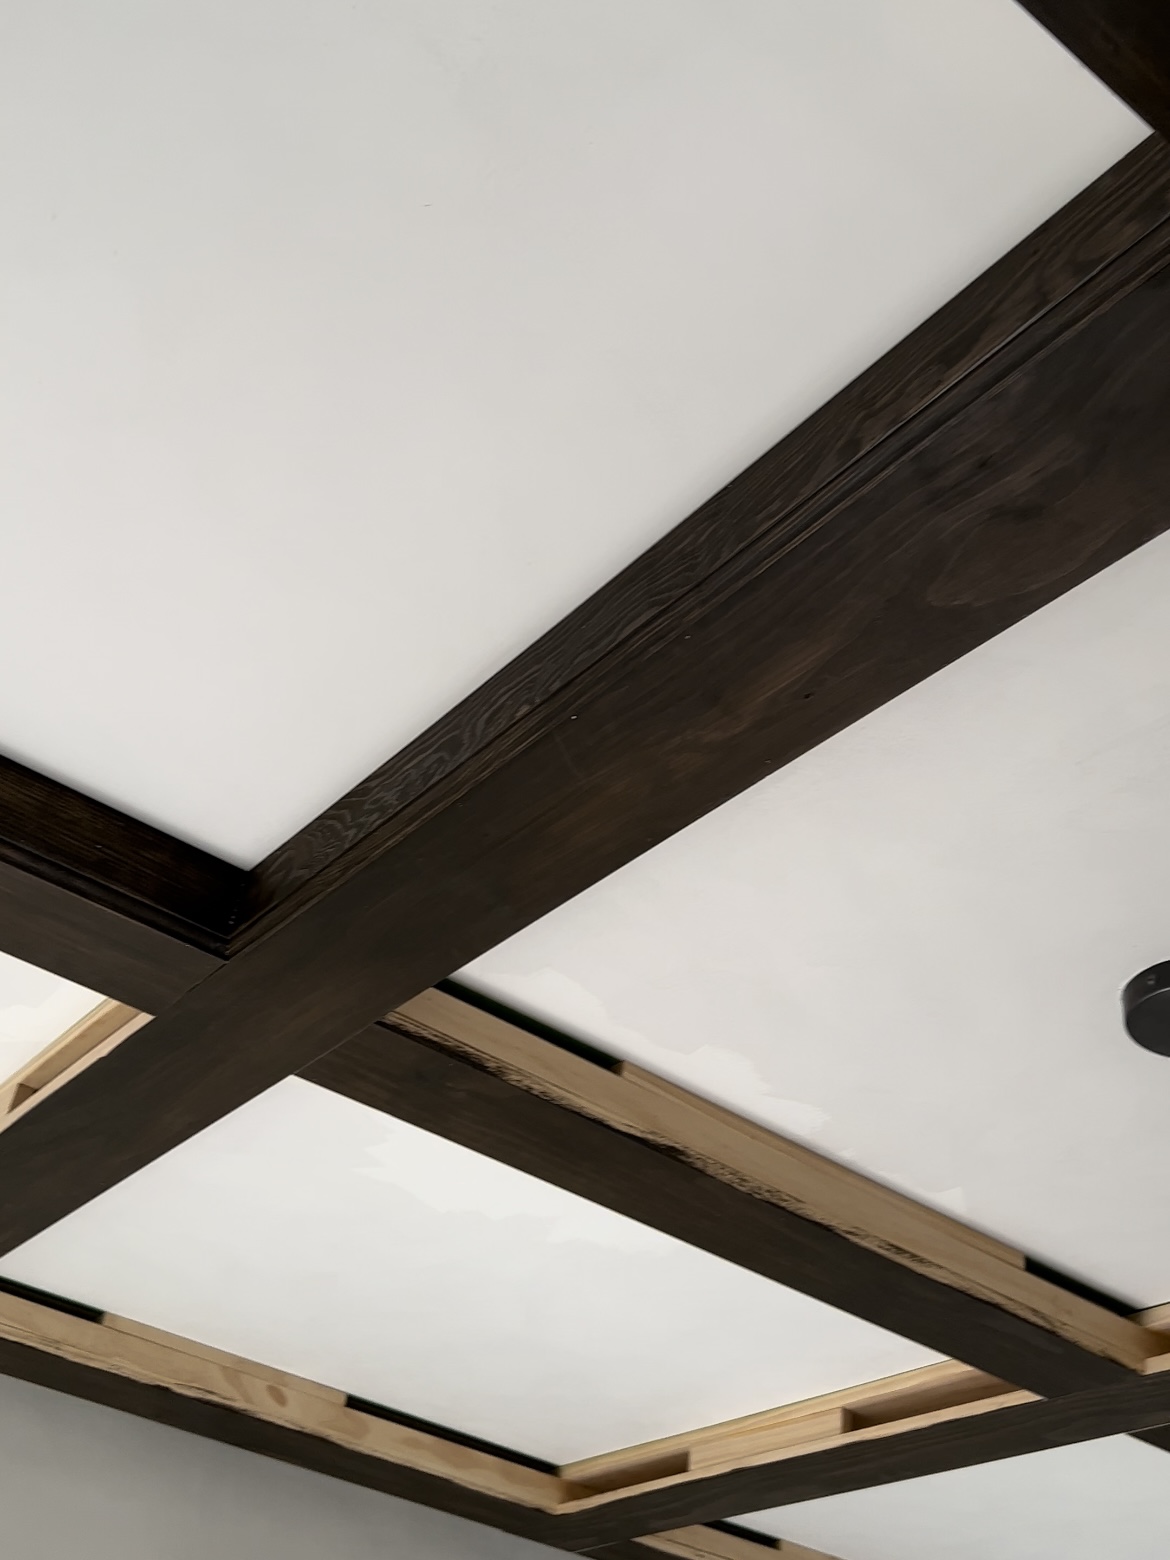
The 1×2 boards are next, attached on their side for spacing. Since the shorter 1×6 boards only have nails attached to drywall, I made sure to run the 1×2 boards across the 1×6 boards screwed into the joists, and screwed everything together. Now the ceiling joists are supporting everything.
From this step on, I used screws and nails coupled with wood glue.
Covering the Faces
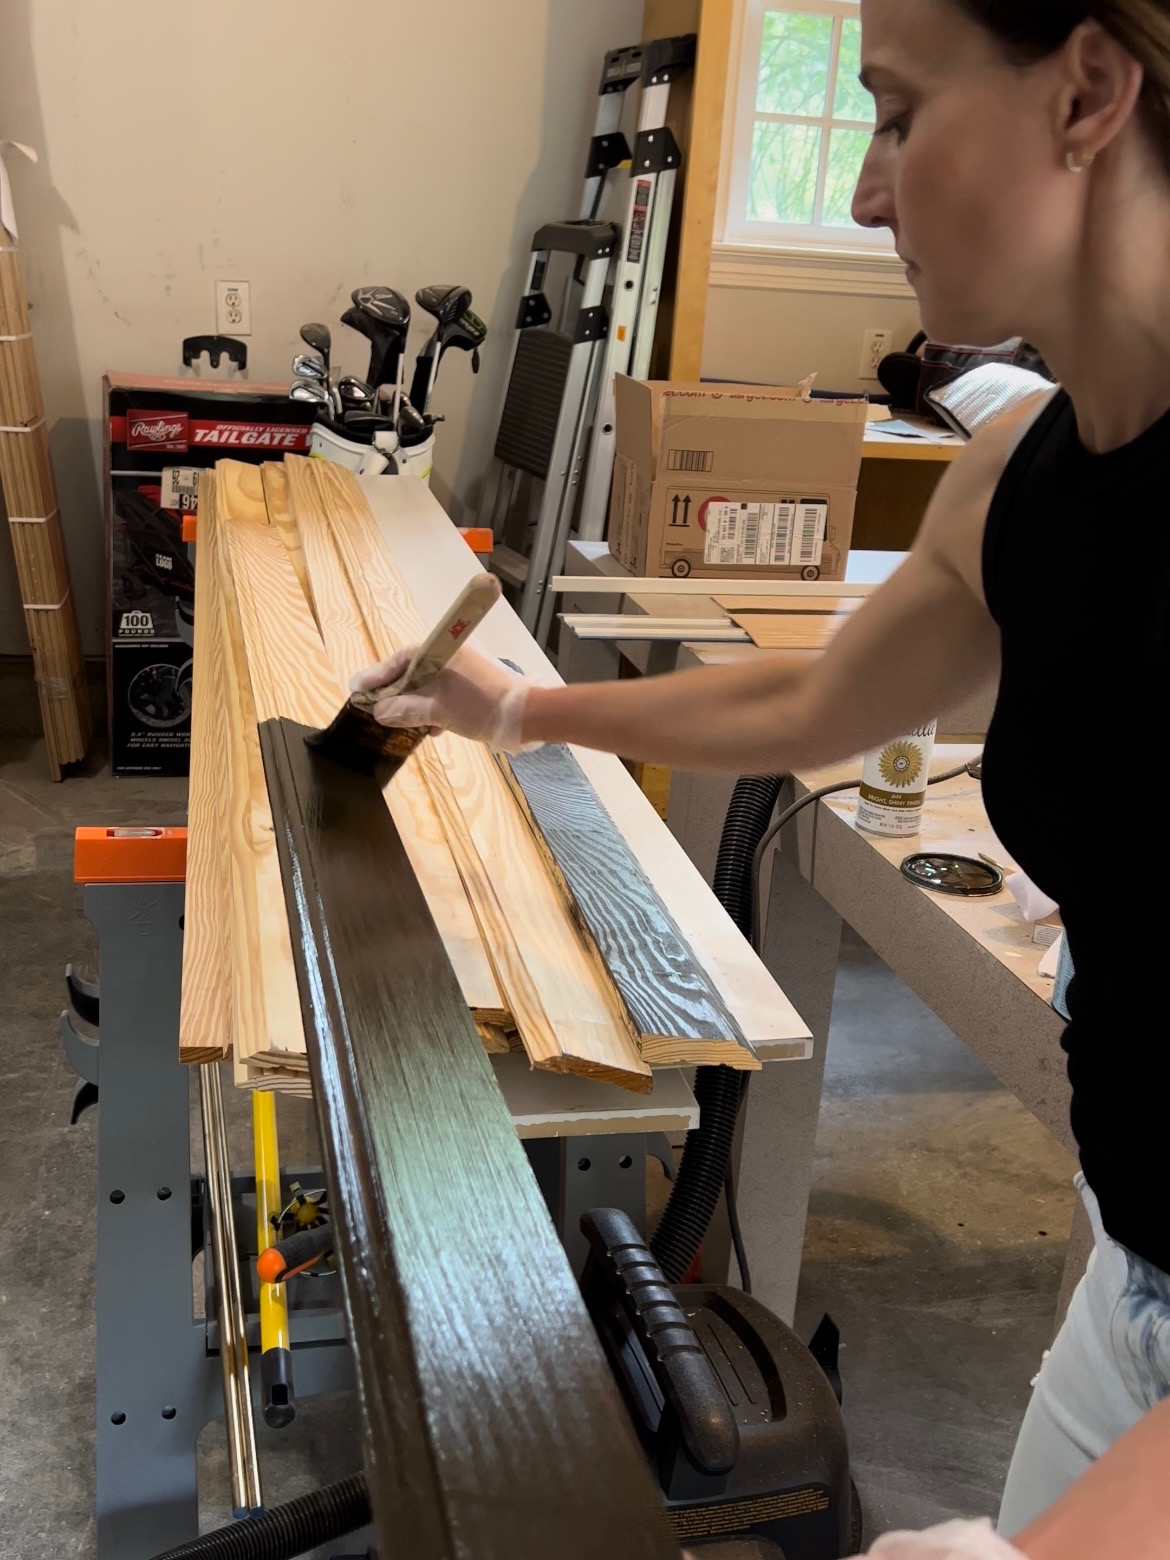
I stained all the boards before attaching them to the brackets. With Roman Clay on the walls and ceiling, I didn’t want to risk making a mess with the dark stain.
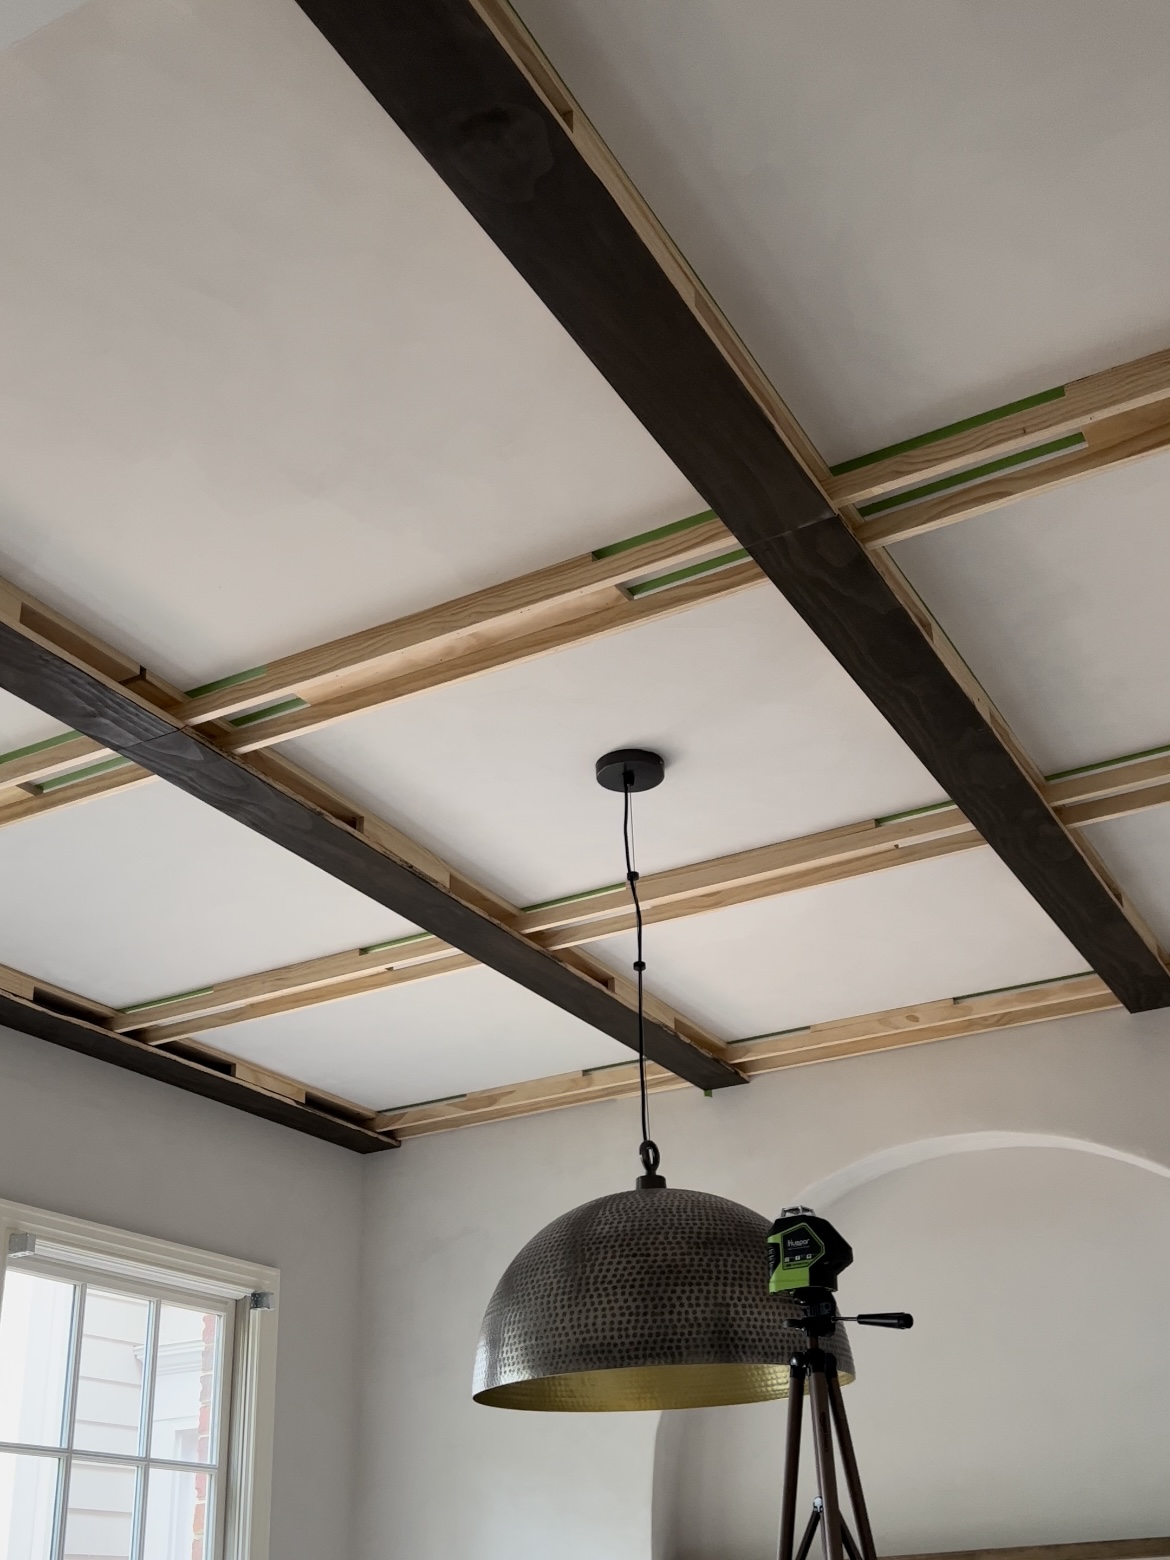
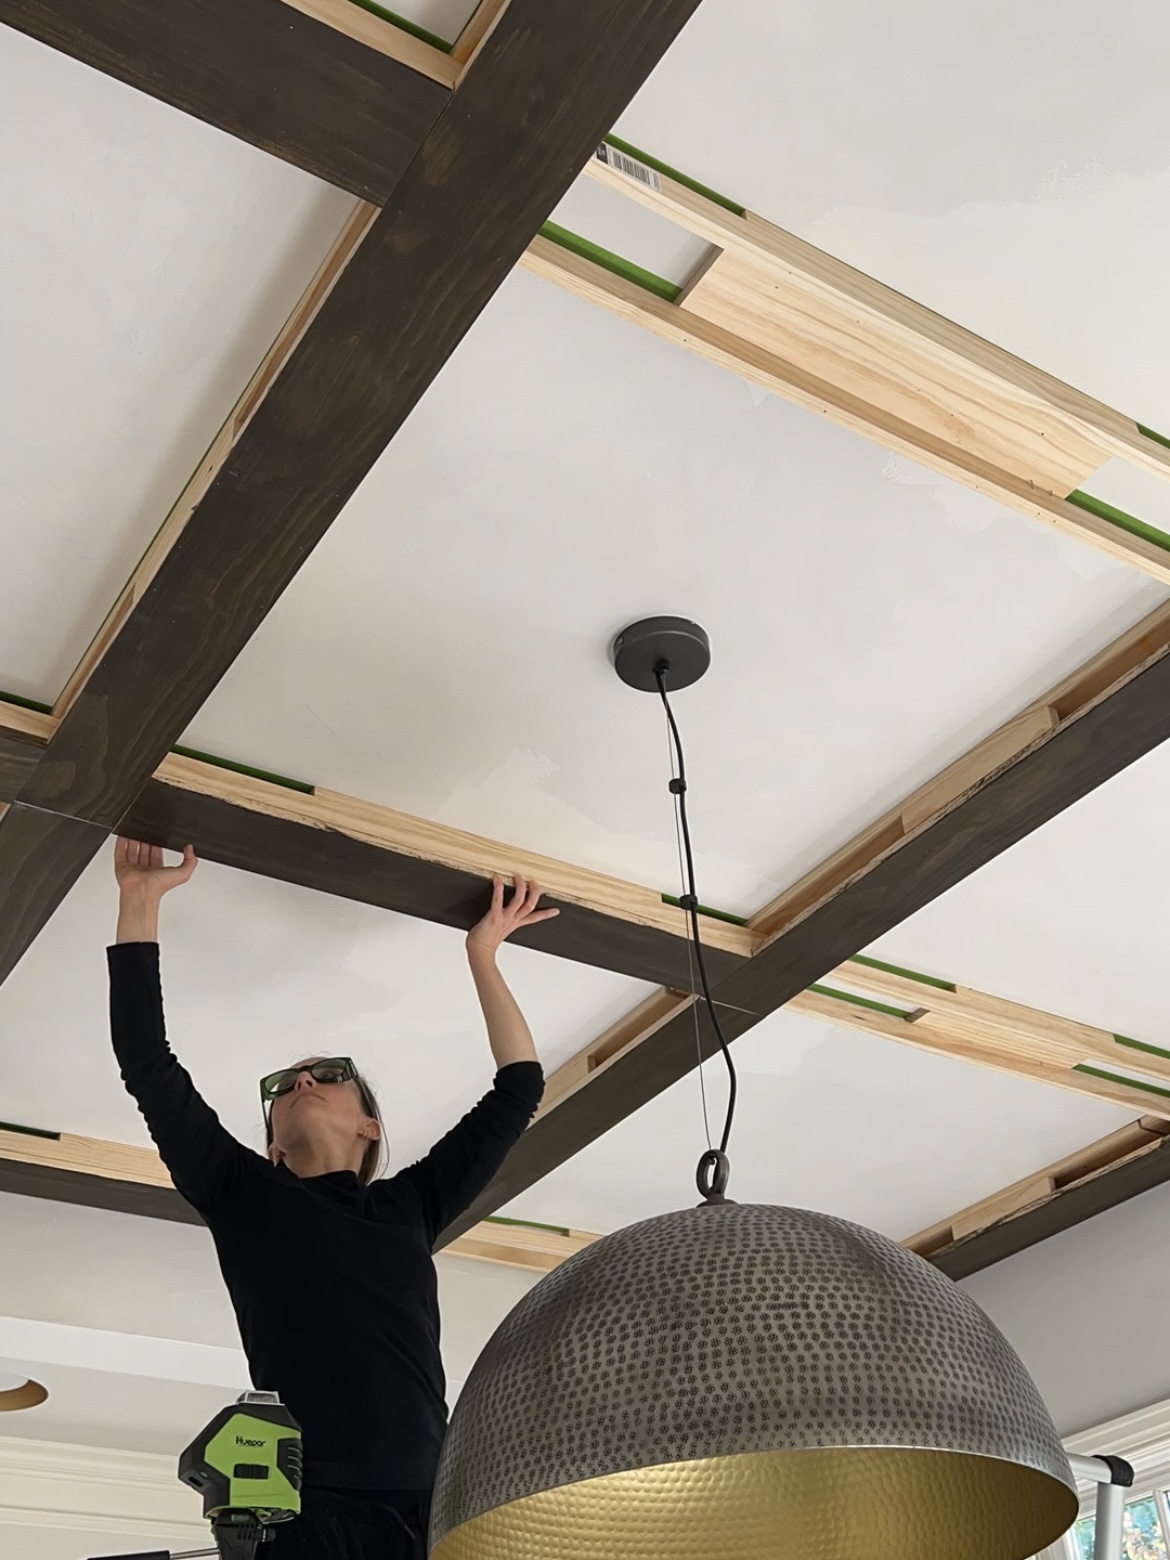
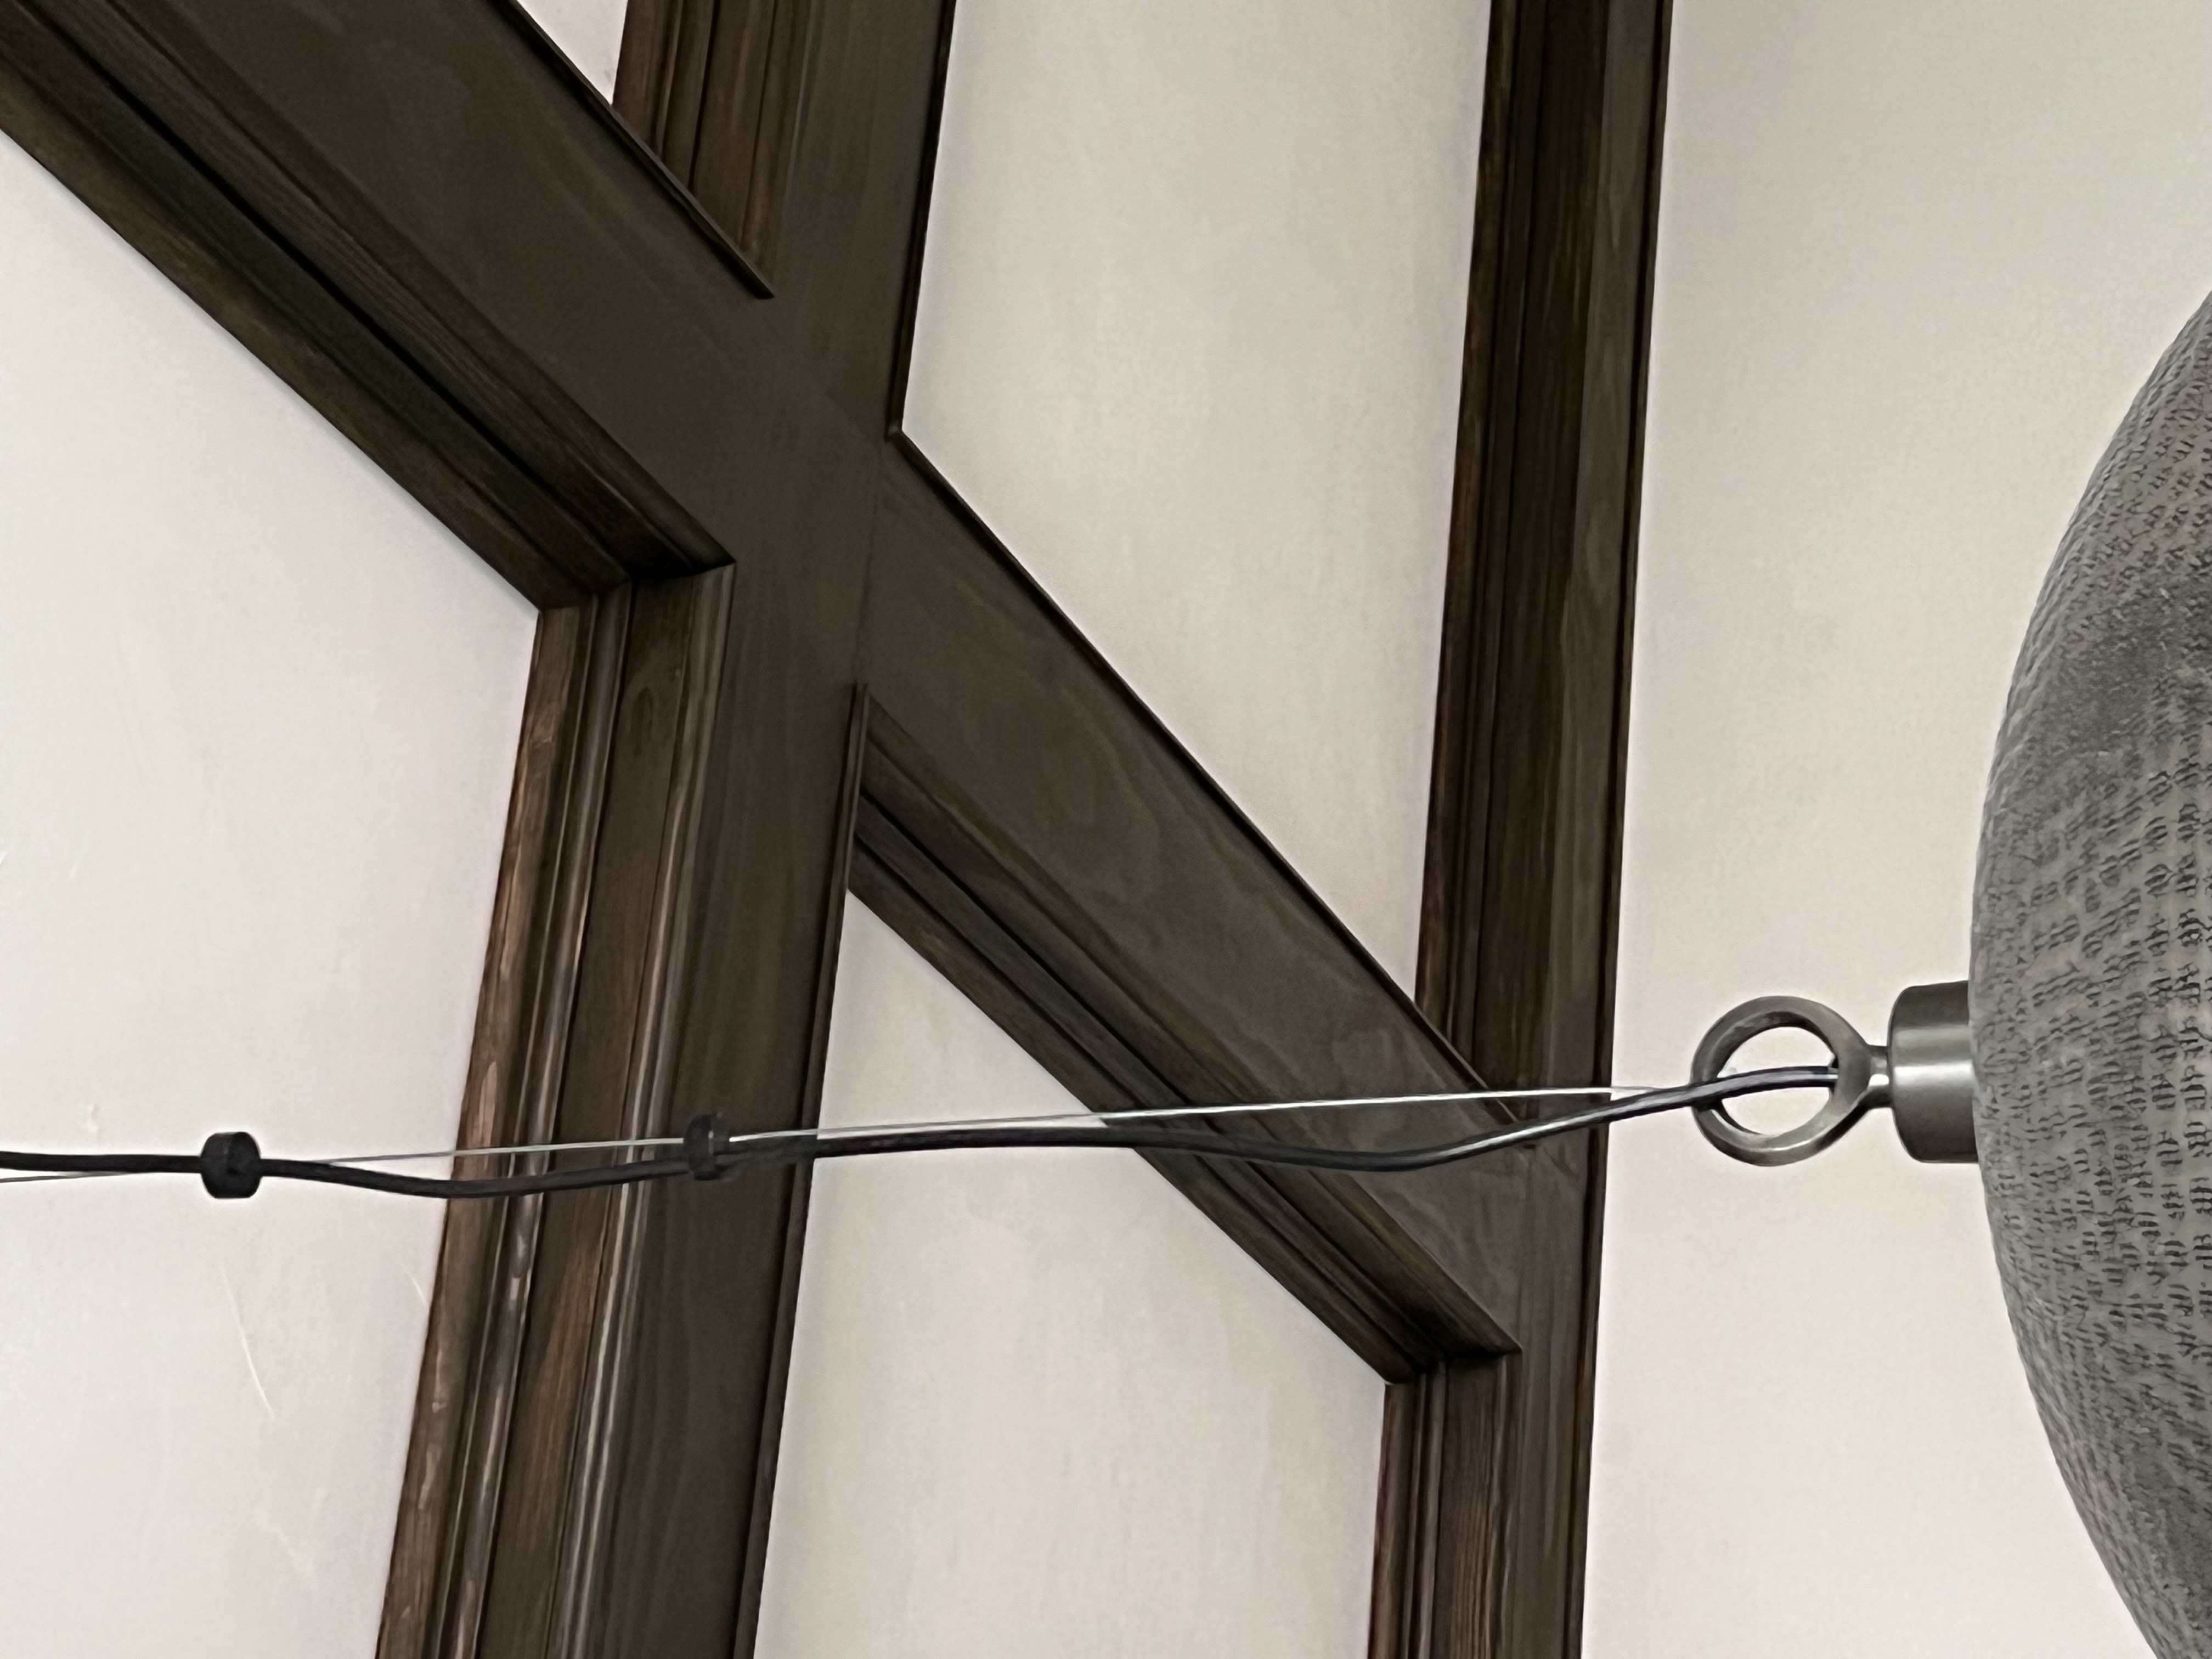
I could only find 1x6x8 ft boards, so I had to piece together two boards on the long side. To do this, you bevel the ends to 45 degrees to help hide the seam (pictured below left).
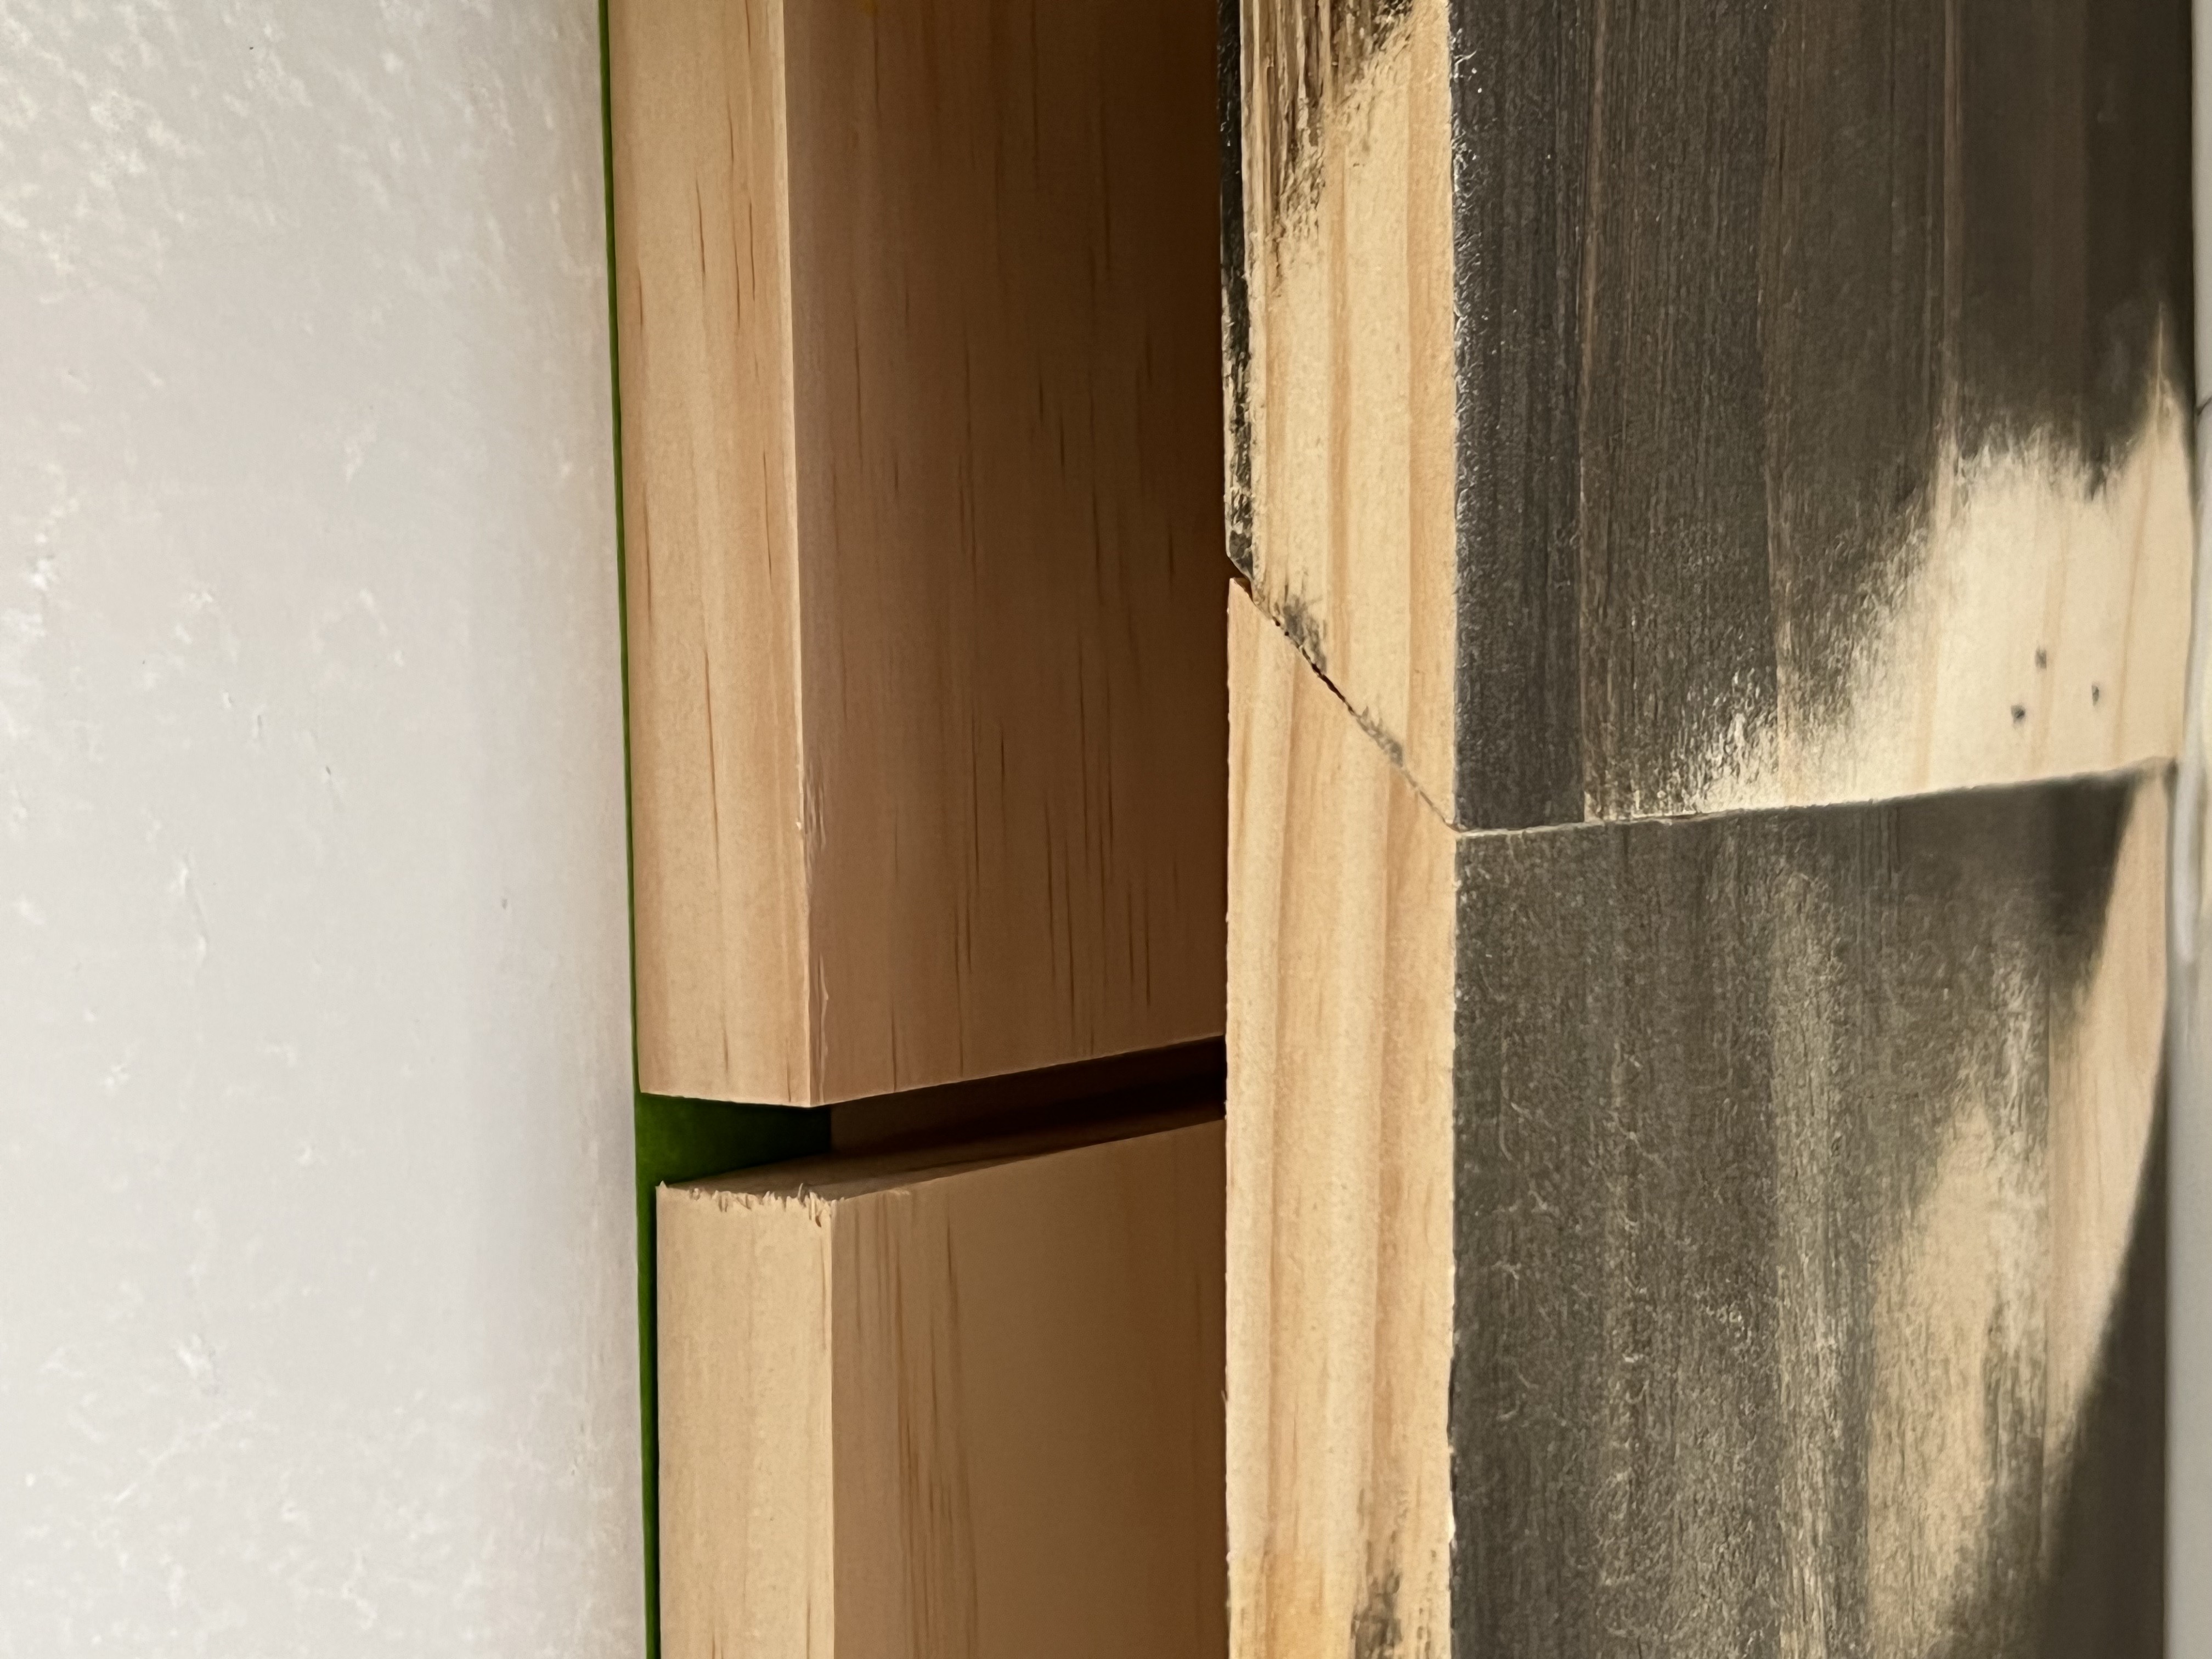
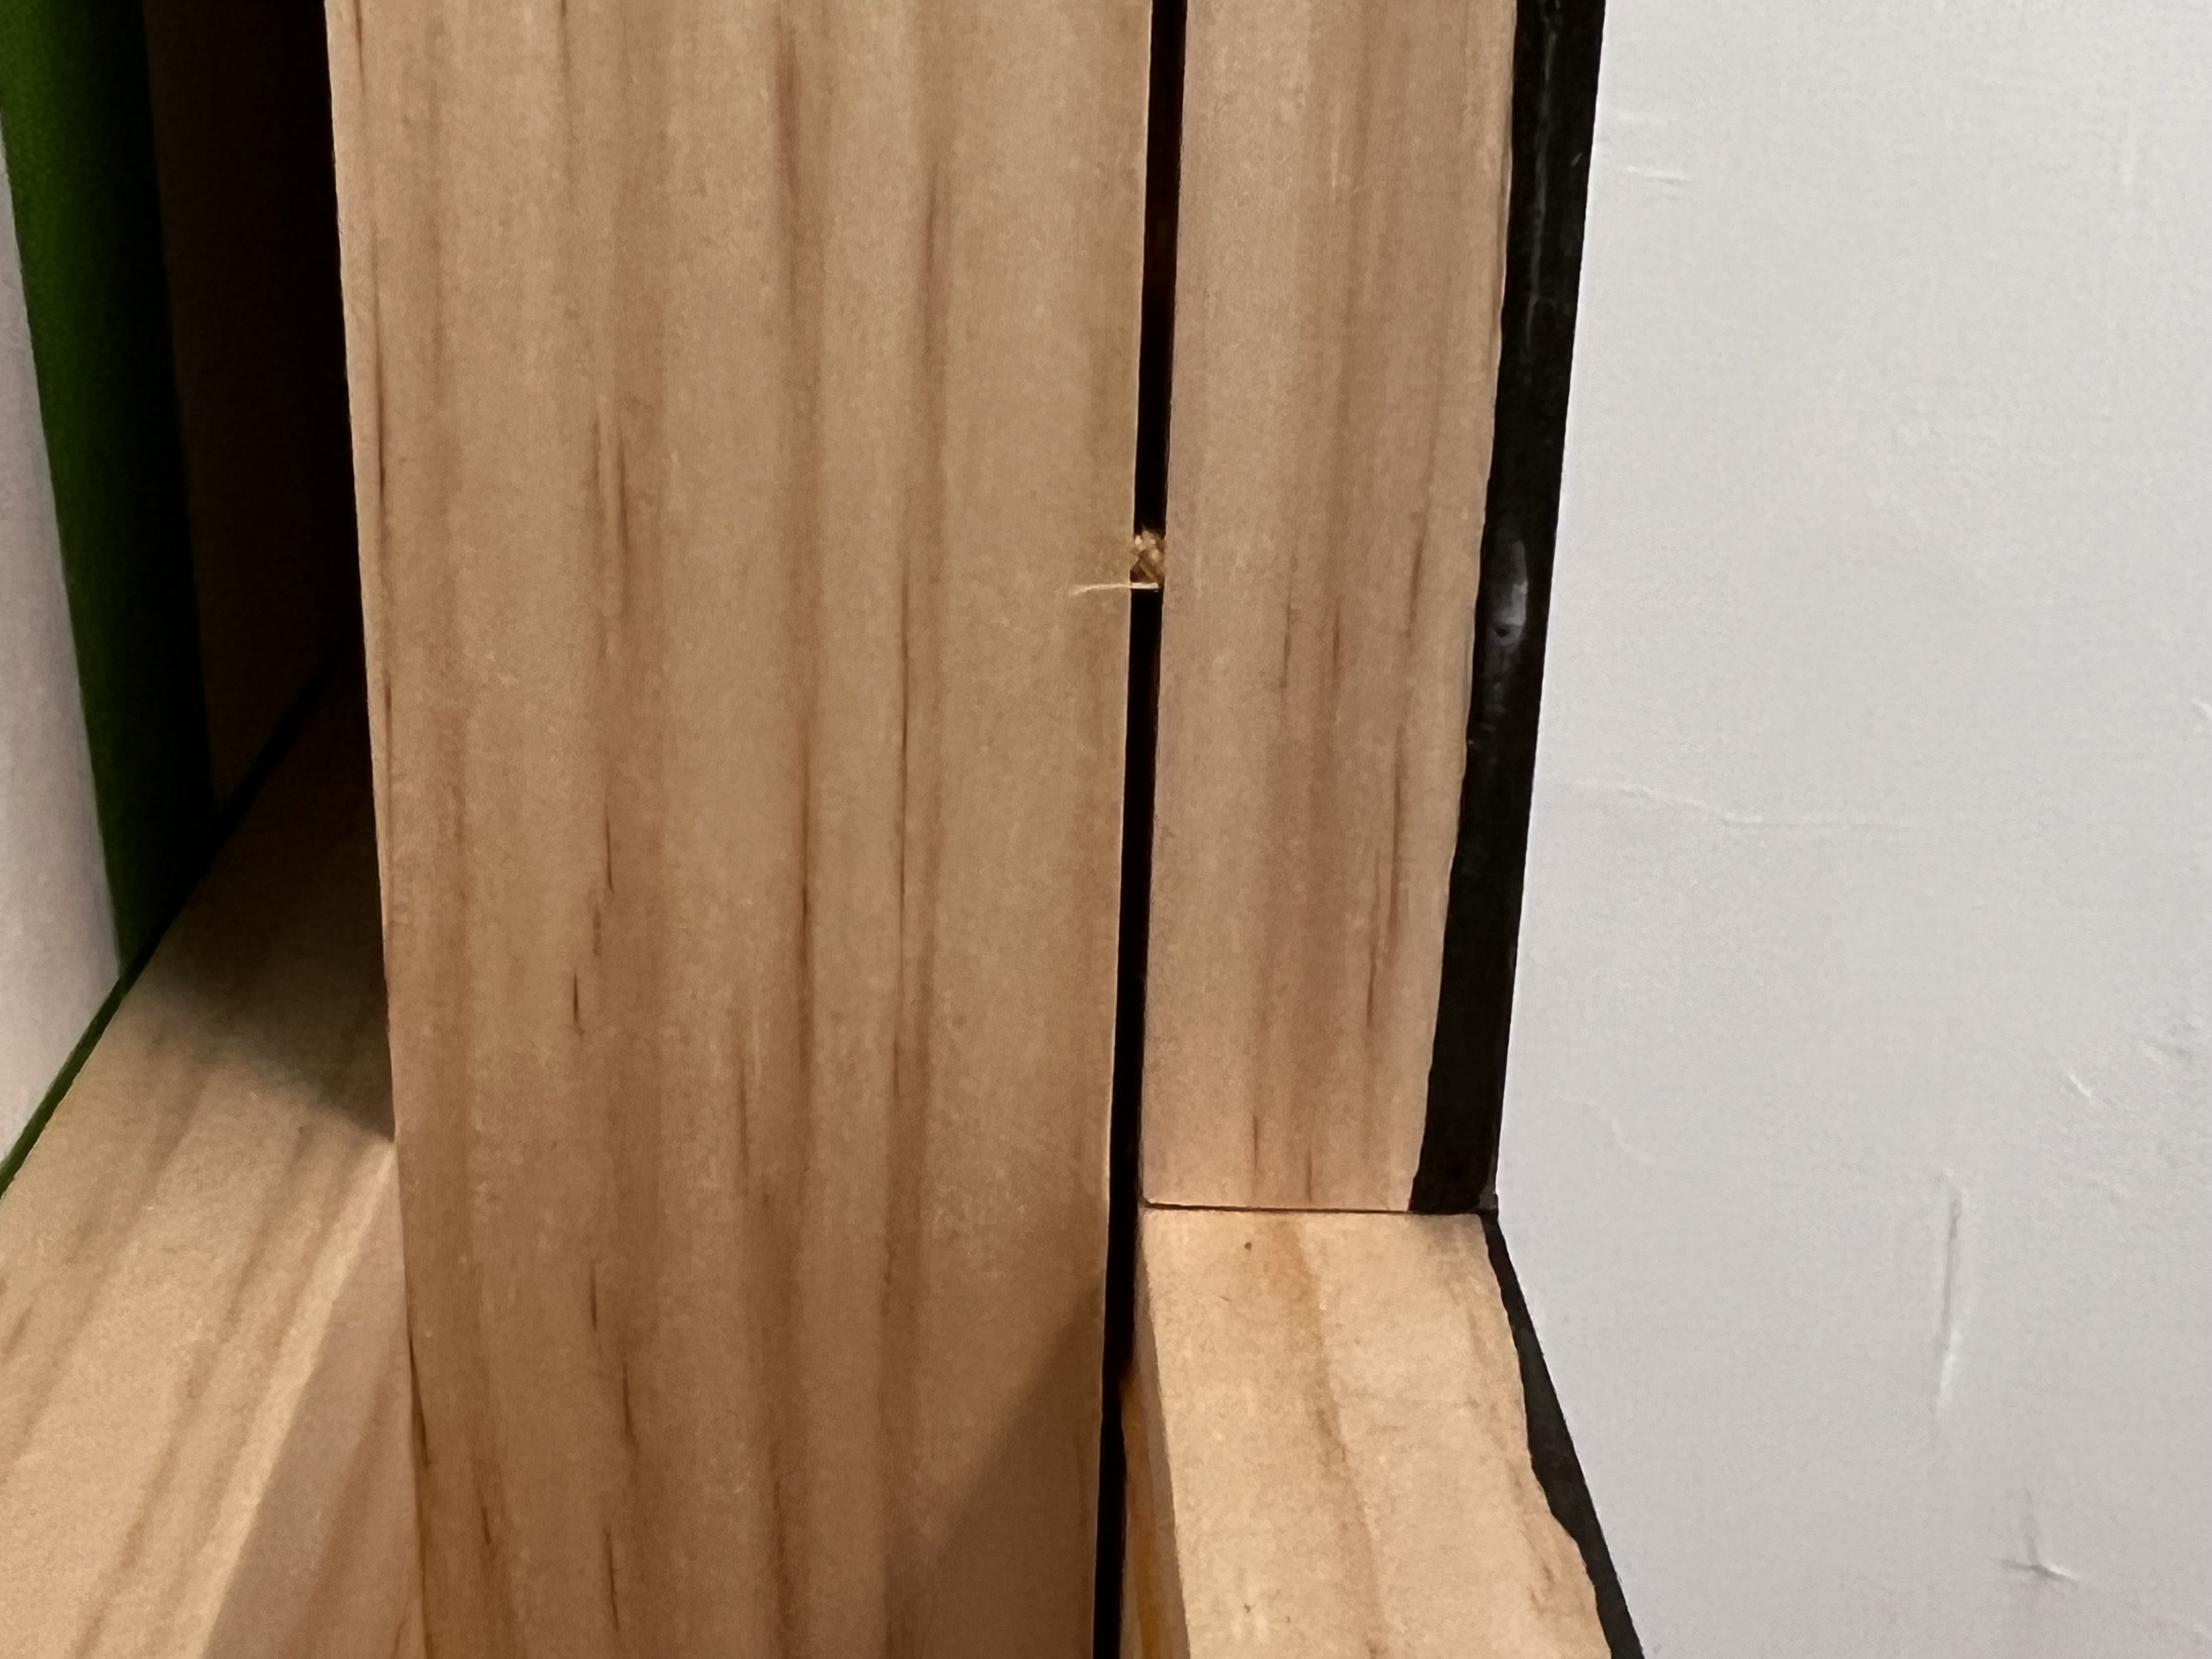
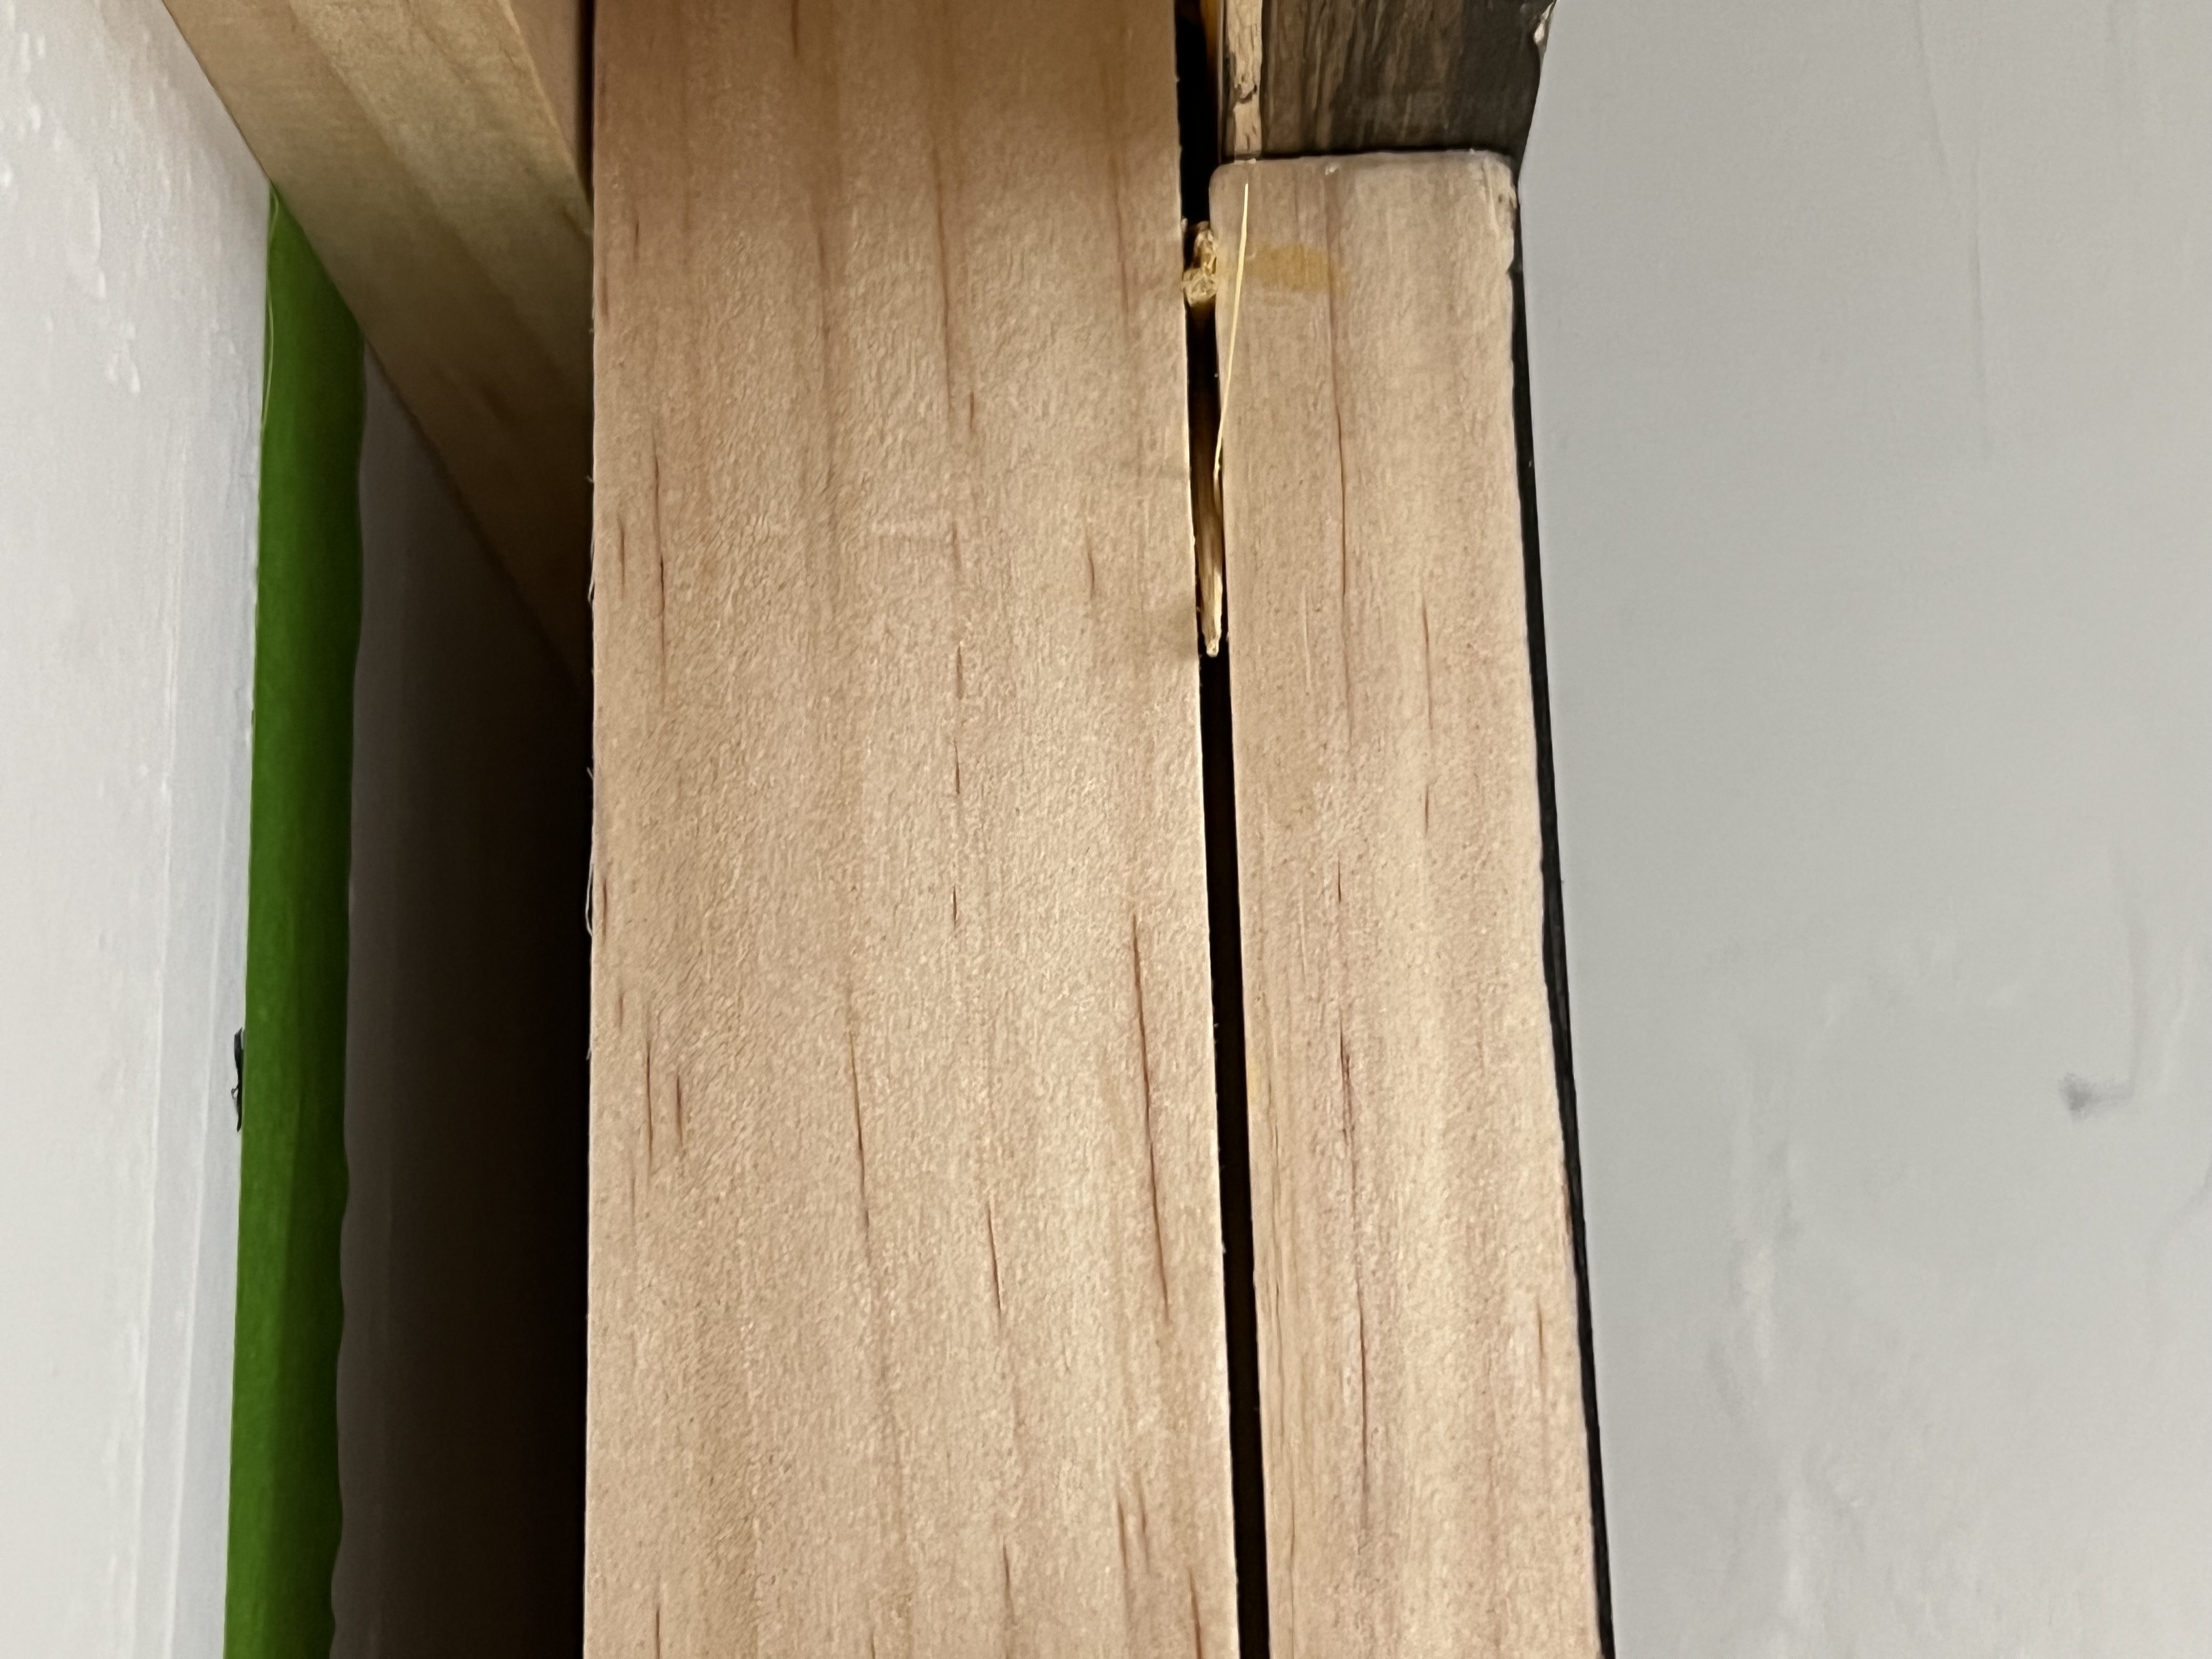
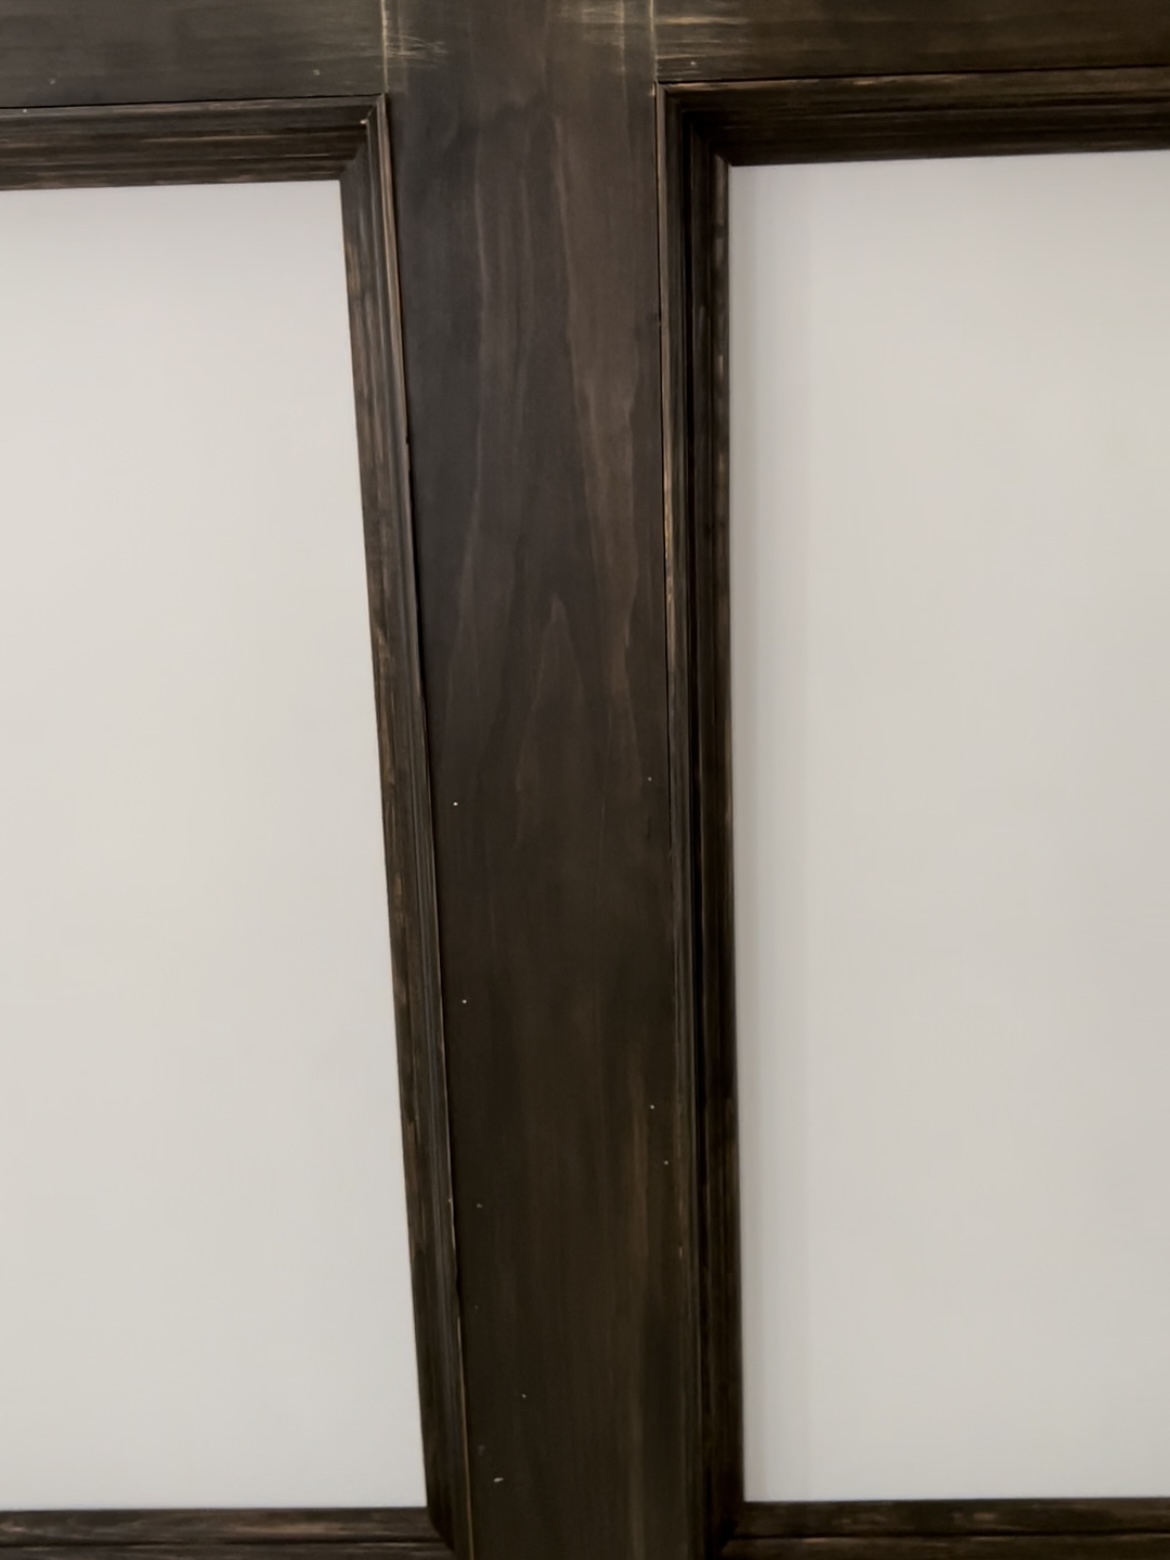
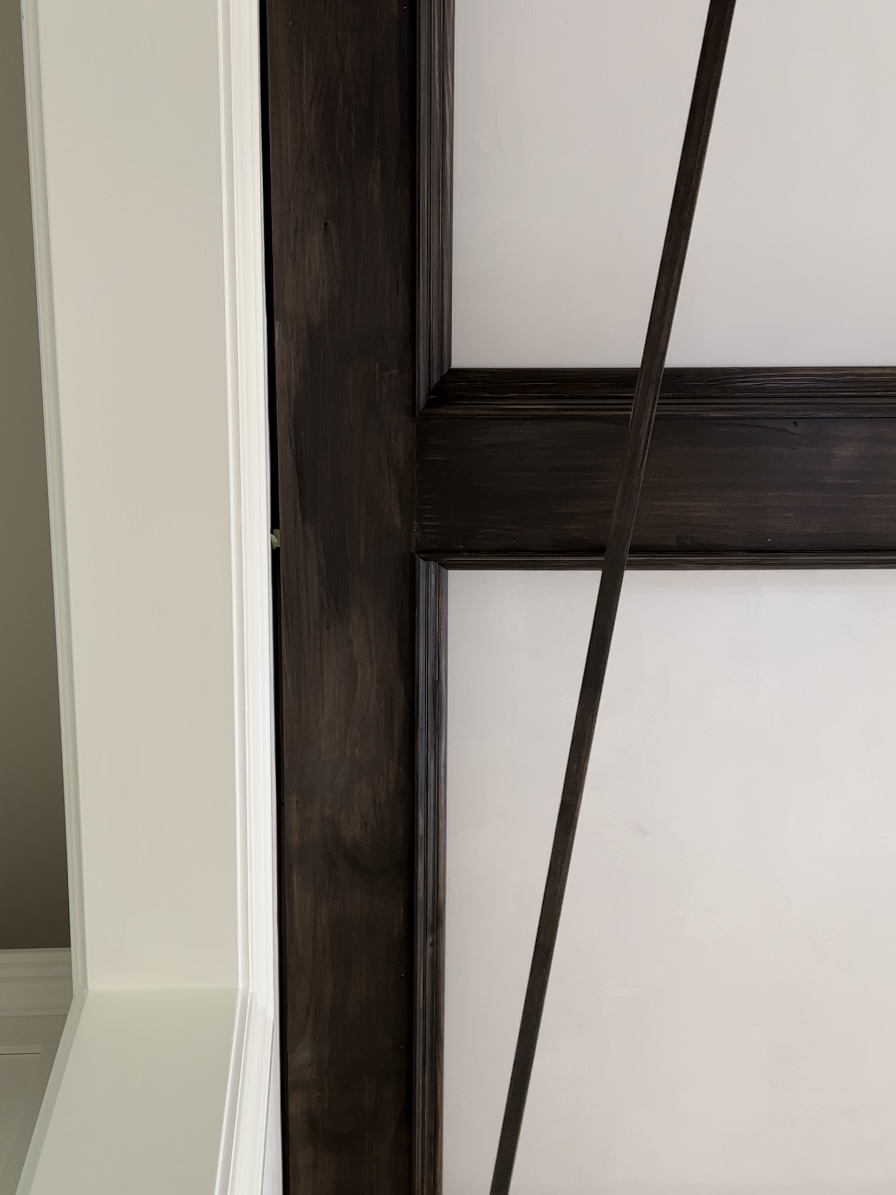
The other important step to hide seams is making everything flush. You can’t count on the walls or ceiling being flat, so you’ll have to add shims at some point. Our ceilings weren’t terrible because I only needed a couple of toothpicks at each joint! (pictured above)
Covering the Sides
Honestly, my favorite part was adding the baseboards on the sides to cover up all the brackets. It’s the part where things started to look pretty!
I originally planned to stop there, but I tried a piece of crown and fell in love.
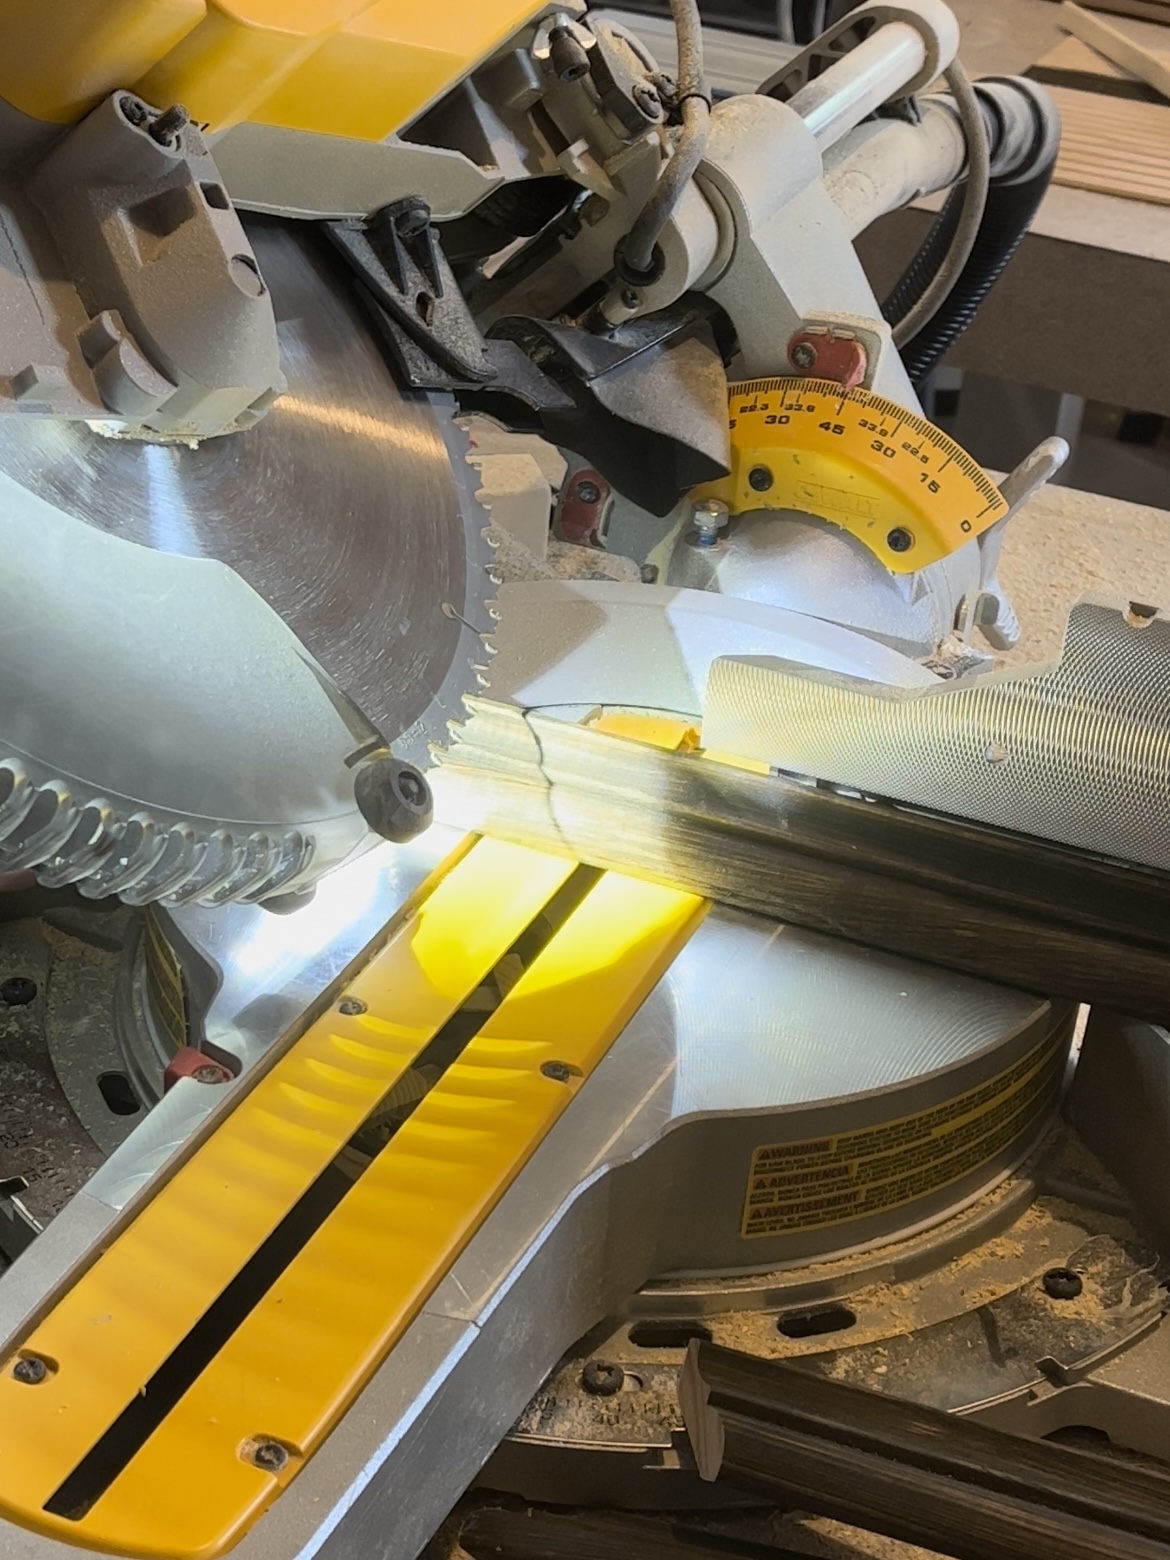
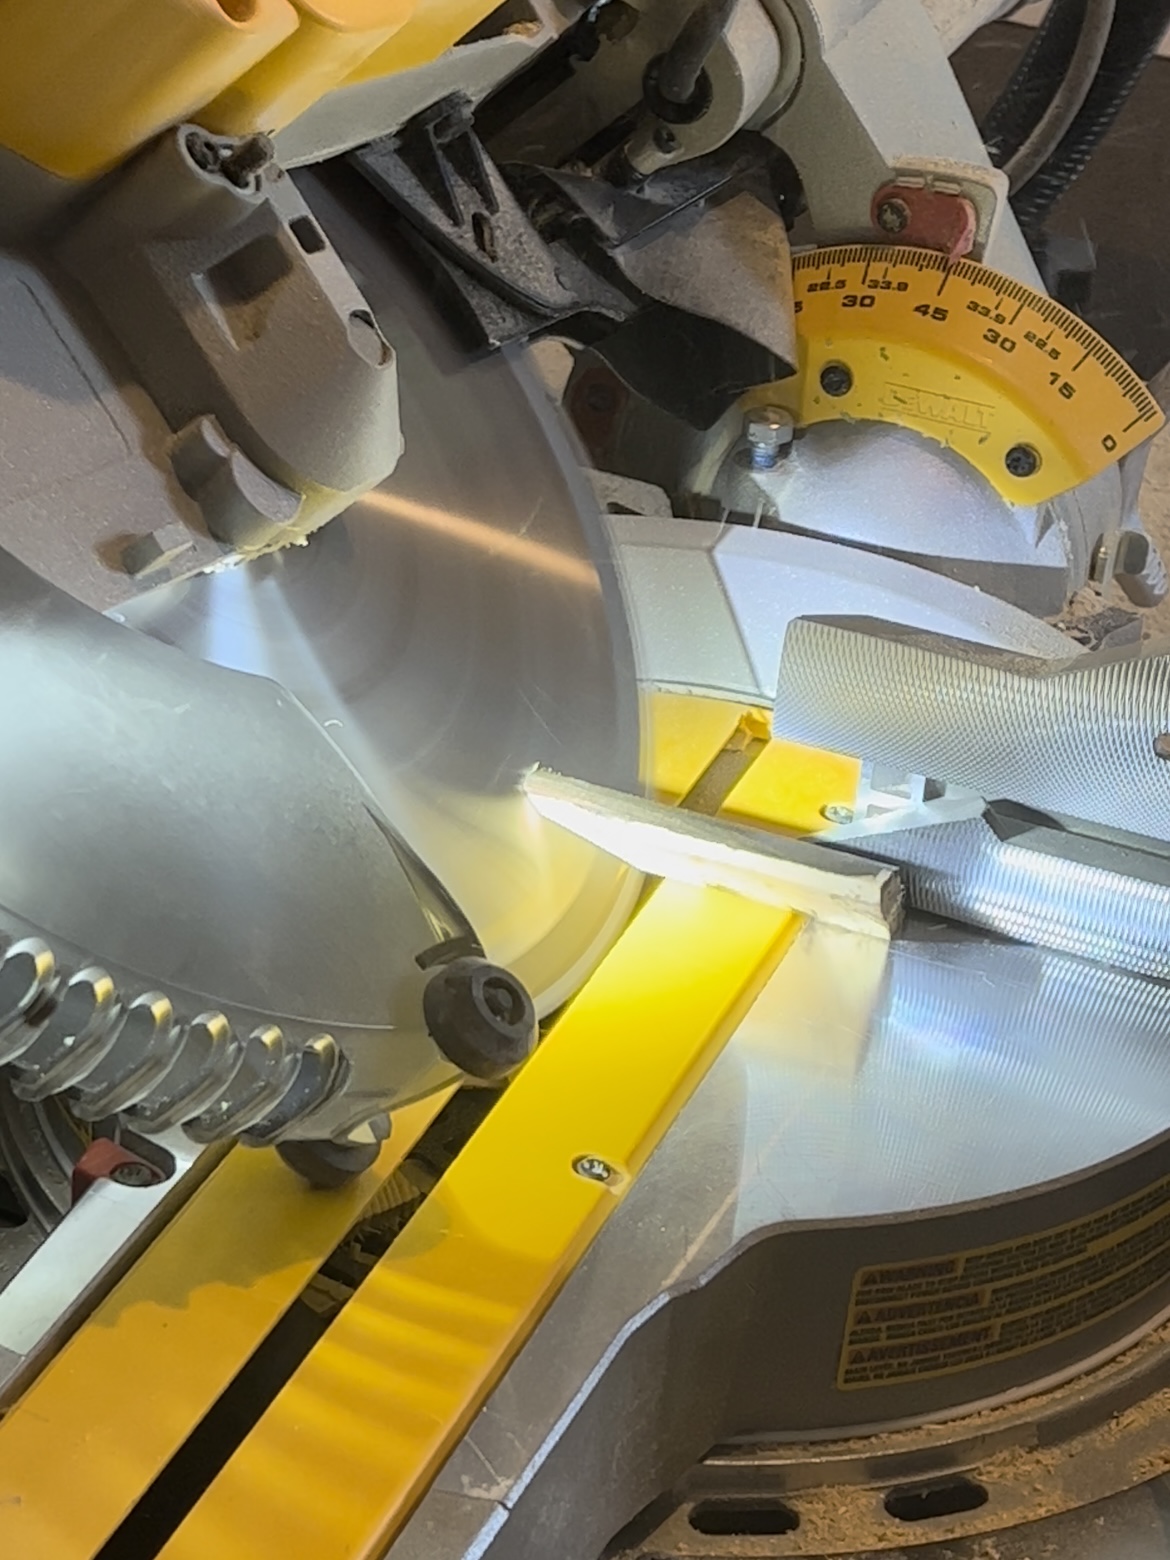
My first time doing crown moulding, I had to do some practice cuts. As long as I held the crown on the miter saw the same way it goes onto the ceiling, things worked great with a beveled 45-degree cut.
For every stained piece I cut, I always cut it slightly longer than my measurements. It took forever going back and forth, making sliver cuts each time. However, since I was staining and not painting, I knew I couldn’t use caulk and wood filler to hide mistakes, so taking the extra time was worth it!
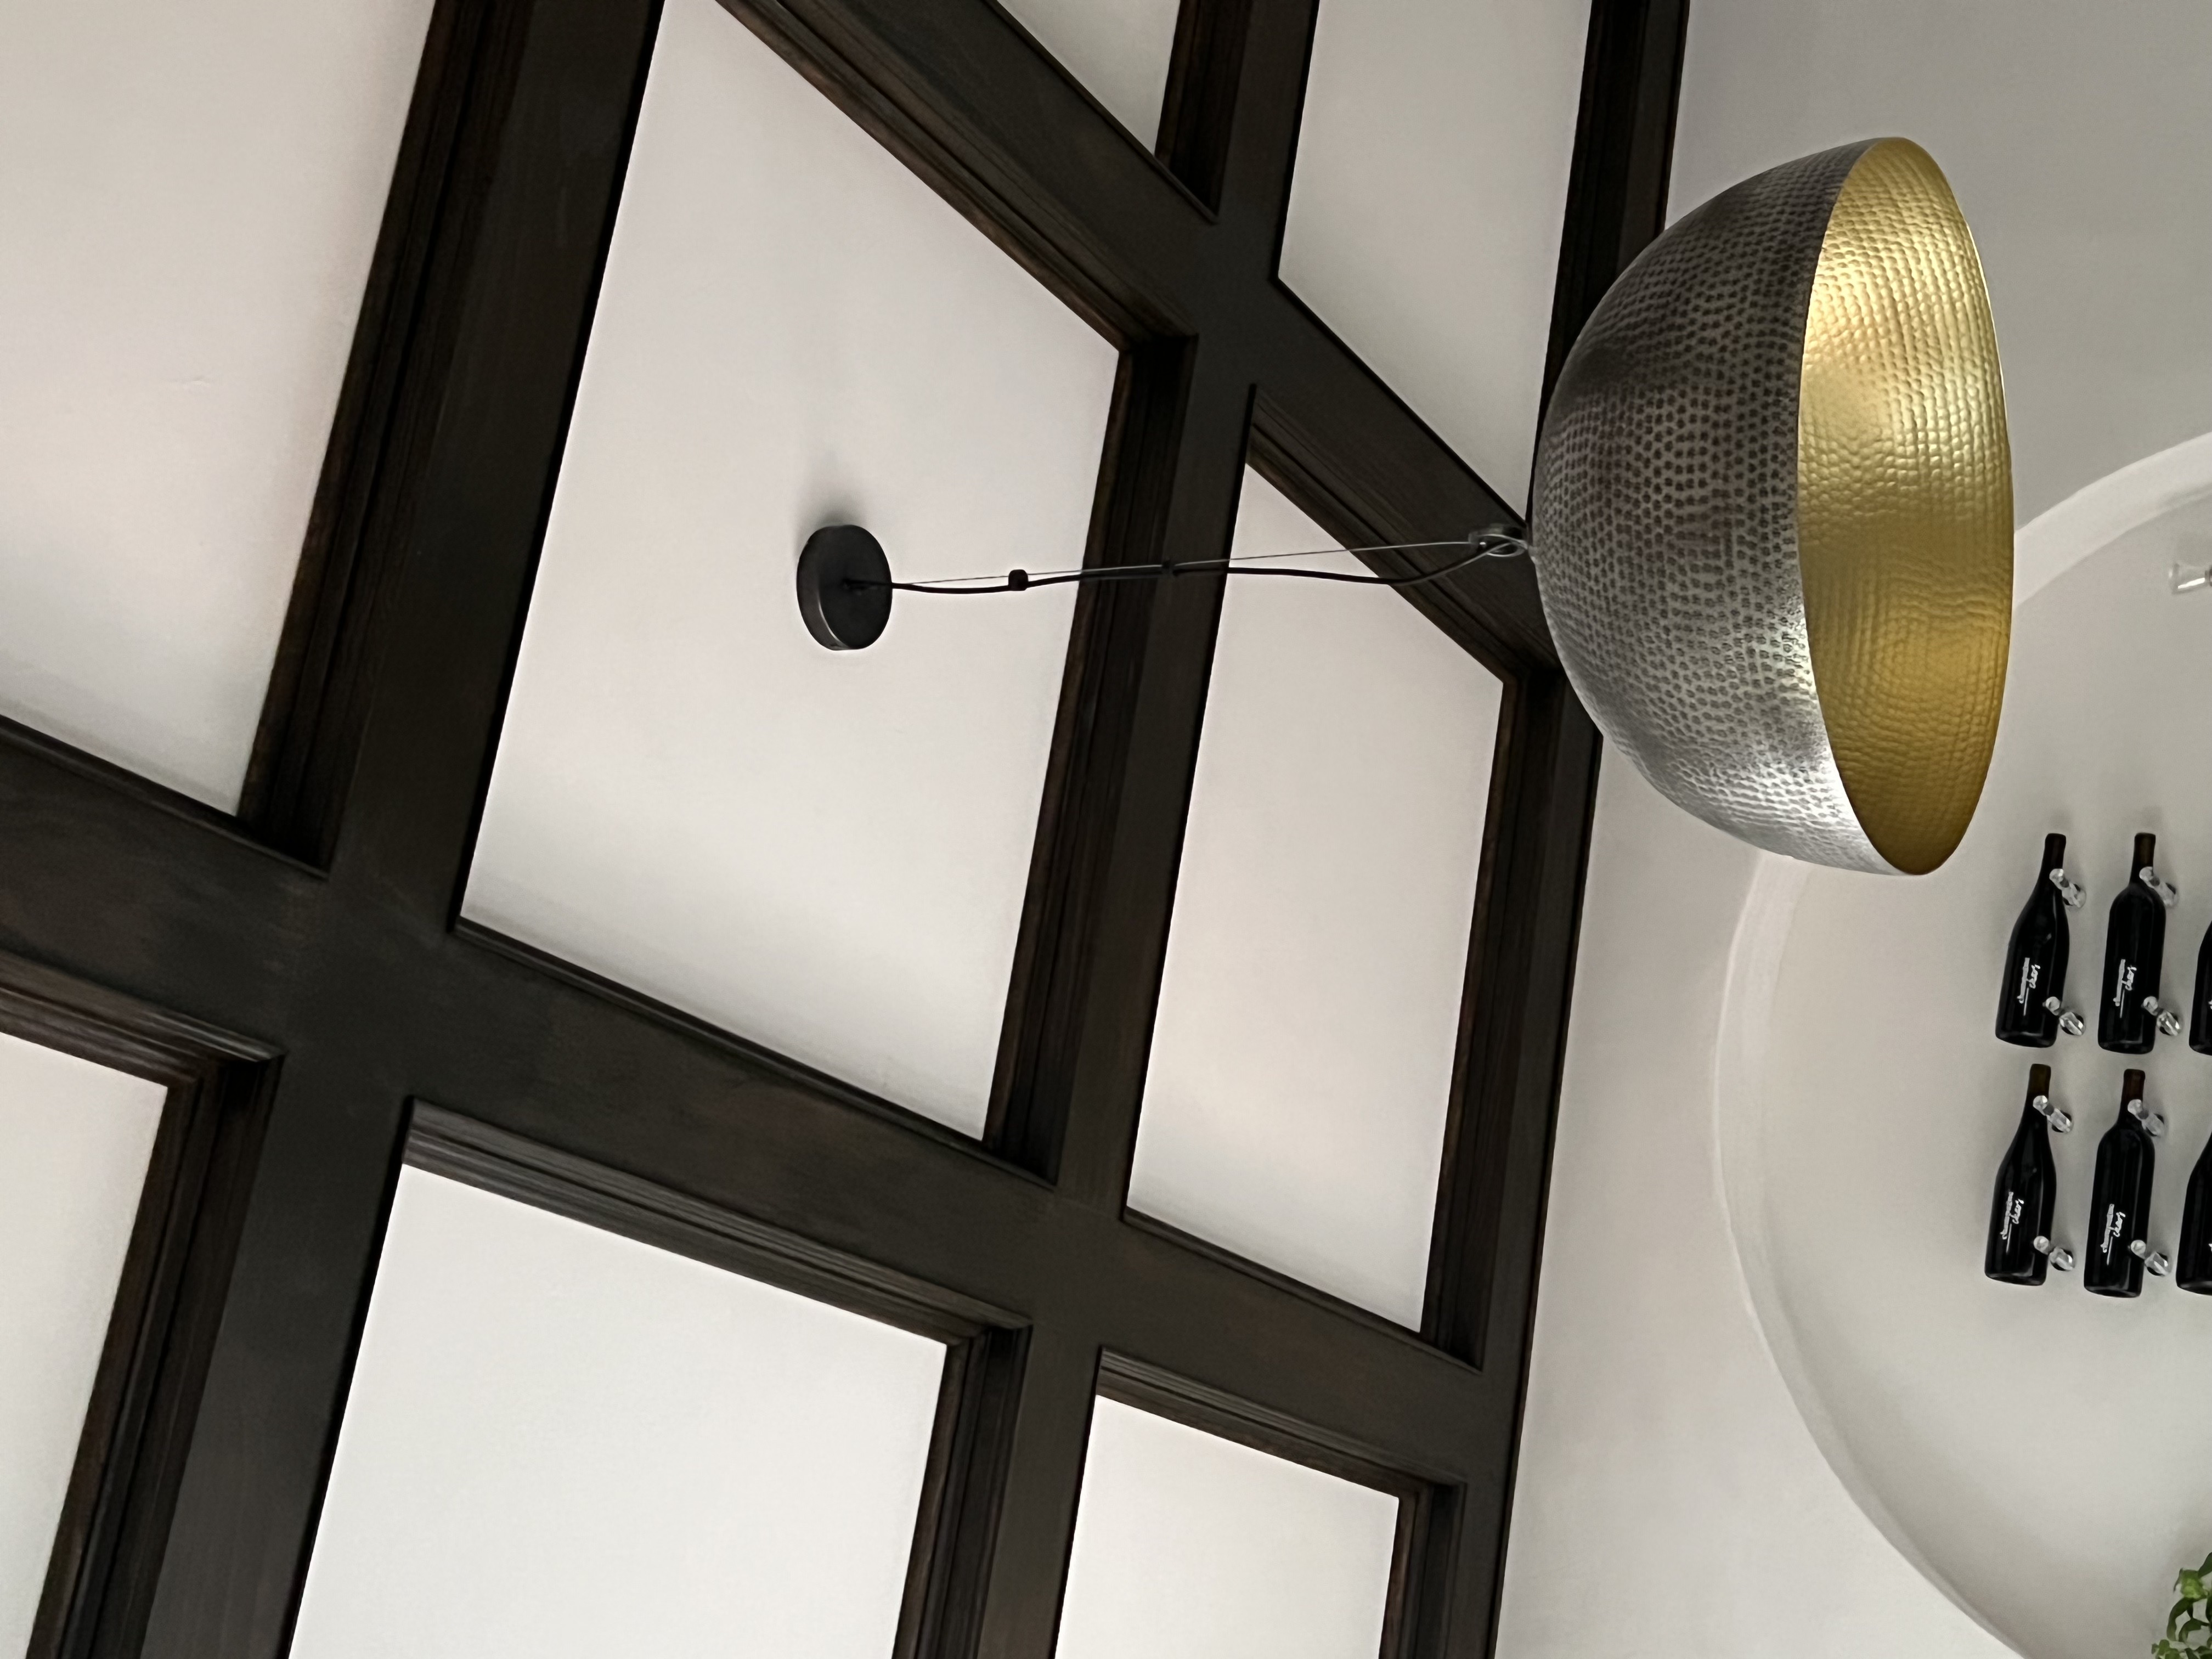
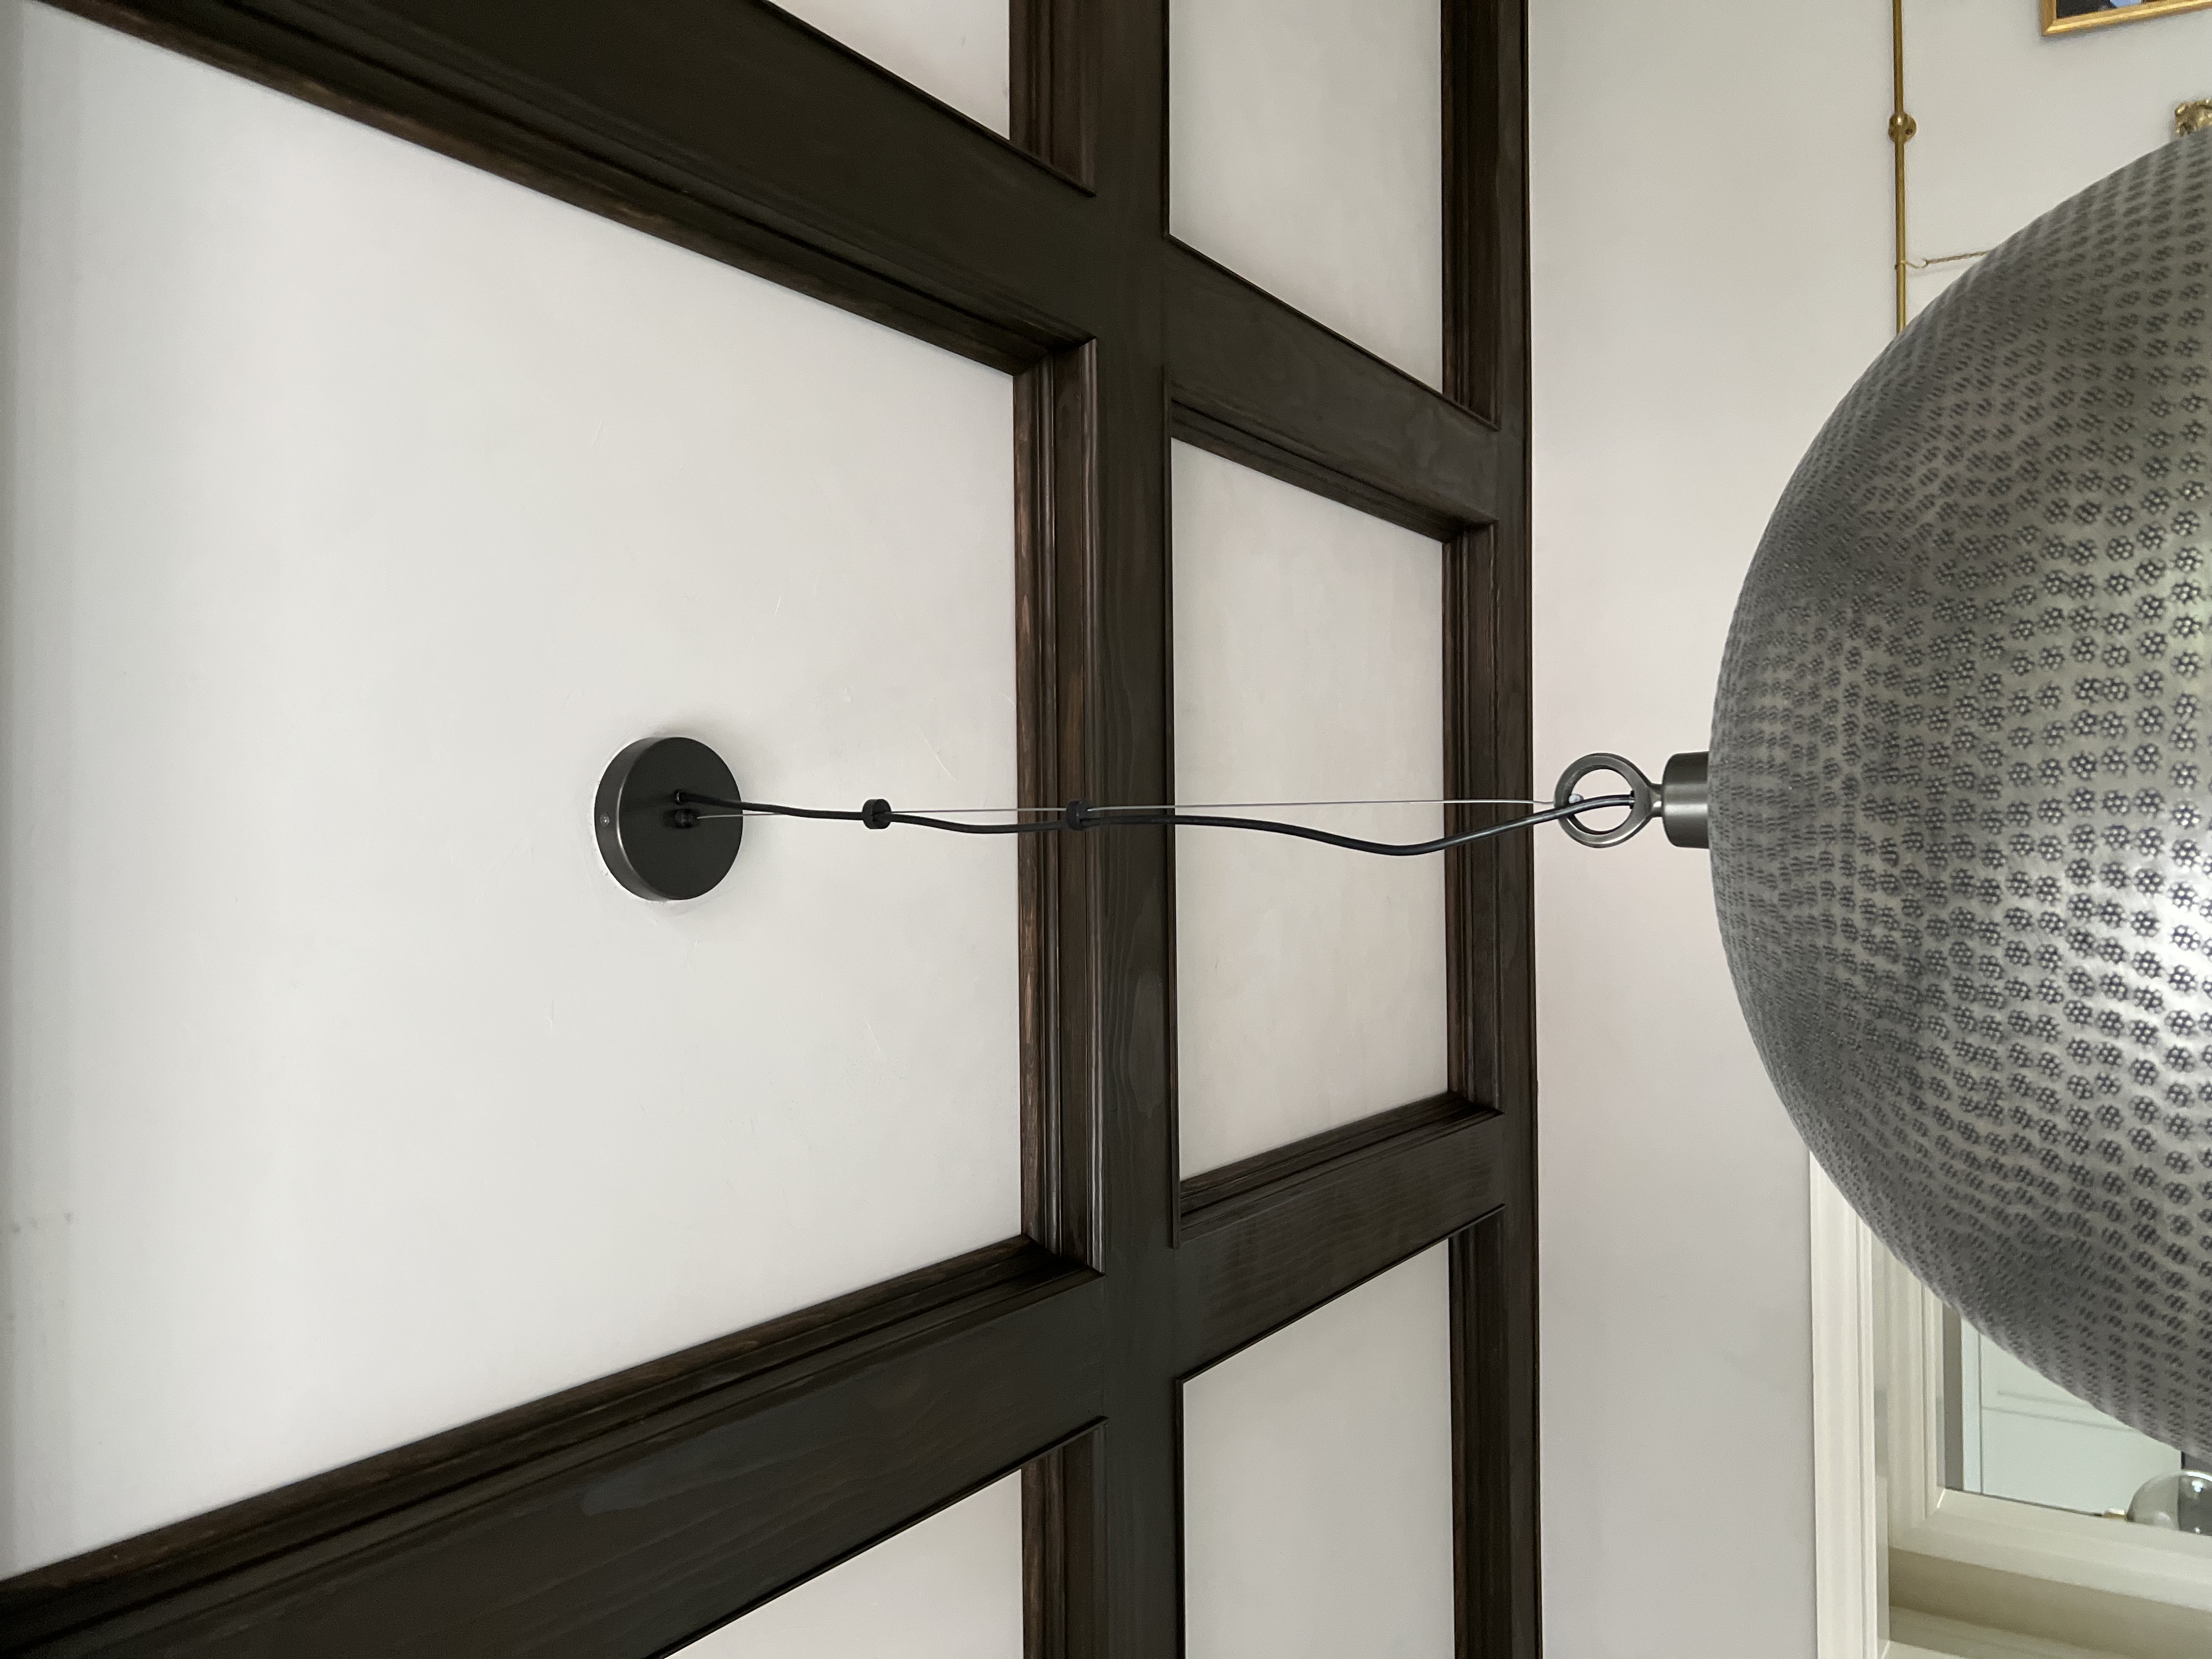
Finishing Touches for the DIY Coffered Ceiling
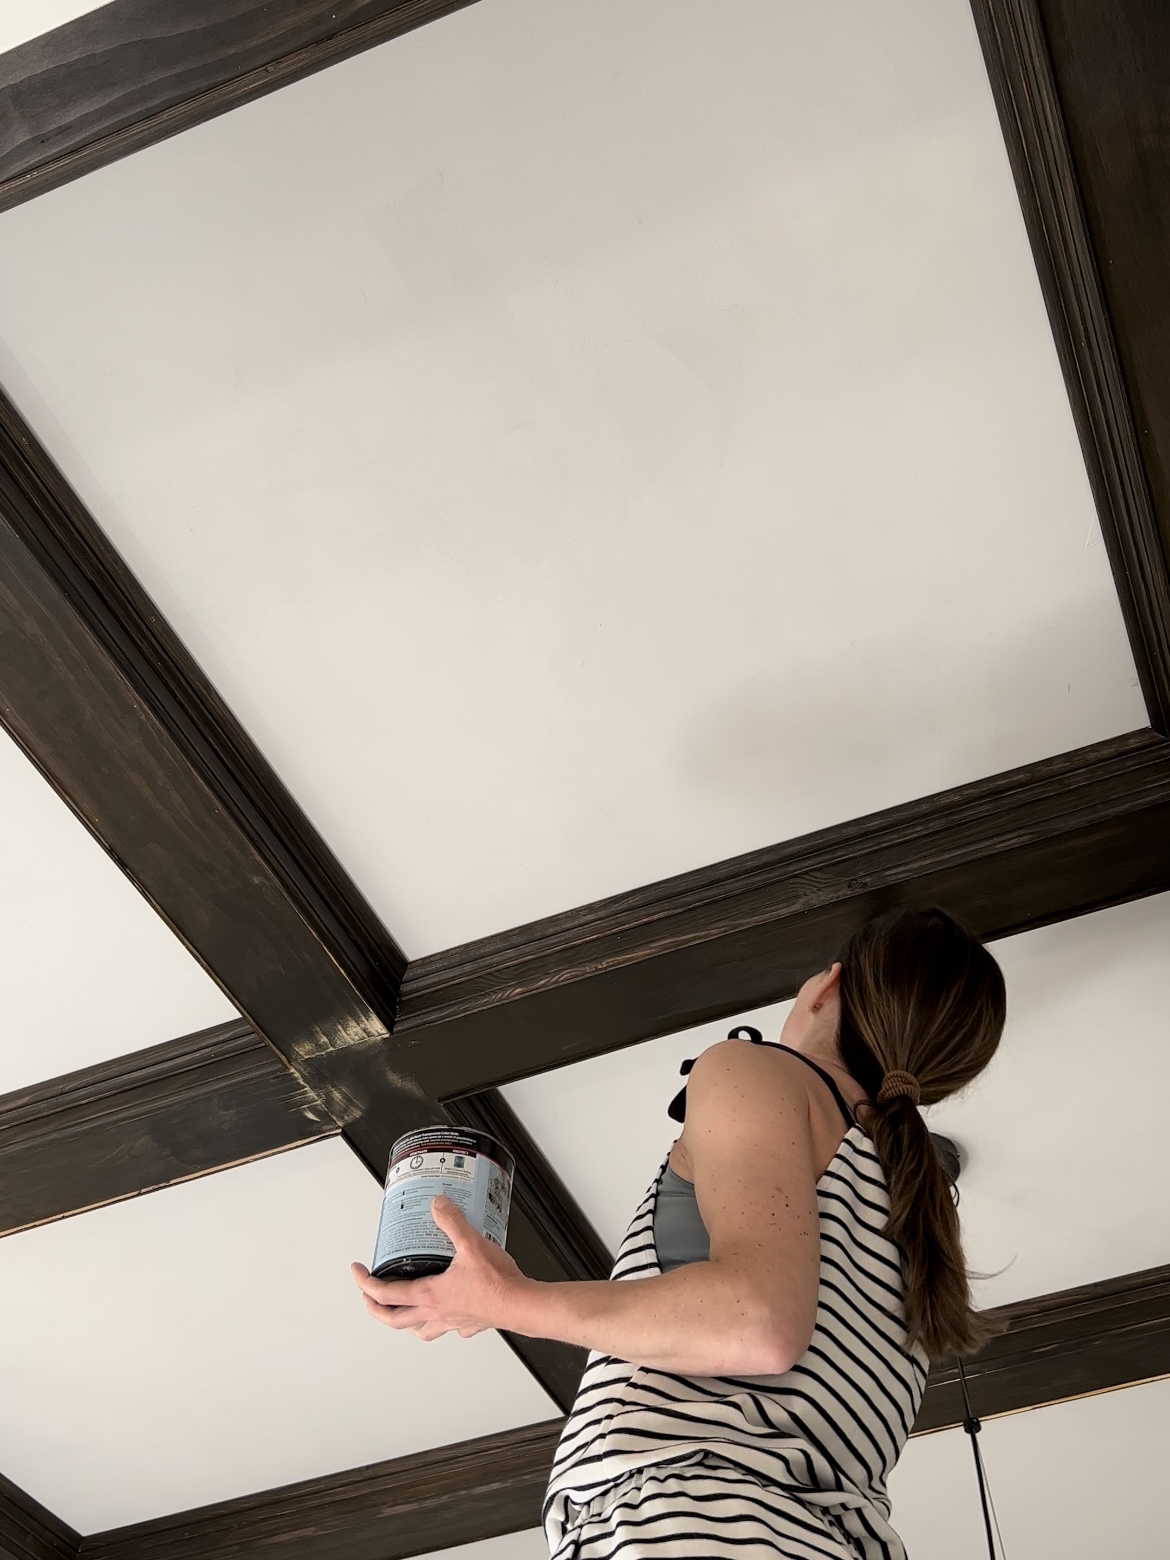
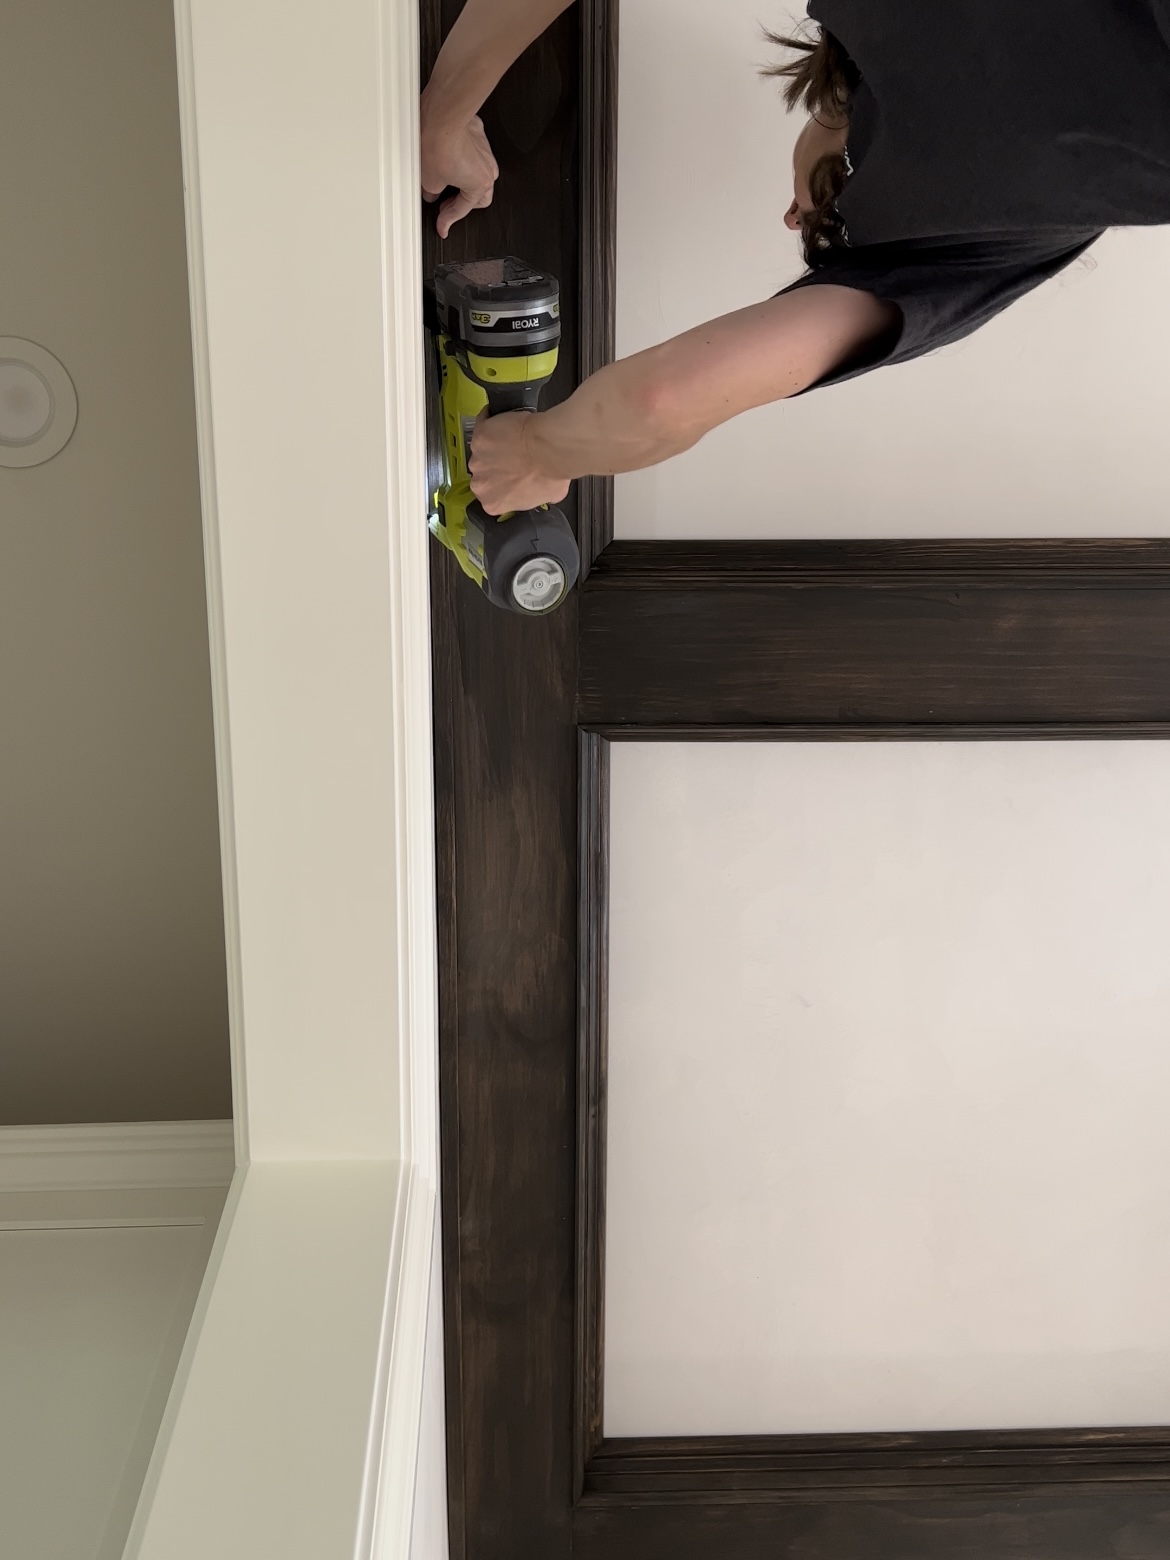
Once everything was up, it was time for the finishing touches! I did stain touchups at all the joints and added stained screen moulding along all the sides. This covered up the gaps created by the uneven walls.
I used my favorite wood putty for the nail holes – using the color Ebony to match well.
Timeless or Trendy?
Whether you call this a coffered ceiling, box trim ceiling, or anything else… I think this is a beautiful, timeless way to add character to a home – particularly if it’s leaning towards a traditional style.
People have had ornate ceilings for centuries, so if that’s not a timeless trend, I don’t know what is! If you want the vibe of a DIY coffered ceiling in your space, by all means, go for it! If it’s not your thing – just pass!
Materials for the DIY Coffered Ceiling:
1x6x8 Select Pine Boards
1x2x8 Select Pine Boards
Water-based Stain, Tinted to Dark Walnut
Pine Baseboards for the Sides
Crown Moulding
Screen Moulding for Perimeter of the Room
Wood Putty for Nail Holes, in Ebony
More Dining Room Makeover Inspiration:
Arched Dining Room Makeover
Modern Dining Room MakeoverGrid Gallery Wall
Affordable DIY Industrial Pipe Shelves
Post may contain affiliate links. Disclosure linked here.
