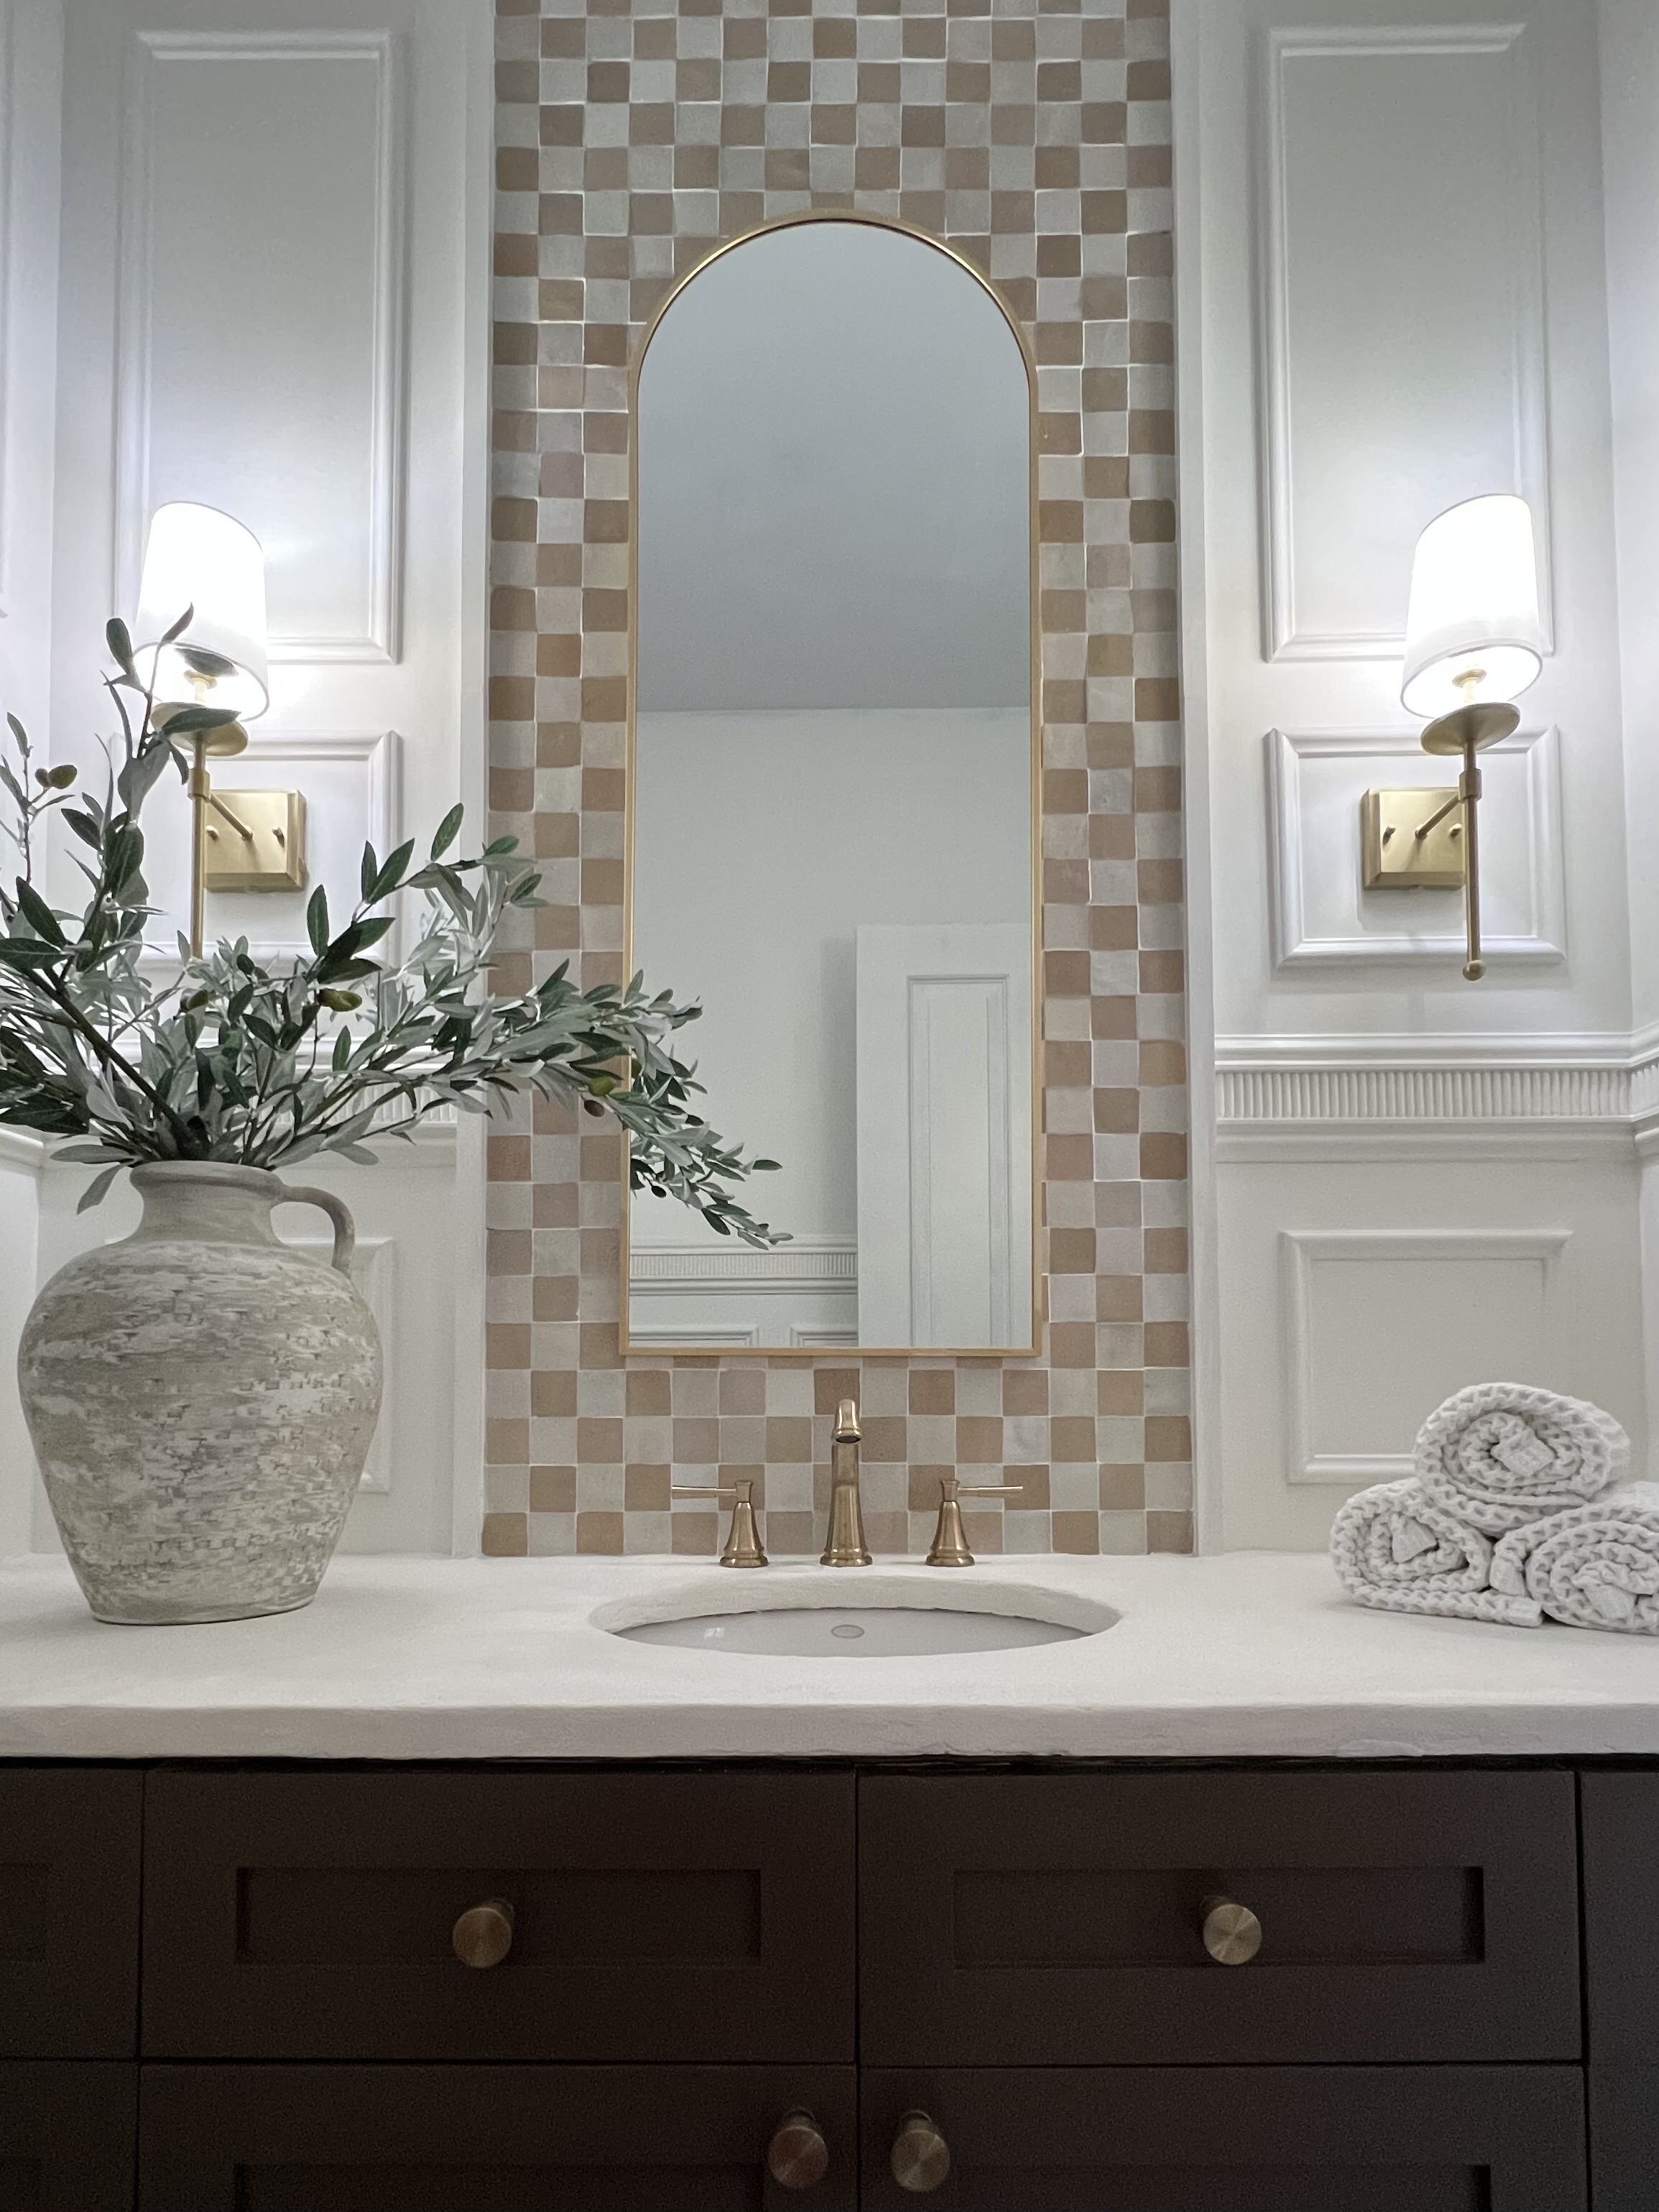
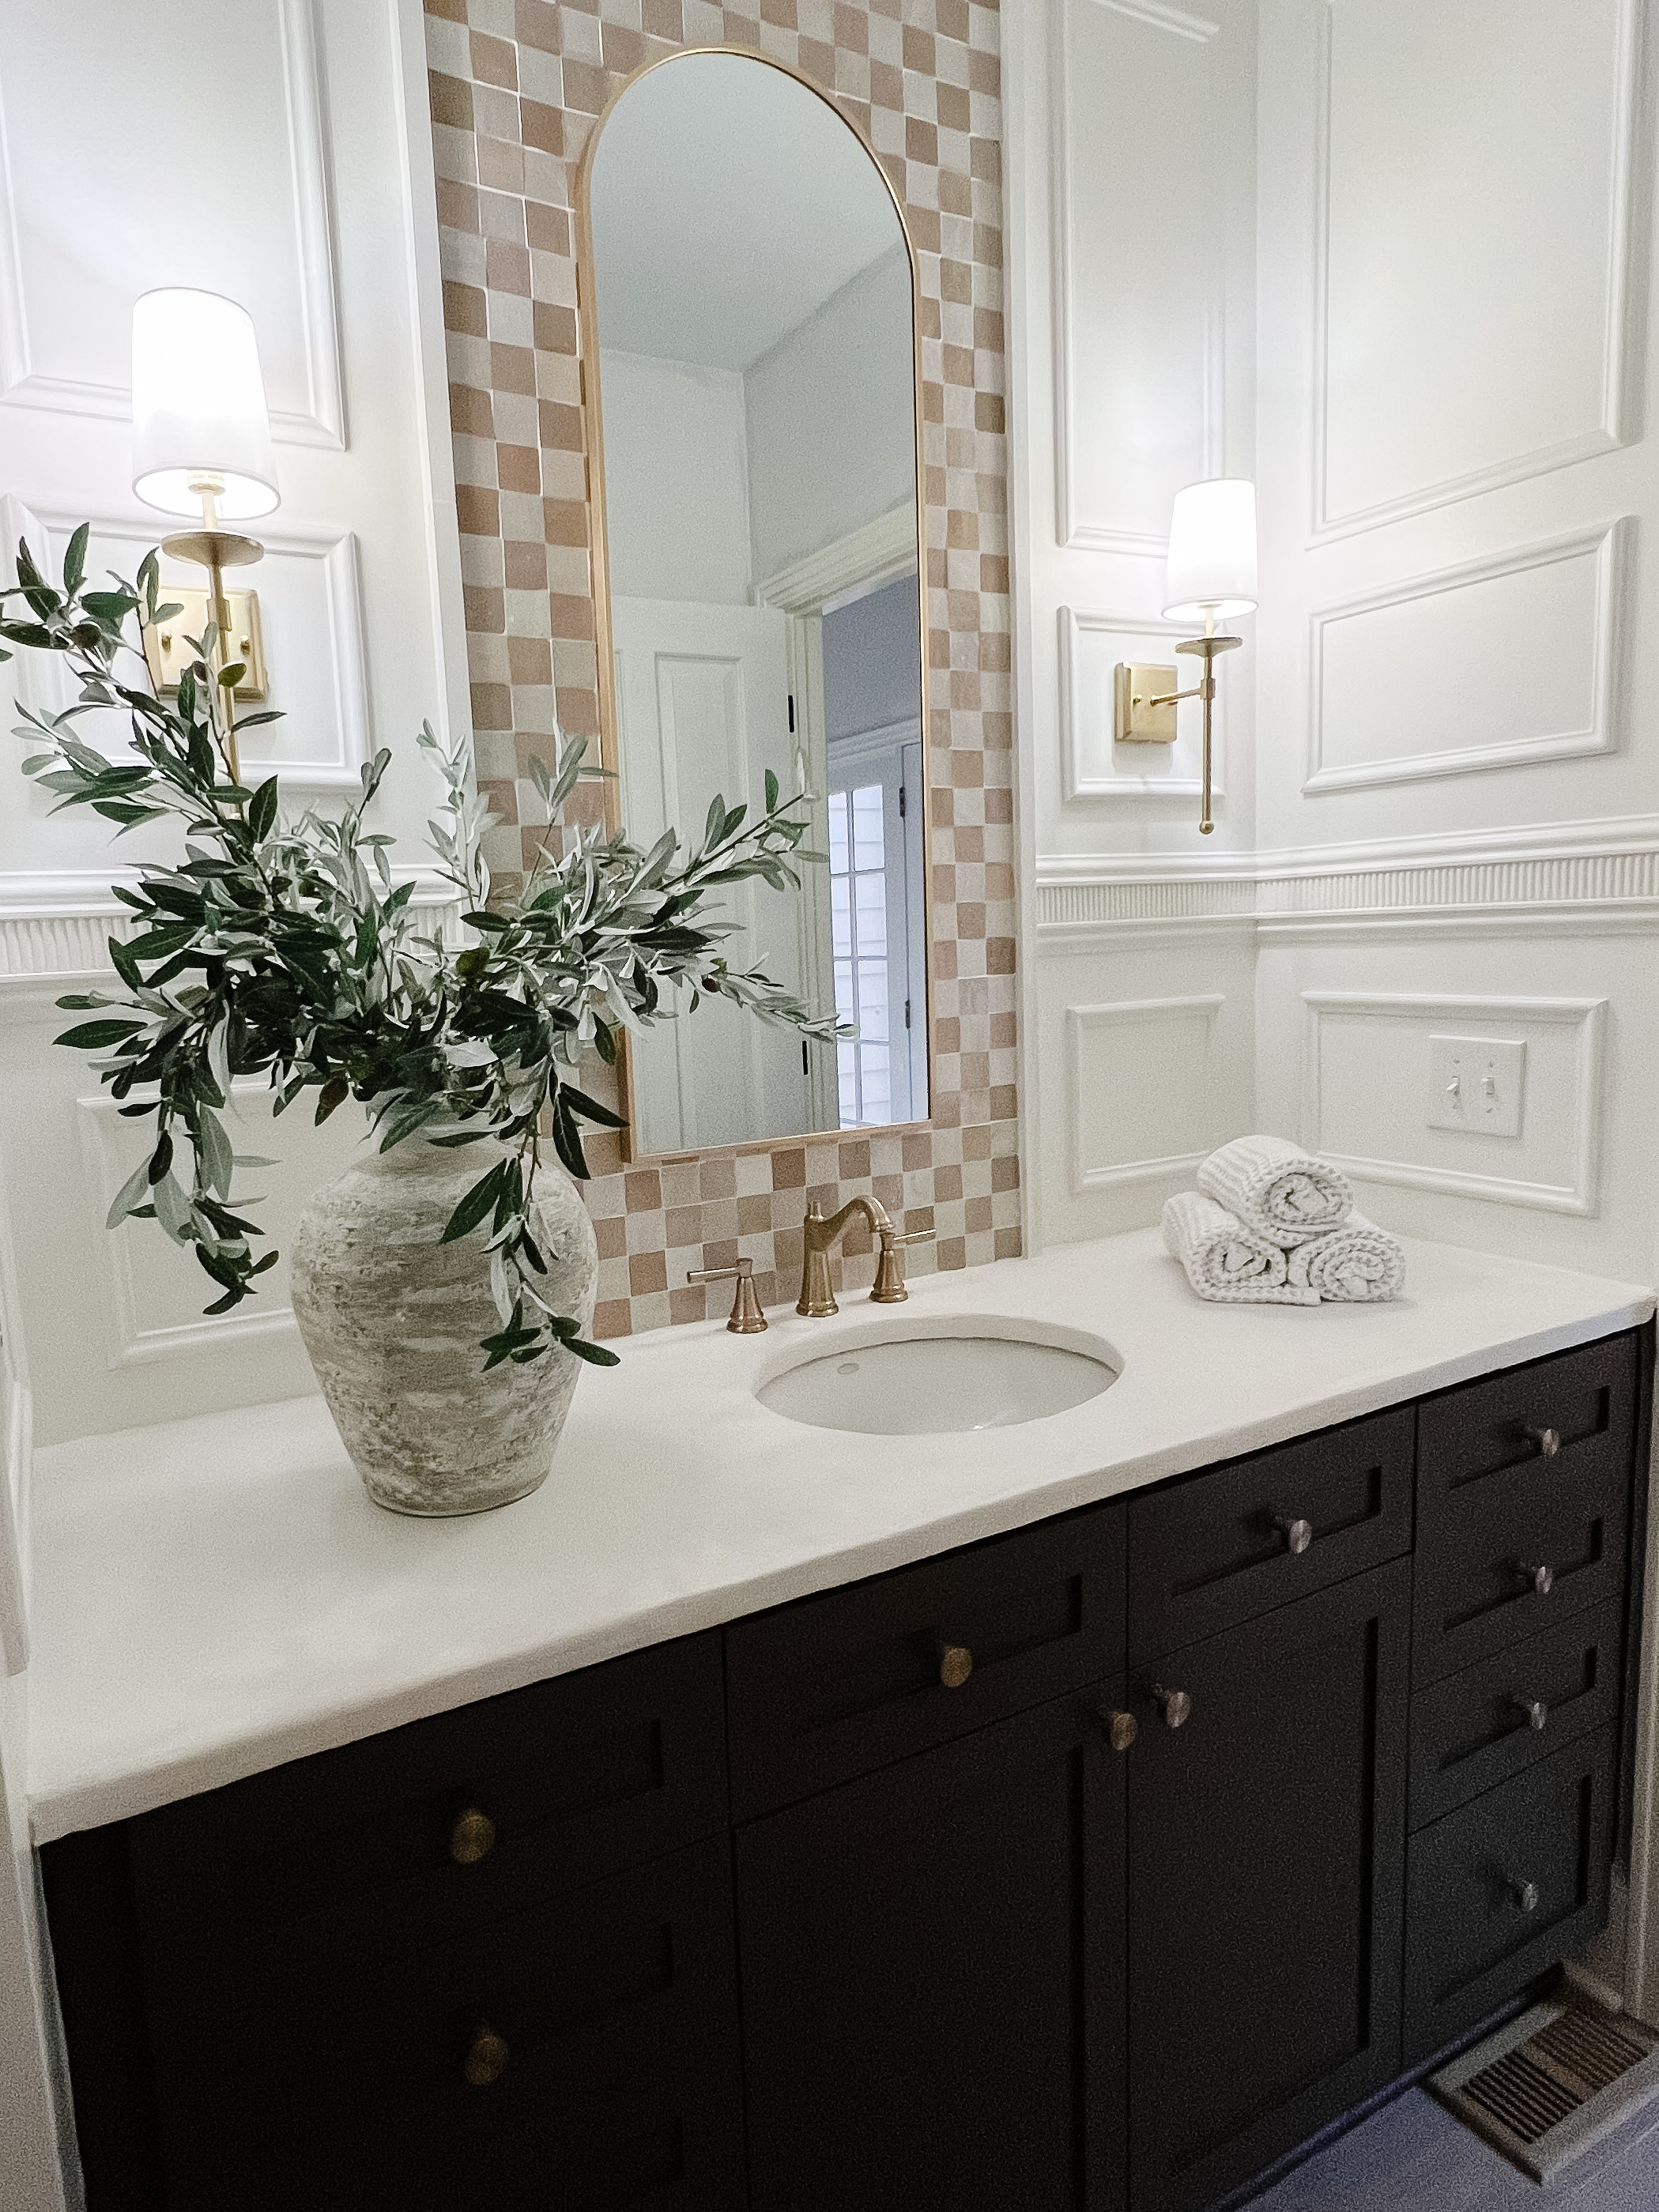
Half bathrooms don’t have to be boring or basic! I did lots of DIY projects in this powder room makeover to make it feel glamorous and also match the vibes of our home!
I have details, pictures, and links for you in this post, and if a video is your jam – it’s here too!
The Space
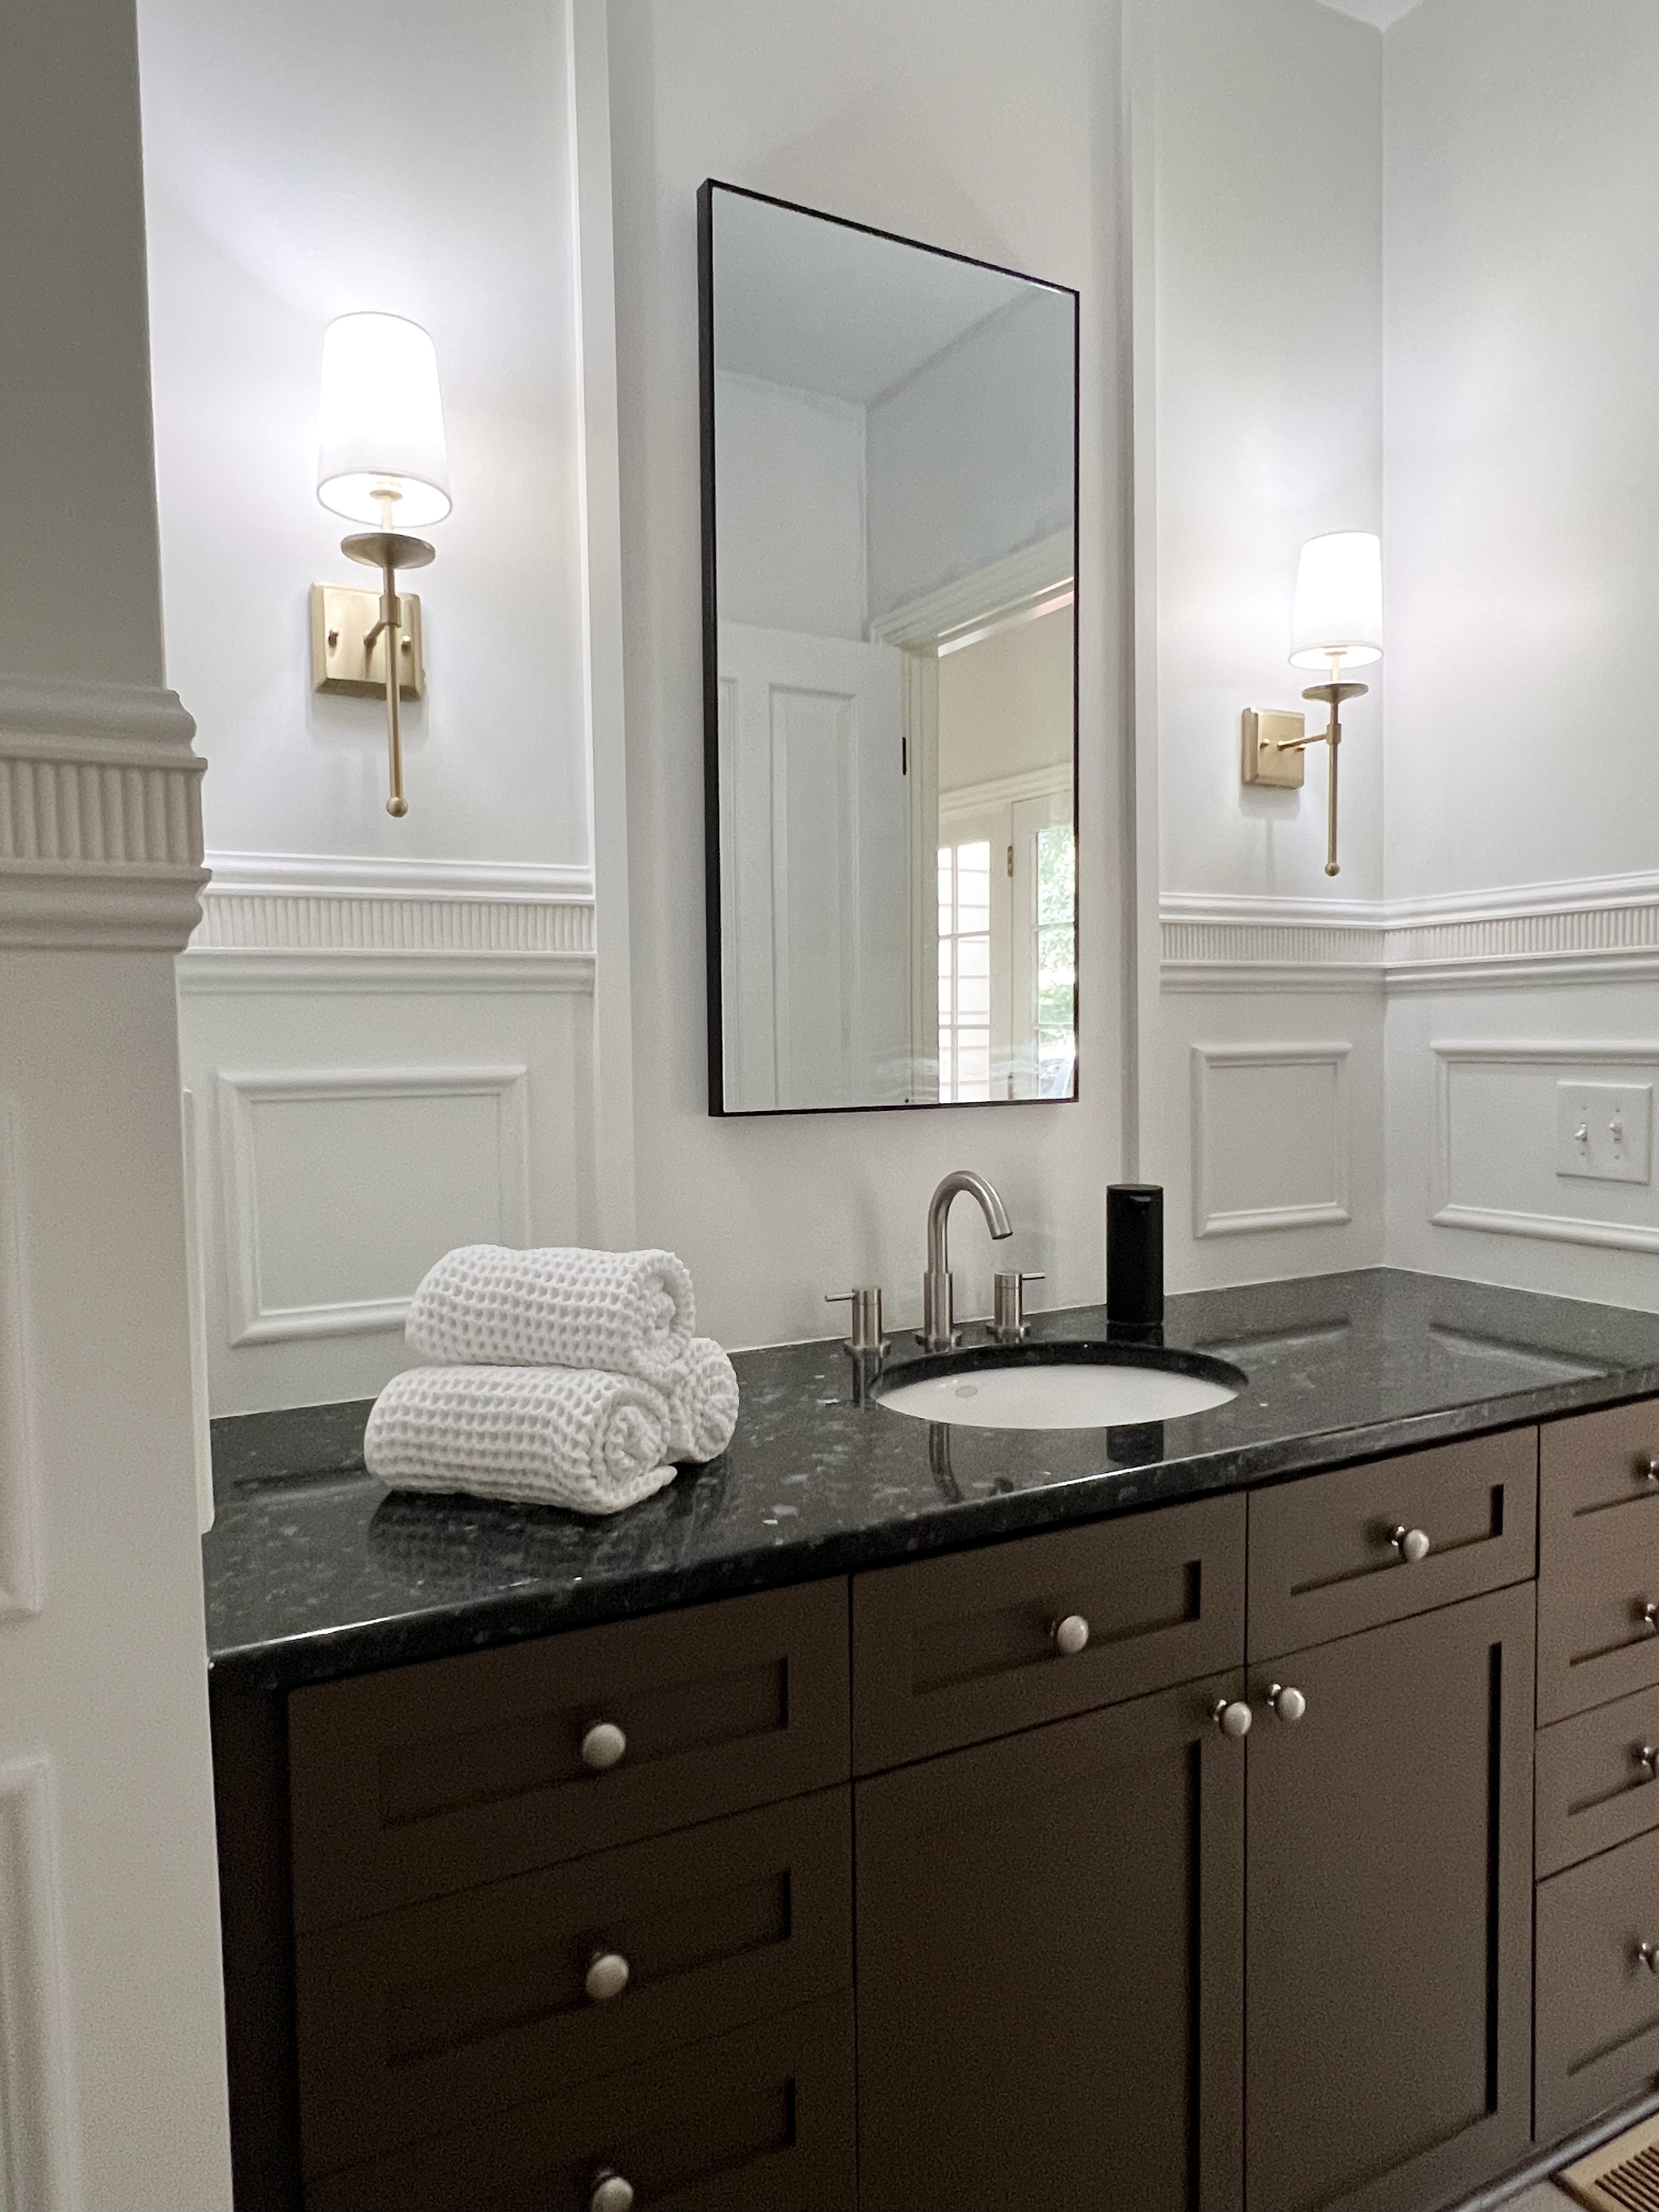
Here’s the before and after! There was nothing wrong with the powder room before, but I knew that it could be more… fun!
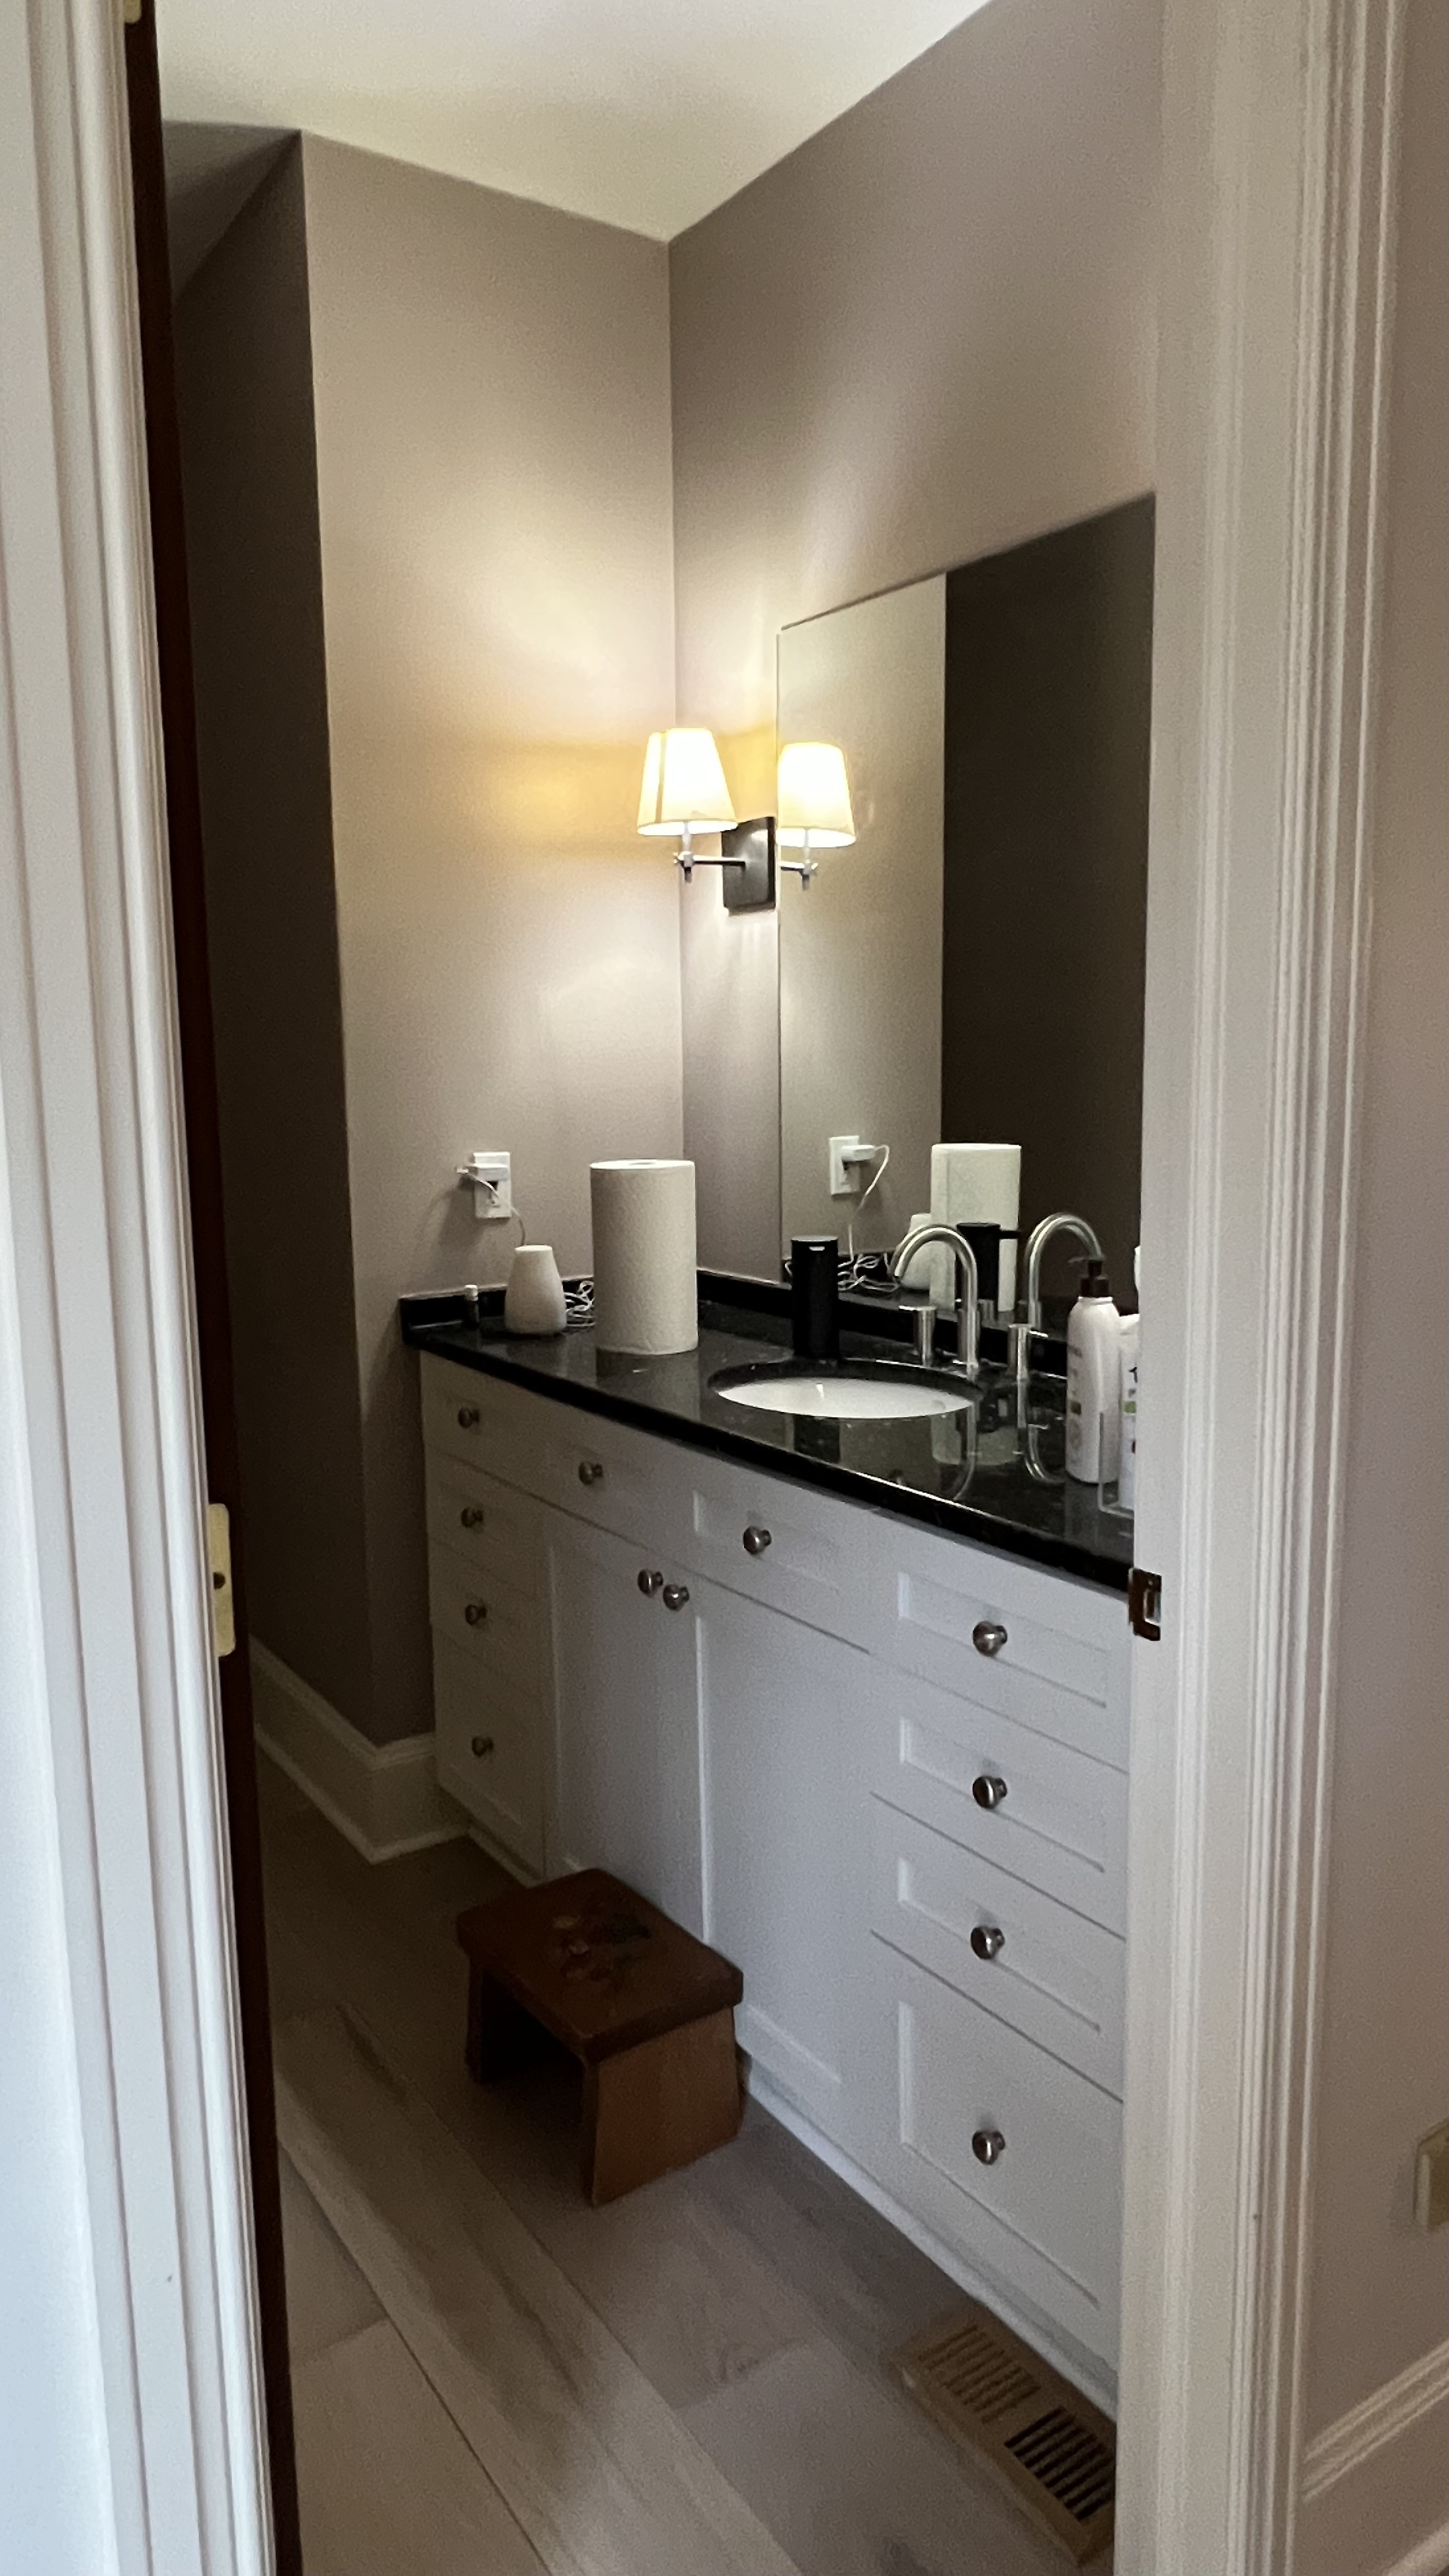
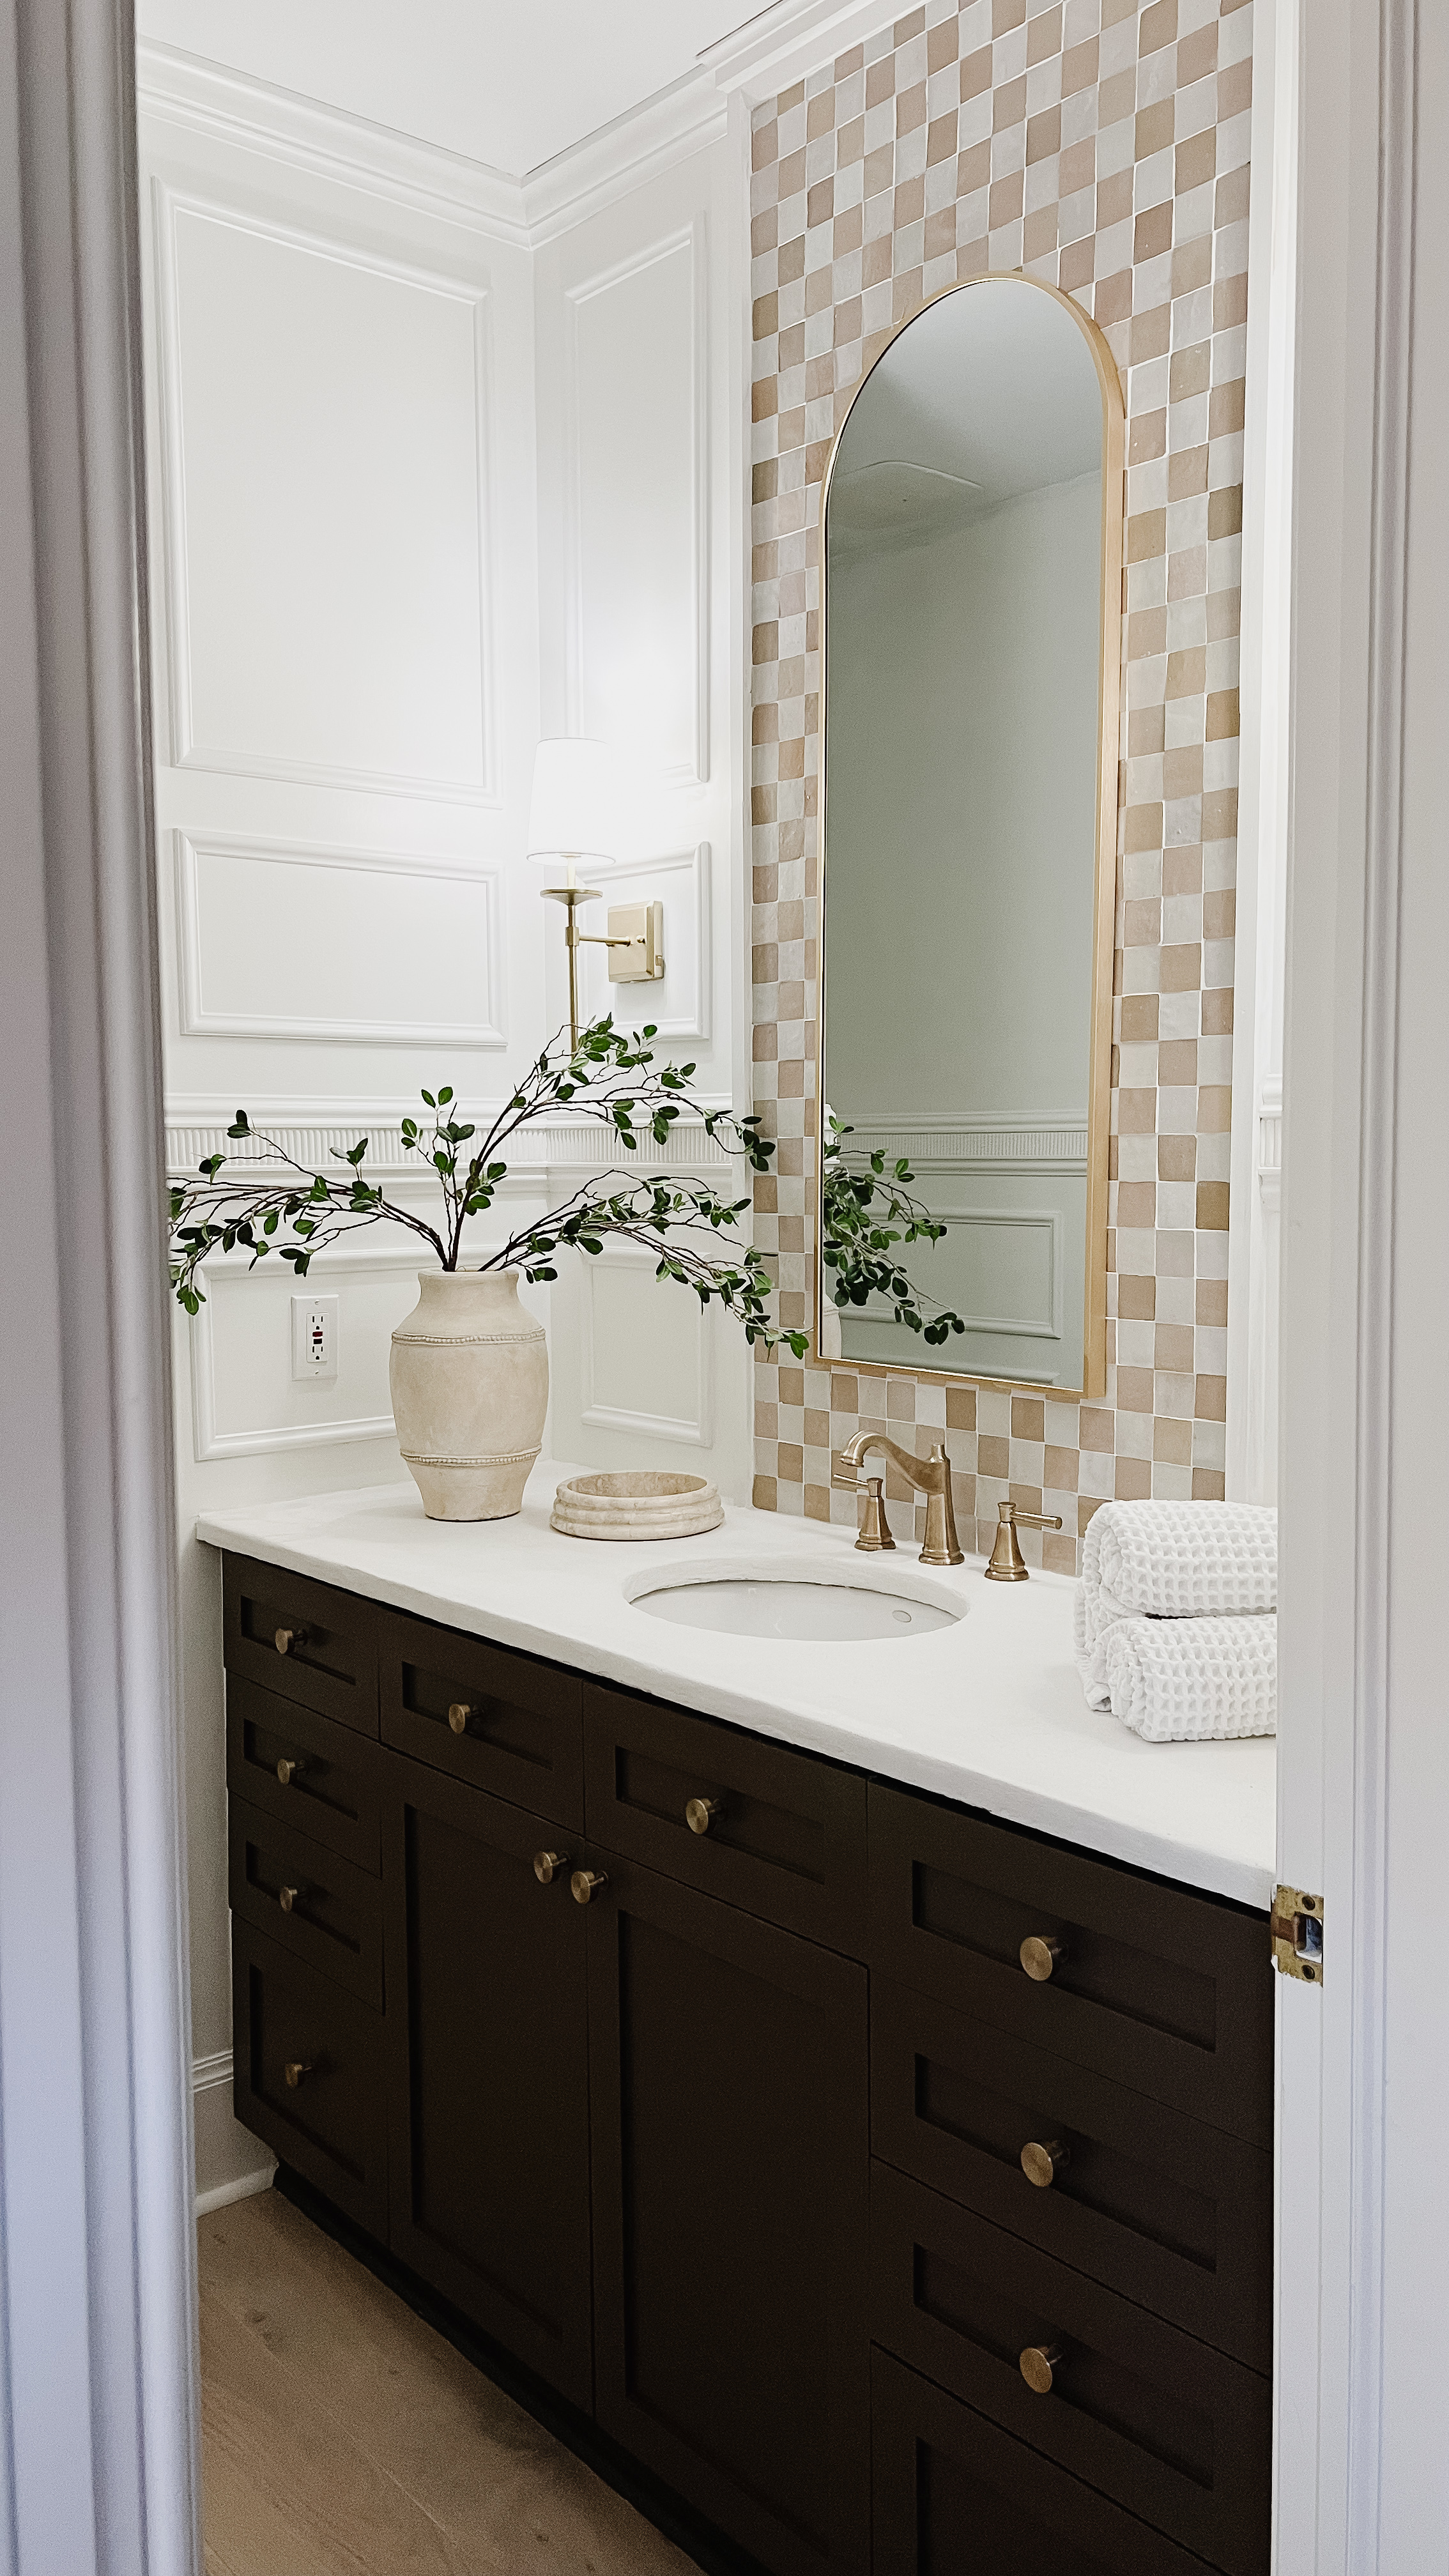
Our powder room isn’t necessarily small, but it’s long and narrow, which makes it feel that way. That didn’t stop me from adding a ton of different elements into this small space. Painted vanity, box moulding, chair rail, crown moulding, Zellige tile backsplash, and a faux concrete countertop… all in one spot!
“Demo” Day!
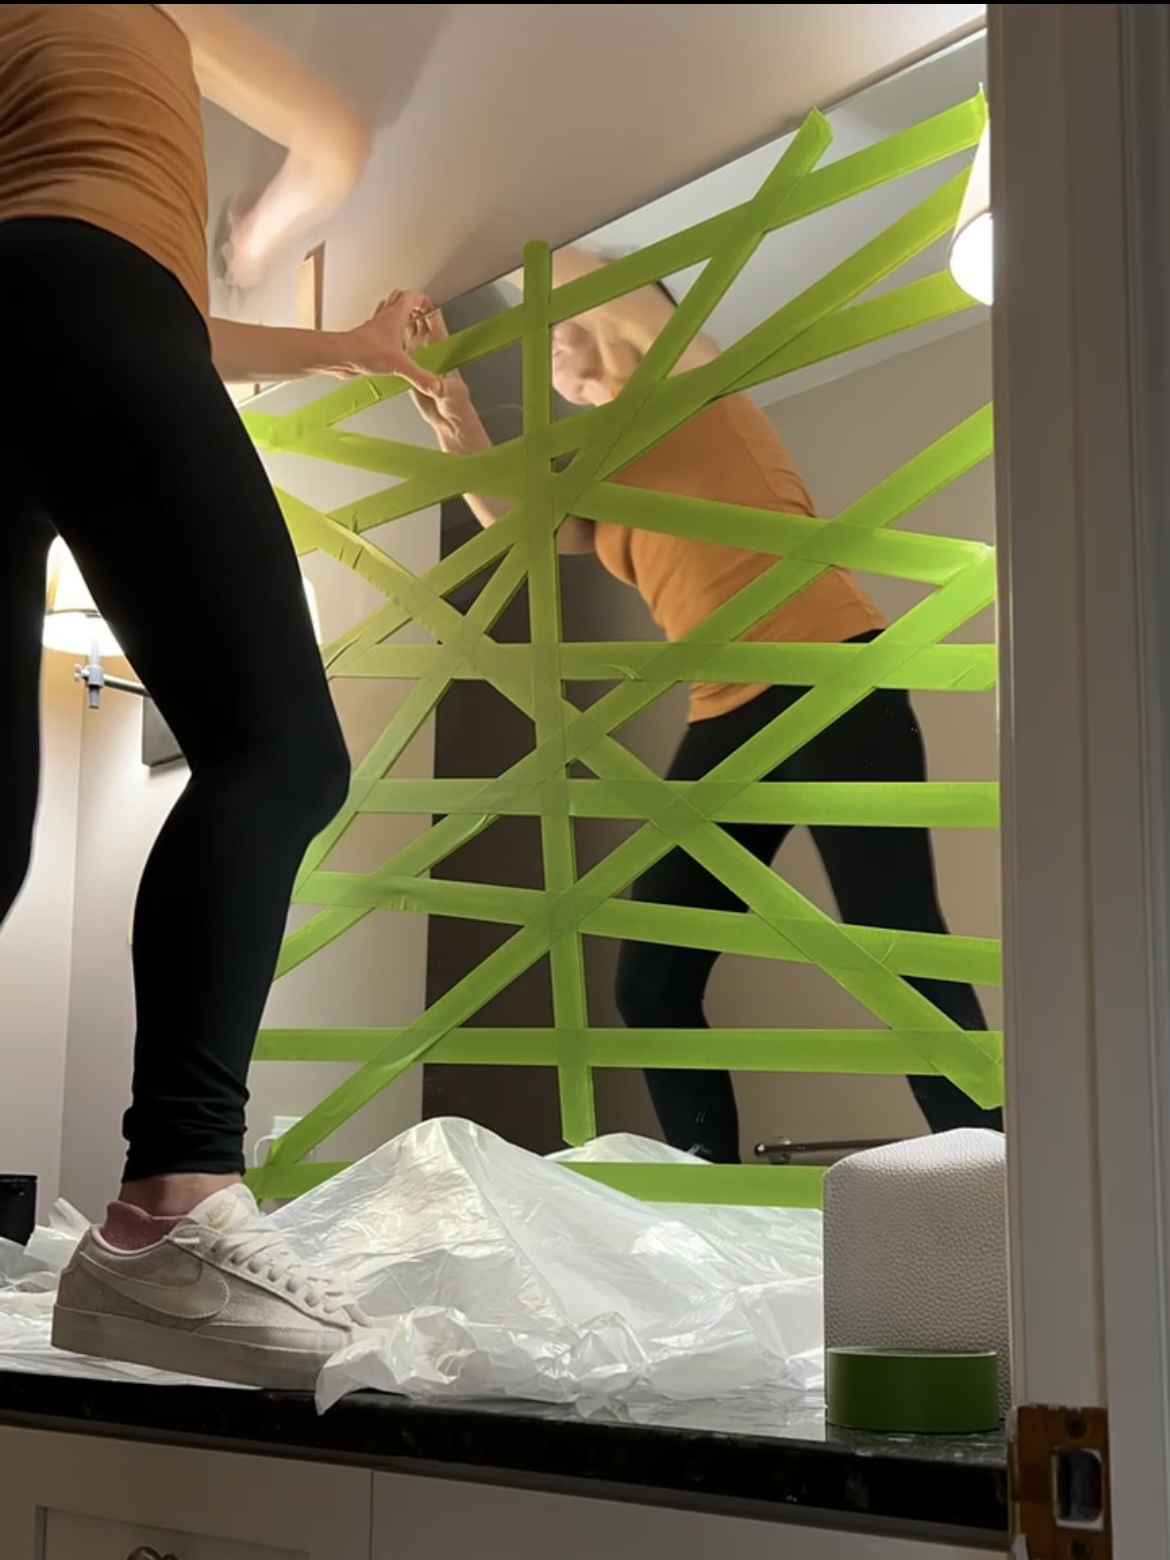
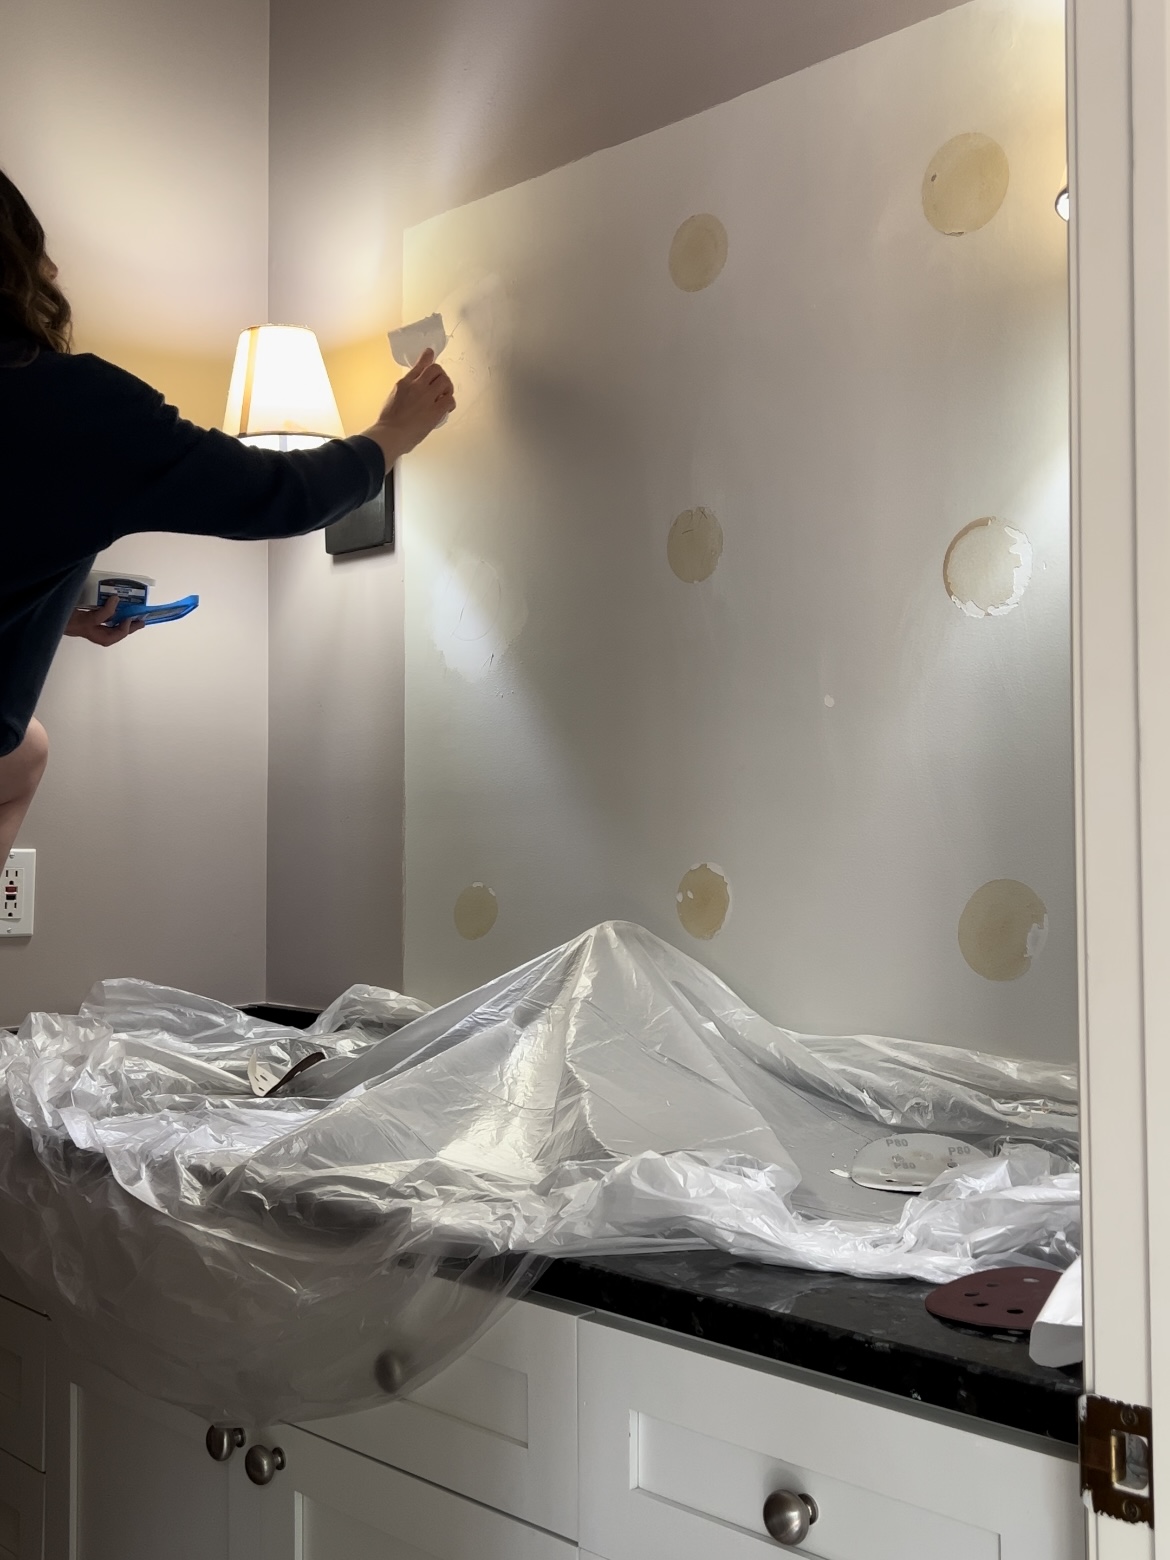
The only real “demo” I had to do was remove the builder-grade mirror and patch up the drywall where there was glue. Fortunately, the tile will cover most of those spots, so they didn’t even have to be perfect.
Powder Room Makeover: Painting the Cabinets
First, test to make sure that you don’t need to sand. Paint a small section, and once it’s dry, cut an “x” with a knife.
Cover that “x” in tape, and if it doesn’t peel when you rip it off, you shouldn’t need to sand. If it does peel, that means it might have a wax coating that needs to be sanded. Thankfully, I didn’t have to sand this vanity!
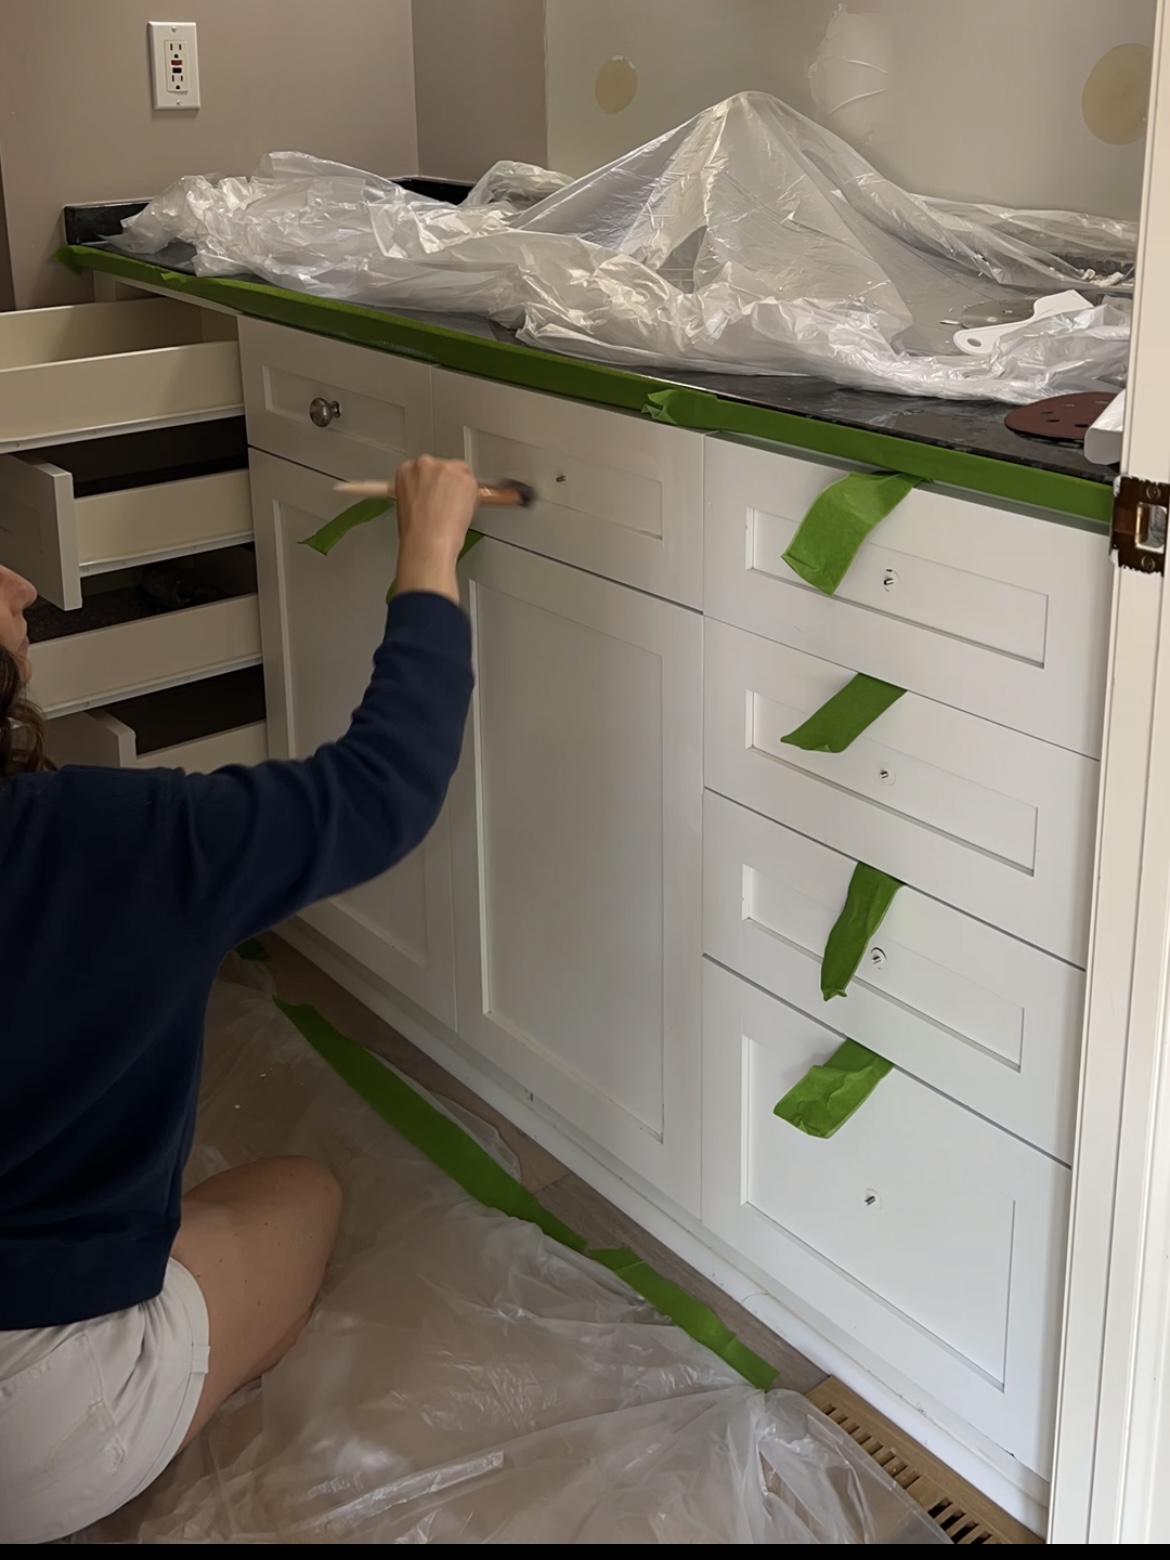
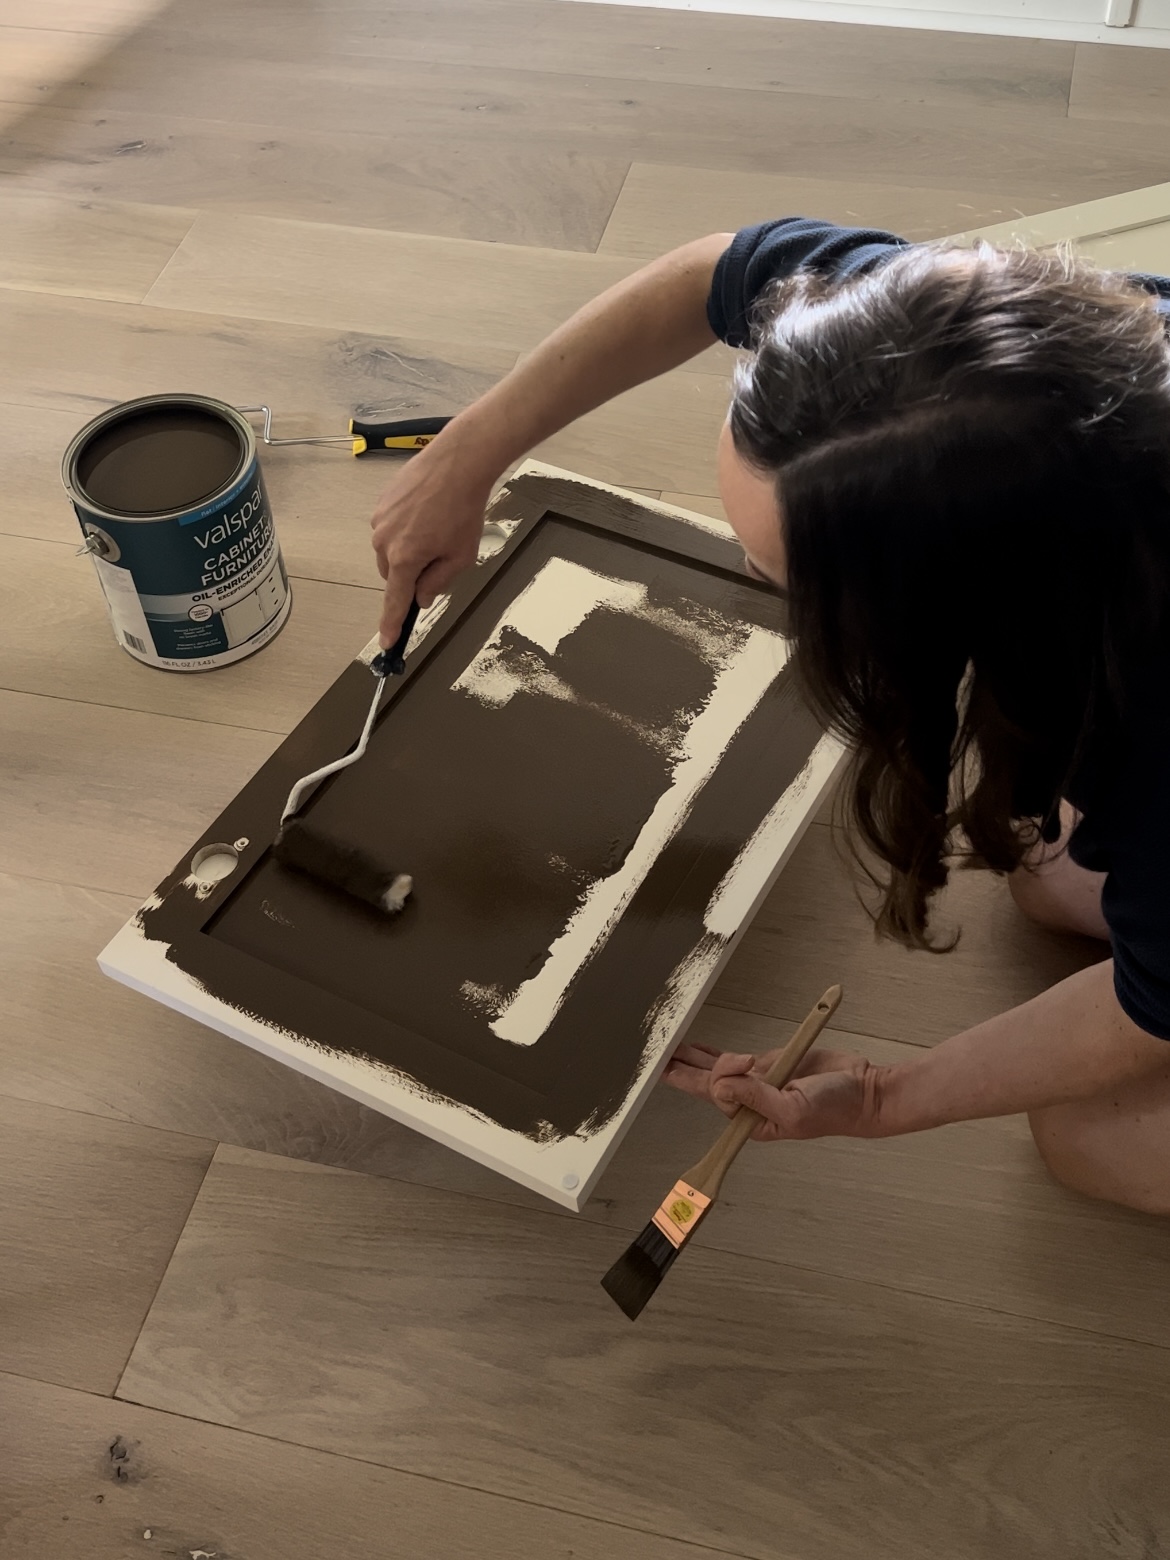
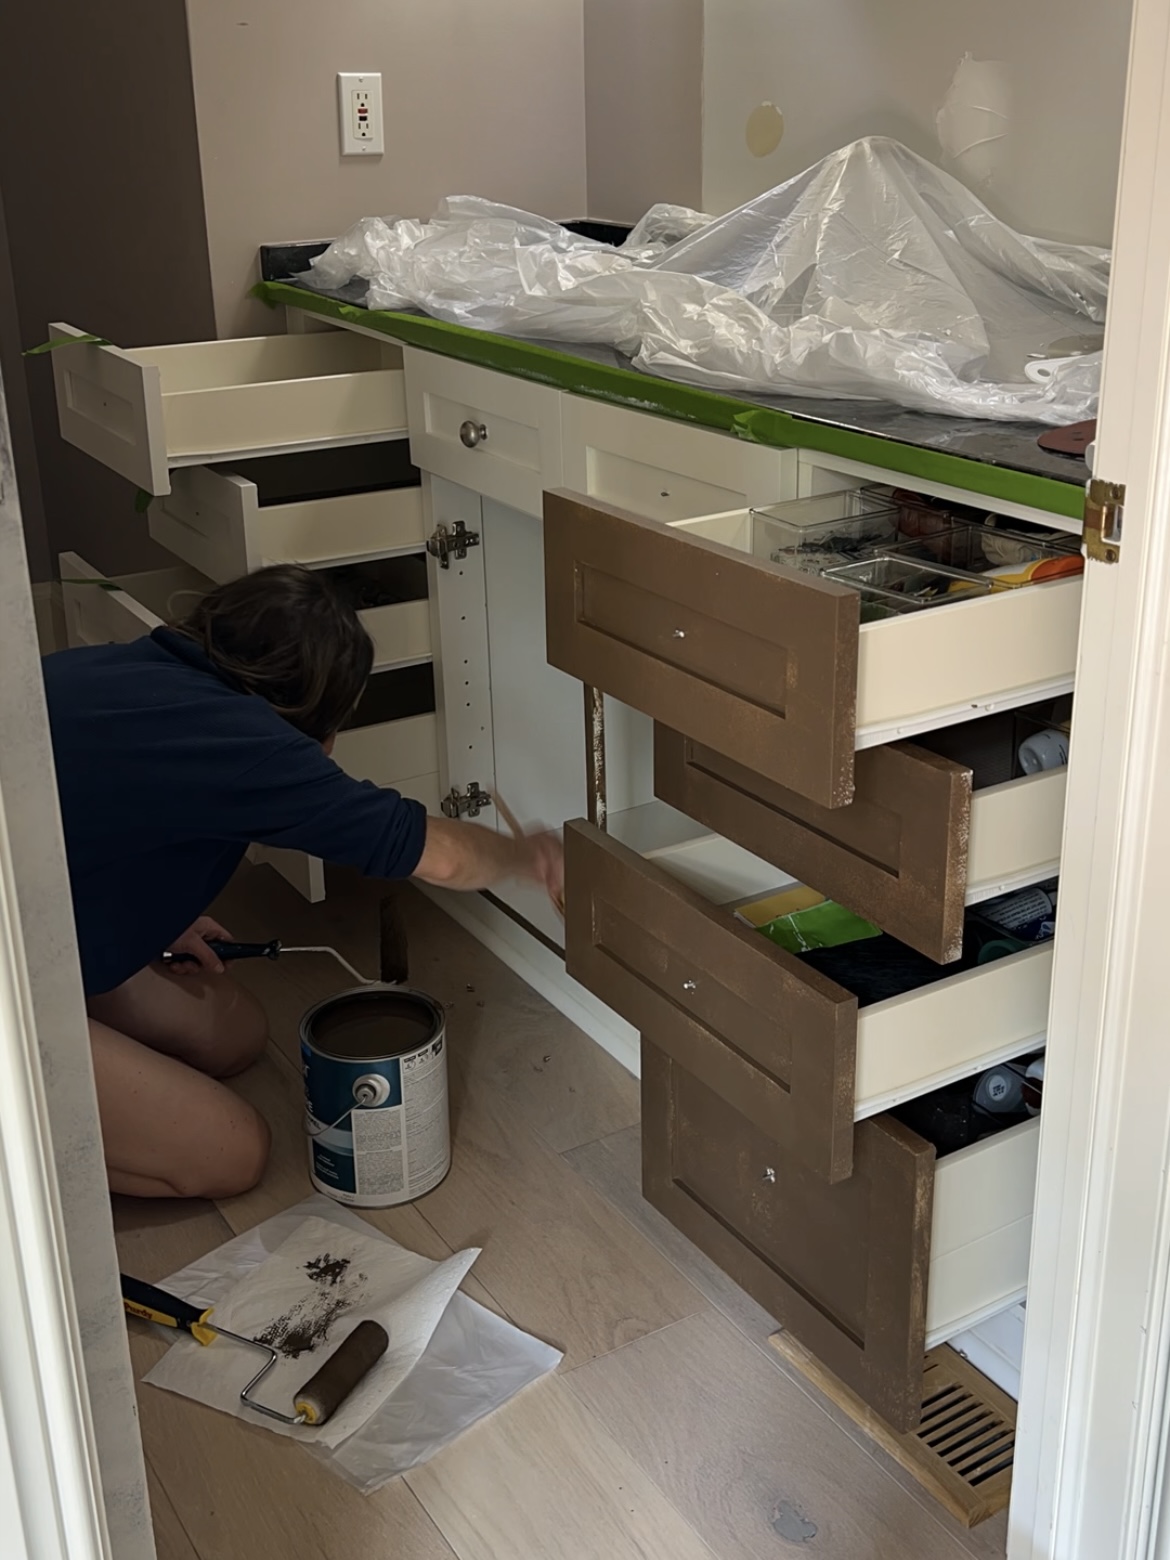
When painting cabinets, I always prime – usually using my favorite Zinsser Bin Primer like I did here. I wanted a color that gave off some warm tones, so I chose to paint the vanity a rich brown. The color I used was Momentous Occasion by Valspar.
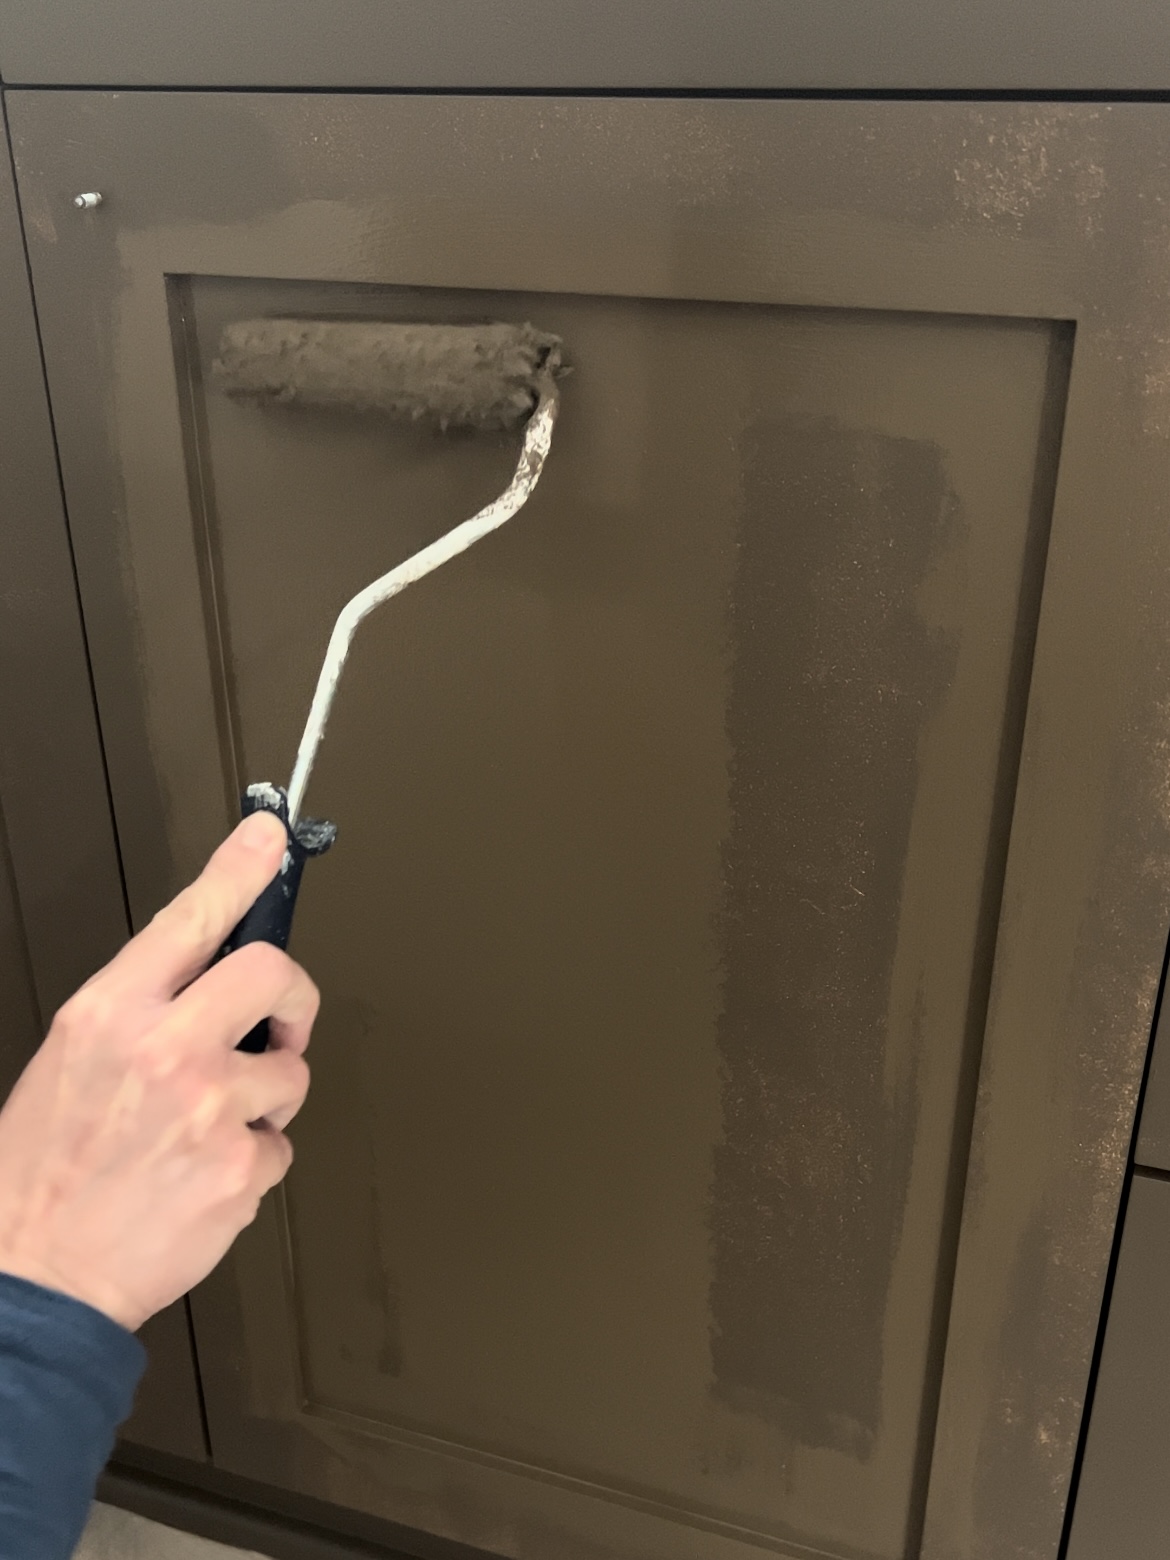
As I painted the second coat, I followed up with a dry foam roller to eliminate brush strokes and give it a smoother finish. I also added a top coat of polycrylic because this is a heavily used bathroom, and we use these drawers all day long.
Powder Room Makeover: Wall Trim and Paint
My goal with the trim in here was to make it look expensive, but spend the least amount of money possible. I used this chair rail – the same chair rail we used in our stairway. It gives the fluted/beaded look that I love, without the usual high price tag.
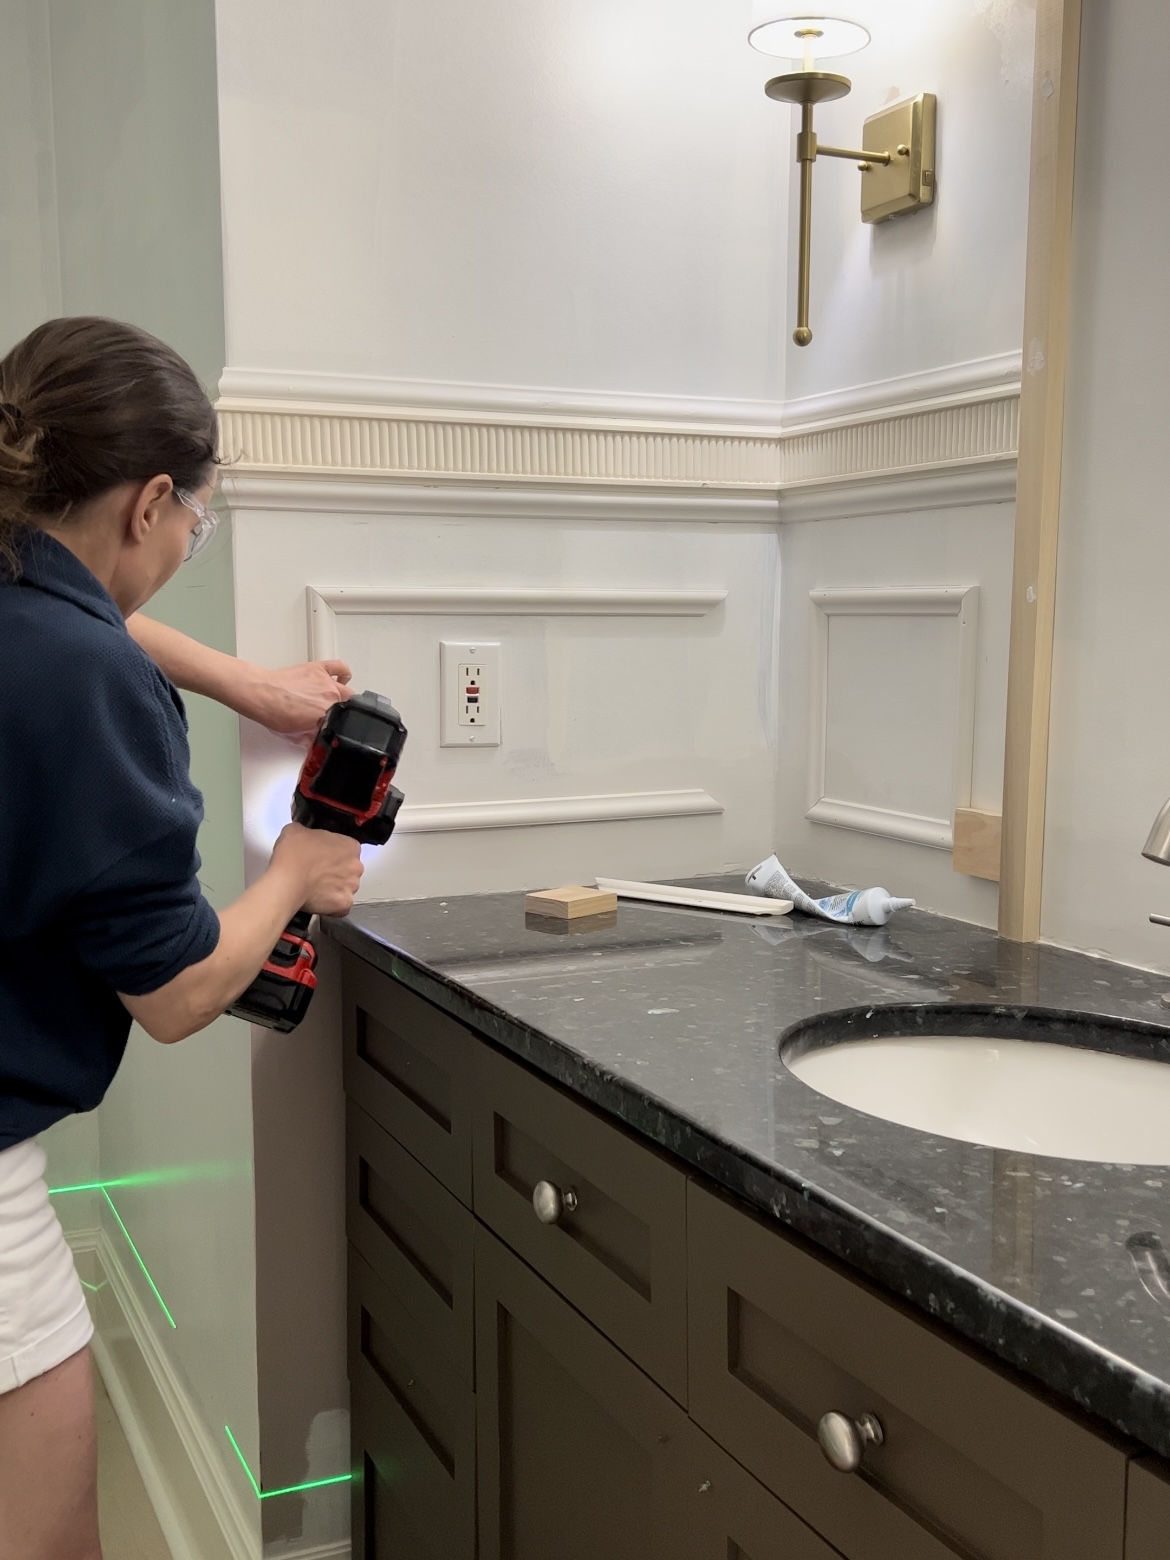
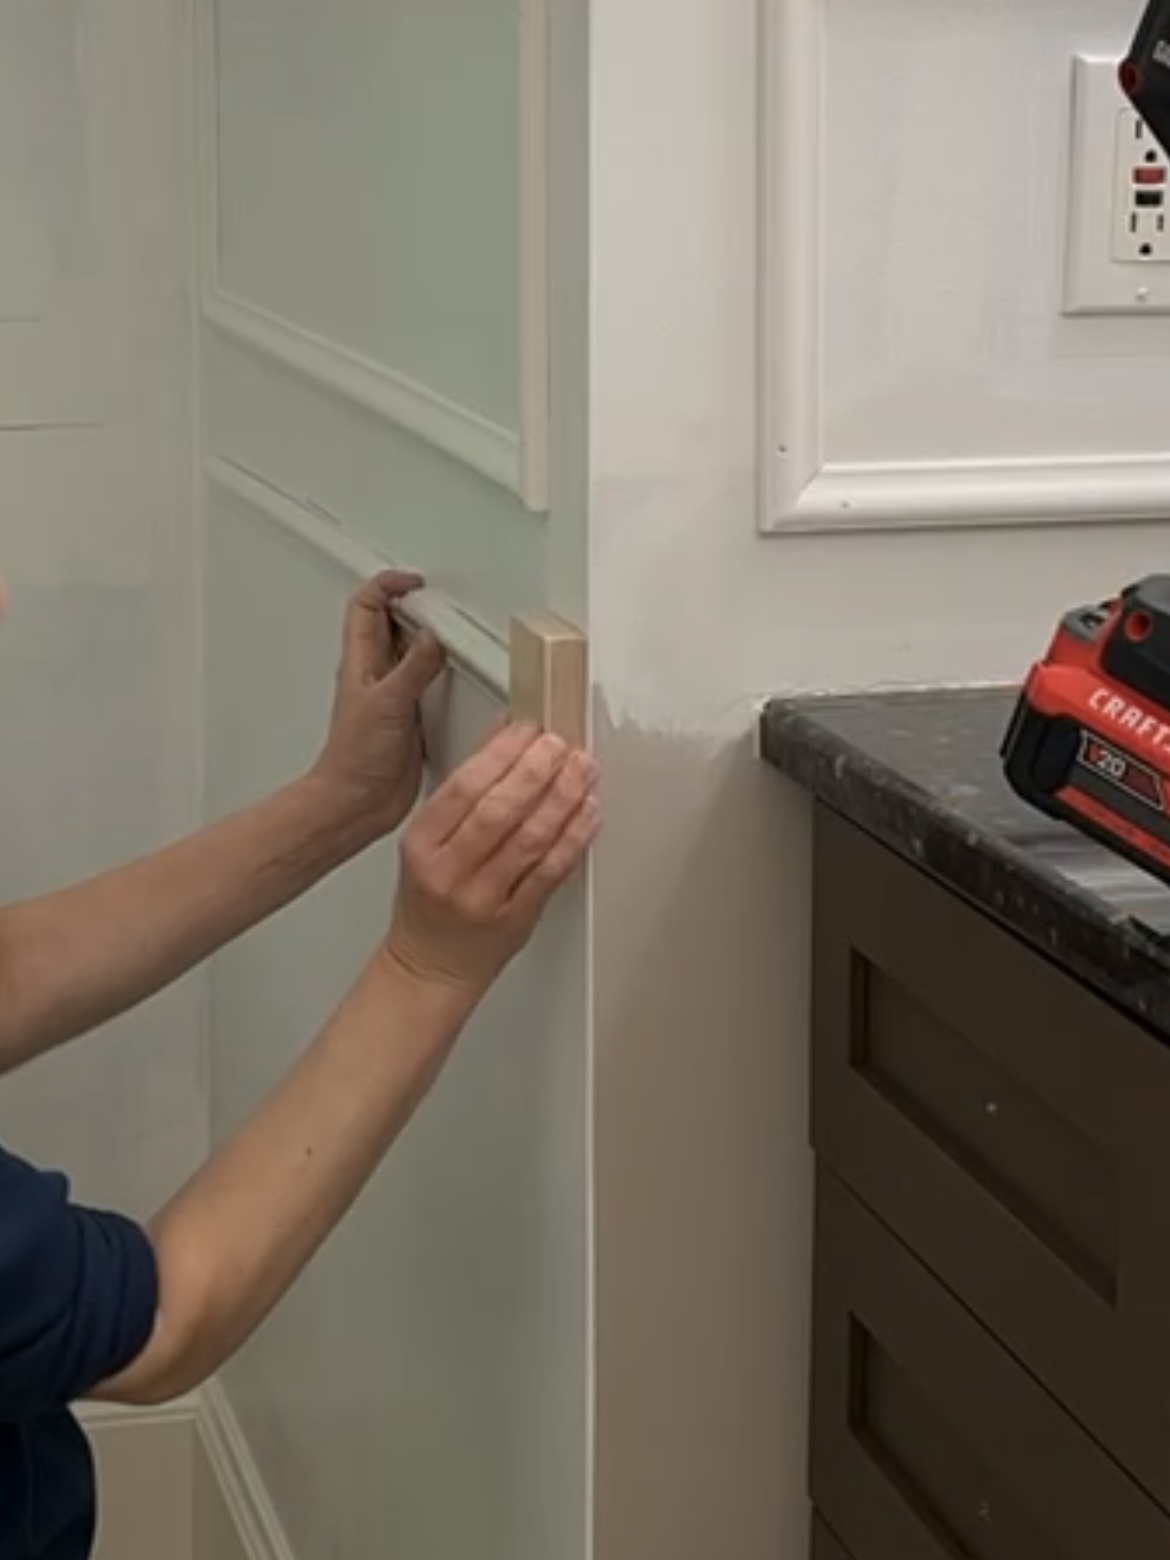
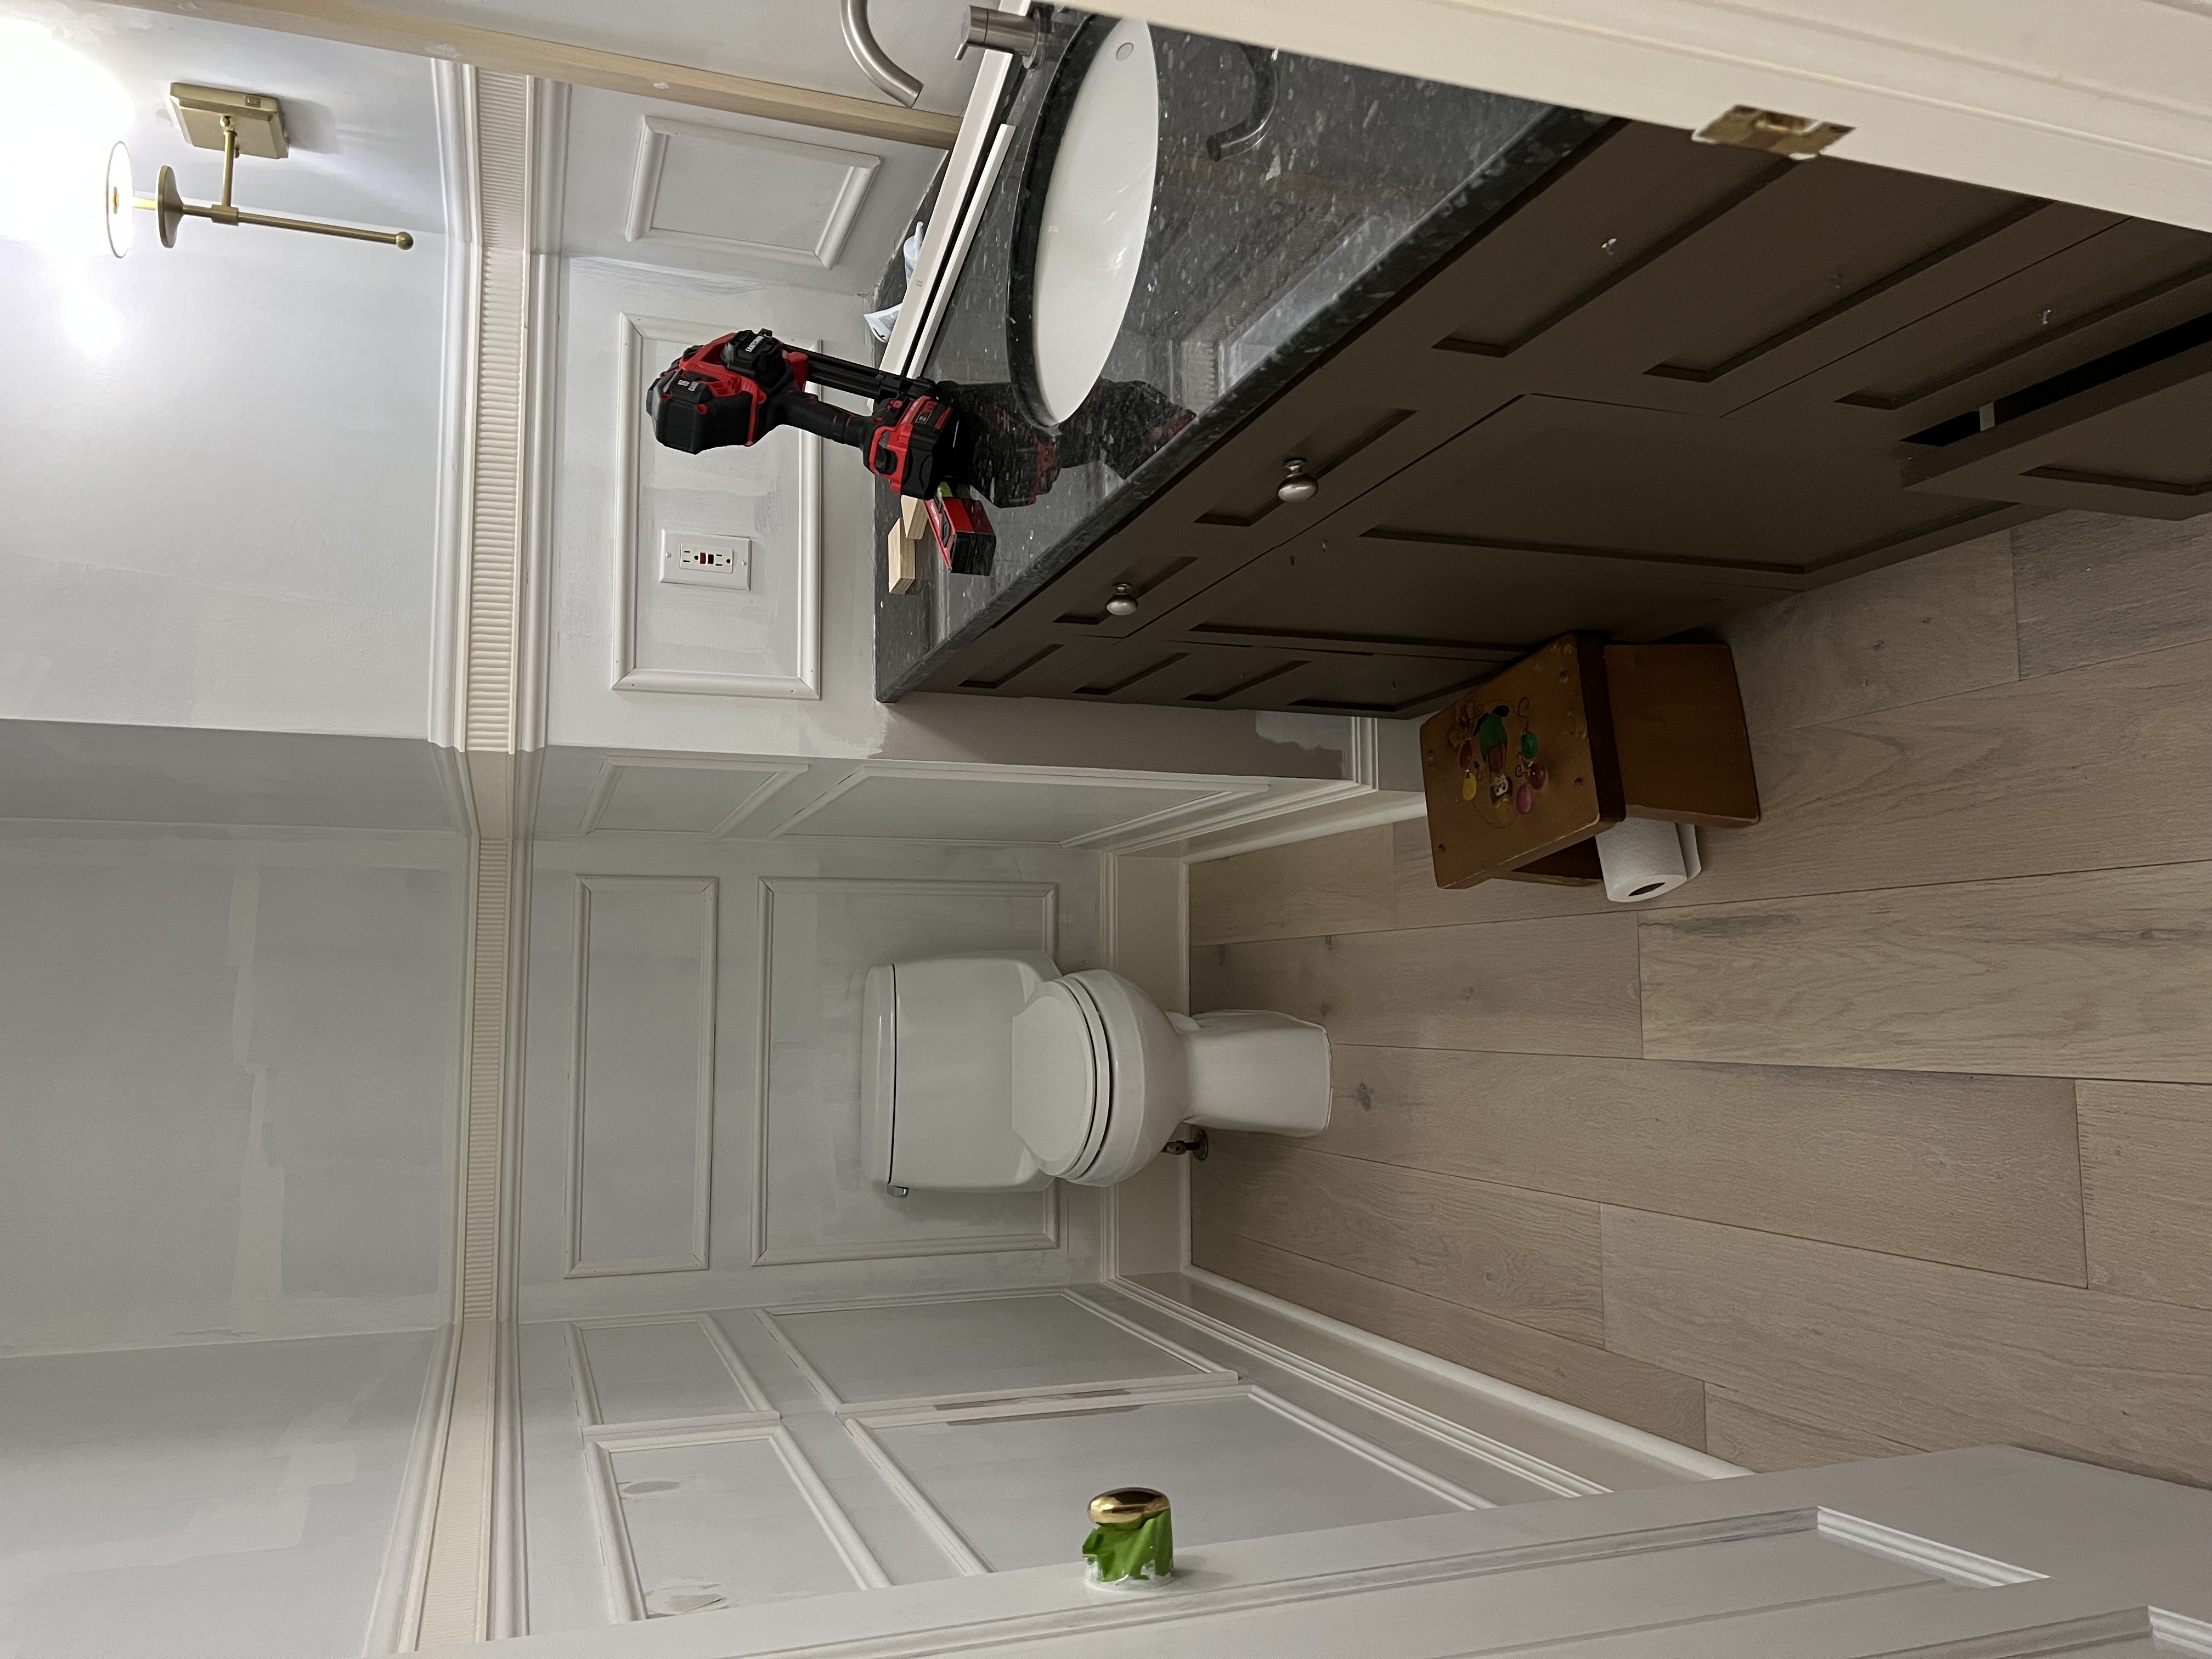
I used this drip cap moulding for the box moulding. I also added it to the top and bottom of the chair rail to make it thicker and look more expensive.
Normally, I like to use wood trim, but I chose the lower-priced trim in this case because the tile I chose for the backsplash was so expensive. Choose your splurge moment!
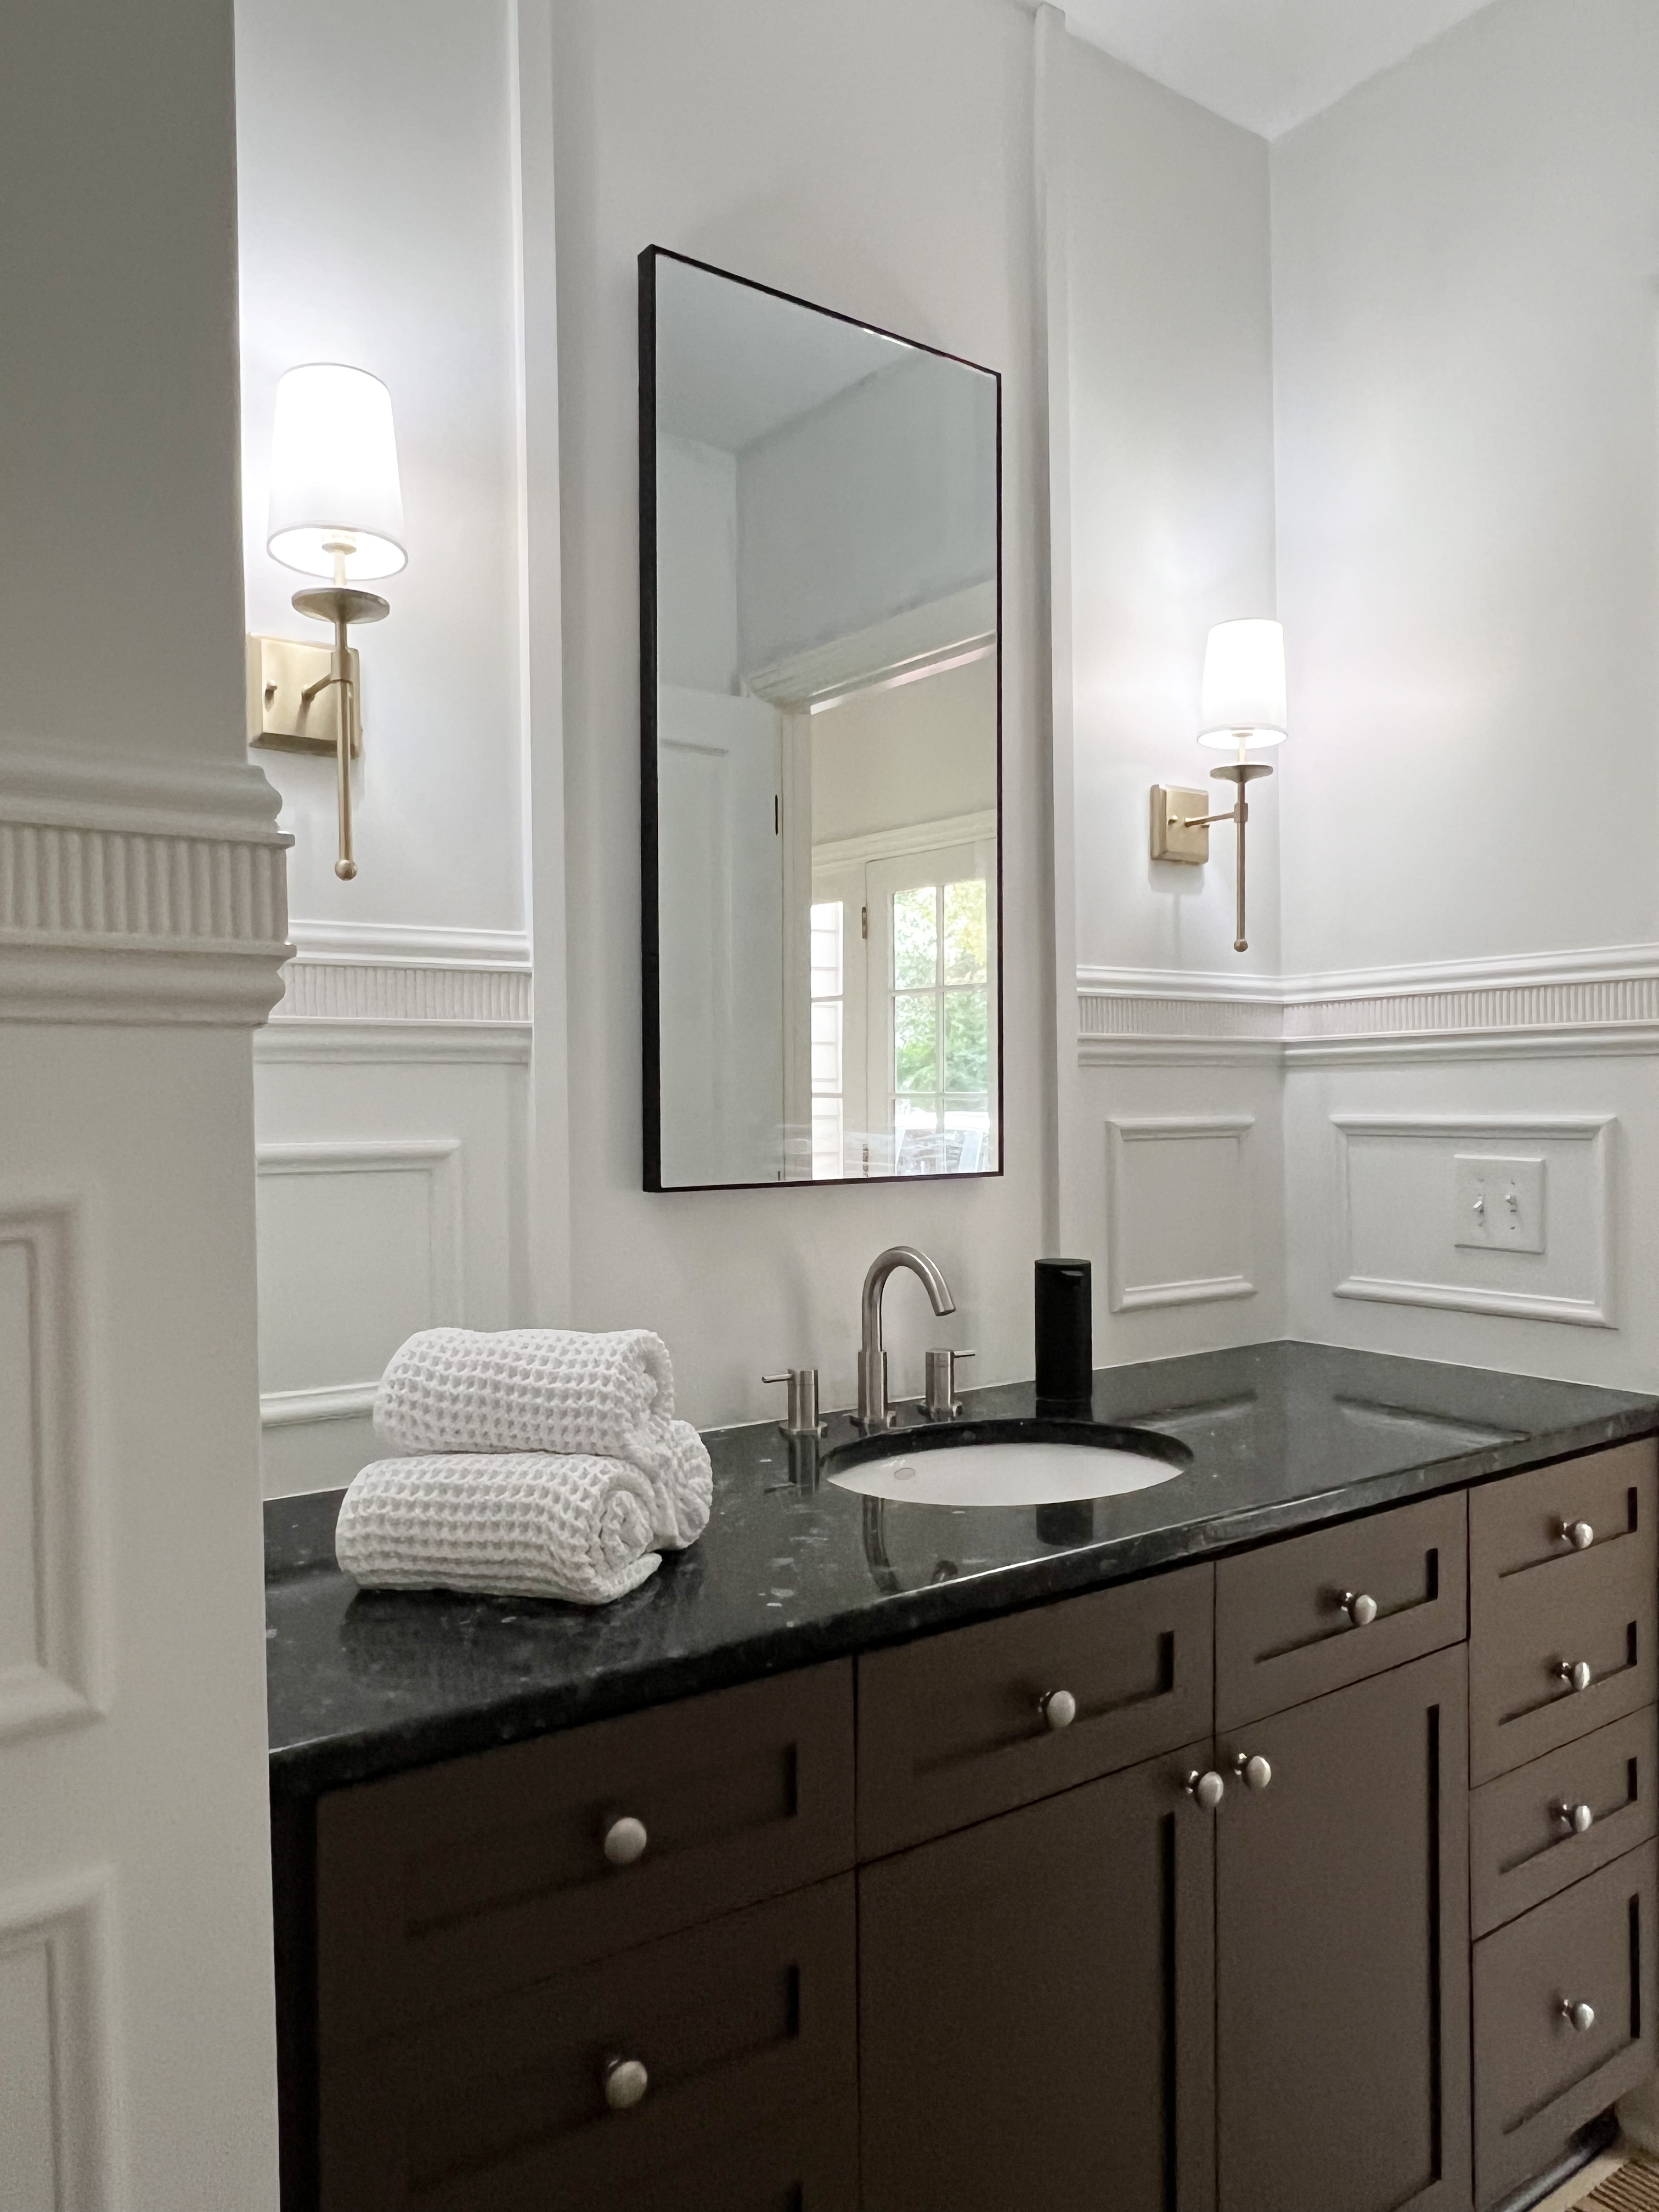
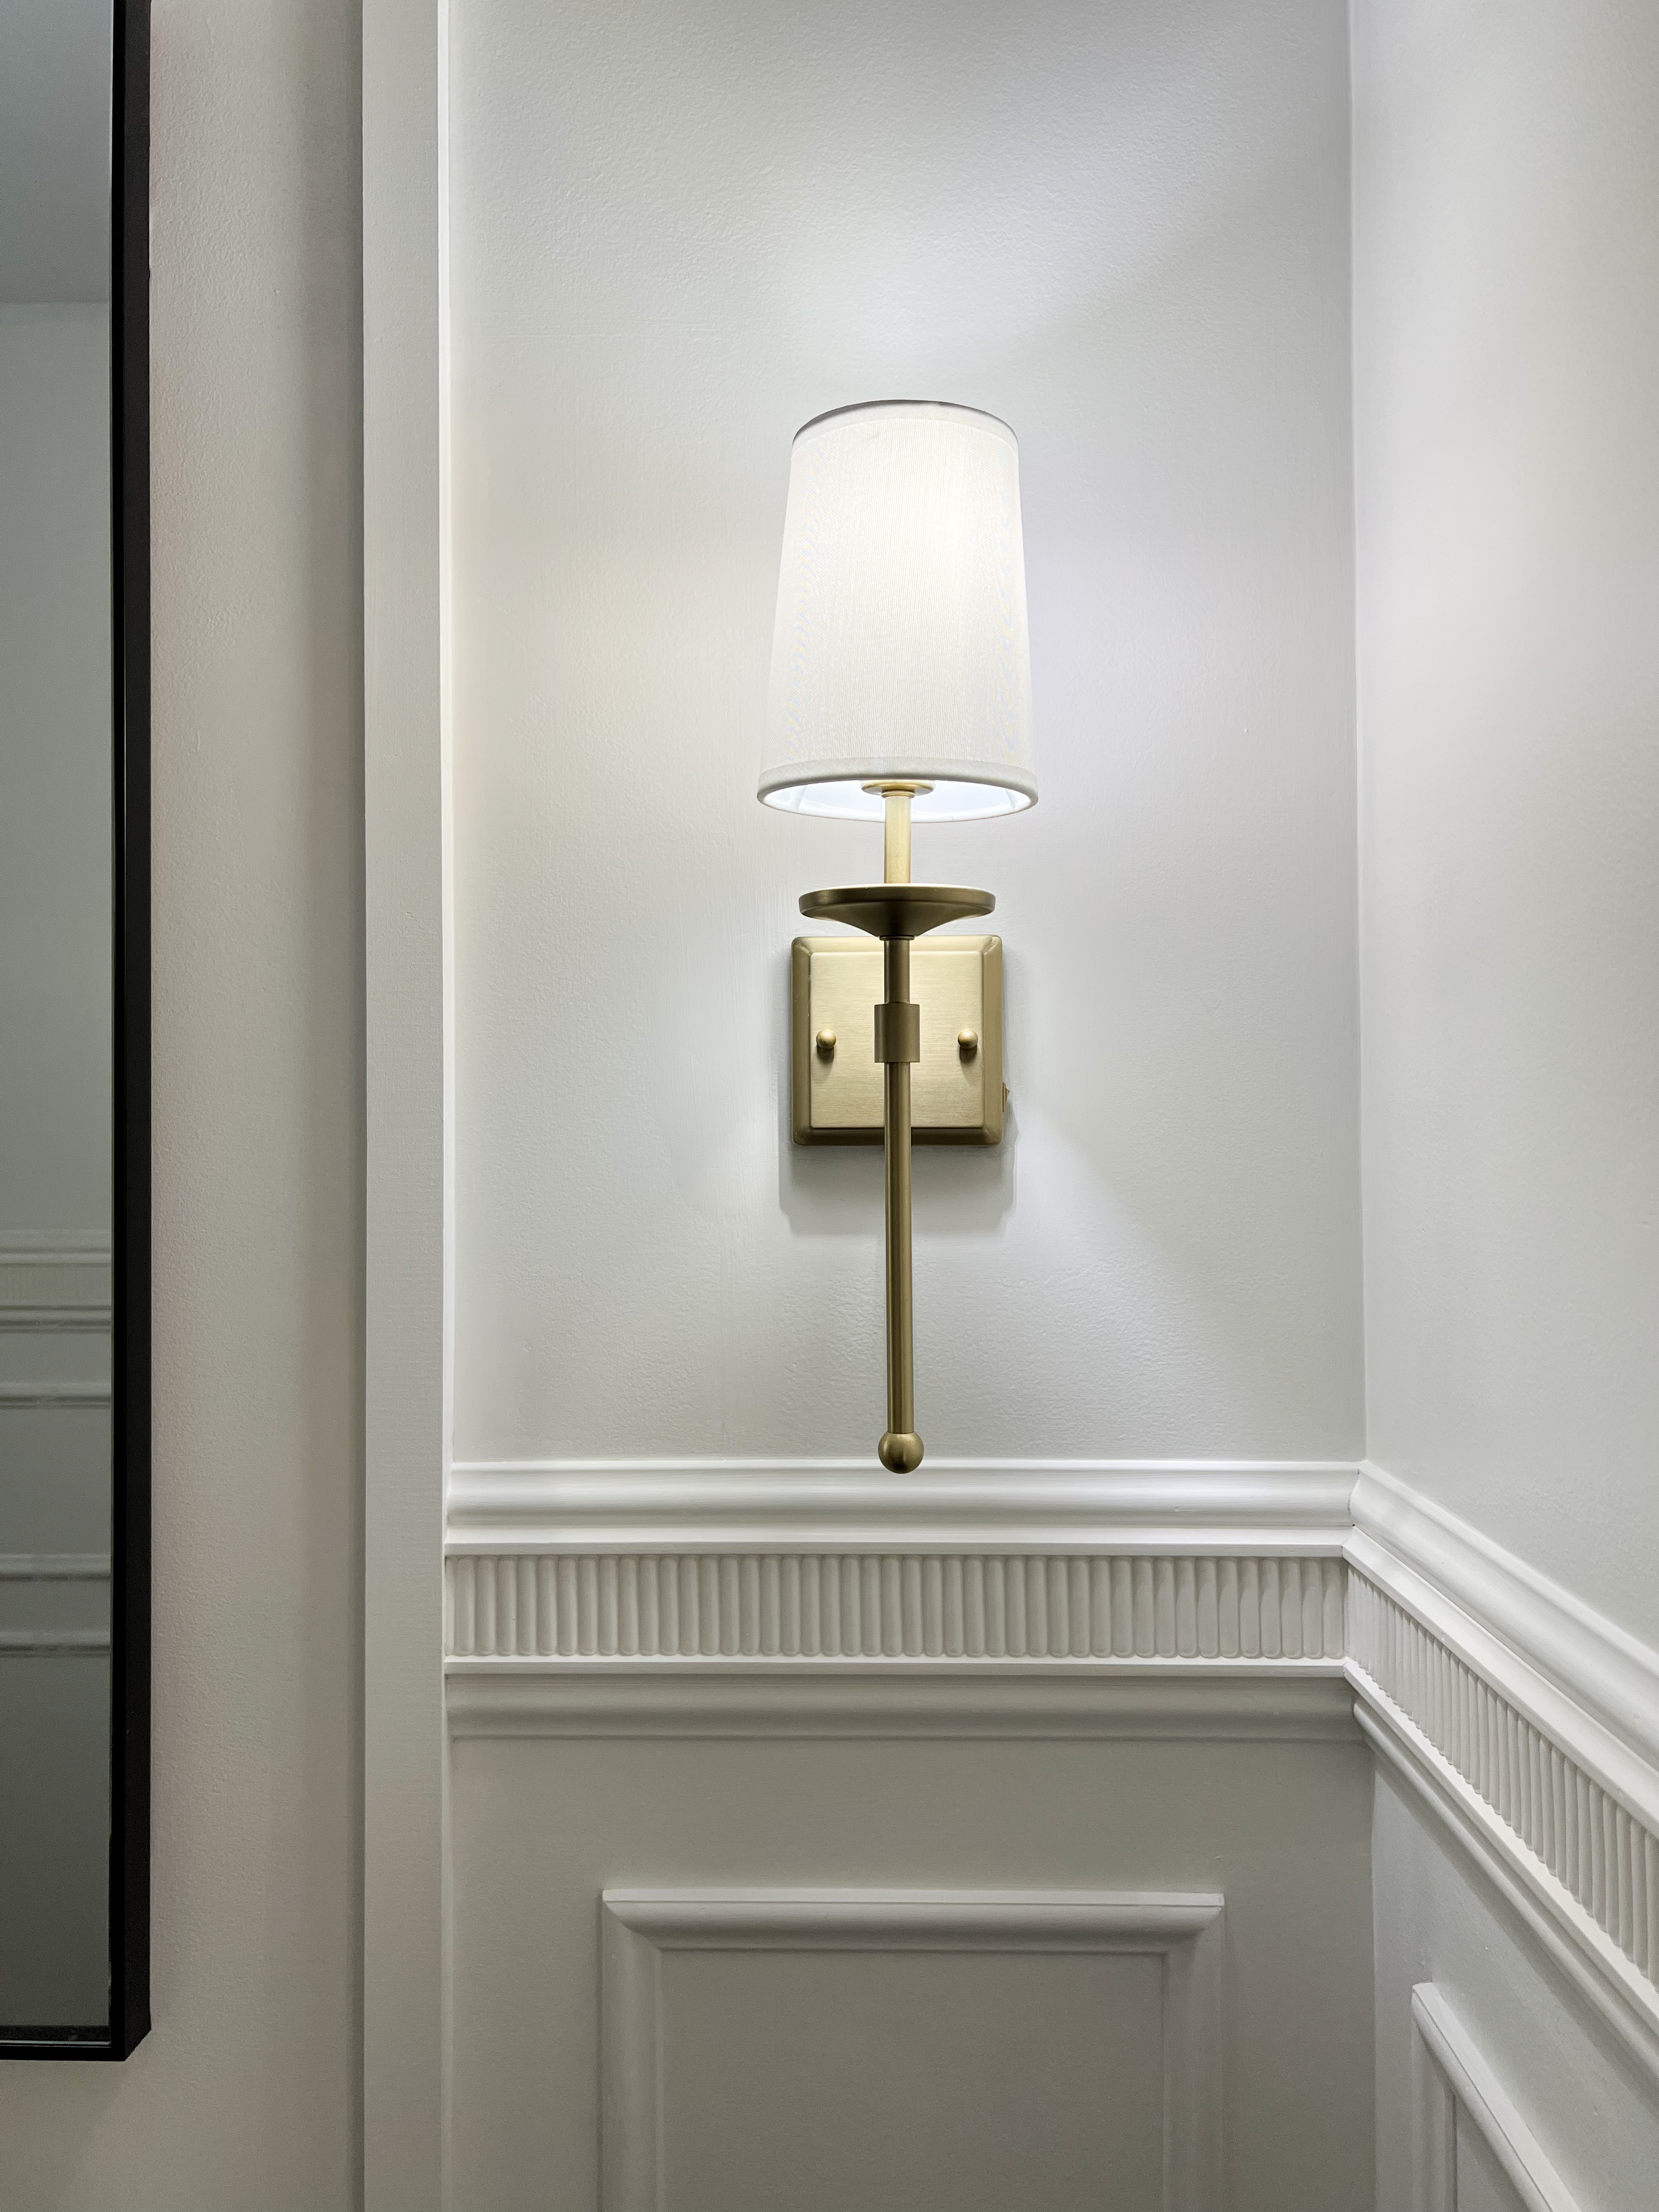
I stopped the moulding on either side of the sconces to make room for the tile that I had ordered. Someday, I will have to do a whole post/video dedicated to crown moulding. Honestly, it will be just as much for my benefit as for anyone else’s. I have to re-wrap my head around it every time… TBD.
The wall color is called Ivory Wool, and it’s from Stainmaster paint. I replaced the sconces with these affordable ones that are so pretty!
Powder Room Makeover: Checkerboard Tile Backsplash
I went for a checkerboard pattern with 2×2 Zellige tile from Zia Tile. I combined the colors Casablanca and Glazed Earth. Before I started, I laid all the tiles out, so I could see what I had and could vary the shades the way I wanted.
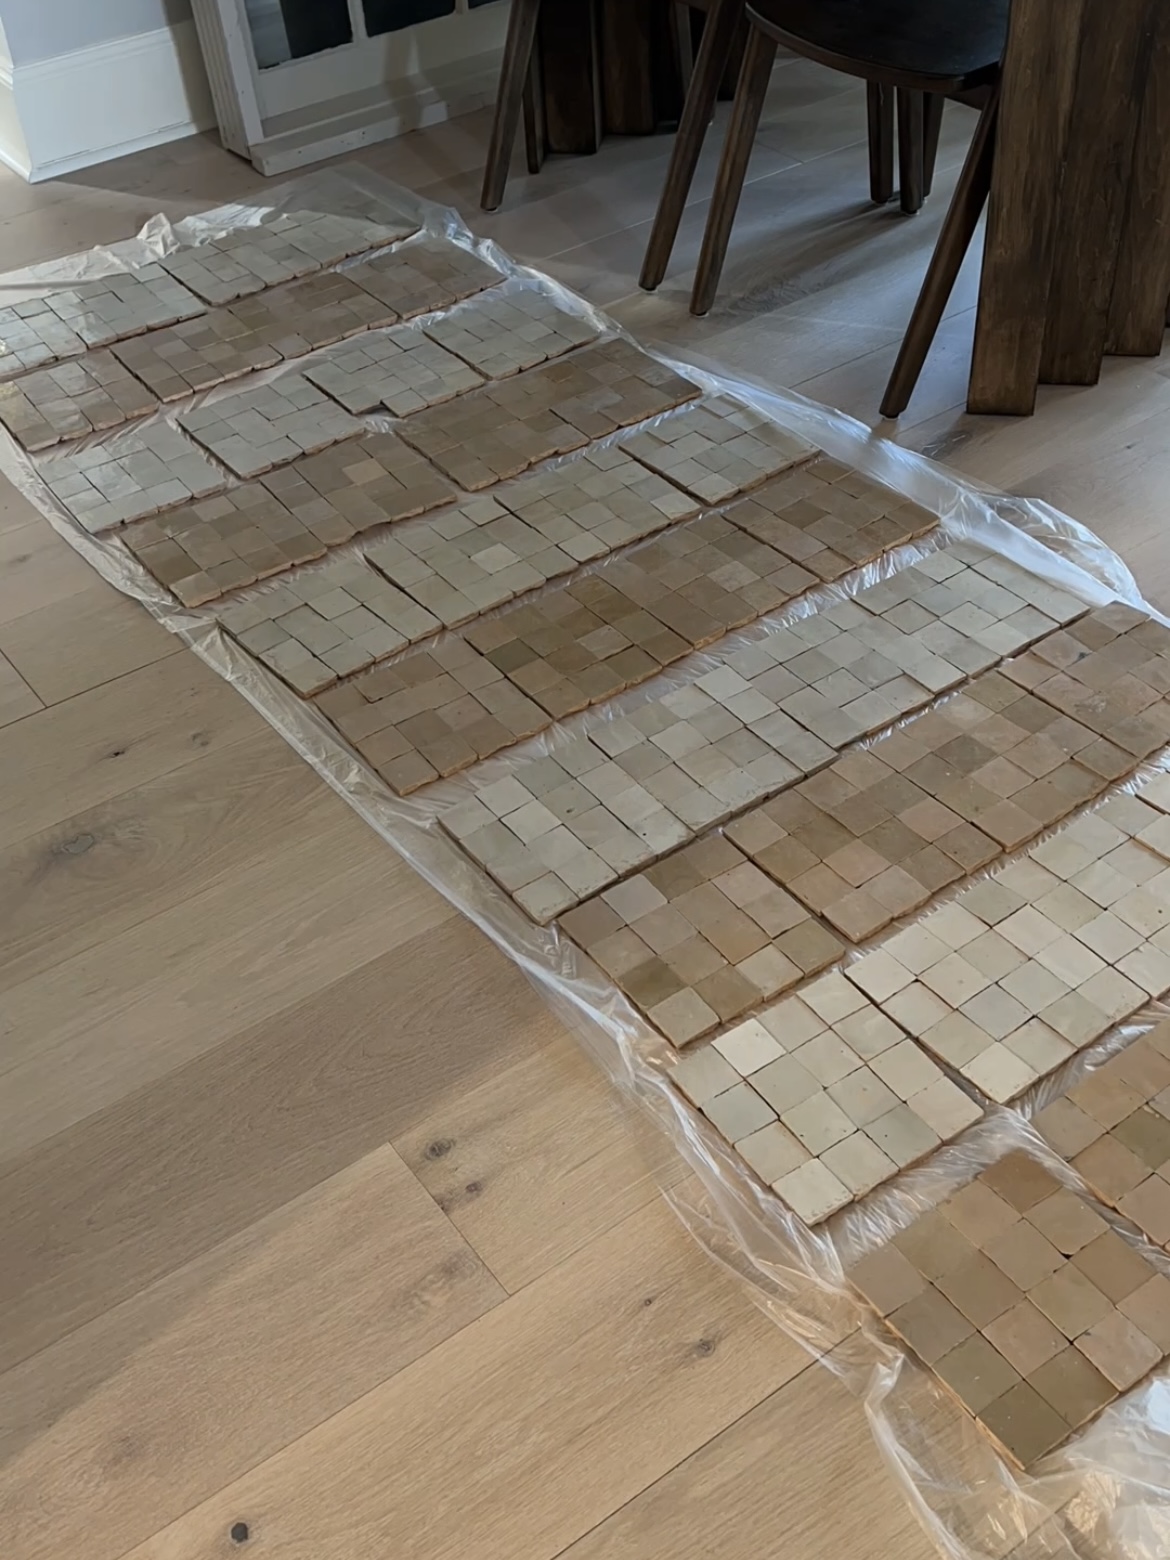
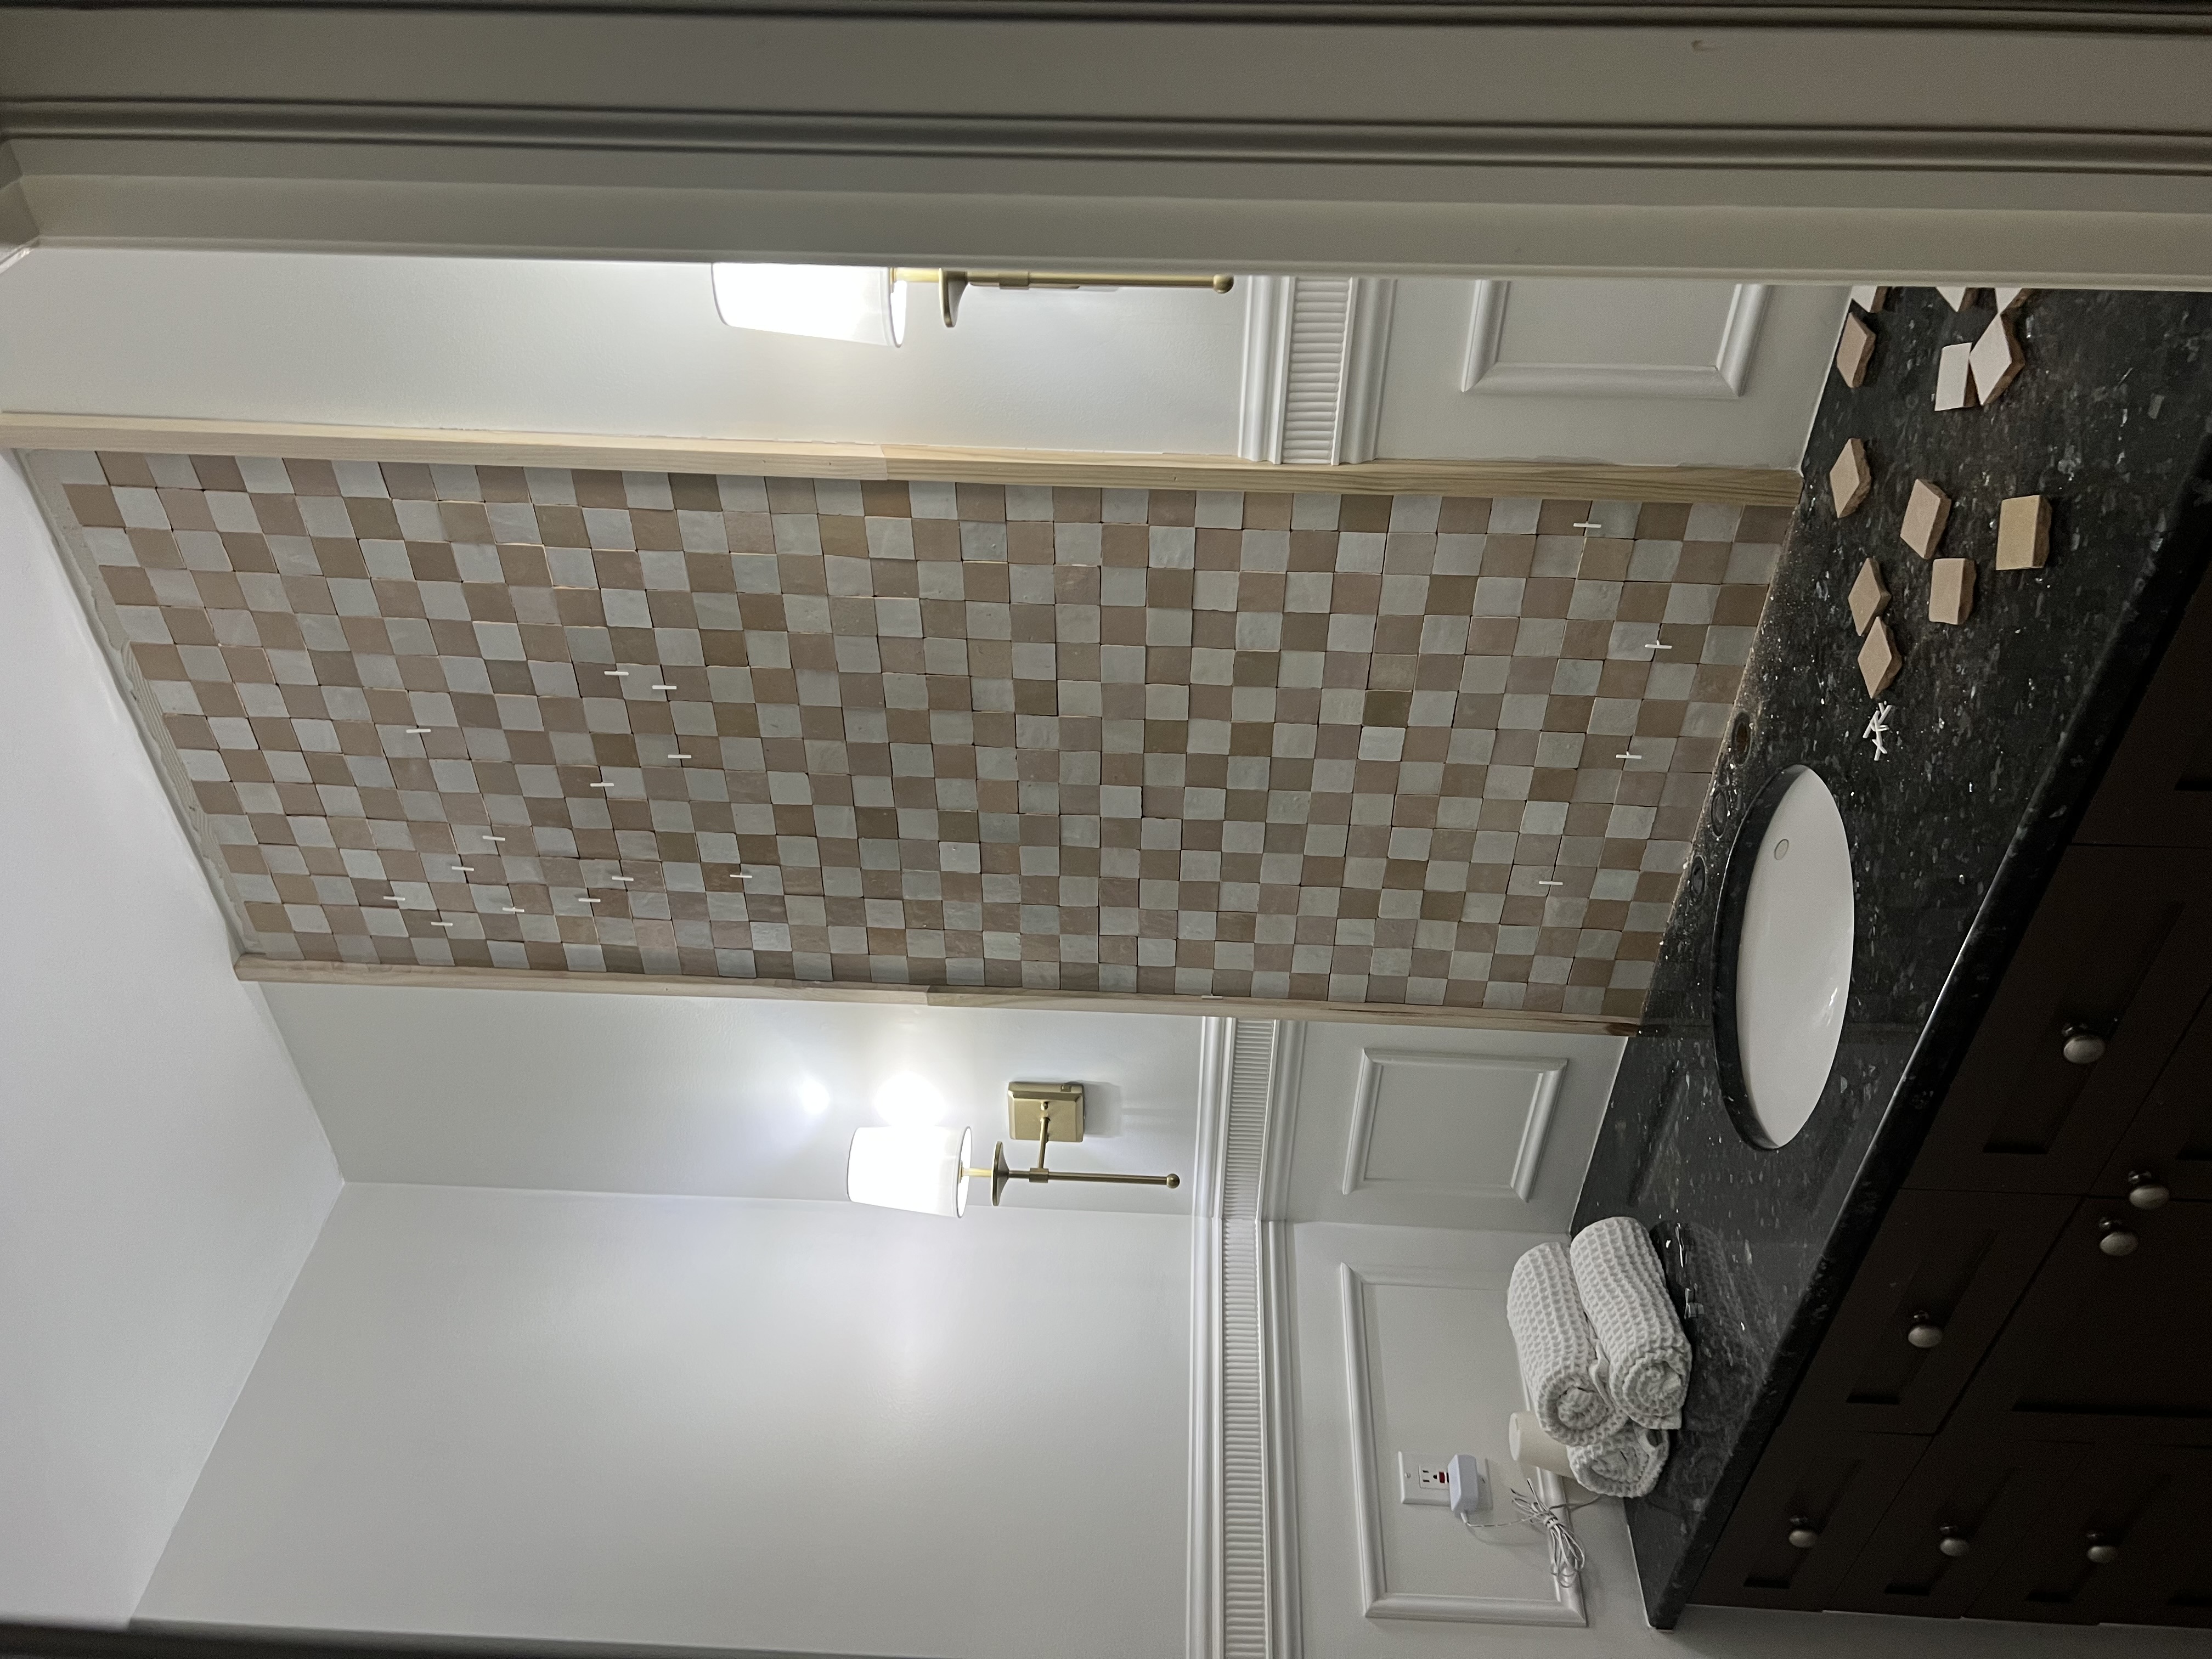
You’re supposed to soak the tiles when you get them and then let them dry completely. This is supposed to get rid of all the dust from the cutting process to help it adhere to the wall. I’m not proud, but I skipped this step and just used extra thinset. Do as I say and follow the instructions.
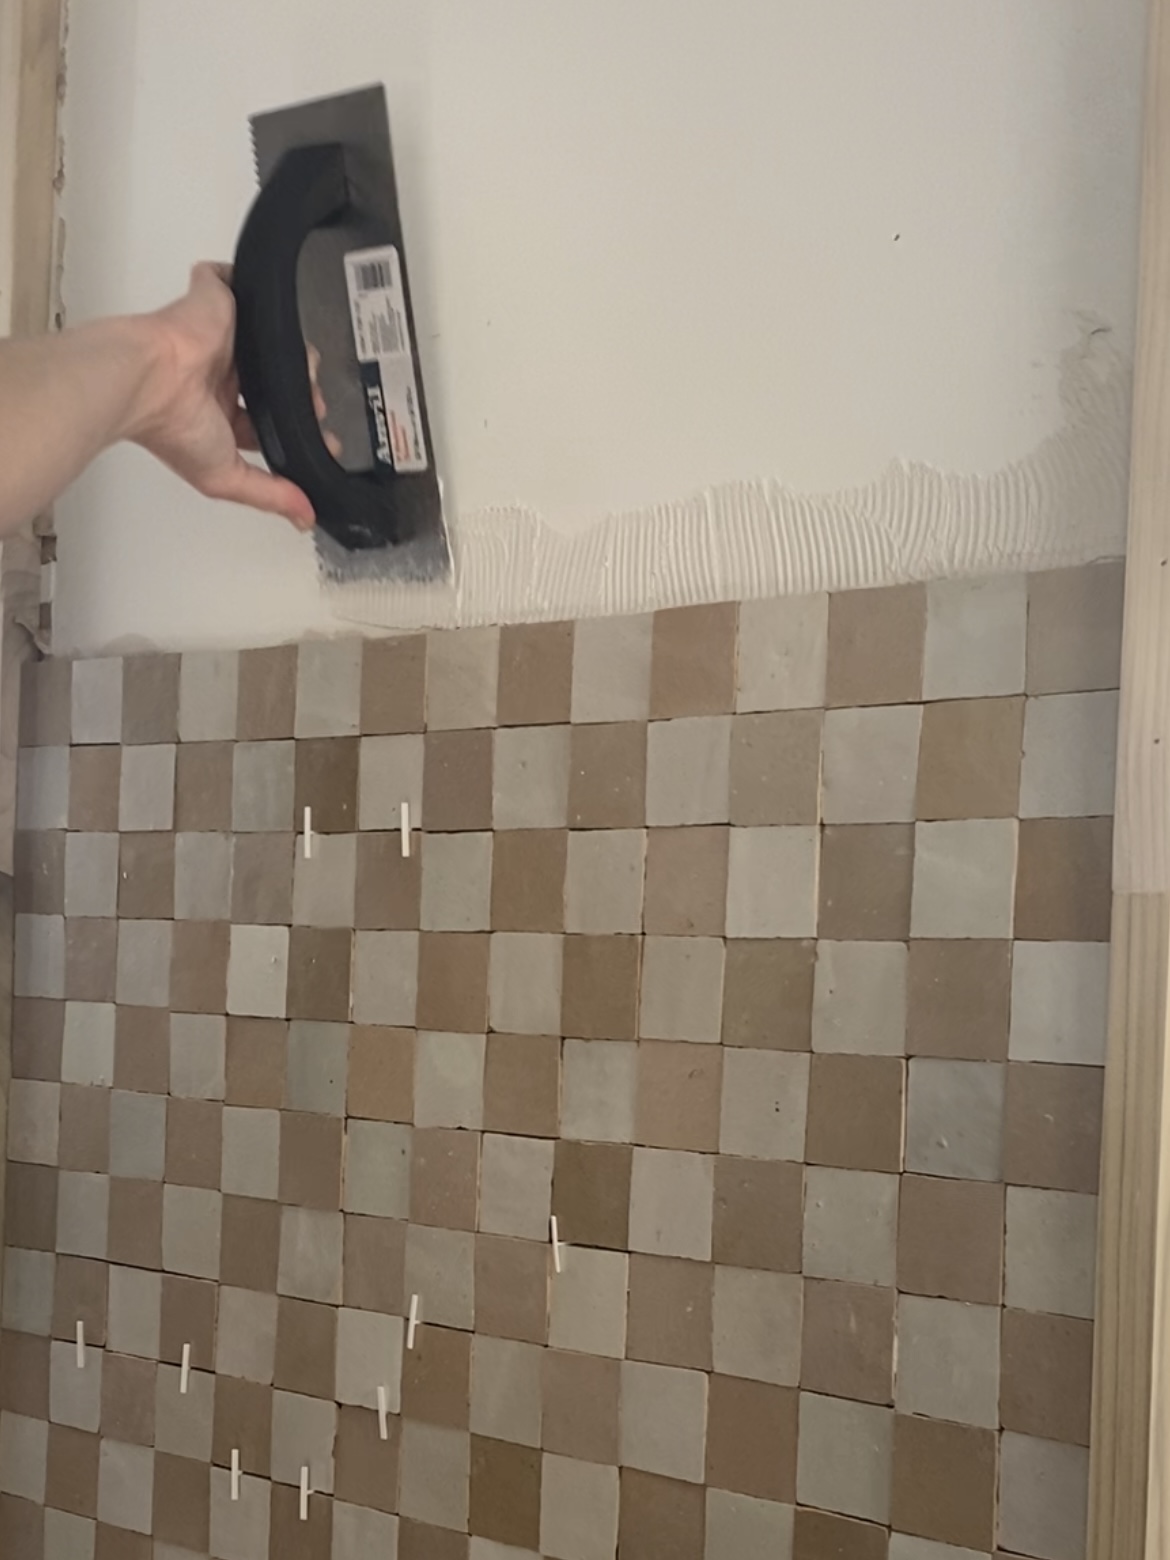
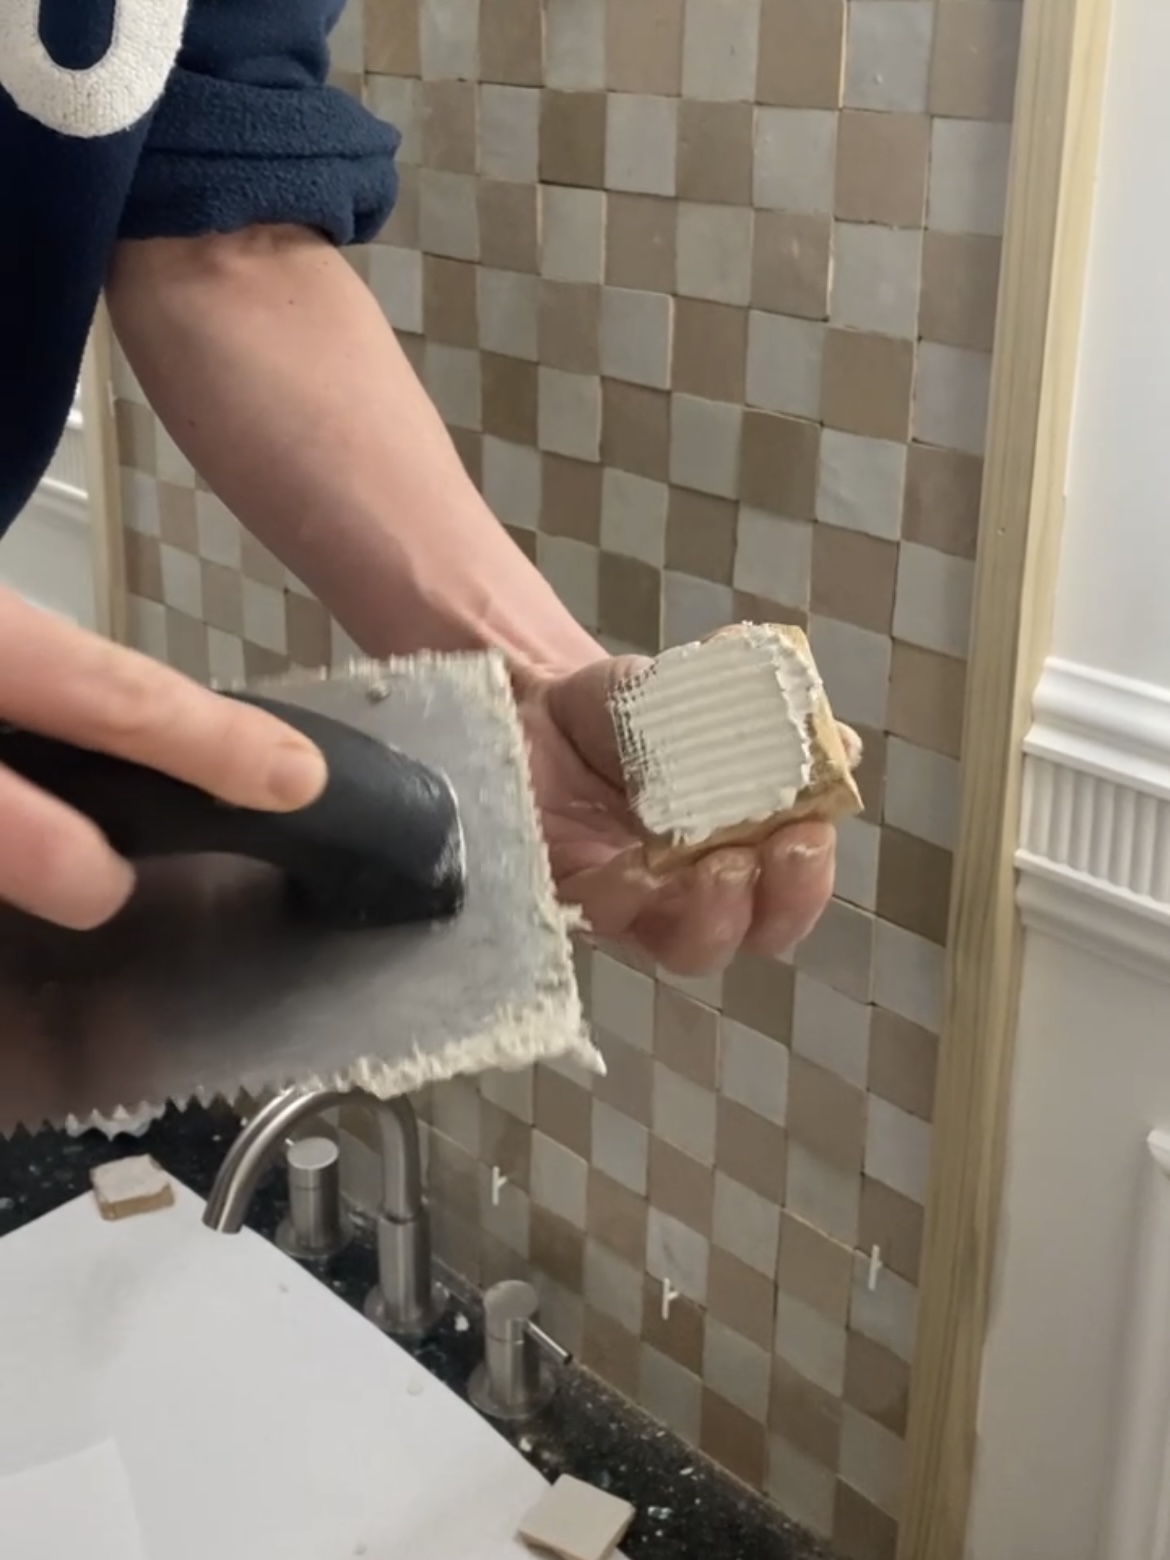
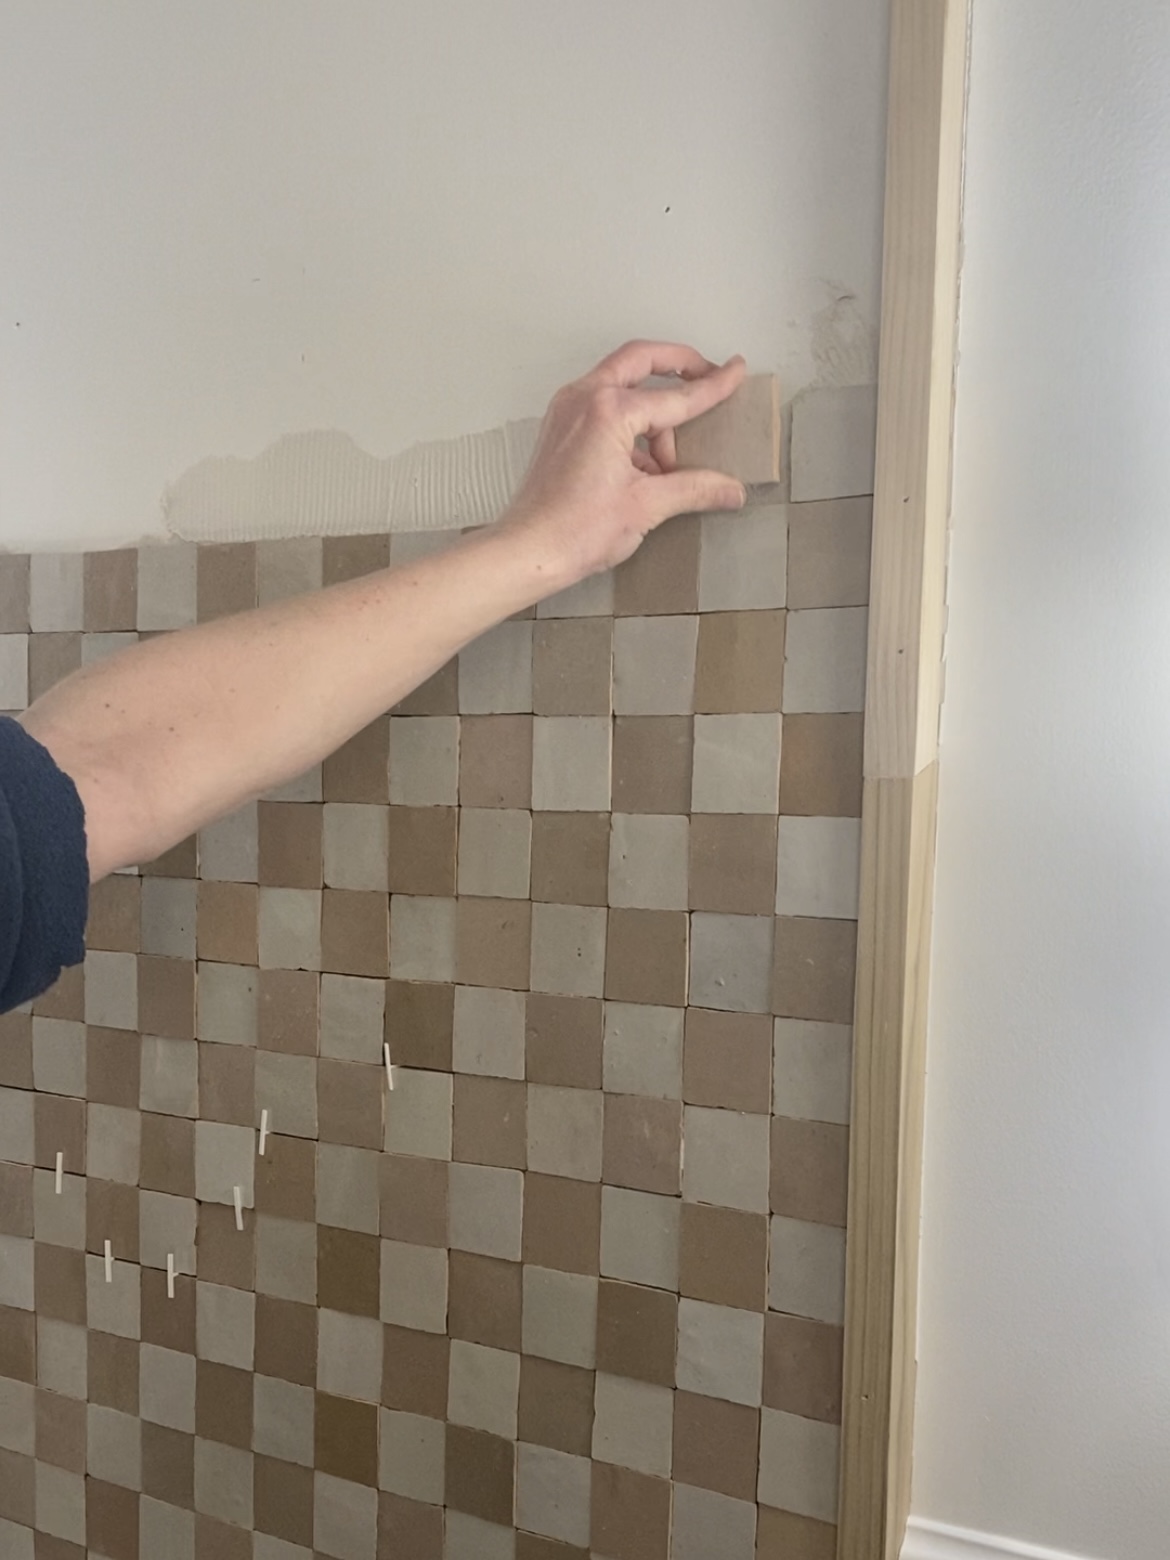
I applied the thinset to the wall, one or two rows at a time. I back-buttered each tile before putting it on the wall. Since each tile is slightly different, it took a long time to find the right pieces to fit in my set area.
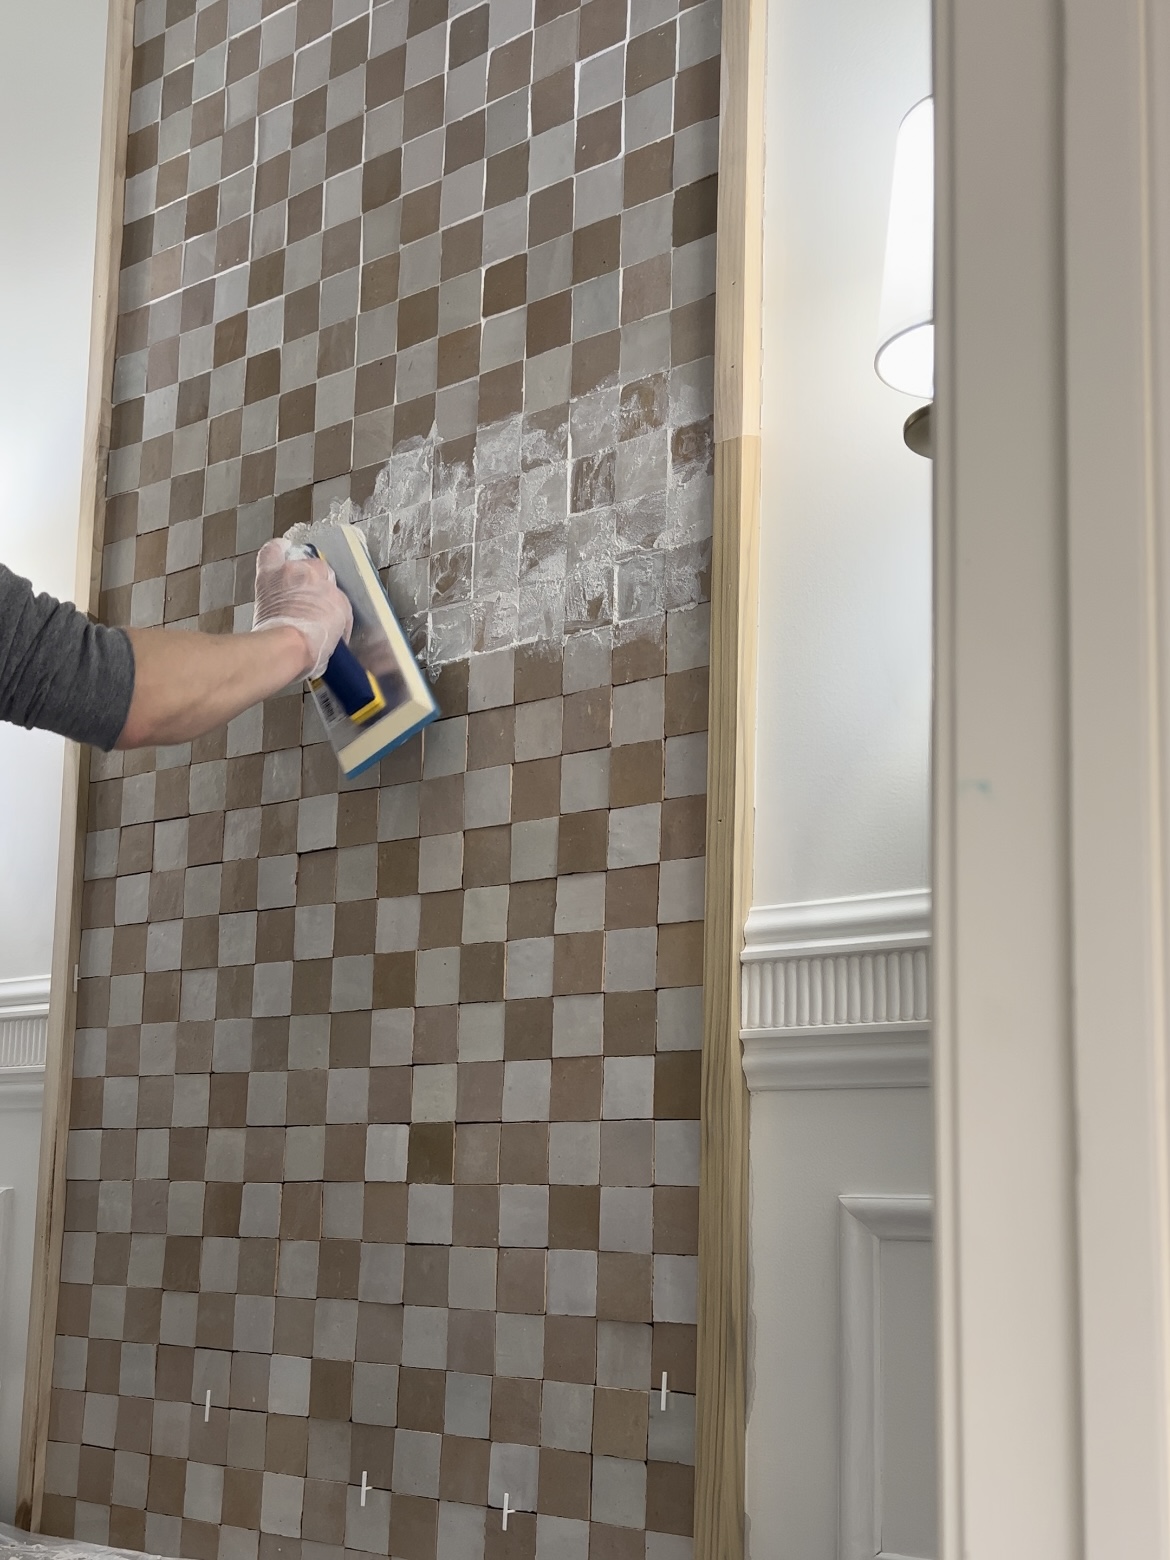
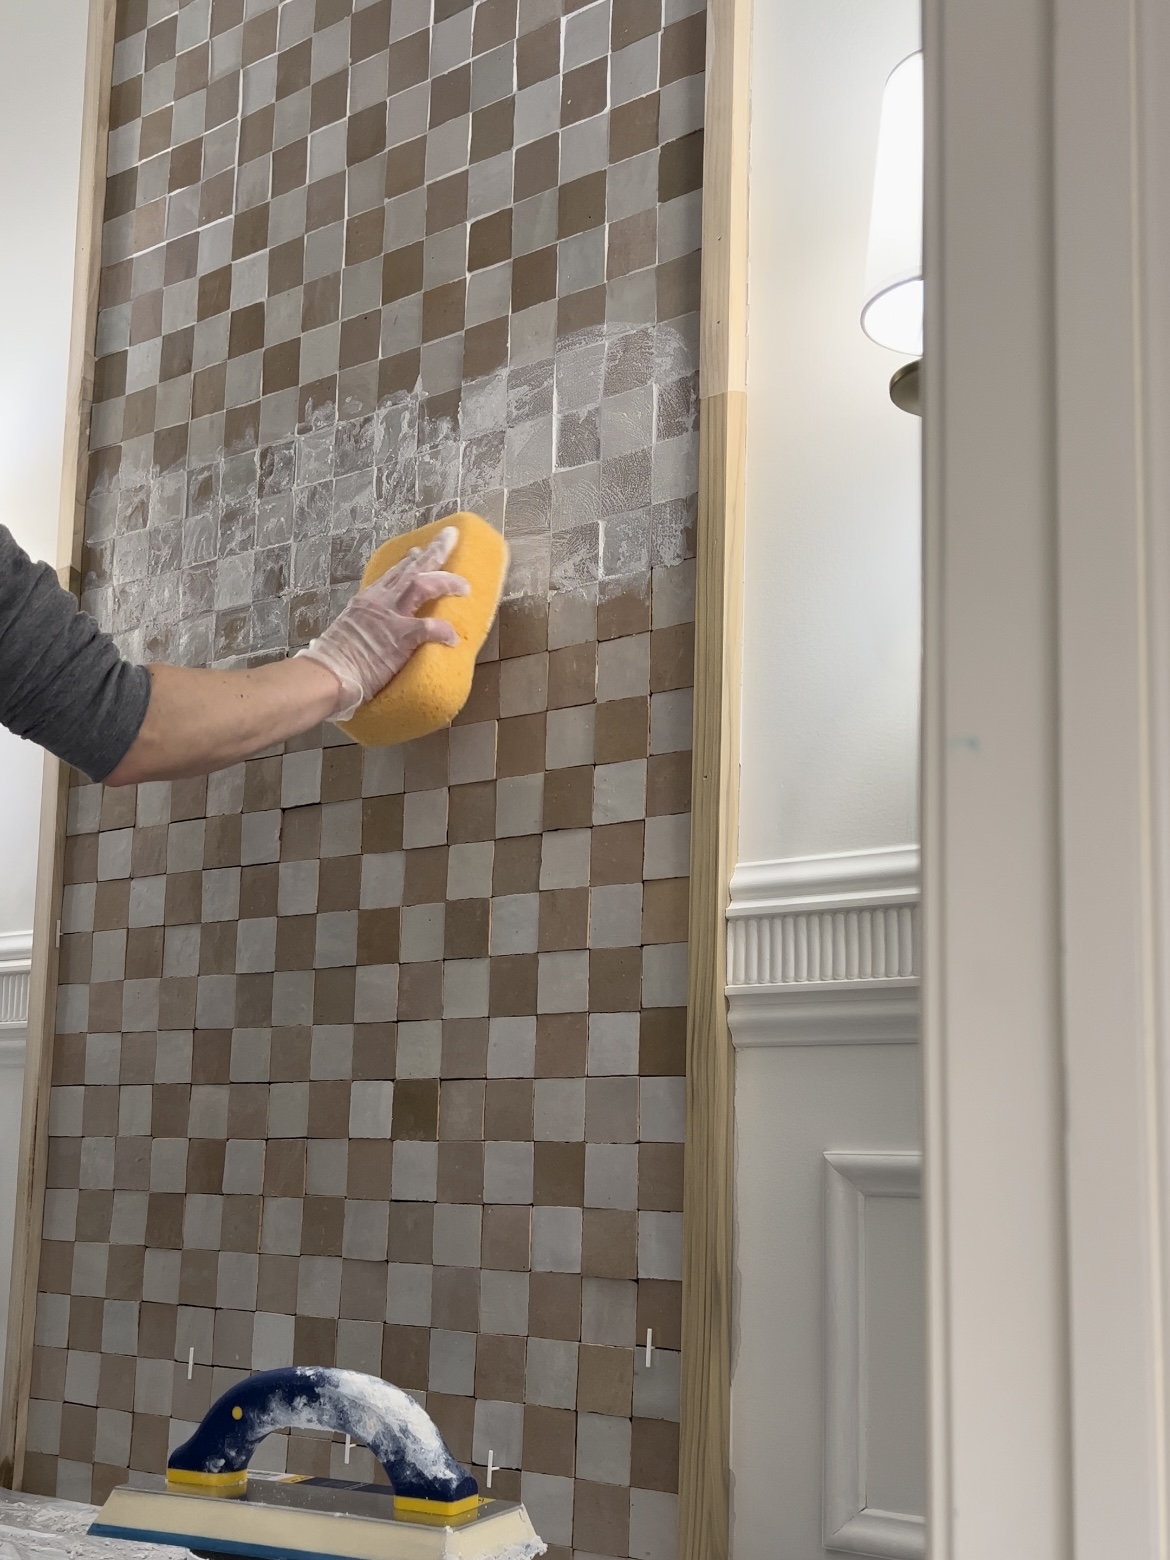
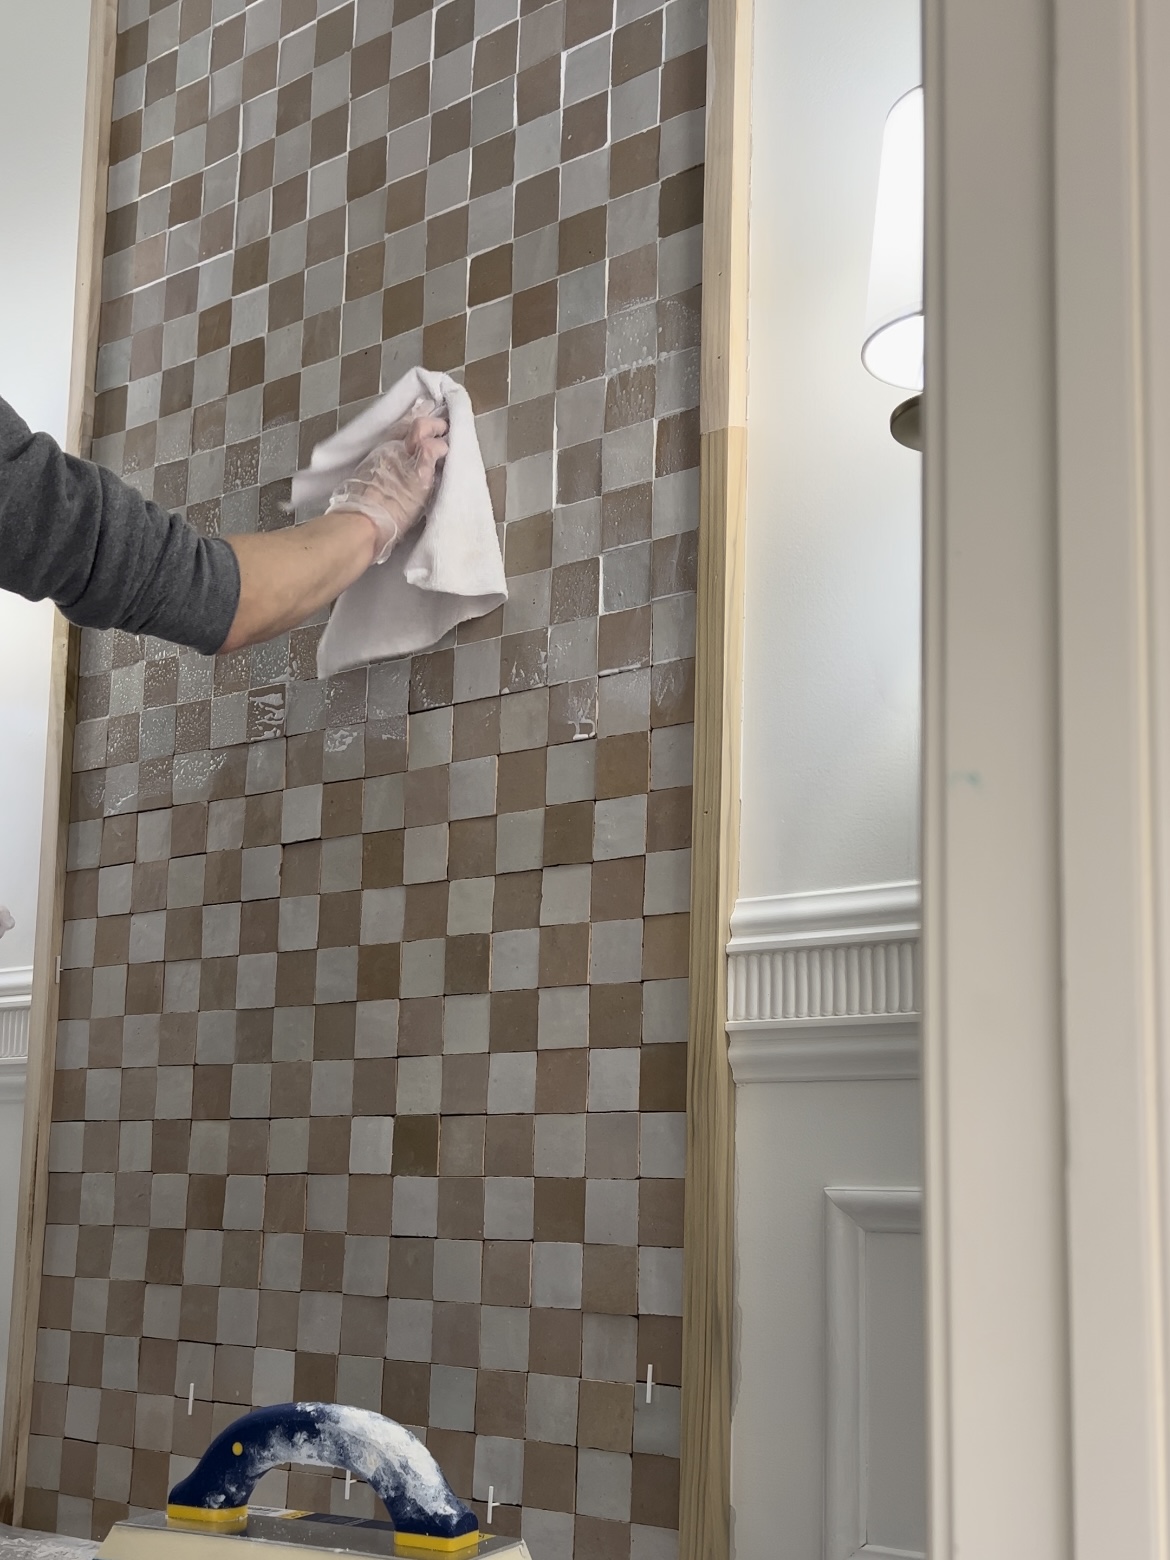
I used a grout float to apply white grout, a damp sponge to wipe it off, and a microfiber cloth to clean it all up.
Powder Room Makeover: Faux Cement Countertop
I used a product called Concretta from Meoded Paint & Plasters. It’s listed as a water-resistant plaster, and it’s meant to be used in showers, but can cover most surfaces. I did a quick once-over on the countertop with a sanding pad, but I don’t think that was really needed.
Faux Cement Inspiration
I originally saw the Concretta product on this Instagram reel when Drew ( Lone Fox Home) used it on a bathroom countertop.
Jenna Sue (Jenna Sue Design) has used a similar product, and has an extremely detailed post about microcement that was really helpful.
When I called to order the product, I spoke with someone about my project, and they told me what I needed and answered all of my questions. I also called them multiple times during the process. Haha!
Customer Service 10/10.
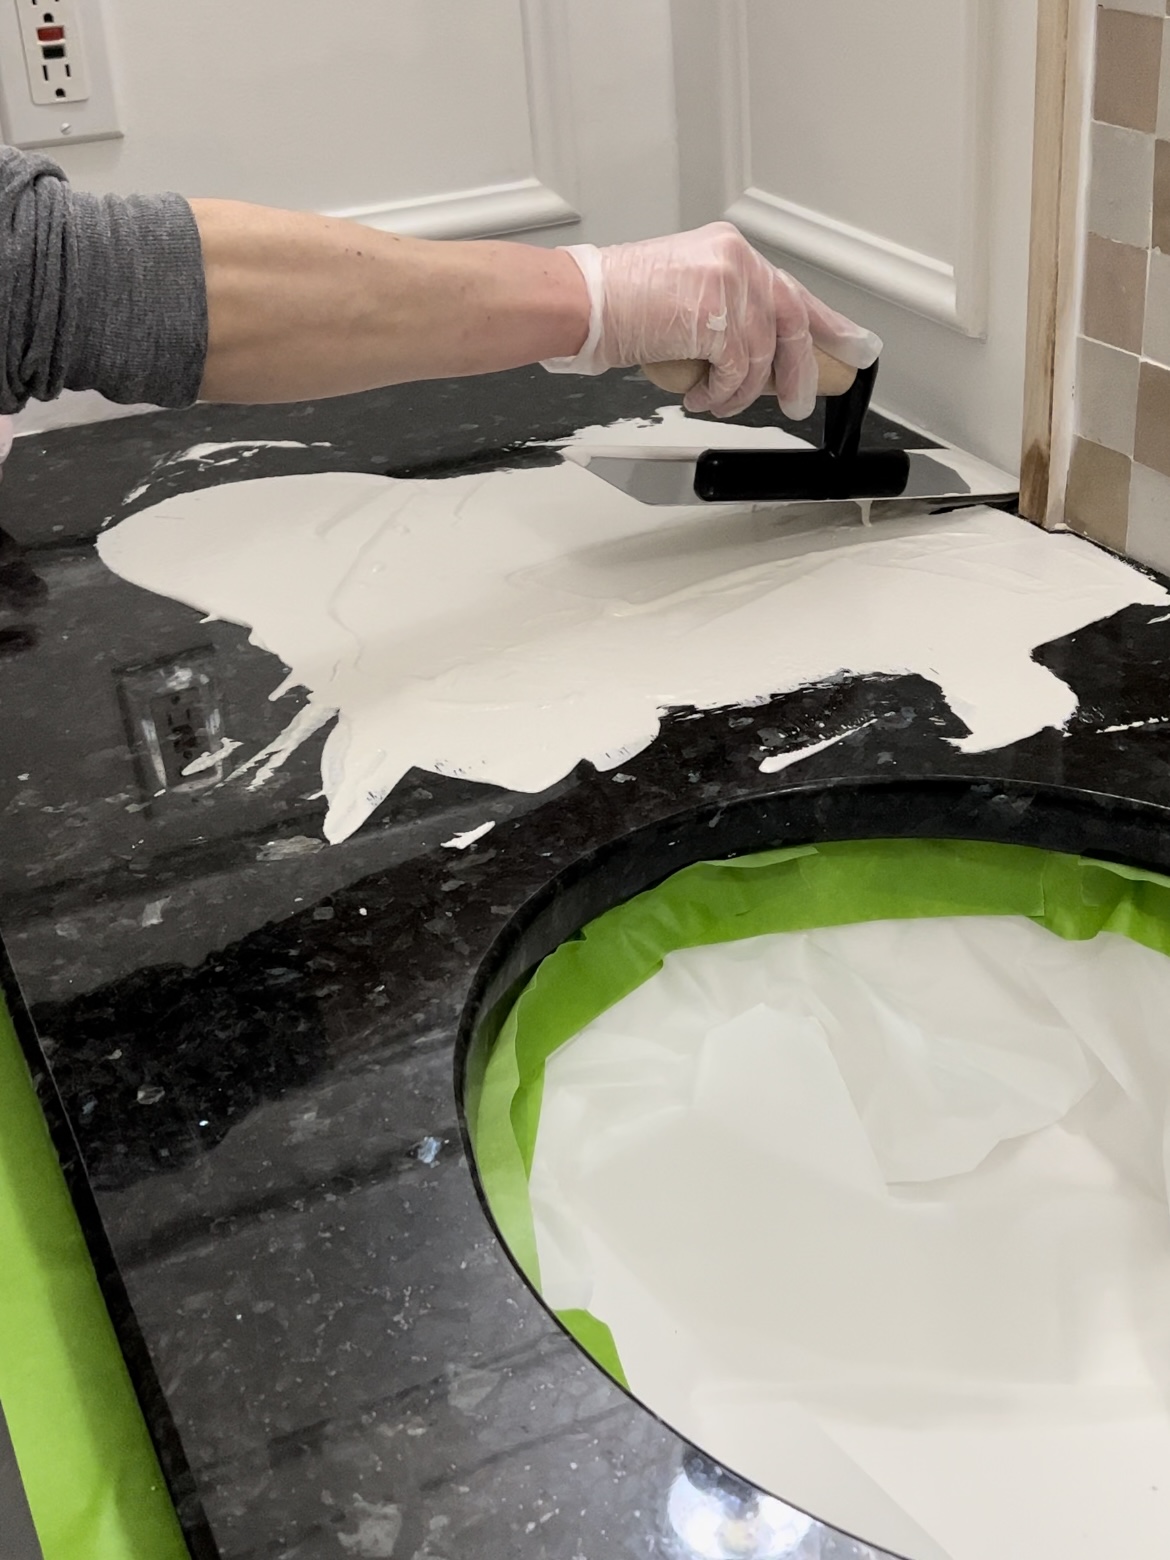
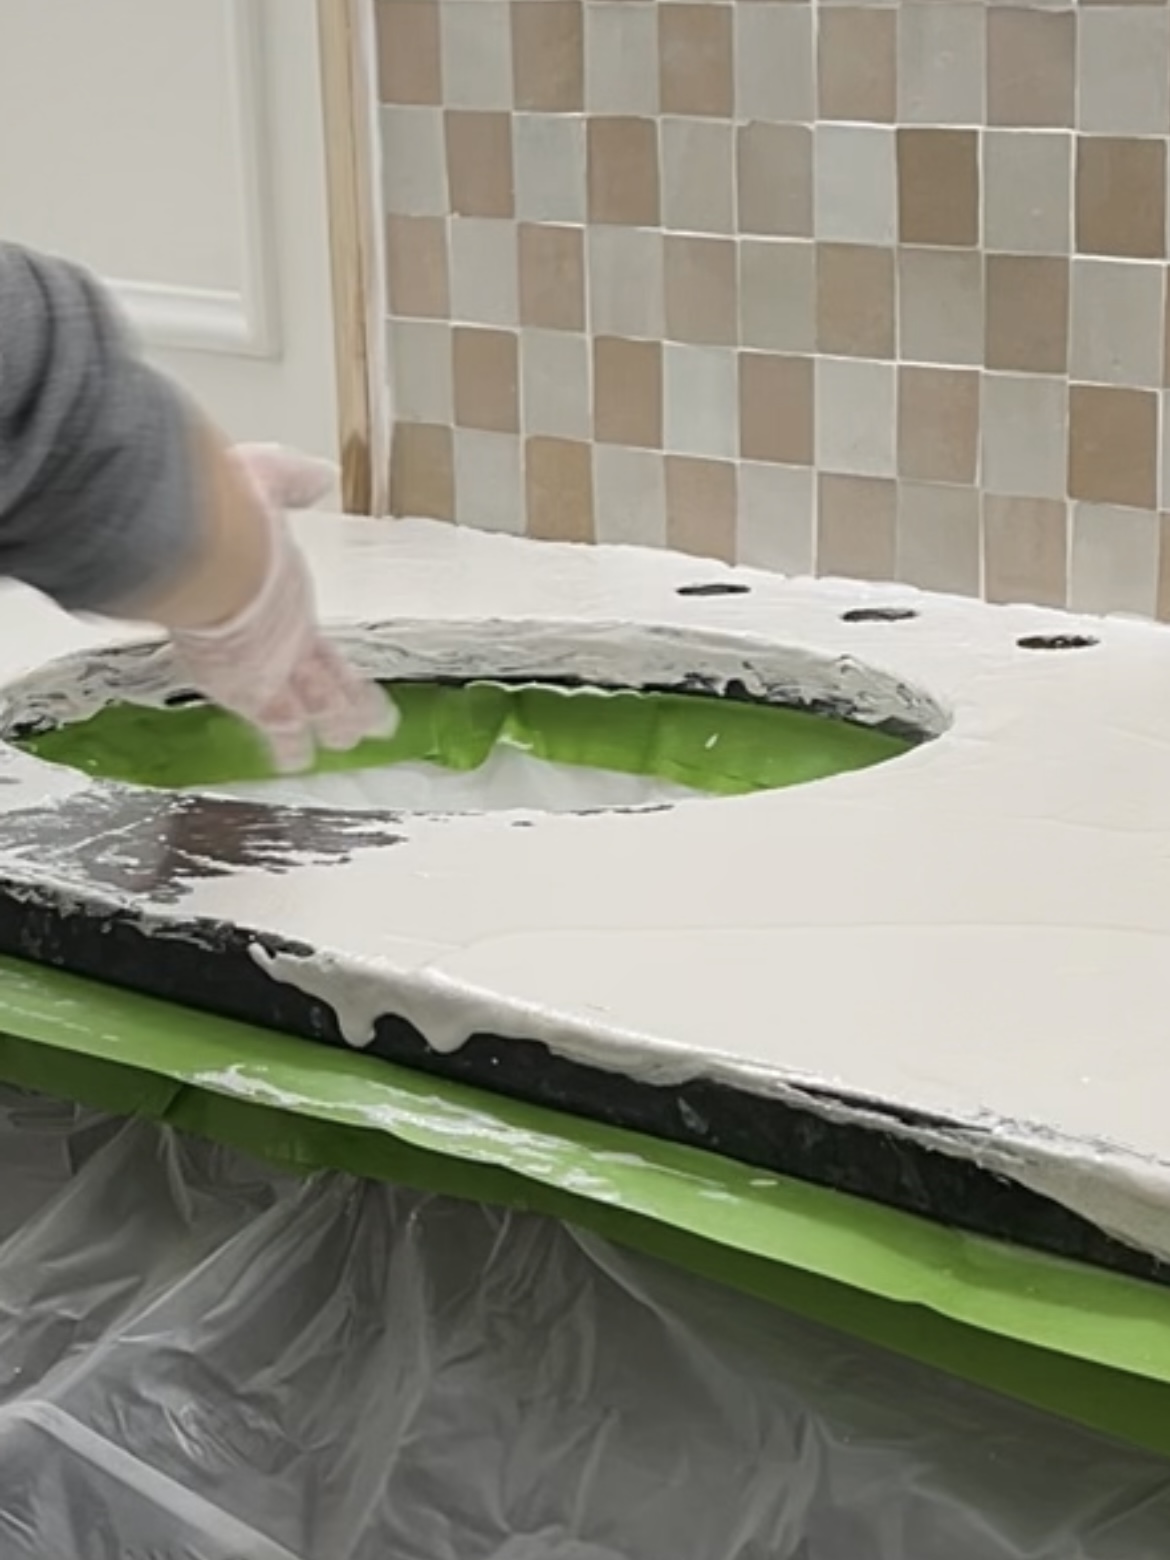
Faux Cement Countertop Application
Per usual, with any new skill comes a learning curve… this curve was a big one for me. I messed up a lot, and this countertop definitely isn’t perfect.
I misread the amount of water needed and ruined an entire can. That left me needing to split the other can in half, and I don’t think I did a perfect mixing job with that one either.
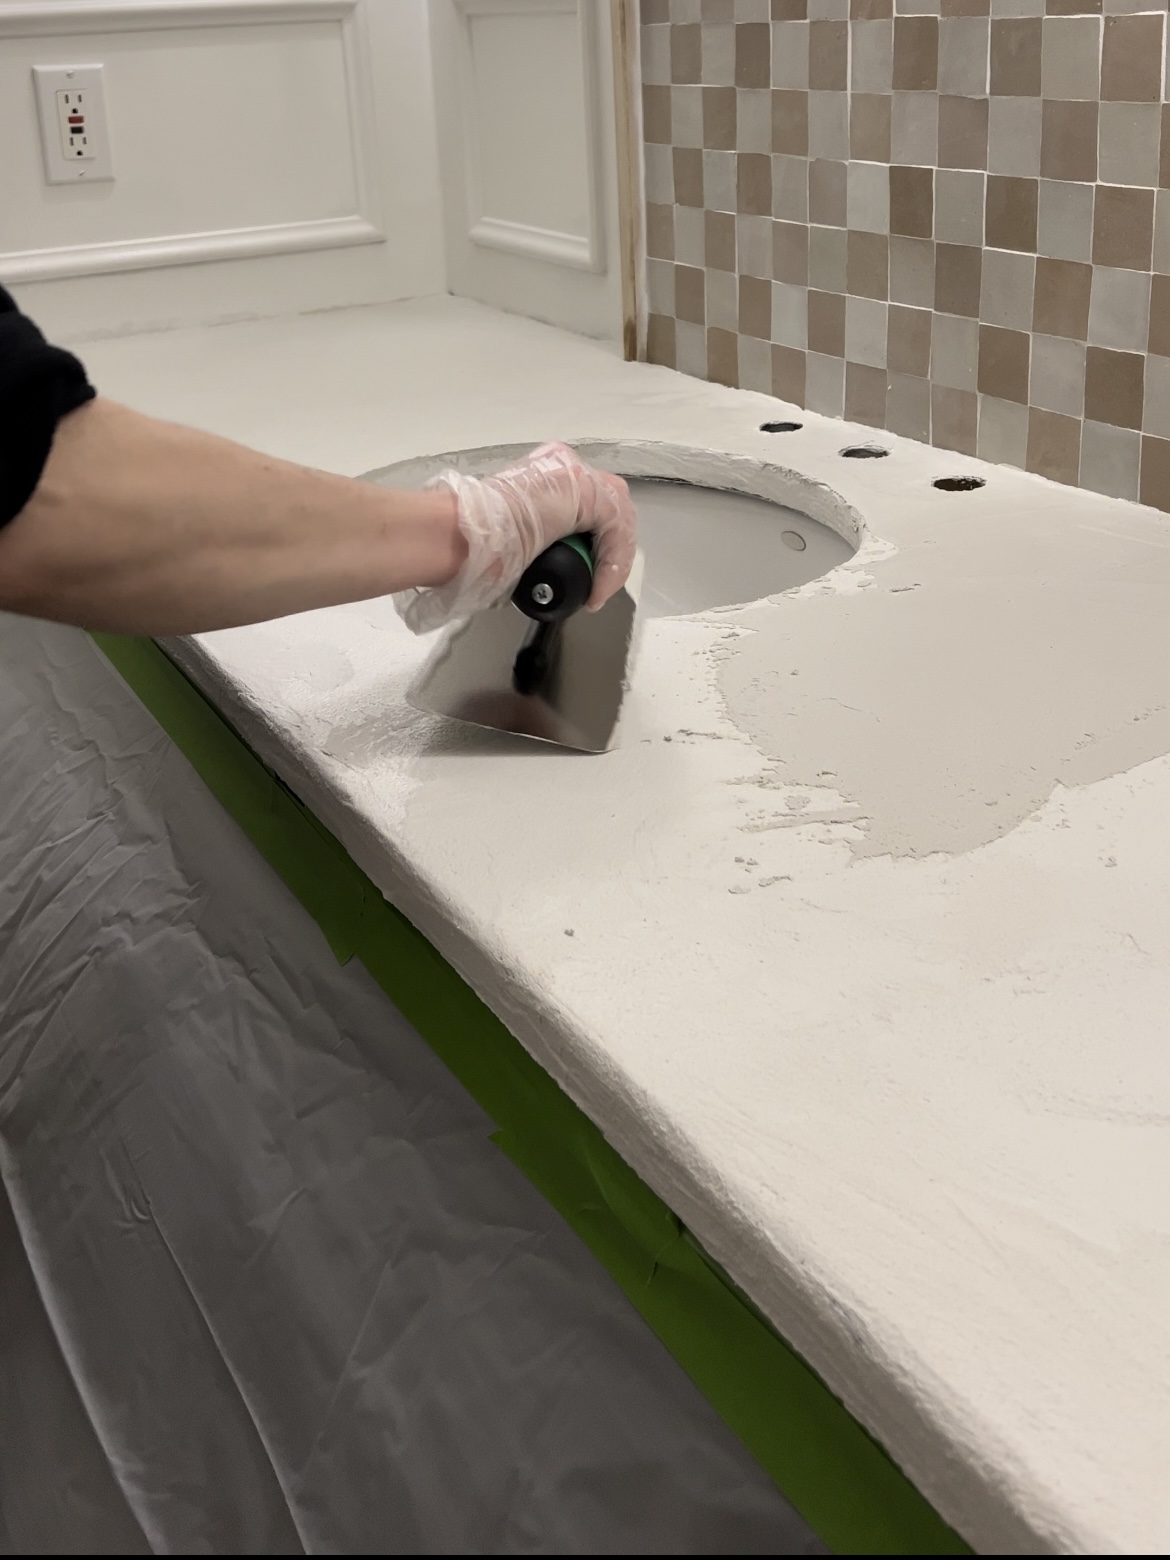
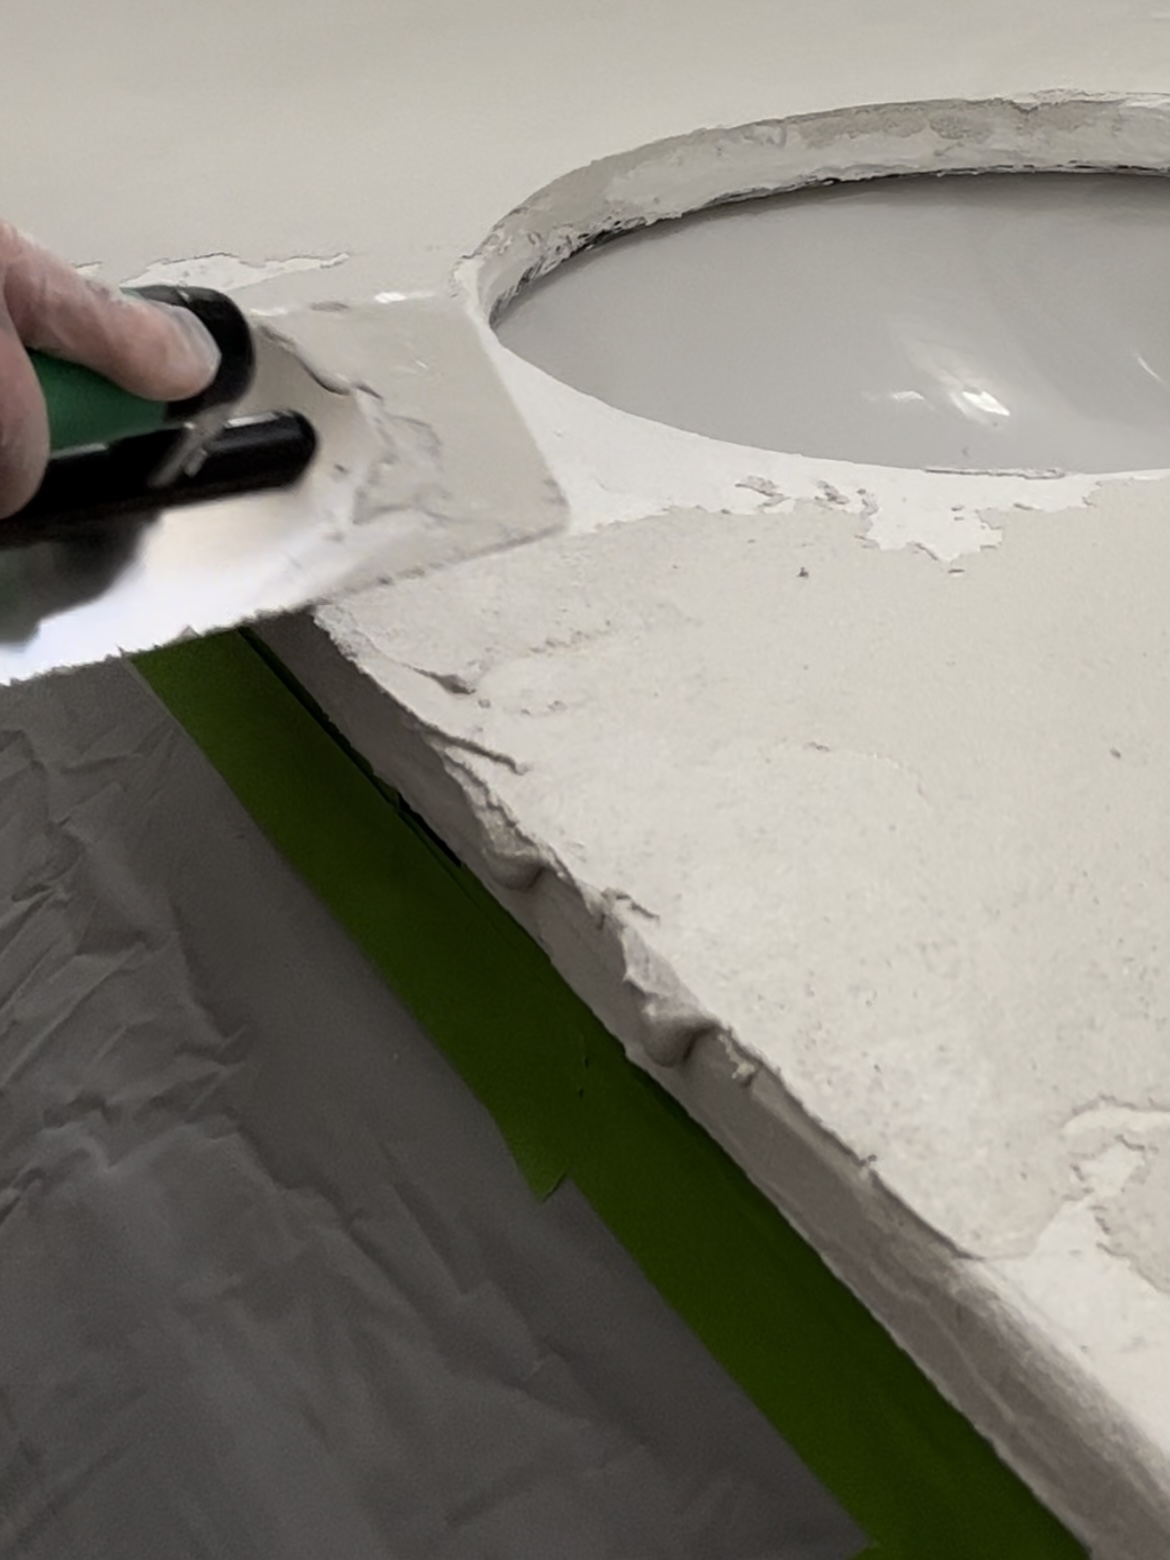
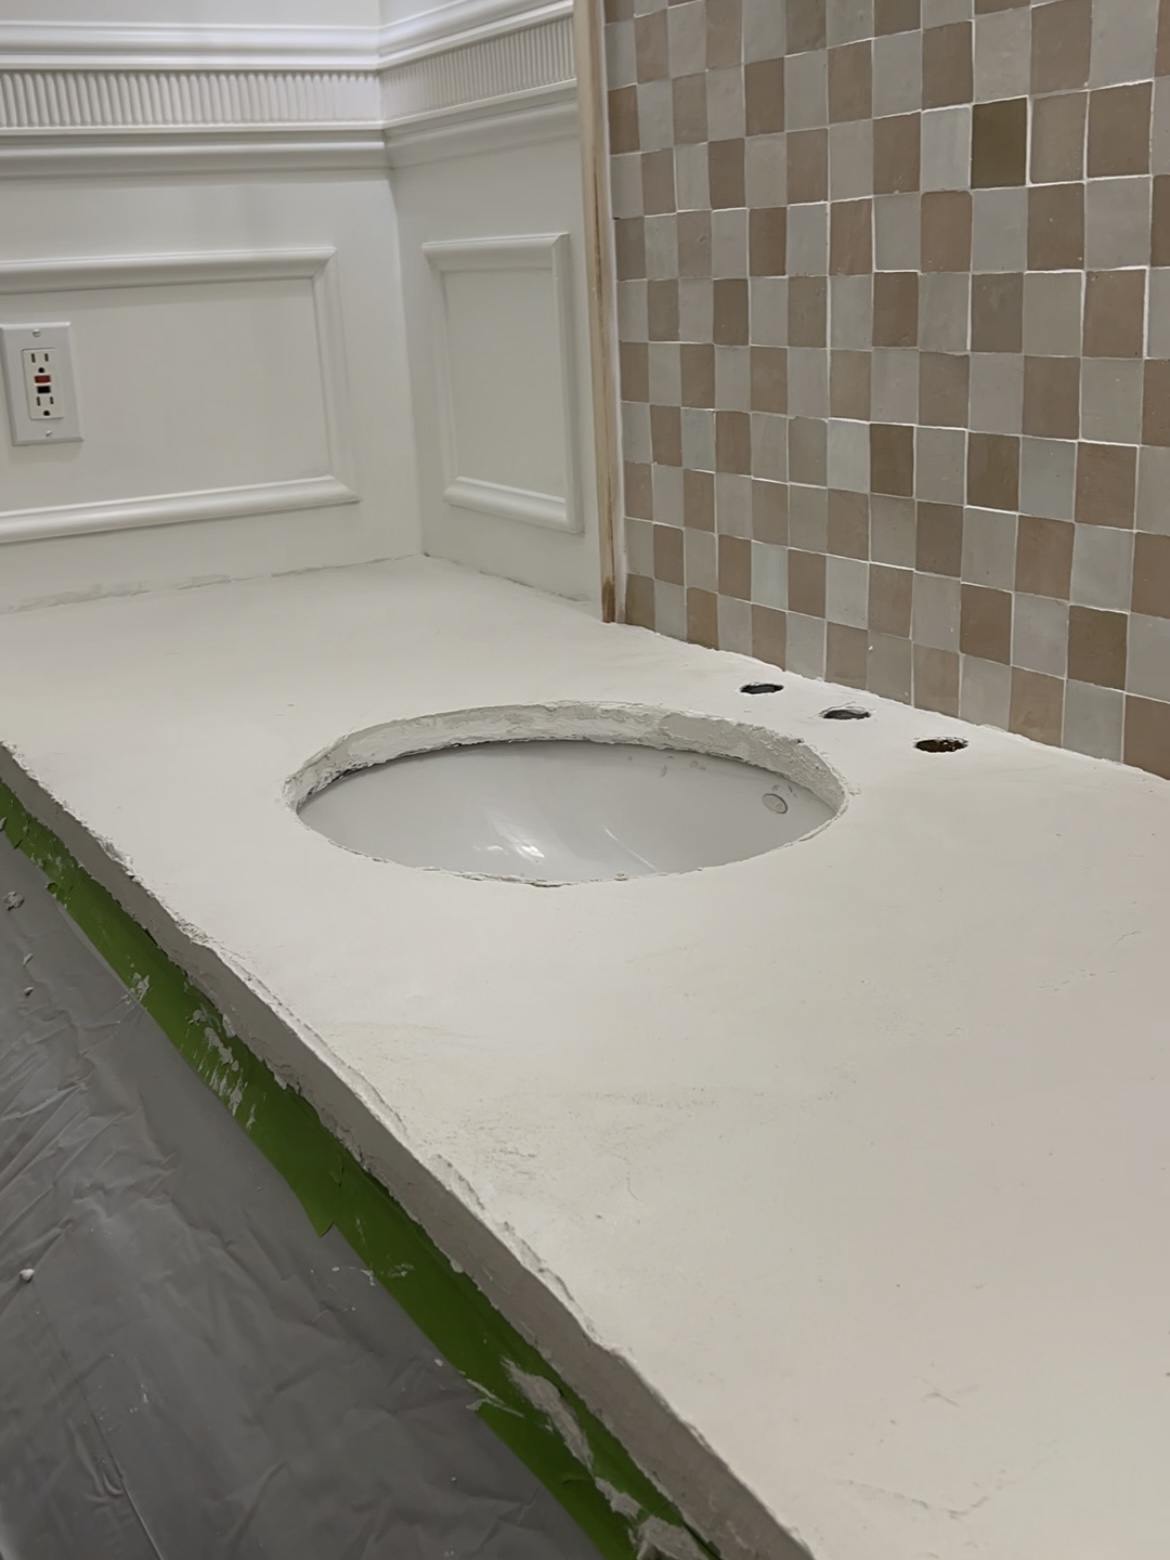
Smoothing the Faux Cement
The hardest part for me was the edges. I never figured out the technique needed to get them smooth. The second layer at least stuck better, but it was still pretty rough.
For some reason, I was able to dry sand the edges a decent amount. I thought I’d be able to do the same to the top…
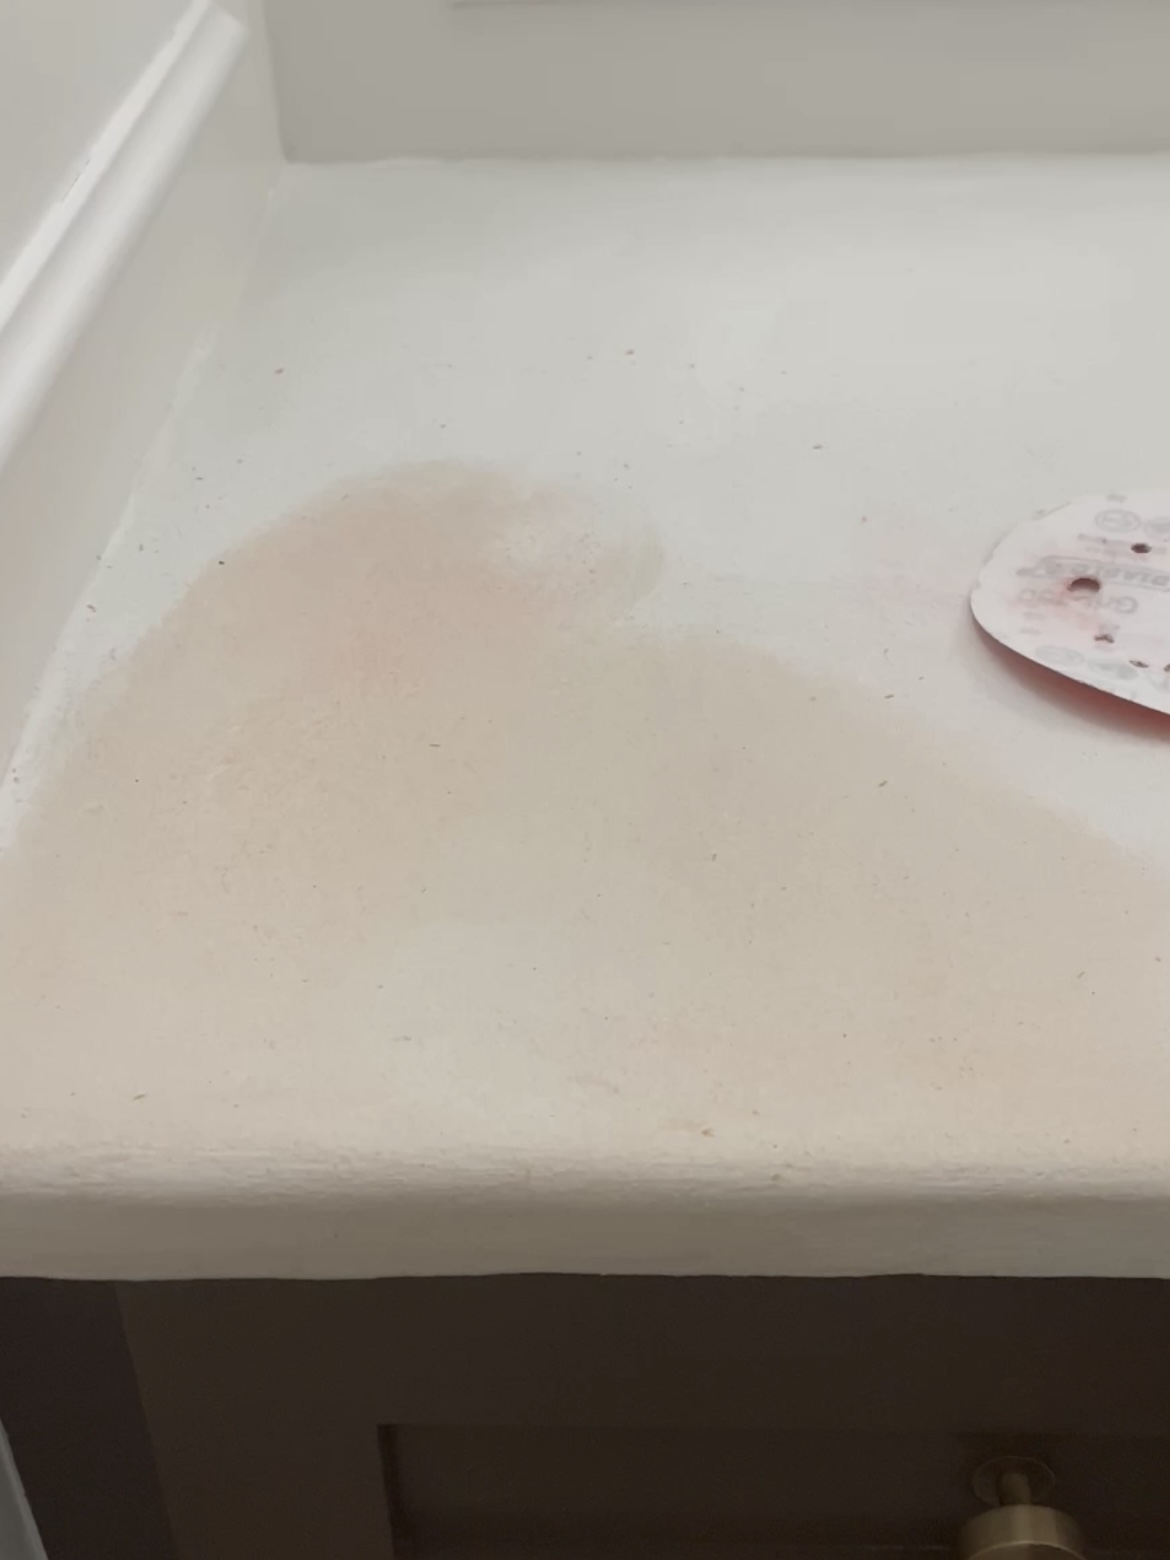
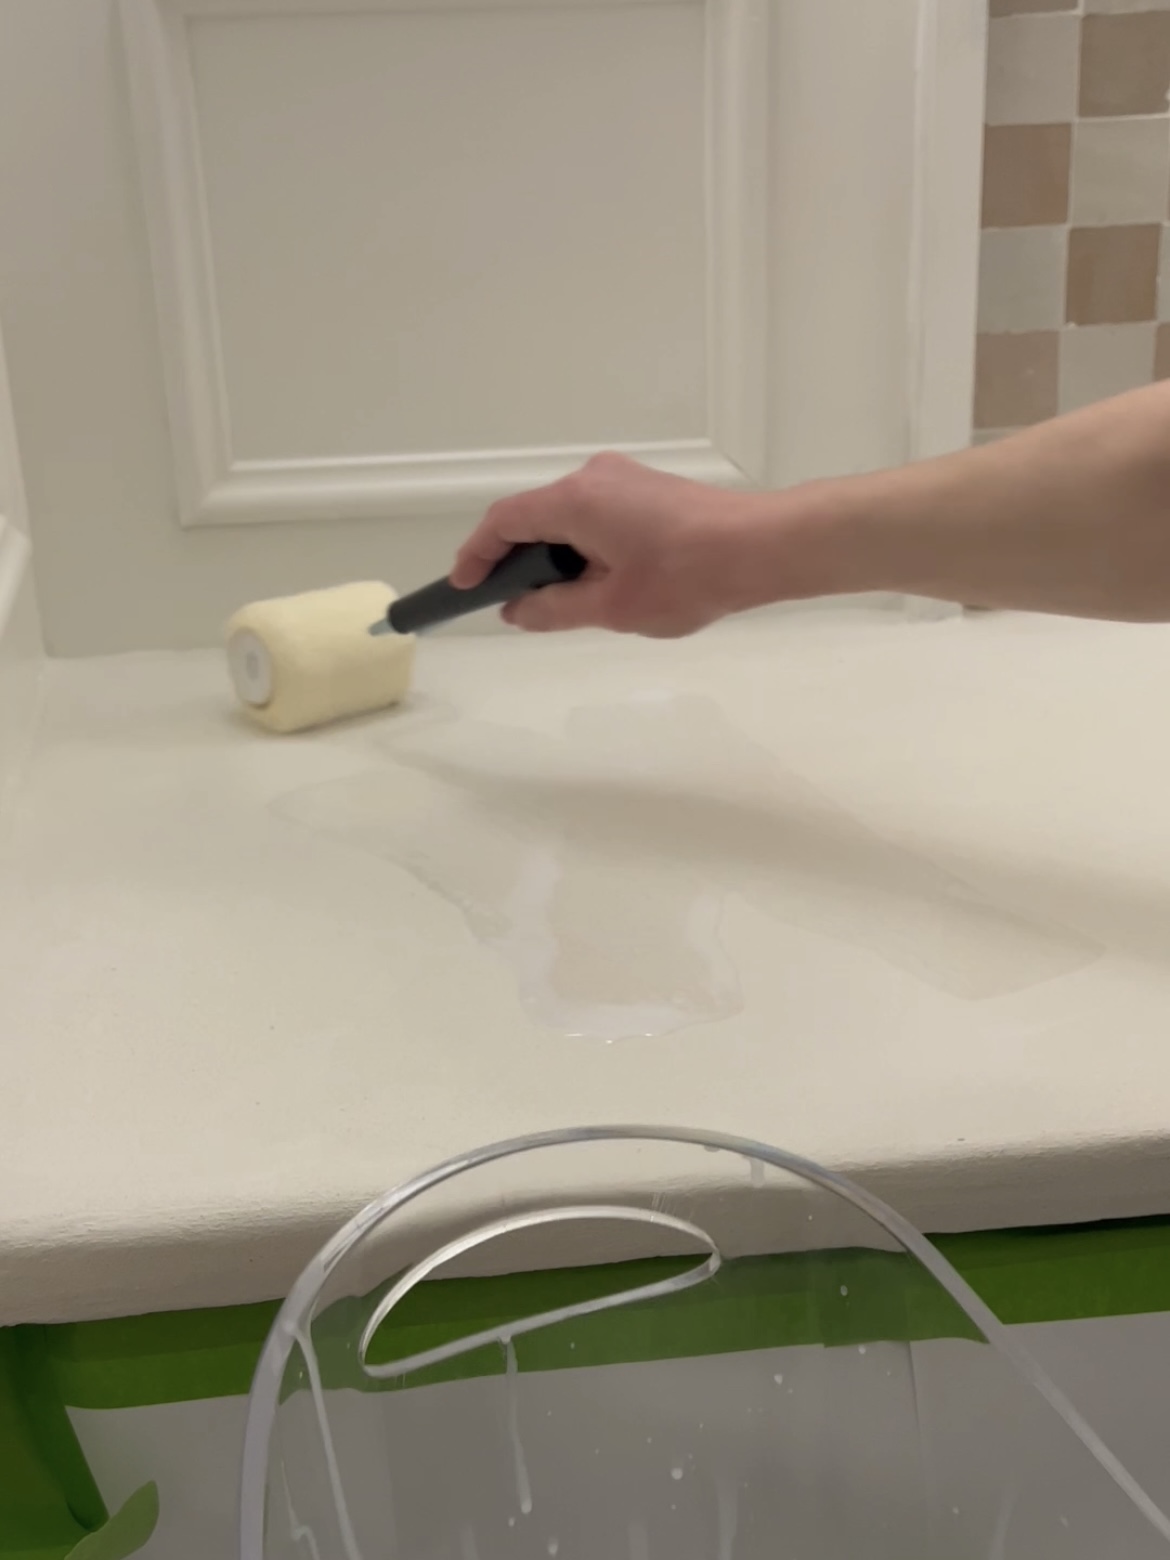
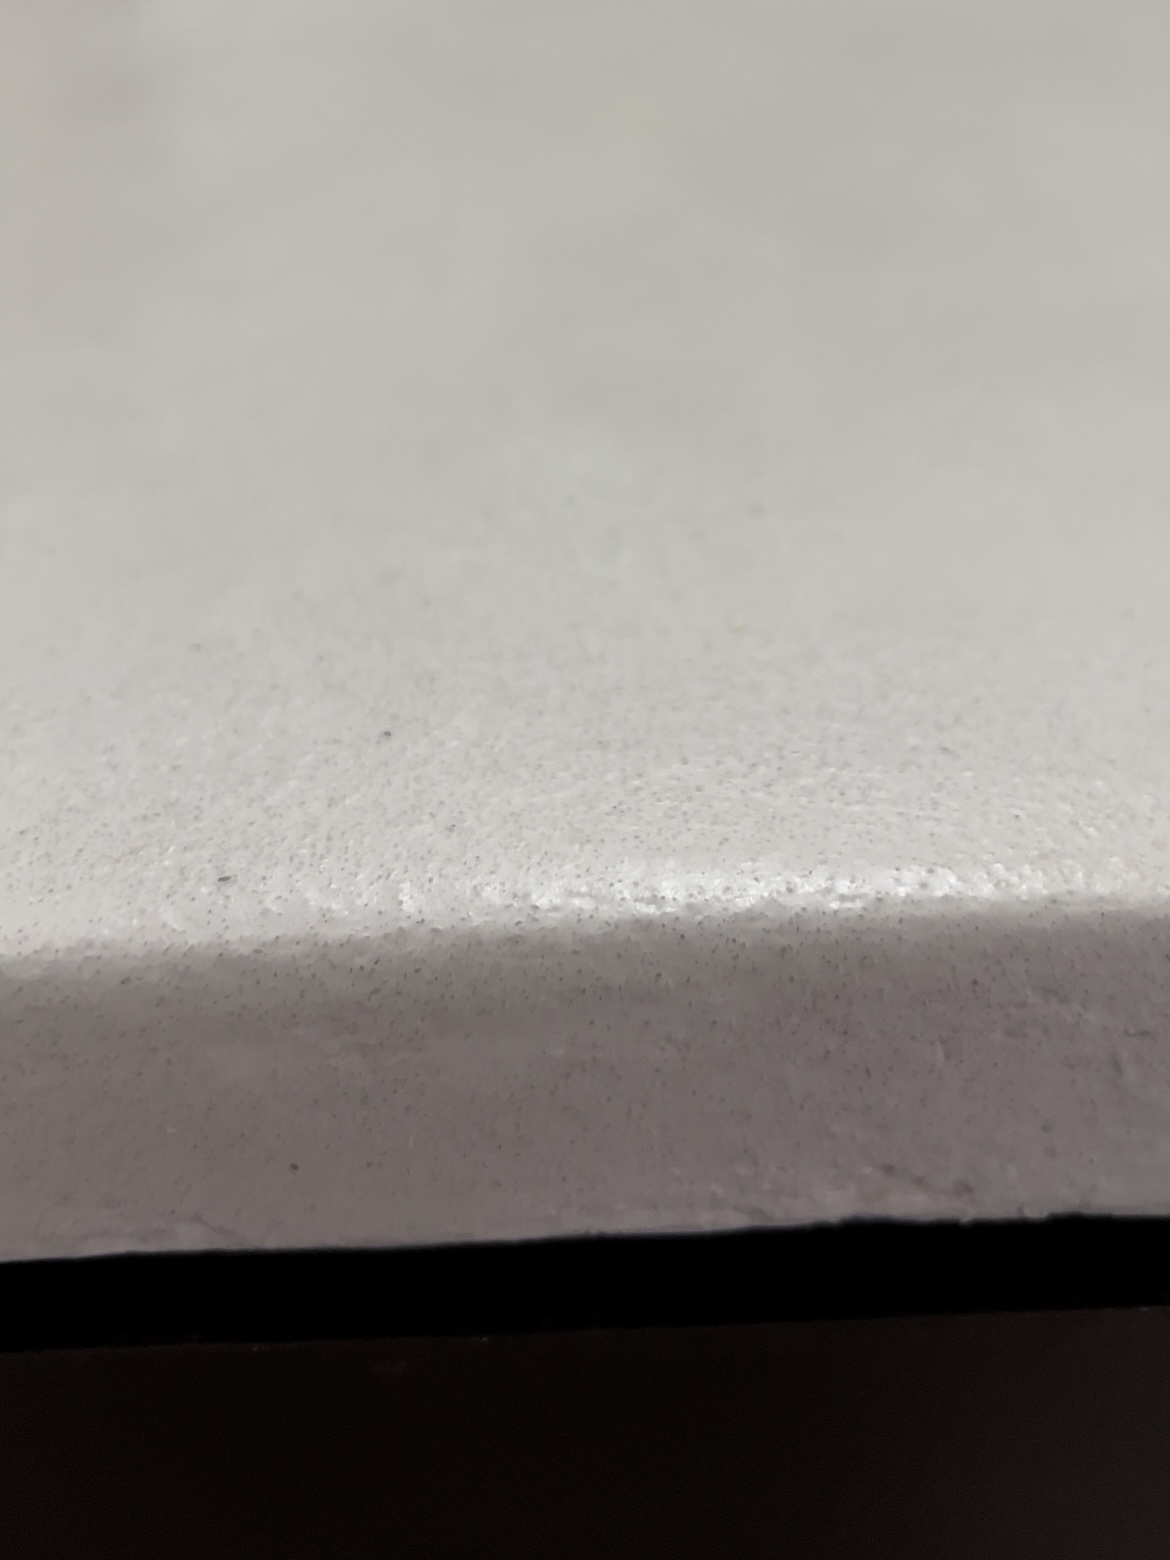
…As you can see from the above/left photo, the sanding pad totally stained the top. I didn’t realize that I was supposed to use an actual concrete sander. Now I know!
Sealing the Faux Cement Countertop
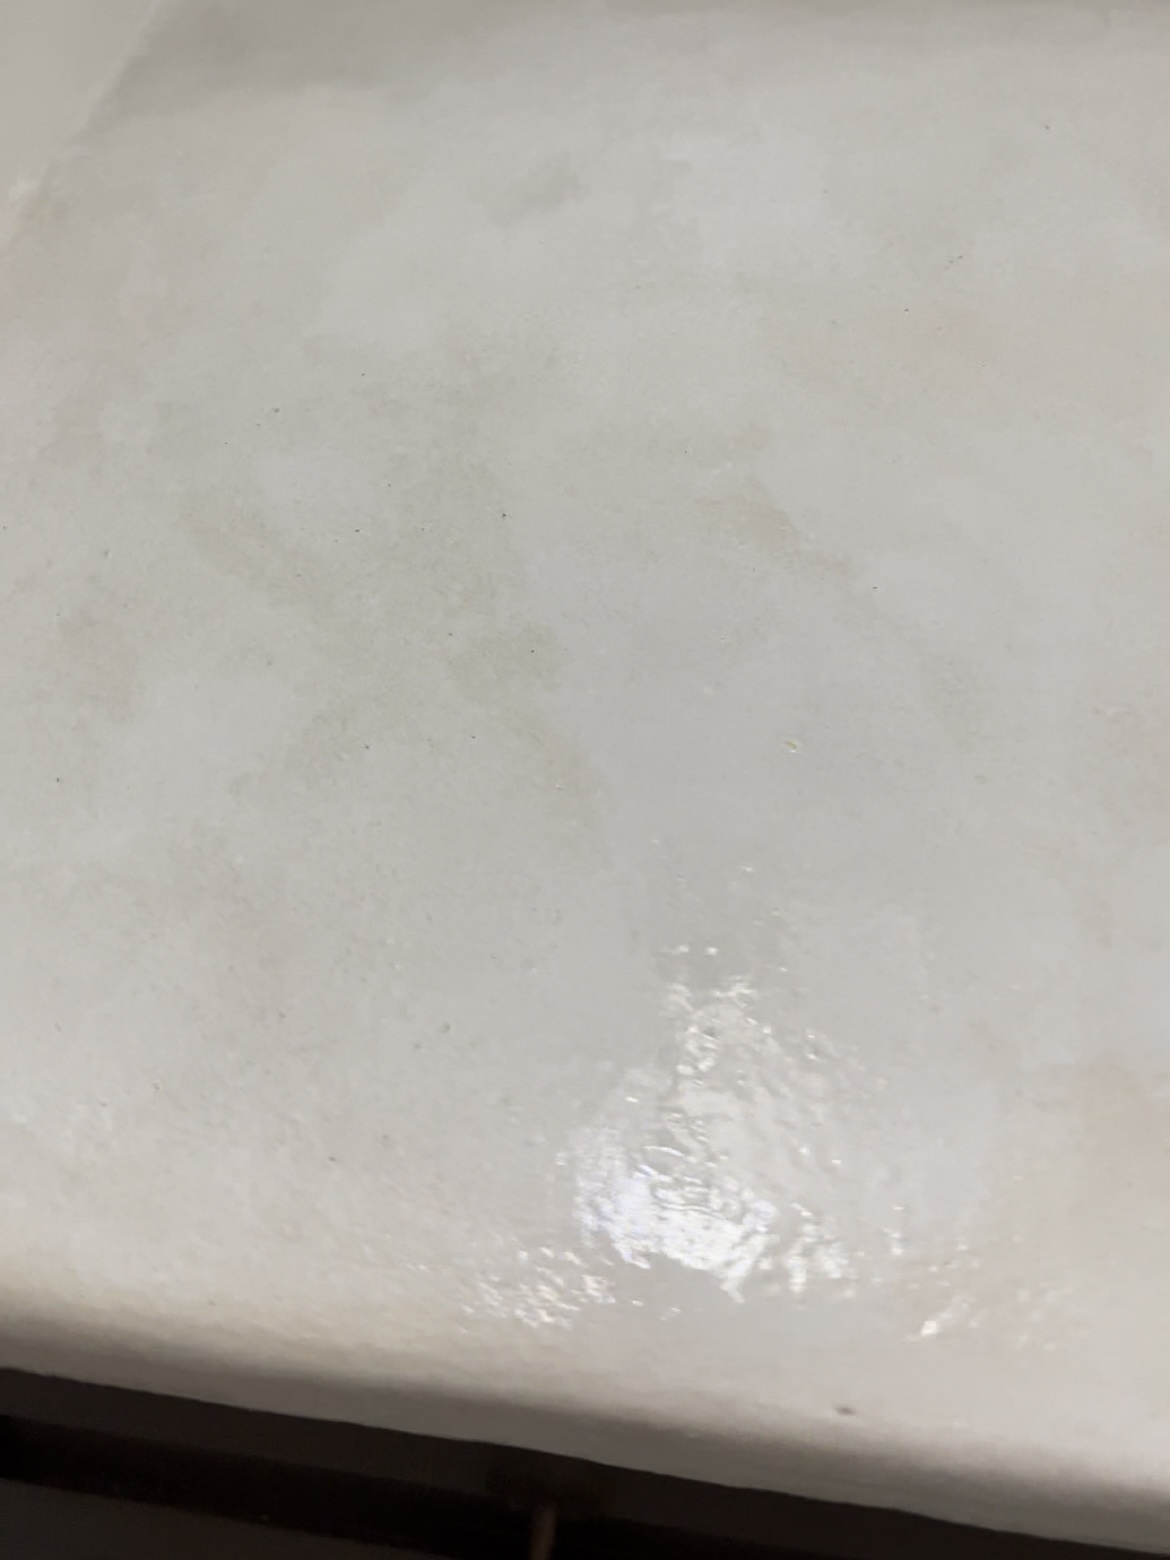
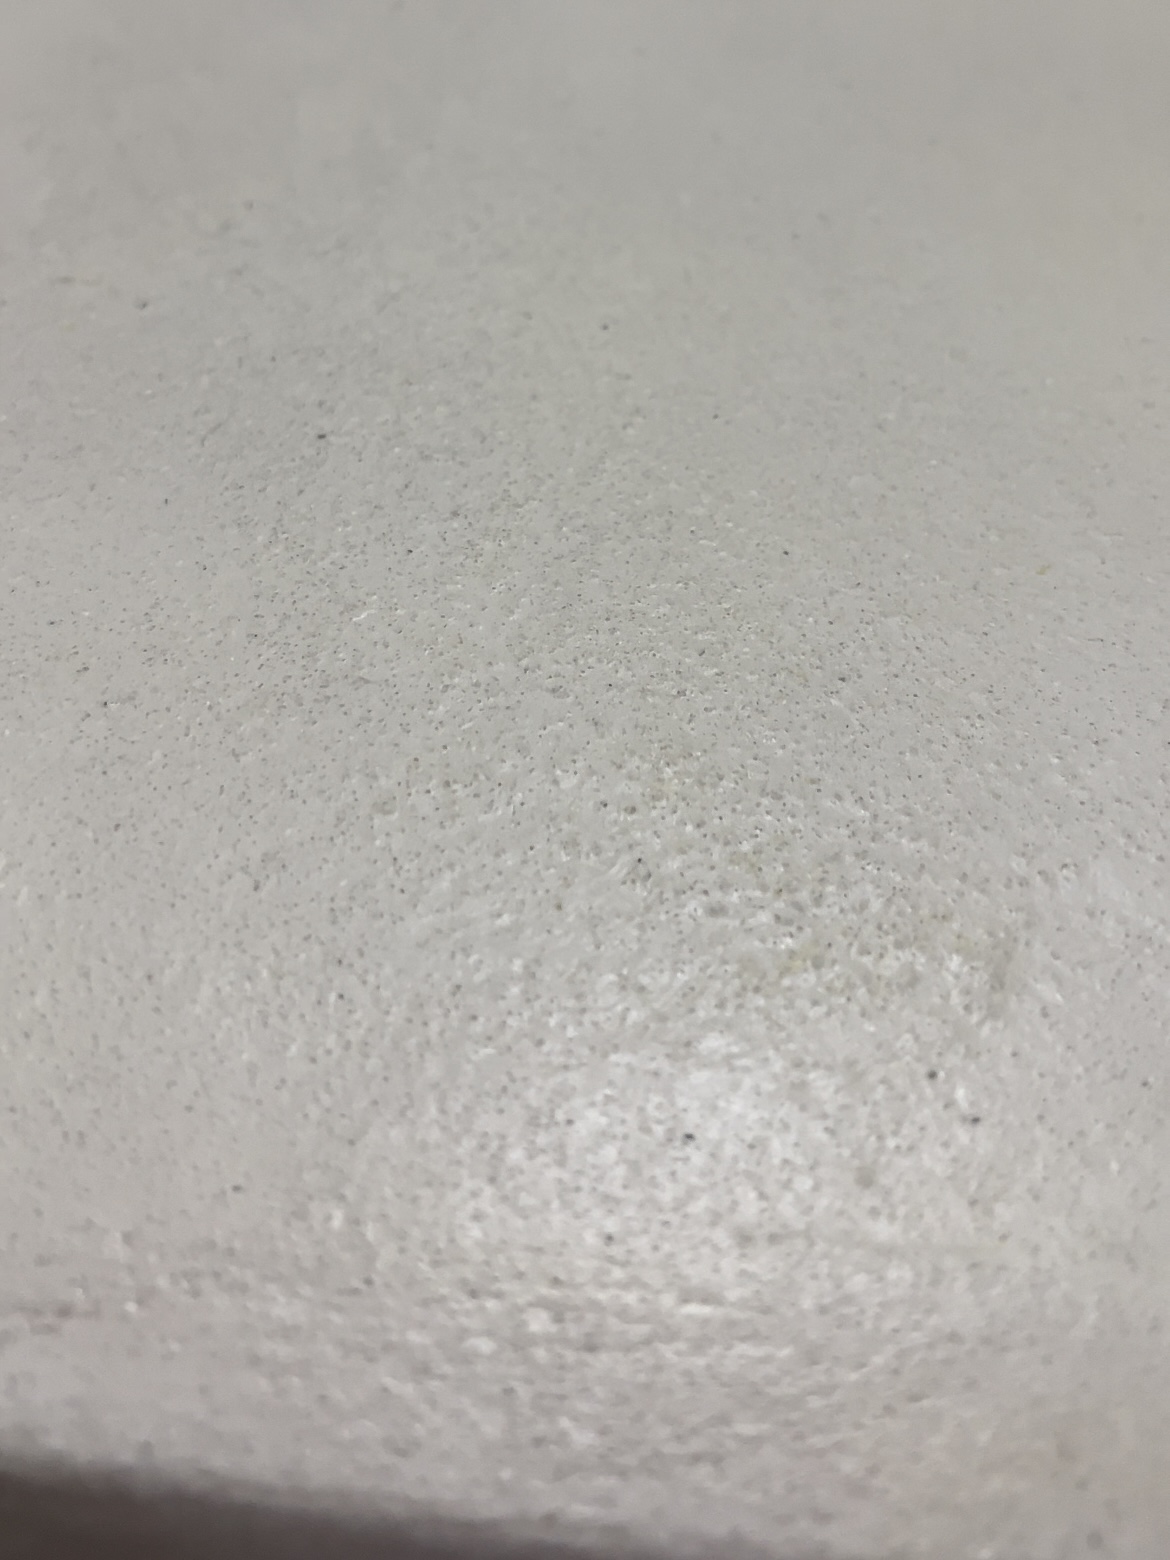
I mixed up and applied the sealant (also from Meoded – they told me what I needed). I panicked for a minute because it was splotchy right after applying (1st photo), but it dried fine! The 2nd photo shows the texture that was there since I couldn’t sand it down more.
When we remodeled our primary bathroom at our old house, we used scrap quartz for a similar-sized countertop. It cost about $600, and the cost of this Concretta countertop was about $250… I liked that cost difference!
Powder Room Makeover REVEAL!
And here it is! I love this powder room makeover. I feel like it’s my personality bottled up into a small space.
Supply List:
Chair Rail Moulding
Drip Cap Moudling
Light Sconces
Zellige Tiles in Casablanca and Glazed Earth
Medoded Concretta
Zinsser Bin Primer
Valspar Paint (Momentous Occasions)
Stainmaster Paint (Ivory Wool)
Mirror, Faucet, and Cabinet Hardware


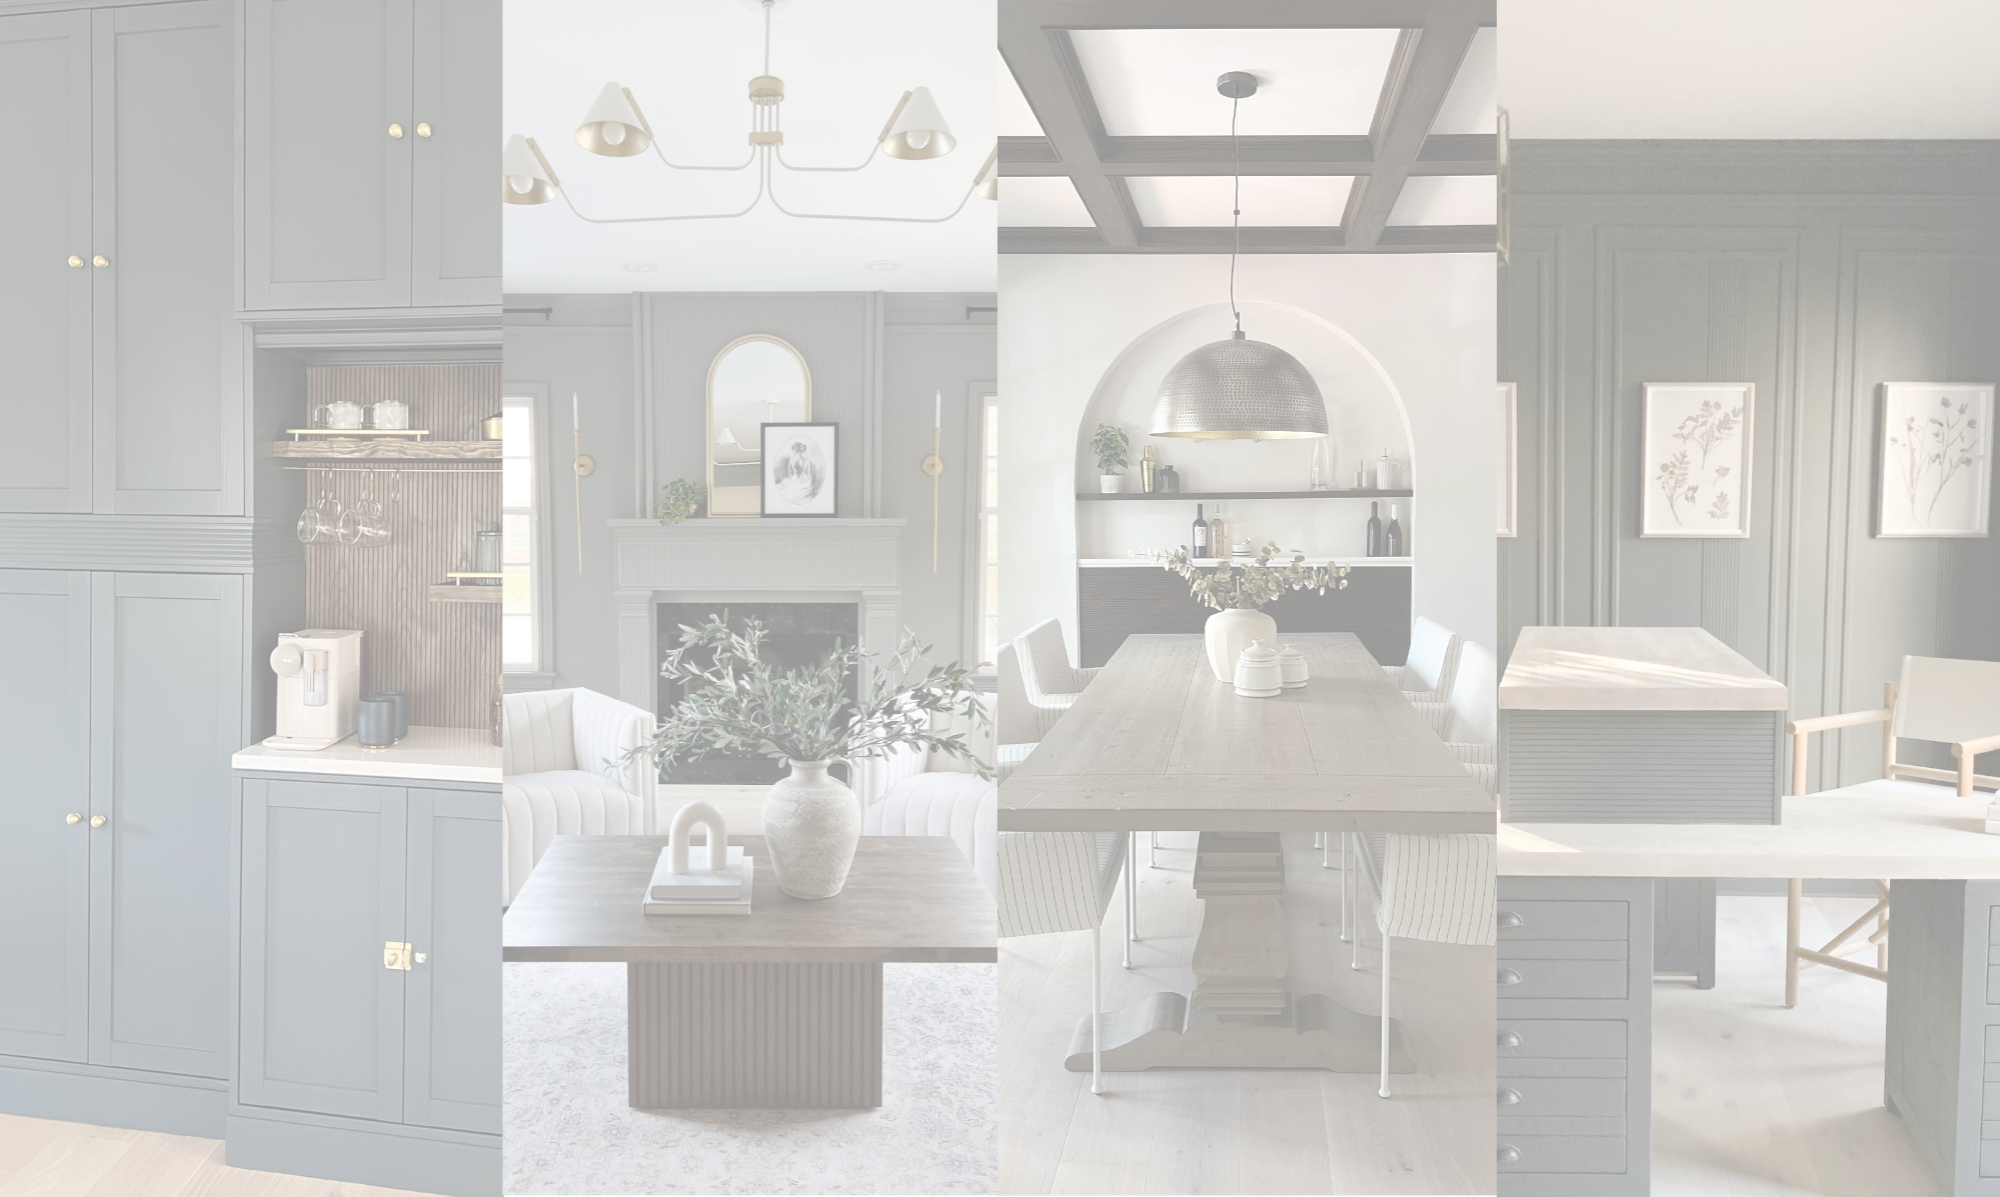
Here for the room makeovers? Check these out!
Modern Transitional Family Room Makeover
Arched Dining Room Makeover
Mudroom Makeover Part 1 – Painted Cabinets
(Post may contain affiliate links, please see disclosure.)
Hi! What supplier did you use to get the Concretta or did you just order directly from the website? I am also in Columbus and I can’t find anyone here who carries it. I am considering it for a shower redo. Thanks! Love the bathroom makeover!
Hi! I ordered directly from Meoded, you just call the number on their website and order over the phone… It’s helpful because you can tell them what your project is to make sure you get exactly what you need. I love that you’re in Columbus too!
Wonderful job on the powder room. Love the new hair style, too.
Thank you so much! I wish I had gone with the bangs even sooner haha… I hope you all are doing well!!
What color concretta did you use?
Such a great question! They have so many colors to choose from, and I had originally gone with a light grey, but I didn’t realize you need to use the coloring within a few weeks. By the time I went to do the countertops, the color had gone bad. I ended up just using the concretta, as is, no color added!